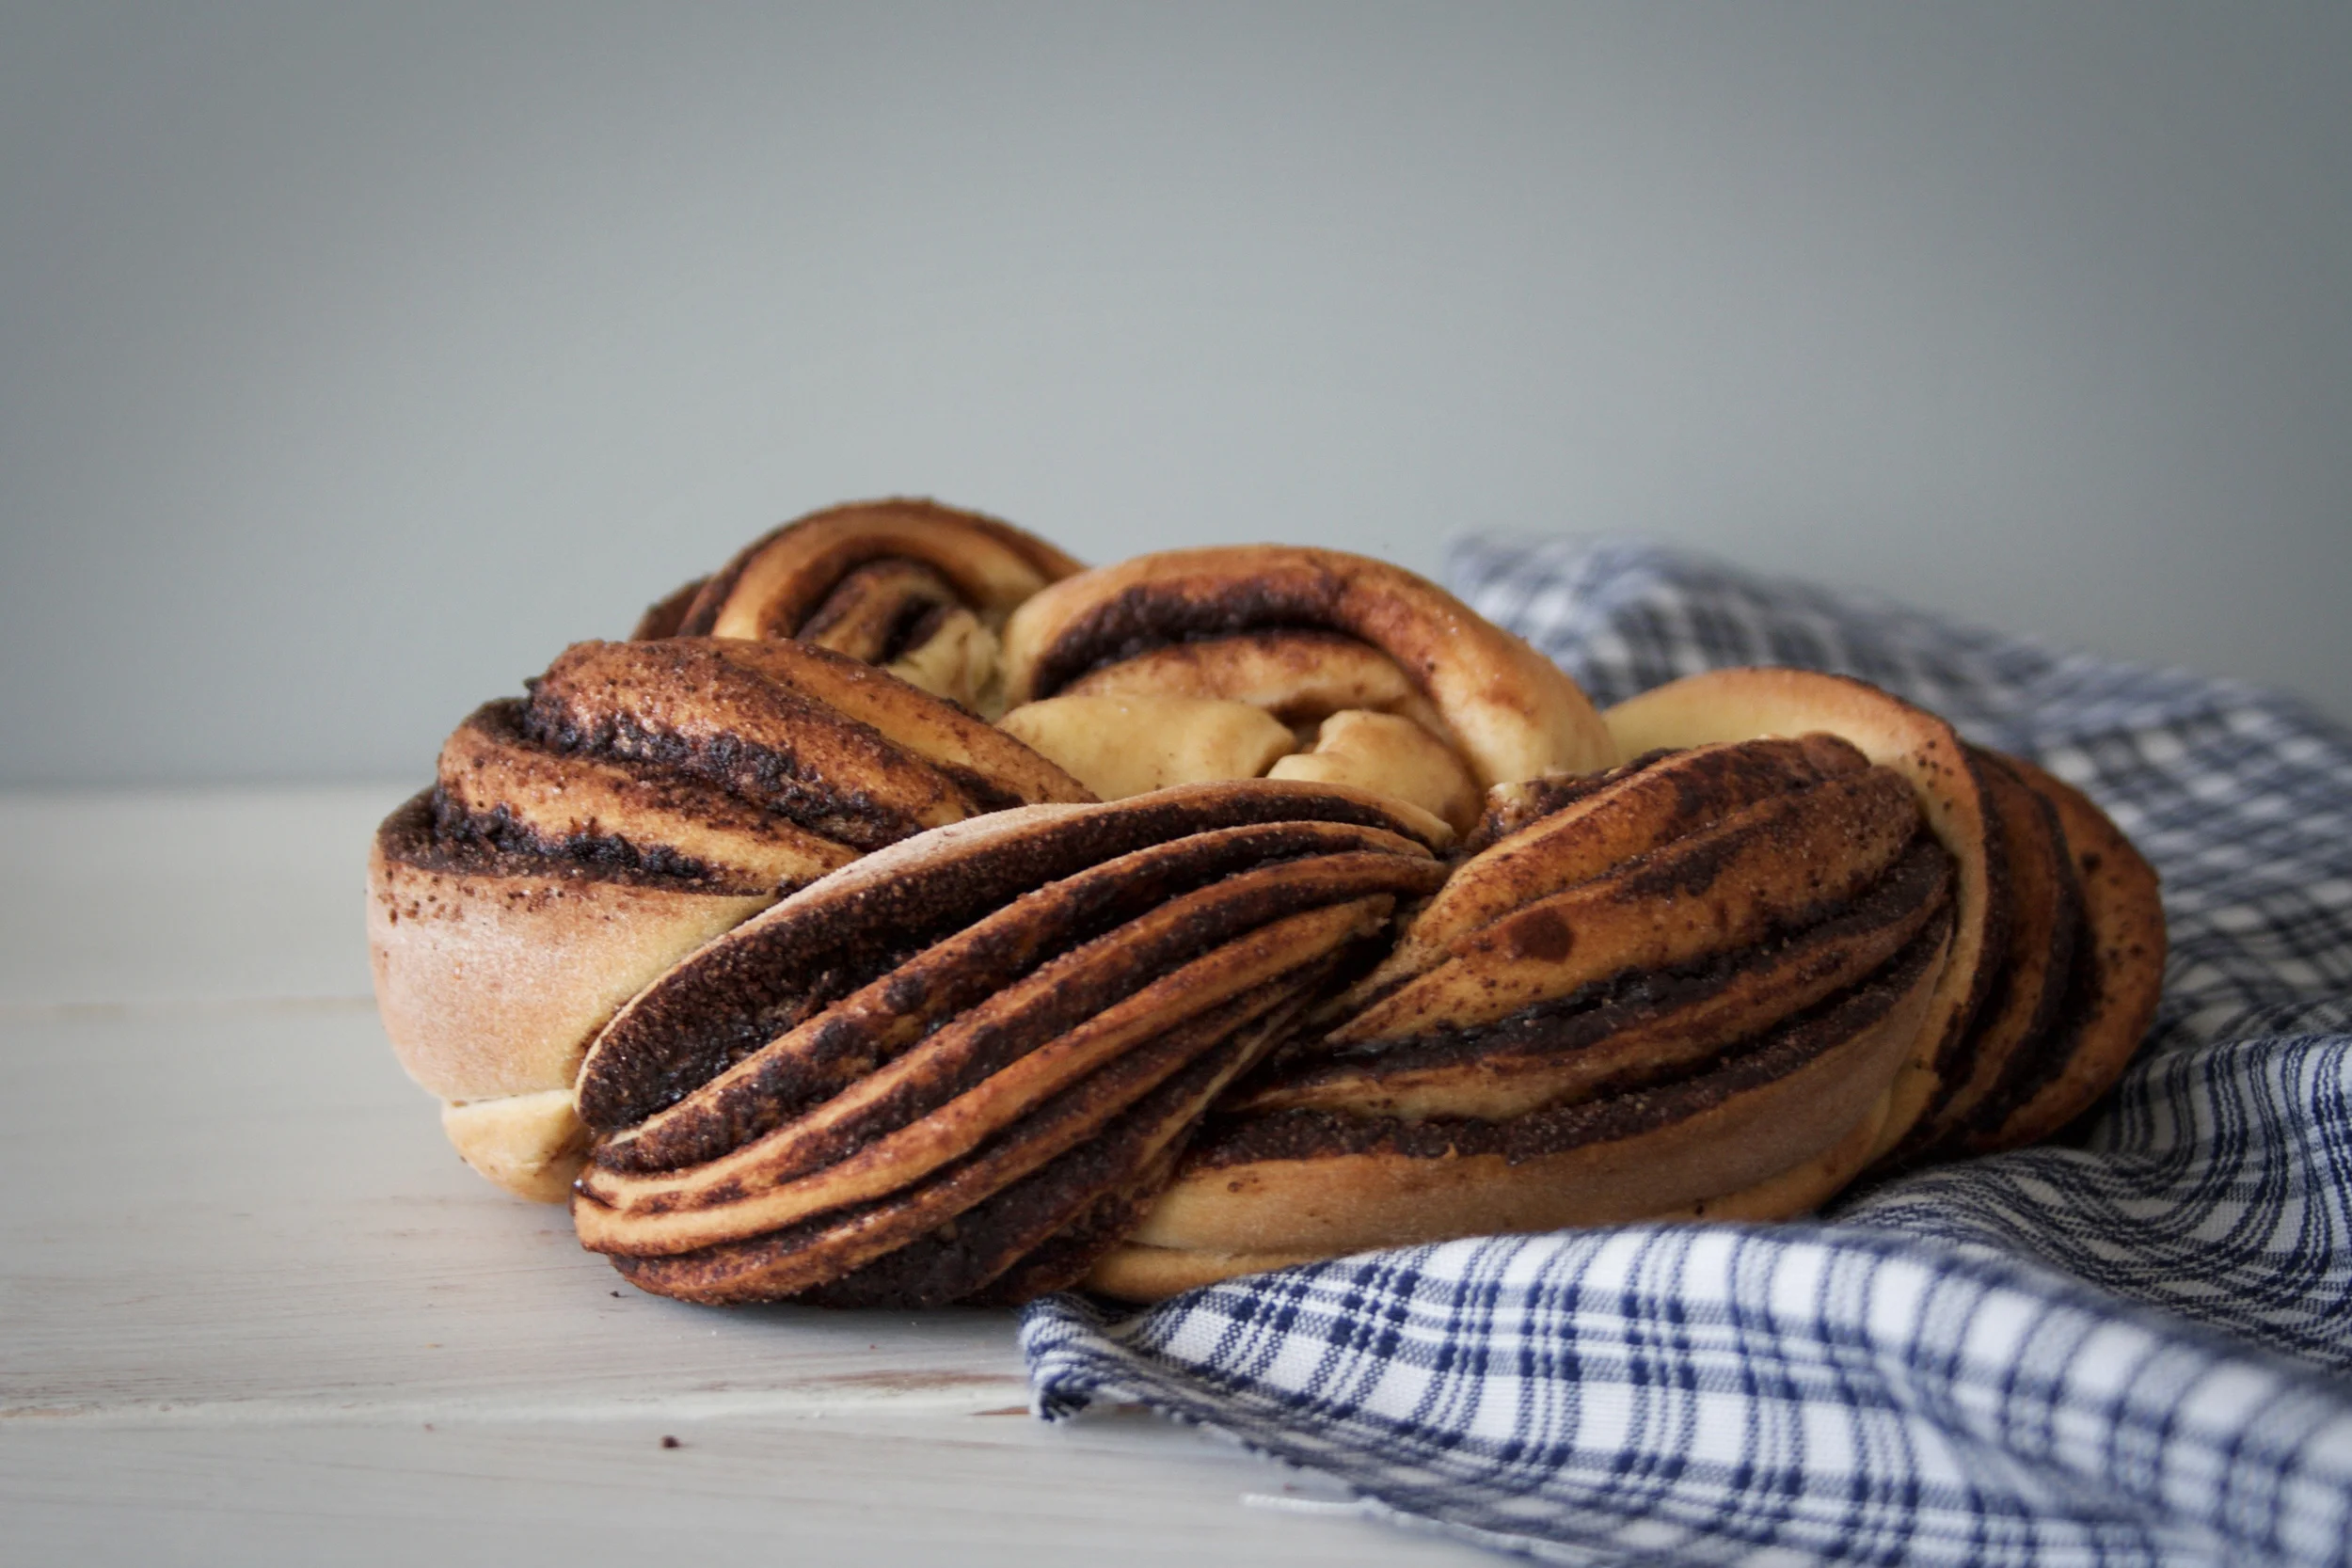
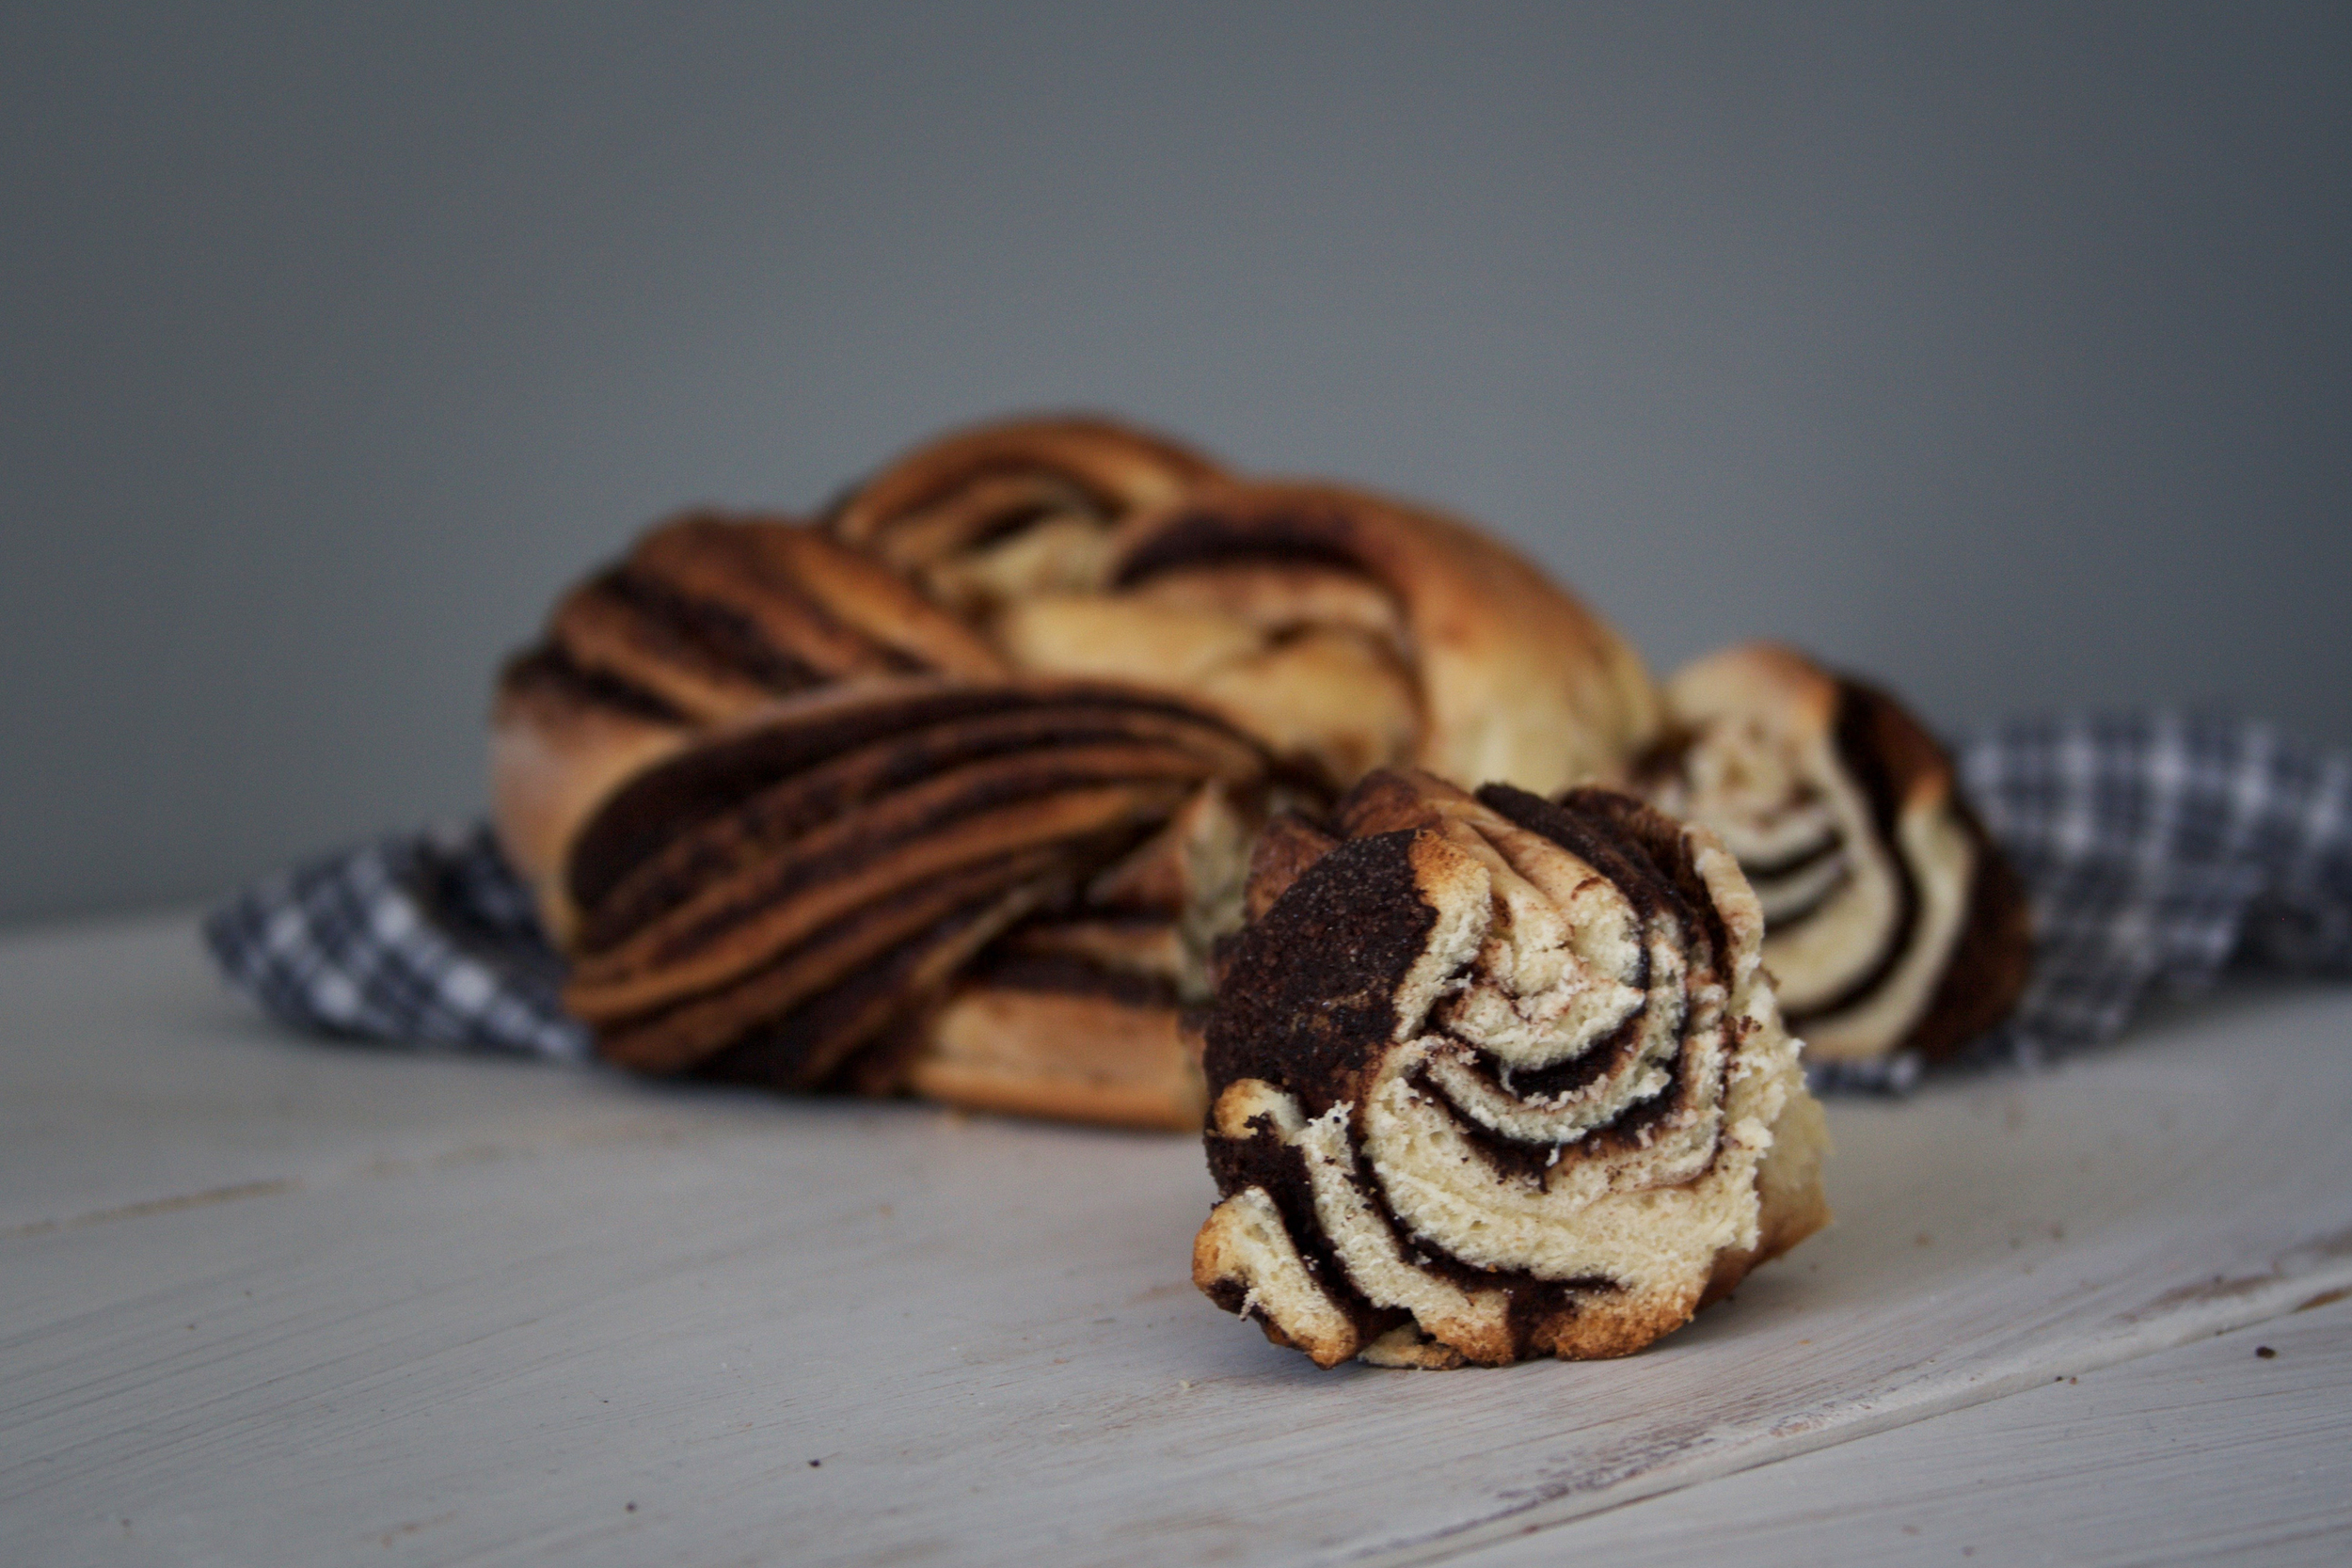
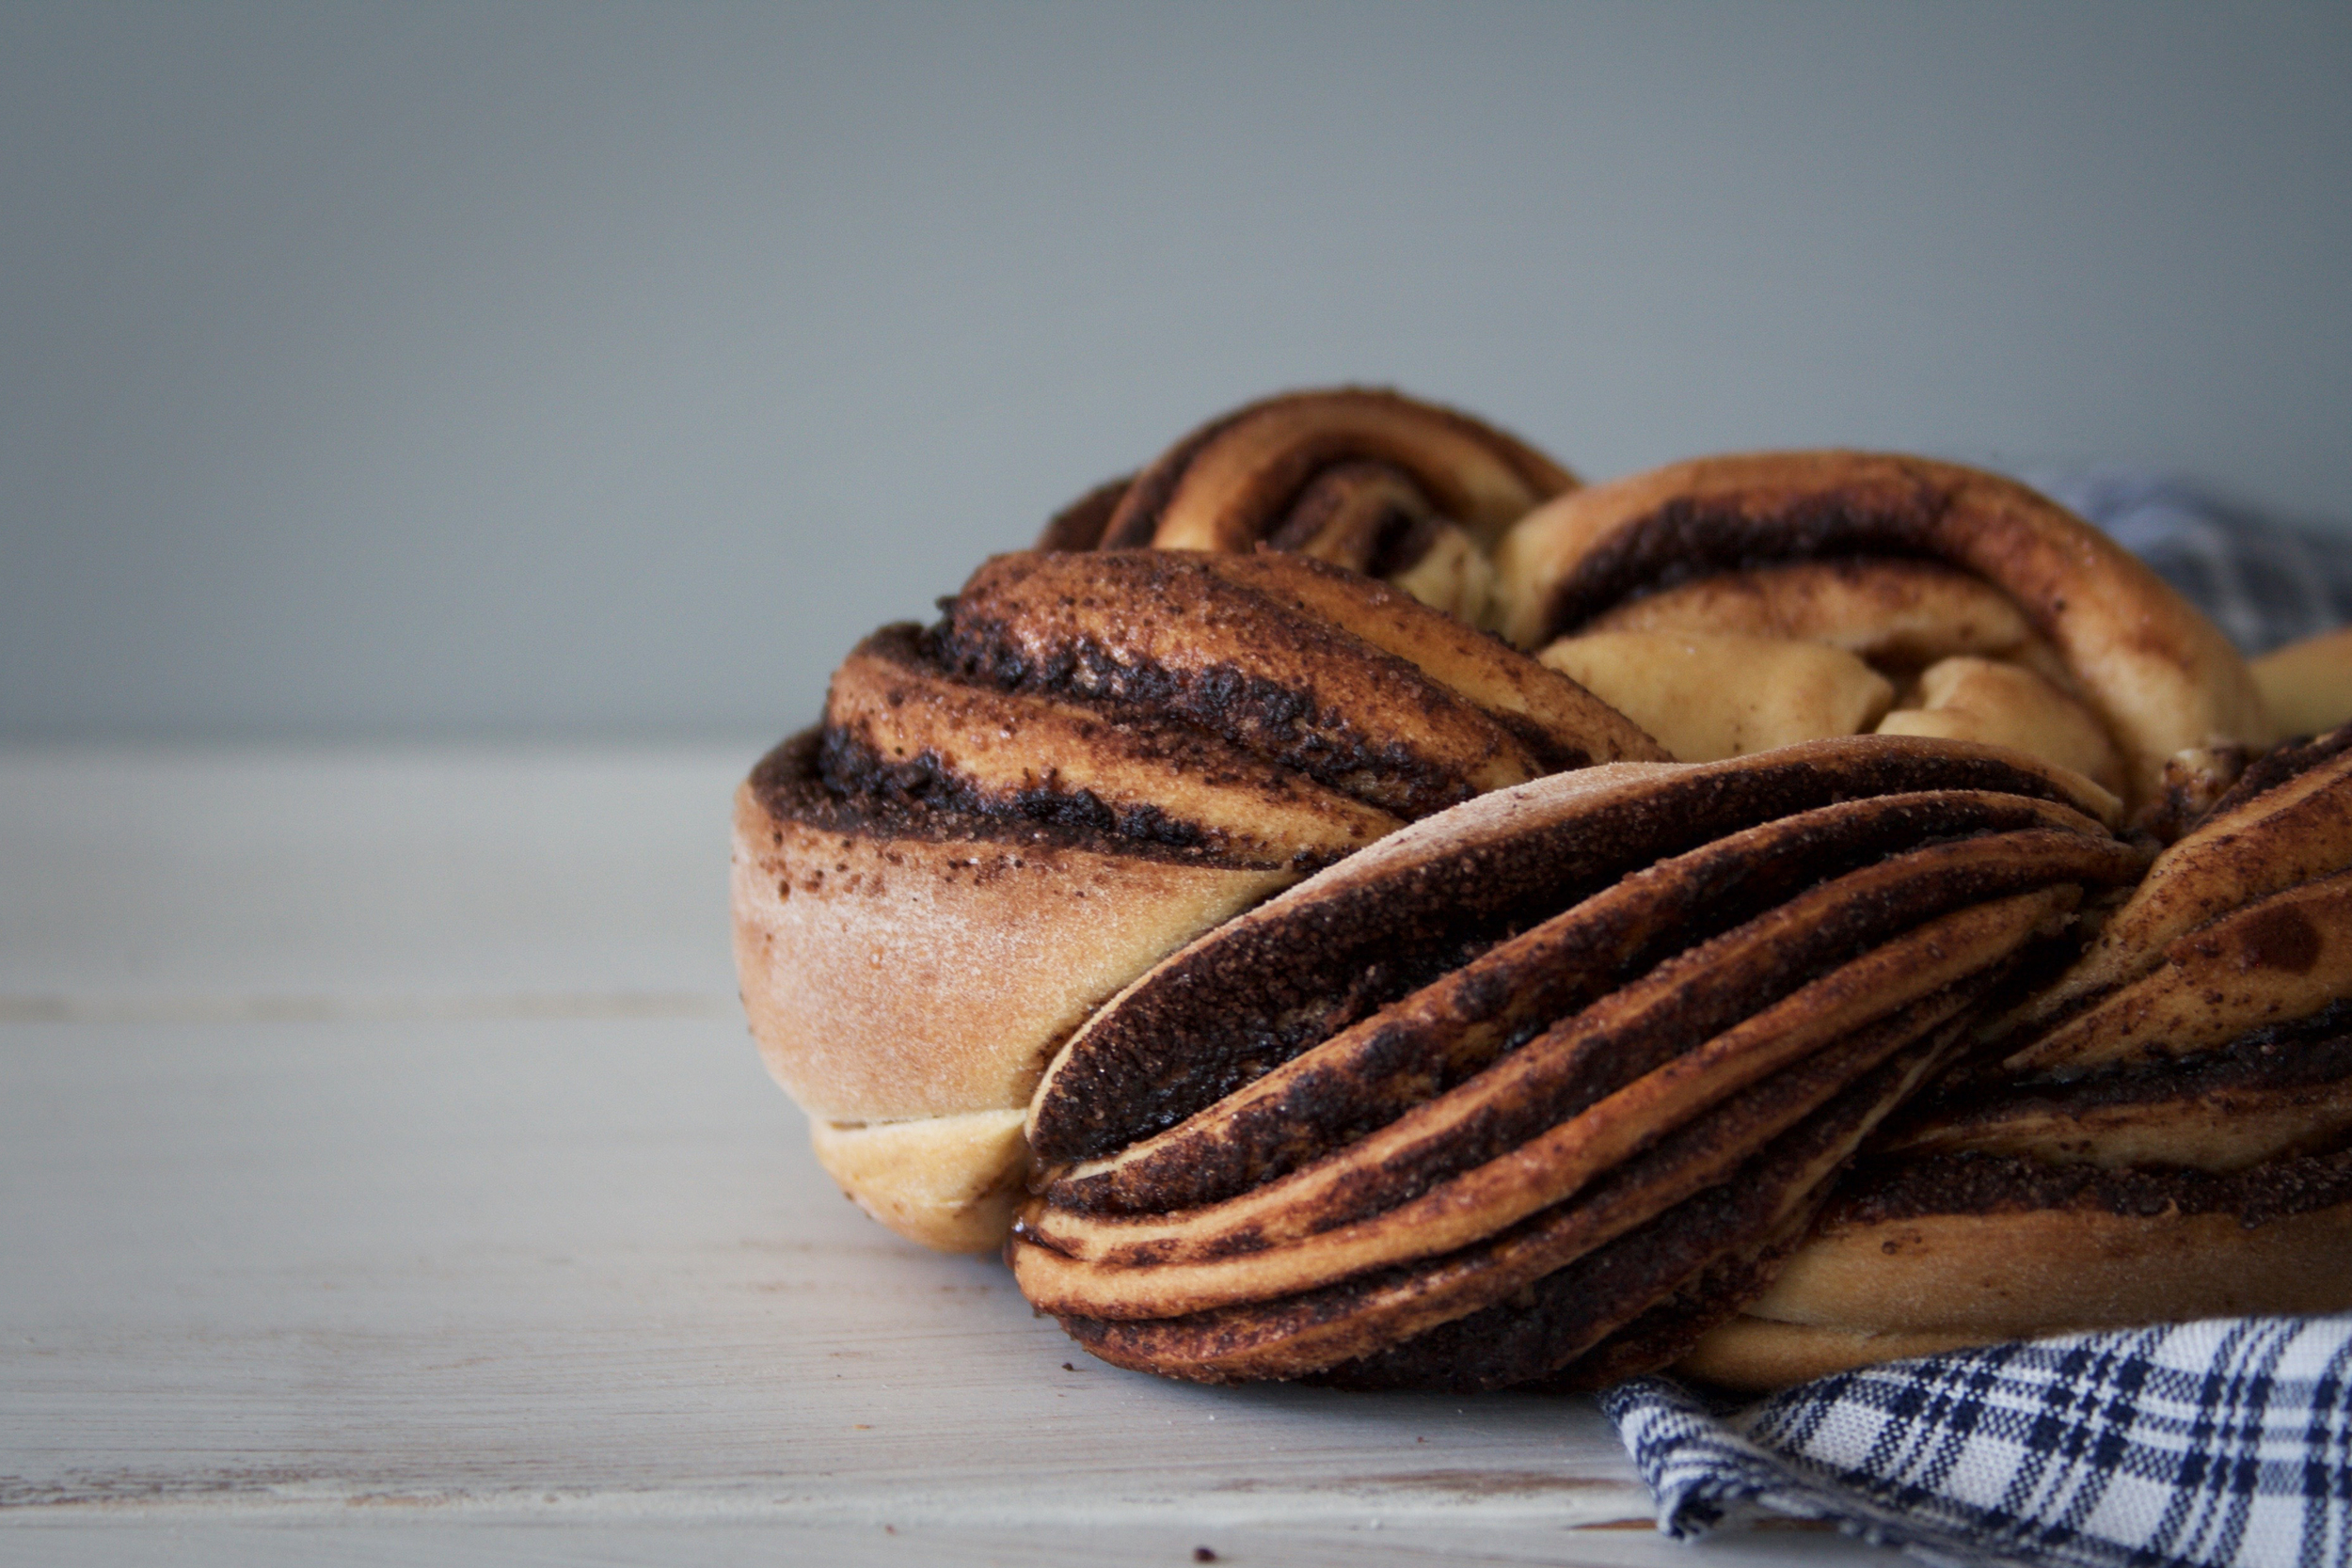
CHOCOLATE TWIST BREAD


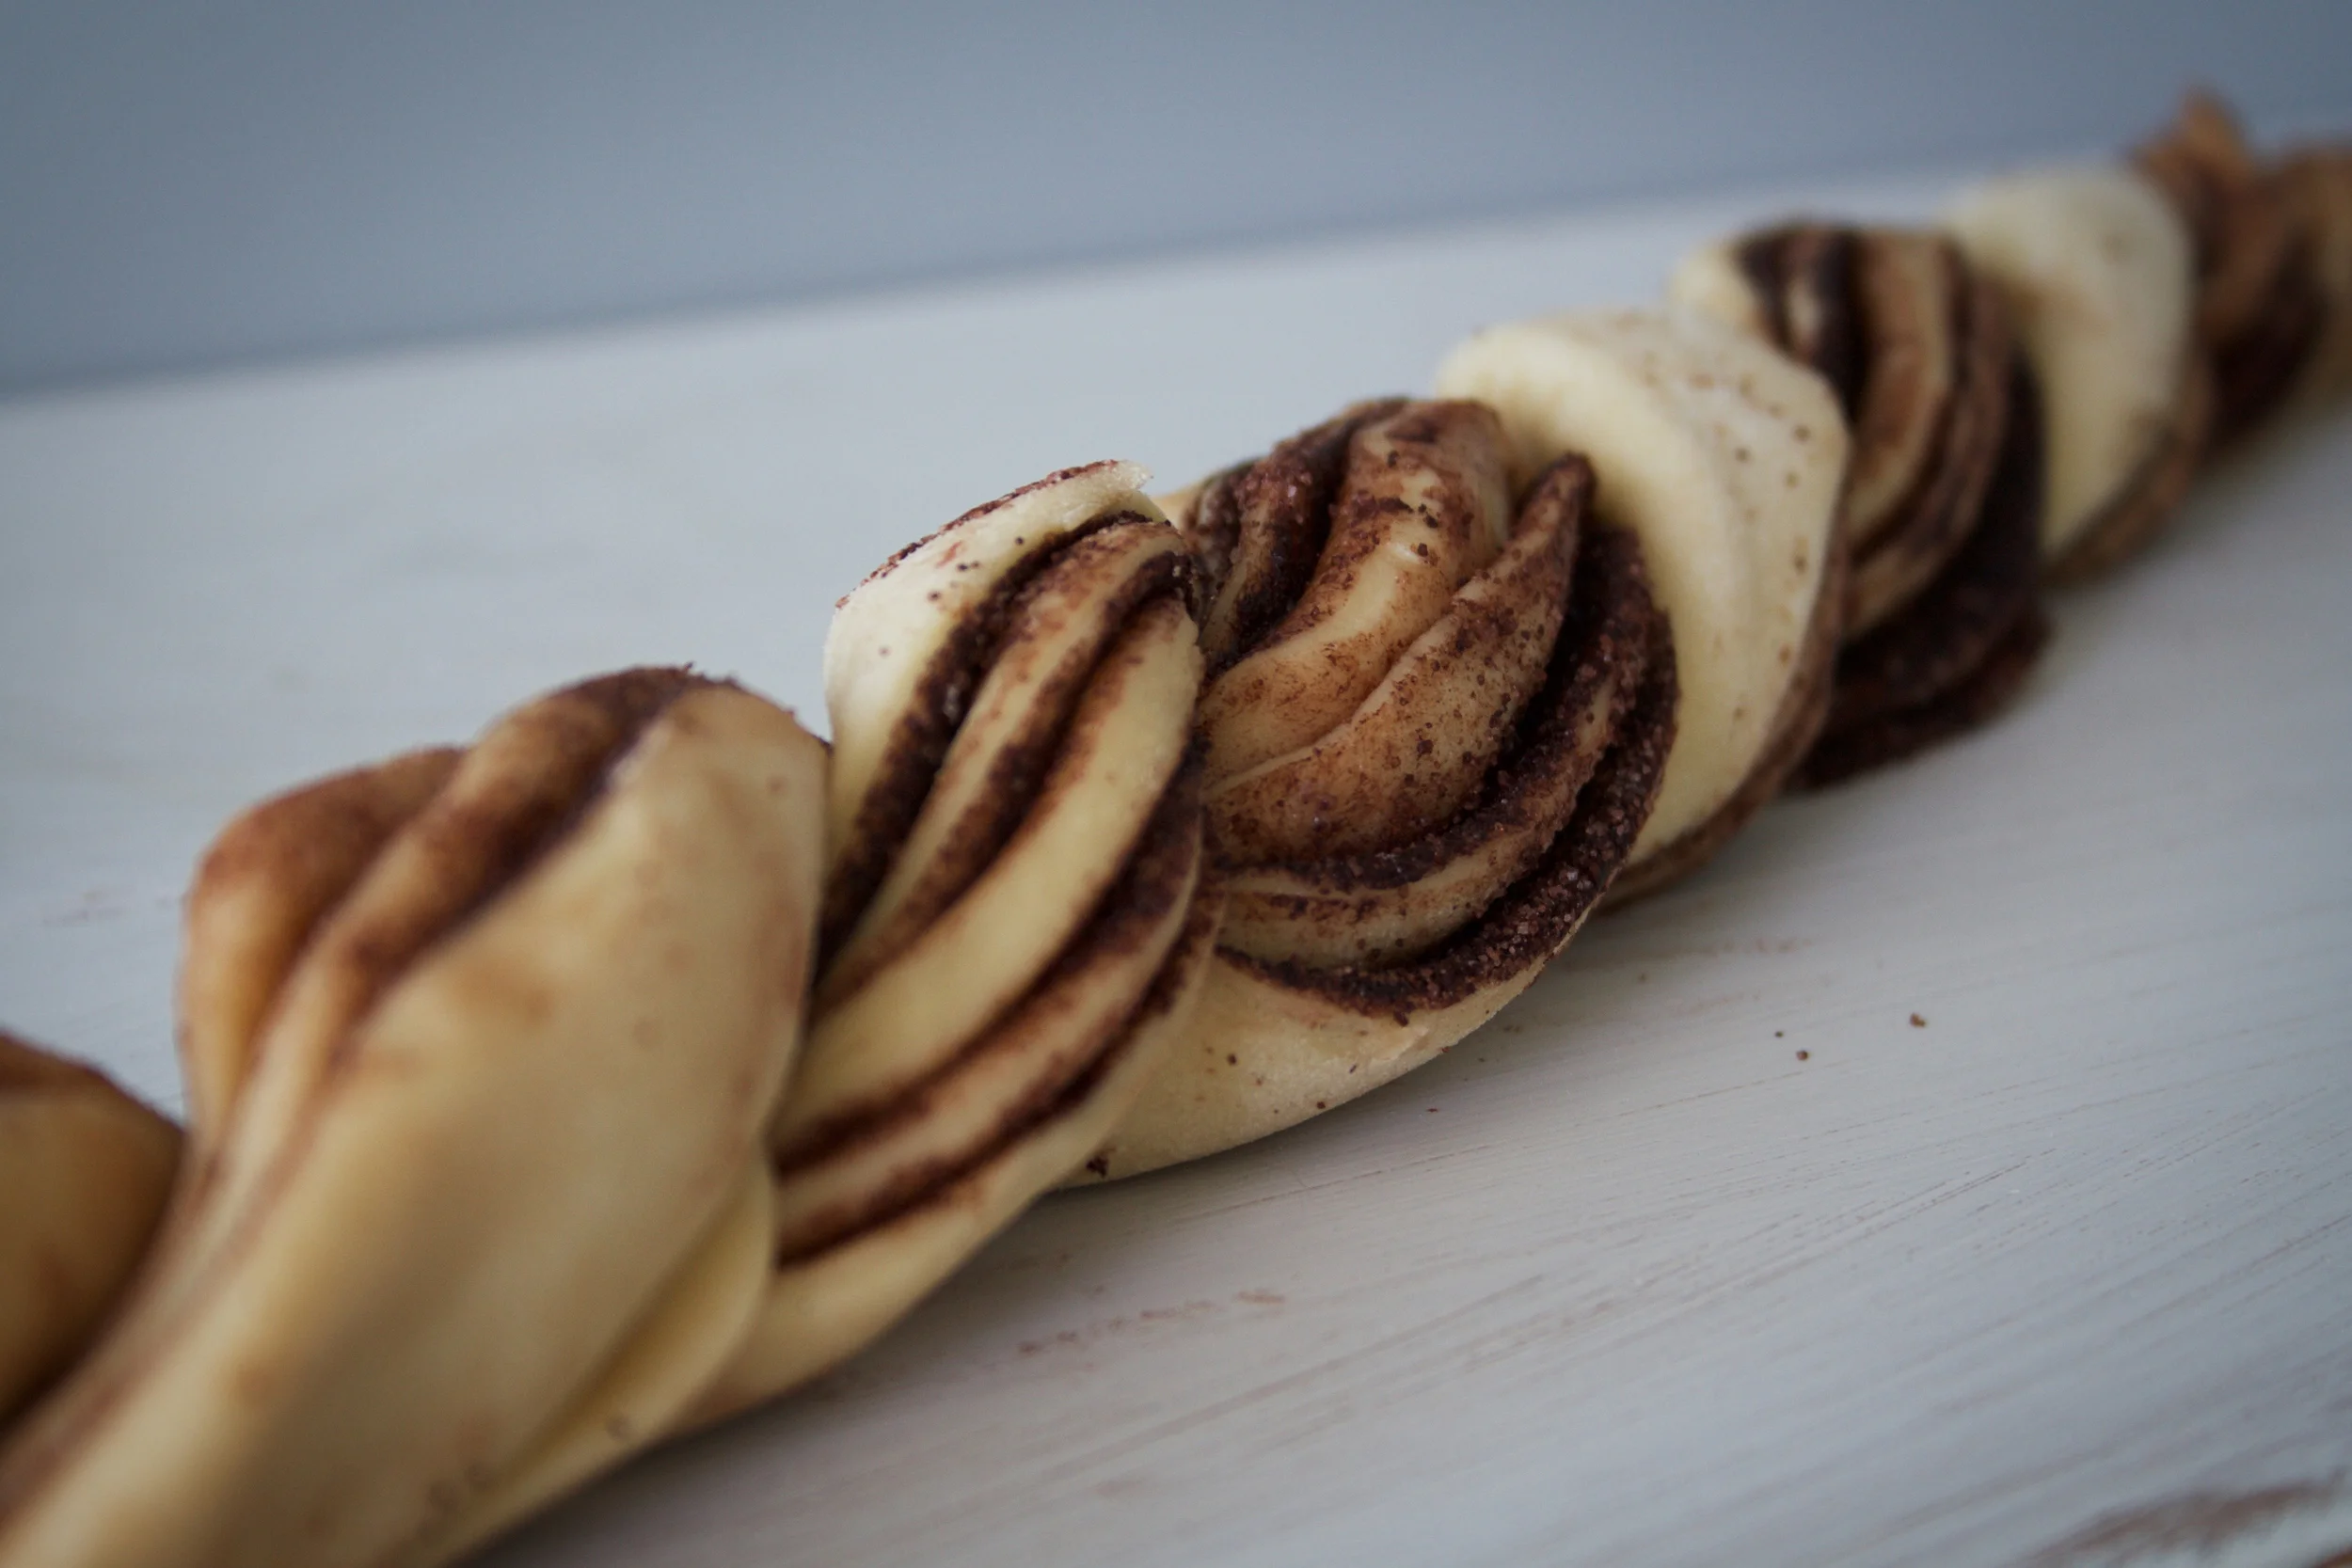
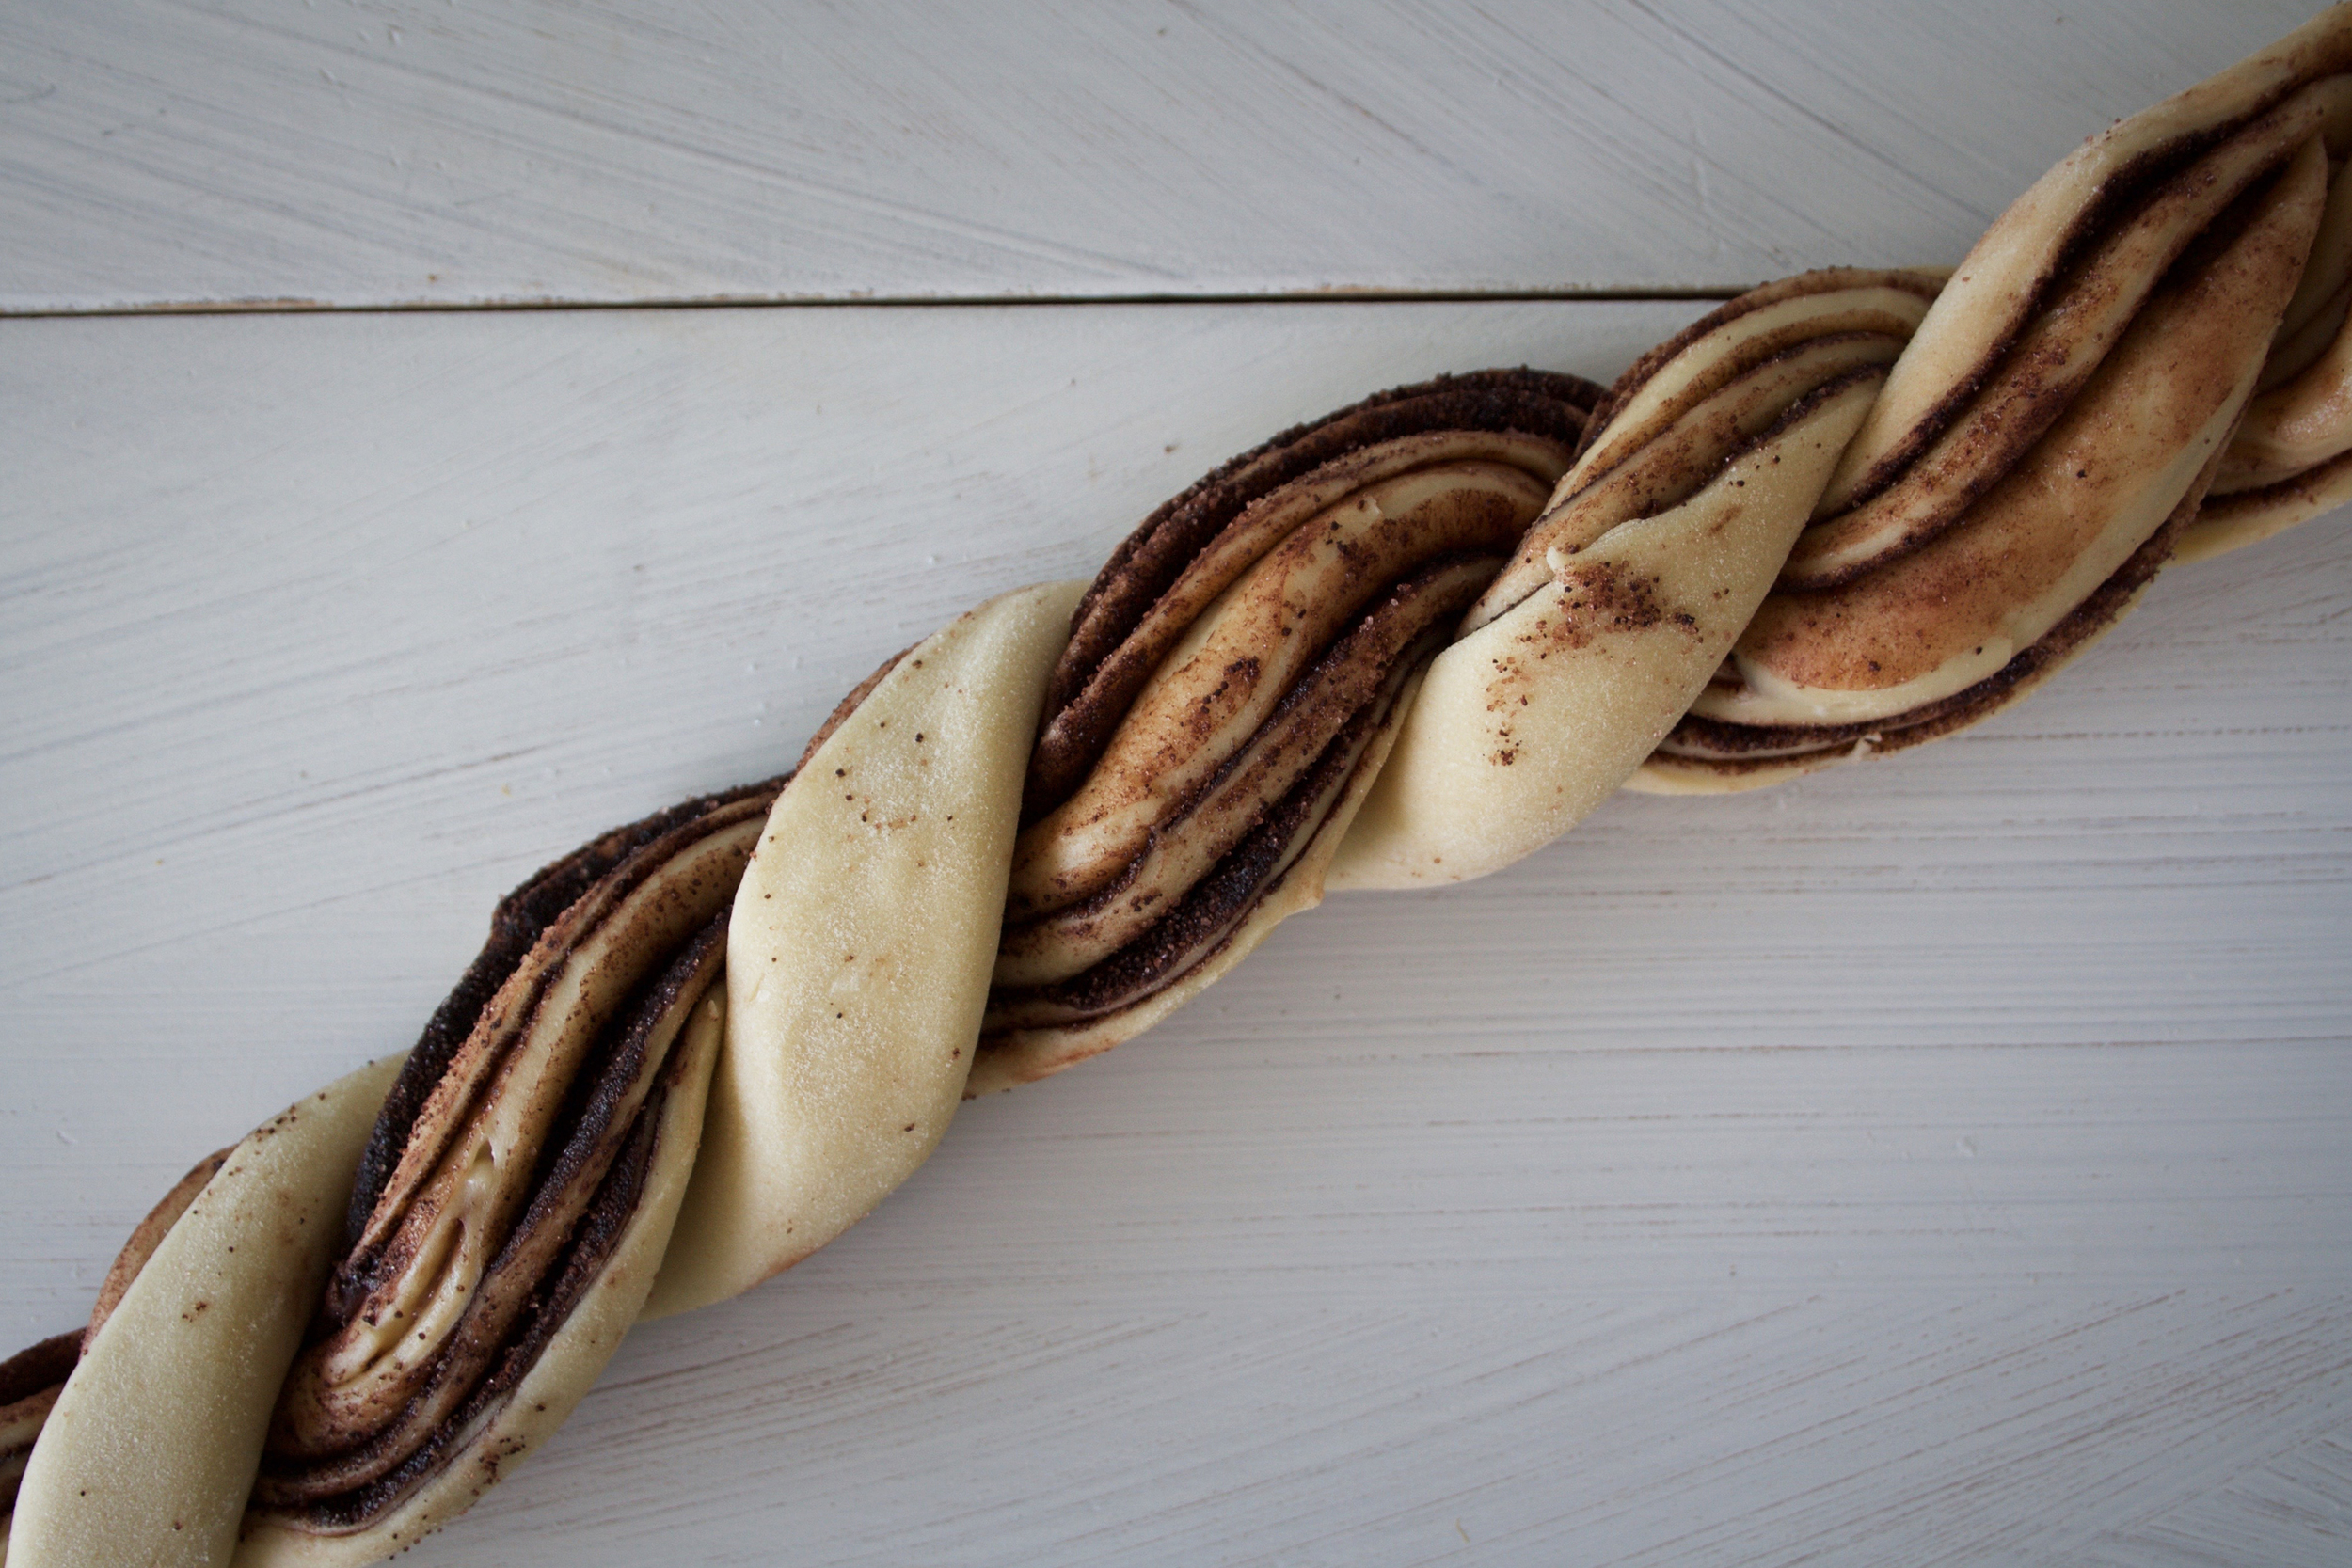
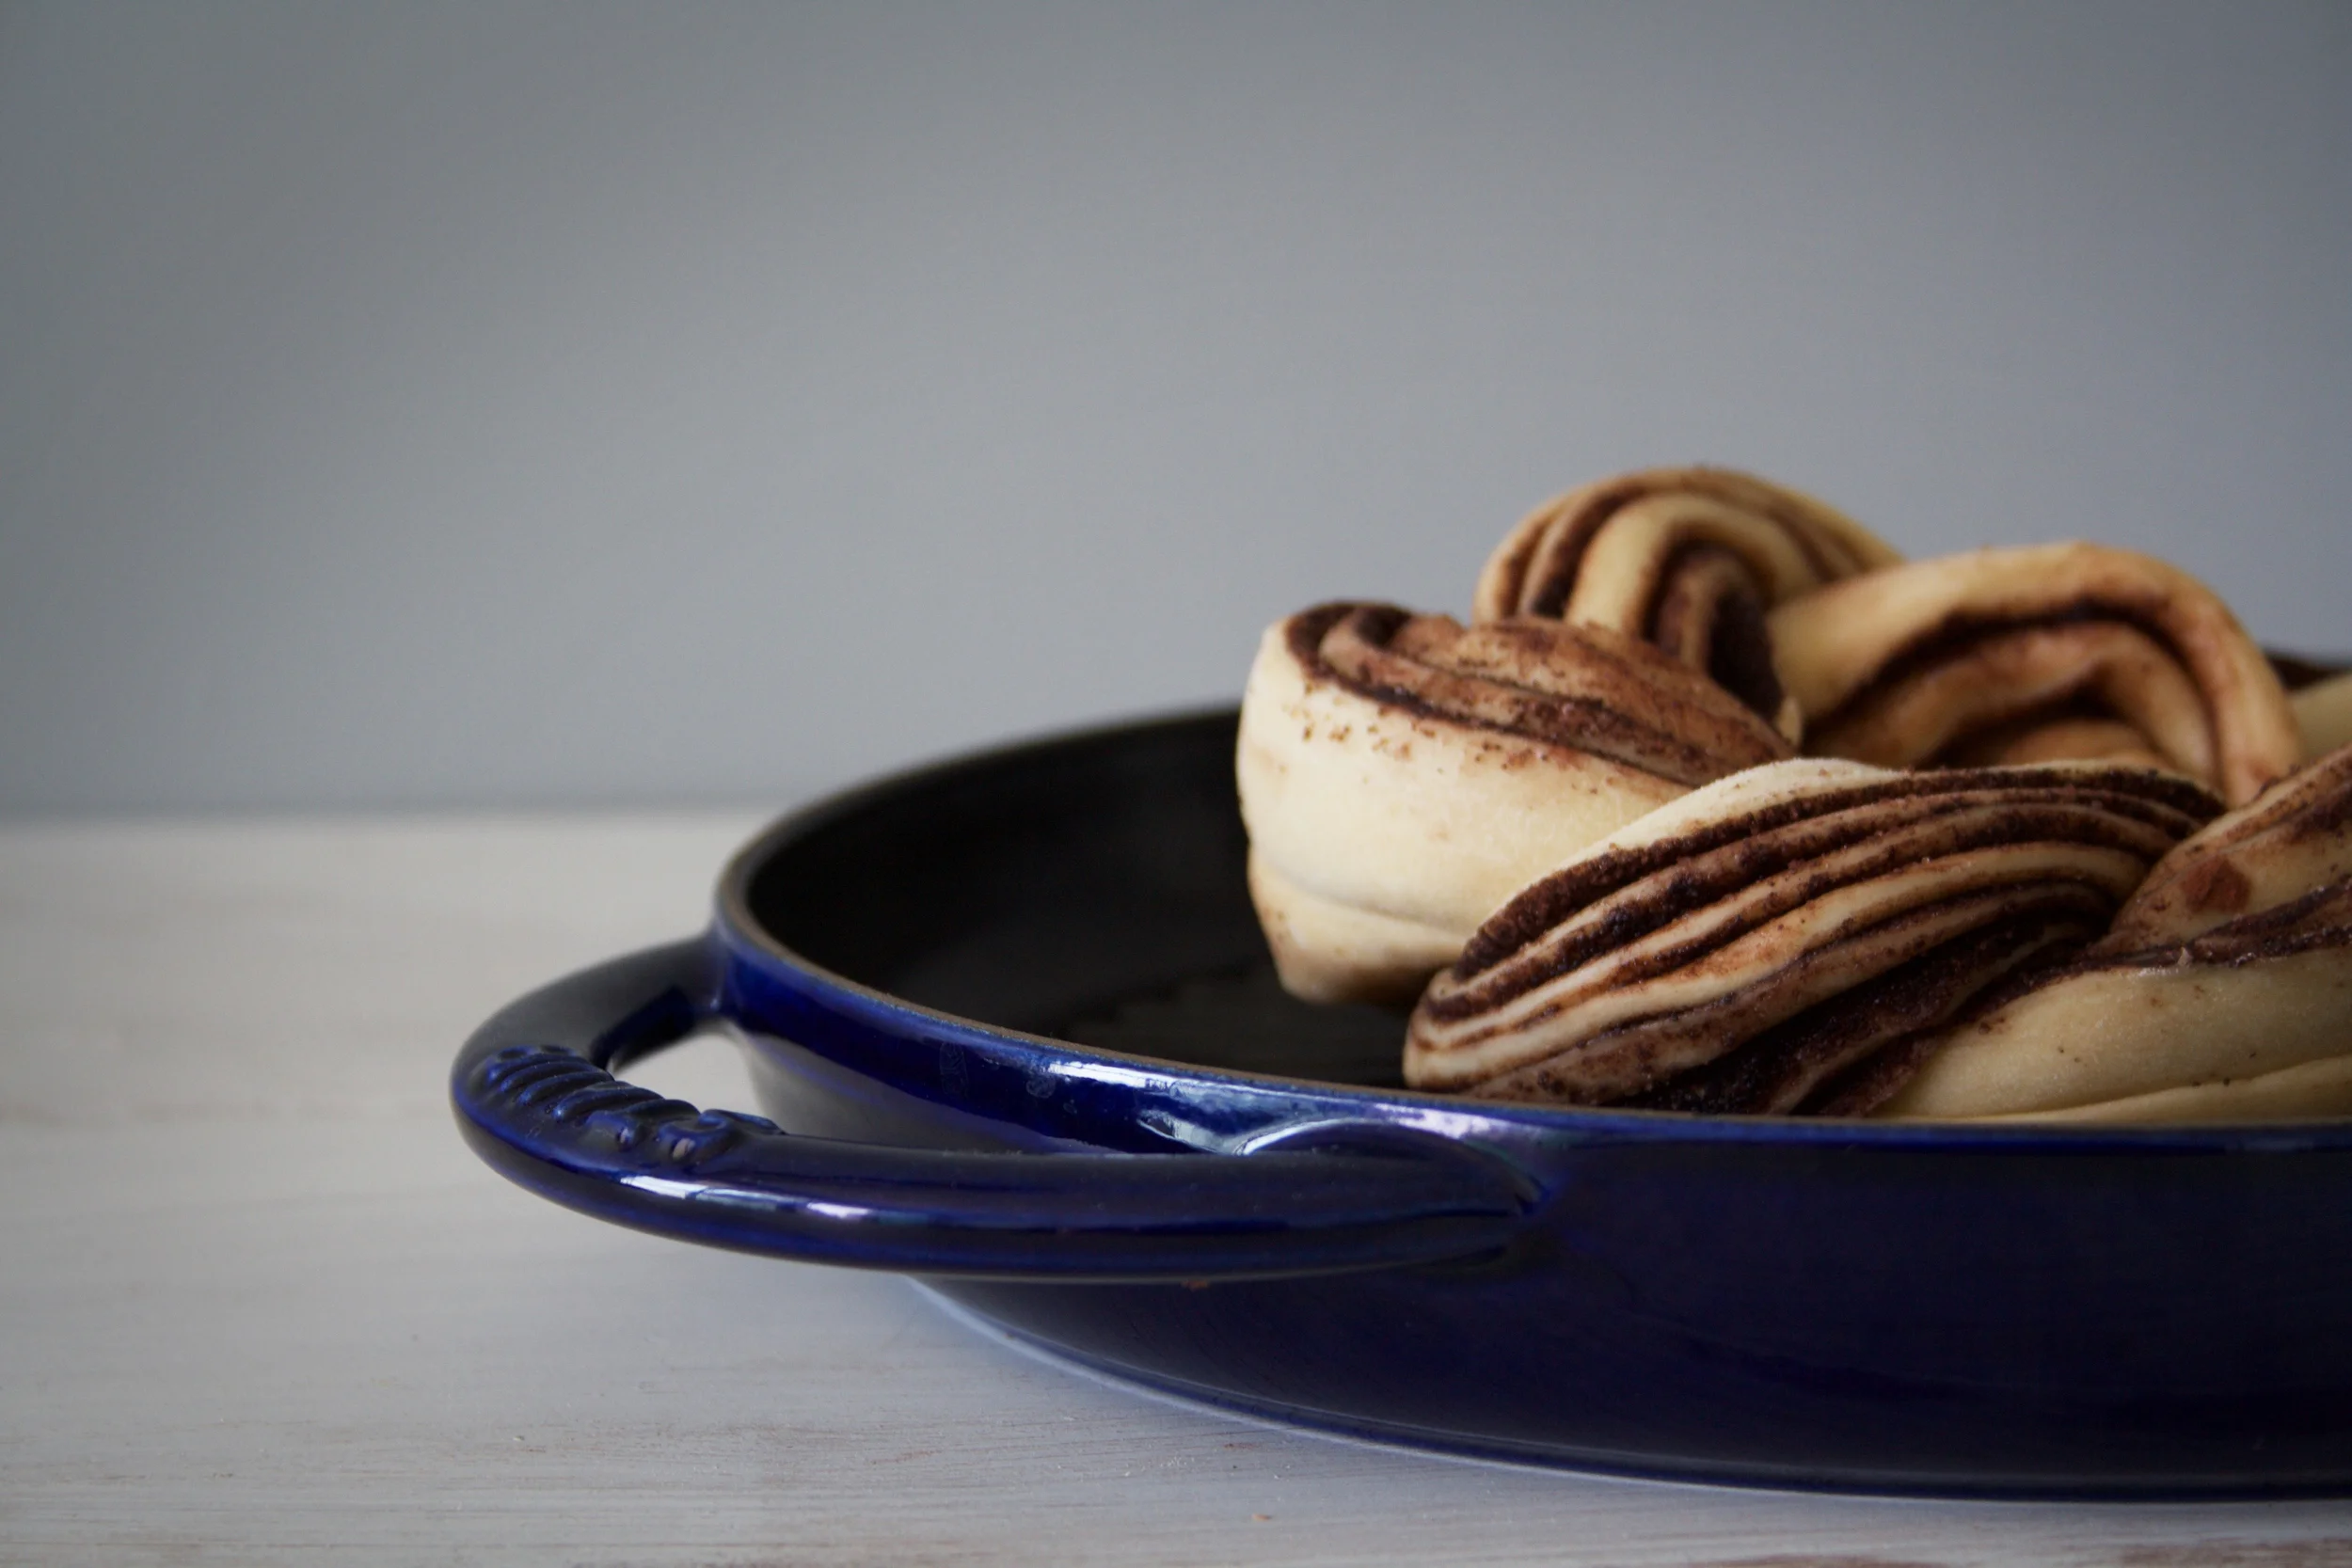
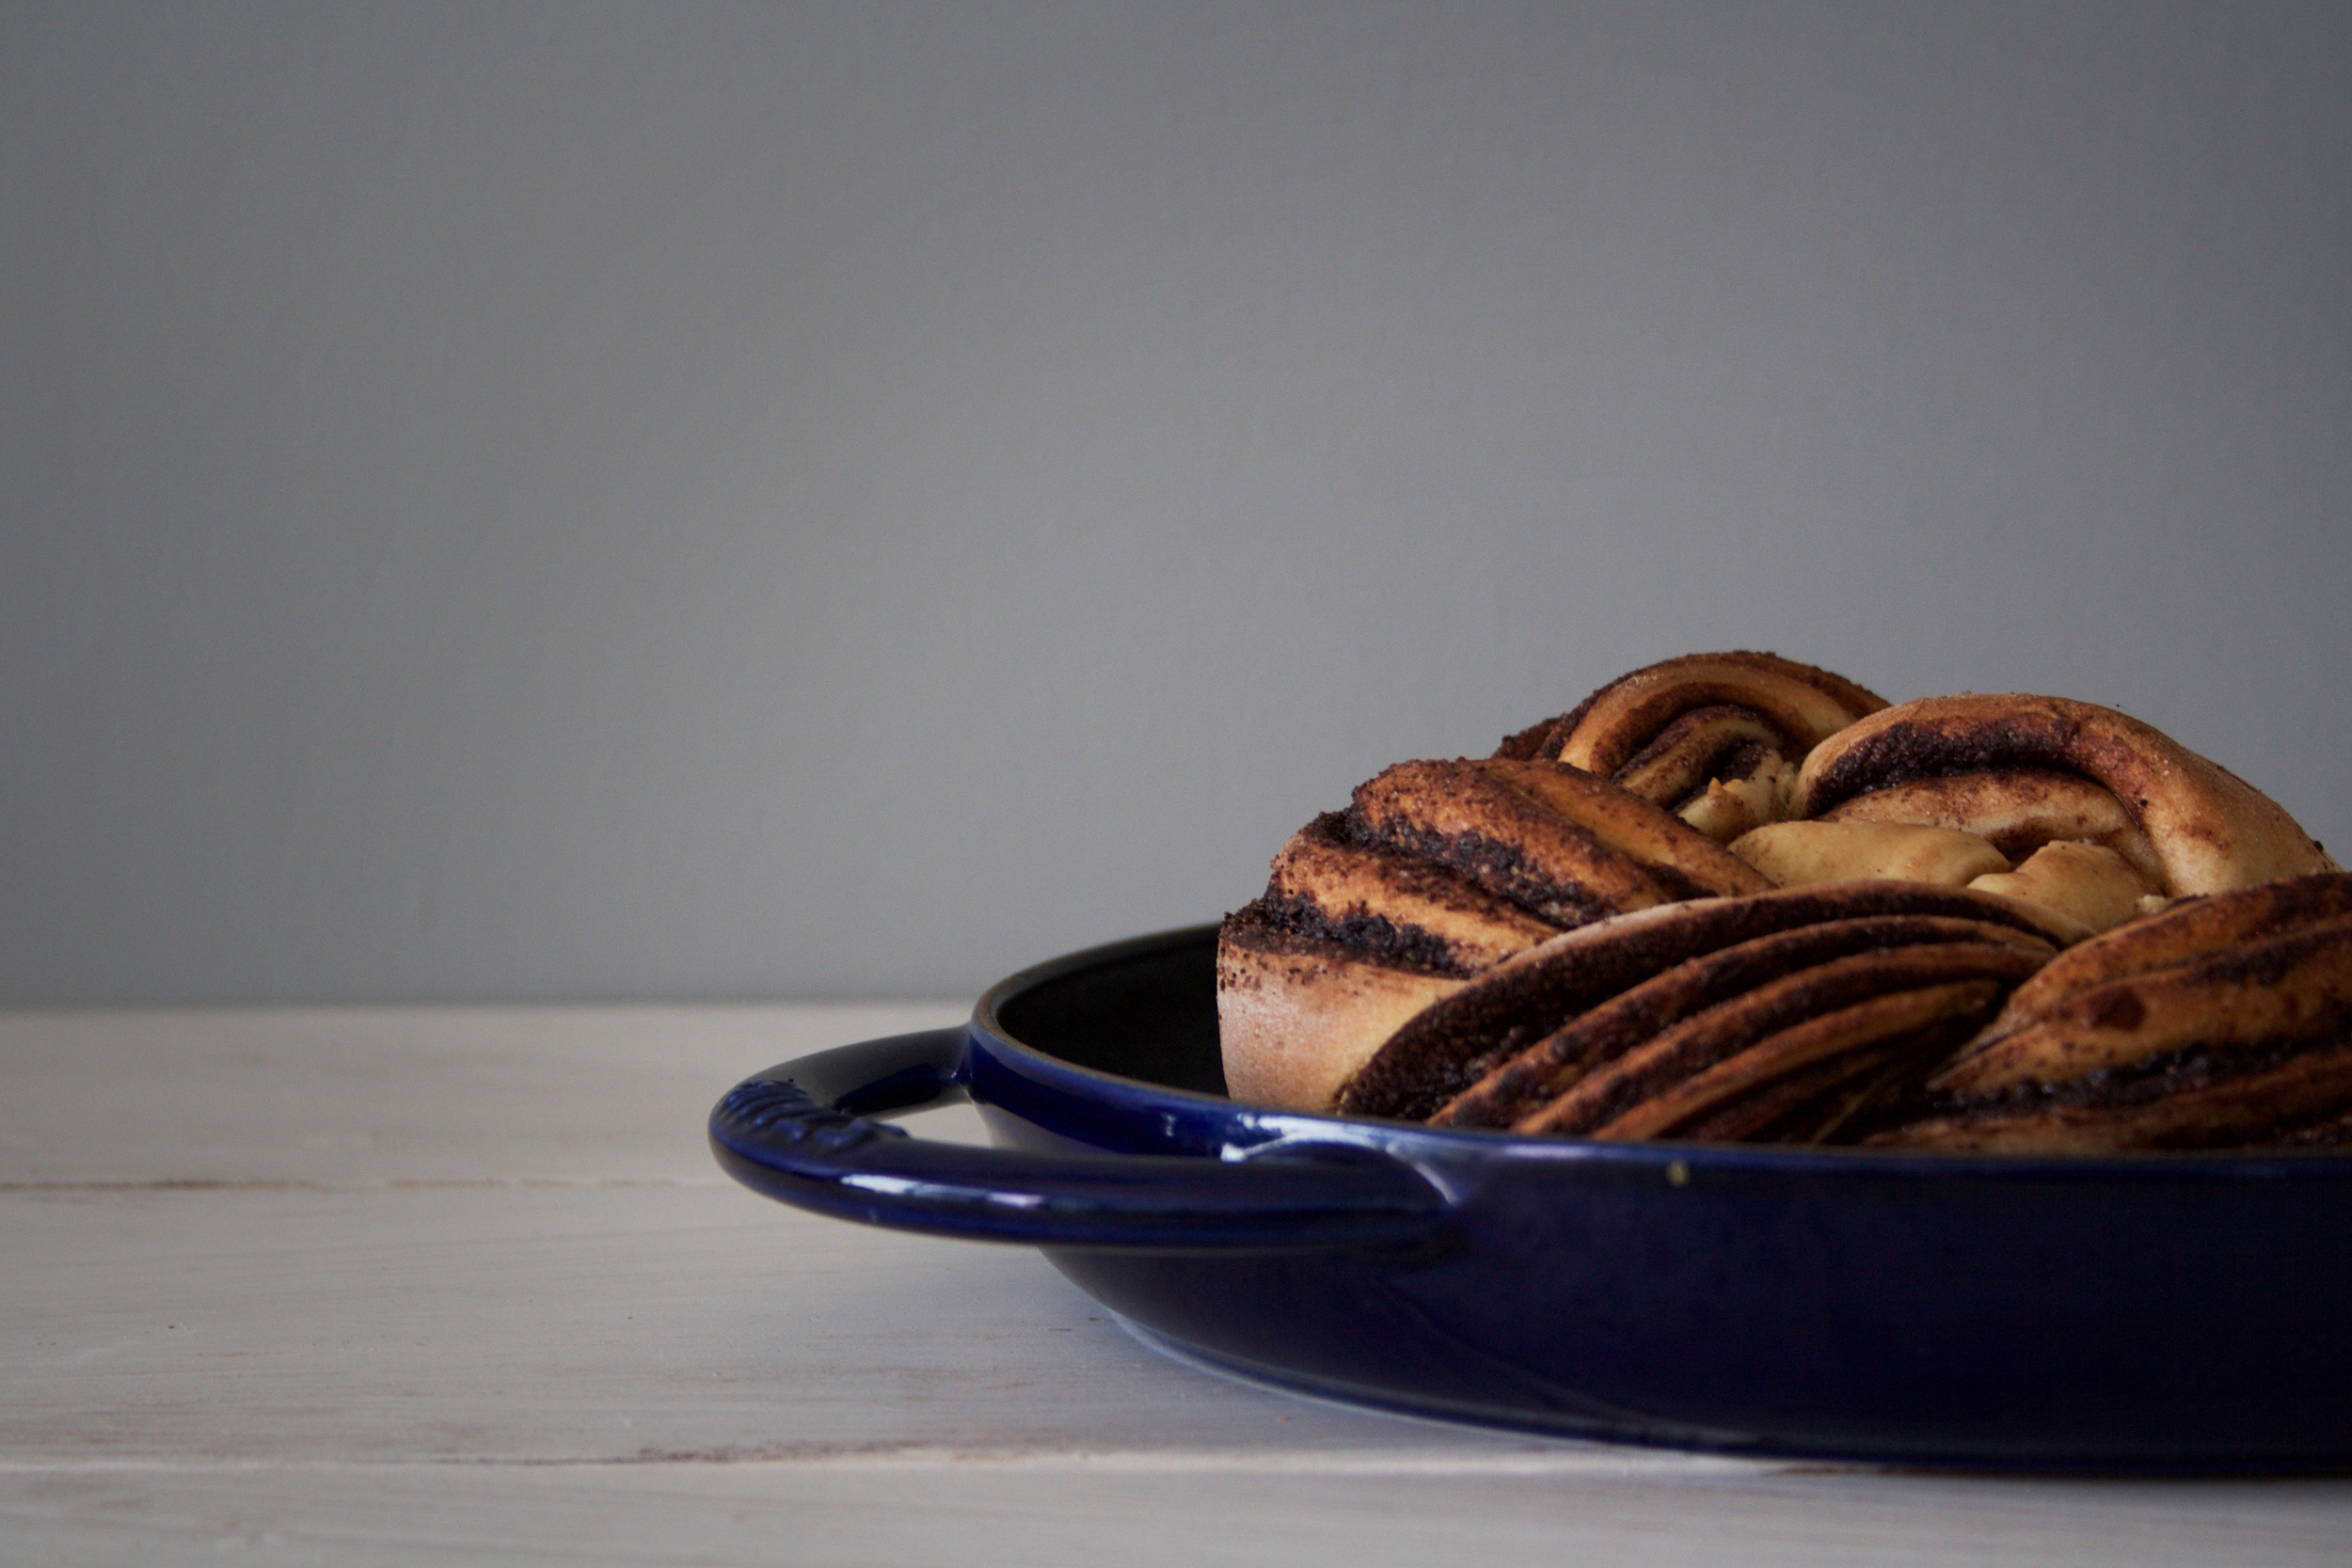
chocolate twist bread? chocolate babka? whatever, it's pretty so here it is! i am writing this from the cottage, where wifi is non existent & cell phone reception is weak.. can't wait to see how much in data i went over (also don't mind the spelling errors about to happen, let's just blame it on auto correct). my week has been spent eating, kayaking and wood working. before heading up north i pre-made a bunch of goodies to pack (& for my blog friends). this babka twist bread is one of them! it has been adapted from pastry affair & it is delicious. it looks ten times harder then it actually is, but if you can make a cinnamon bun you can make these. if you can't make a cinnamon bun well.... ok back to the dock!

LEVEL: somewhat modest

ingredients

for the dough

  • 1/2 cup milk
  • 3 tablespoons butter, melted
  • 2 1/4 cup all purpose flour
  • 1/4 cup granulated sugar
  • 1 egg
  • 1 1/2 teaspoon instant yeast
  • 1 teaspoon vanilla
  • pinch of sea salt

for the filling

  • 1/4 cup butter
  • 1.5 tablespoons dutch cocoa powder
  • 1/2 cup sugar
  • alternative option: shaved chocolate

directions

  • for the bread: melt butter & mix with warm milk. add sugar, egg, yeast, vanilla & salt.
  • with a stand mixer using the dough hook add the flour 1 cup at a time until dough comes together.
  • knead dough for 5 minutes, until it becomes smooth & elastic.
  • form dough into a ball & let rest (covered) for a couple hours or until dough doubles in size.
  • for the filling: melt butter, cocoa powder, sugar & vanilla together in a bowl until well combined.
  • roll out dough to a .5 cm thin rectangle (this process is similar to making cinnamon buns).
  • spread filling evenly & tightly roll the dough.
  • slice the roll in half length wise (it won't fall apart, i promise) so all the layers are visible.
  • twist the two halves together & pinch in the ends.
  • shape into a round cast iron pan & let rise again as you preheat the oven to 350 degrees.
  • bake for approximately 30 minutes, until the dough is cooled throughout.
PEANUT BUTTER SWIRL BROWNIES


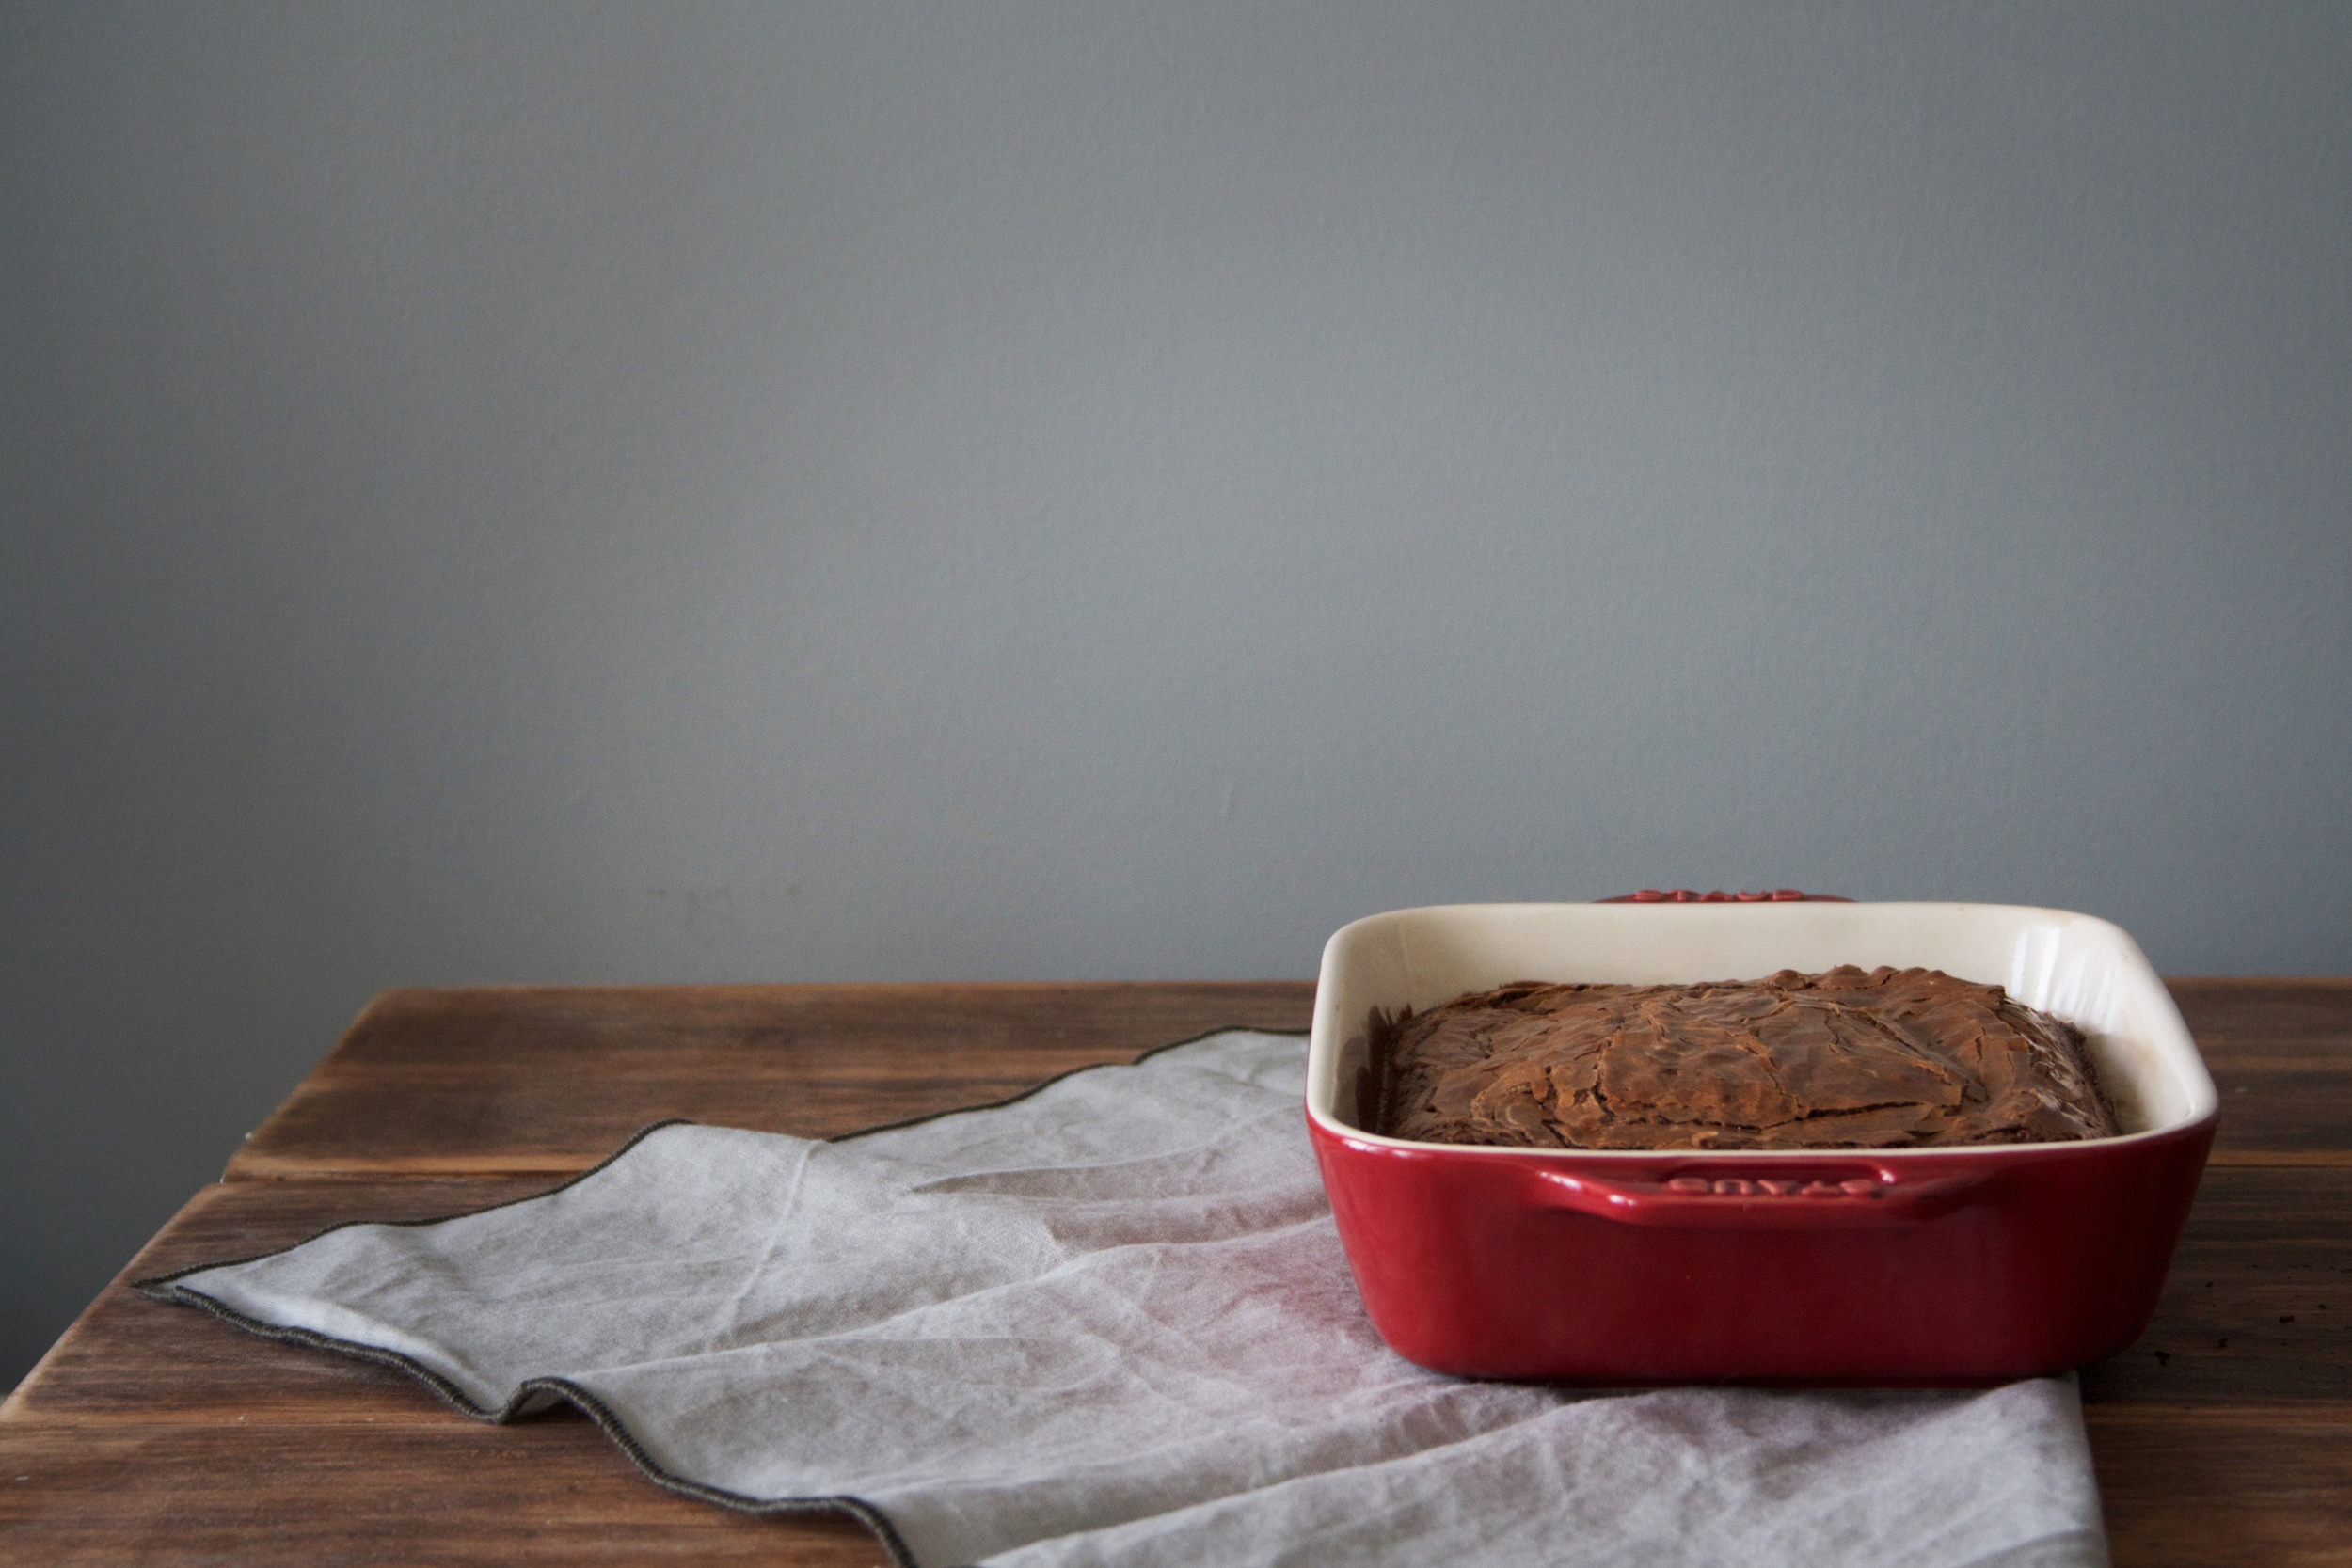
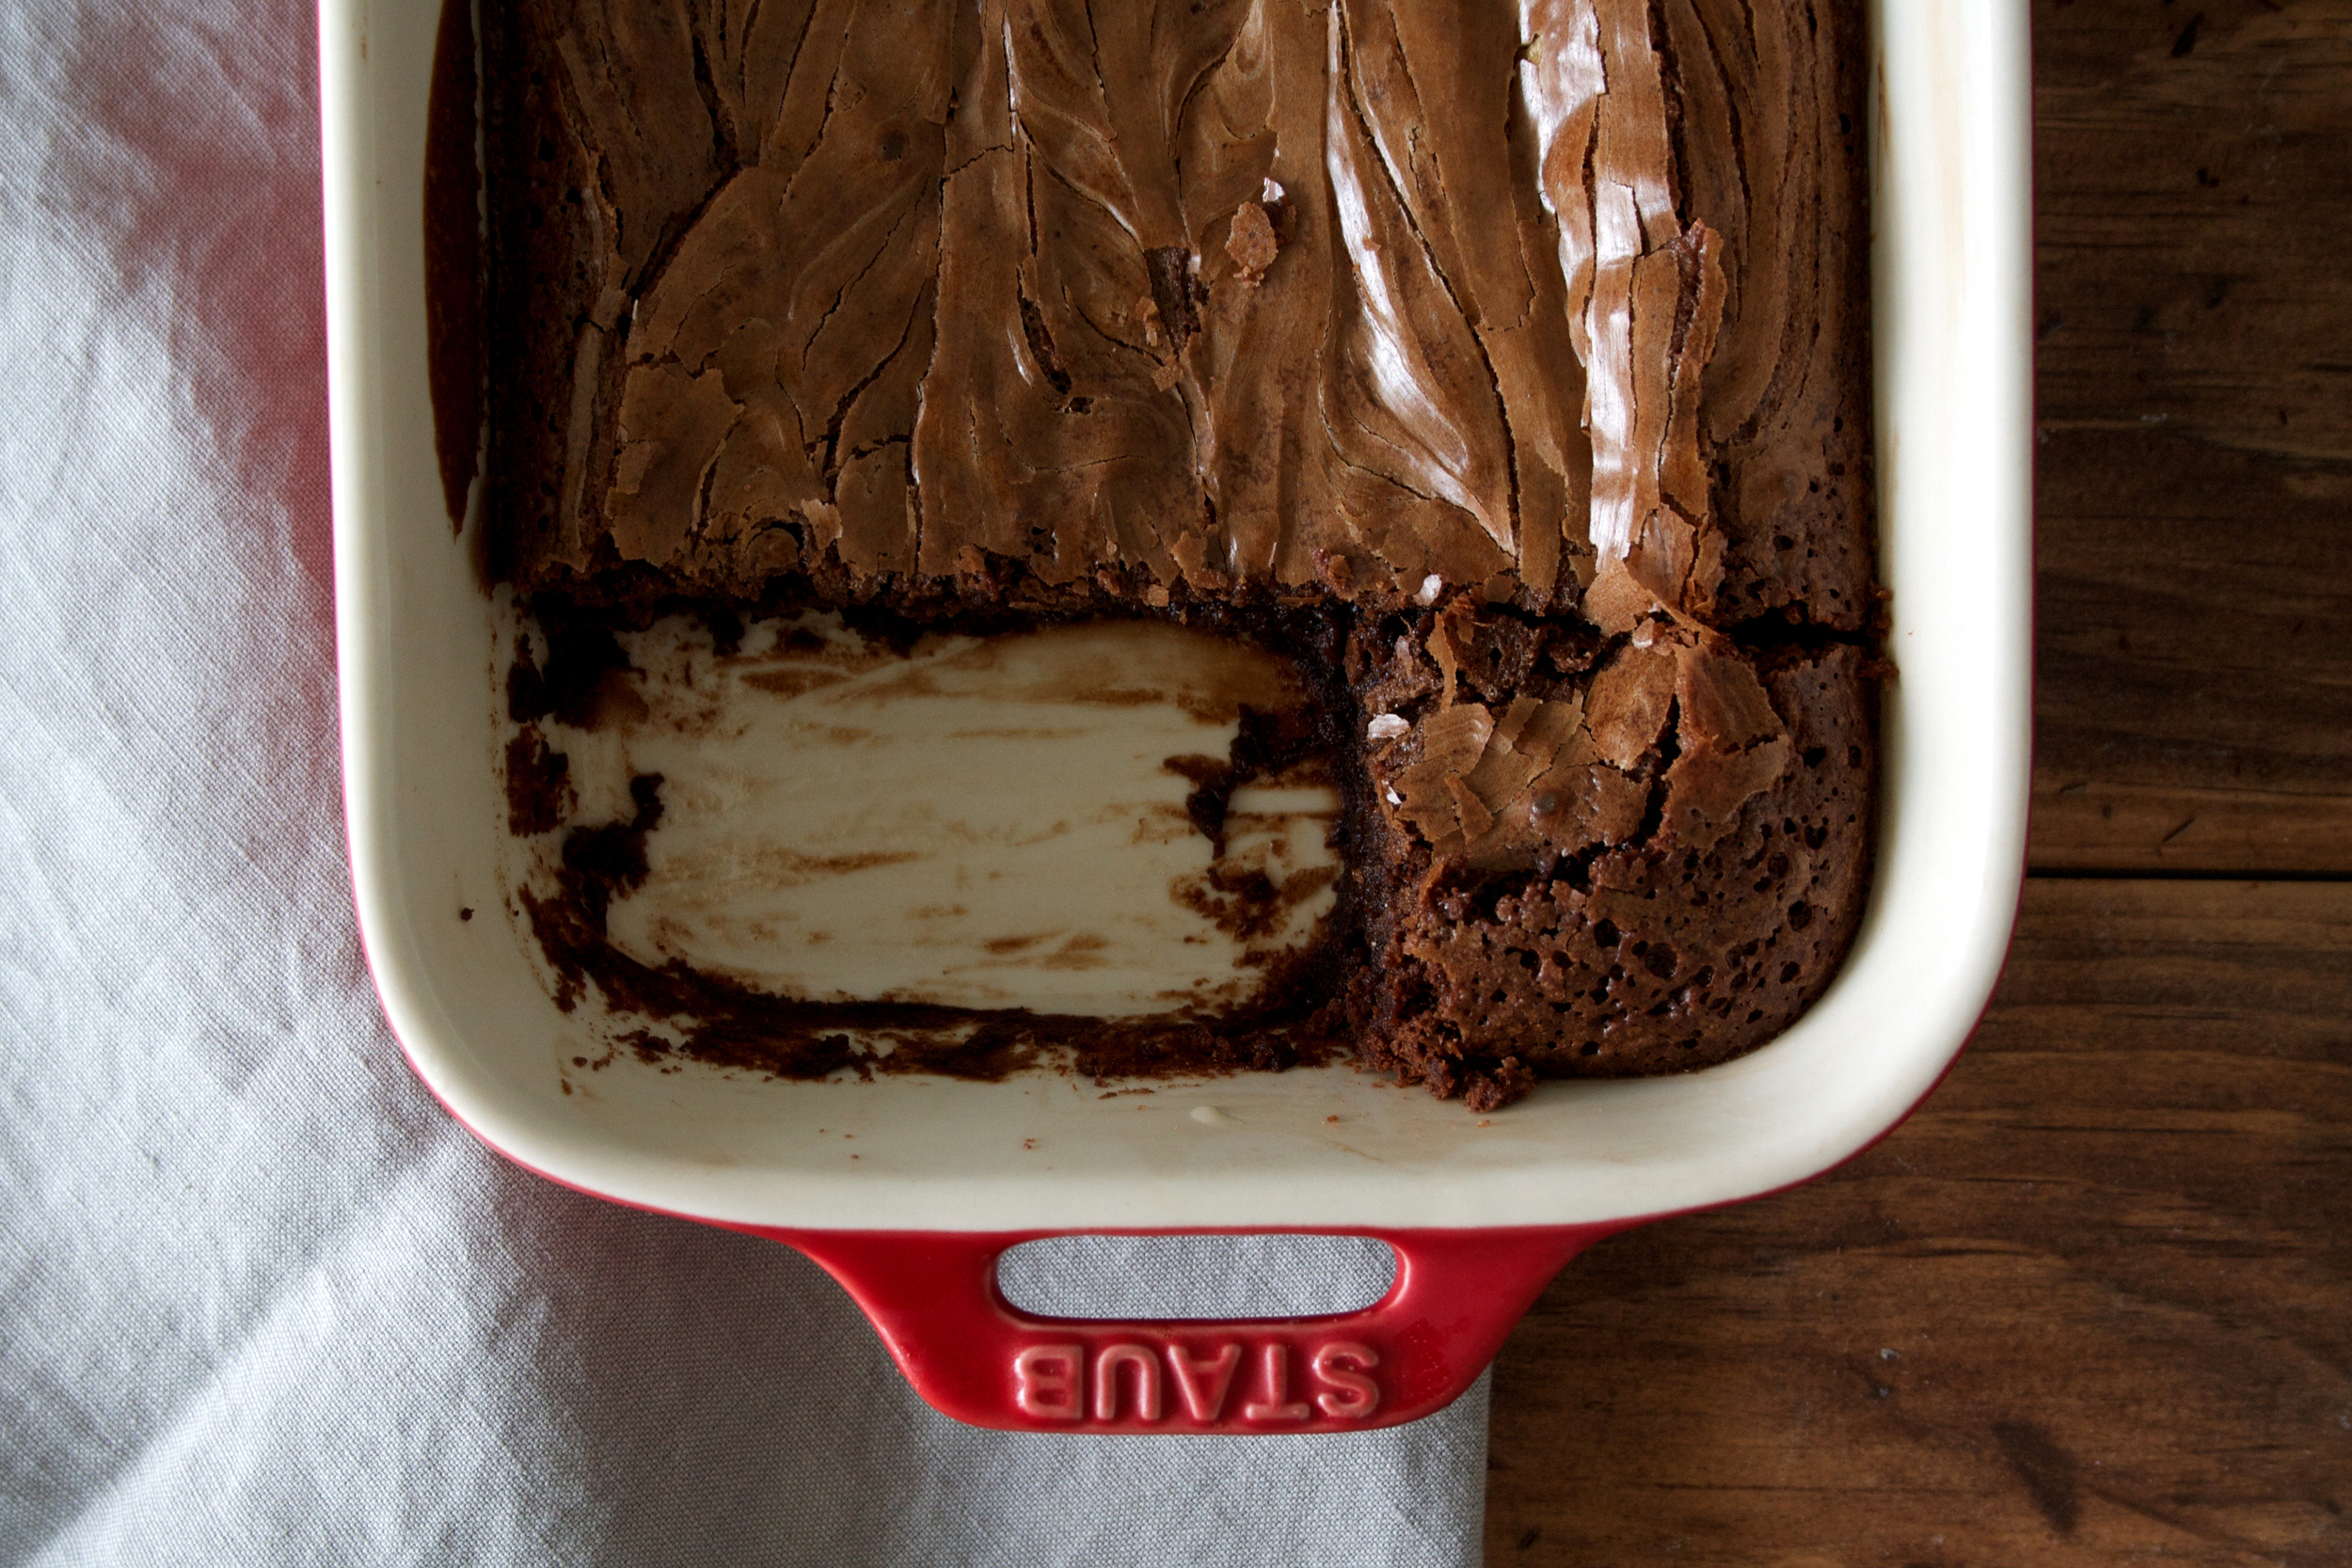
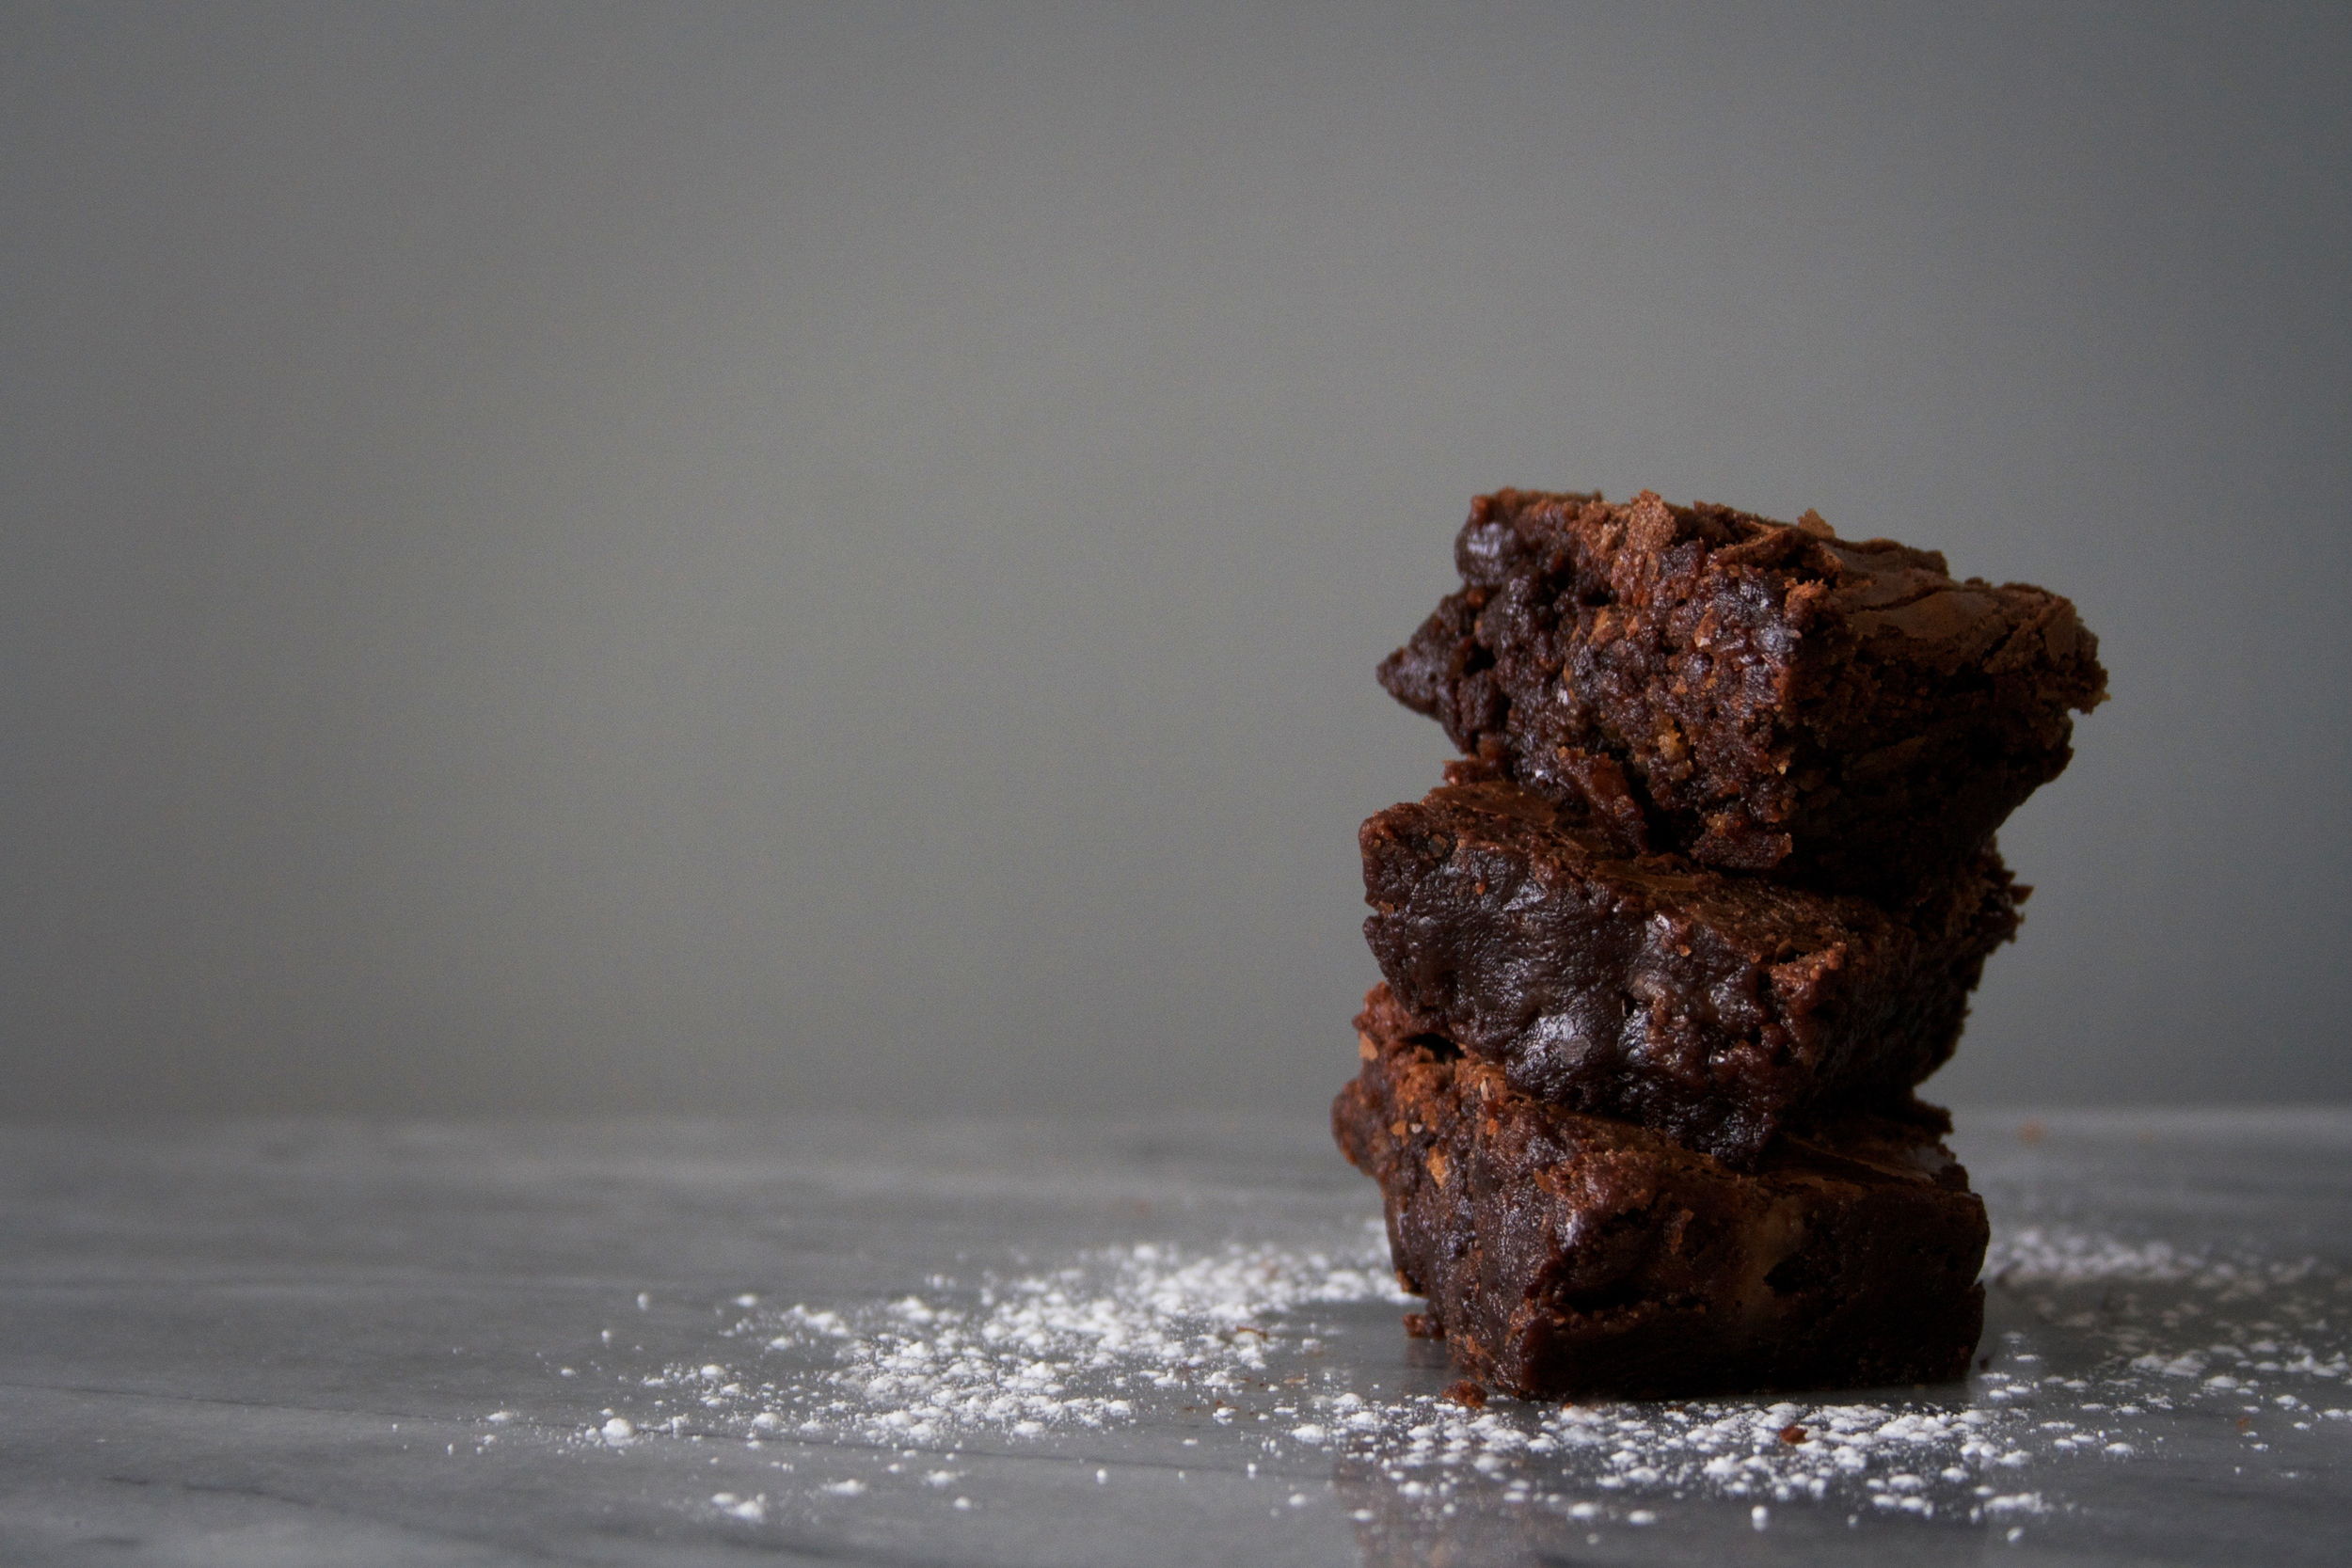
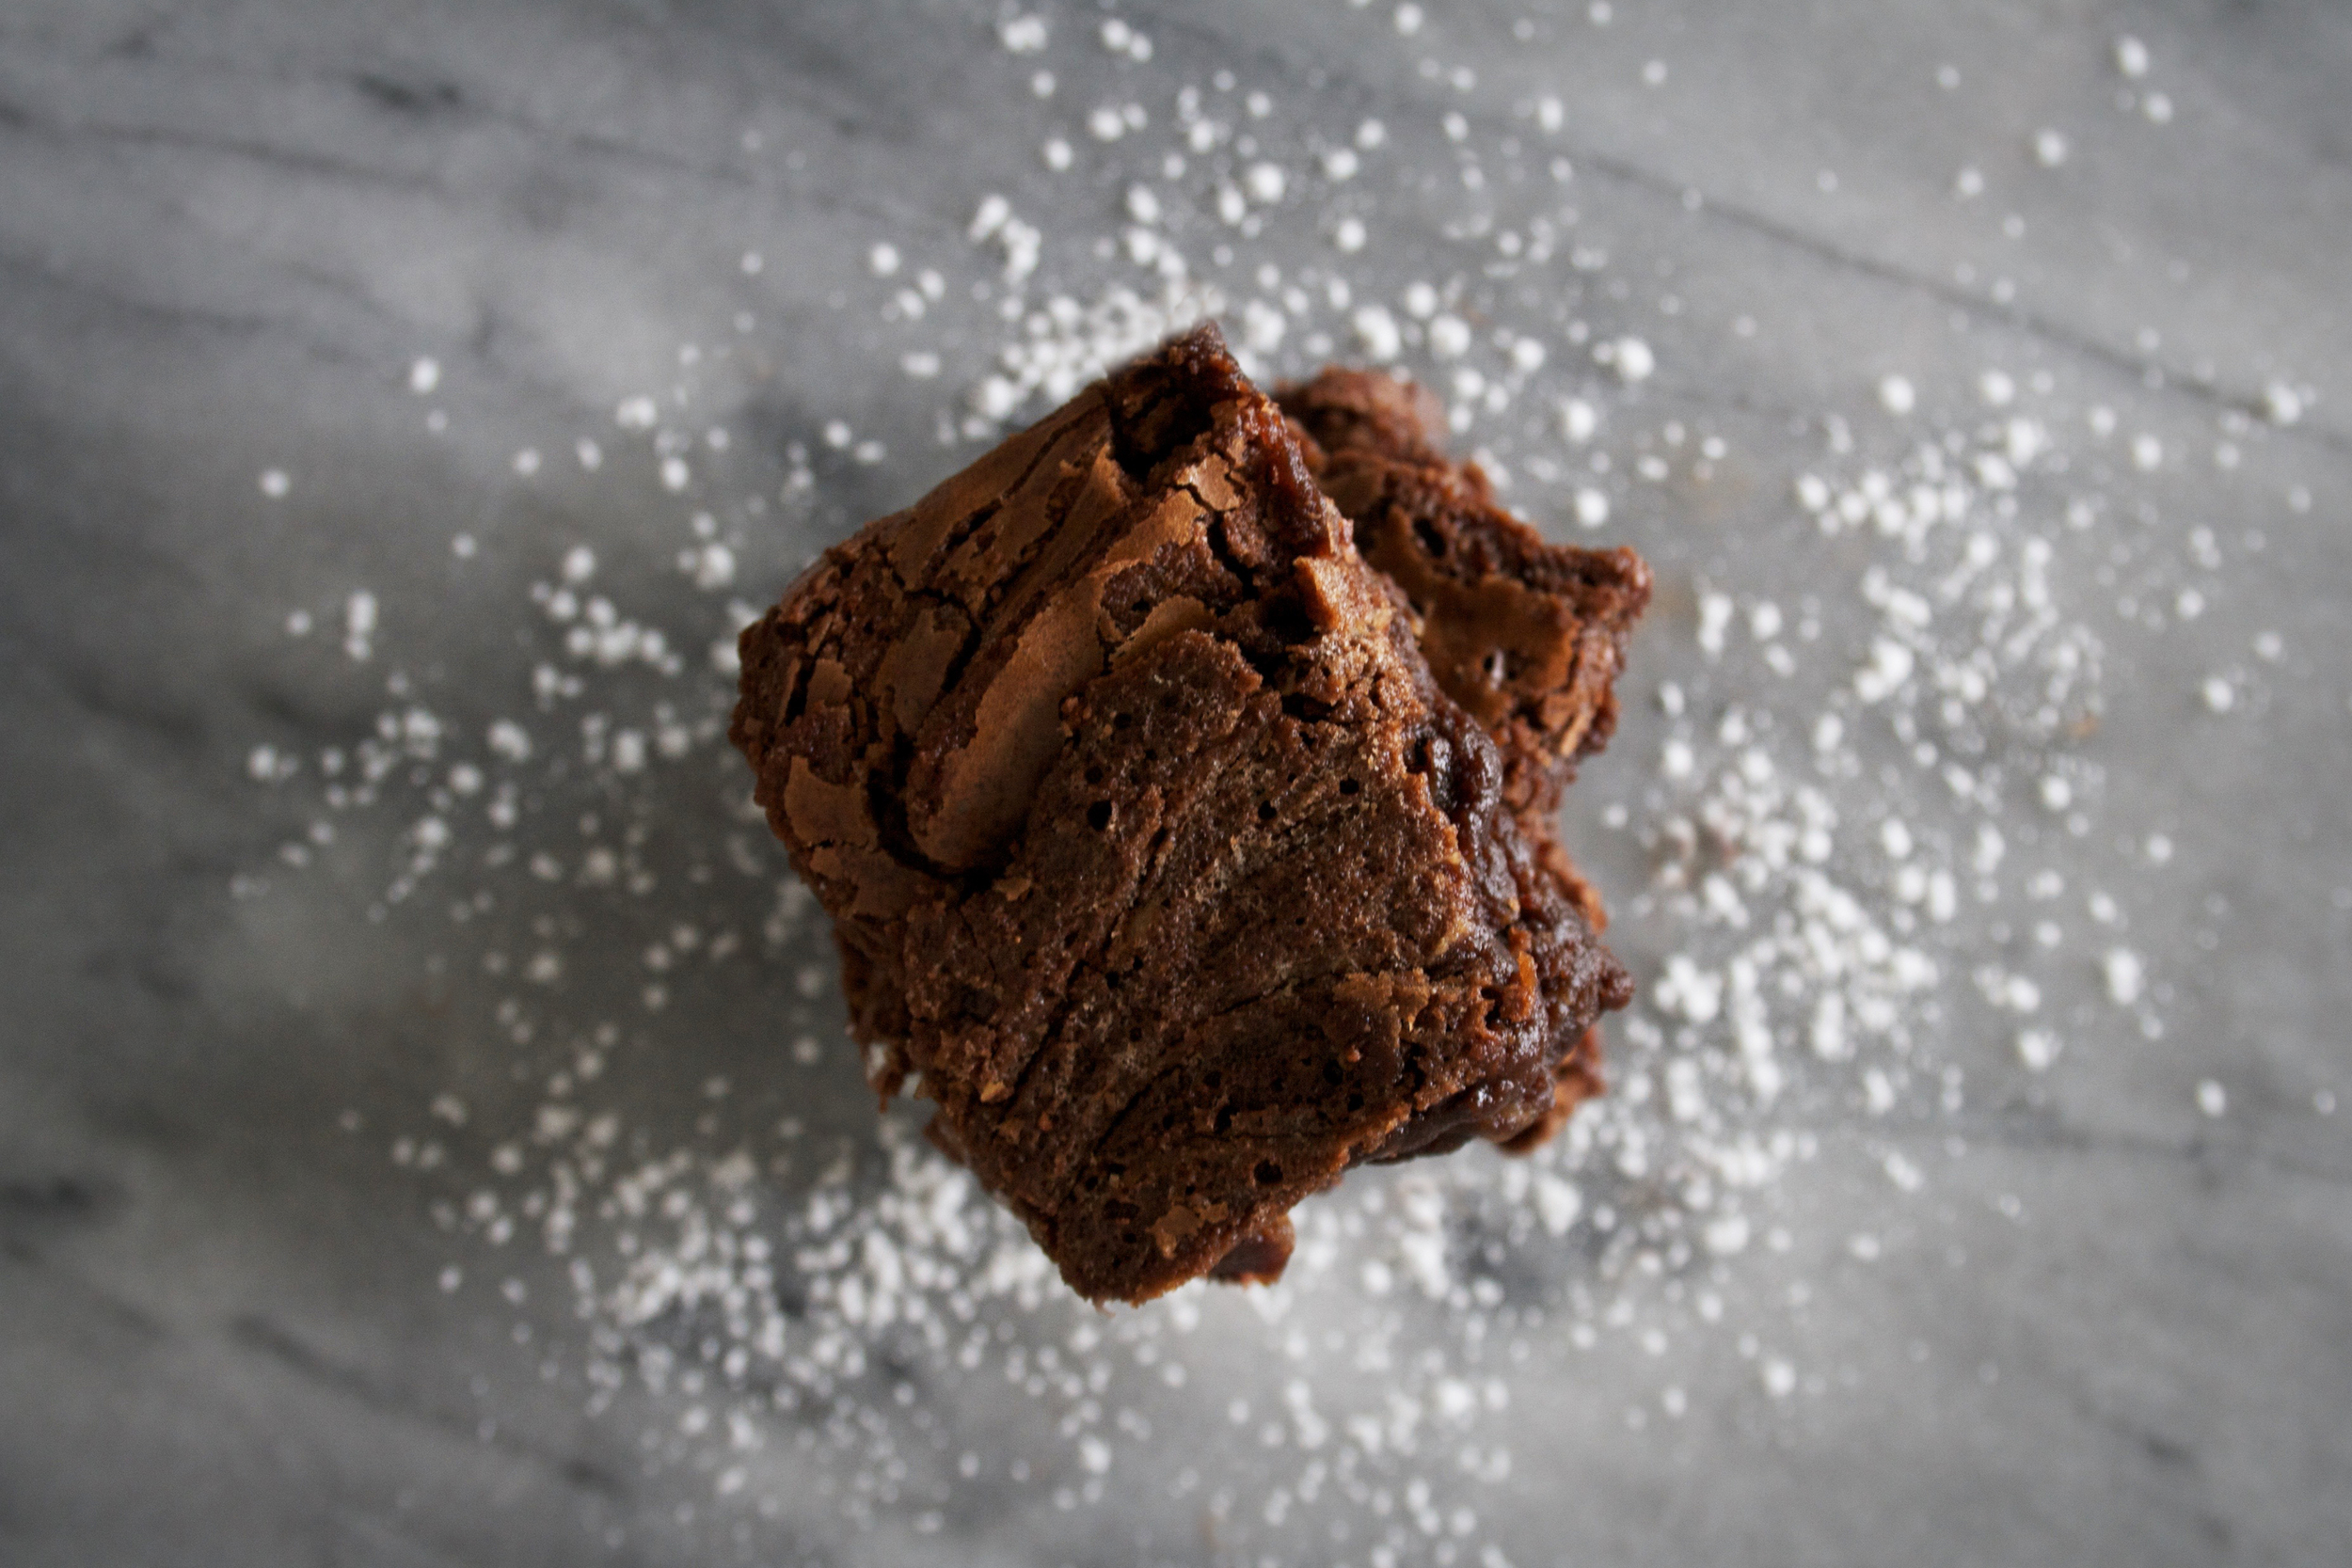
has anyone ever waited long enough to properly let brownies cool & slice them?!?!?! seriously though, i envy you & the amount of will power you hold. every single time i make brownies i tell myself i won’t touch them until they are completely set & cooled.. and as you can see by my final photos, today was not that day. ok, rant OVER. these brownies are super fudgy & super chocolatey (so chocolatey that i made up the word chocolatey to describe them). i did a peanut butter swirl because the combination of chocolate & peanut butter, which i hated as a child, has really grown on me. i can’t wait to have these brownies warmed up & topped with a giant scoop of vanilla ice cream this weekend. happy friday! get baking.

LEVEL: very modest

ingredients

  • 1/2 cup unsalted butter
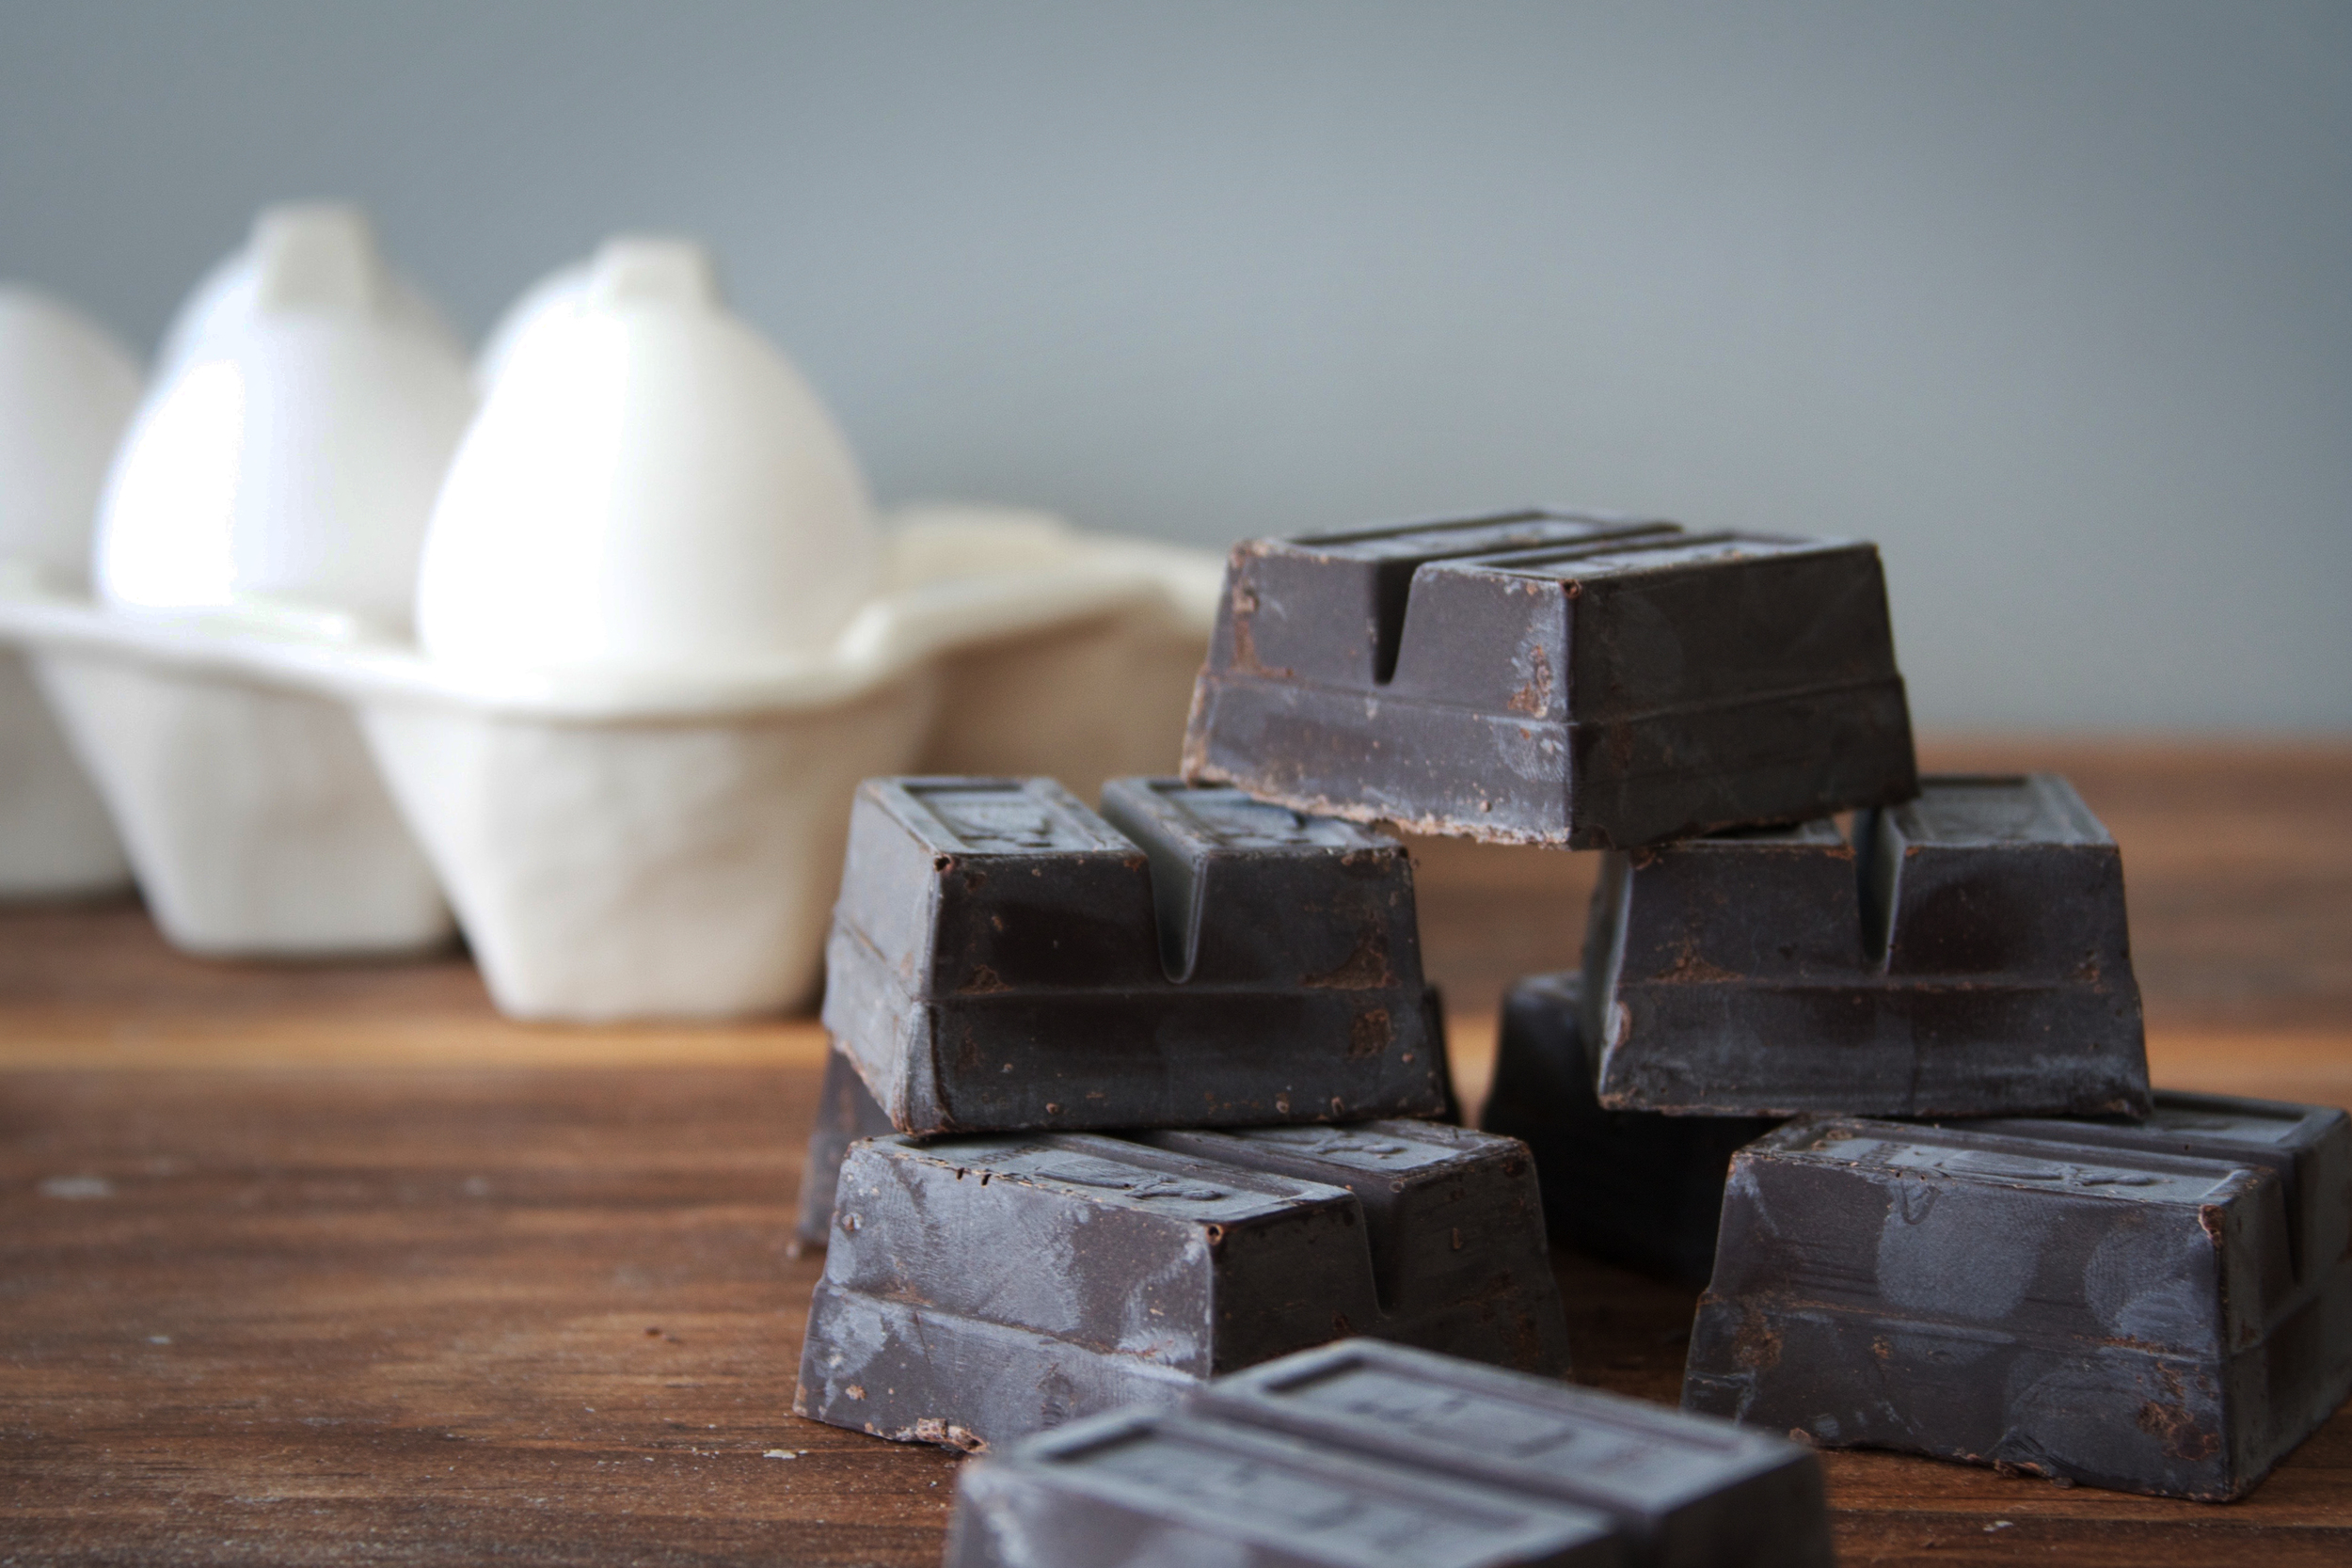
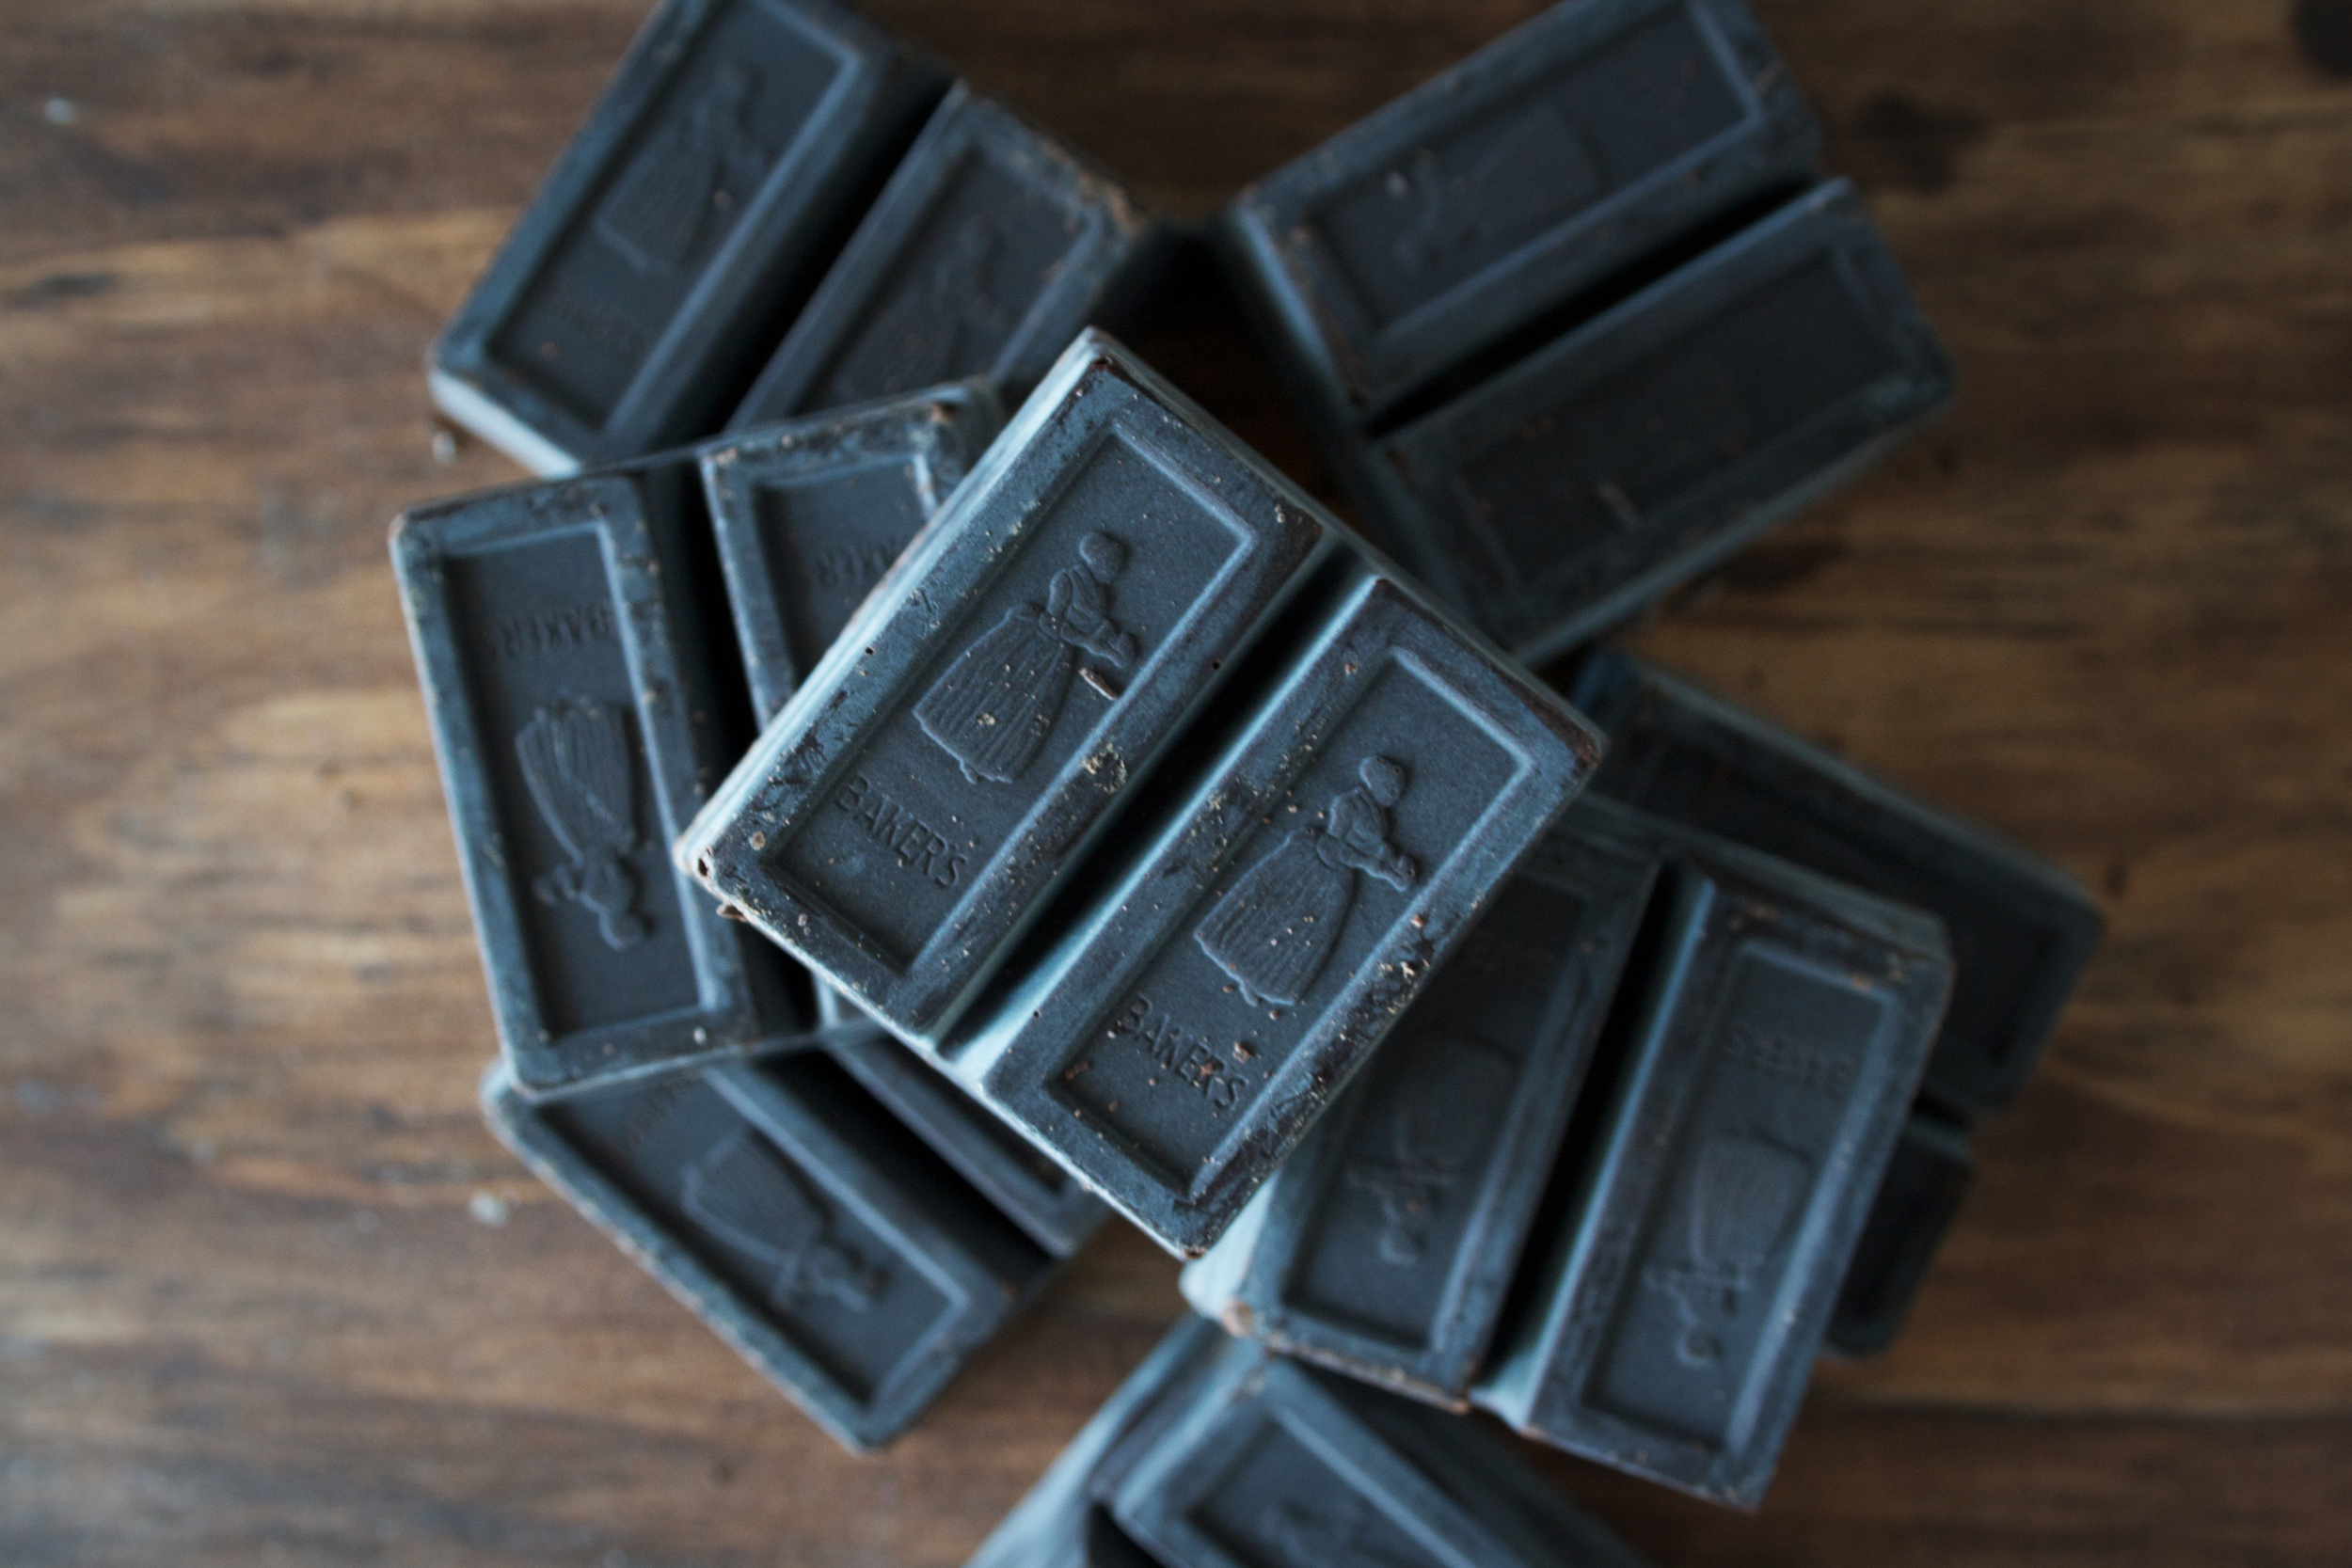
  • 2 squares unsweetened bakers chocolate
  • 1 cup white sugar
  • 2 eggs
  • 1 teaspoon vanilla
  • 1 tablespoon espresso
  • 1/4 cup all-purpose flour
  • pinch of salt
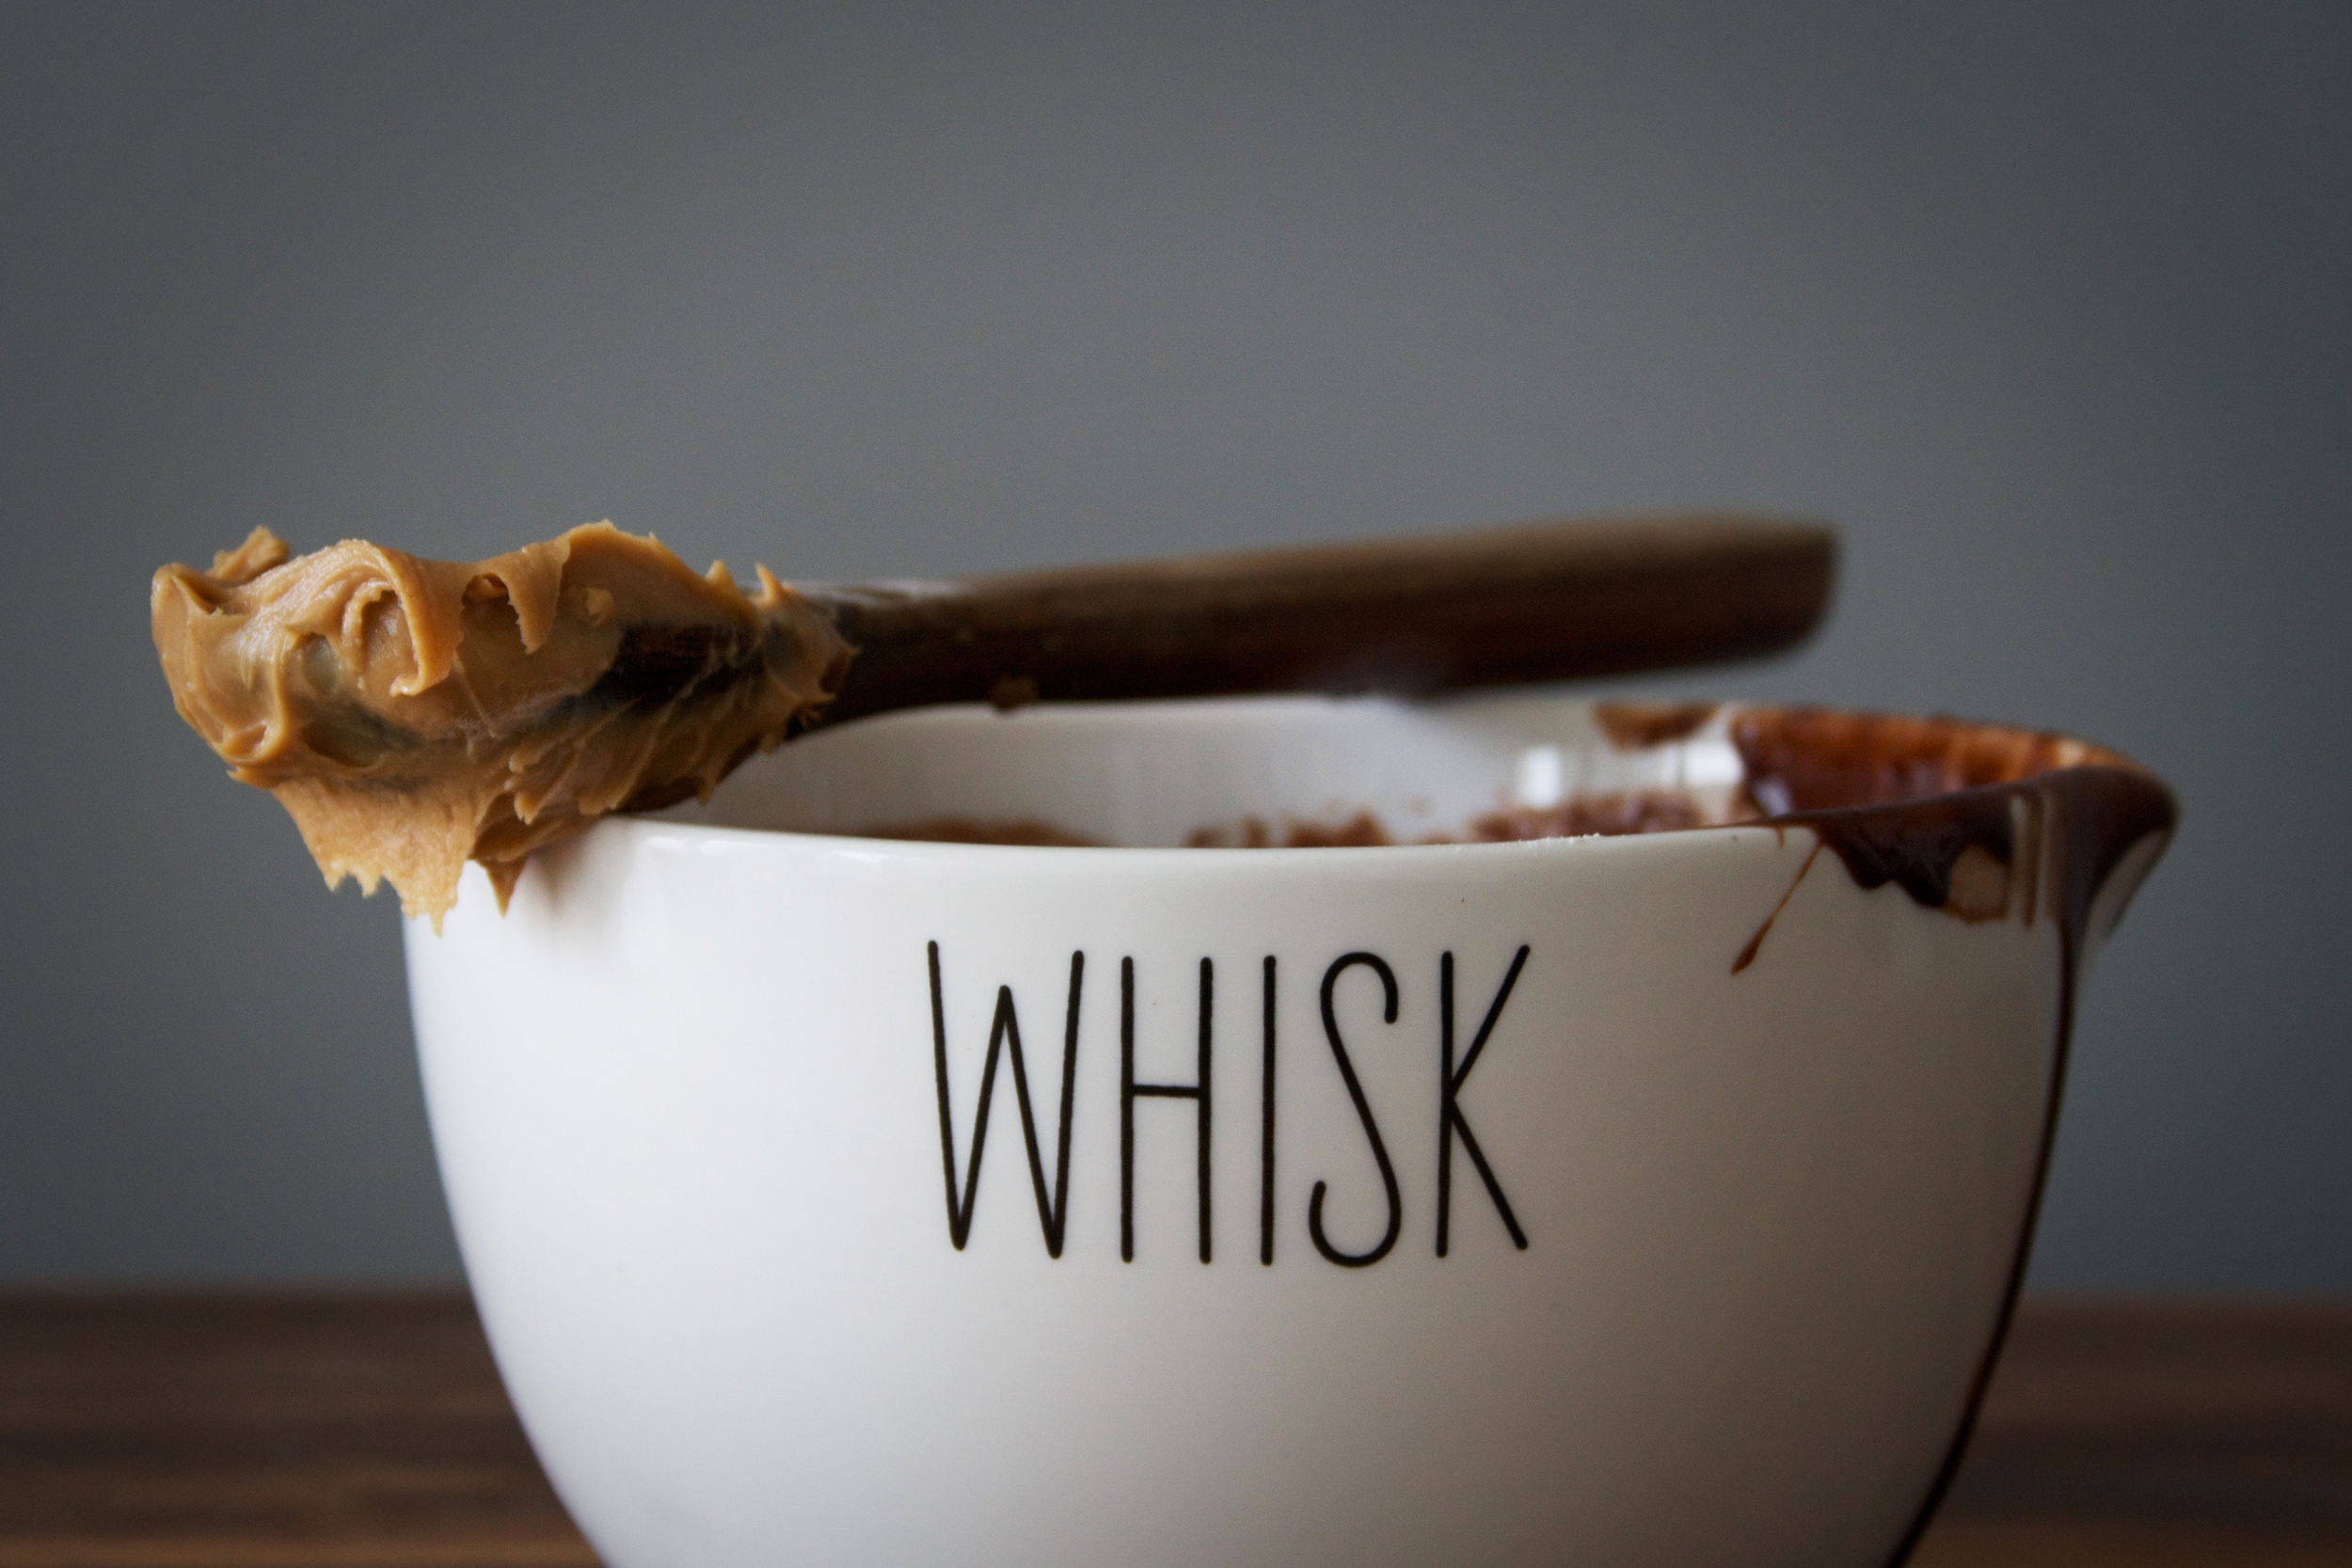
  • 1/4 cup peanut butter
  • 1 tablespoon butter
  • 1 tablespoon powdered sugar

directions

  • preheat oven to 350 degrees.
  • in a microwave safe bowl melt the 1/2 cup of butter & chocolate.
  • stir in sugar, eggs, vanilla, espresso, flour and salt.
  • pour into a greased 8x8 baking dish.
  • in a separate mixing bowl mix together the peanut butter, butter and powdered sugar until smooth & creamy.
  • swirl peanut butter mixture into the brownies.
  • bake for 20-25 minutes until edges begin to crisp up.
  • let cool before slicing into (not that i am ever patient enough too)

like what you see? get it here. (staub dish | egg carton | linen)

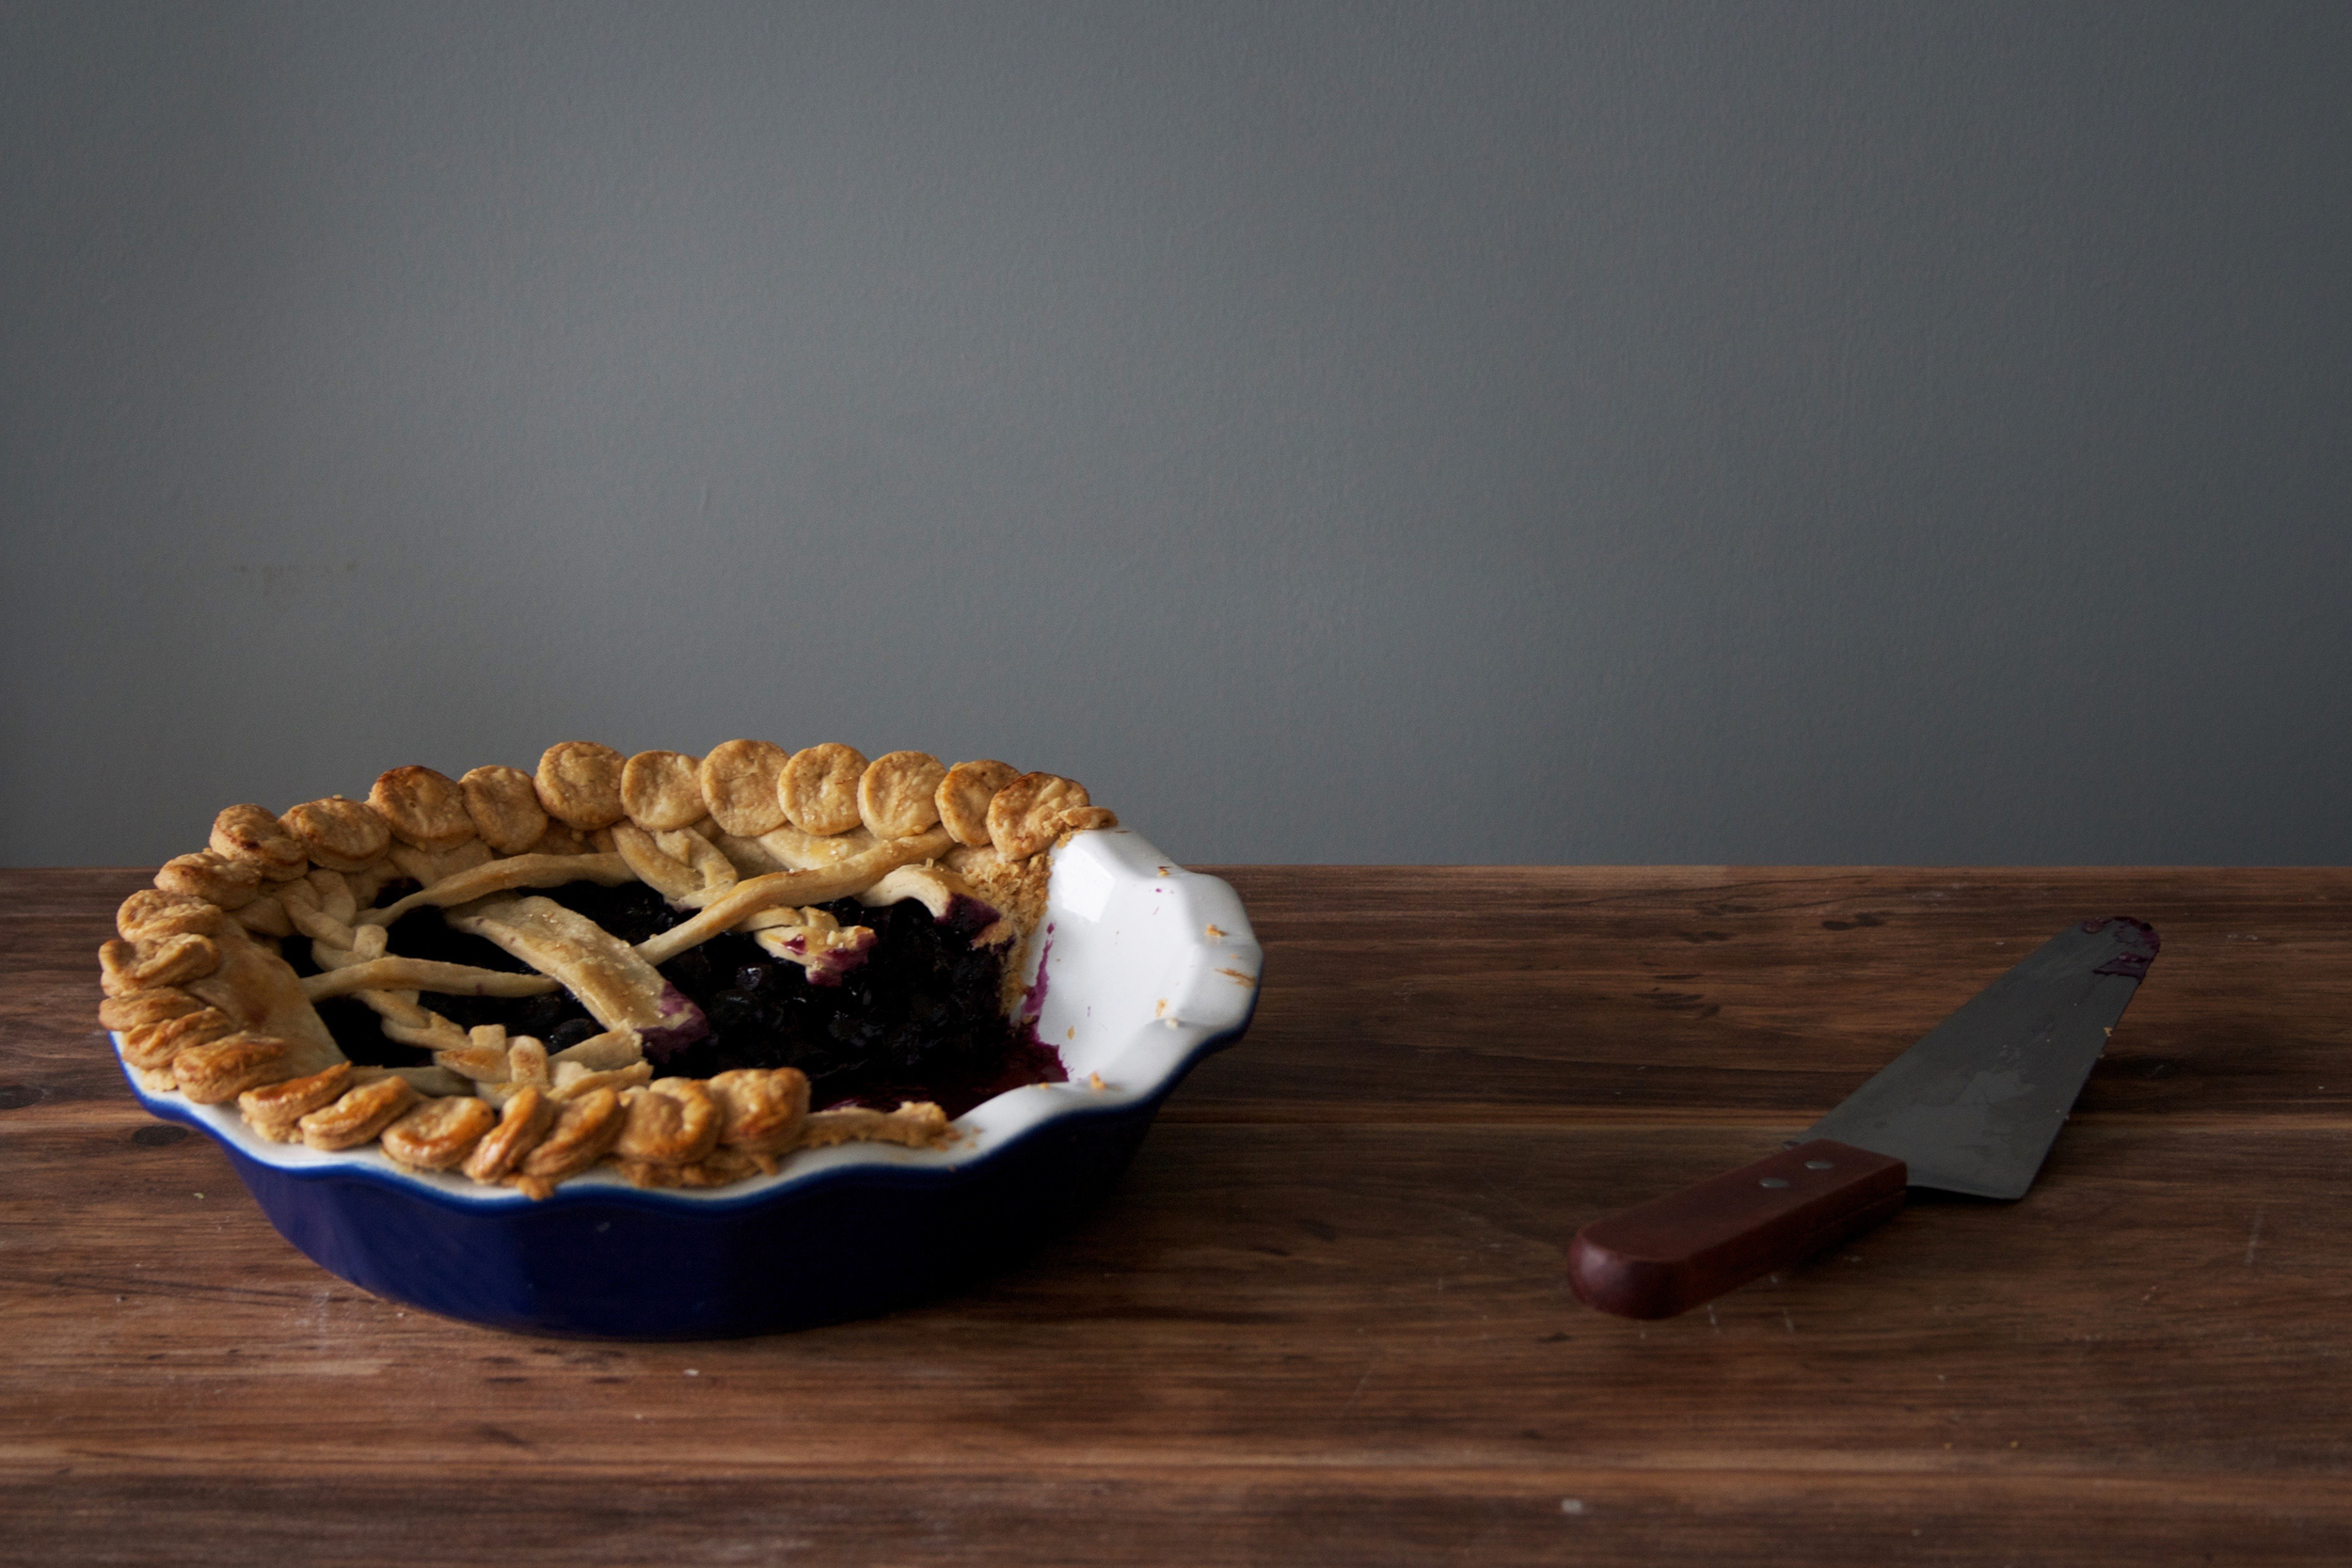
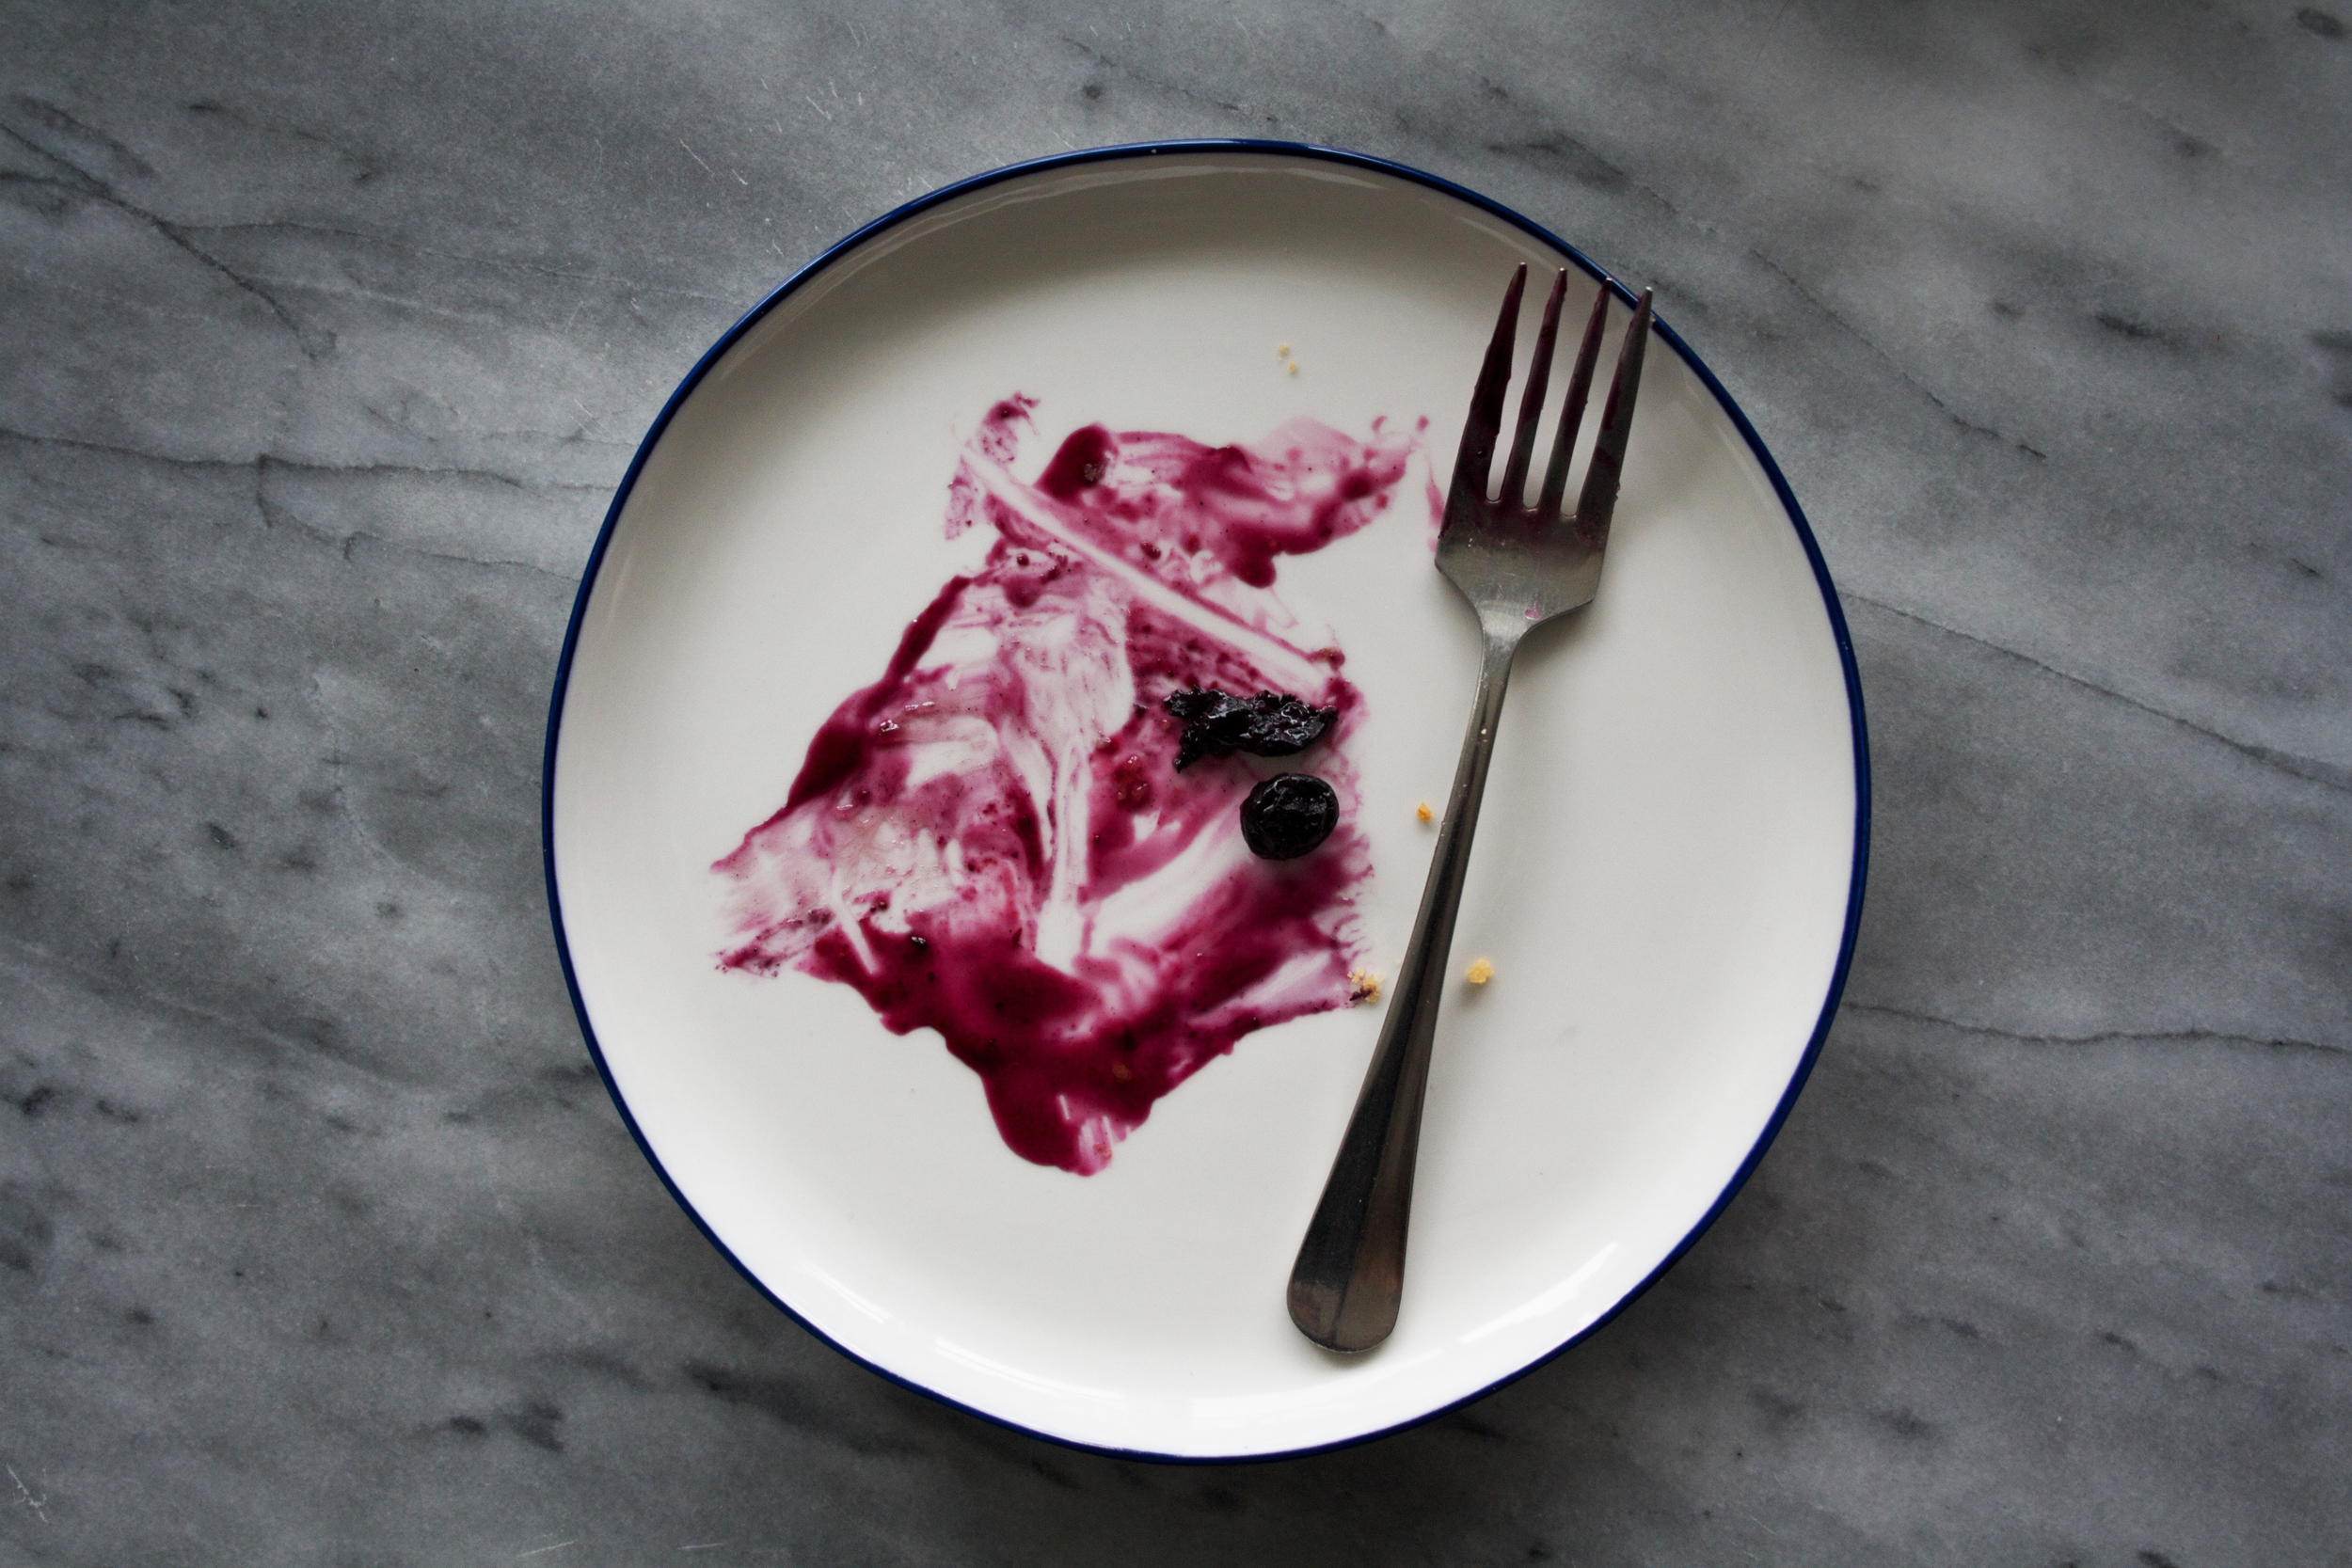
BLUEBERRY PIE


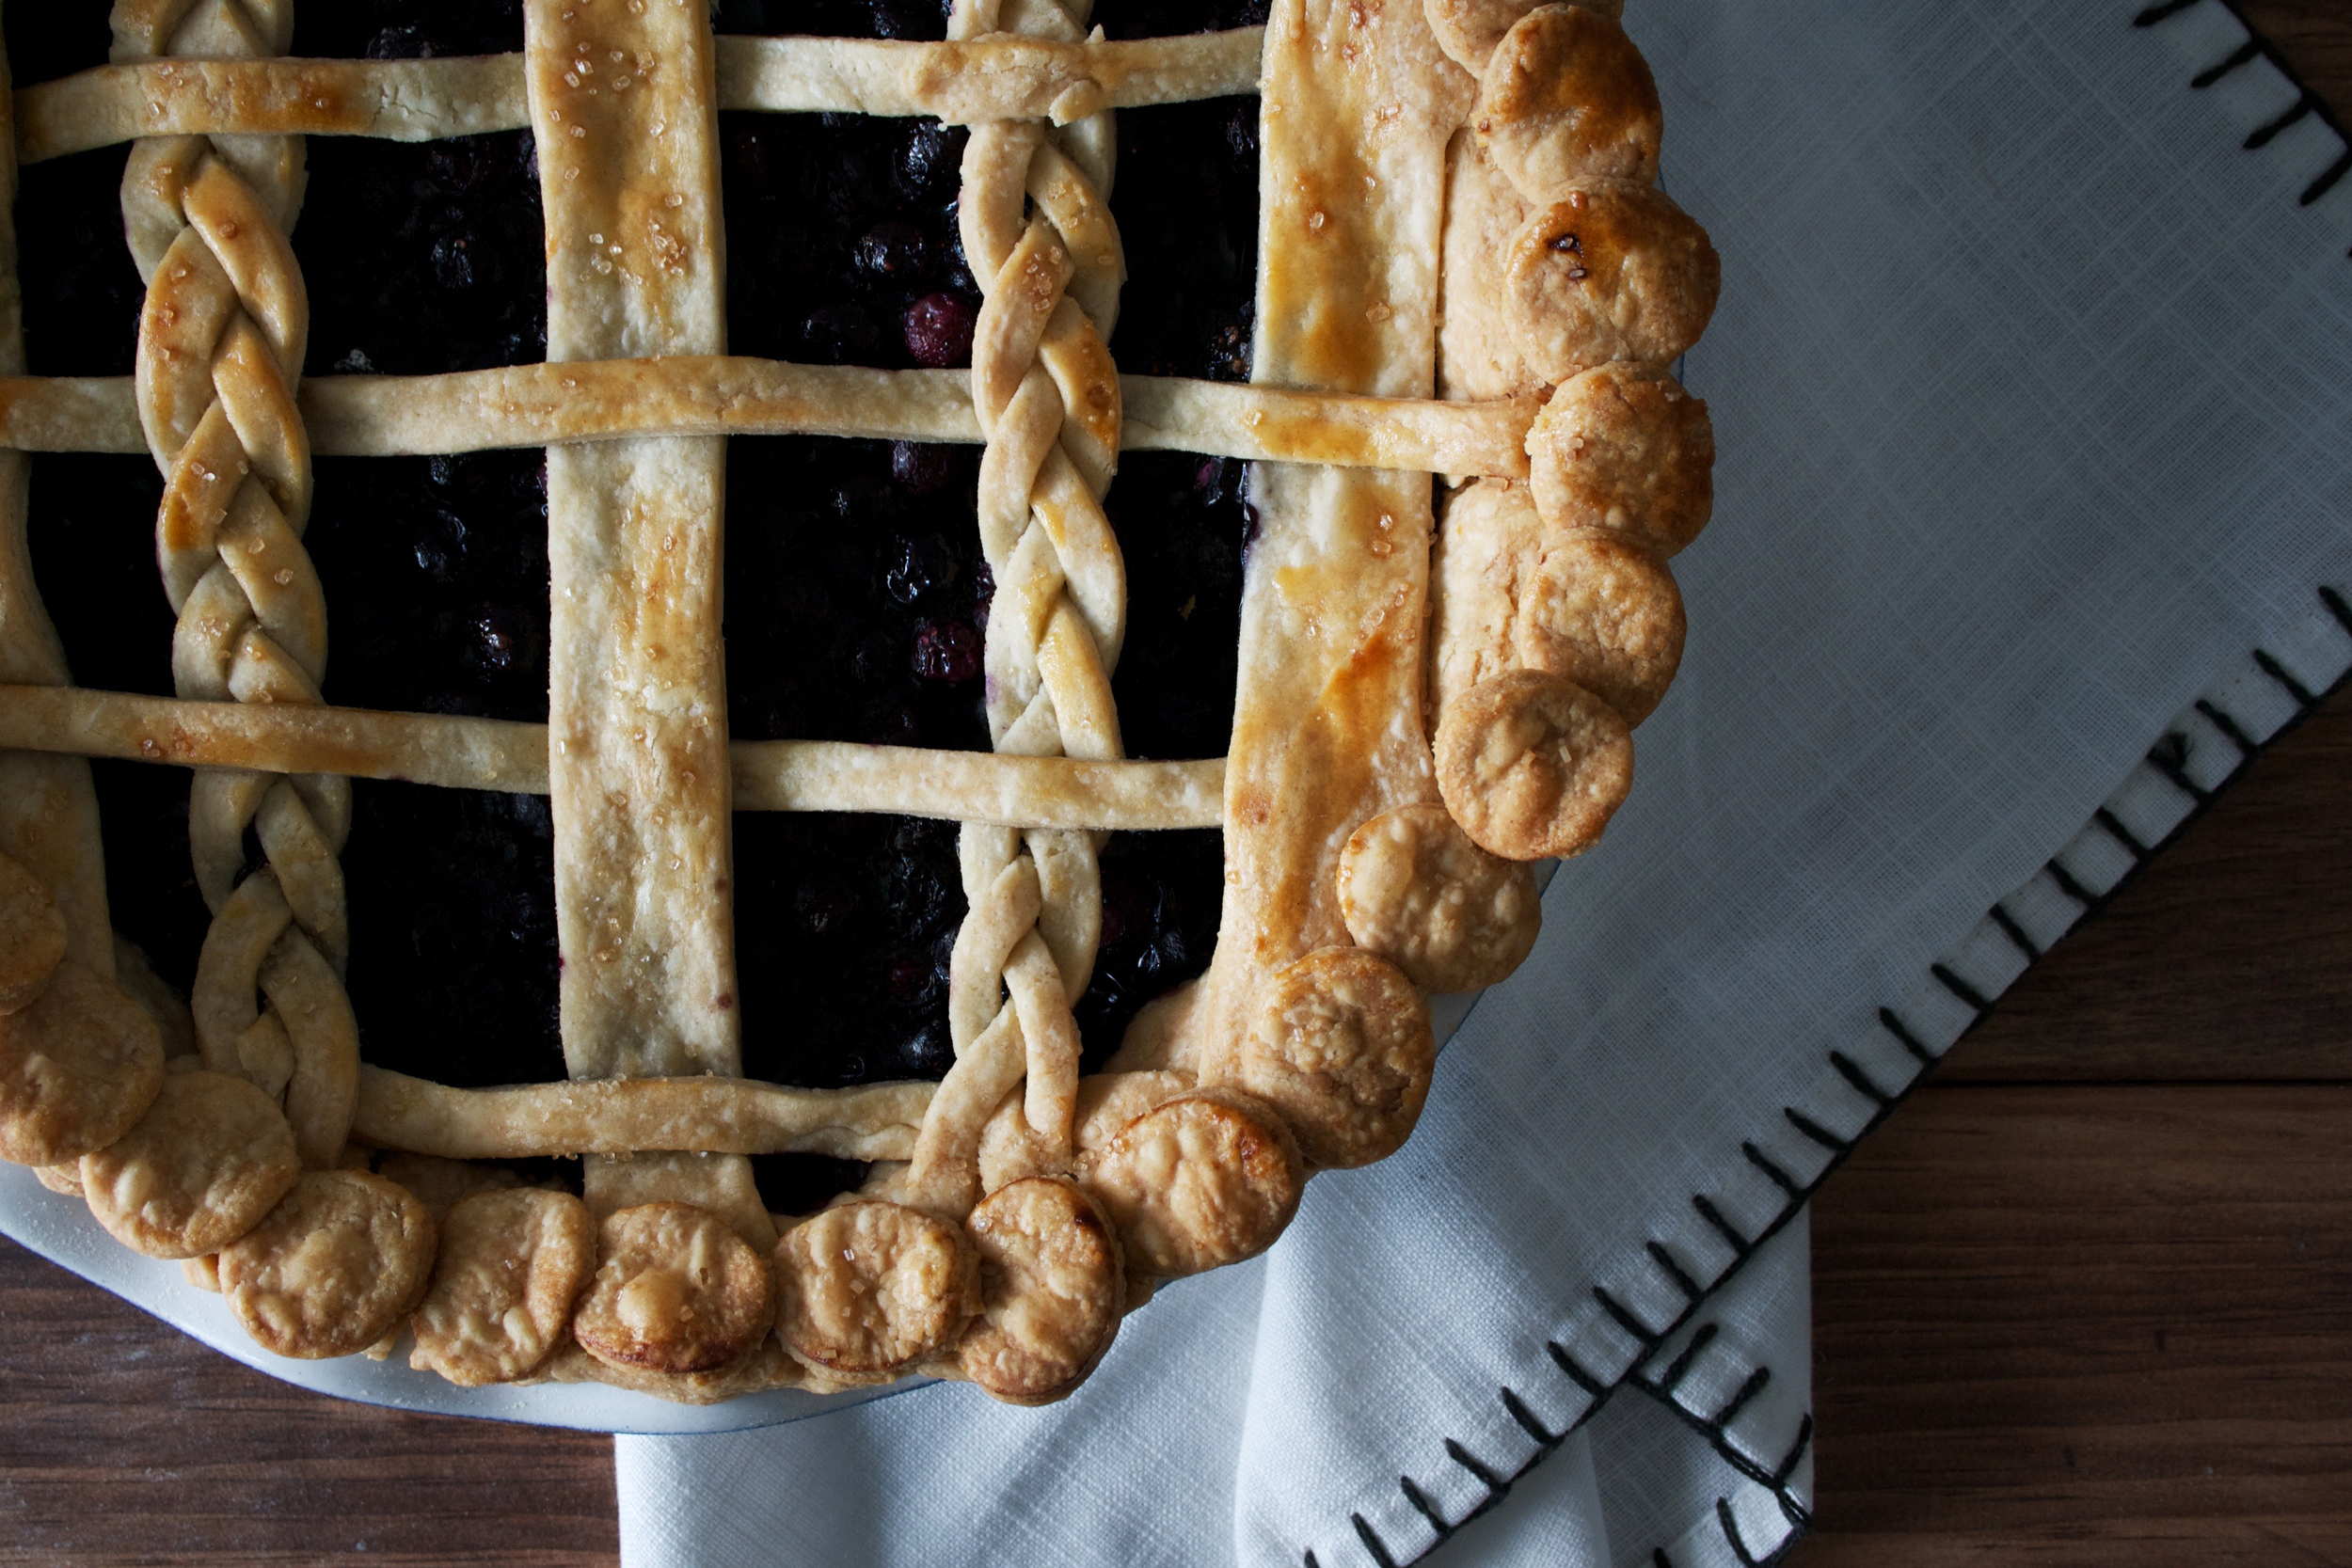
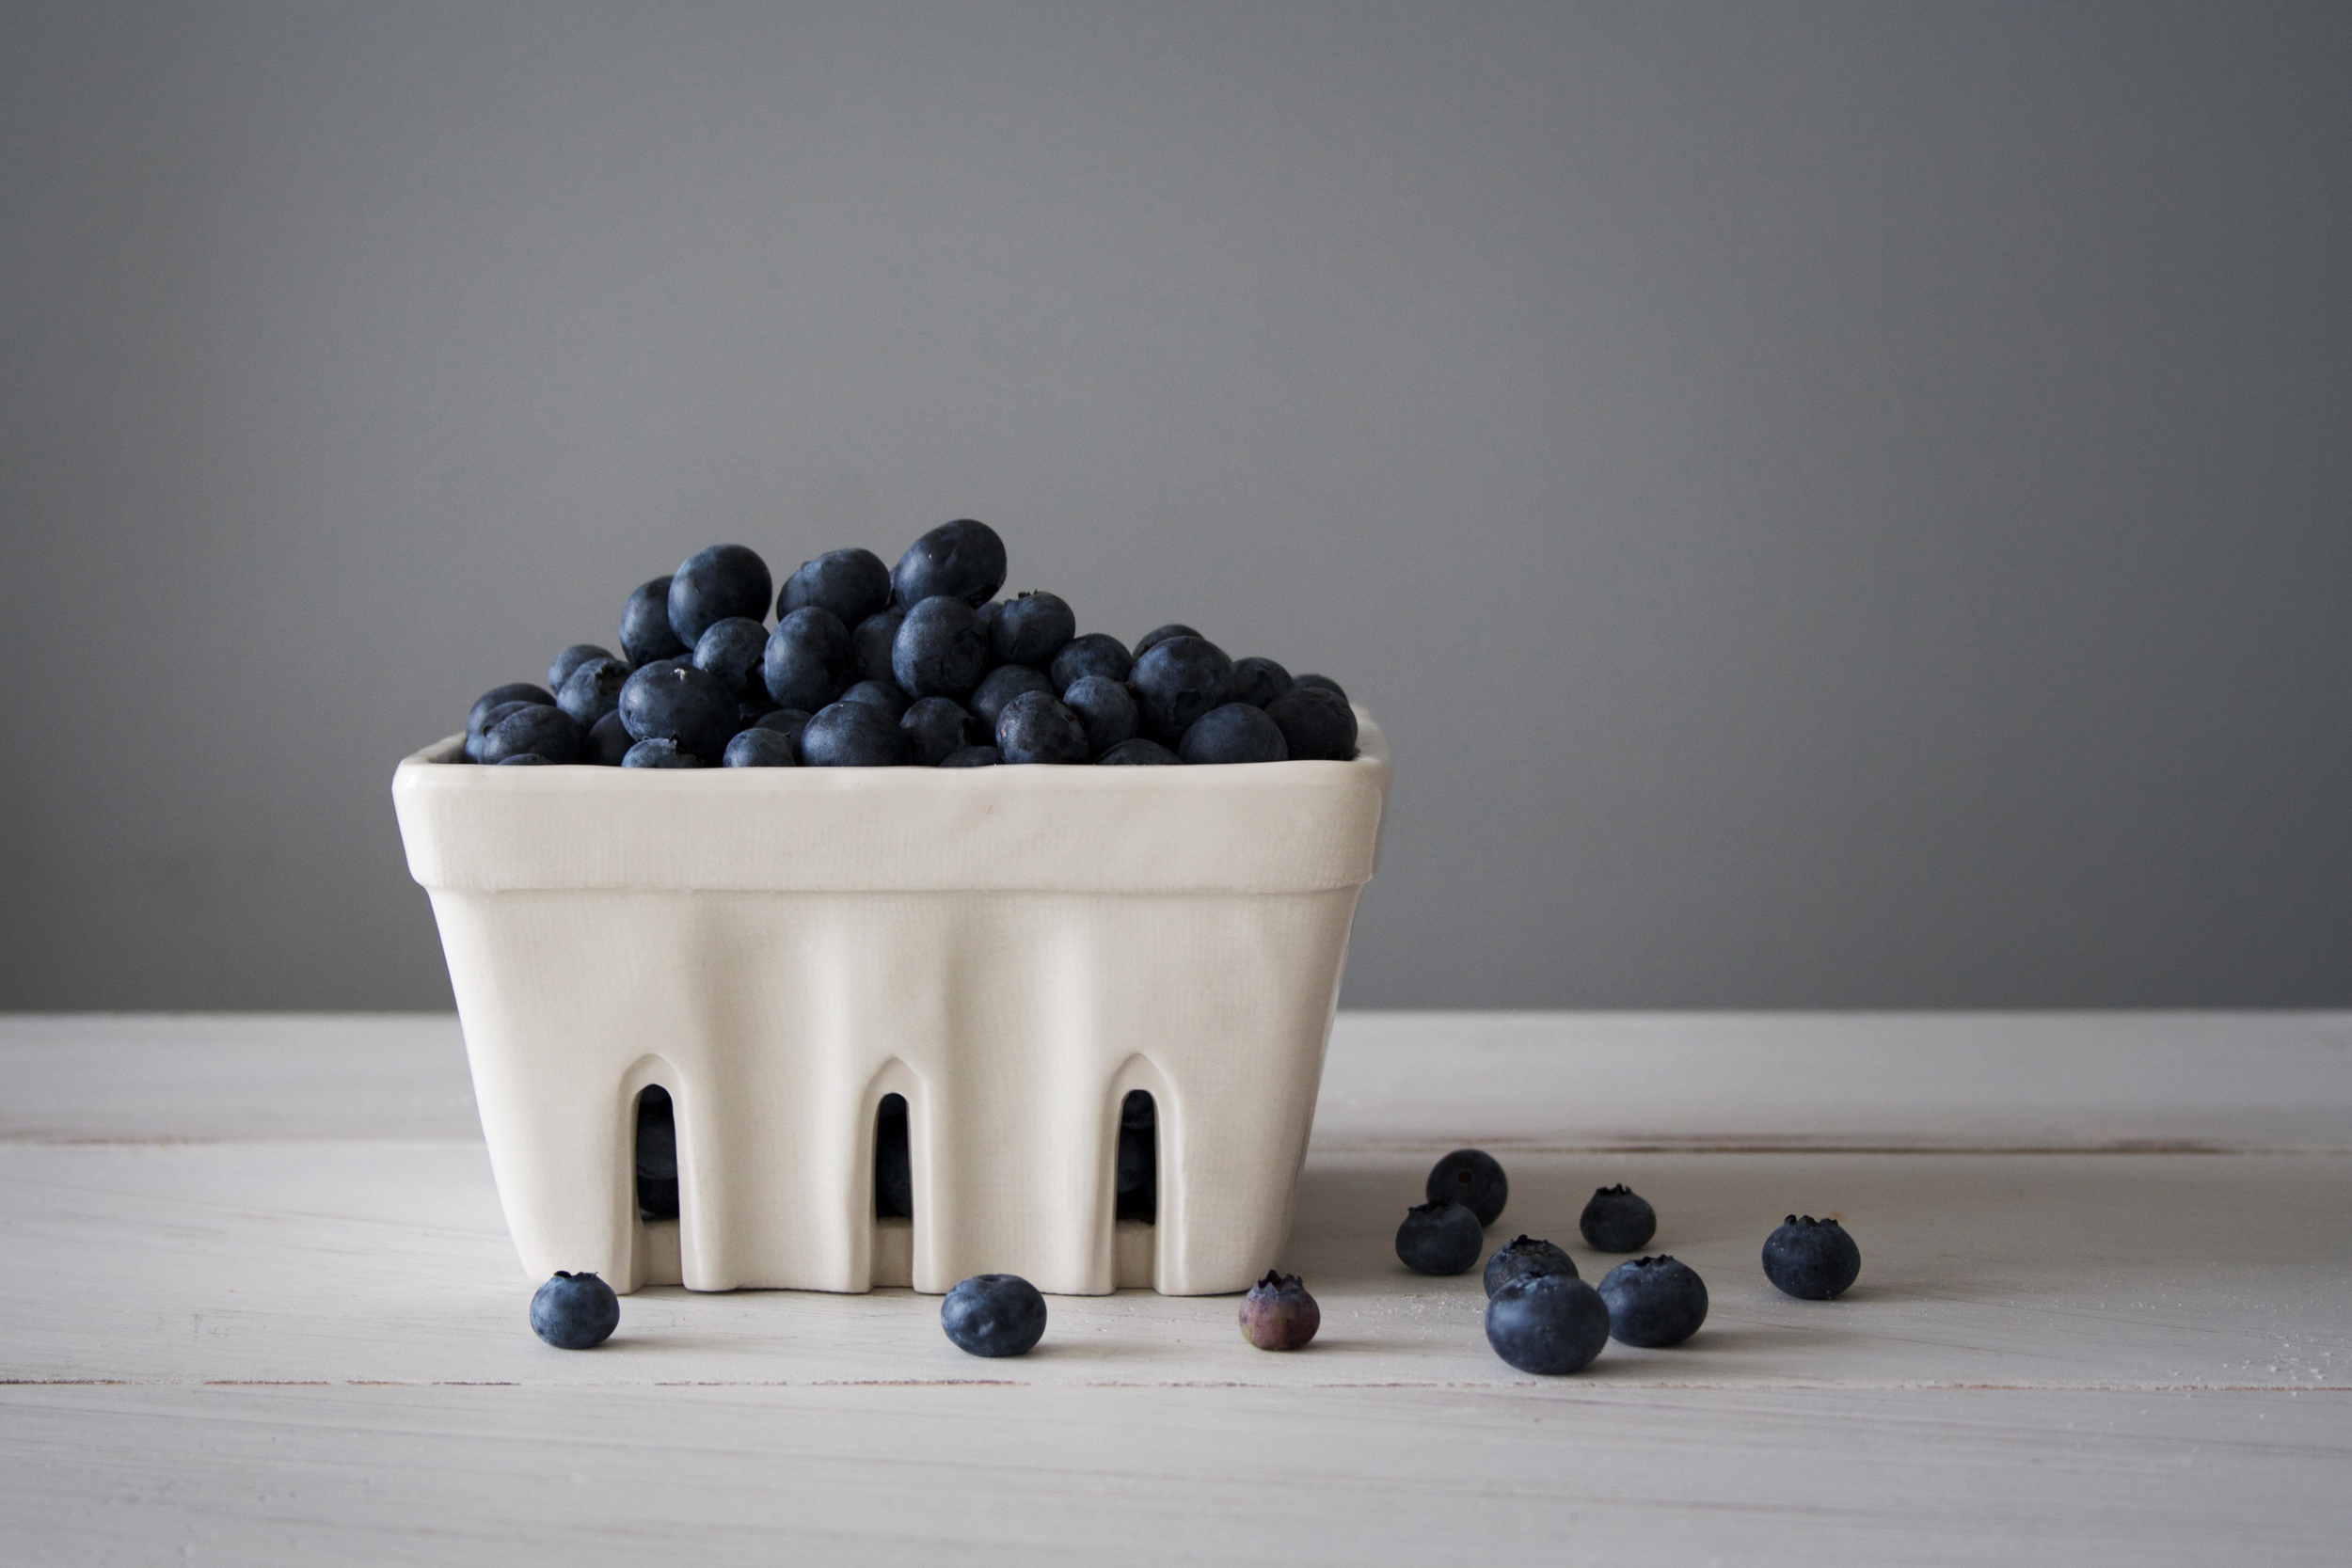
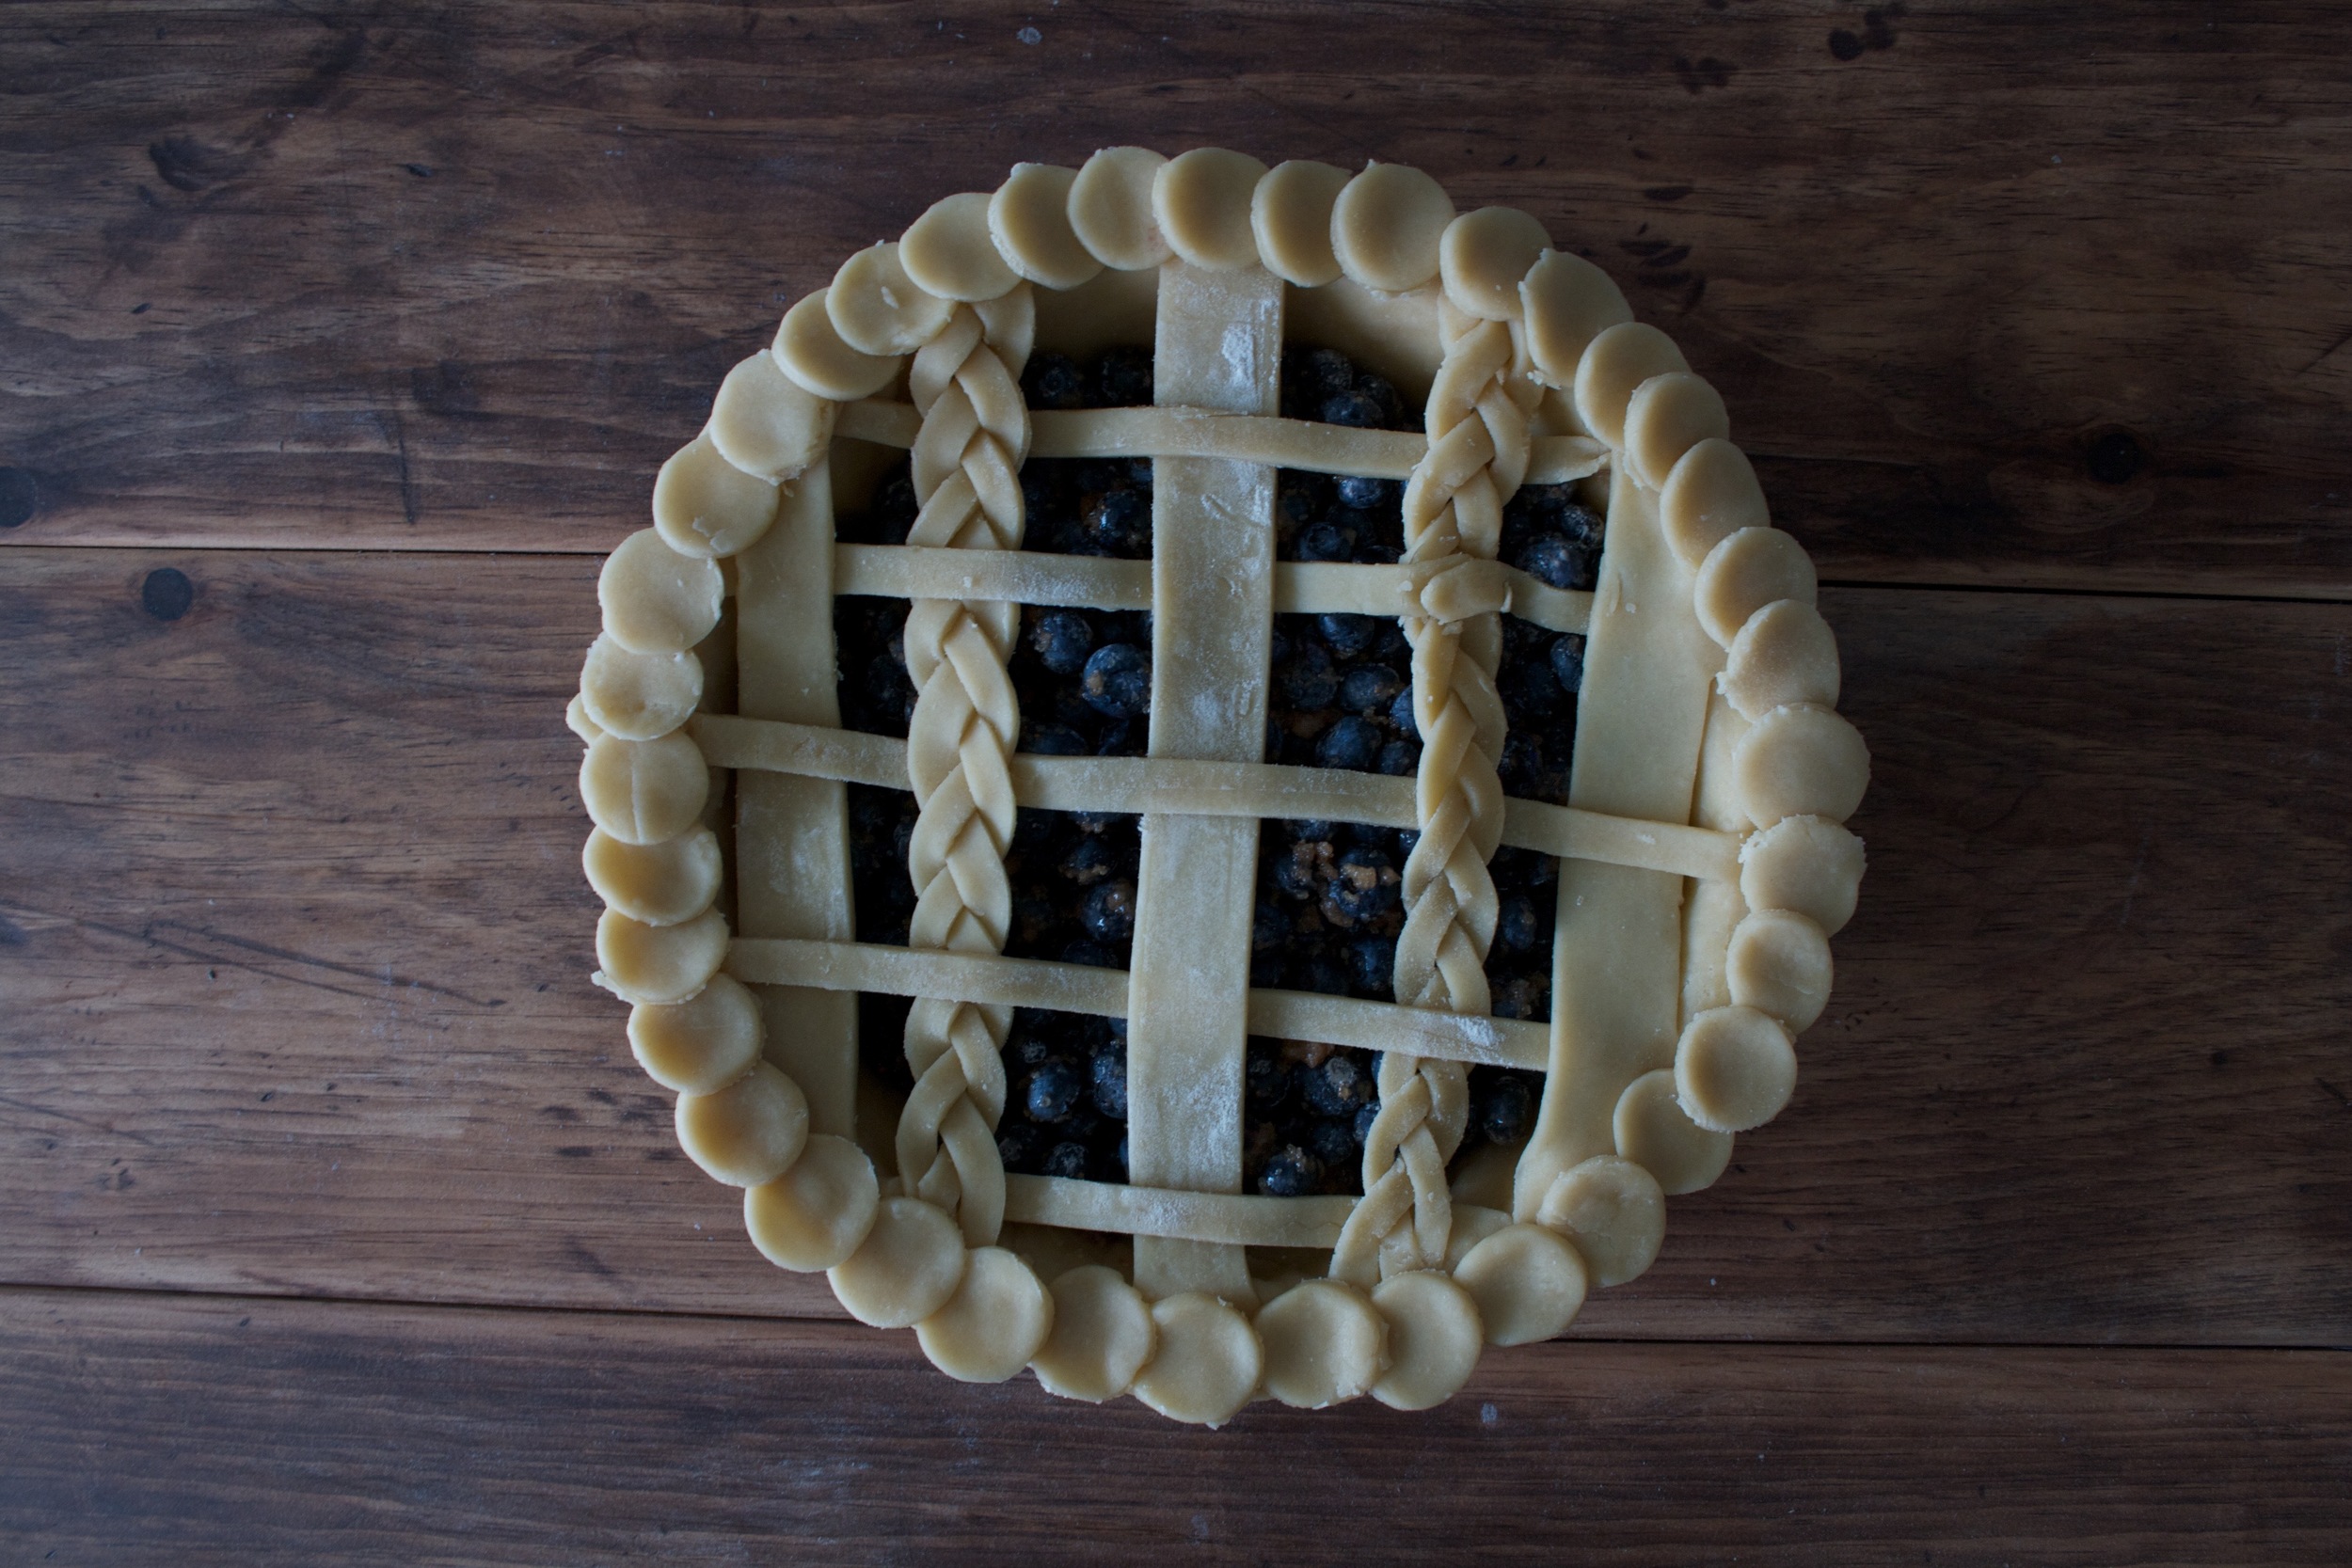
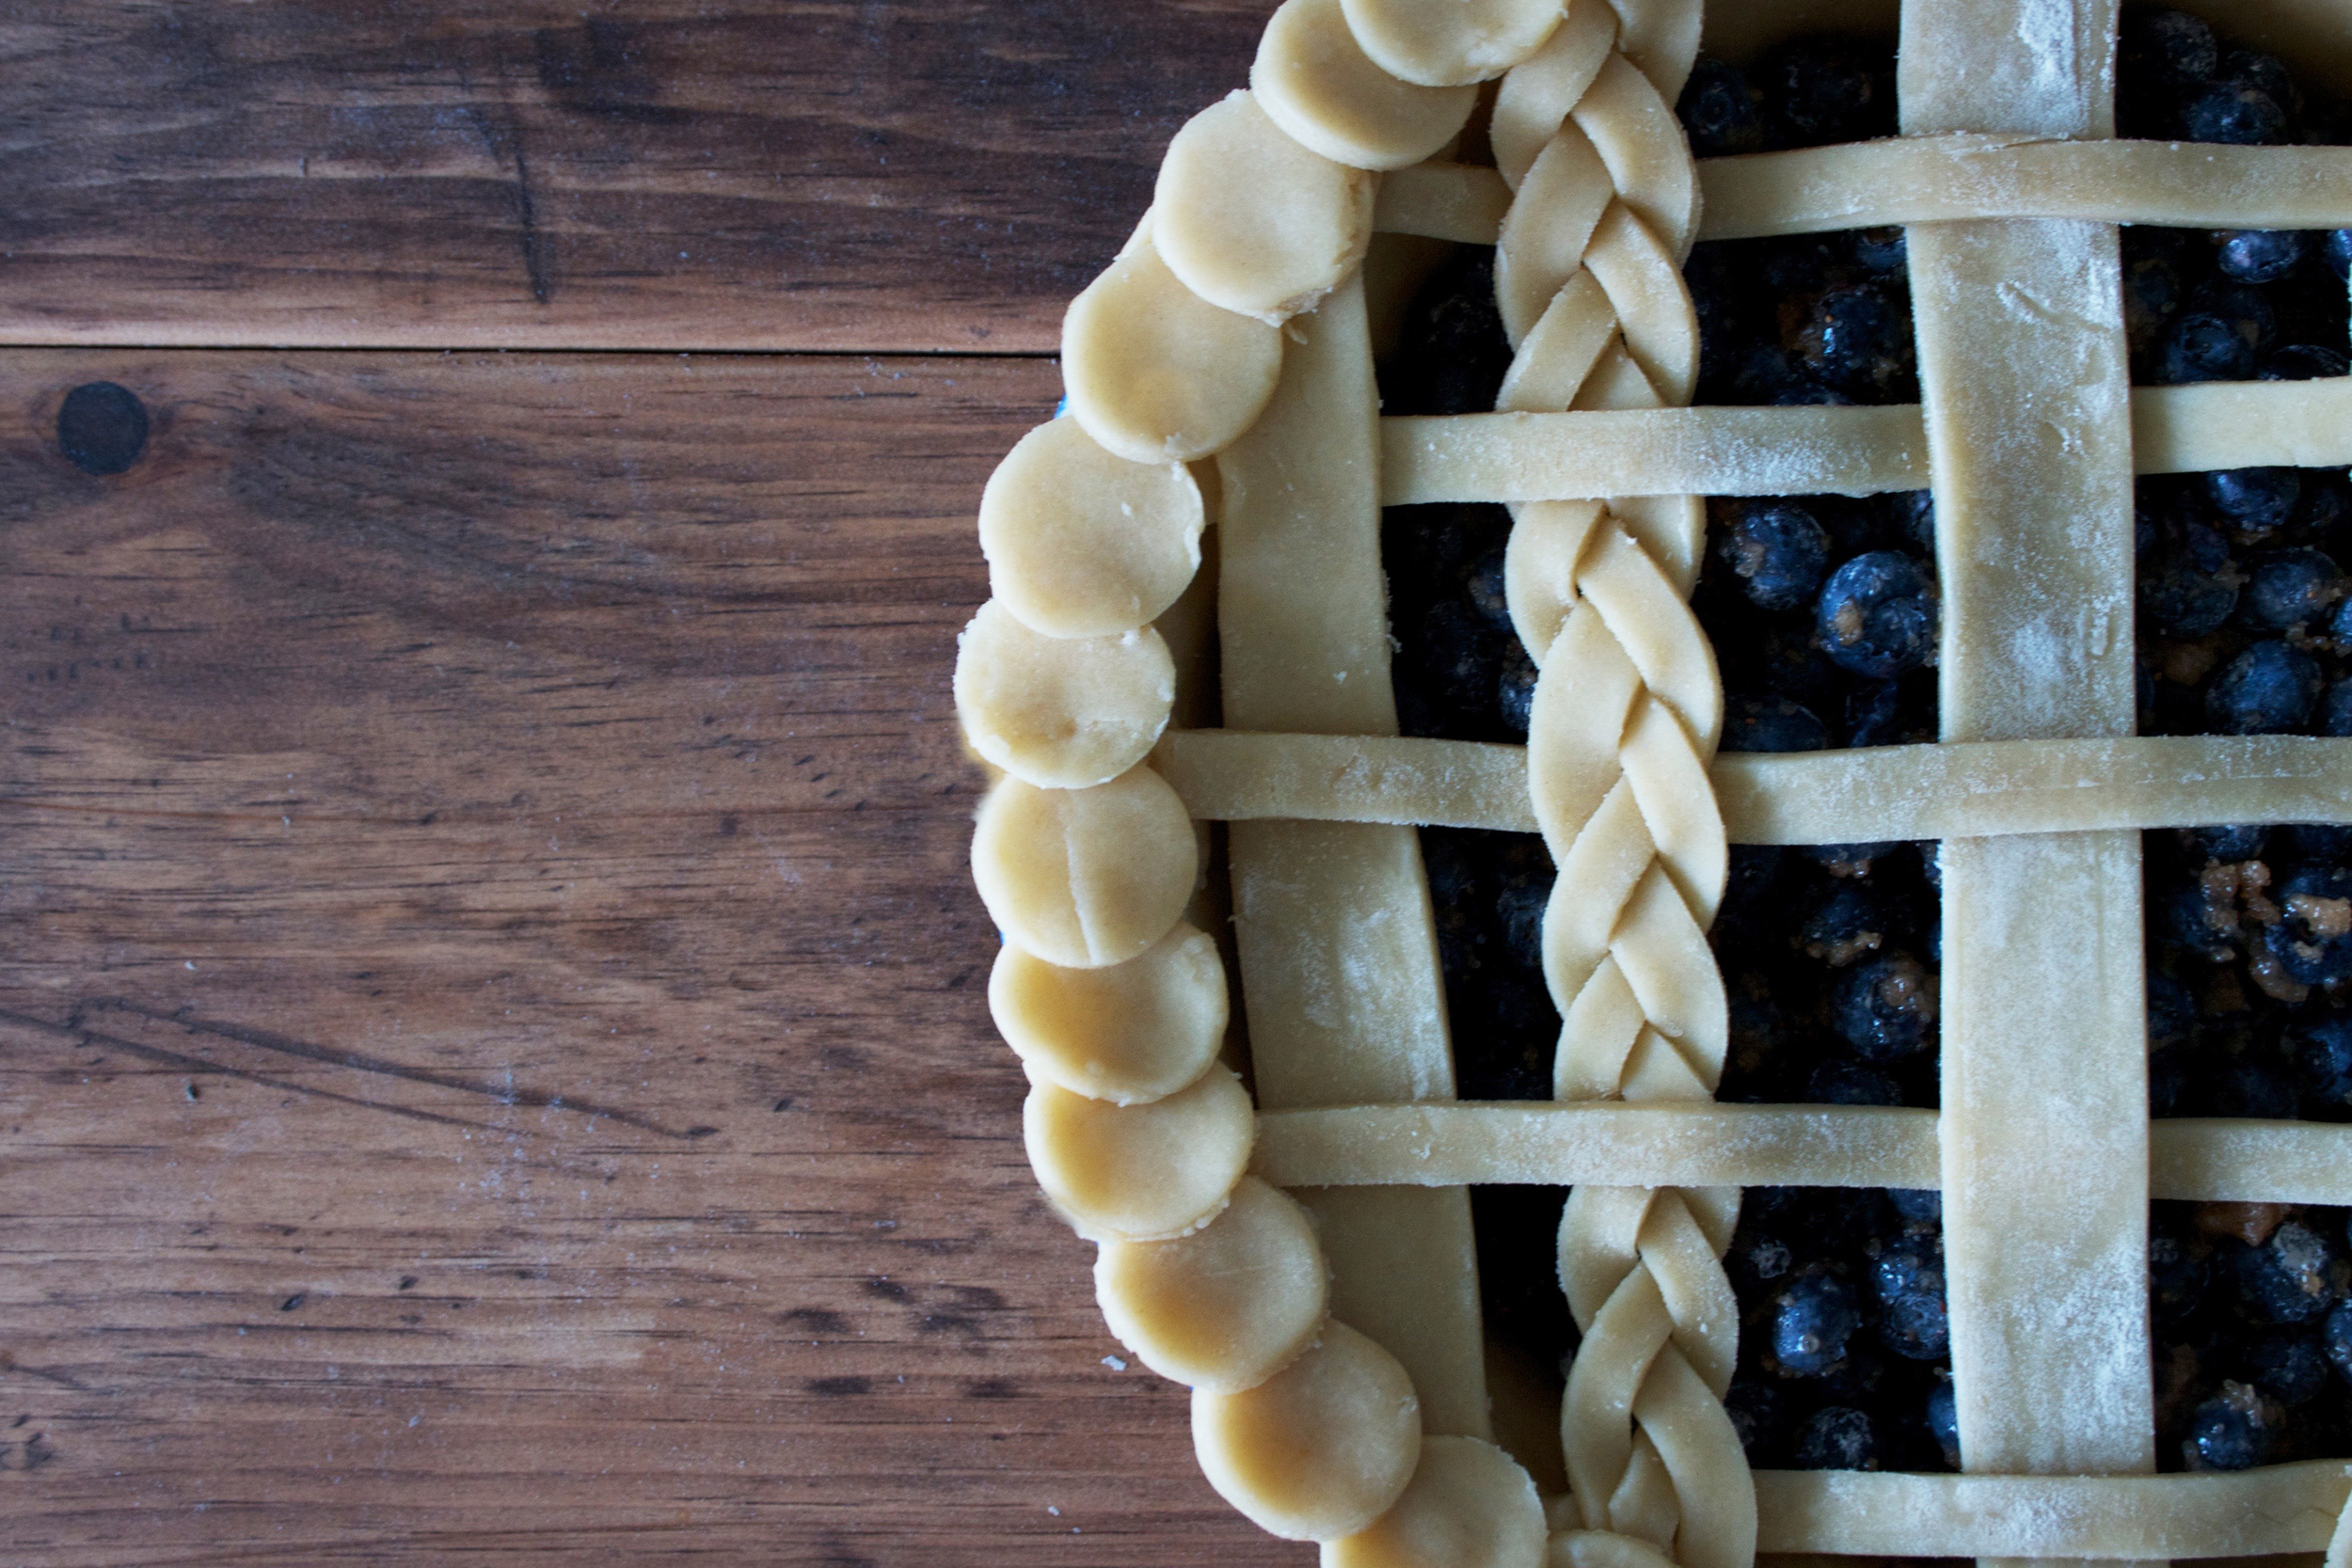
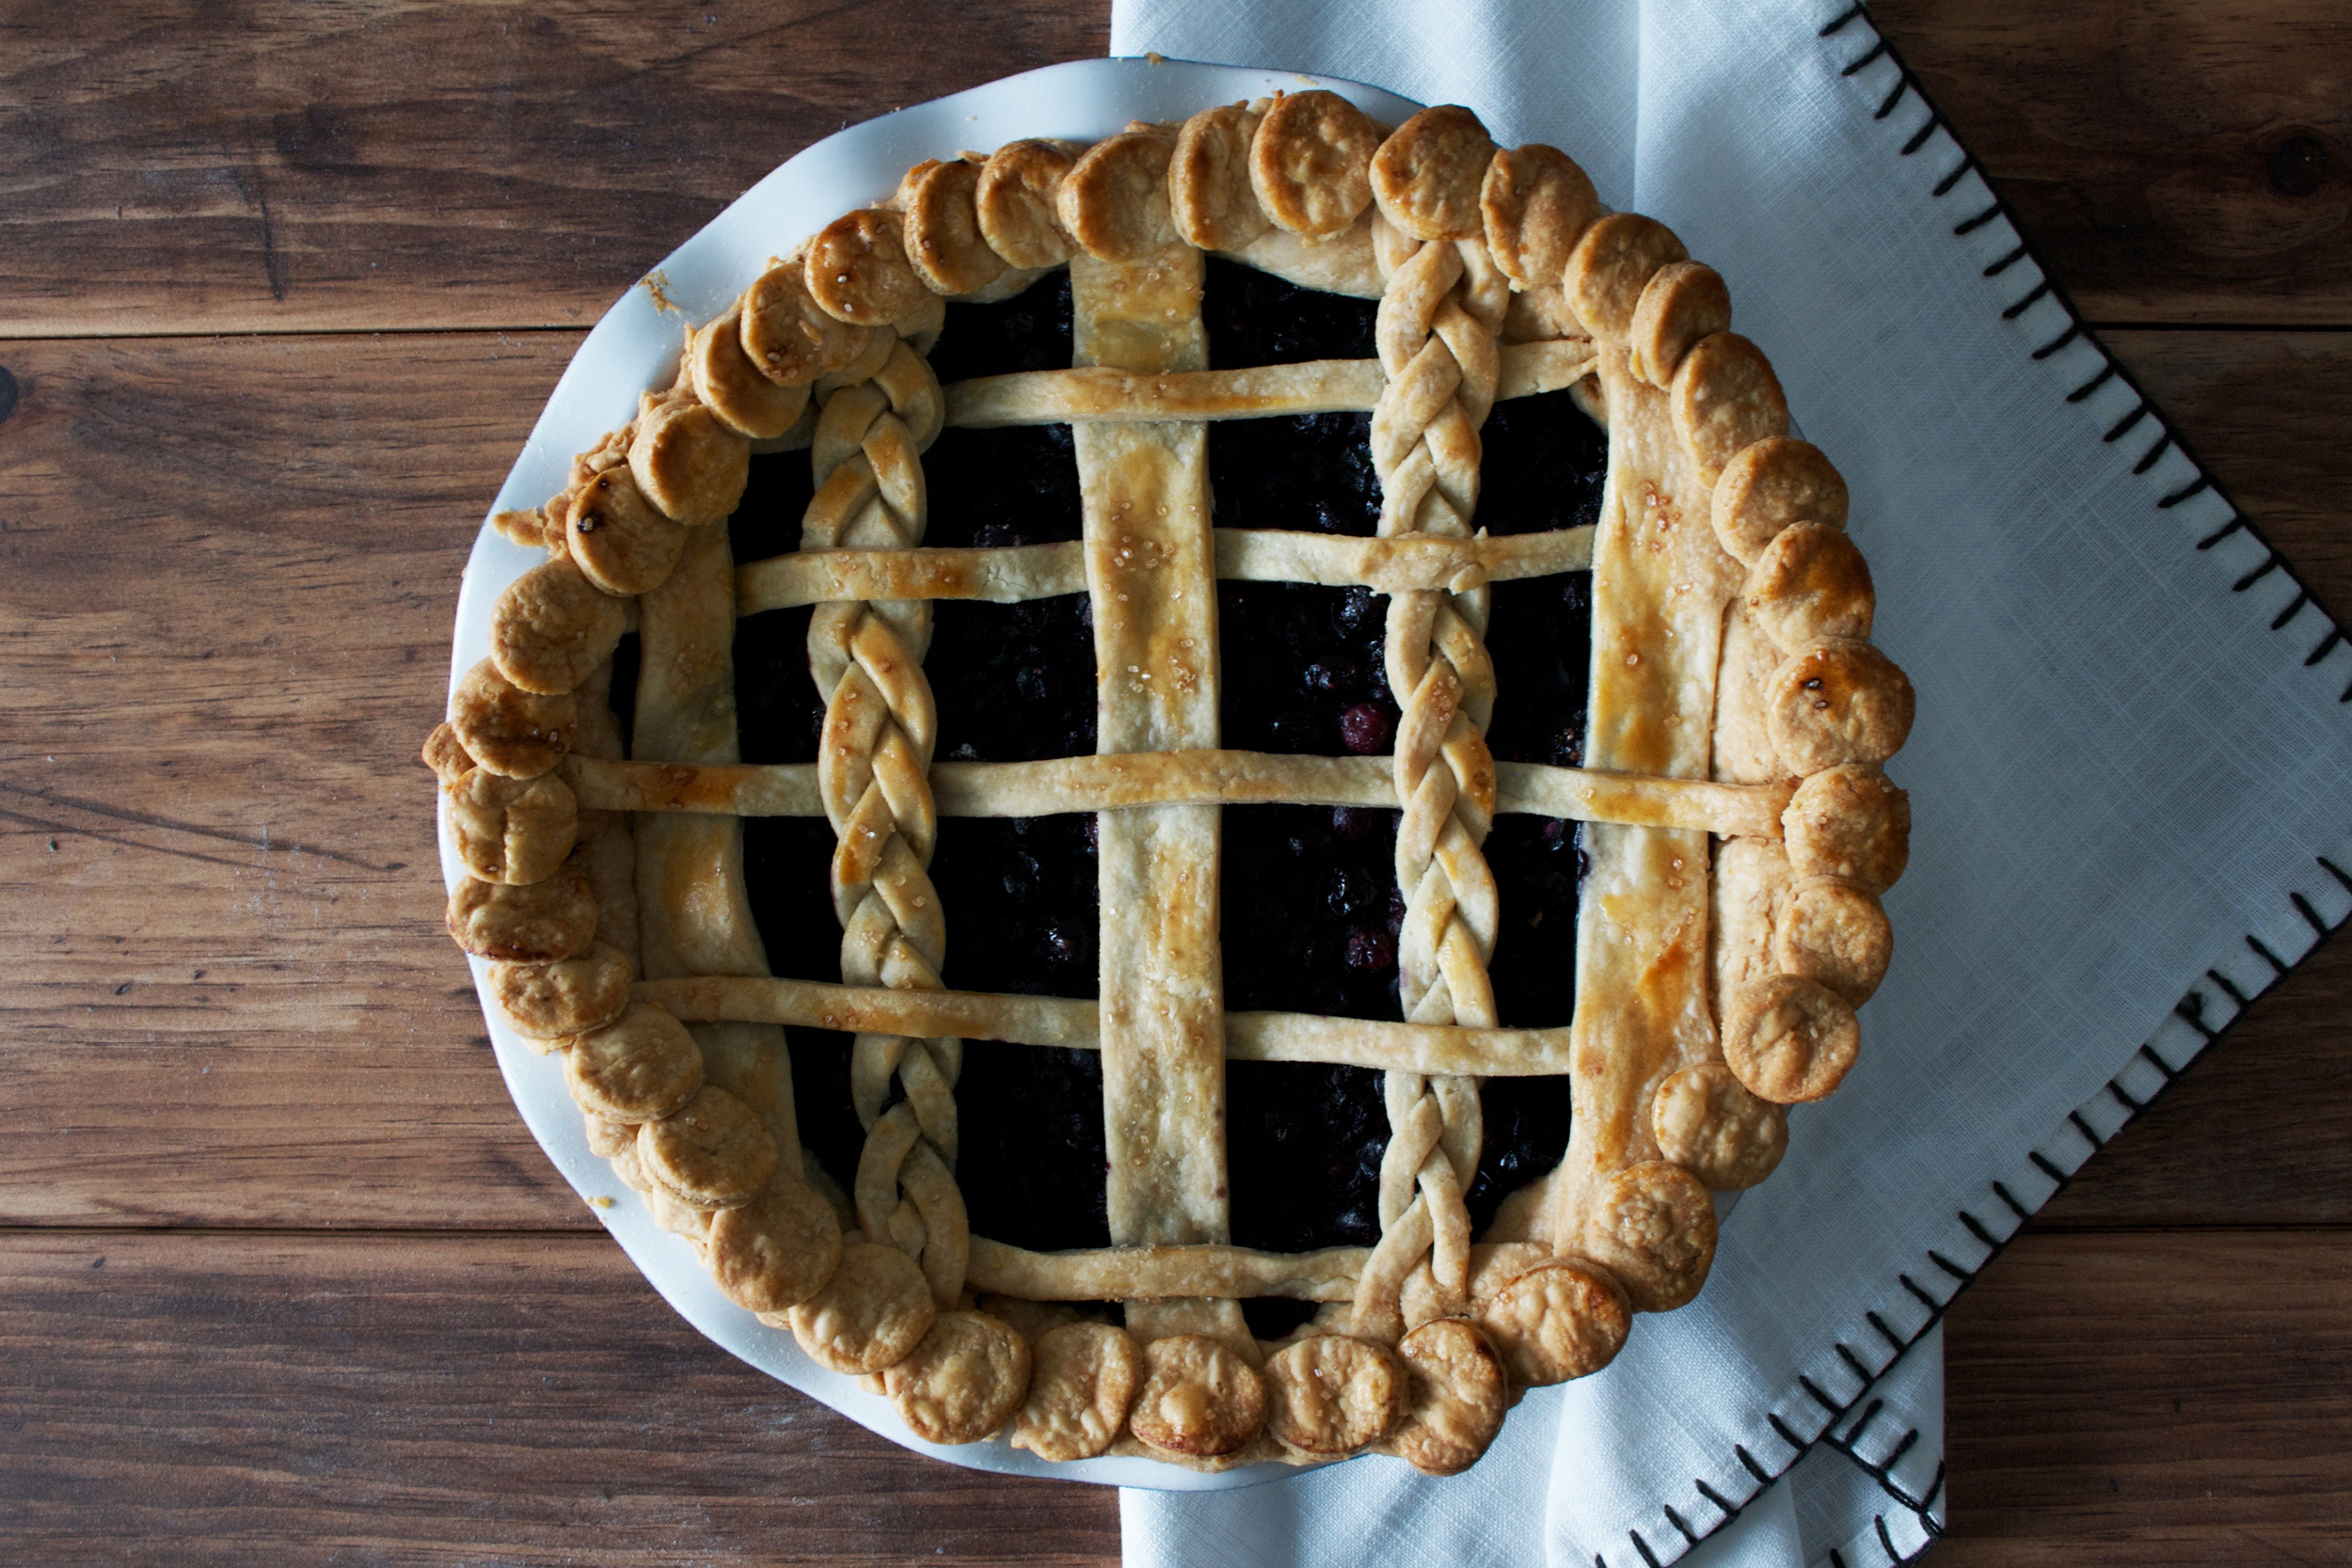
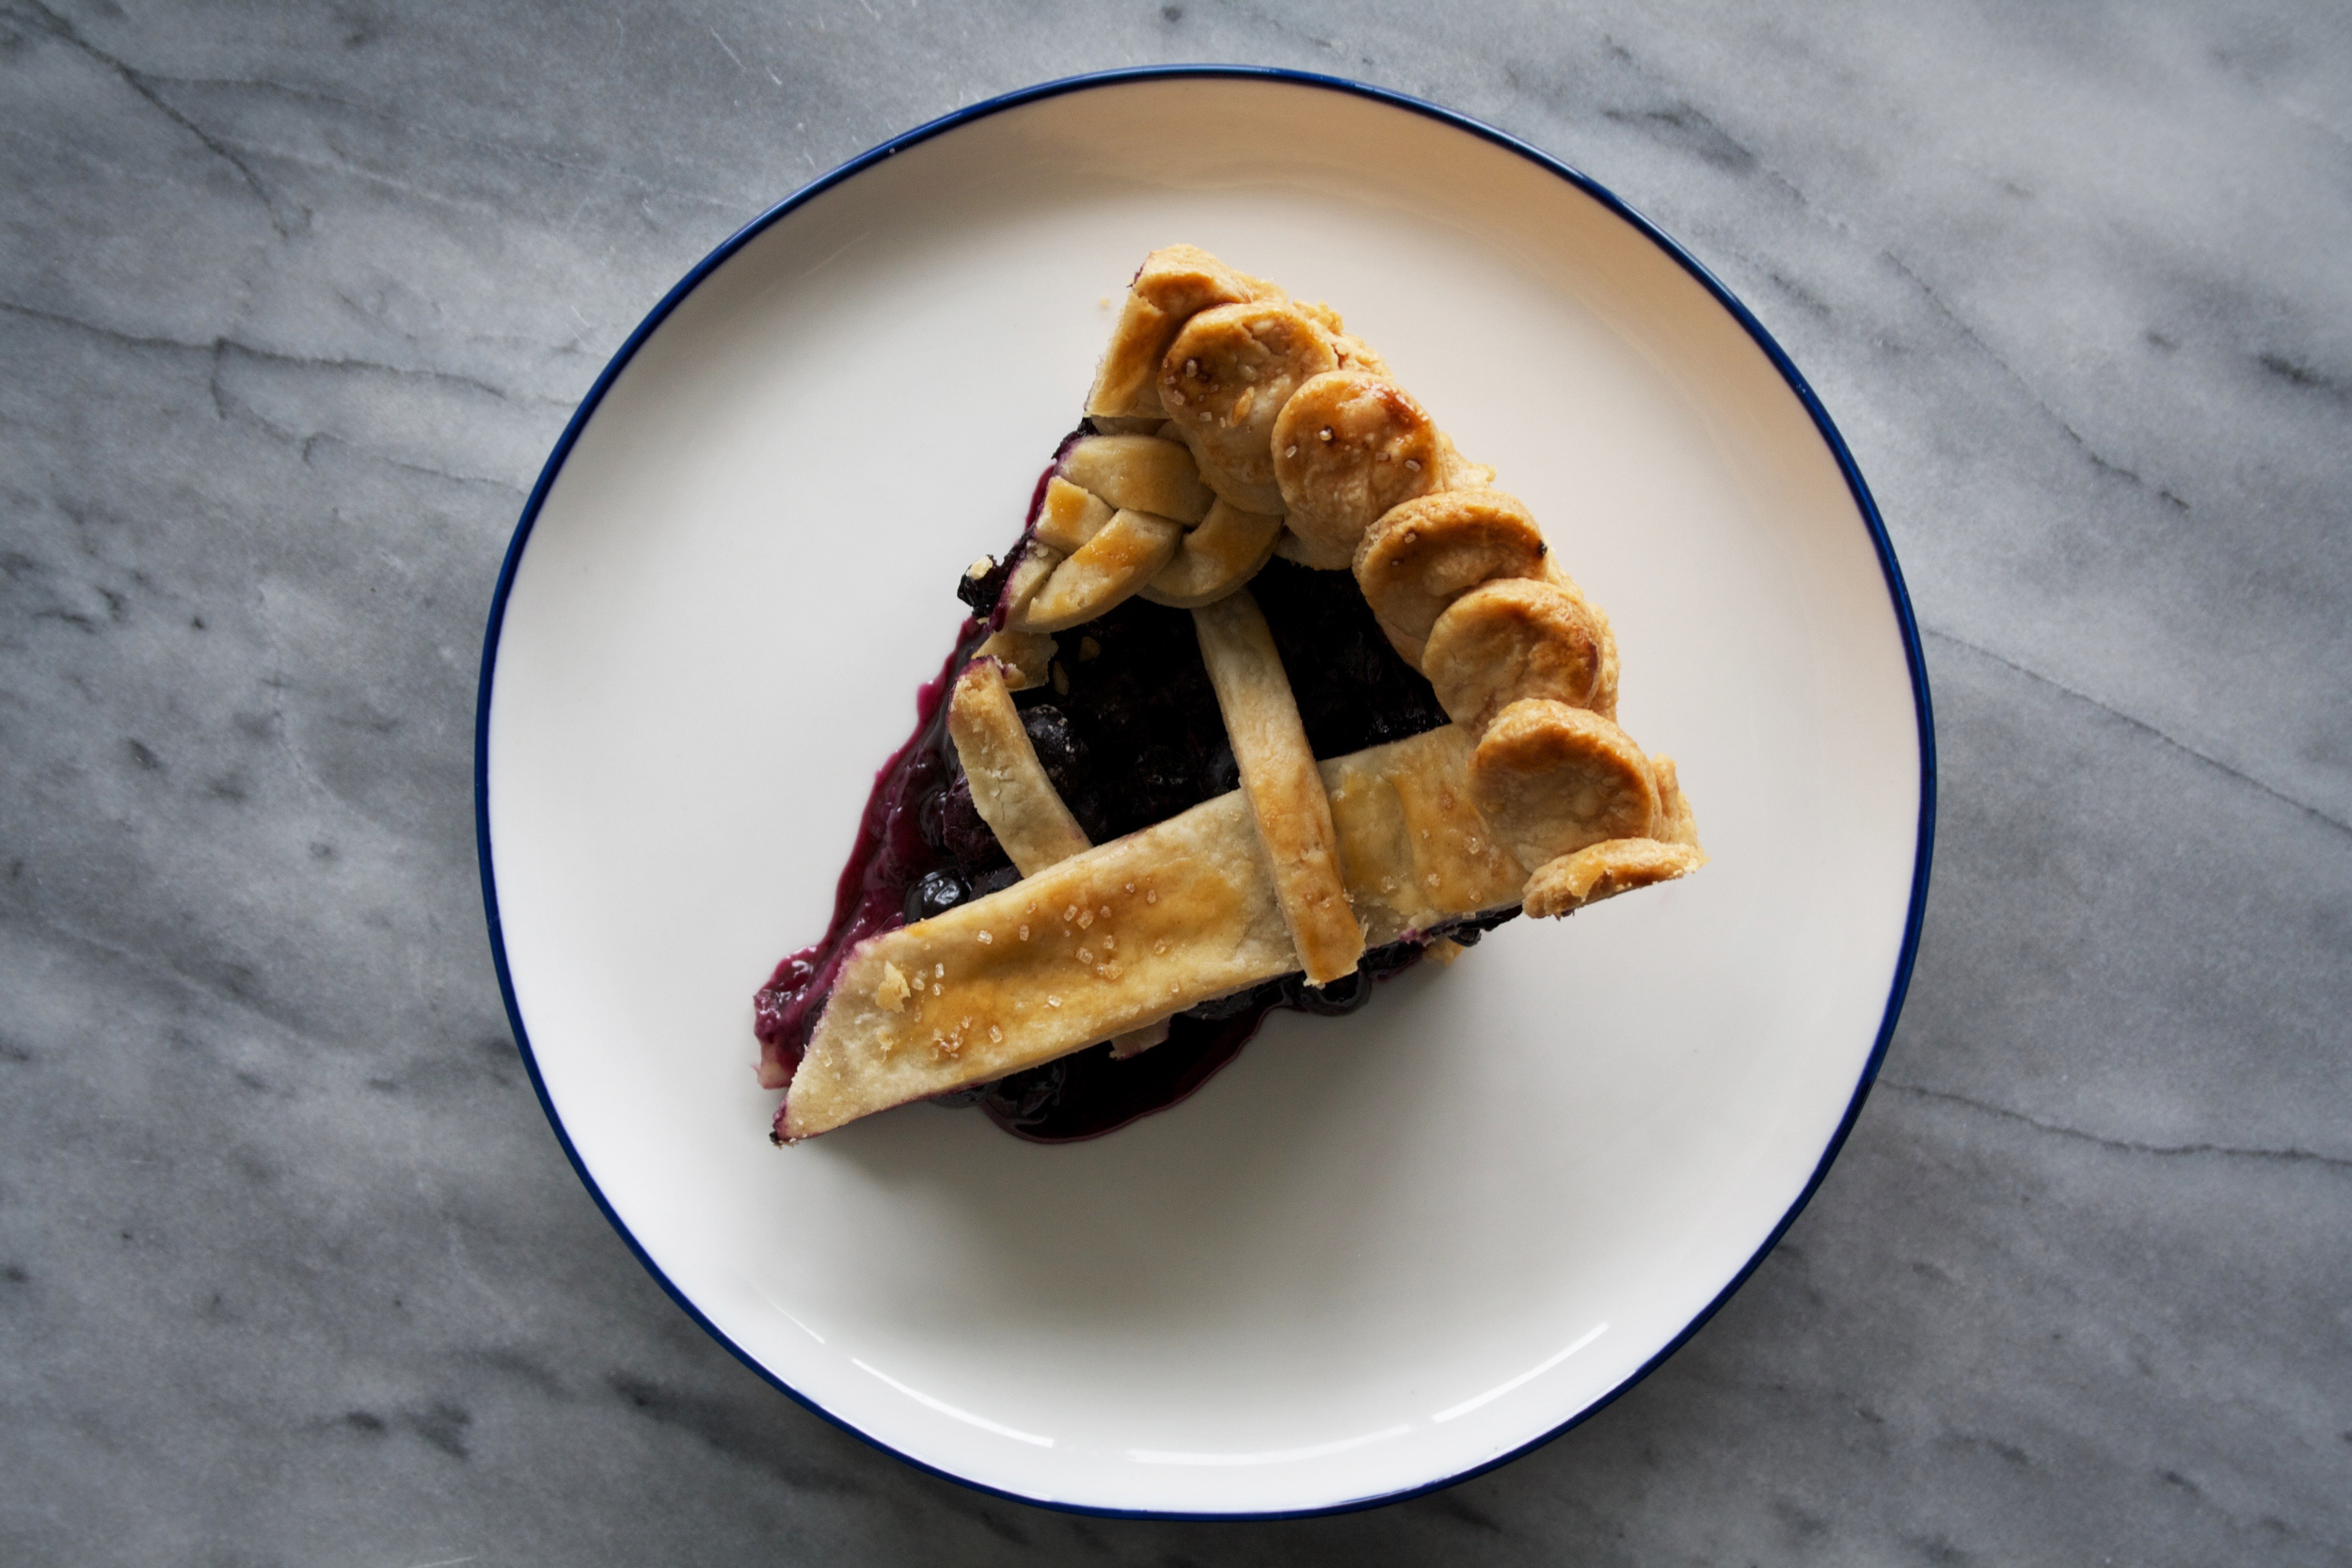
i went through a phase where i absolutely loved making pies. every time my parents would go visit my oldest sister (who at the time was in university), i would send up an apple pie for her & her roommates. then for some unknown reason i stopped making pies. maybe i thought it was too much work, but that is nonsense! once you get the perfect pie dough down pact, it's easy as... you guessed it, pie! ok but really, who ever made up that colloquial idiom clearly never made a pie before. my new goal is to work on my pie dough skills. braids, leaves & more braids! for this particular pie i chose blueberries because it is summer and berries are in season (which also means they are on sale). i am just getting started, expect a lot more modest marce pies in the future.

ingredients

for the dough

  • 3 cups all purpose flour
  • 1 teaspoons salt
  • 1 cup unsalted butter, cold & cubed
  • 1 teaspoon vanilla
  • 1/2 cup ice cold water

for the filling

  • 5 cups fresh blueberries
  • 1/2 cup raw sugar
  • 1/4 corn starch
  • 1/2 teaspoon cinnamon
  • 1 teaspoon freshly squeezed lemon juice
  • 1 egg + 1 teaspoon water (egg wash)

directions

  • for the dough: using a food processor (or by hand), pulse the flour and salt a few times to blend.
  • add the cubed butter and vanilla. pulse until a crumb like texture is formed.
  • slowly add the cold water one tablespoon at a time until a dough begins to form (if you accidentally add too much water add a bit more flour).
  • once the dough begins to come together, turn out onto a pastry board and form into a disk using your hands.
  • refrigerate for 2 hours, or overnight.
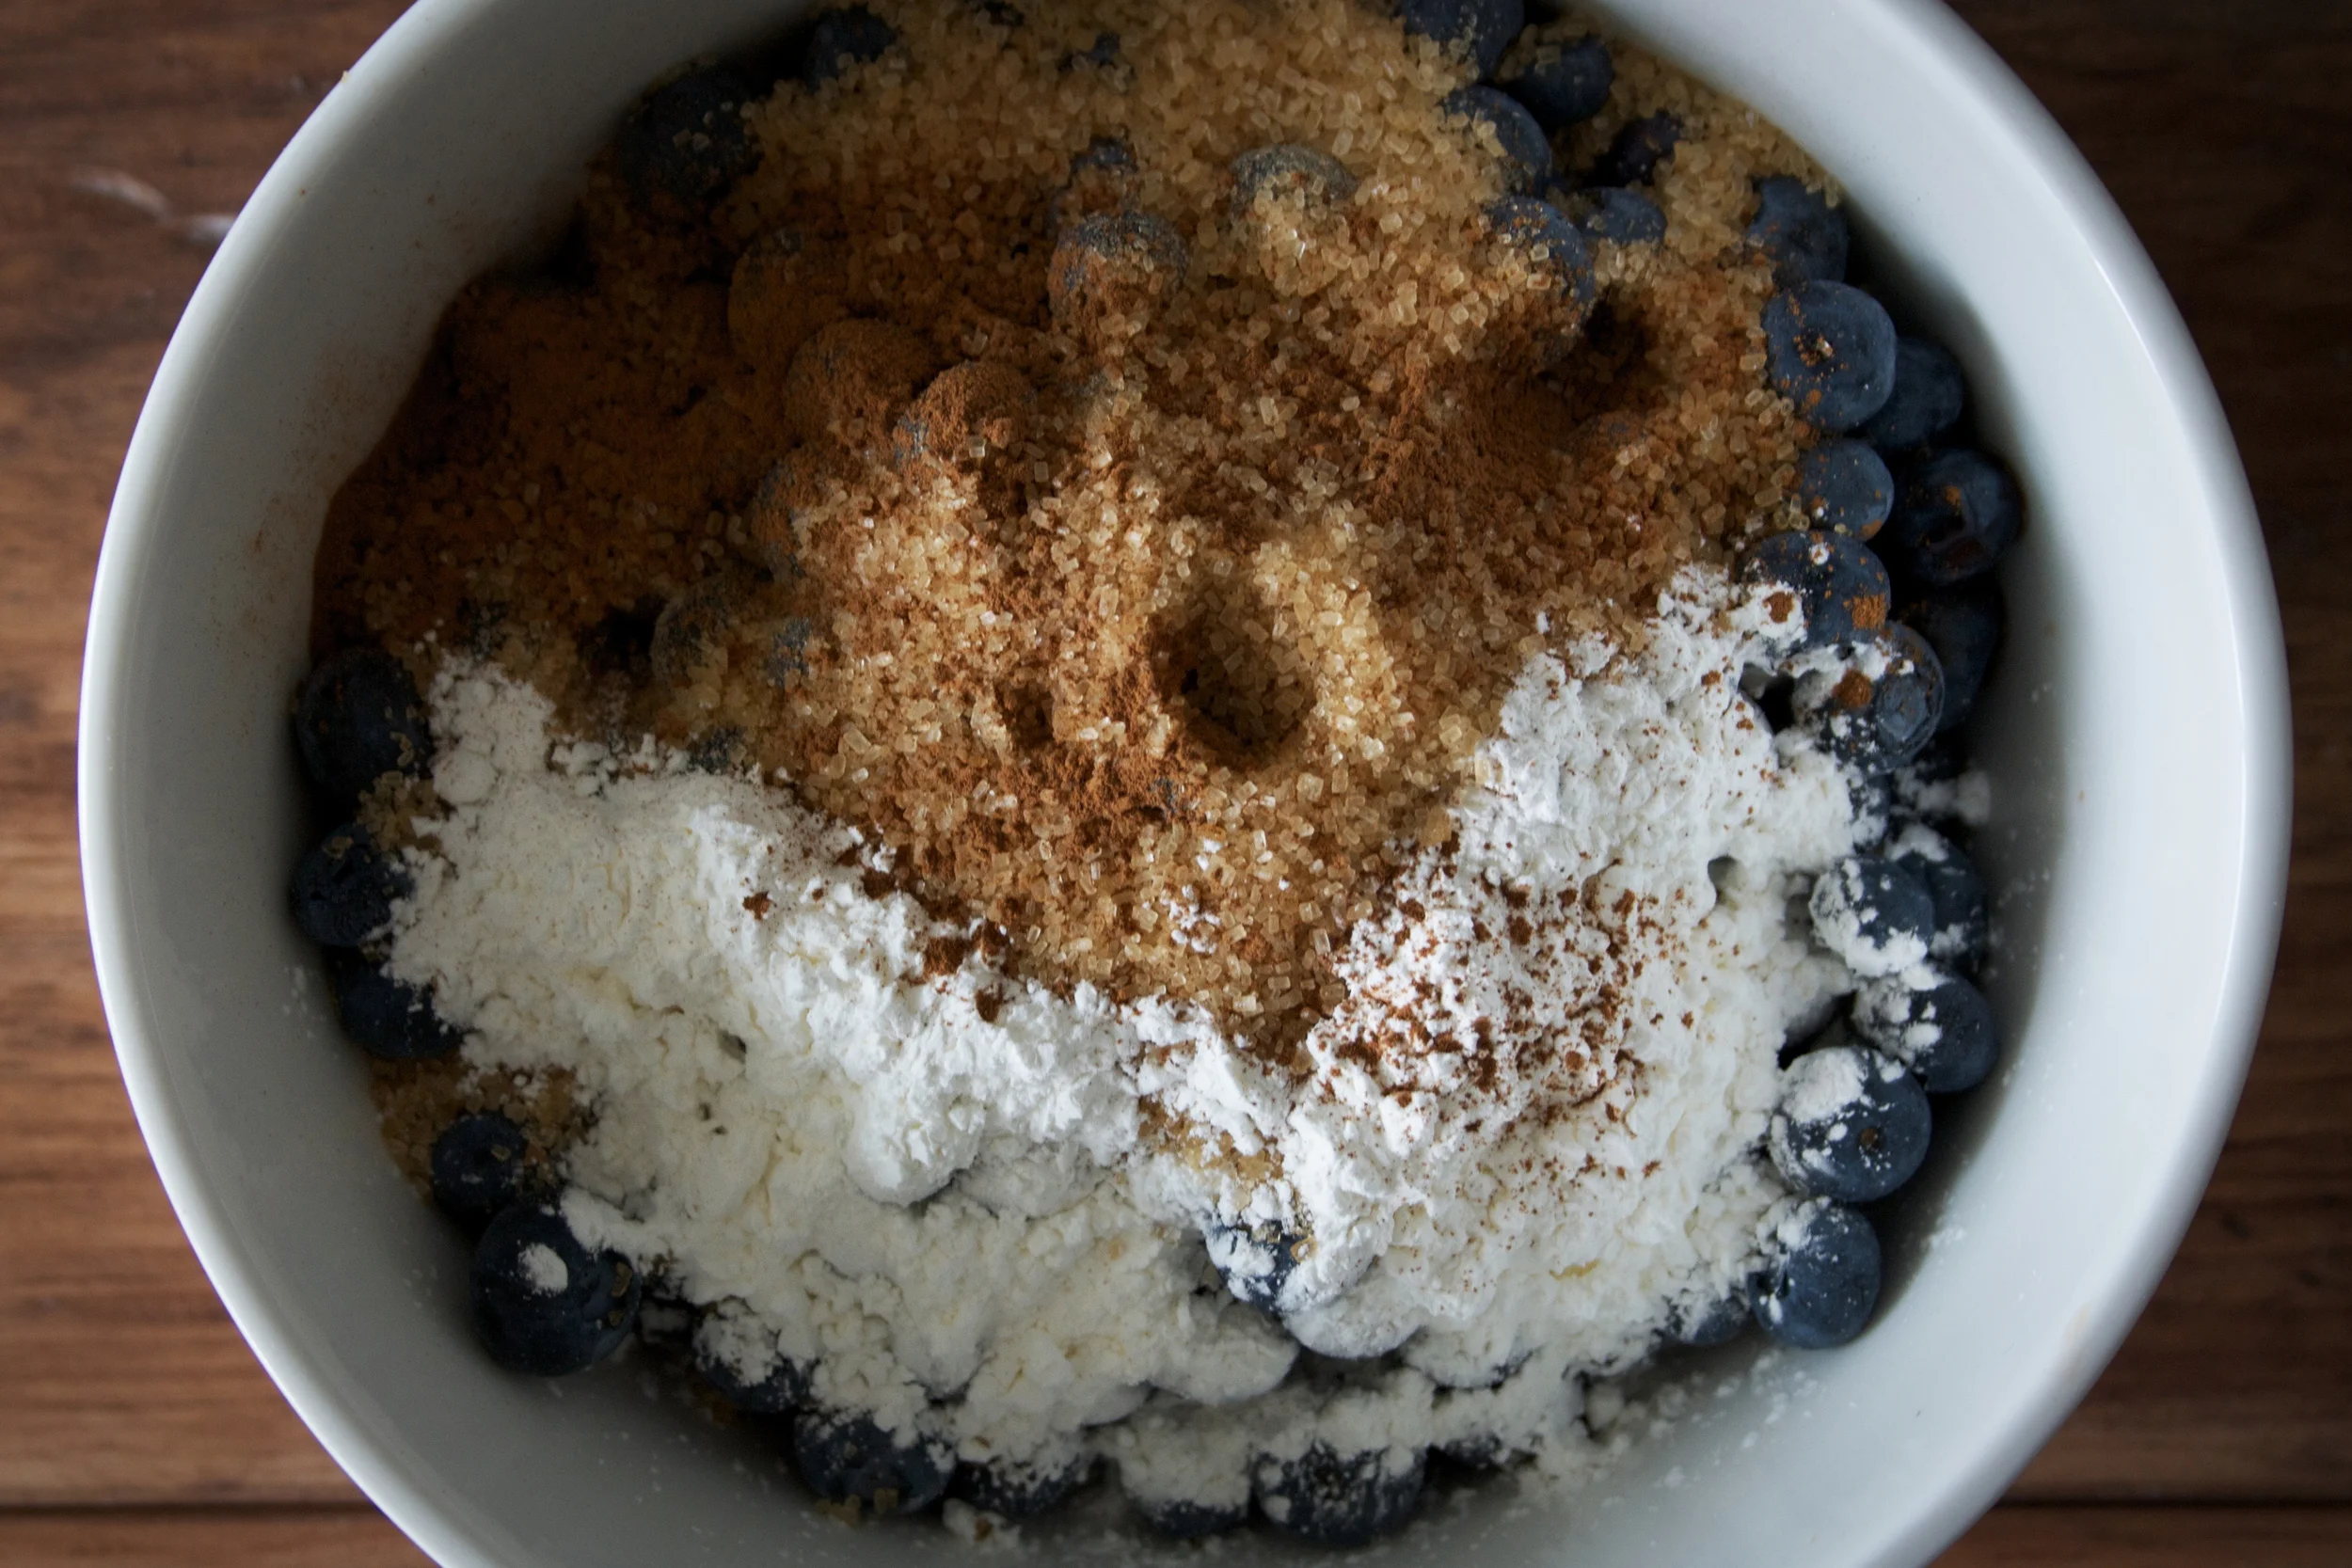
  • for the filling toss blueberries, sugar, corn starch, cinnamon and lemon juice in a mixing bowl.
  • to assemble roll out half the dough to approximately a 1/4 inch thickness. cover pie plate, trim, poke air holes, and pinch in edges.
  • add filling, and top with the second half of dough (note: i did a braided lattice top, but any design will do)
  • brush with egg wash & sprinkle with raw sugar.
  • cook at 400 degrees for 25 minutes, turn temperature down to 350 degrees and cook for another 30 minutes.
  • let pie cool to room temperature to set before slicing.