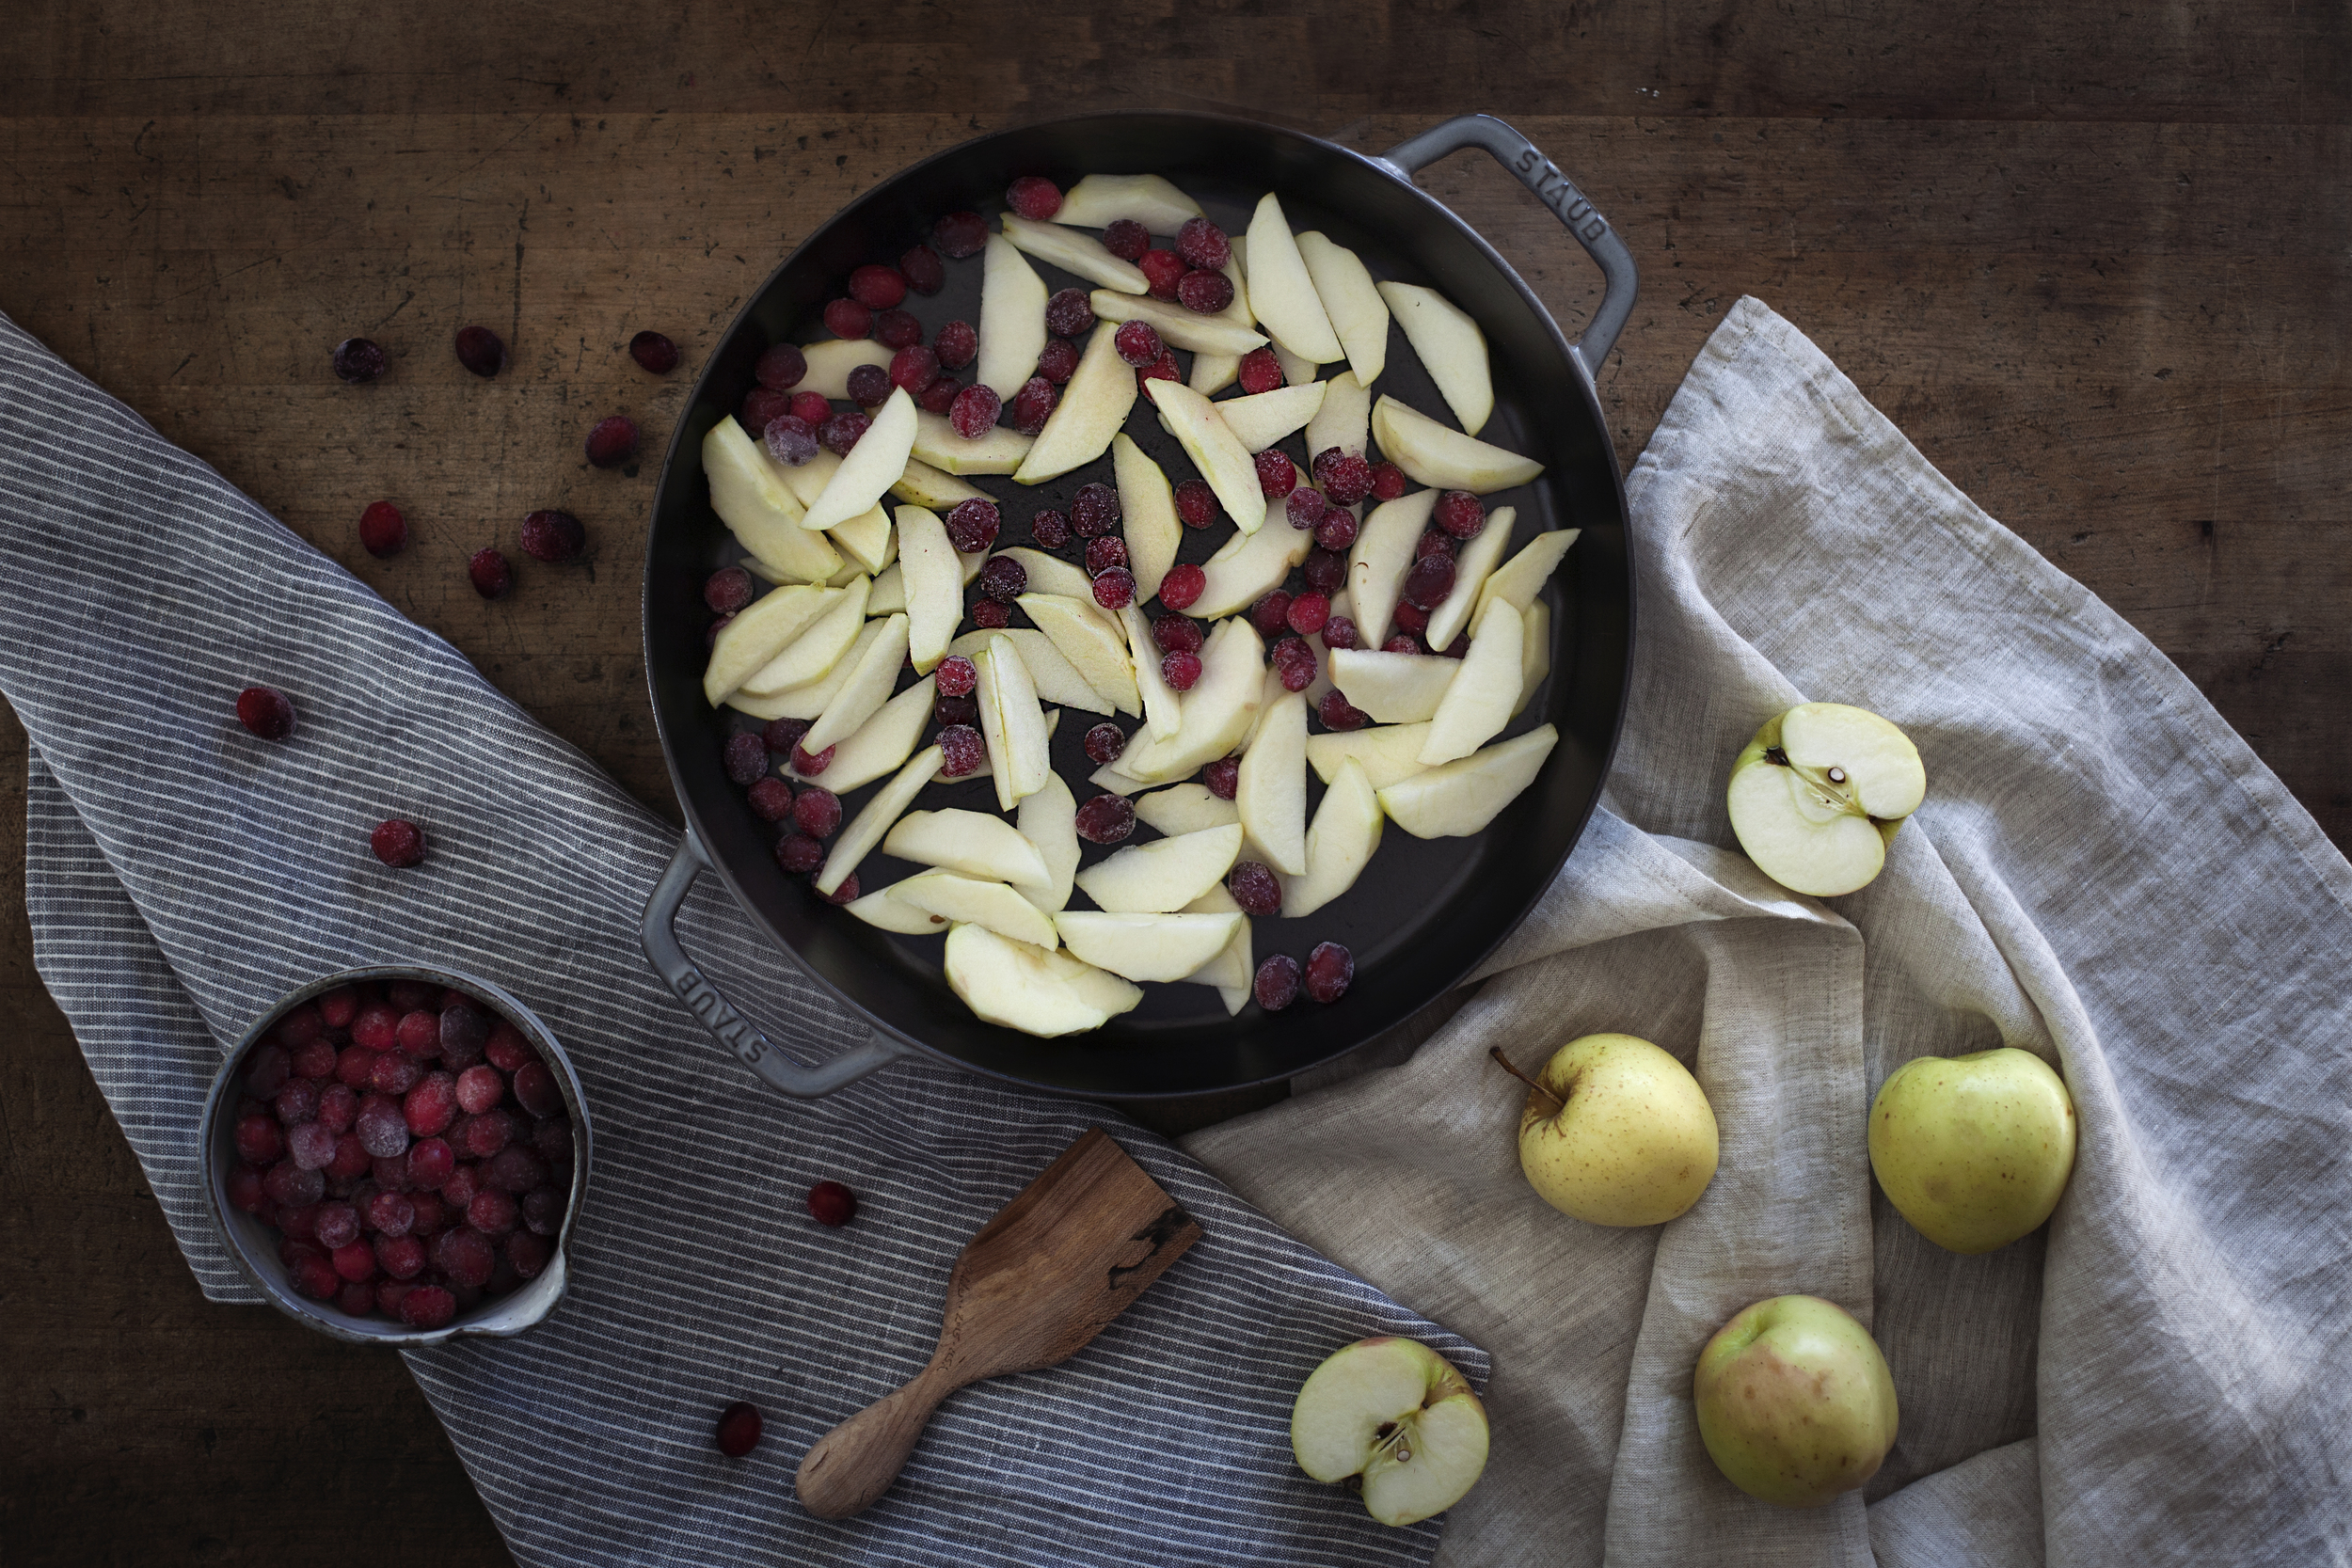
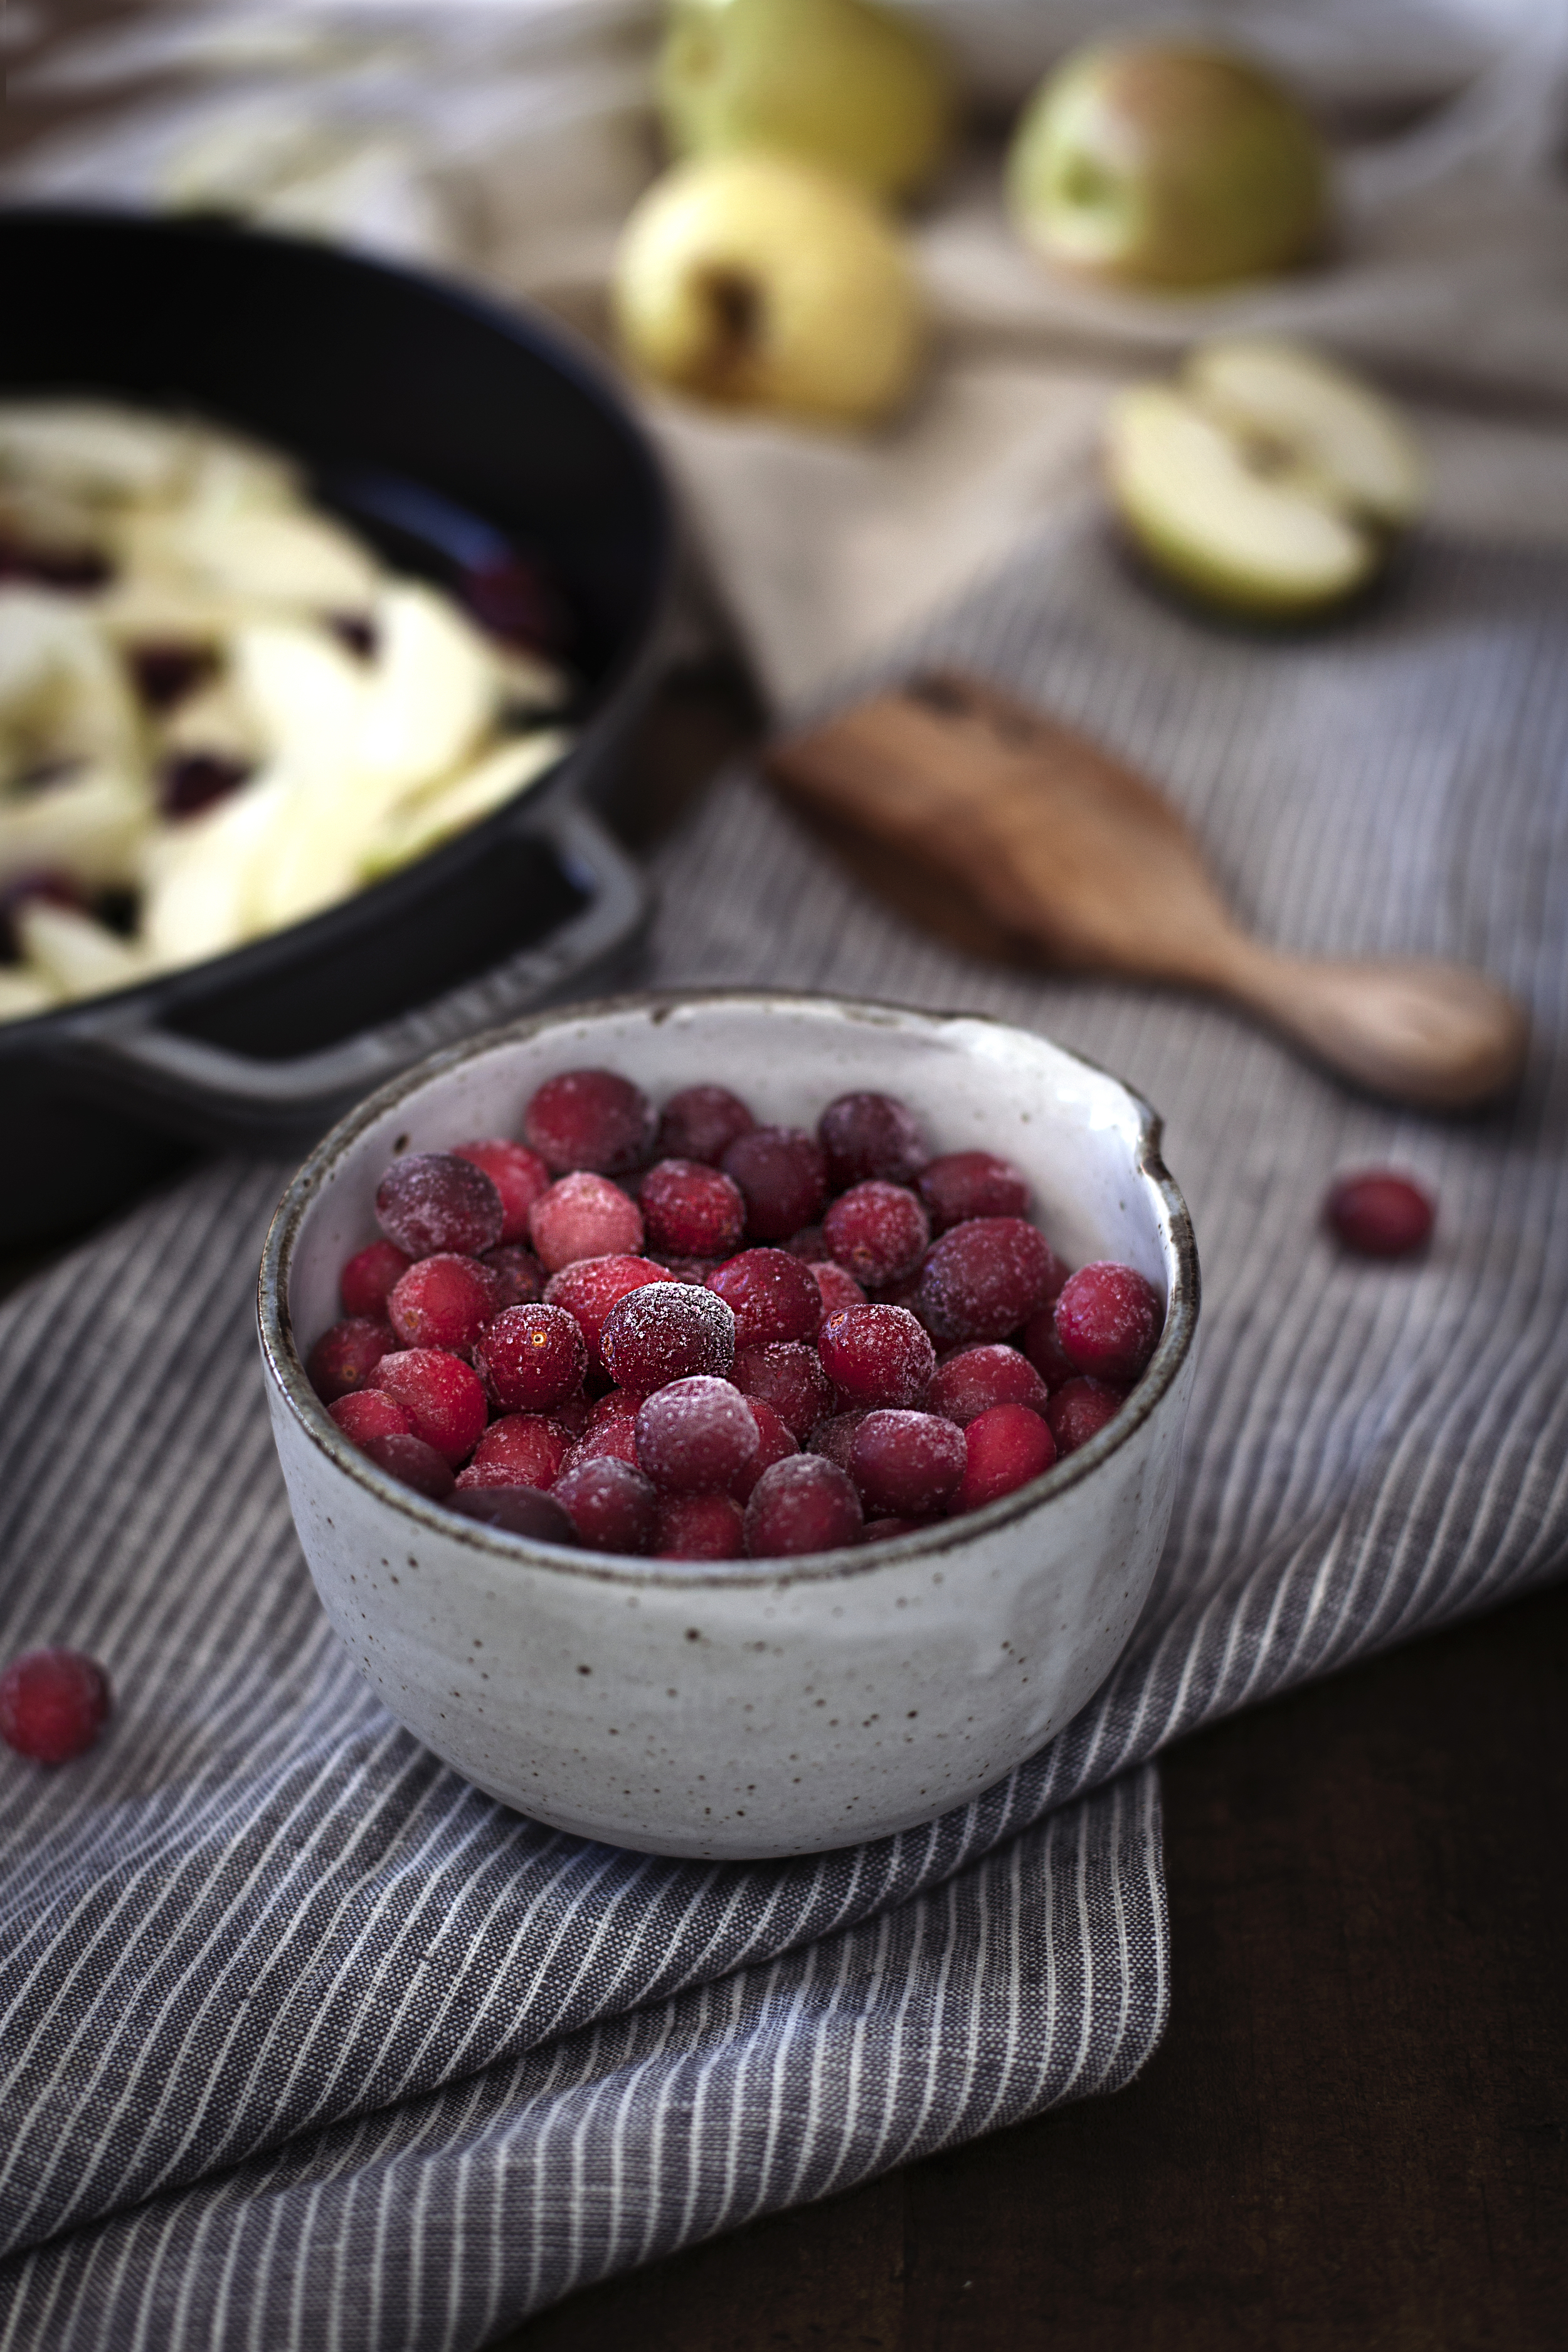
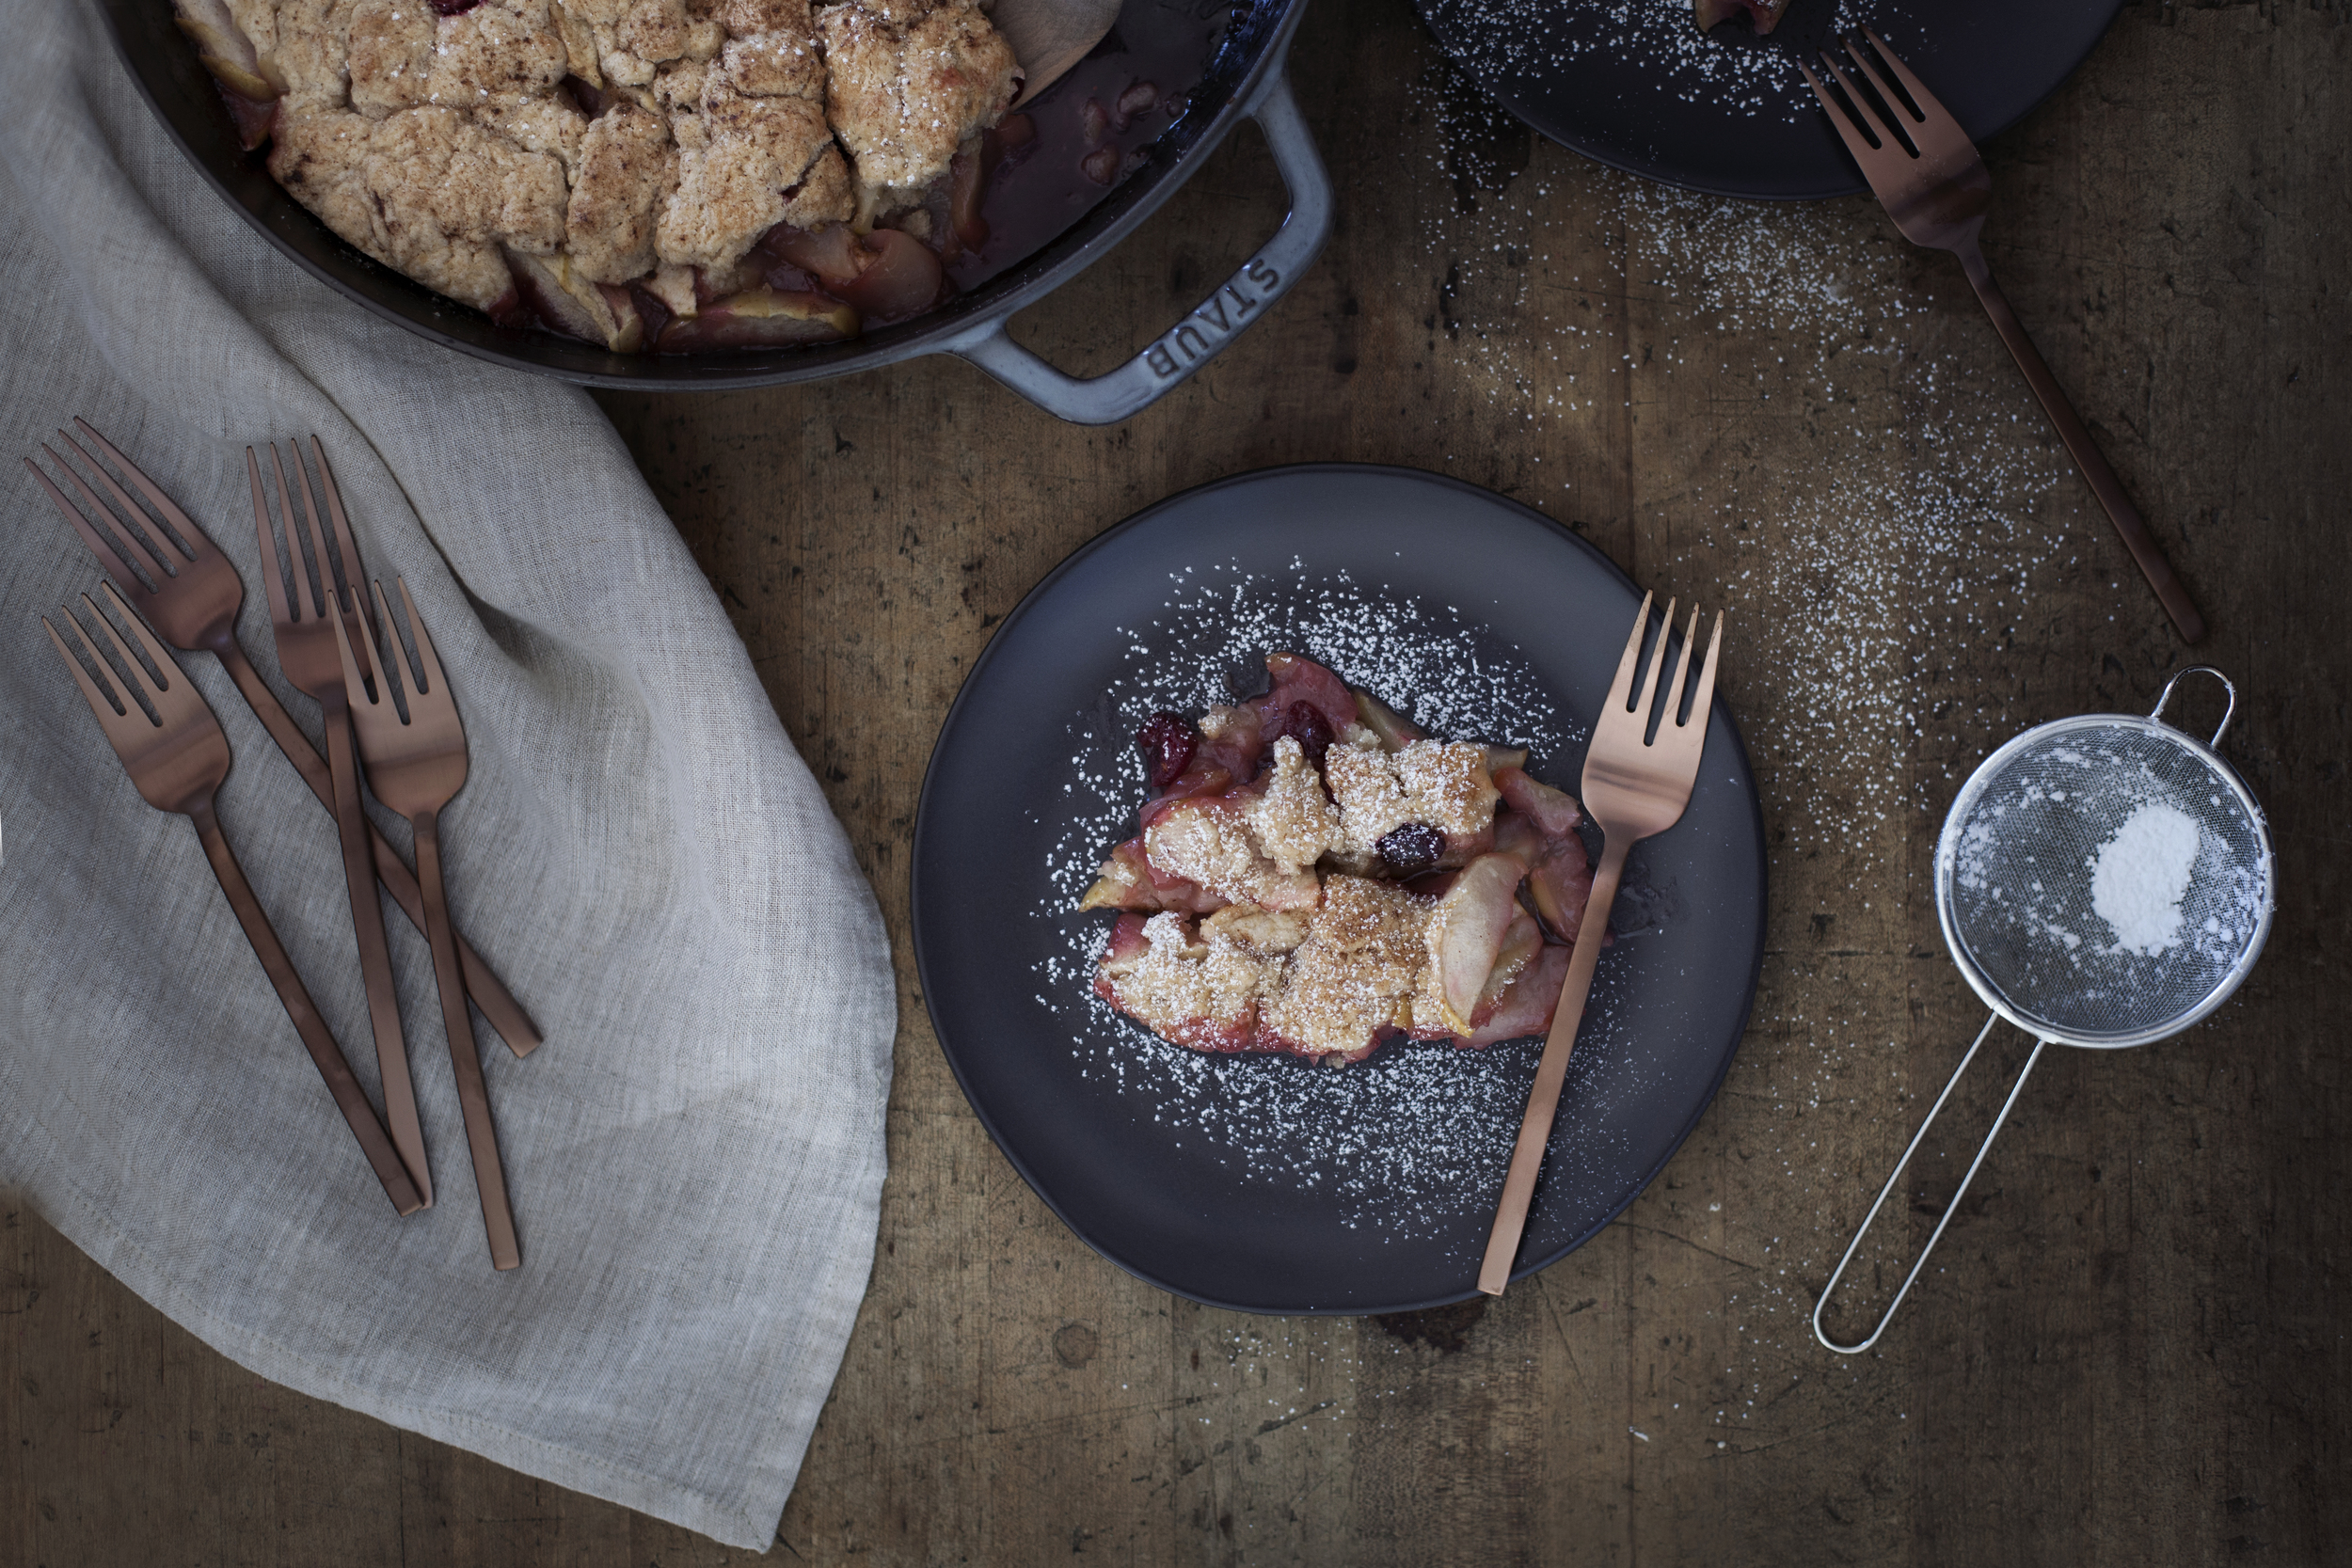
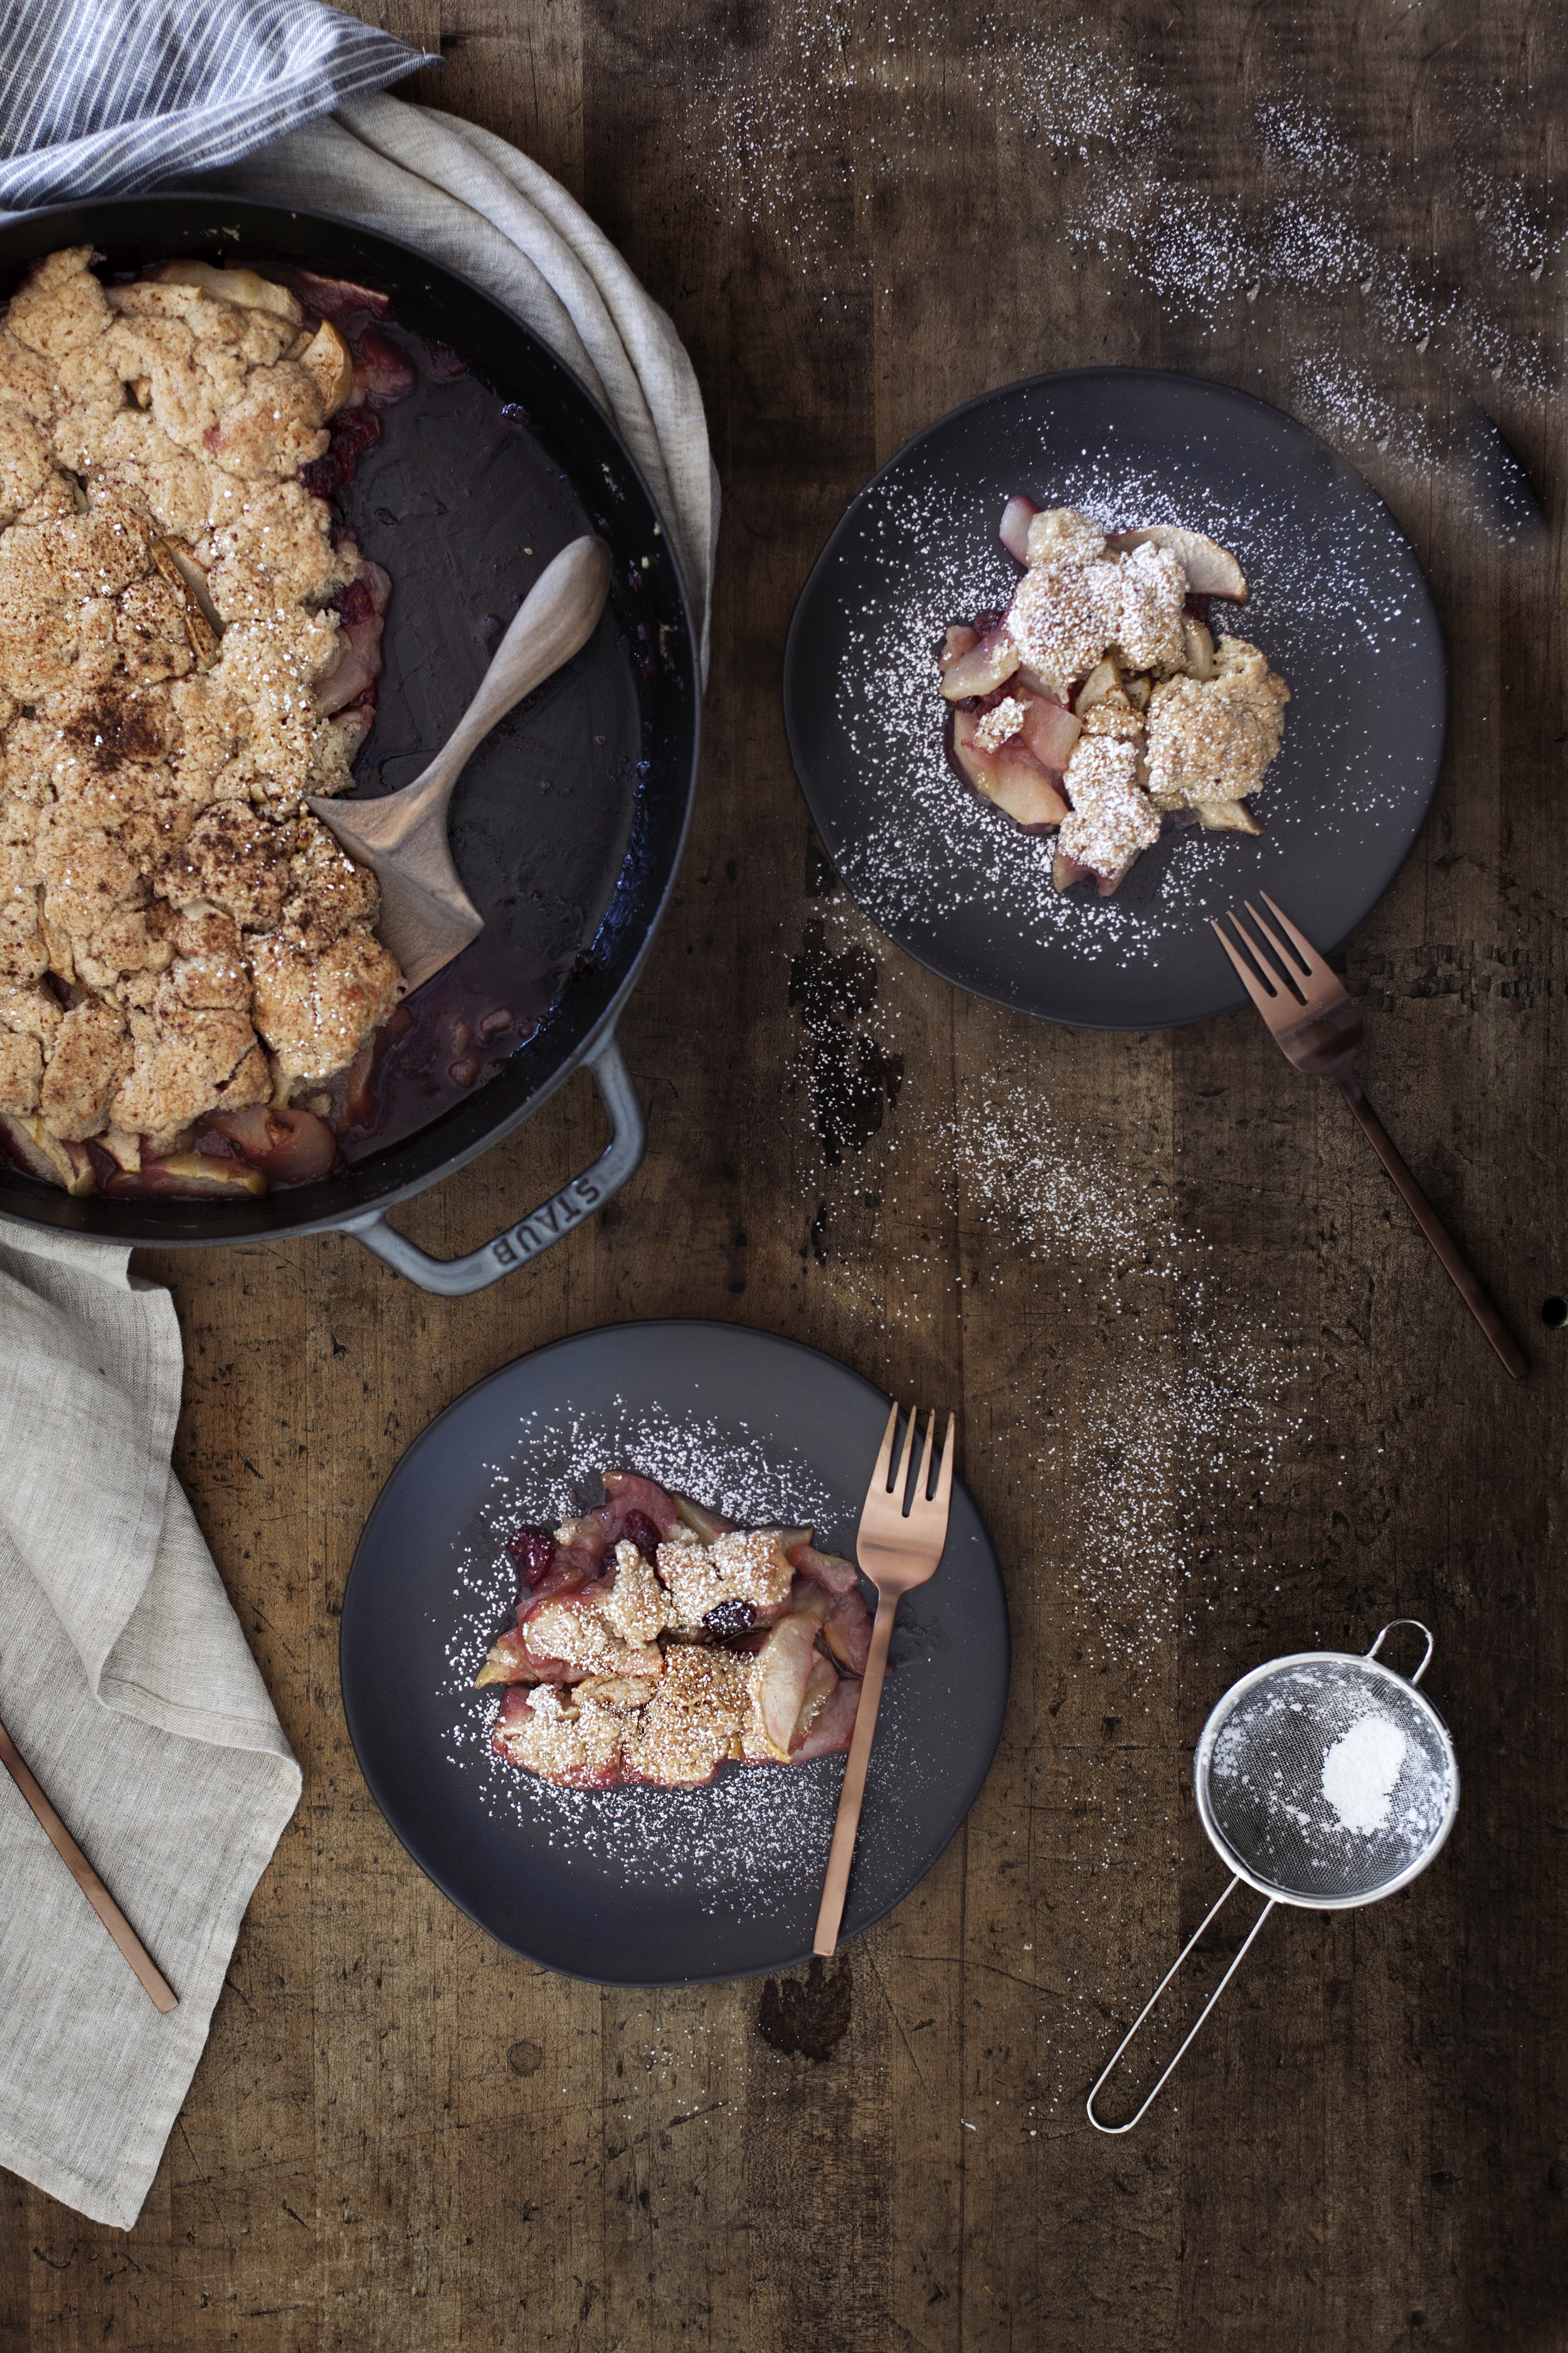
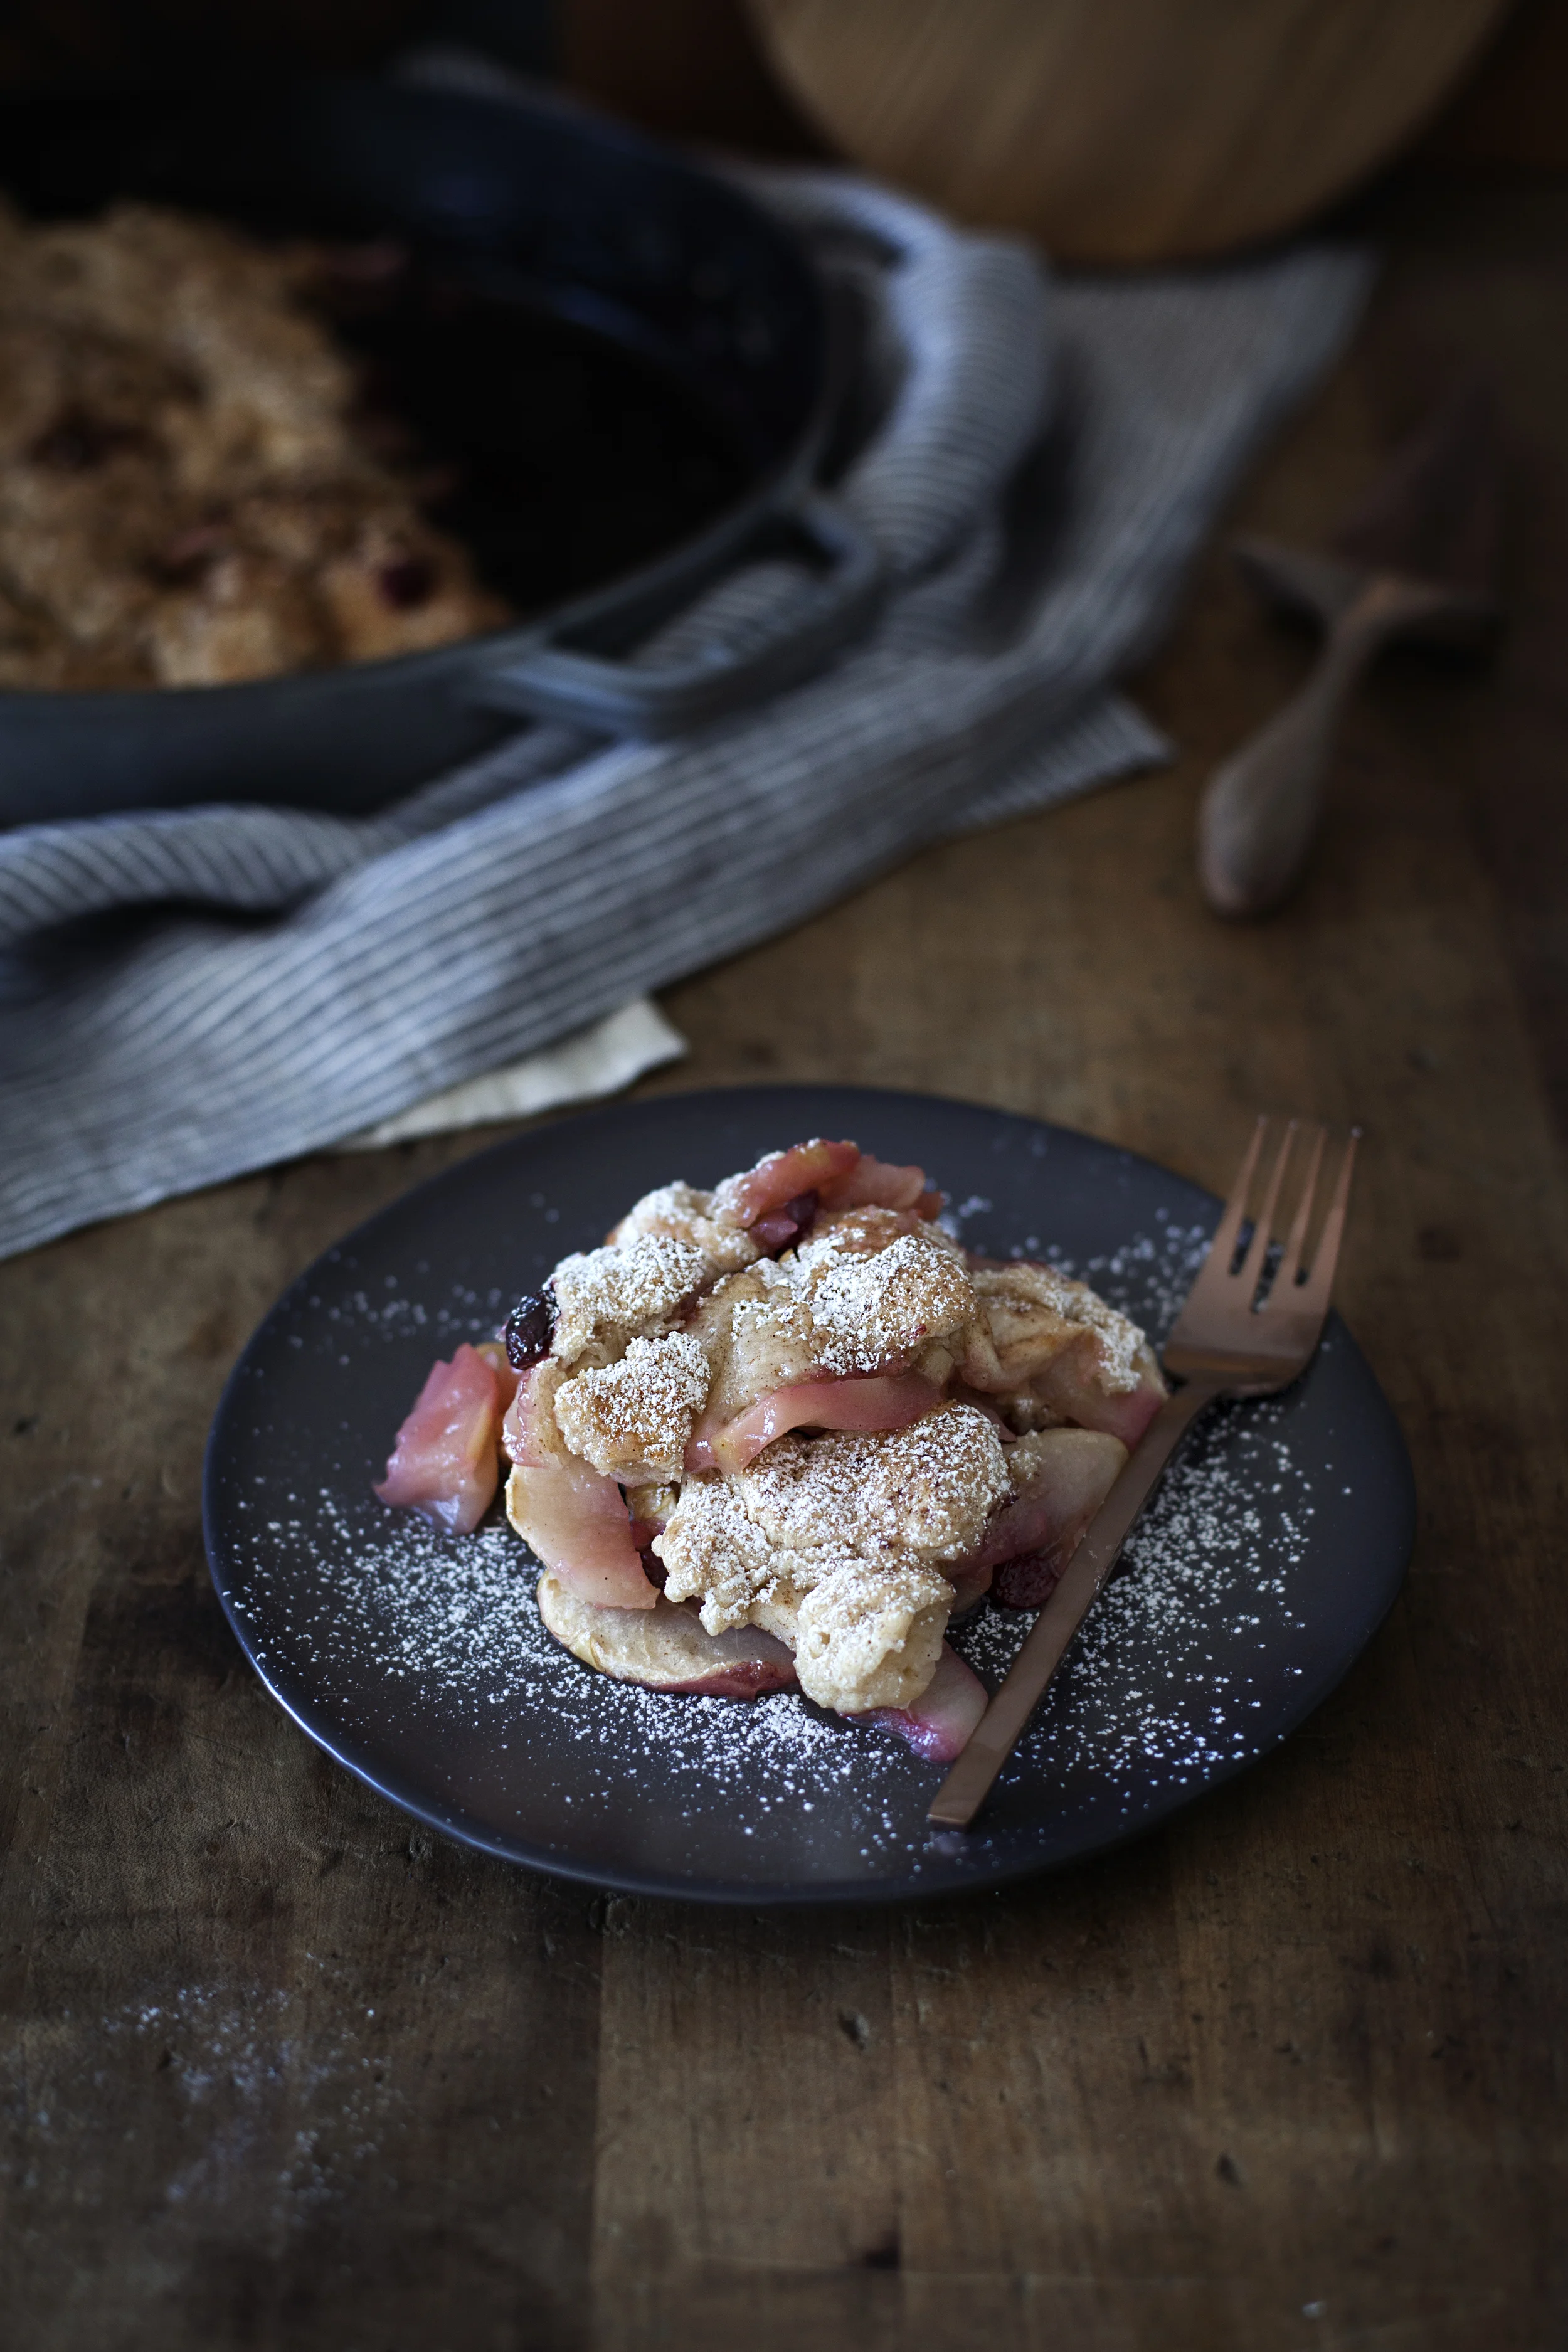
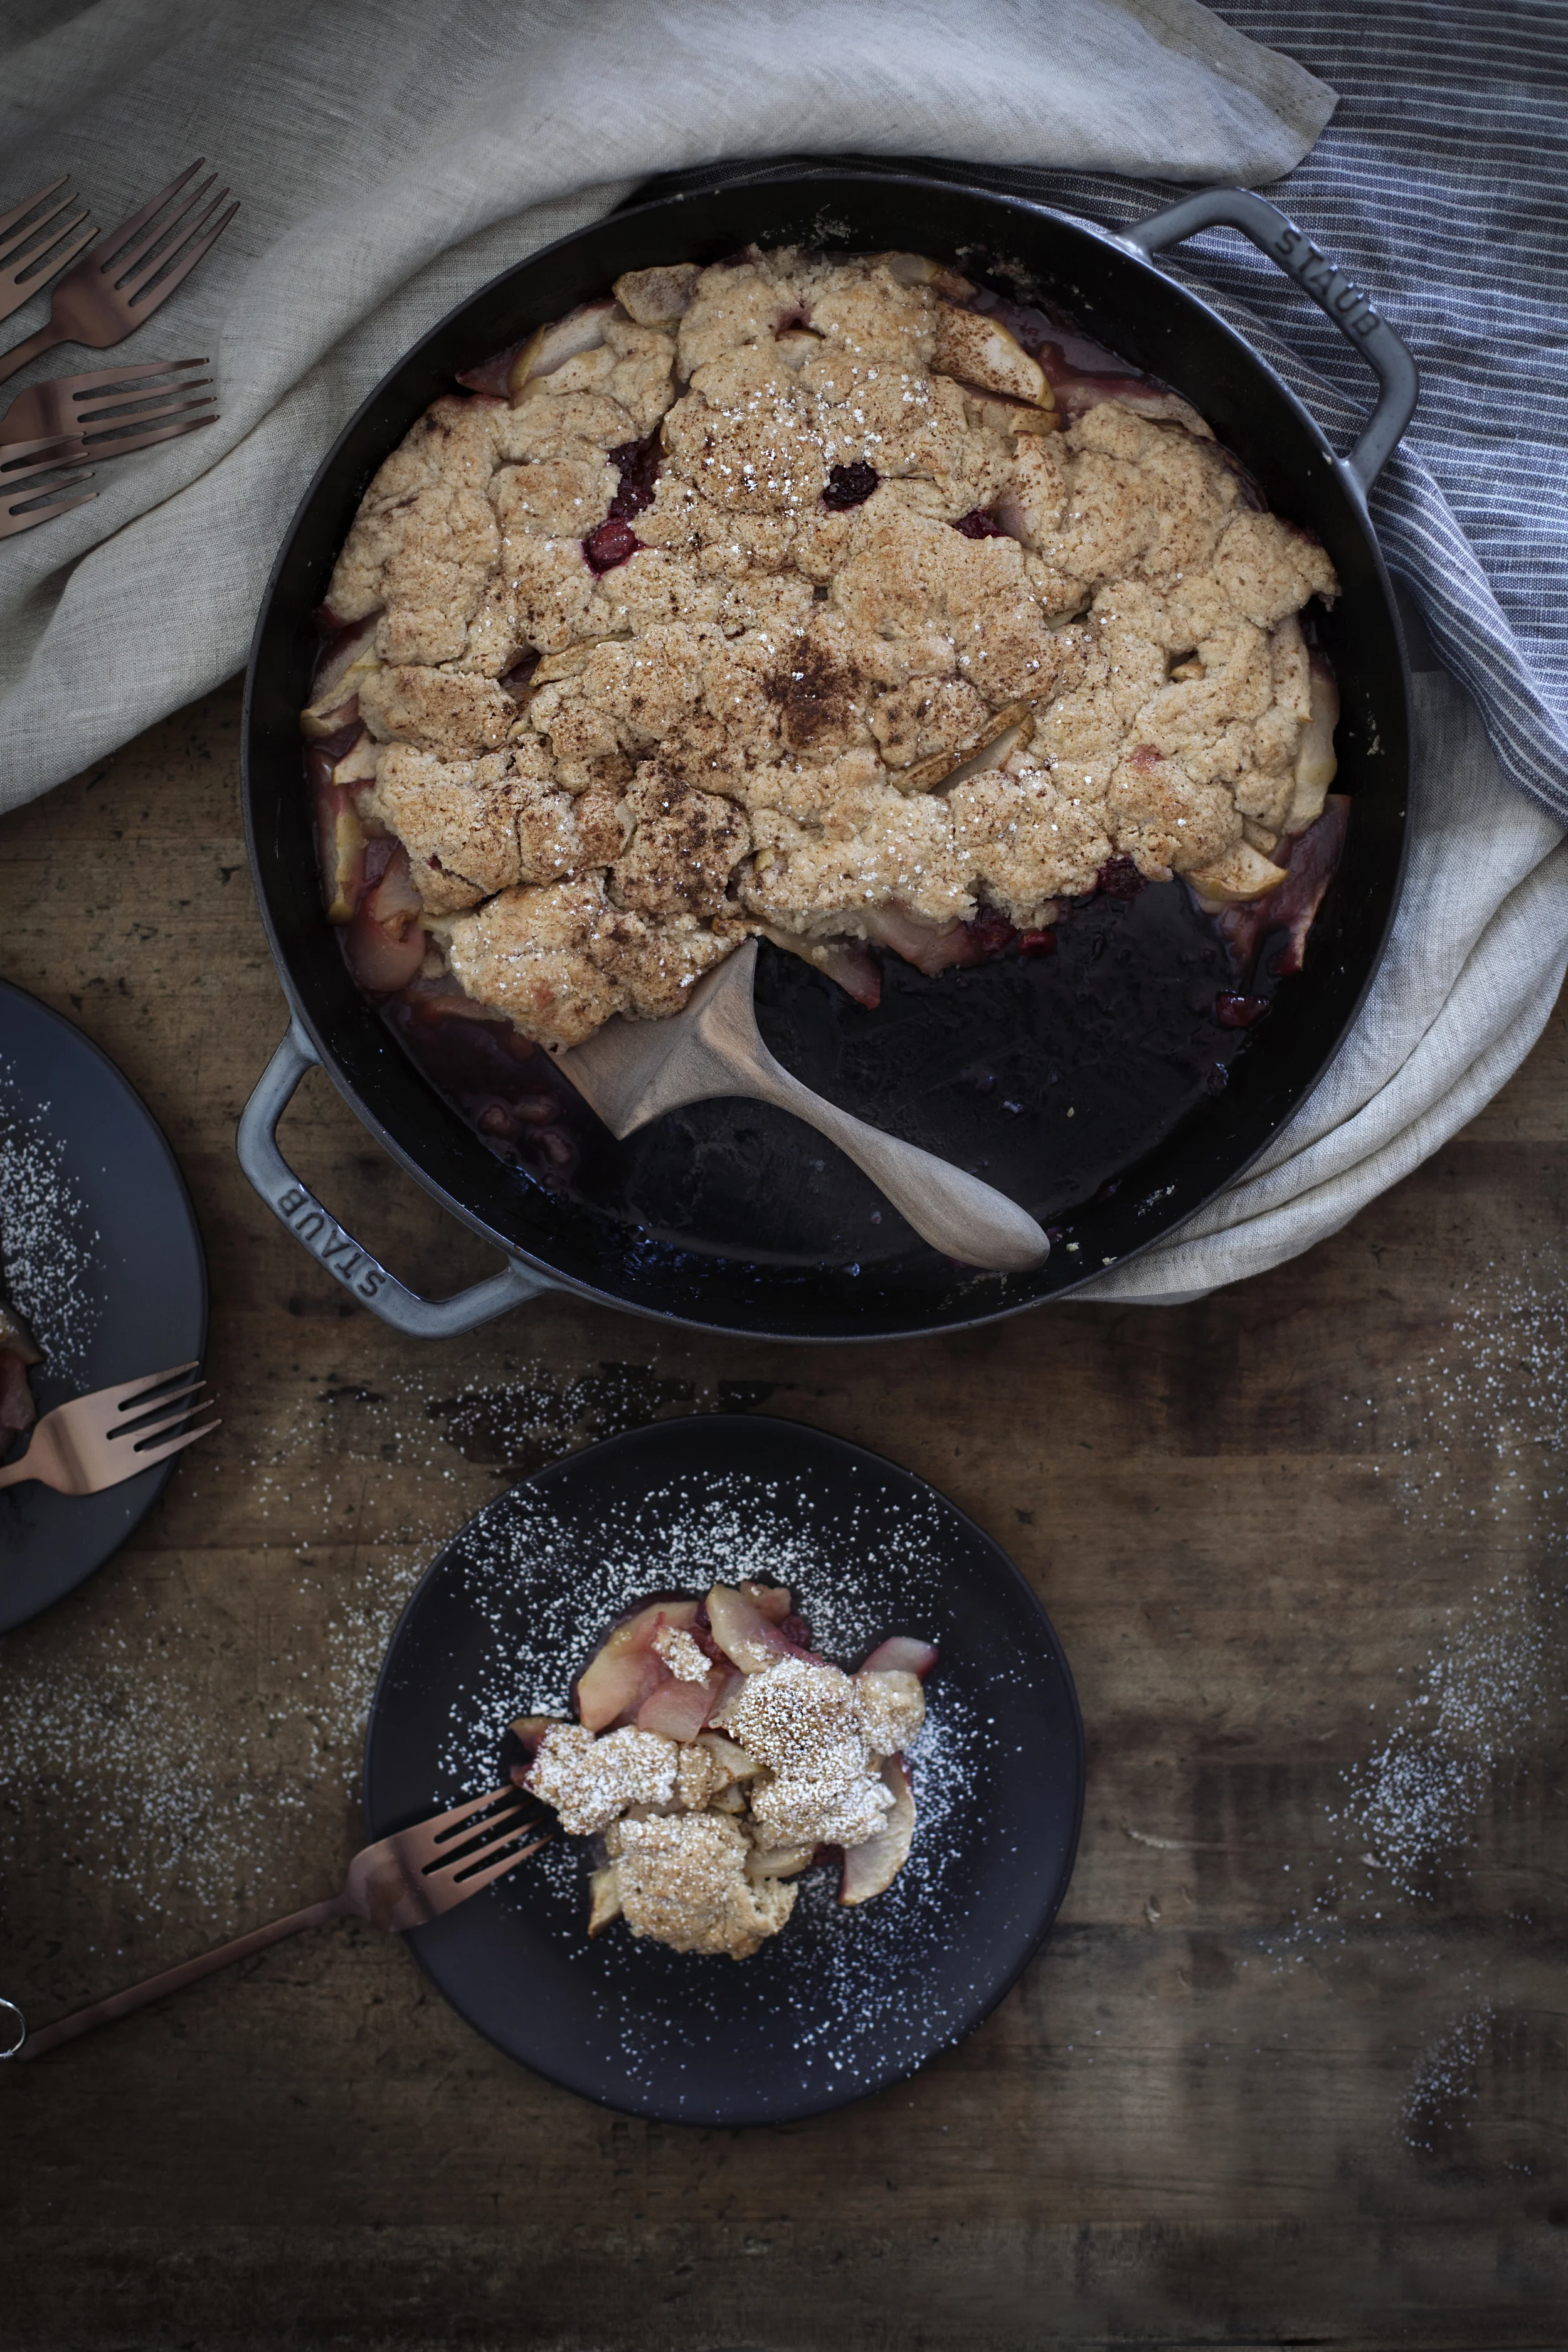
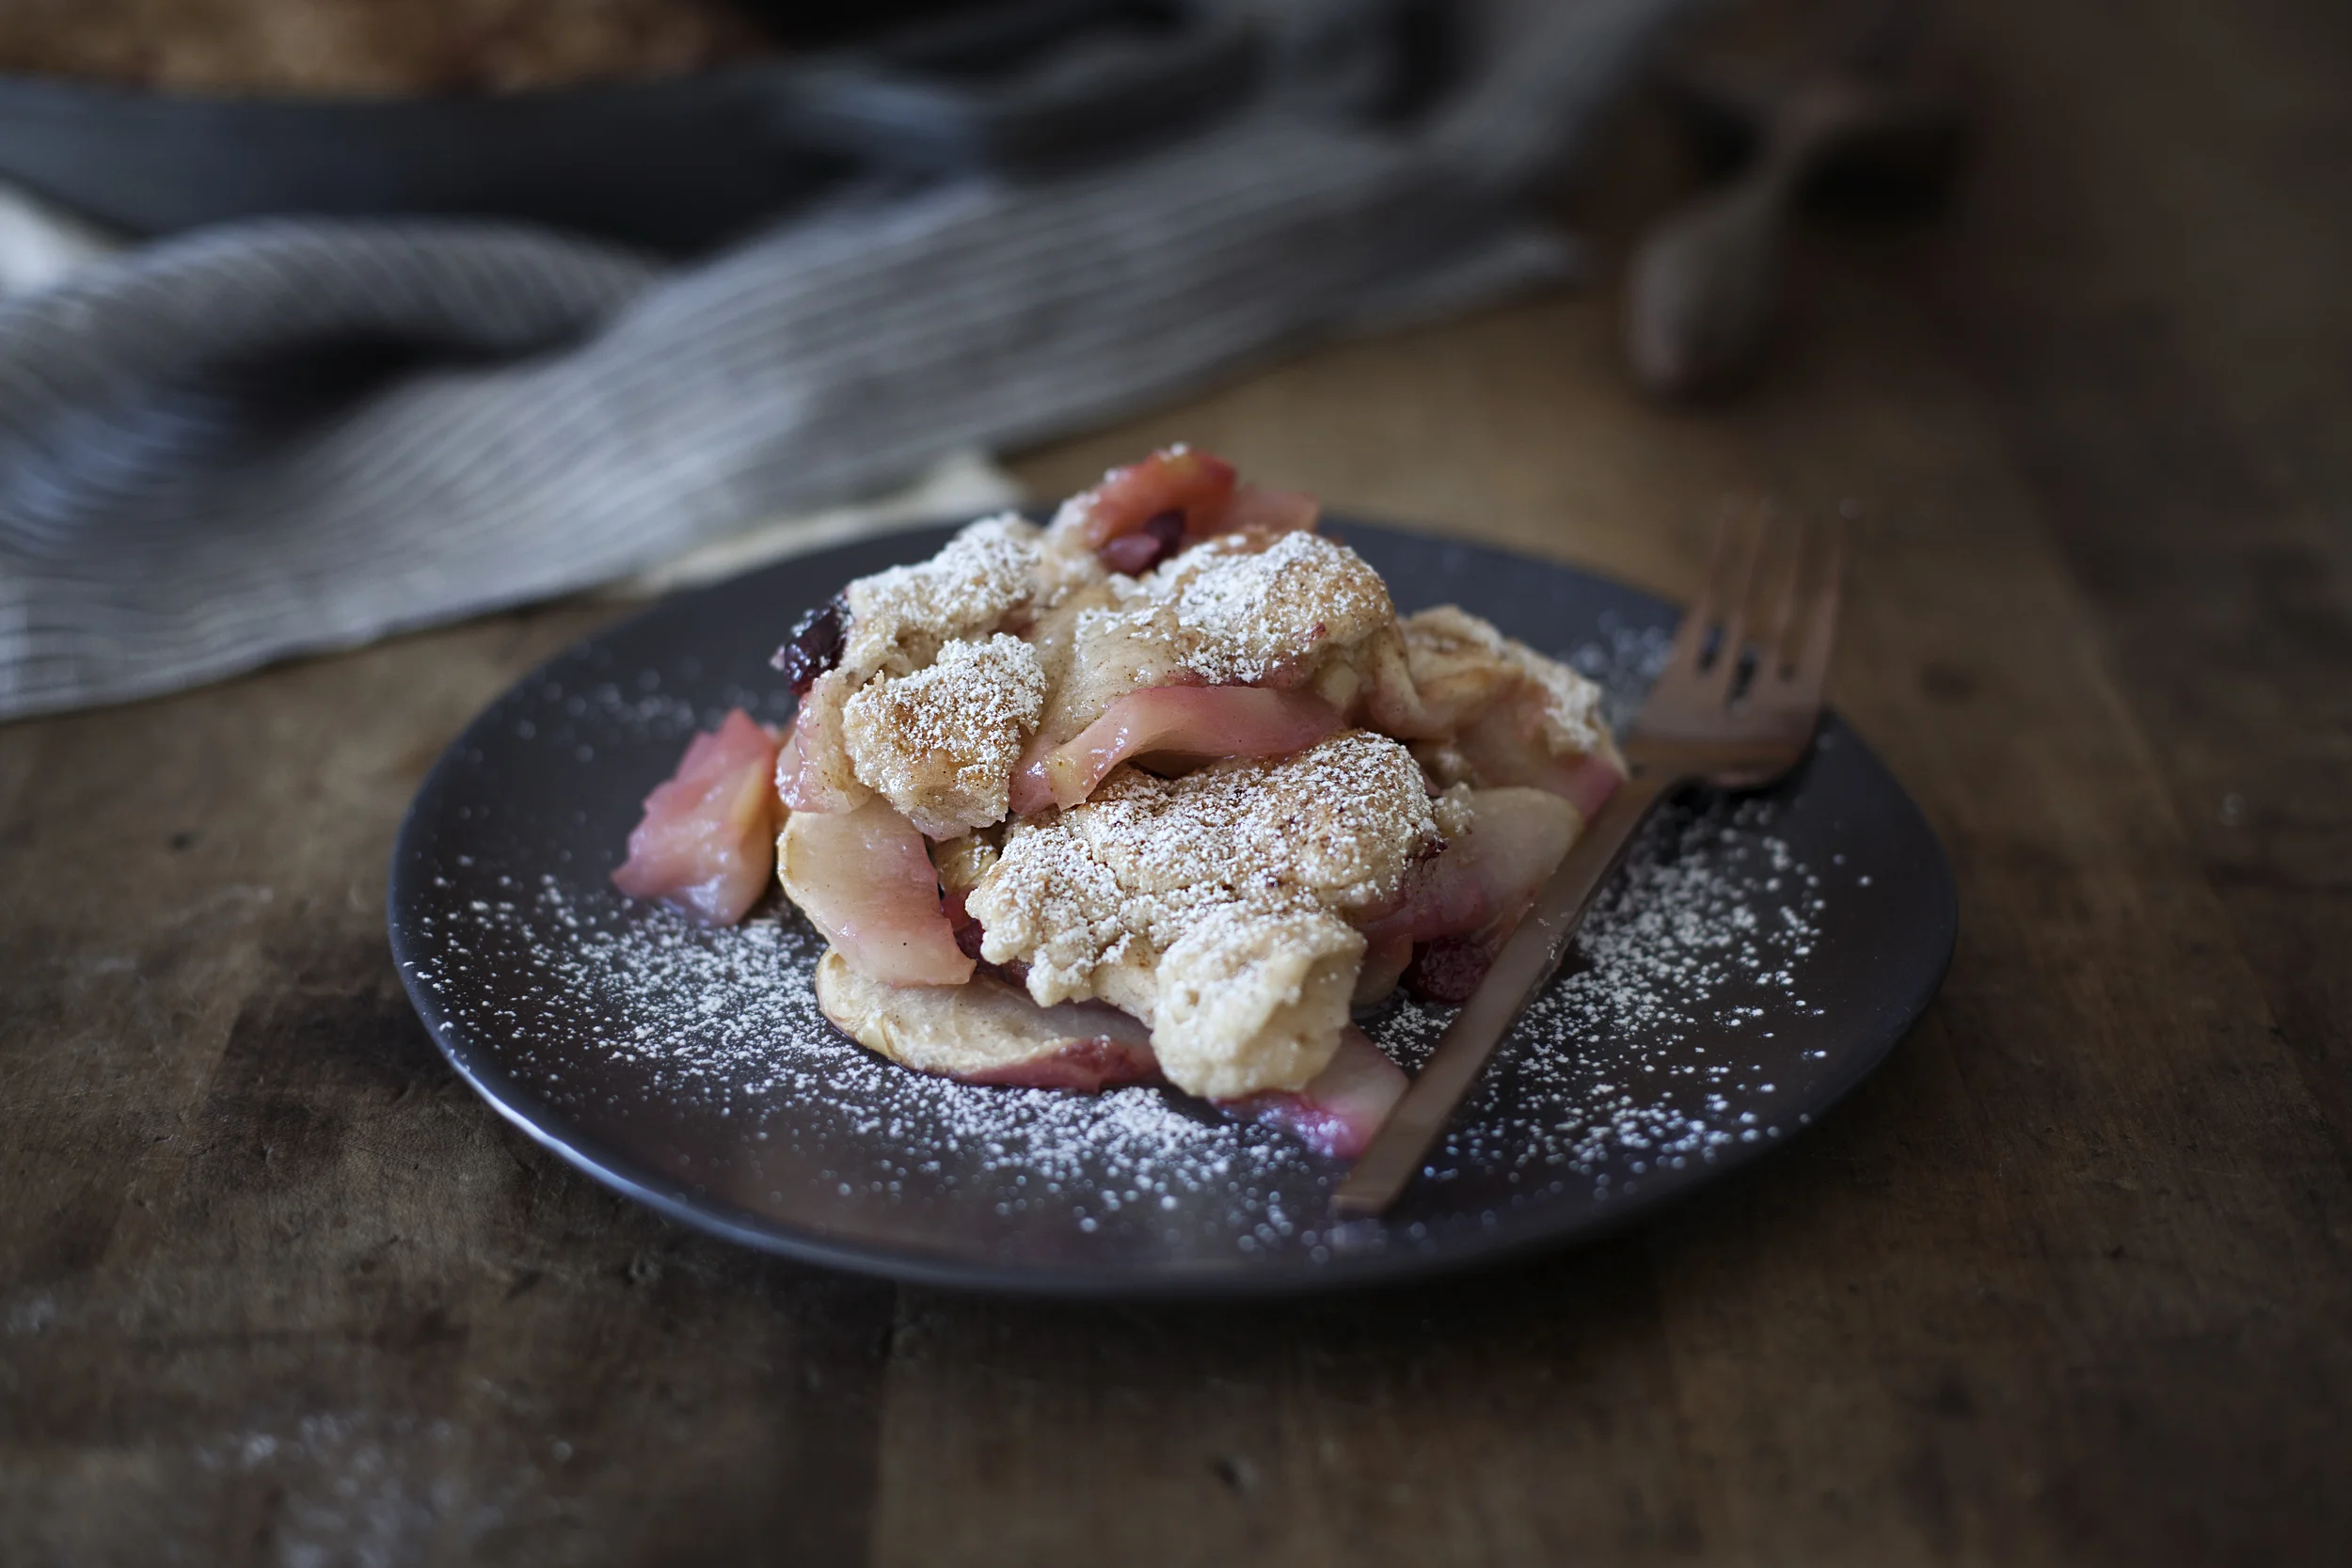
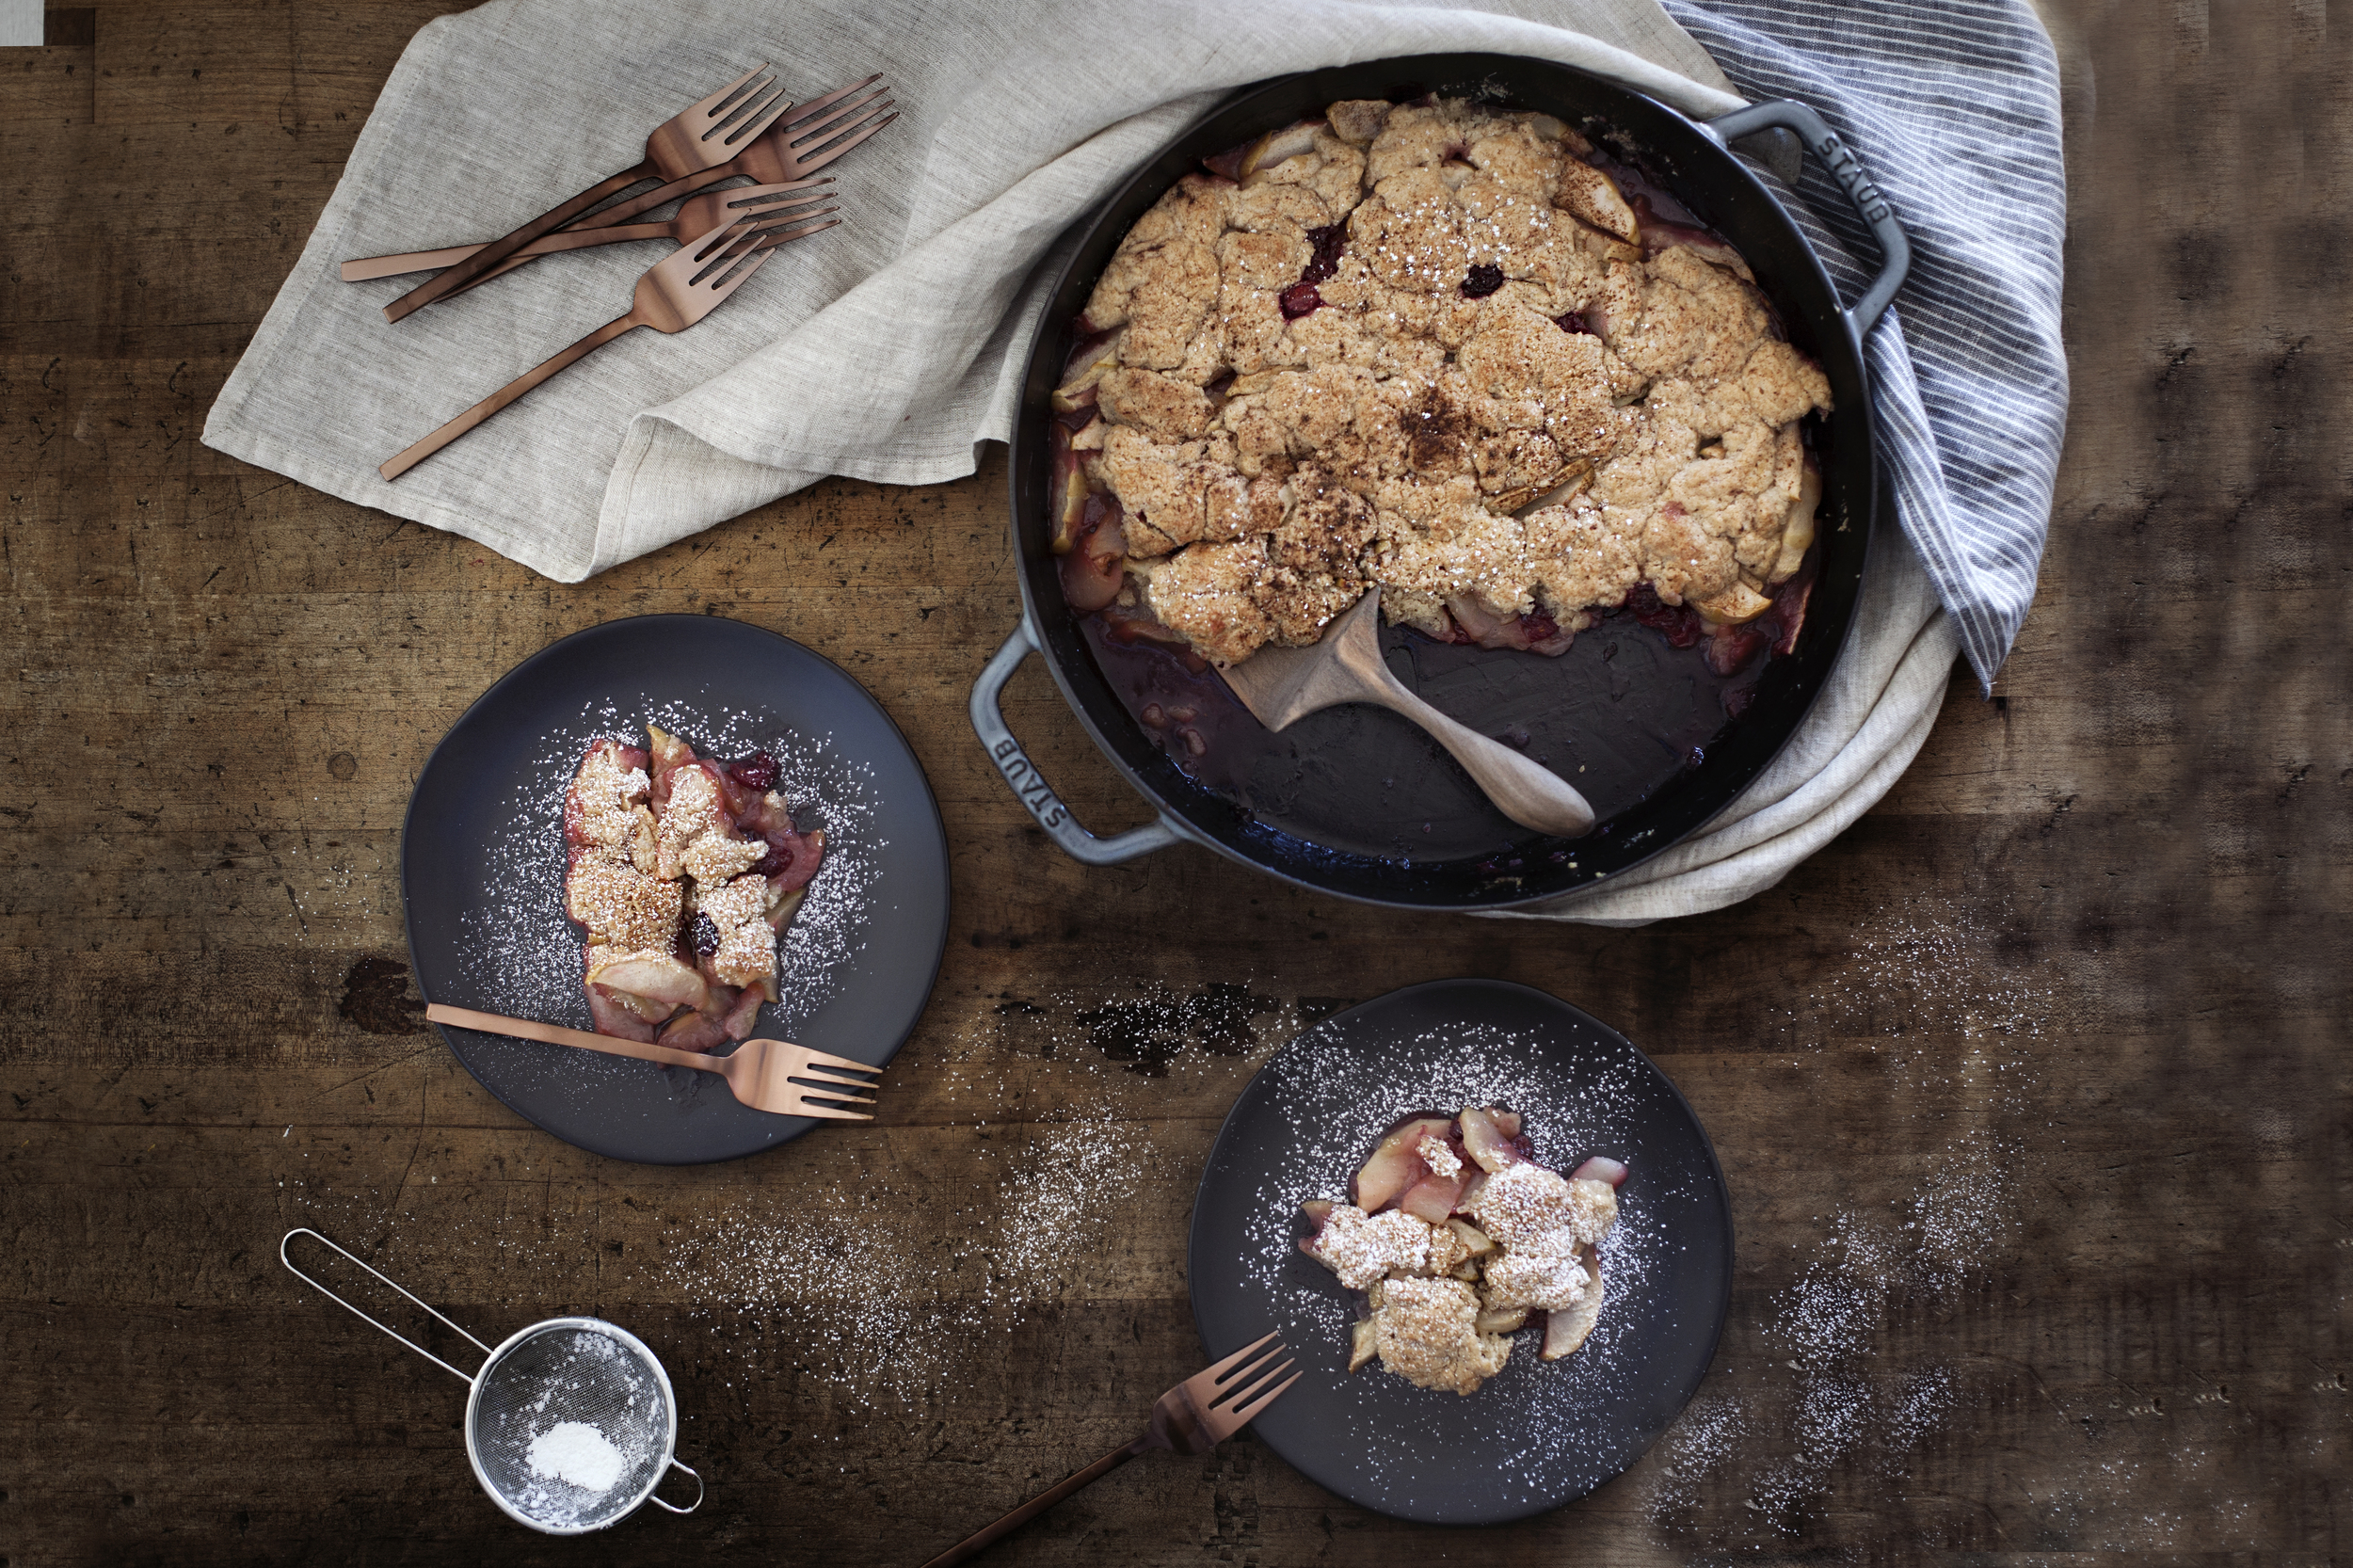
CRANBERRY APPLE COBBLER


happy sunday! the weather here in toronto is slowly starting to cool off again after the oddly hot november week we just experienced. while everyone was freaking out over how gorgeous it was.. i just want snow & to be able to put my chunky knit sweaters back on & cook wintery comfort foods (sorry, not sorry). CUE: delicious apple cranberry cobbler. what is seriously a better way to end off a sunday dinner then with this rustic cobbler. i absolutely love the combination of apples & cranberries.. the tartness of the berries compliments the sweetness of the apples perfectly! anyways, i have a busy day of relaxing to get back to.. sipping on tea, wrapped in my favourite wool blanket & finishing the latest book i just received titled food whore by jessica tom! it's a fun book about what life in new york is like for an aspiring food writer! if you instantly thought of the devil wears parada meets delicious food, then you got it.

ingredients

for the filling

  • 3 lbs firm apples (approximately 5-6 large apples)
  • 1.5 cups fresh or frozen cranberries
  • 1 tablespoon cornstarch
  • 1 teaspoon pure vanilla extract
  • 1/2 cup raw sugar
  • 1/4 teaspoon ground nutmeg

for the topping

  • 1 cup all purpose flour
  • 1/2 teaspoon ground cinnamon
  • 1/8 teaspoon ground nutmeg
  • 1/2 cup raw sugar
  • 1 teaspoon baking powder
  • 1/4 teaspoon salt
  • 1/2 cup unsalted butter, cold & cubed
  • 1/4 cup whole milk
  • 1 teaspoon pure vanilla extract

directions

  • preheat oven to 375 degrees.
  • in a mixing bowl mix apples, cranberries, cornstarch, vanilla, sugar & nutmeg.
  • place mixture into baking dish and bake in oven for 10 minutes, while you prepare your topping.
  • in a separate mixing bowl sift flour, cinnamon, nutmeg, sugar, baking powder and salt.
  • blend in butter like you would a pie dough, until mixture resembles a crumb like texture
  • add milk & vanilla until just combined.
  • remove filling from oven & evenly top with the mixture.
  • finish off by sprinkling raw sugar & dusting with cinnamon.
  • bake for 20-25 minutes until topping begins to slightly brown.
  • remove from oven, dust with powdered sugar & serve.

like what you see? get it here. double handled frying pan | pour bowl | plates | flatware | spatula | pie server
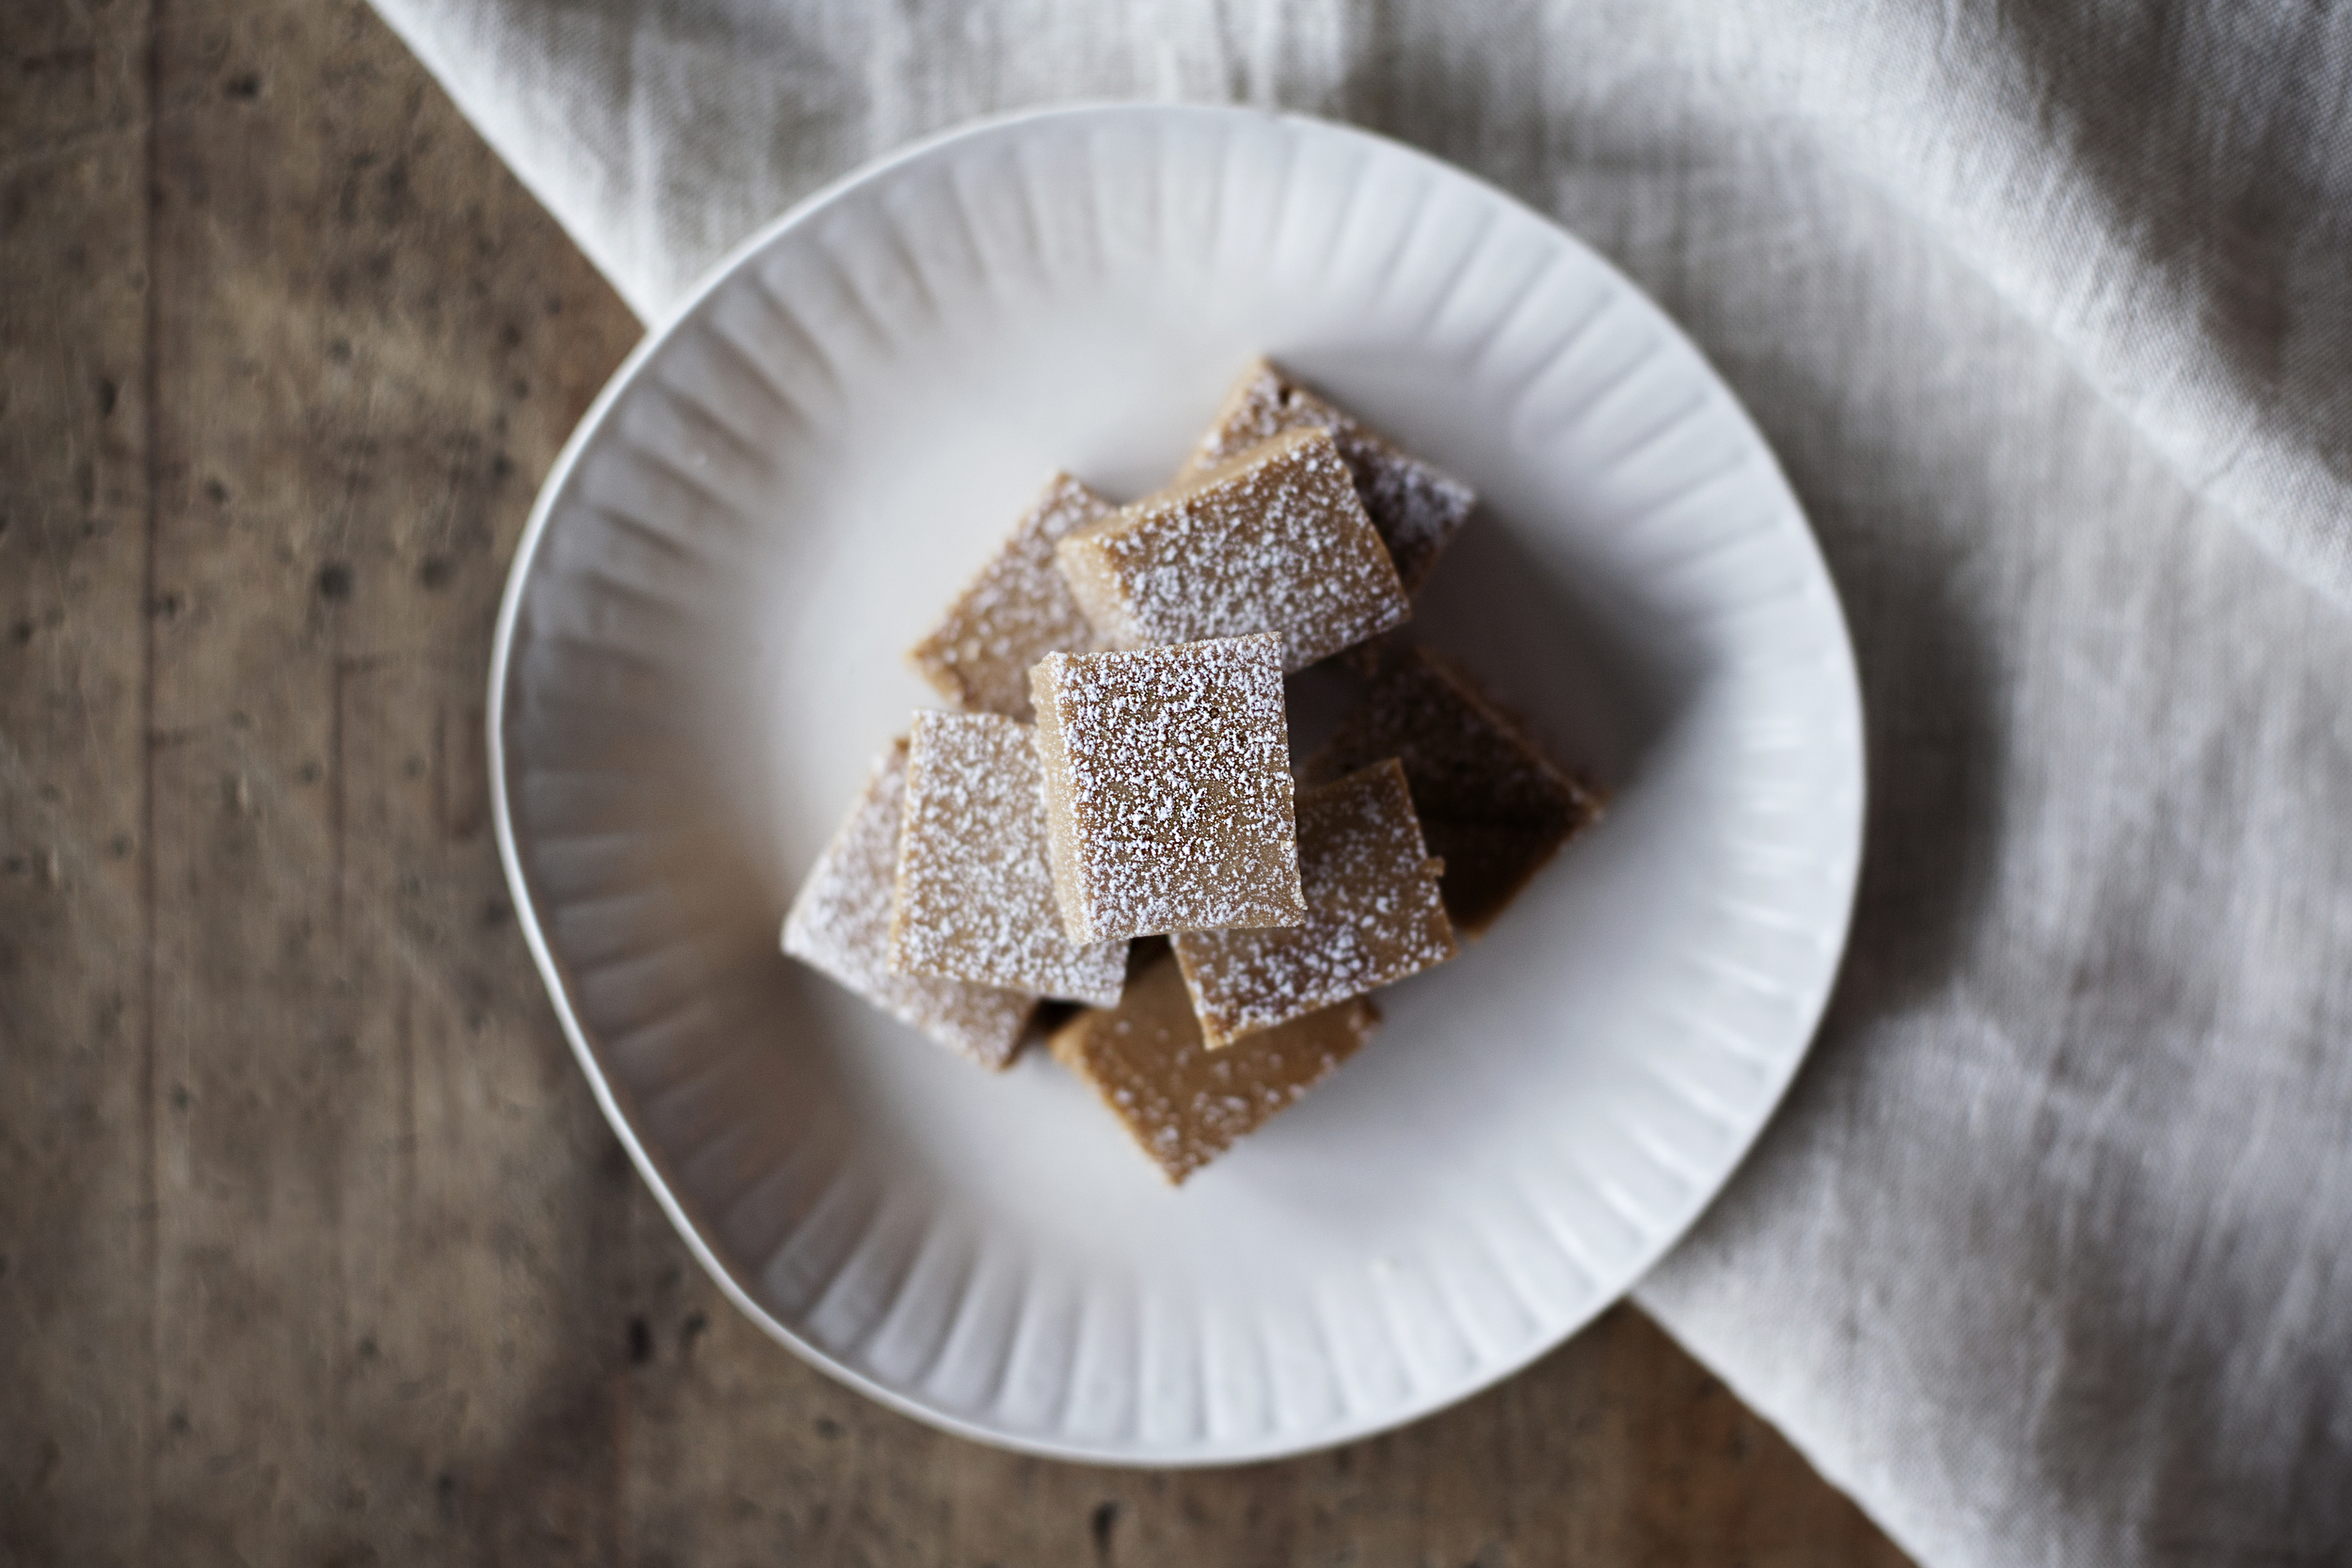
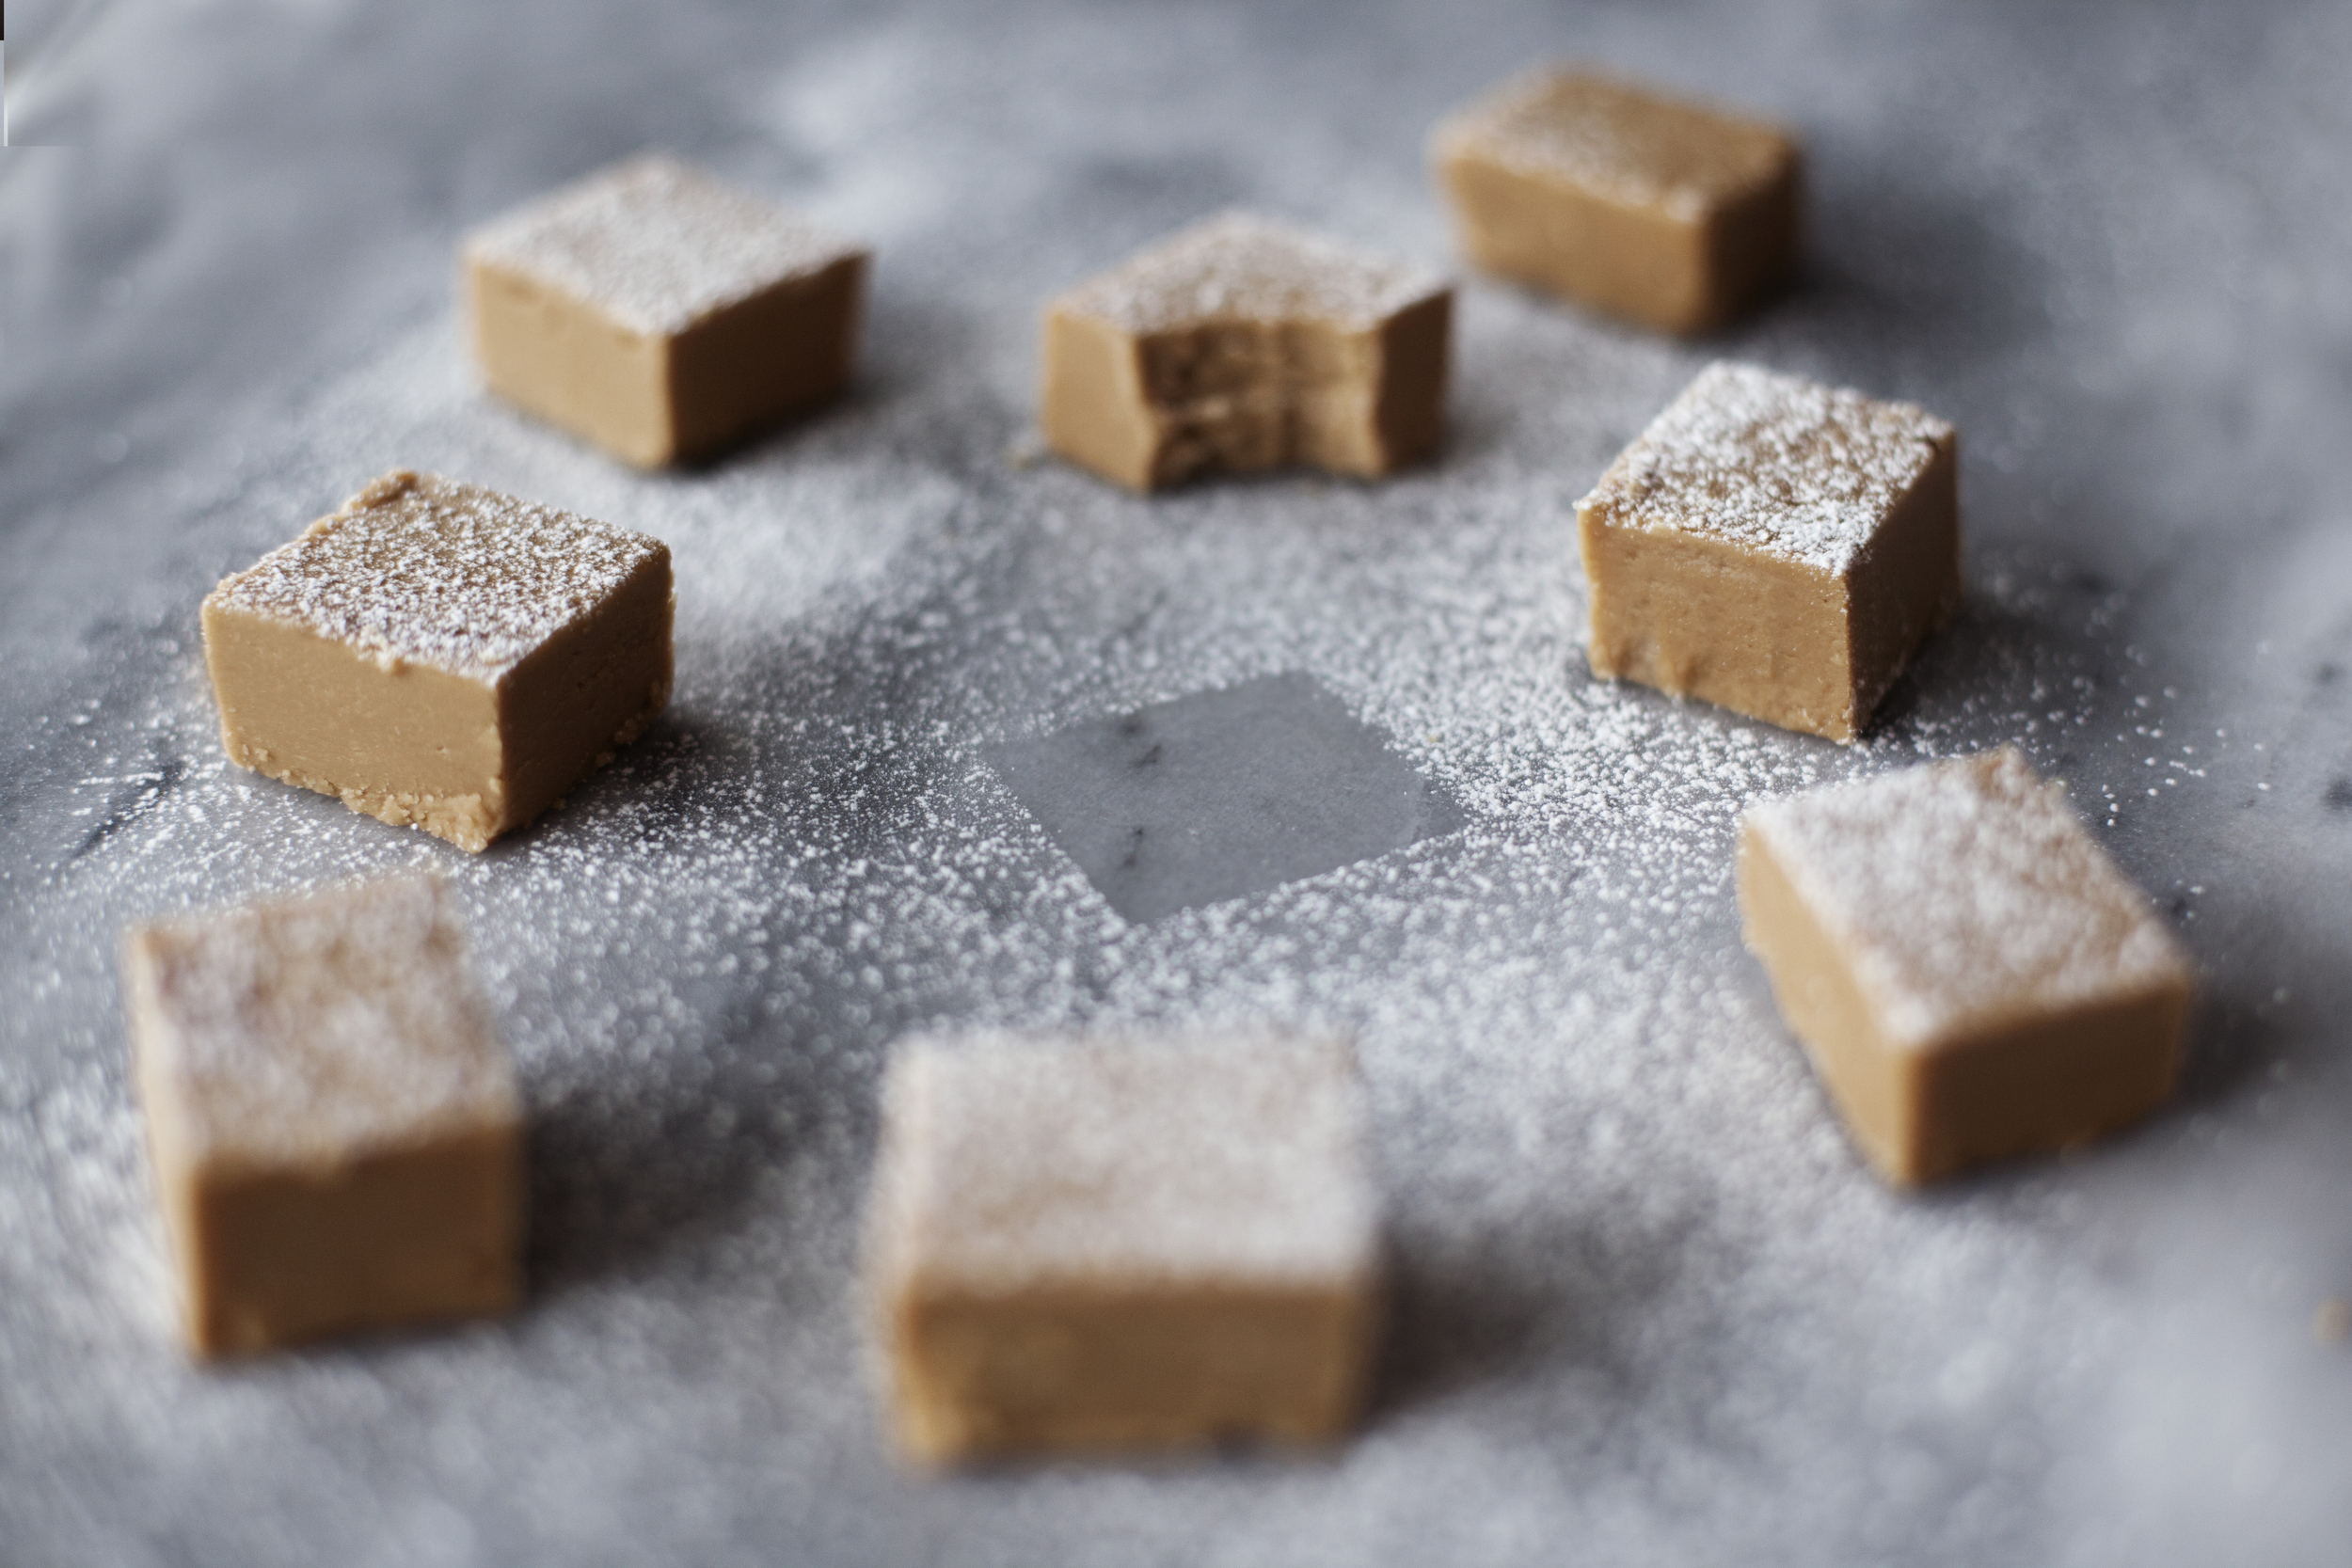
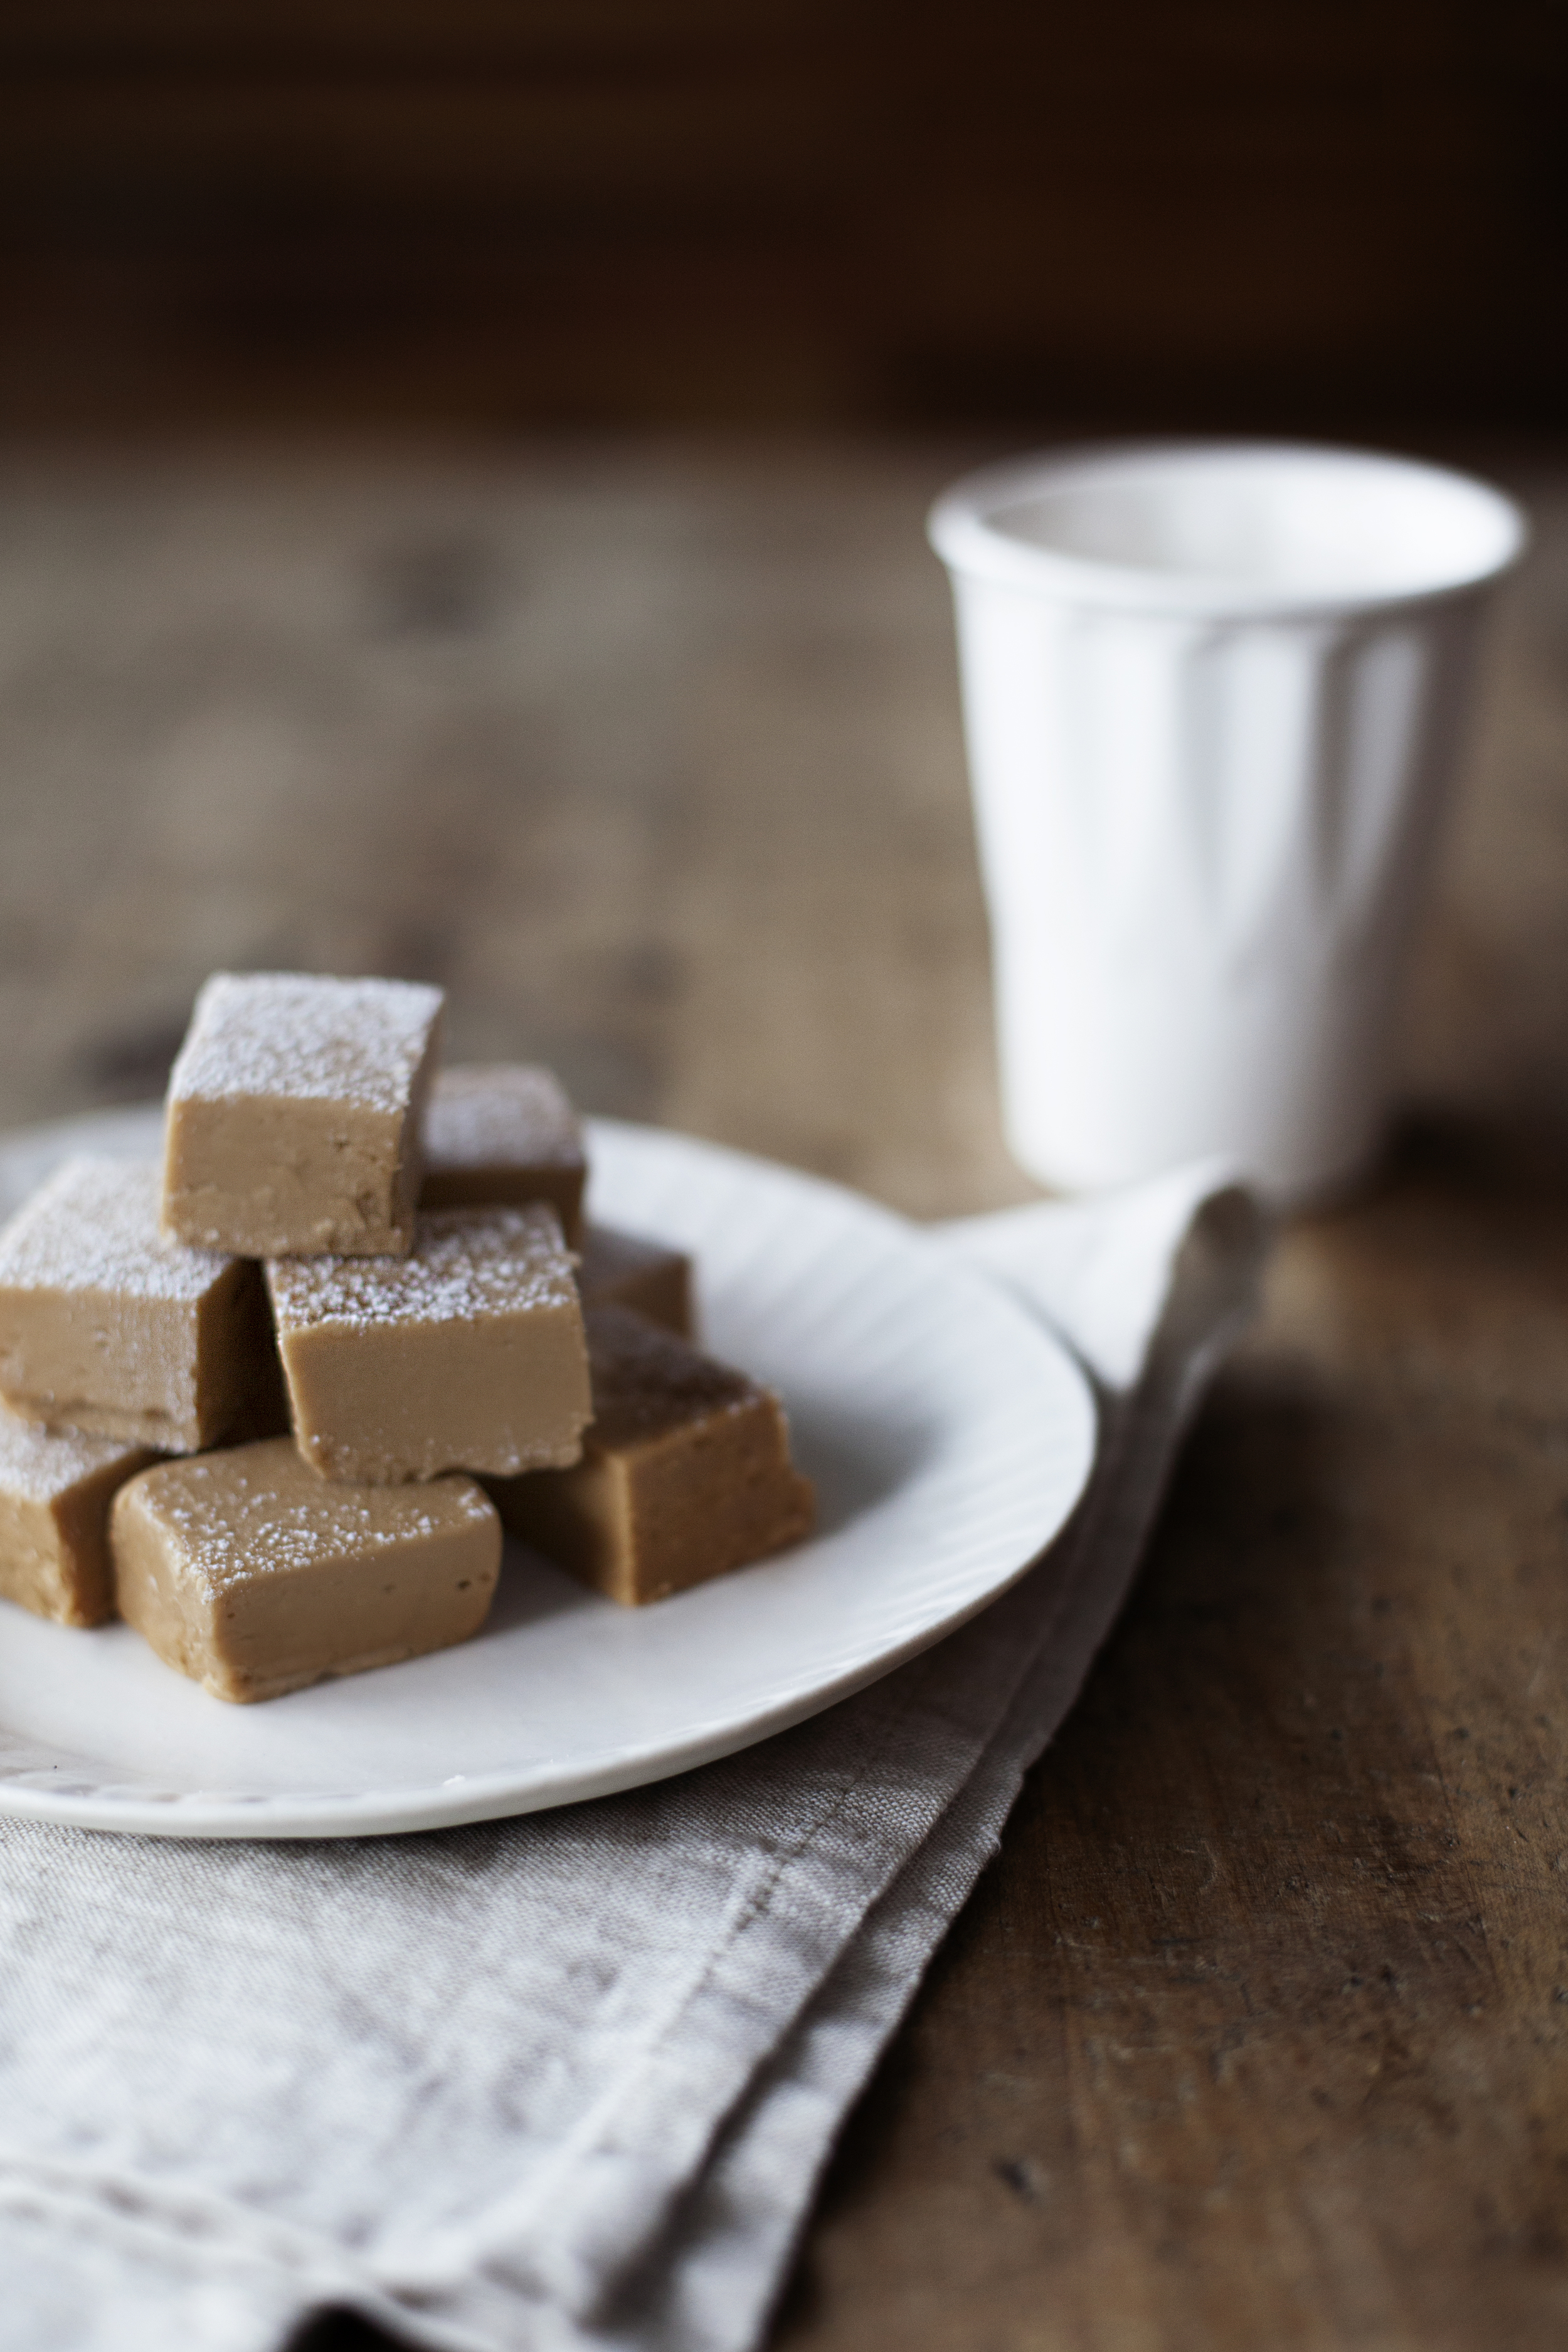
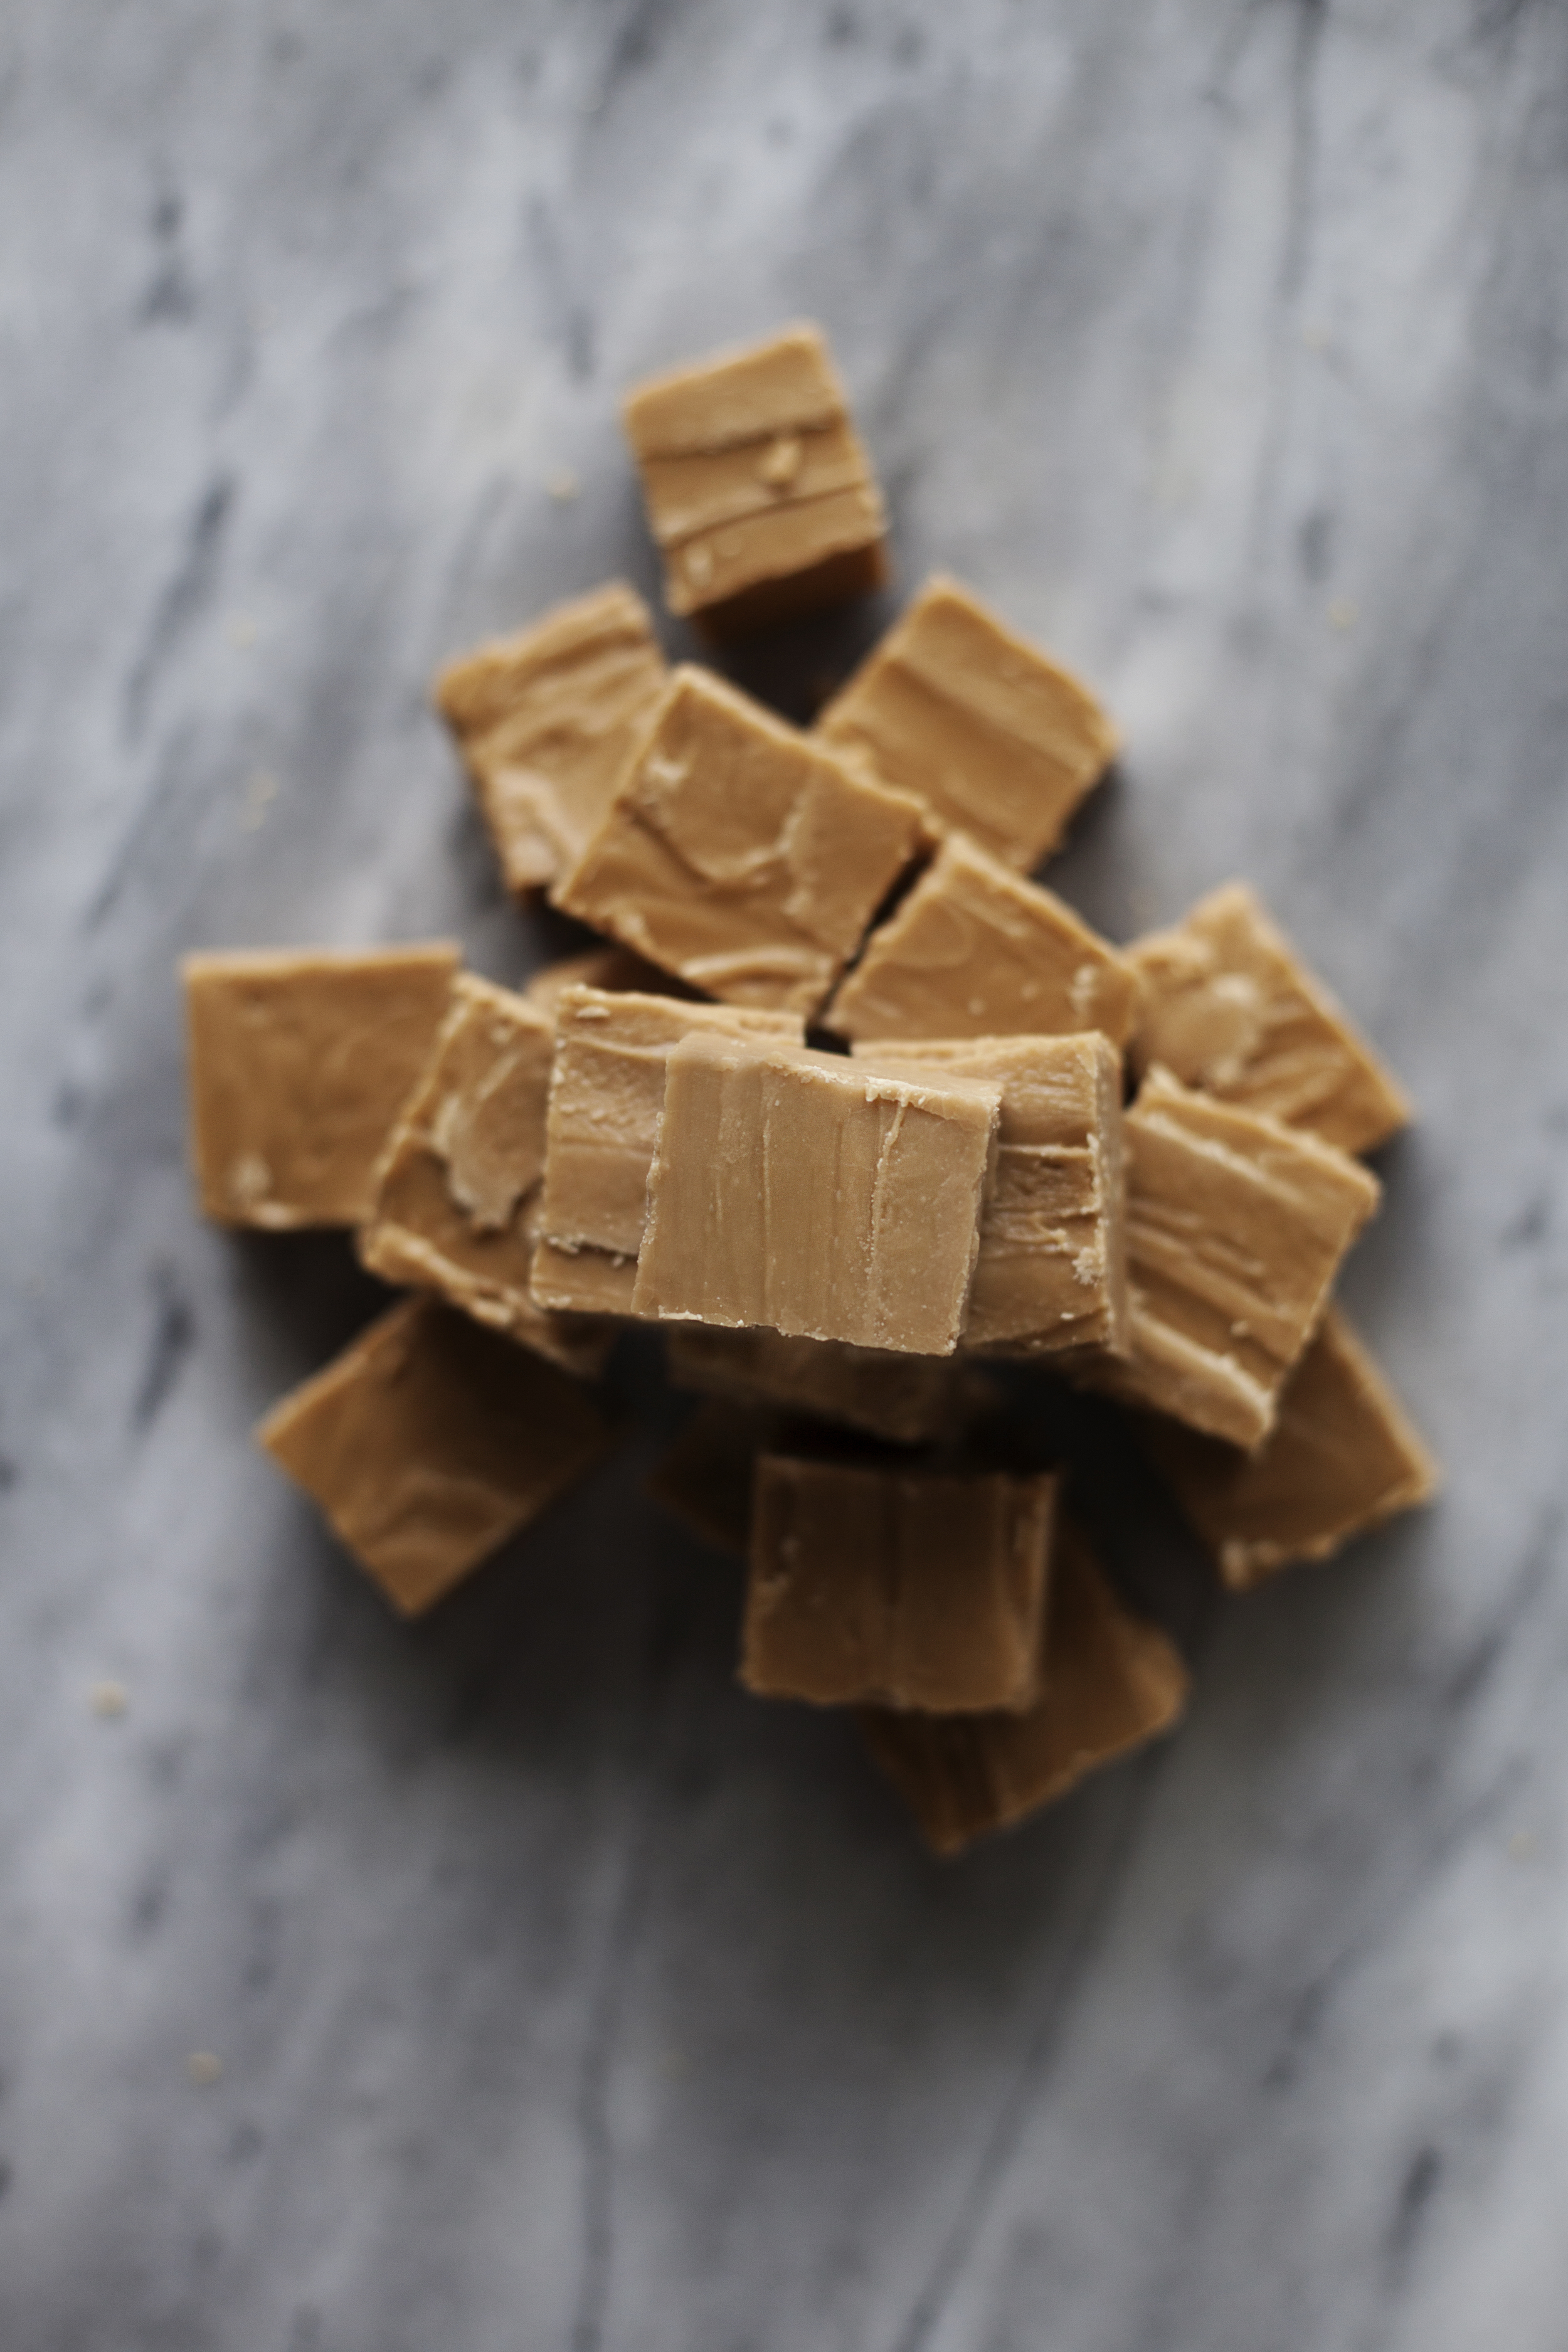
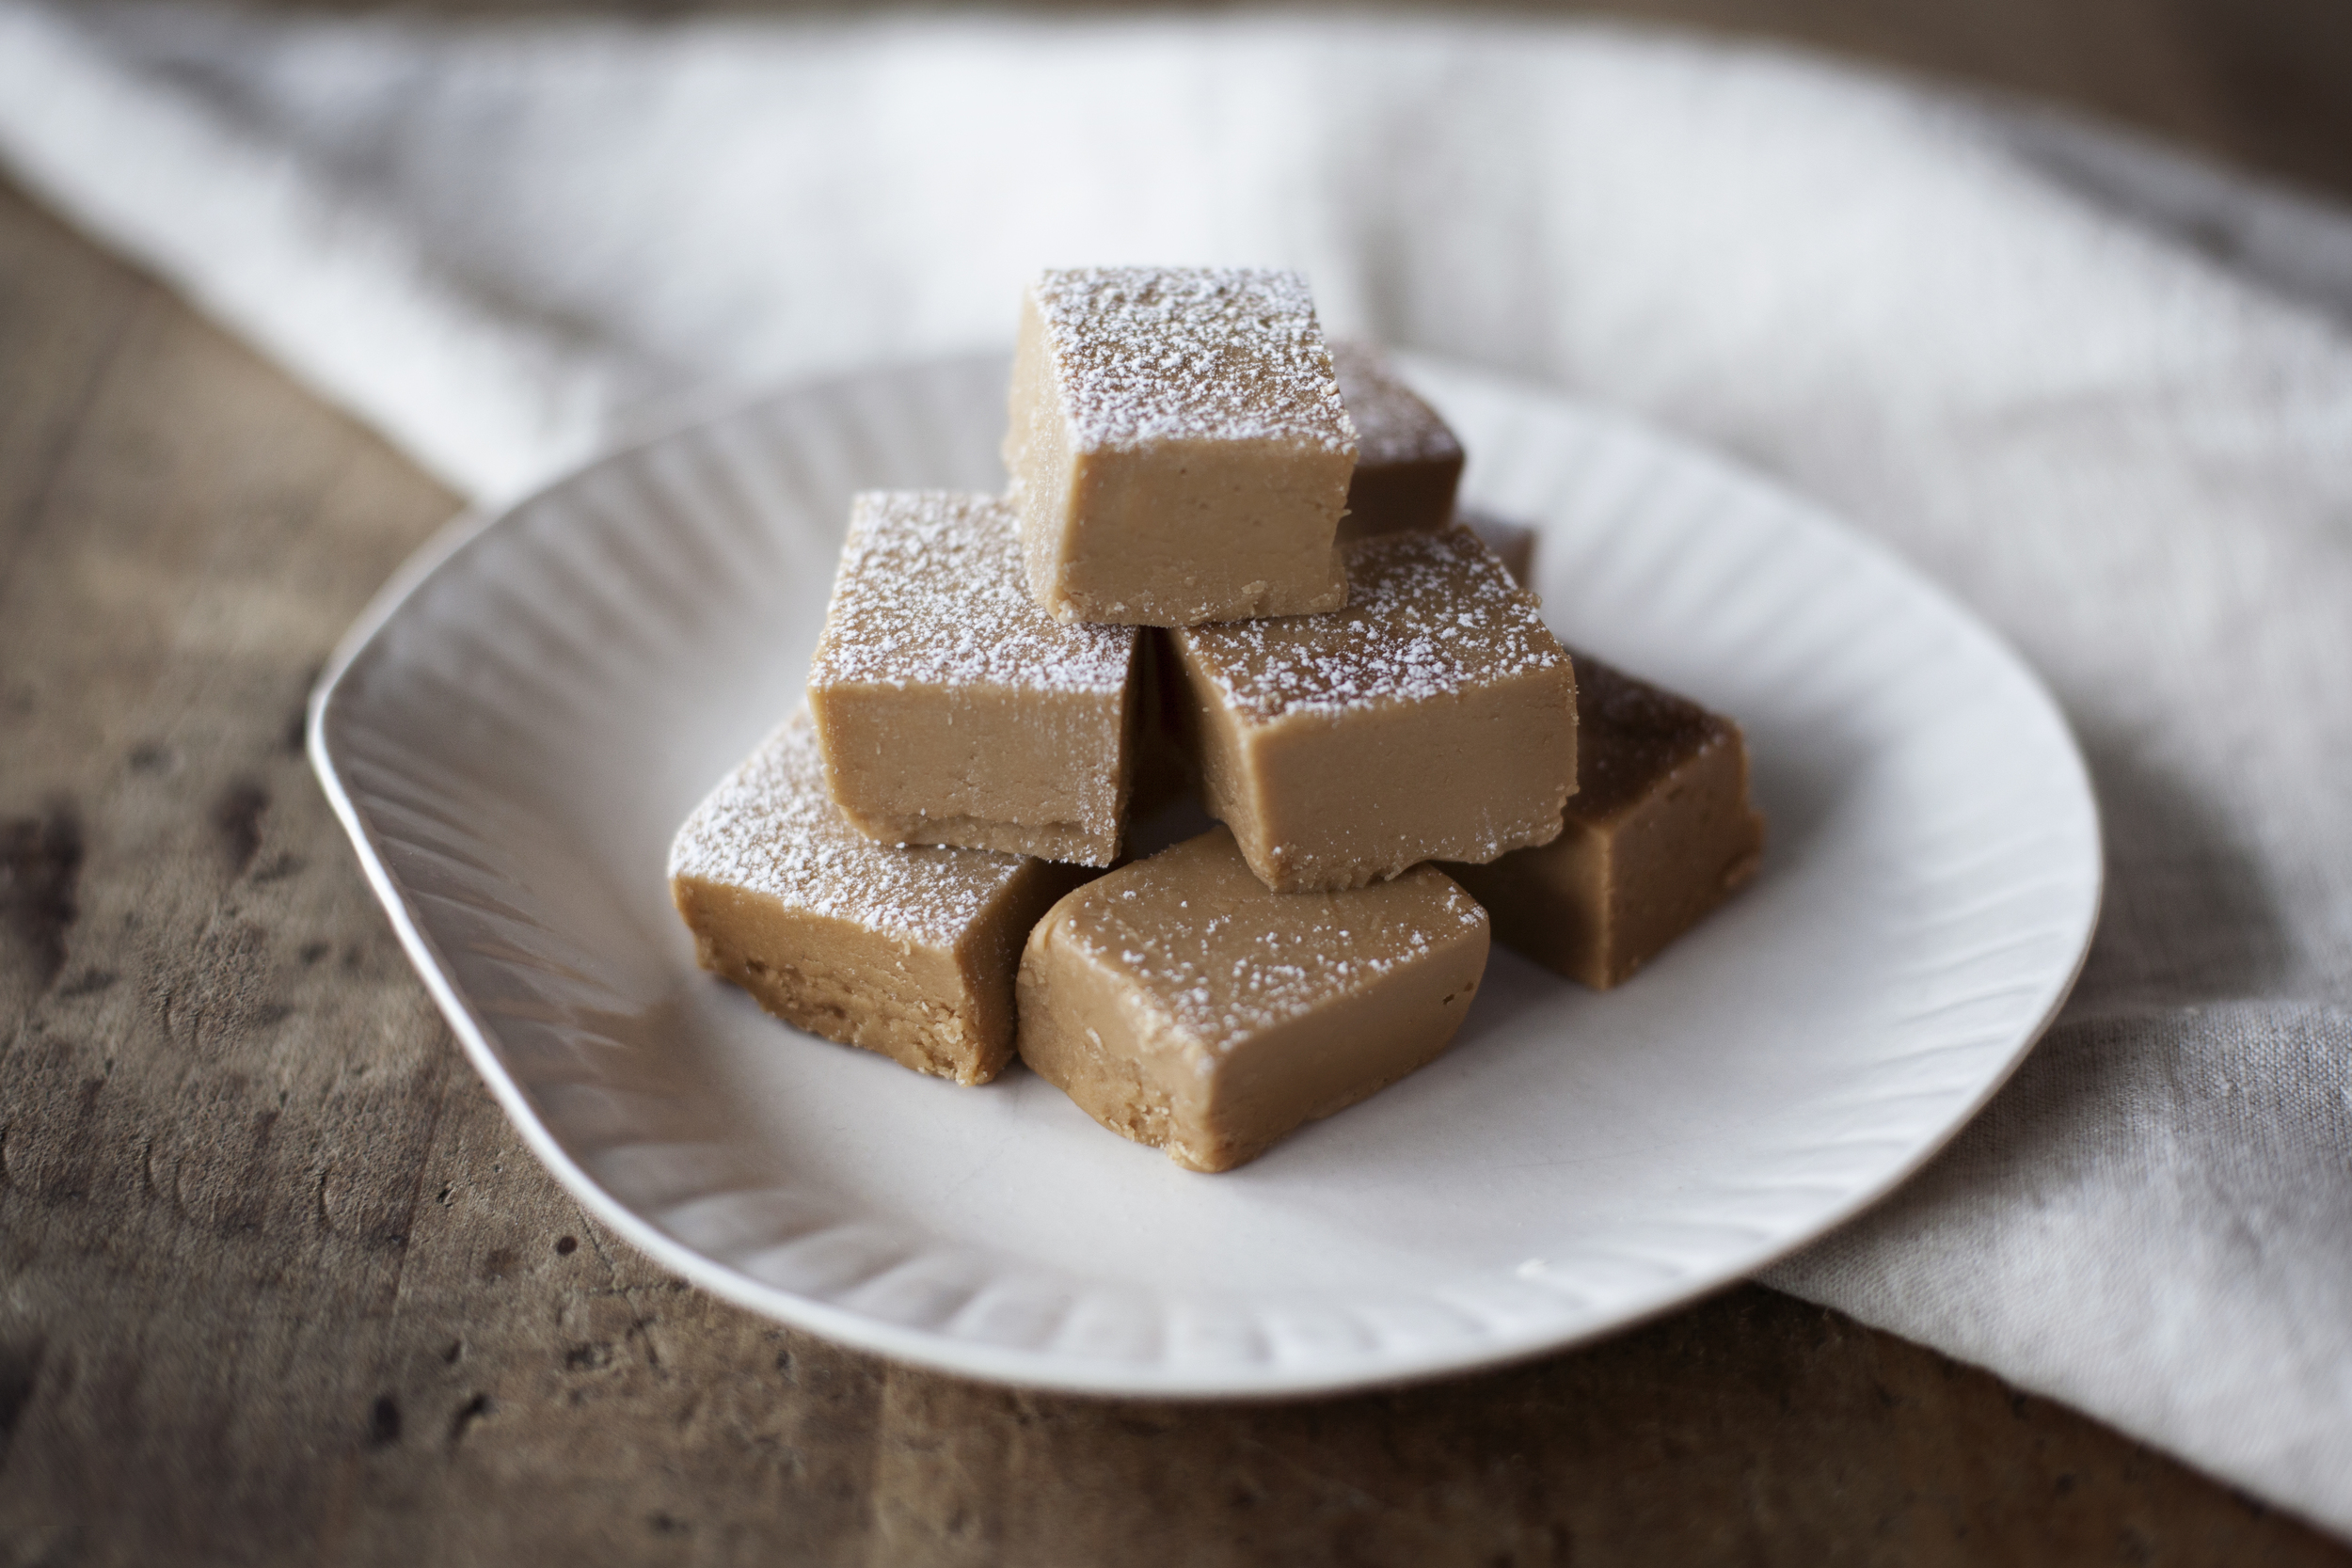
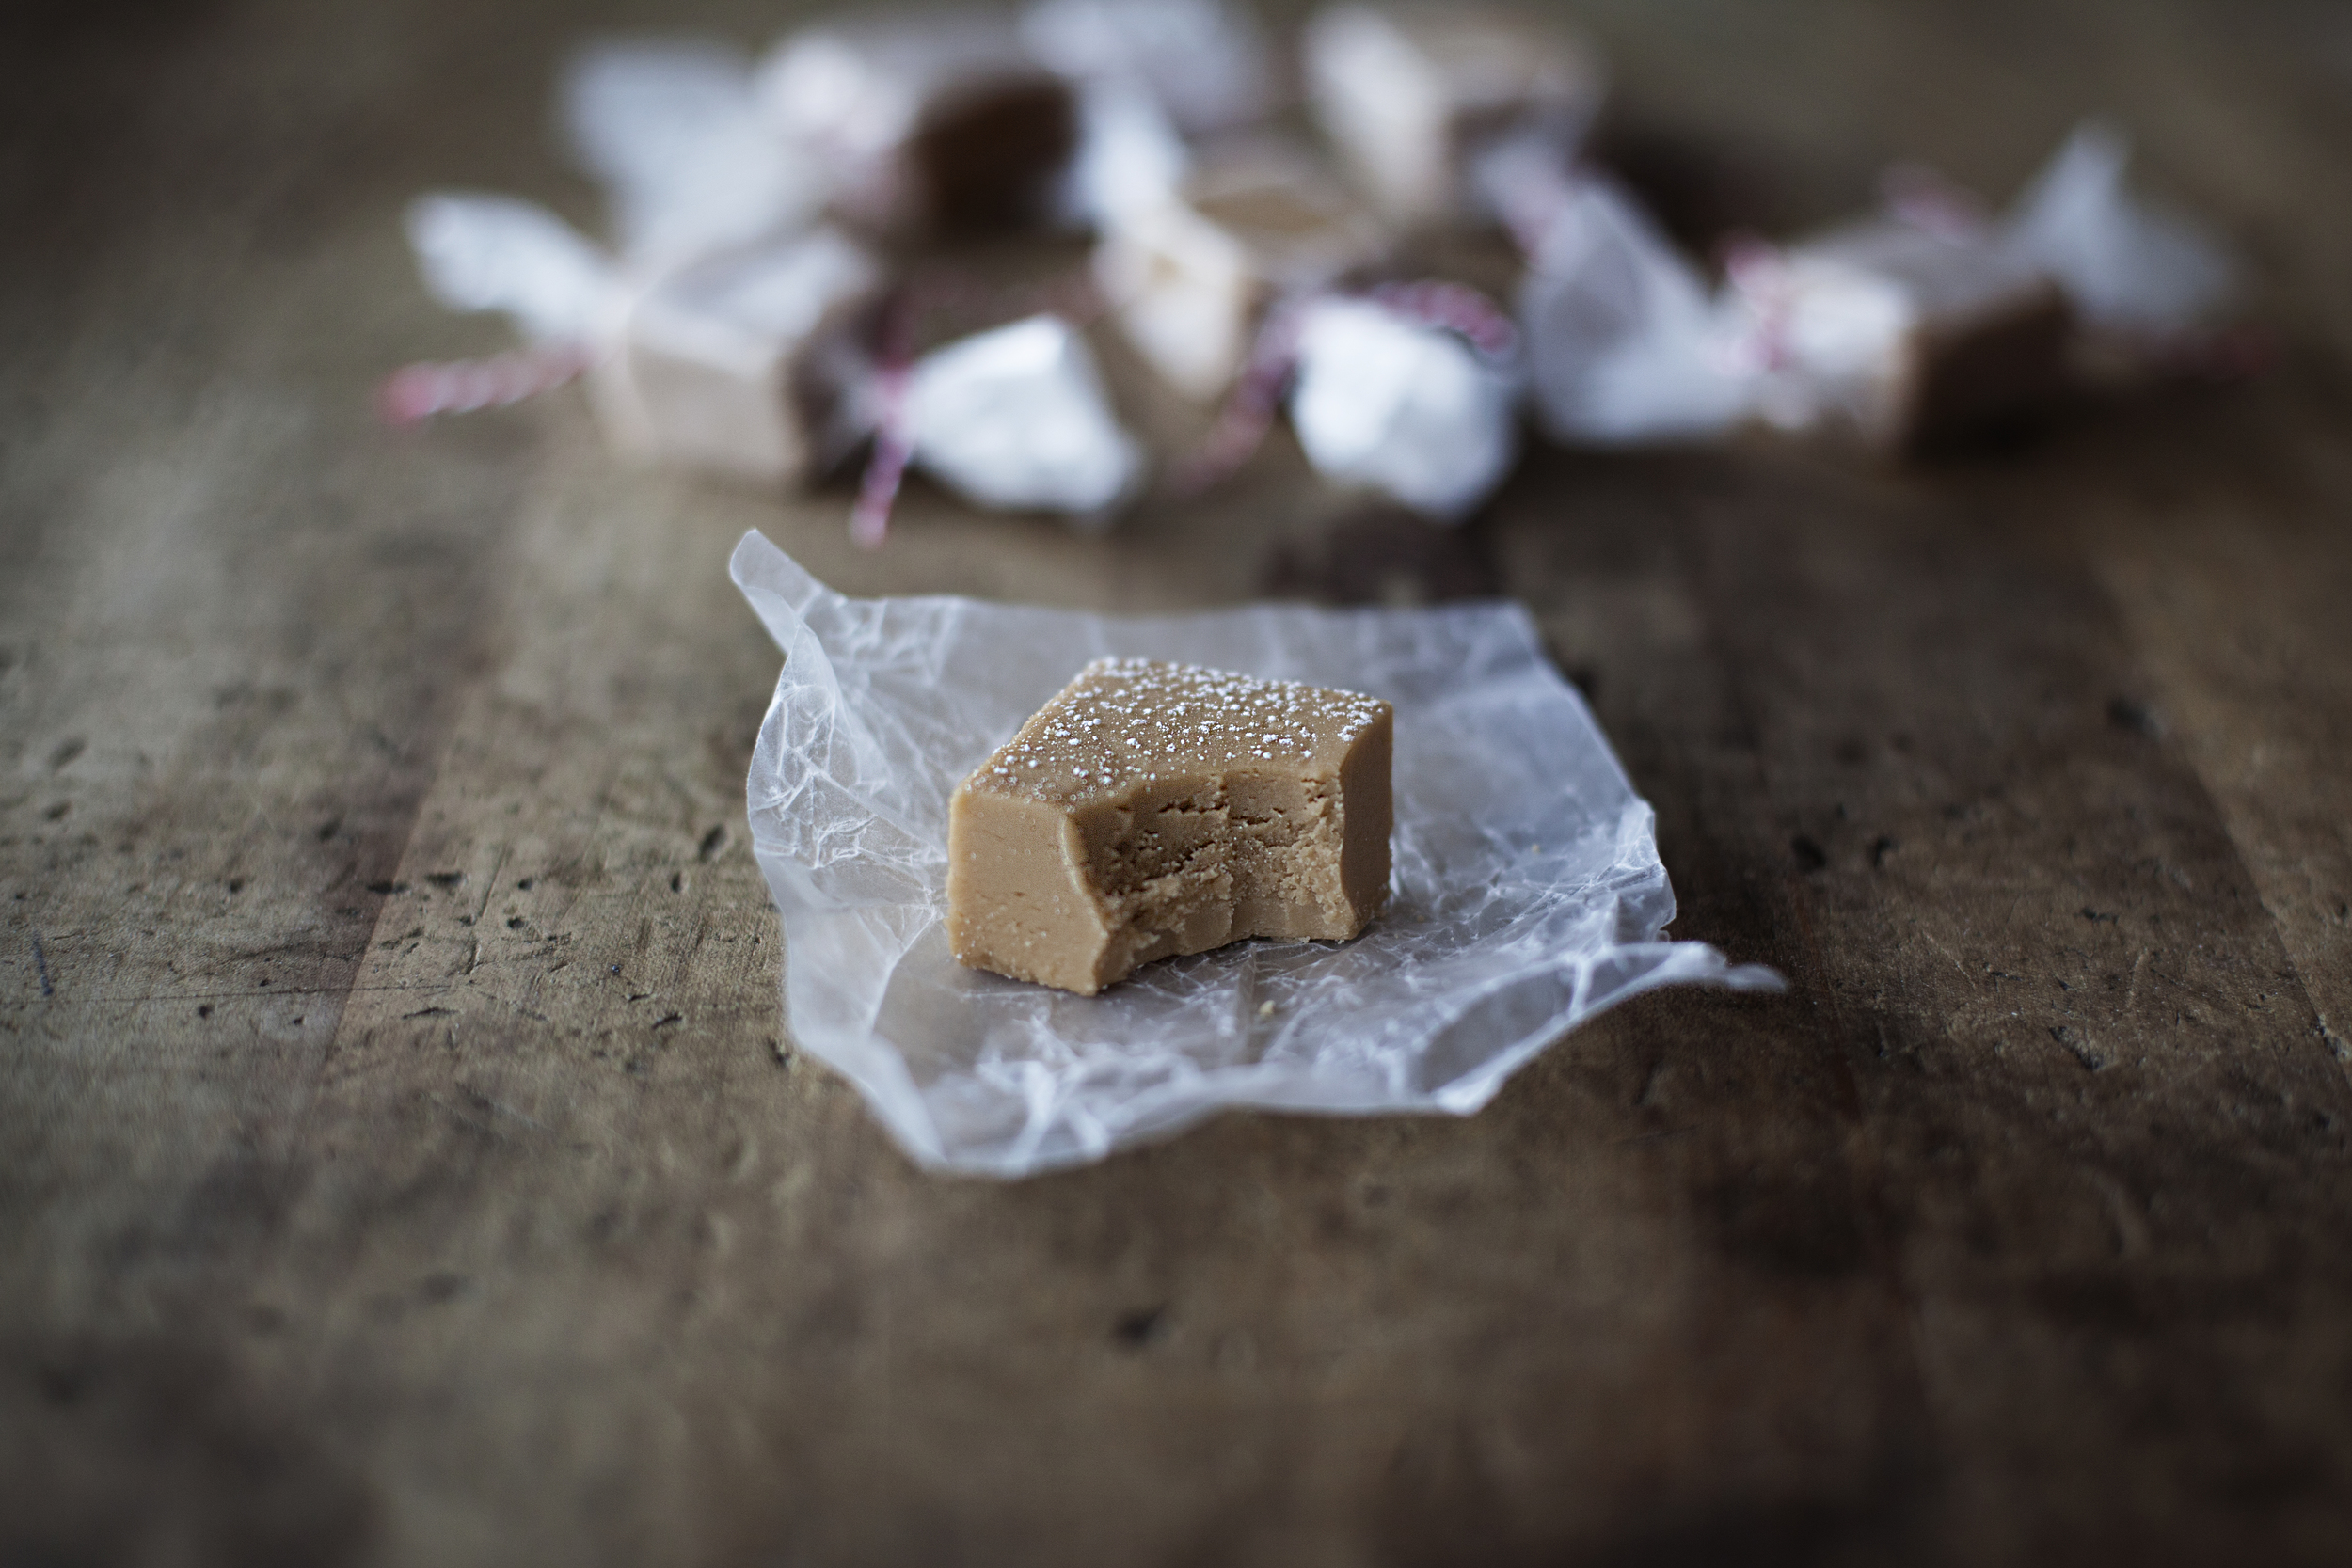
CANADIAN MAPLE FUDGE


i don't have much to say today besides that i love fudge + this fudge is the bomb. there was a time back in the 7th or 8th grade where my school took part in a fudge selling fund raiser. we went door to door selling both chocolate & maple fudge.. but by the end i had eaten more maple fudge then i sold. i think it is safe to say that was when my love for fudge began, especially pure maple. i didn't think i would be able to make a fudge as good as the fudge shops sell, but here we are. my advice before making this is to invest in a candy thermometer!!! the temperatures are very important to achieving the right texture. otherwise you may end up with a maple caramel or a grainy fudge. trust me, in the end the thermometer will cost you less then the pure maple syrup.

this recipe has been adapted from canadian living

ingredients

  • 2 cups brown sugar, packed
  • 1 cup heavy cream
  • 1/2 cup pure maple syrup
  • 2 tablespoons unsalted butter, cubed
  • 1 pinch baking soda
  • 1/4 teaspoon salt
  • 1 teaspoon pure vanilla extract

directions

  • in a sauce pan over medium heat add sugar, cream, maple syrup, butter, baking soda & salt. stir constantly with a wooden spoon until the mixture begins to boil.
  • if the mixture does not foam up when boiling, add in a touch more of baking soda.
  • once it reaches a boil, stop stirring & let cool until the thermometer reaches 238 degrees F [approximately 8 minutes]. this is known as the "soft-ball stage" of candy making.
  • immediately pour into a greased bowl. do not stir & do not scrape the sauce pan clean. let mixture cool until it reaches 100 degrees F [approximately 1 hour].
  • once mixture reaches the correct temperature add vanilla. using hand beaters or the stand mixer, beat on medium speed until the gloss disappears [approximately 8 minutes].
  • scrape into a parchment lined baking dish & let cool. once fudge has set, cut into individual squares.

like what you see? get it here. plate | mug | linen

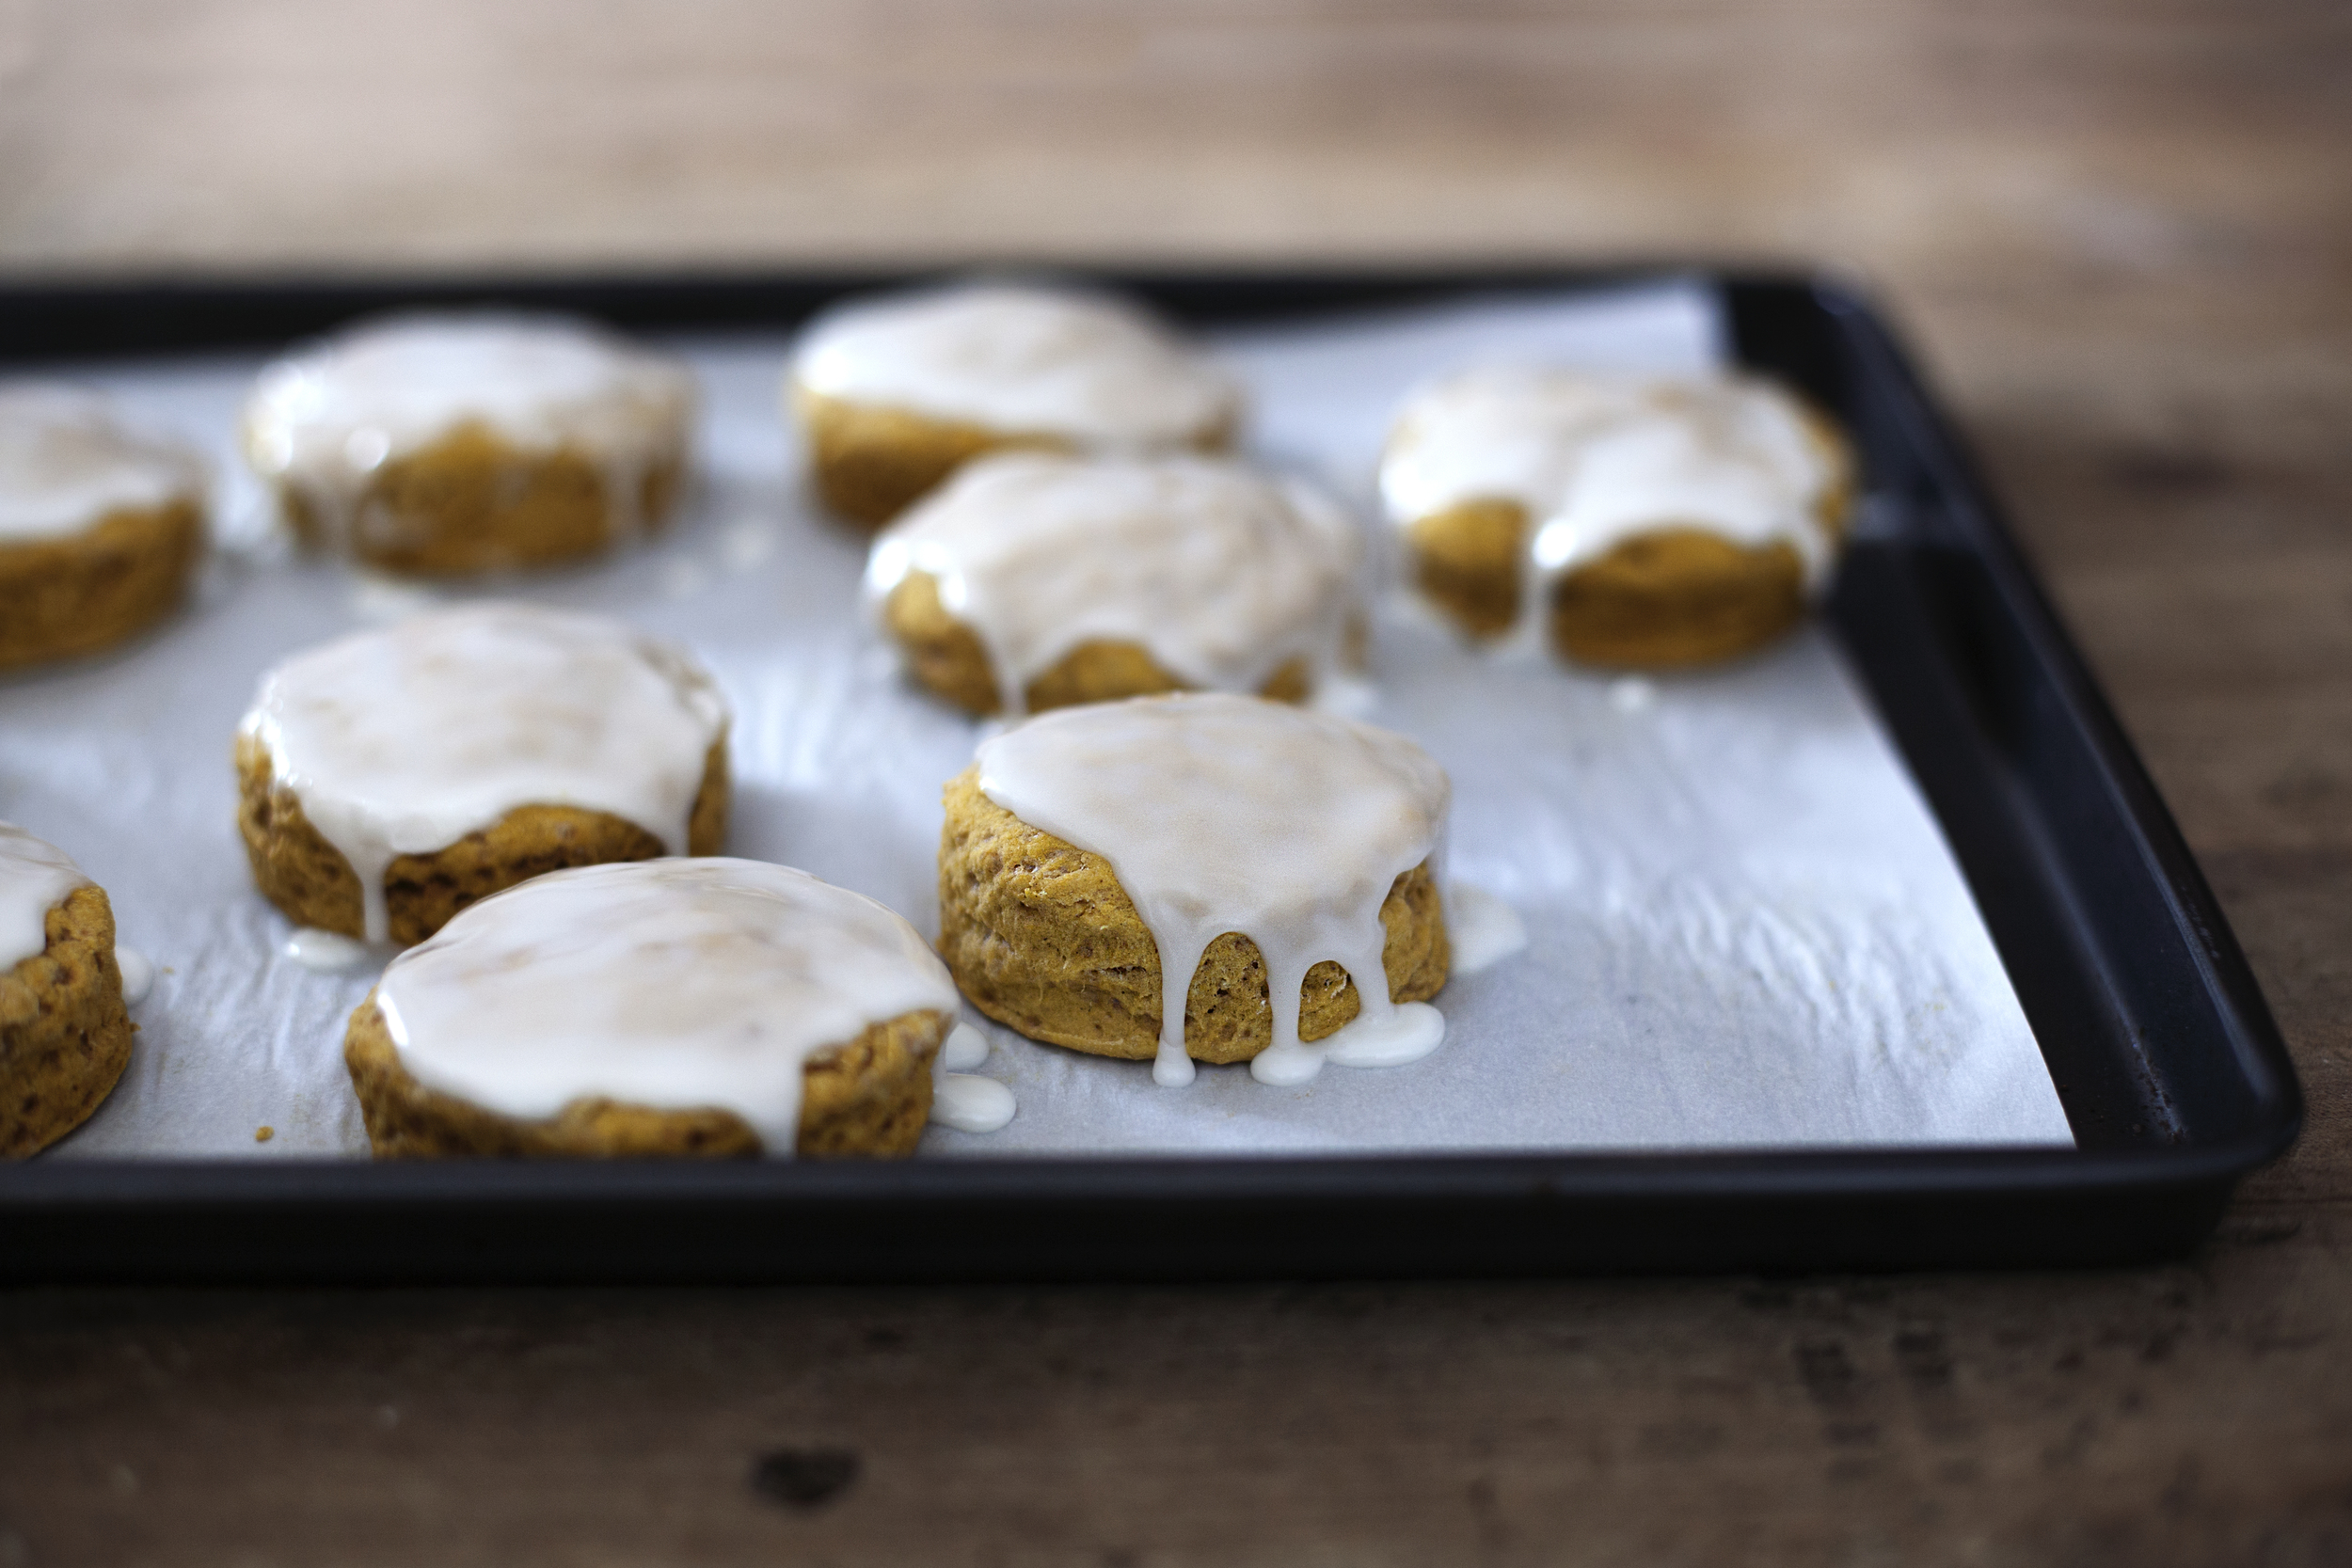
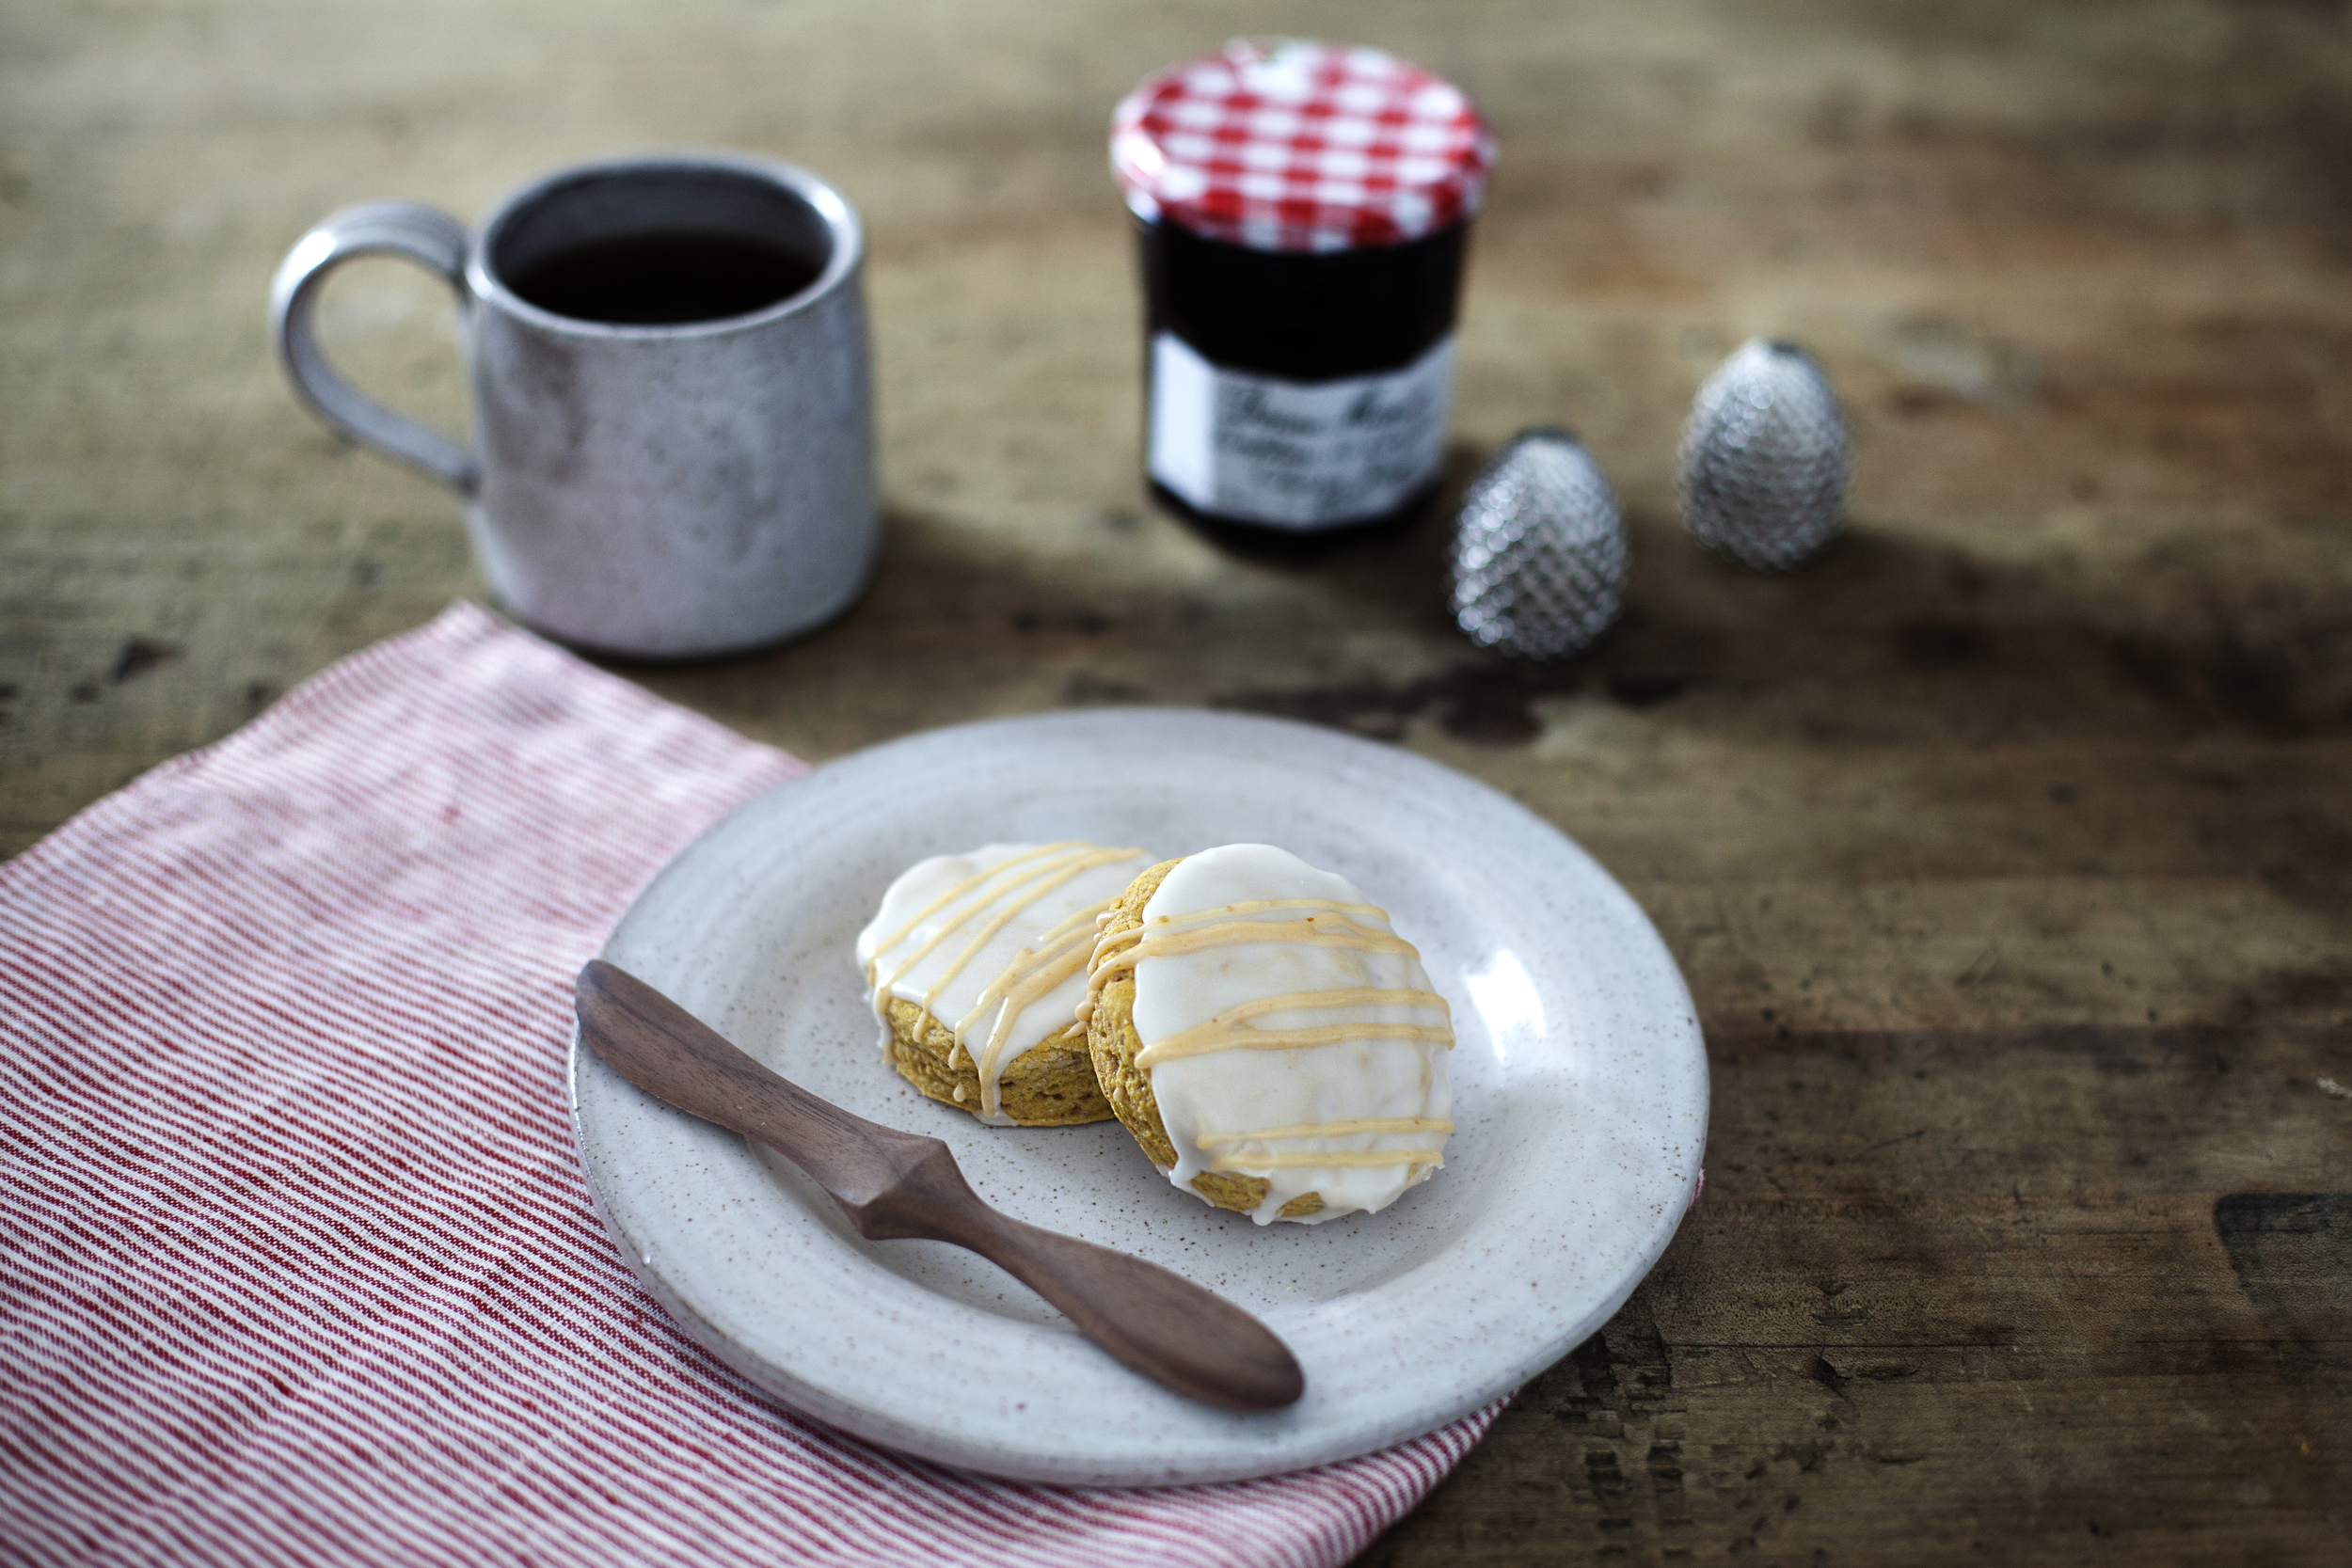
PUMPKIN GLAZED SCONES


happy november!!! this is my favourite month of fall by far because it is my birthday month ( & my dad's birthday month AND my dogs birthday month).. that is A LOT of cake that needs to be made. also in a few short weeks it will be american thanksgiving (which usually falls on or around my birthday) & then BOOM it's christmas season. i swear every year christmas comes around quicker & quicker. is this what getting older feels like?! let's kick off november with one more pumpkin spiced treat, scones! the glazes (yes two) add the perfect amounth of sweetness to the pumpkin spiced scone. perfect treat for breakfast or with an afternoon tea!

ingredients

for the pumpkin scones

  • 2 cups all-purpose flour
  • 1/2 cup raw sugar
  • 1 teaspoon ground cinnamon
  • 1/2 teaspoon ground ginger
  • 1/4 teaspoon ground nutmeg
  • 1 teaspoon baking powder
  • 1/2 teaspoon baking soda
  • 1/4 teaspoon salt
  • 1/2 cup unsalted butter, cold & cubed
  • 1/2 cup fresh or canned pumpkin puree
  • 1/4 cup whole milk
  • 1 egg
  • 1 teaspoon pure vanilla extract

for the vanilla glaze

  • 1 cup powdered sugar
  • 1 tablespoon whole milk
  • 1 teaspoon pure vanilla extract

for the pumpkin glaze

  • 1/2 cup powdered sugar
  • 1/4 teaspoon fresh or canned pumpkin puree
  • 1 pinch of cinnamon, ginger & nutmeg
  • 1 teaspoon whole milk

directions

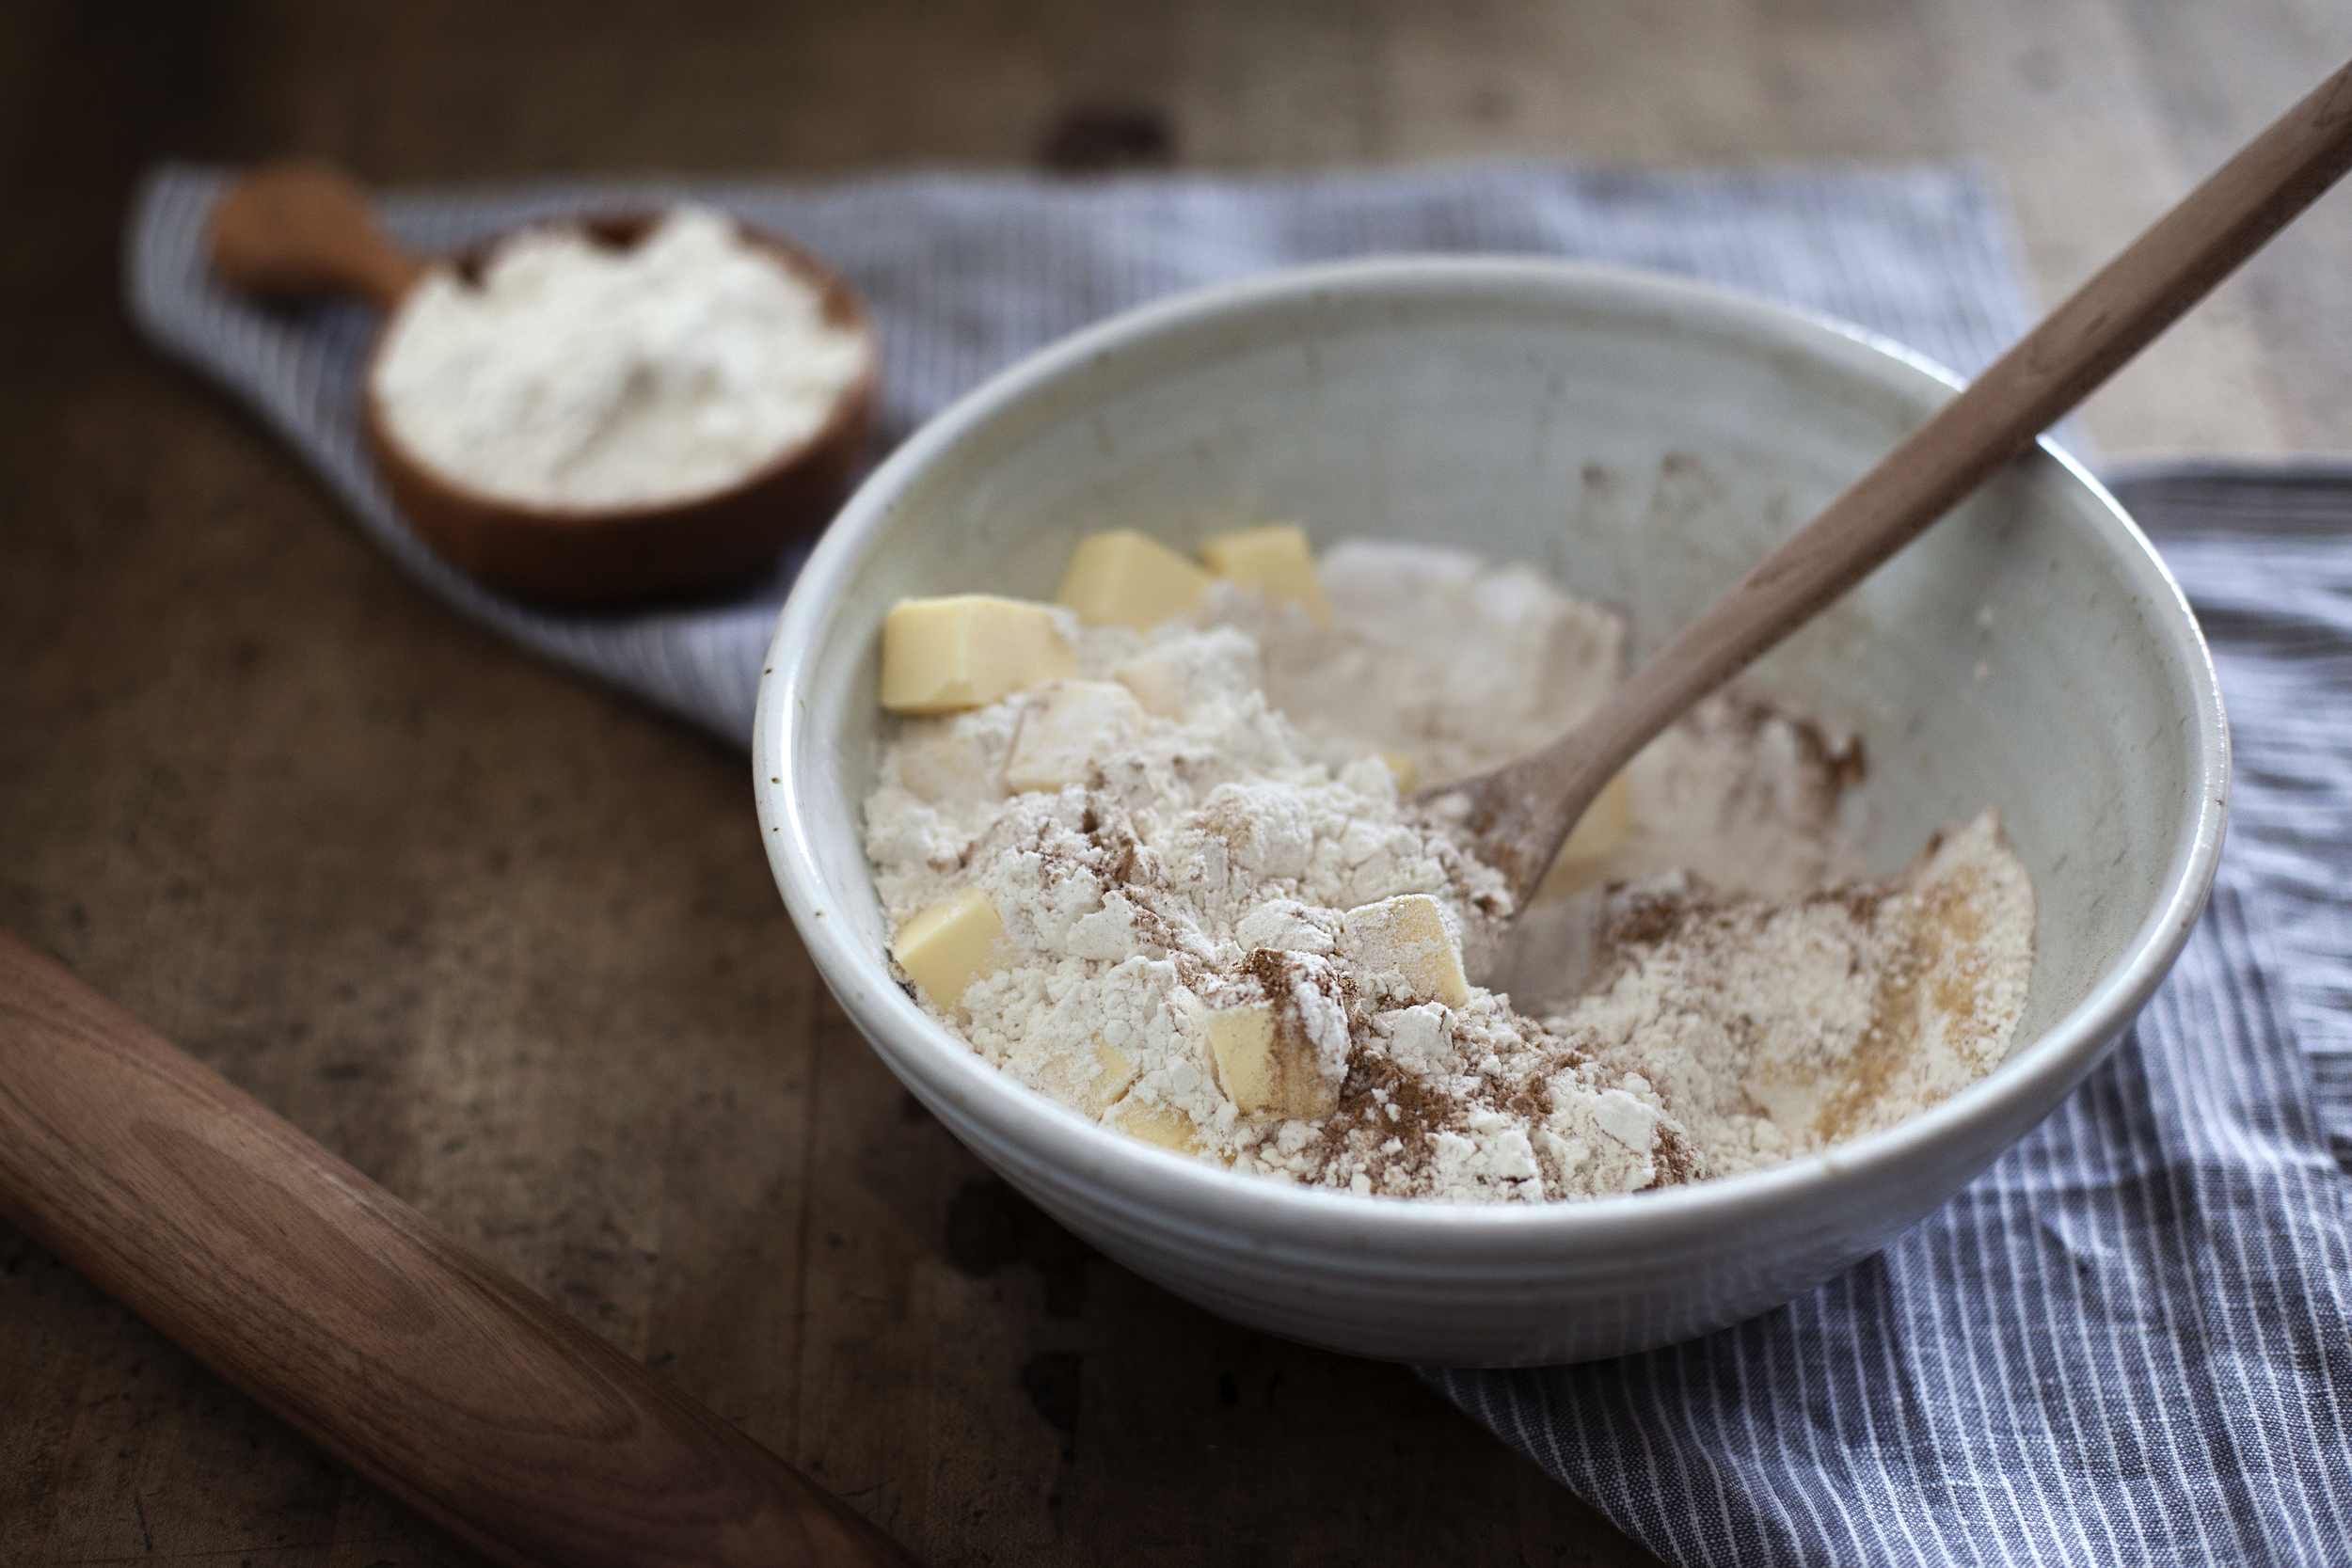
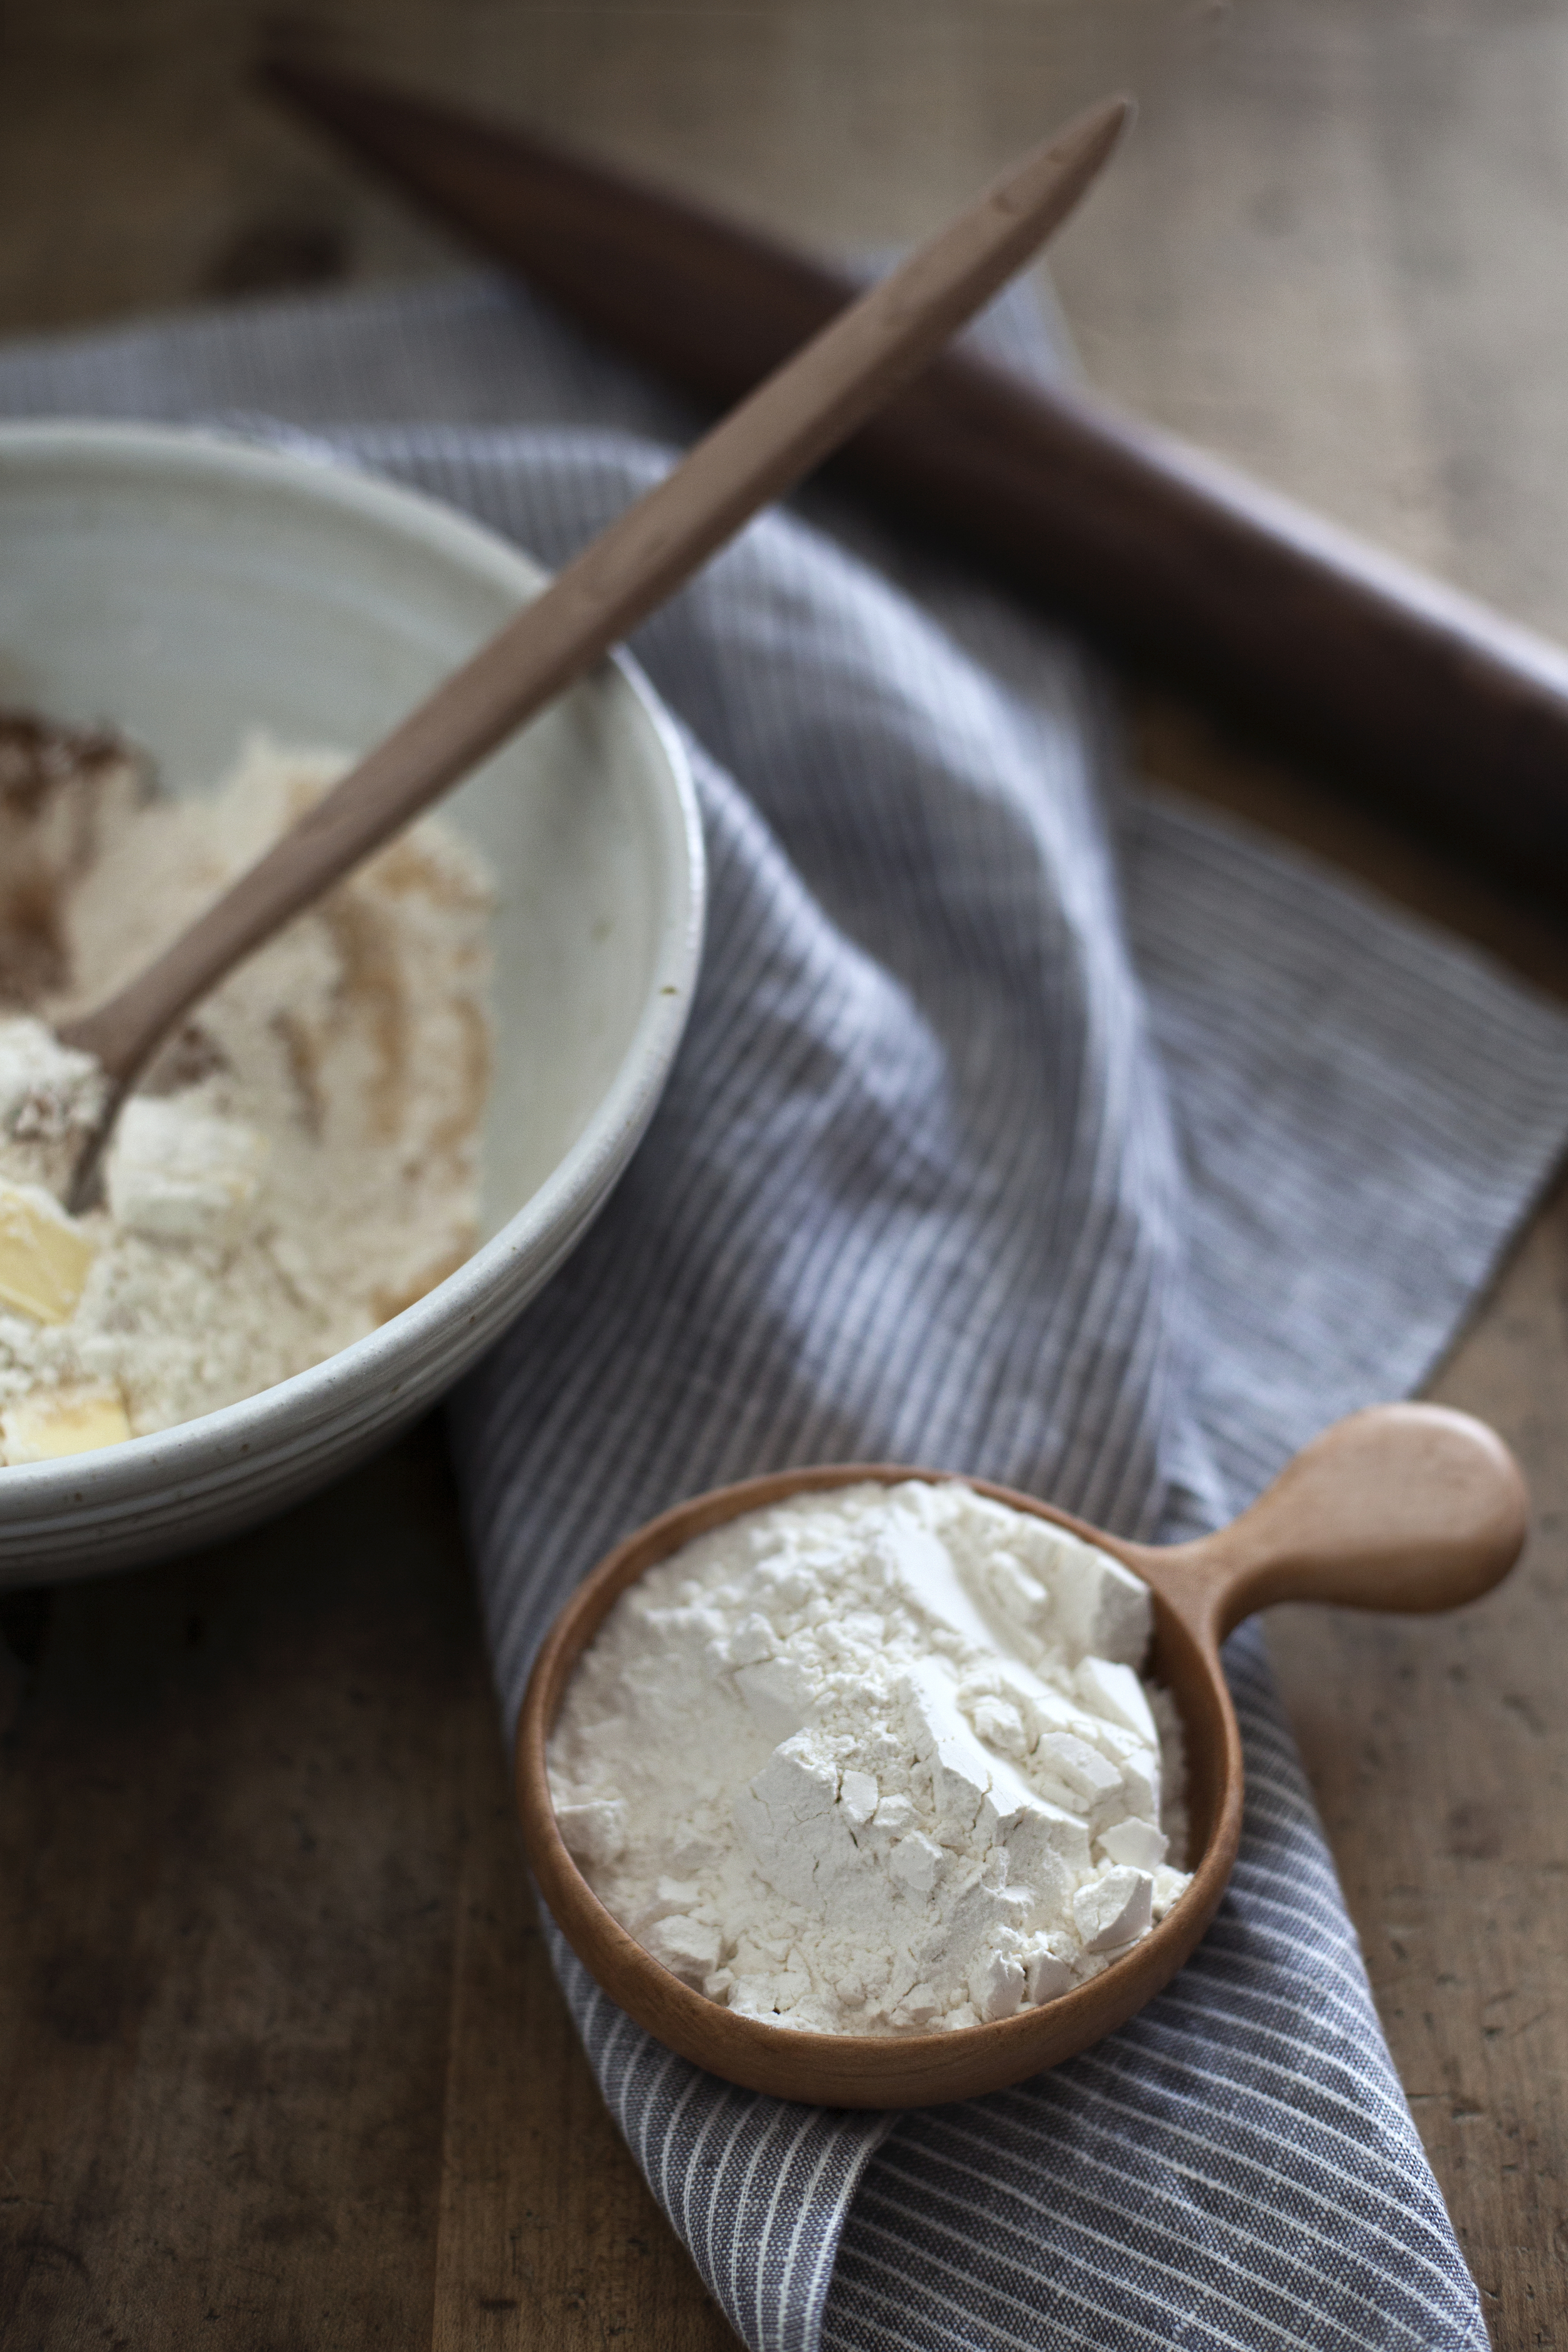
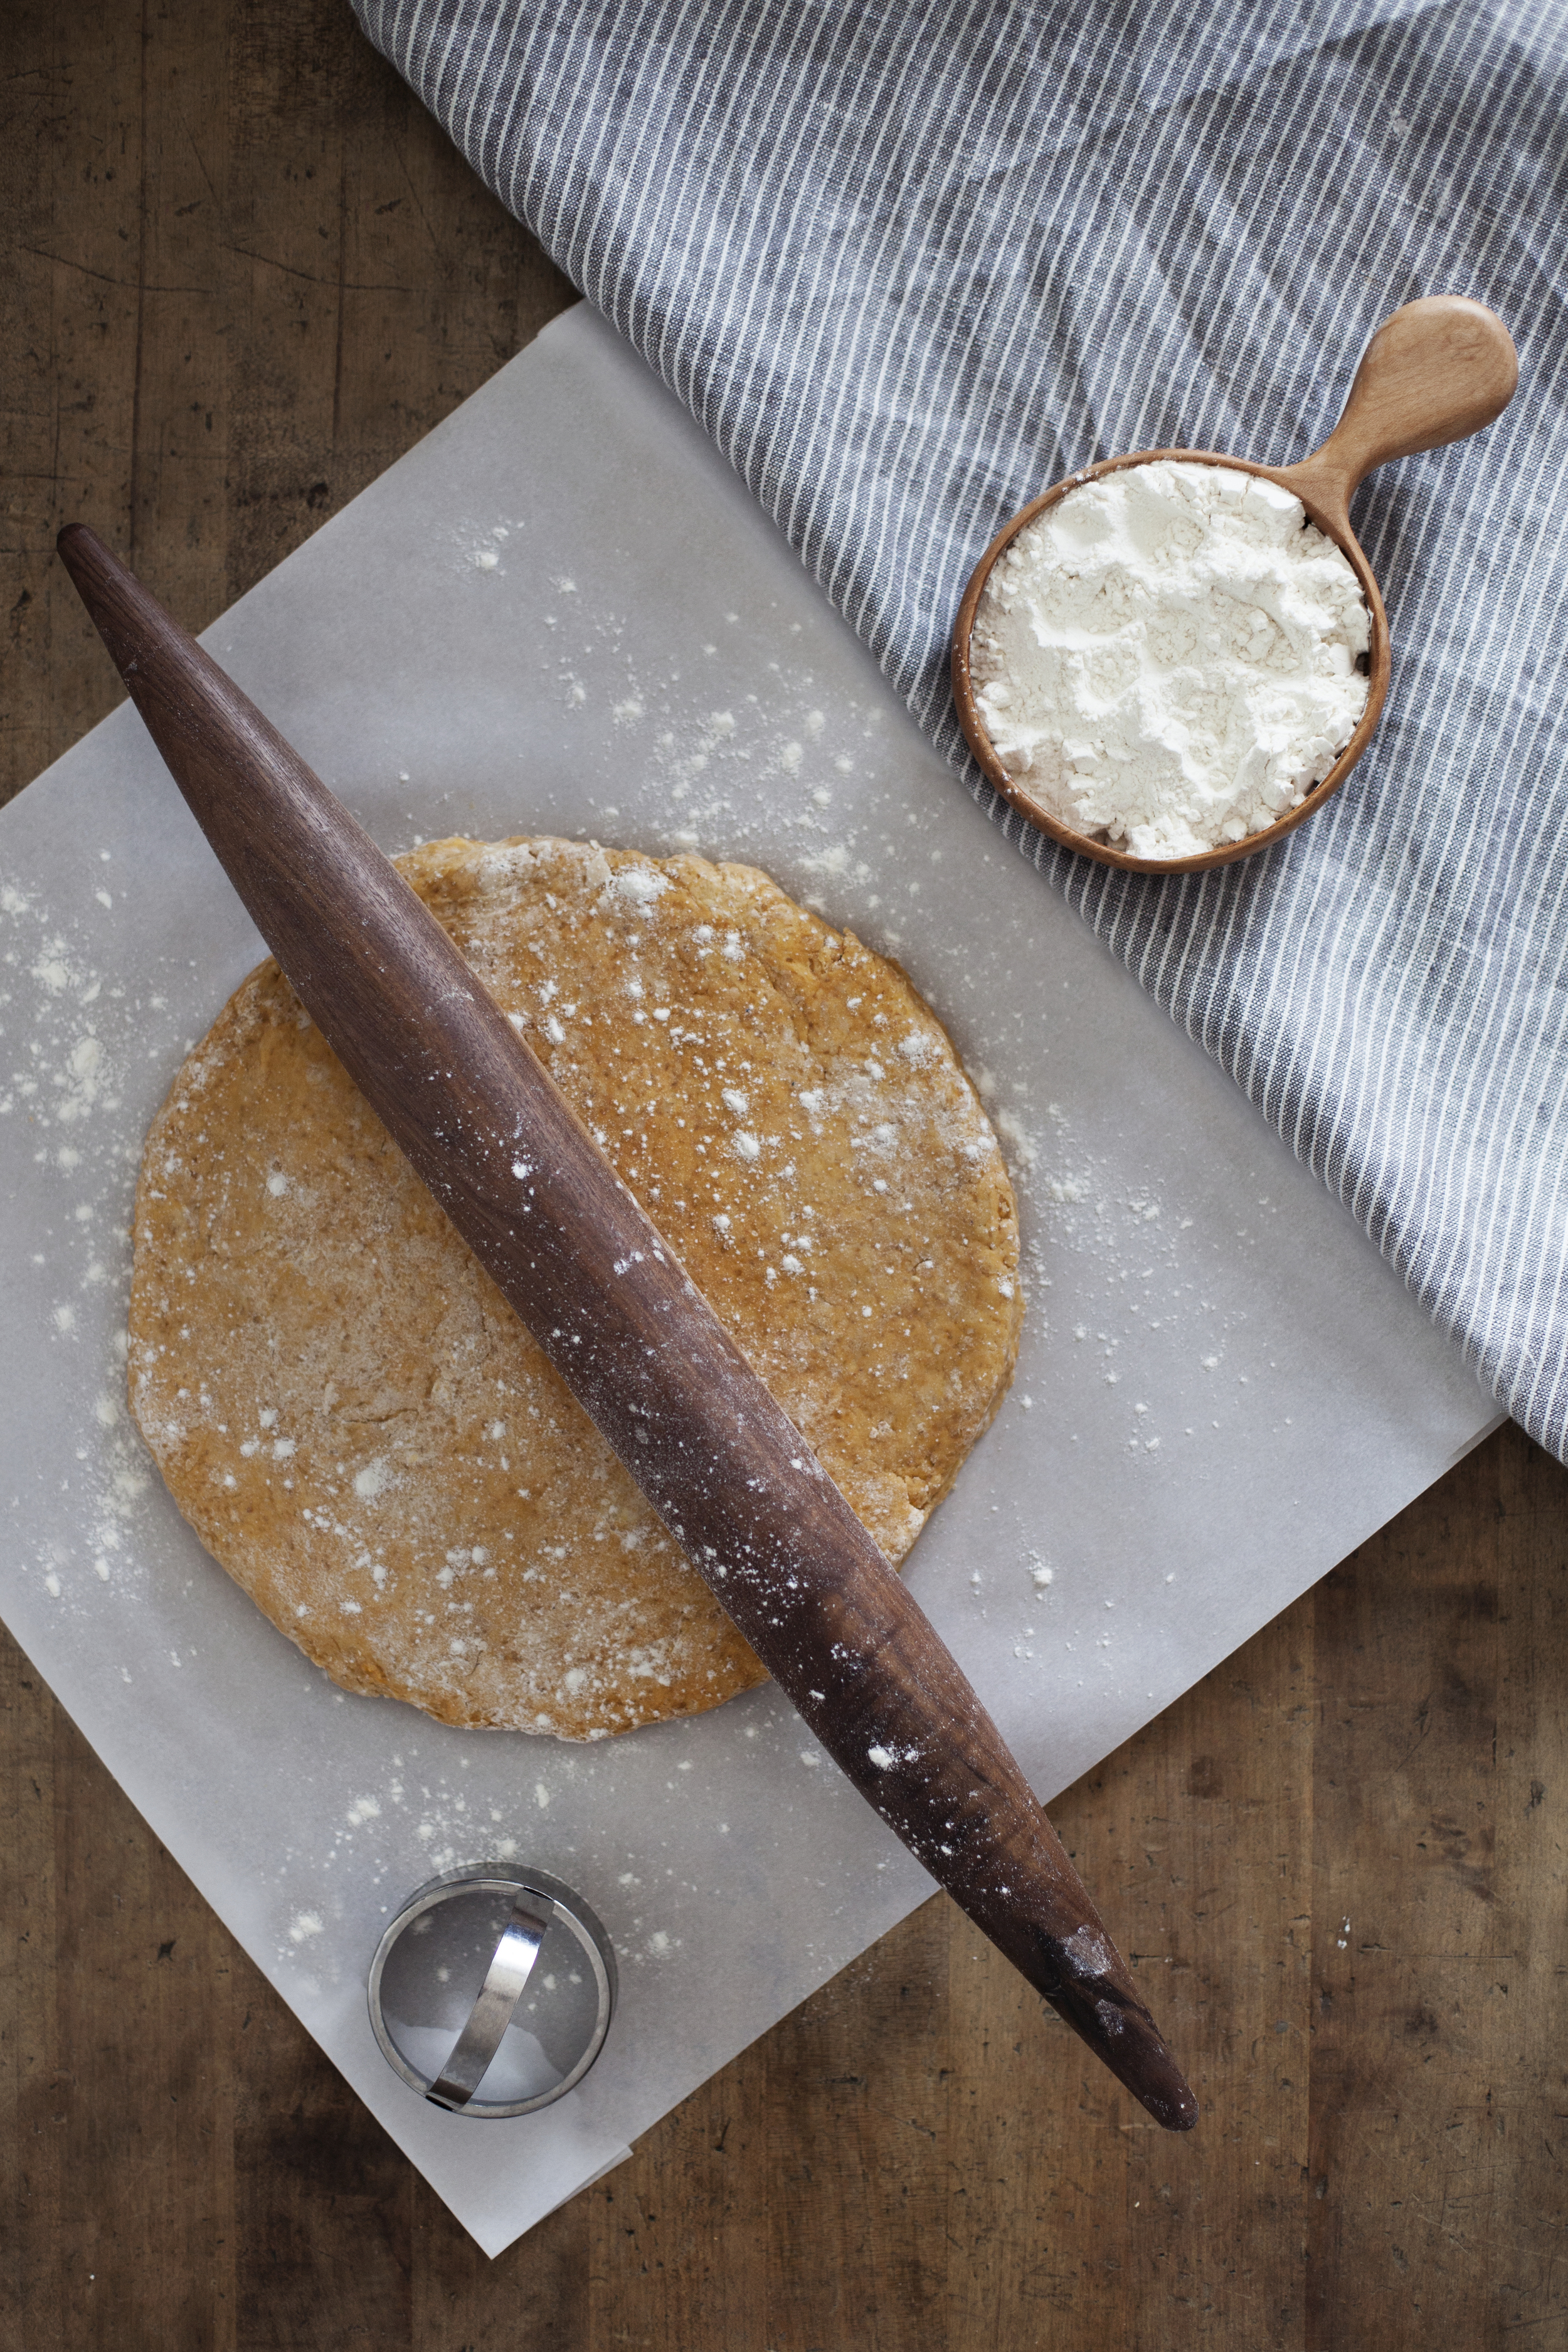
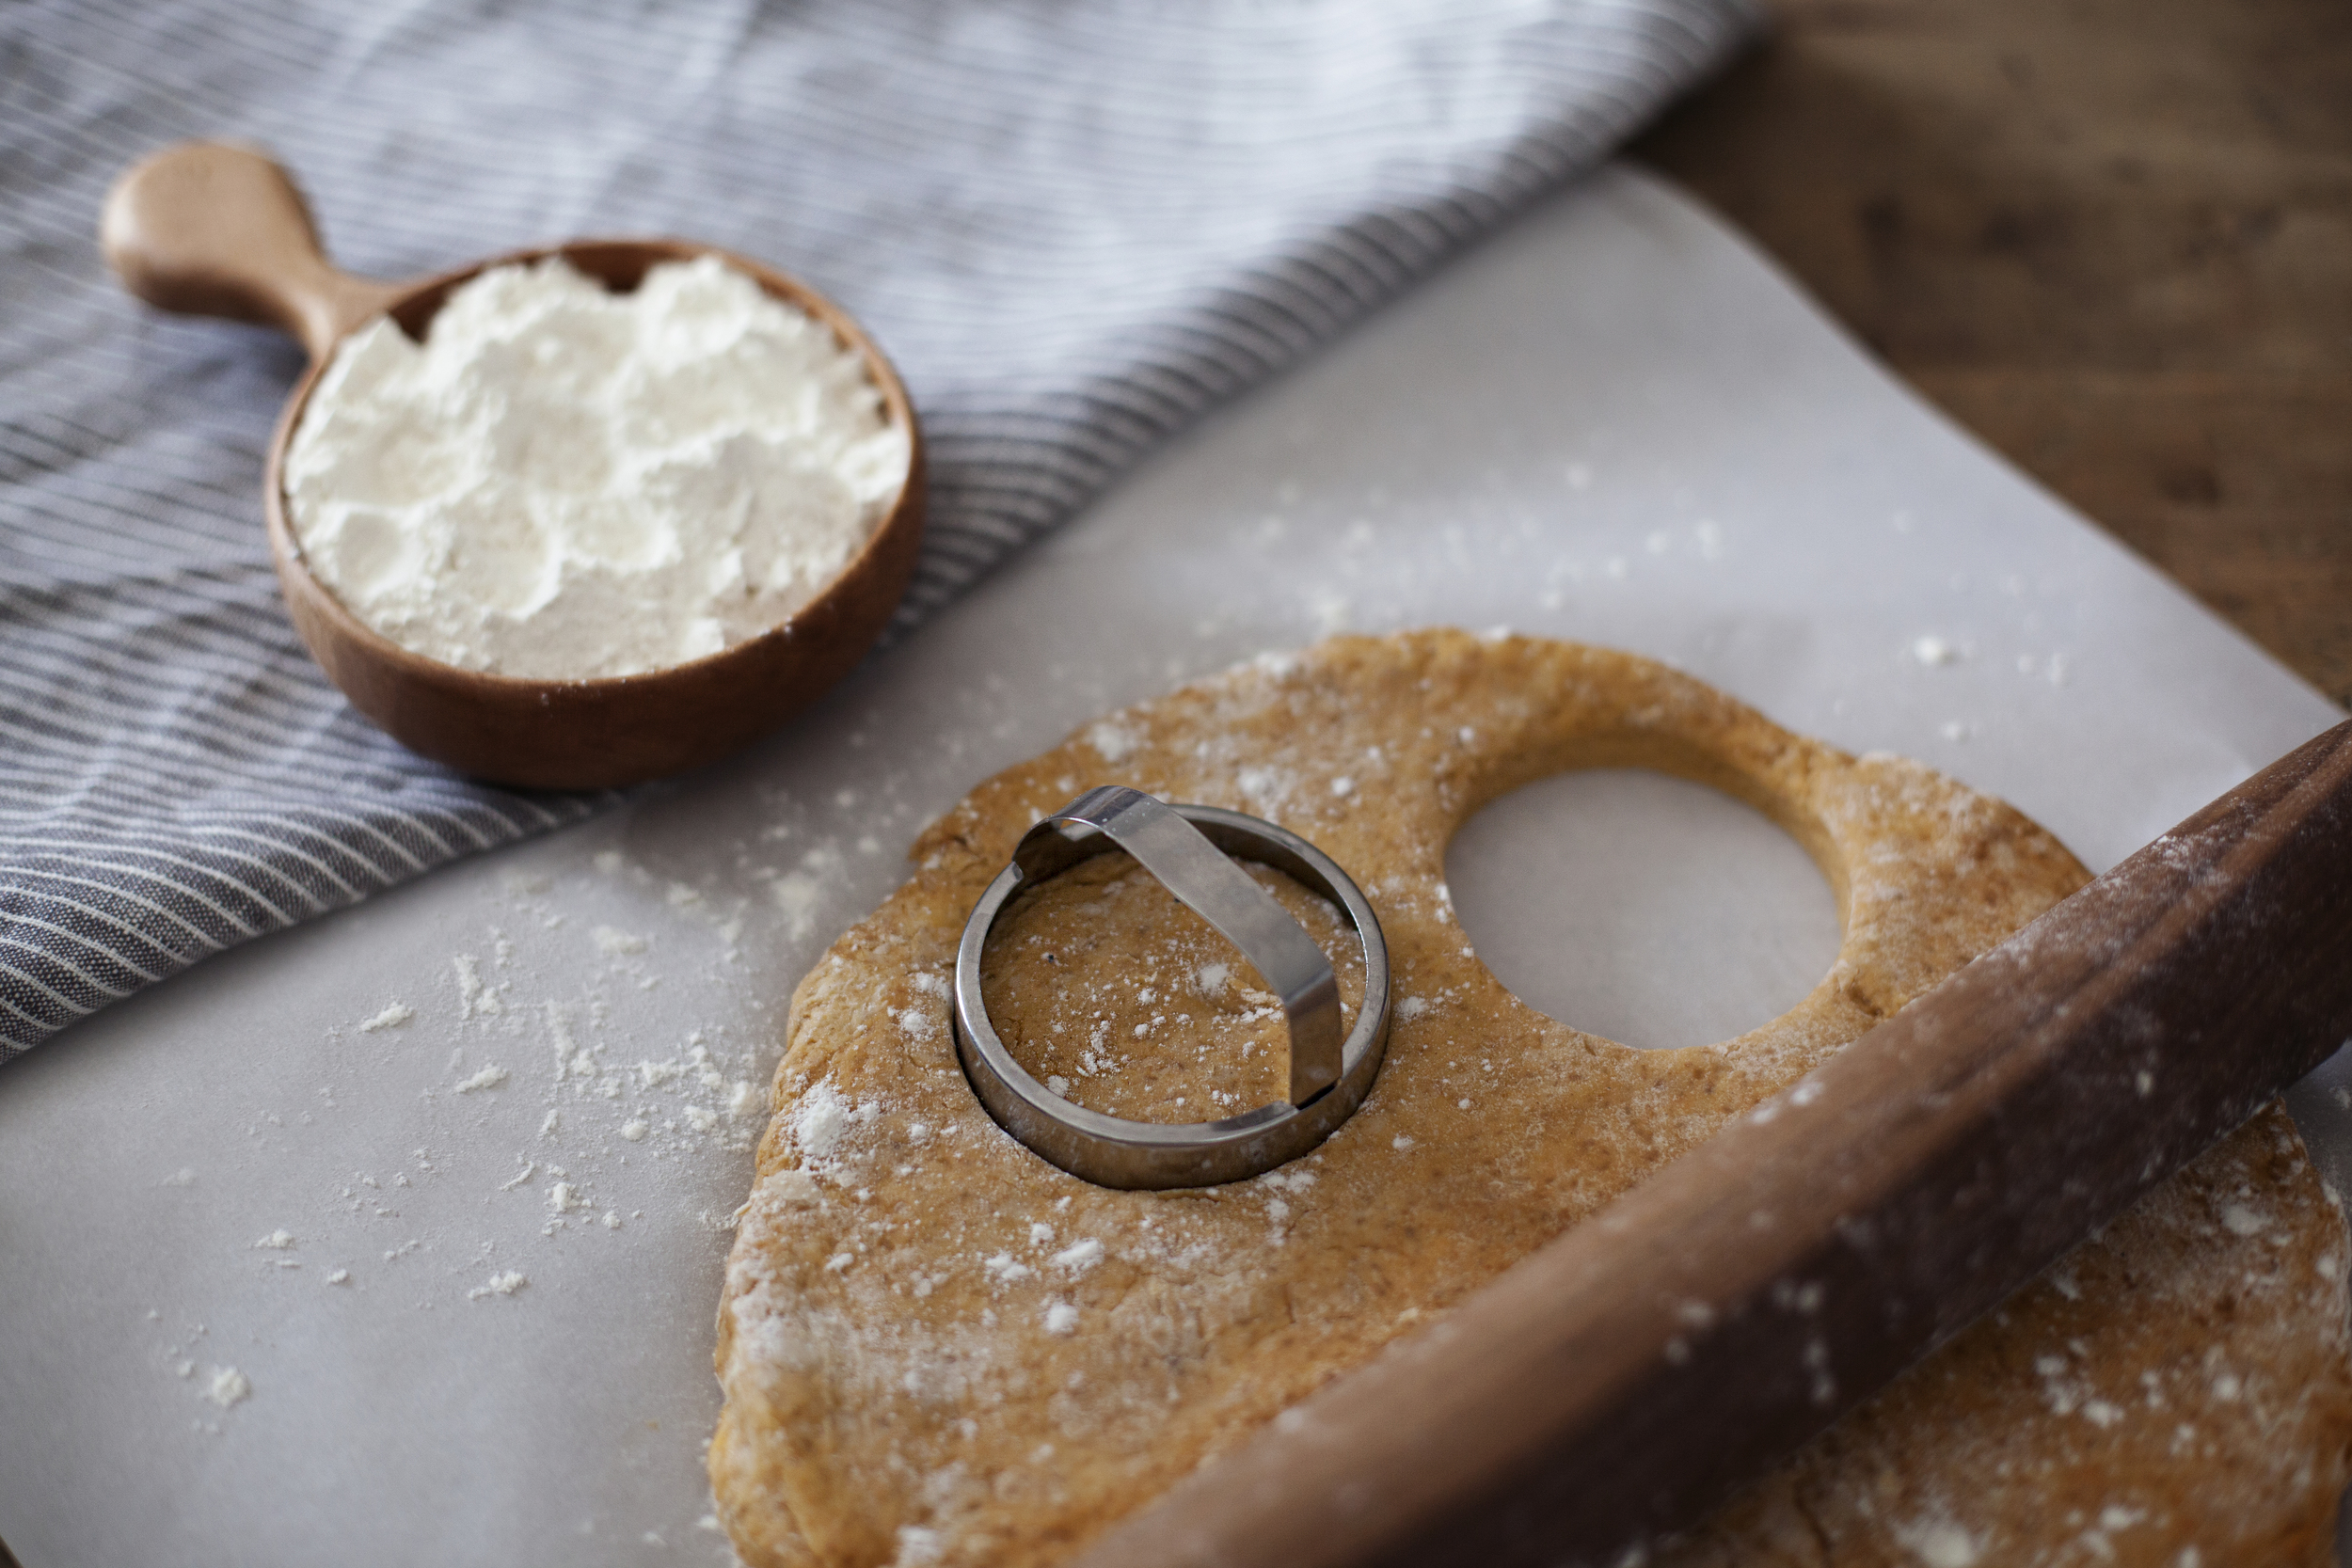
  • for the pumpkin scones: preheat oven to 375 degrees. in a large mixing bowl add flour, sugar, cinnamon, ginger, nutmeg, baking powder, baking soda & salt. stir. add the cubed butter & work into the flour mixture until pea sized crumbs are formed (similar to pie dough & biscuits). in a separate mixing bowl add pumpkin puree, whole milk, egg & vanilla. whisk until smooth. add the wet ingredients to the dry ingredients & stir until a dough comes together. roll out onto a floured surface & cut into desired shapes. bake until puffed & golden, about 10-15 minutes. let cool while you make the glazes.
  • for the vanilla glaze: add all ingredients into a mixing bowl & whisk until a smooth glaze forms. if glaze appears runny, add a touch more sugar. if glaze appears thick, add a touch more milk.
  • for the pumpkin glaze: add all ingredients into a mixing bowl & whisk until a smooth glaze forms. if glaze appears runny, add a touch more sugar. if glaze appears thick, add a touch more milk.
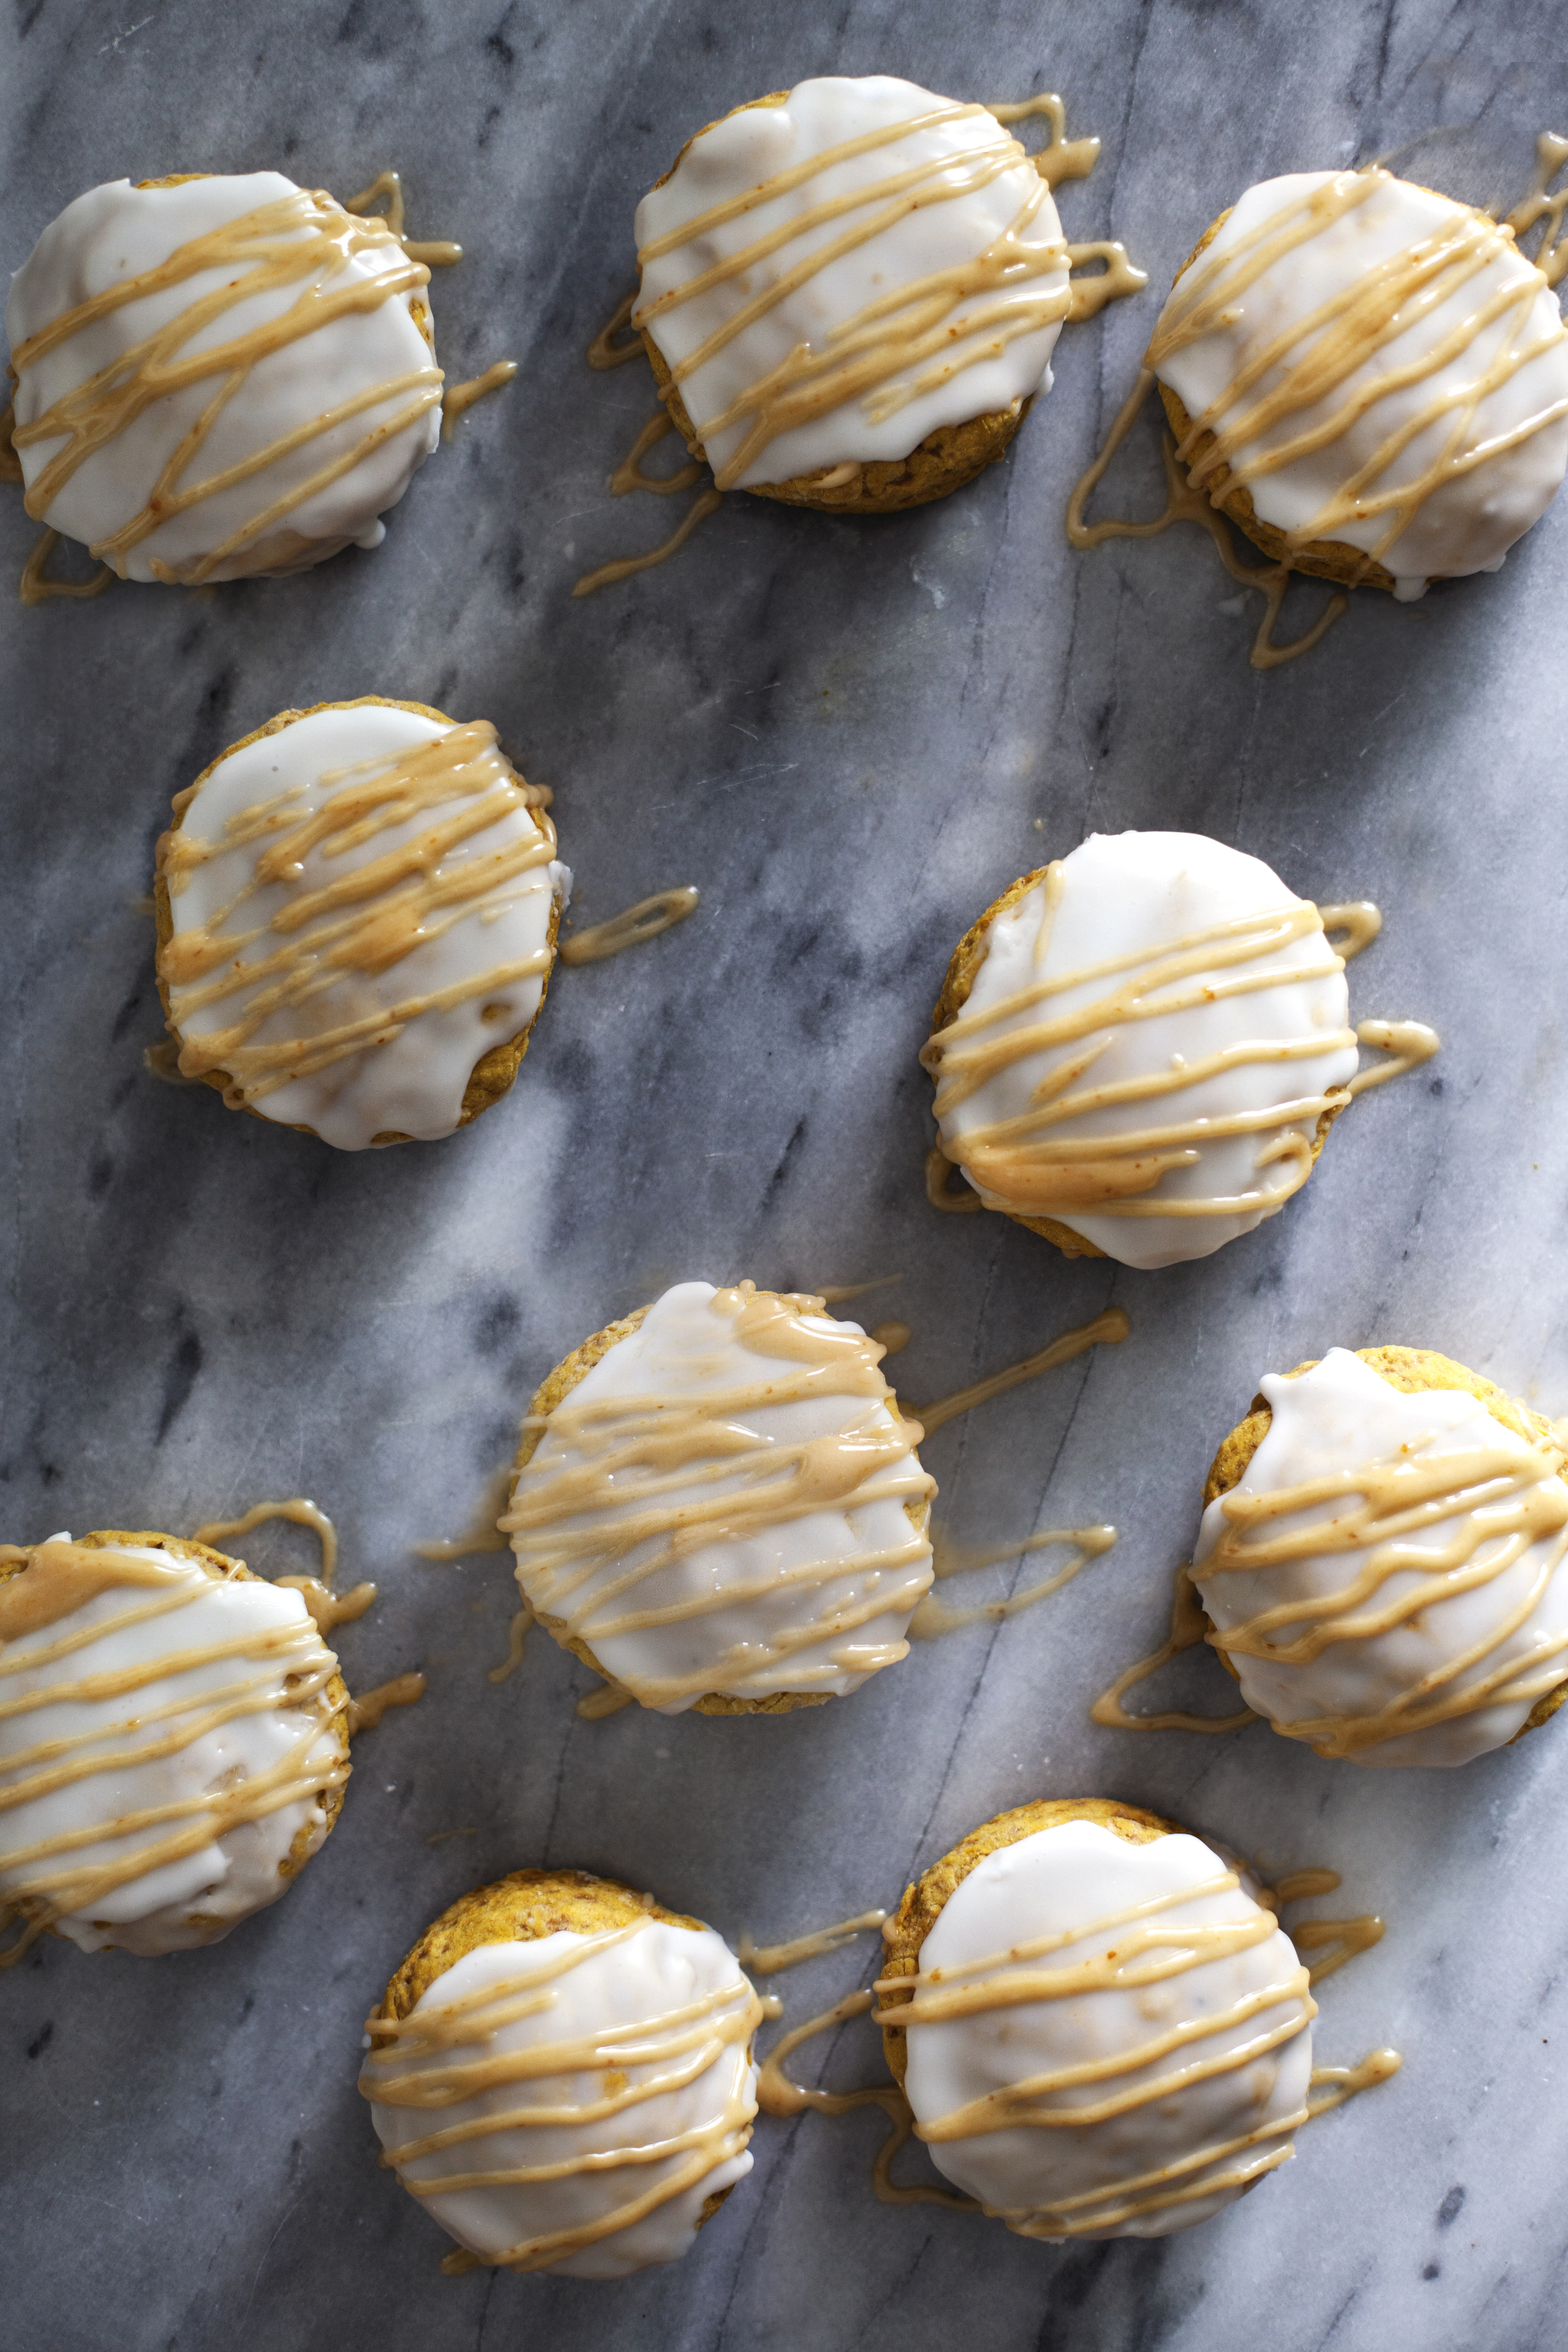
  • to assemble: once the scones have cooled, begin with a thick coating of the vanilla glaze. let set. finish by drizzling the pumpkin glaze.
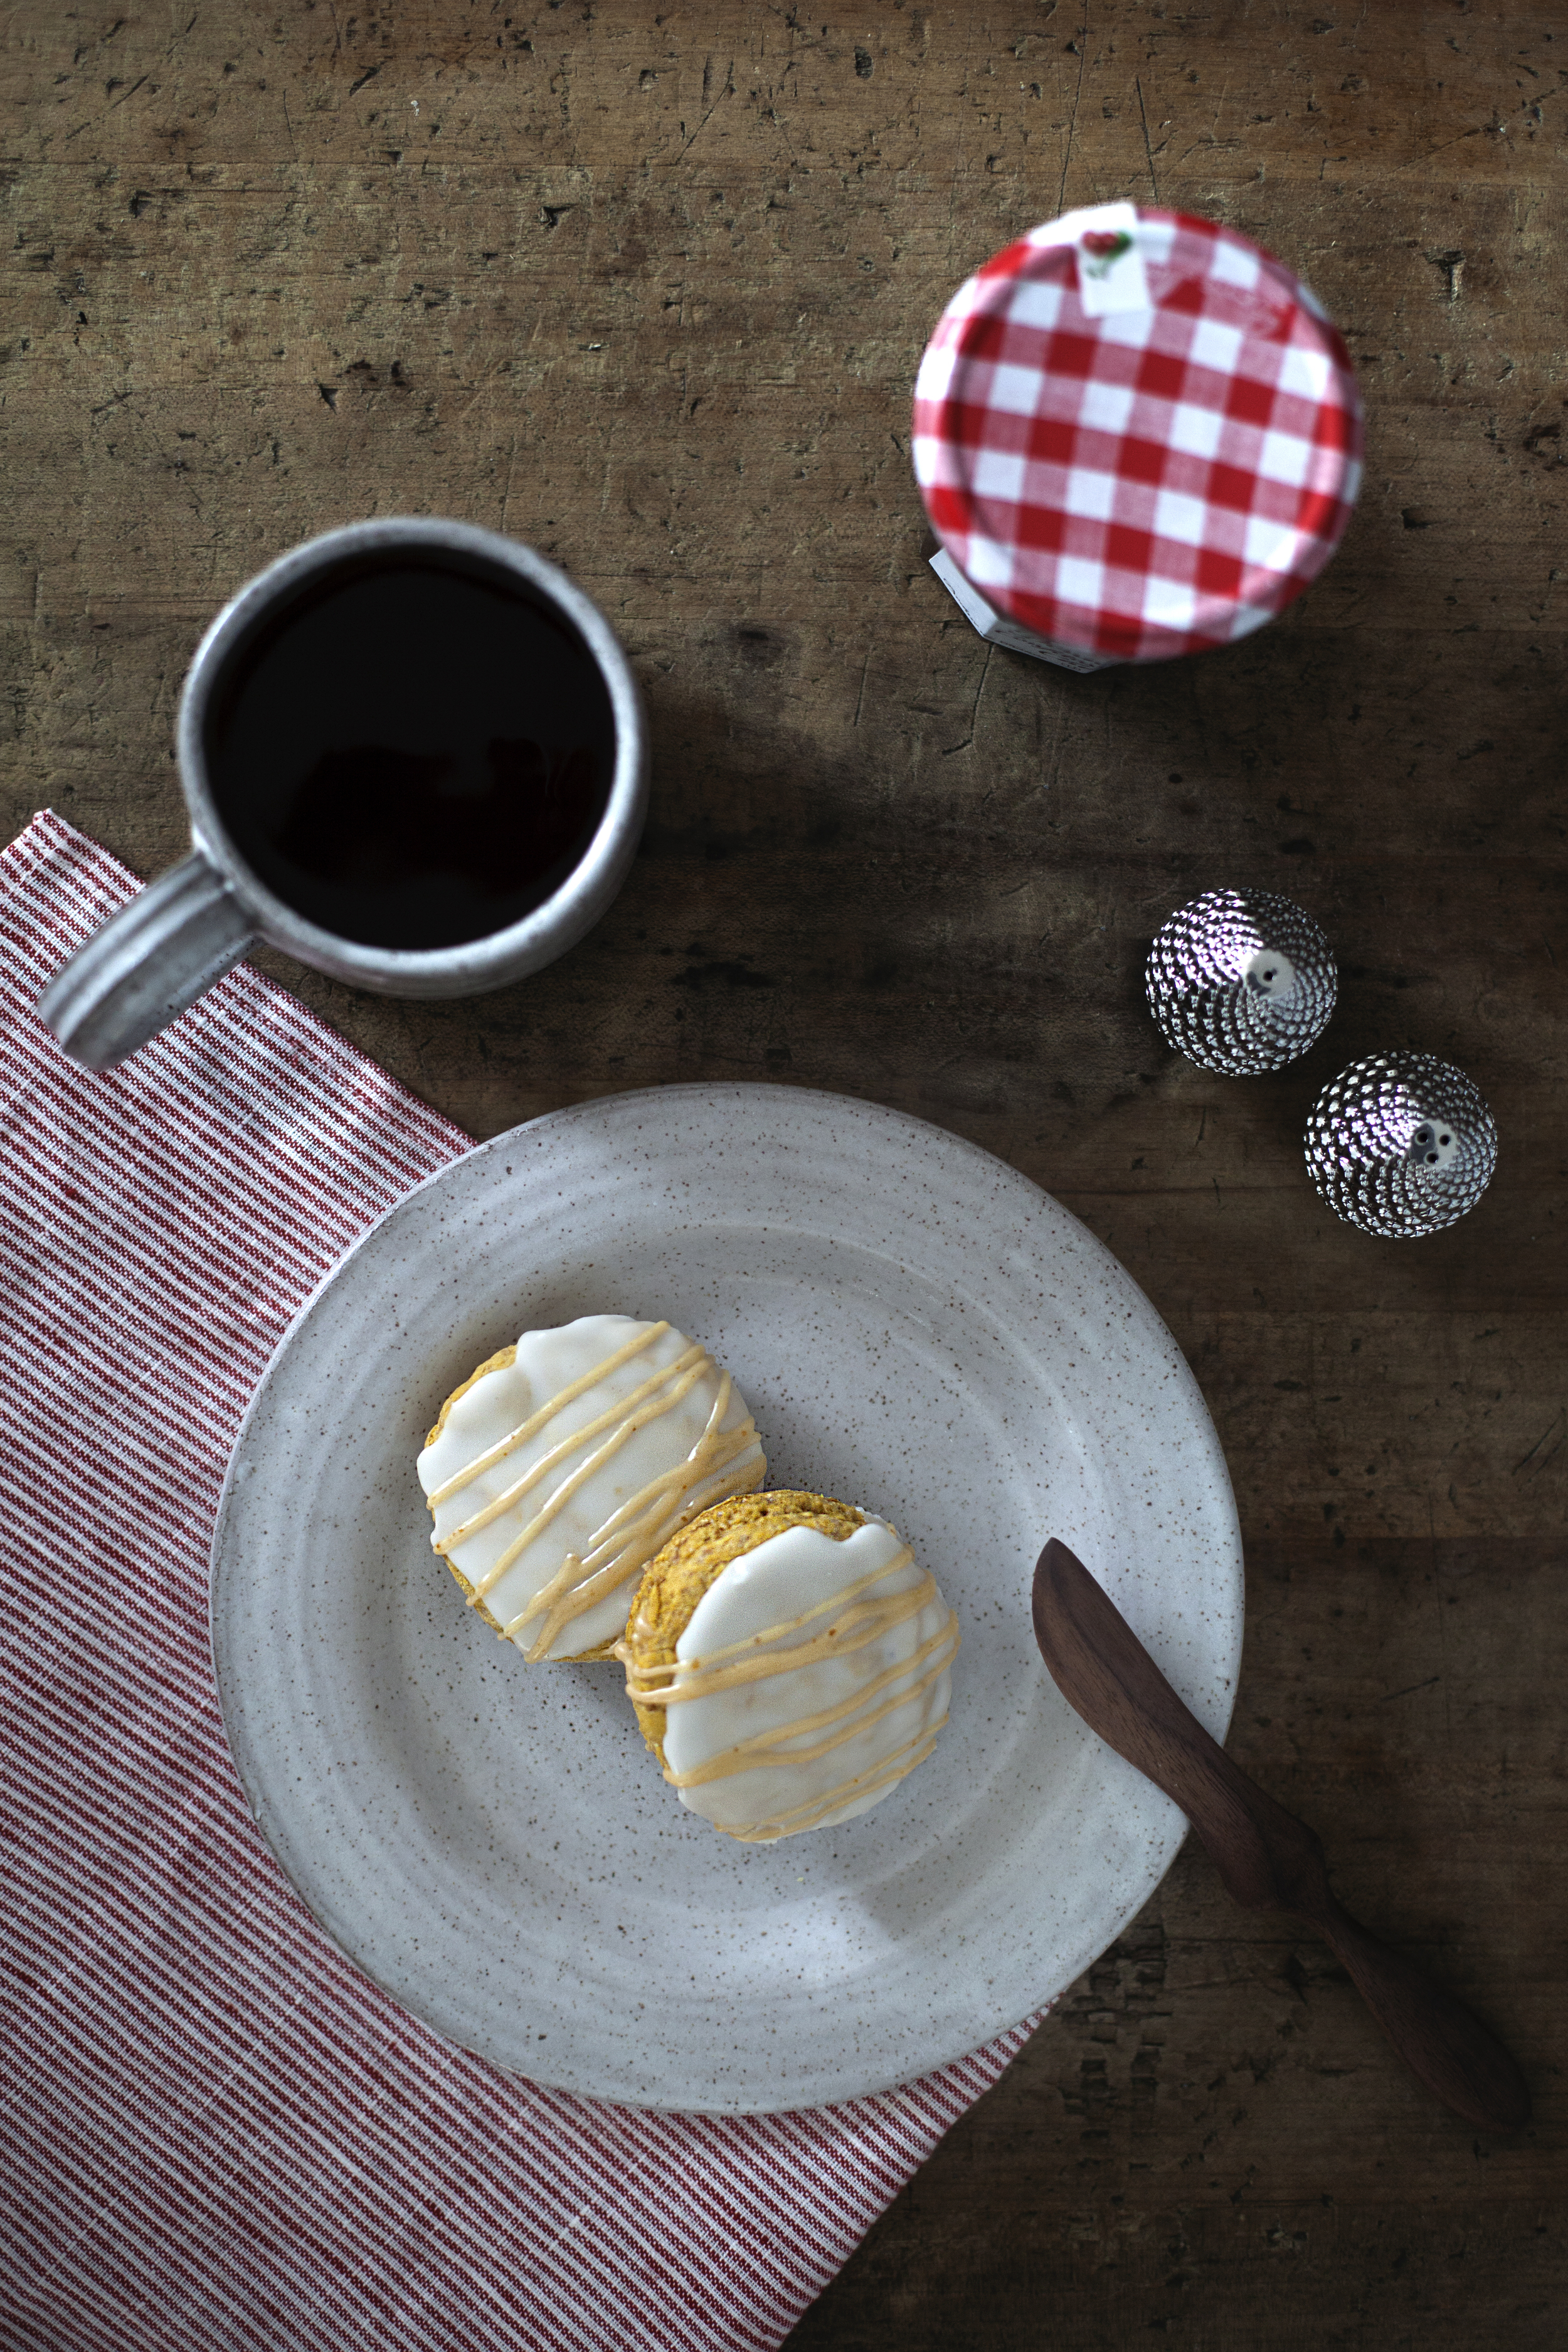
  • serve as is or with (blueberry) jam!