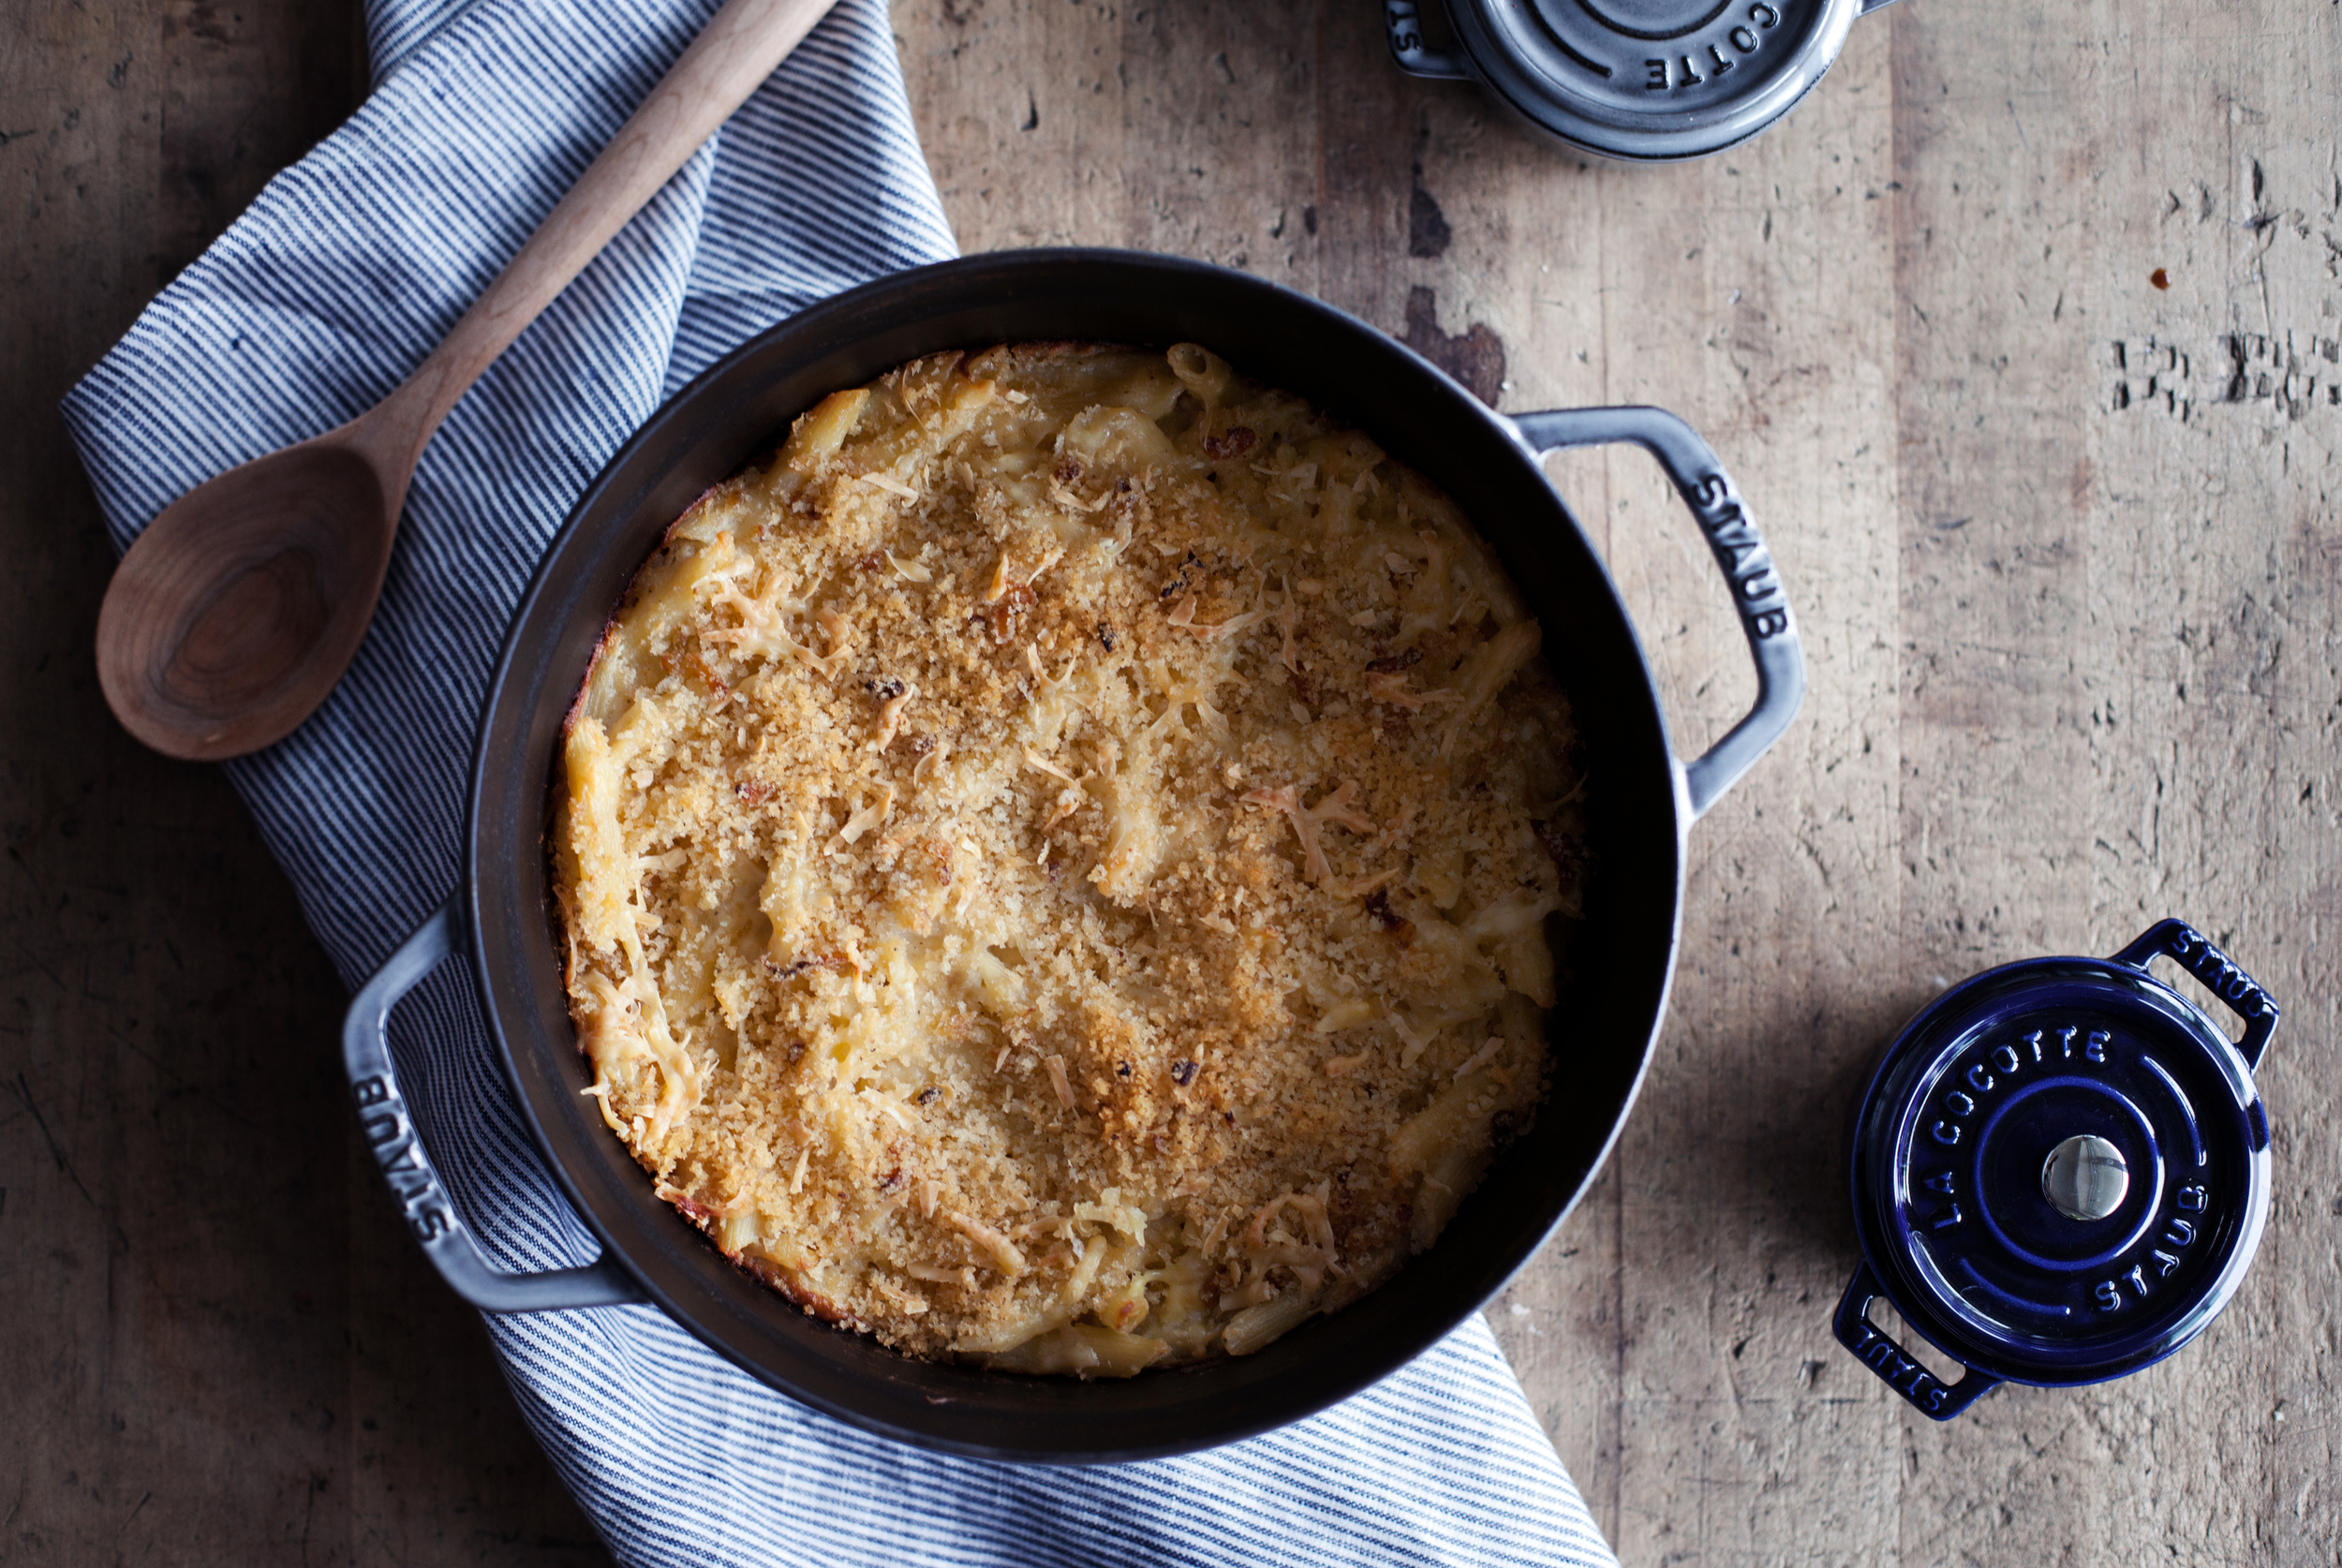
CARAMELIZED ONION + GOUDA MAC & CHEESE


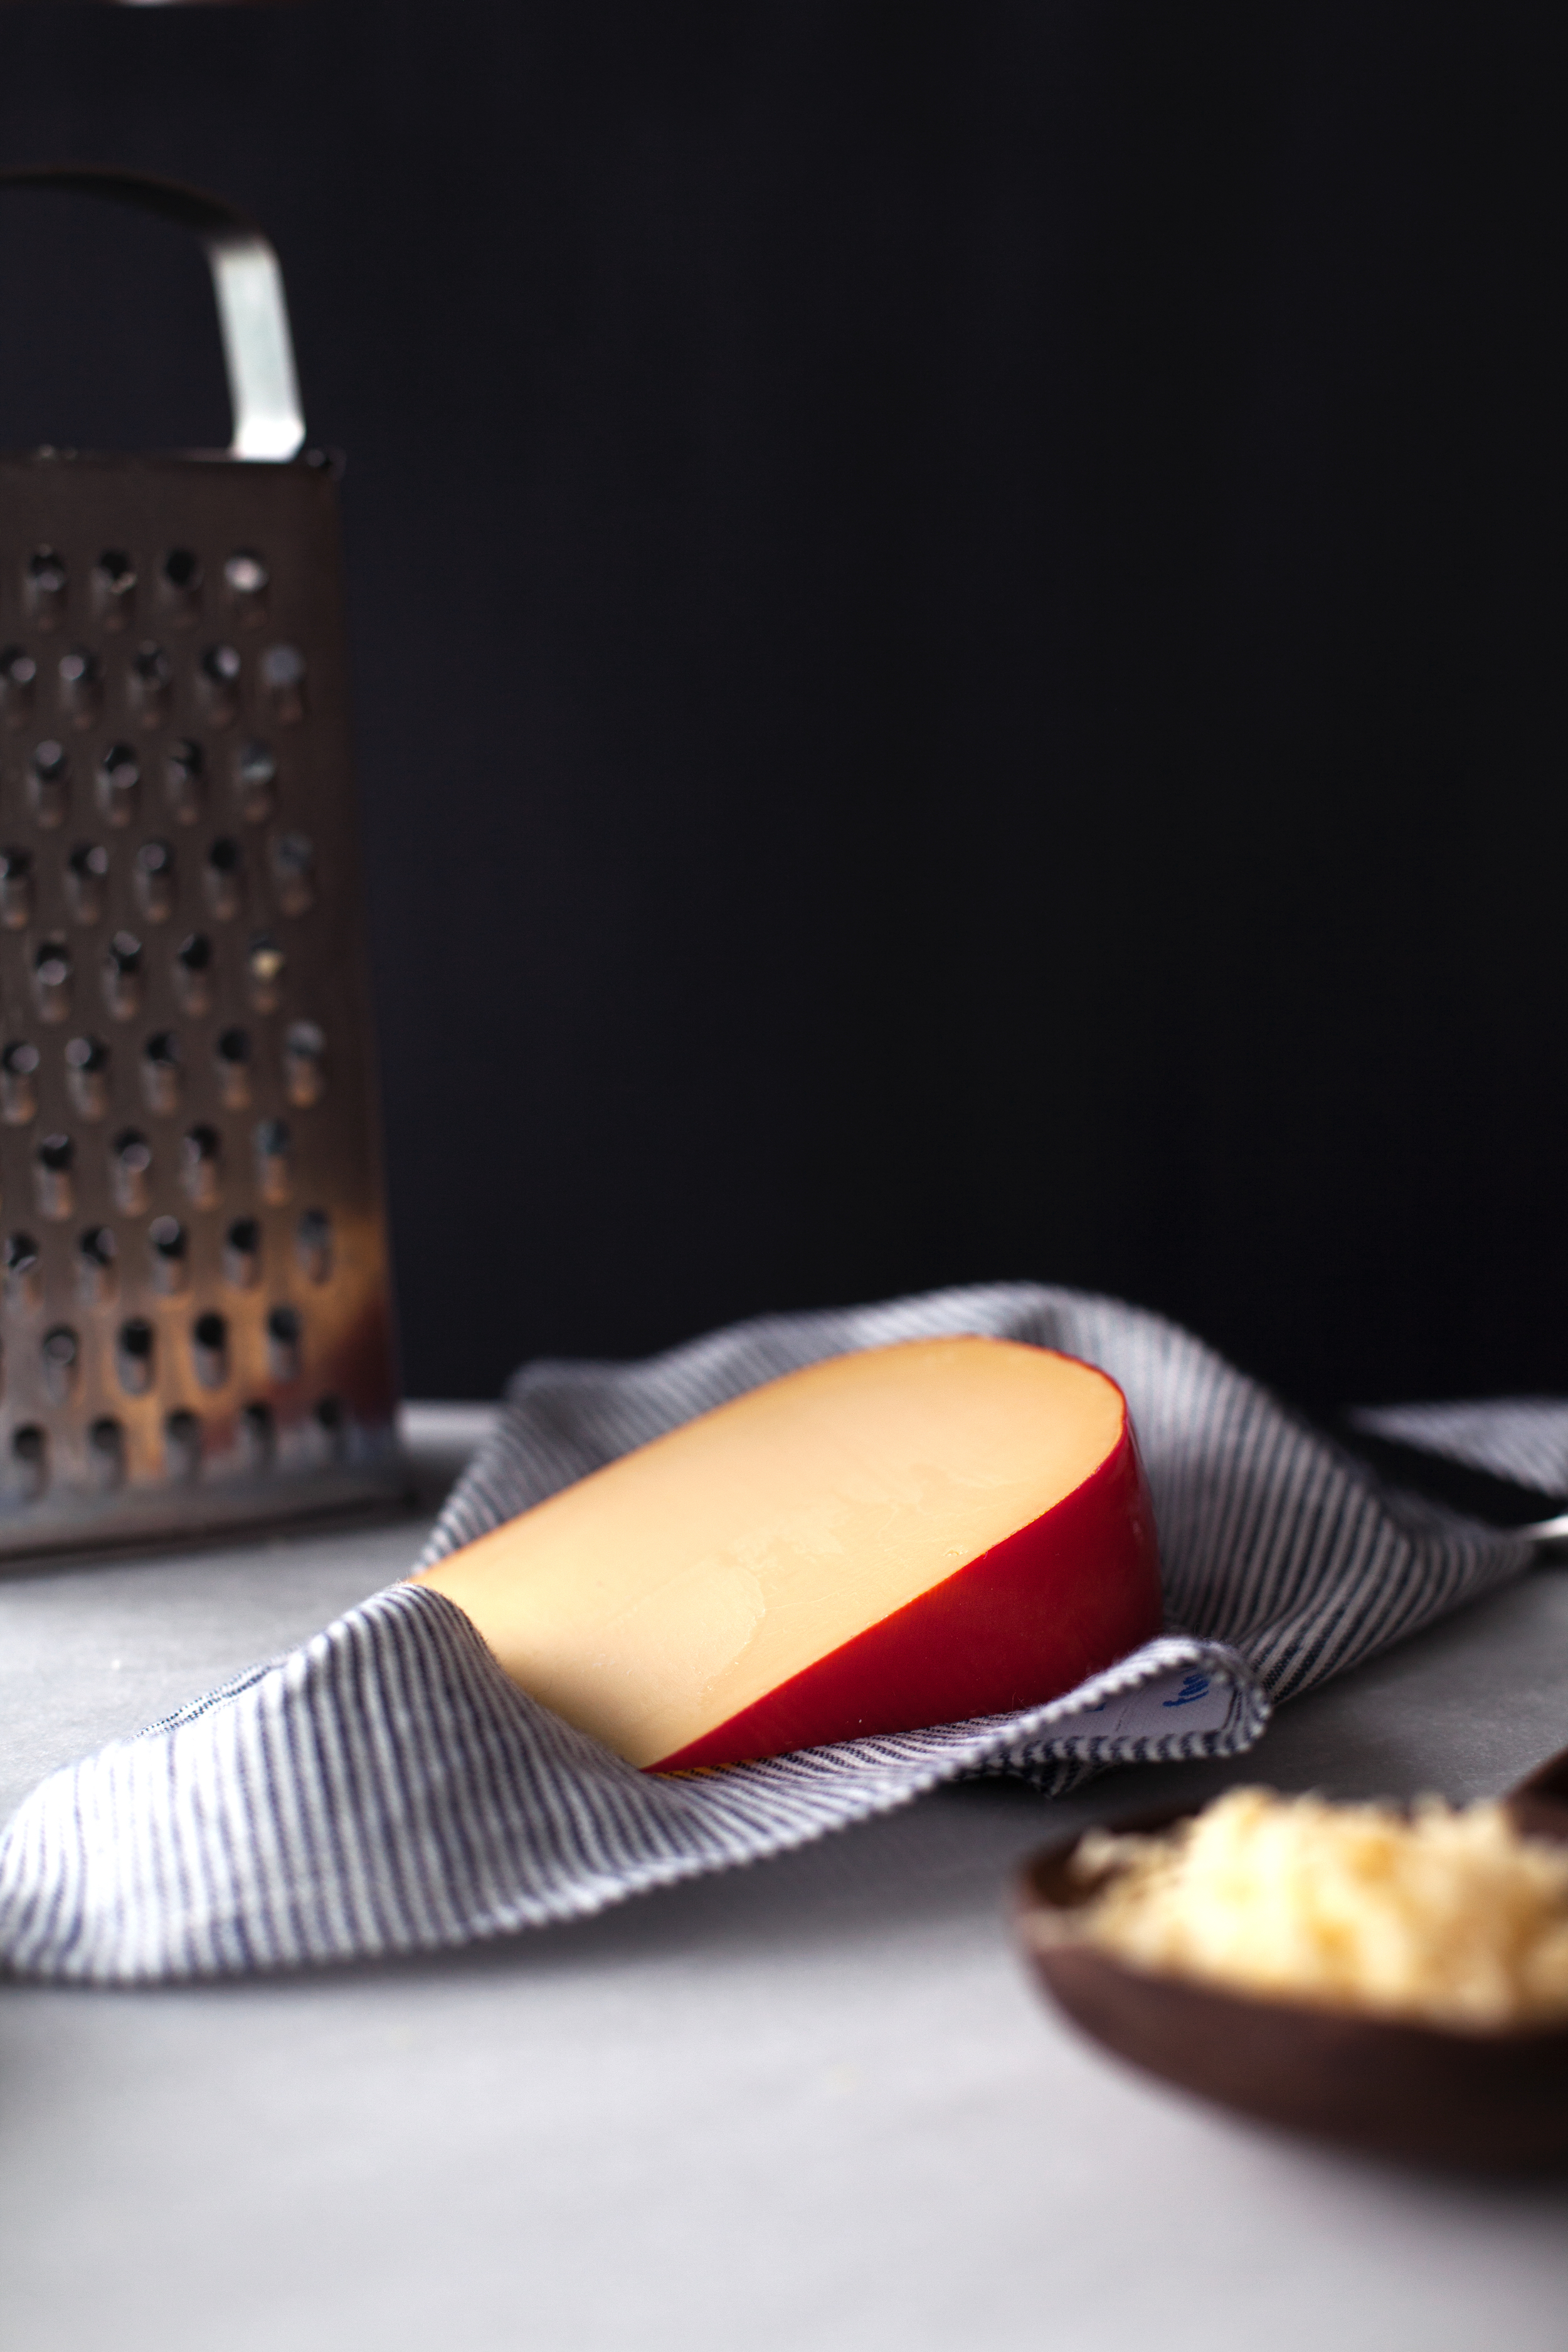
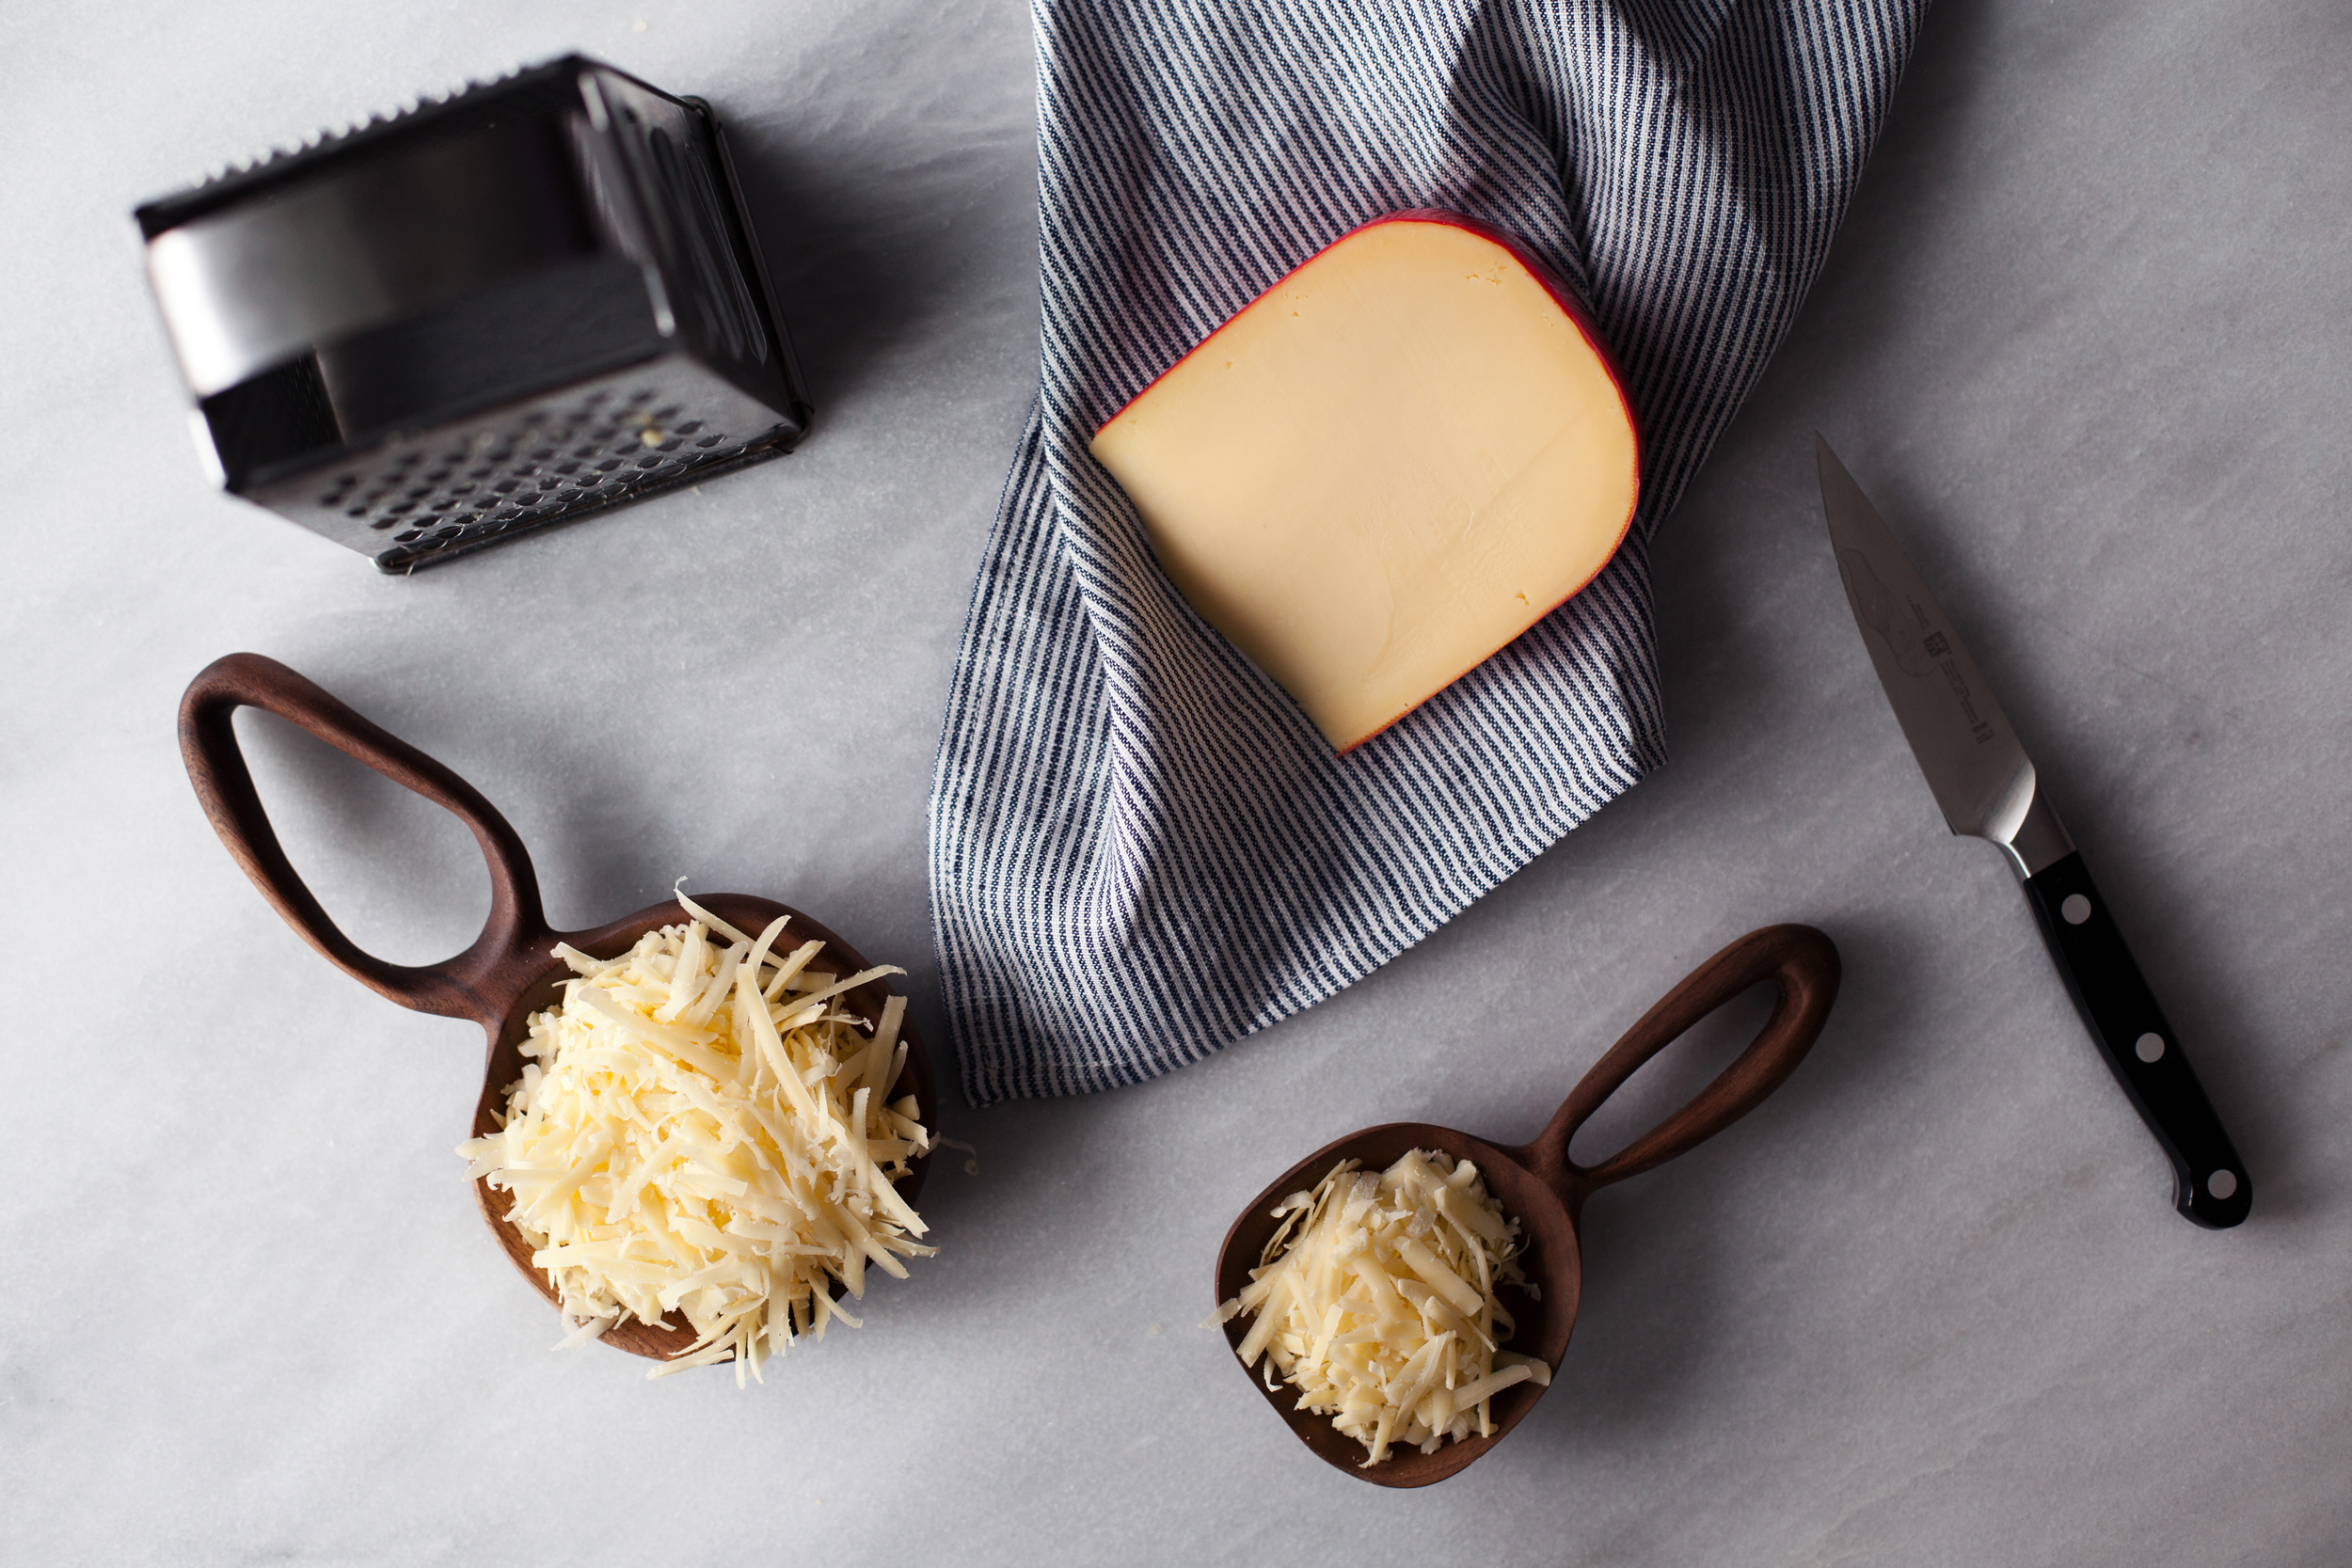
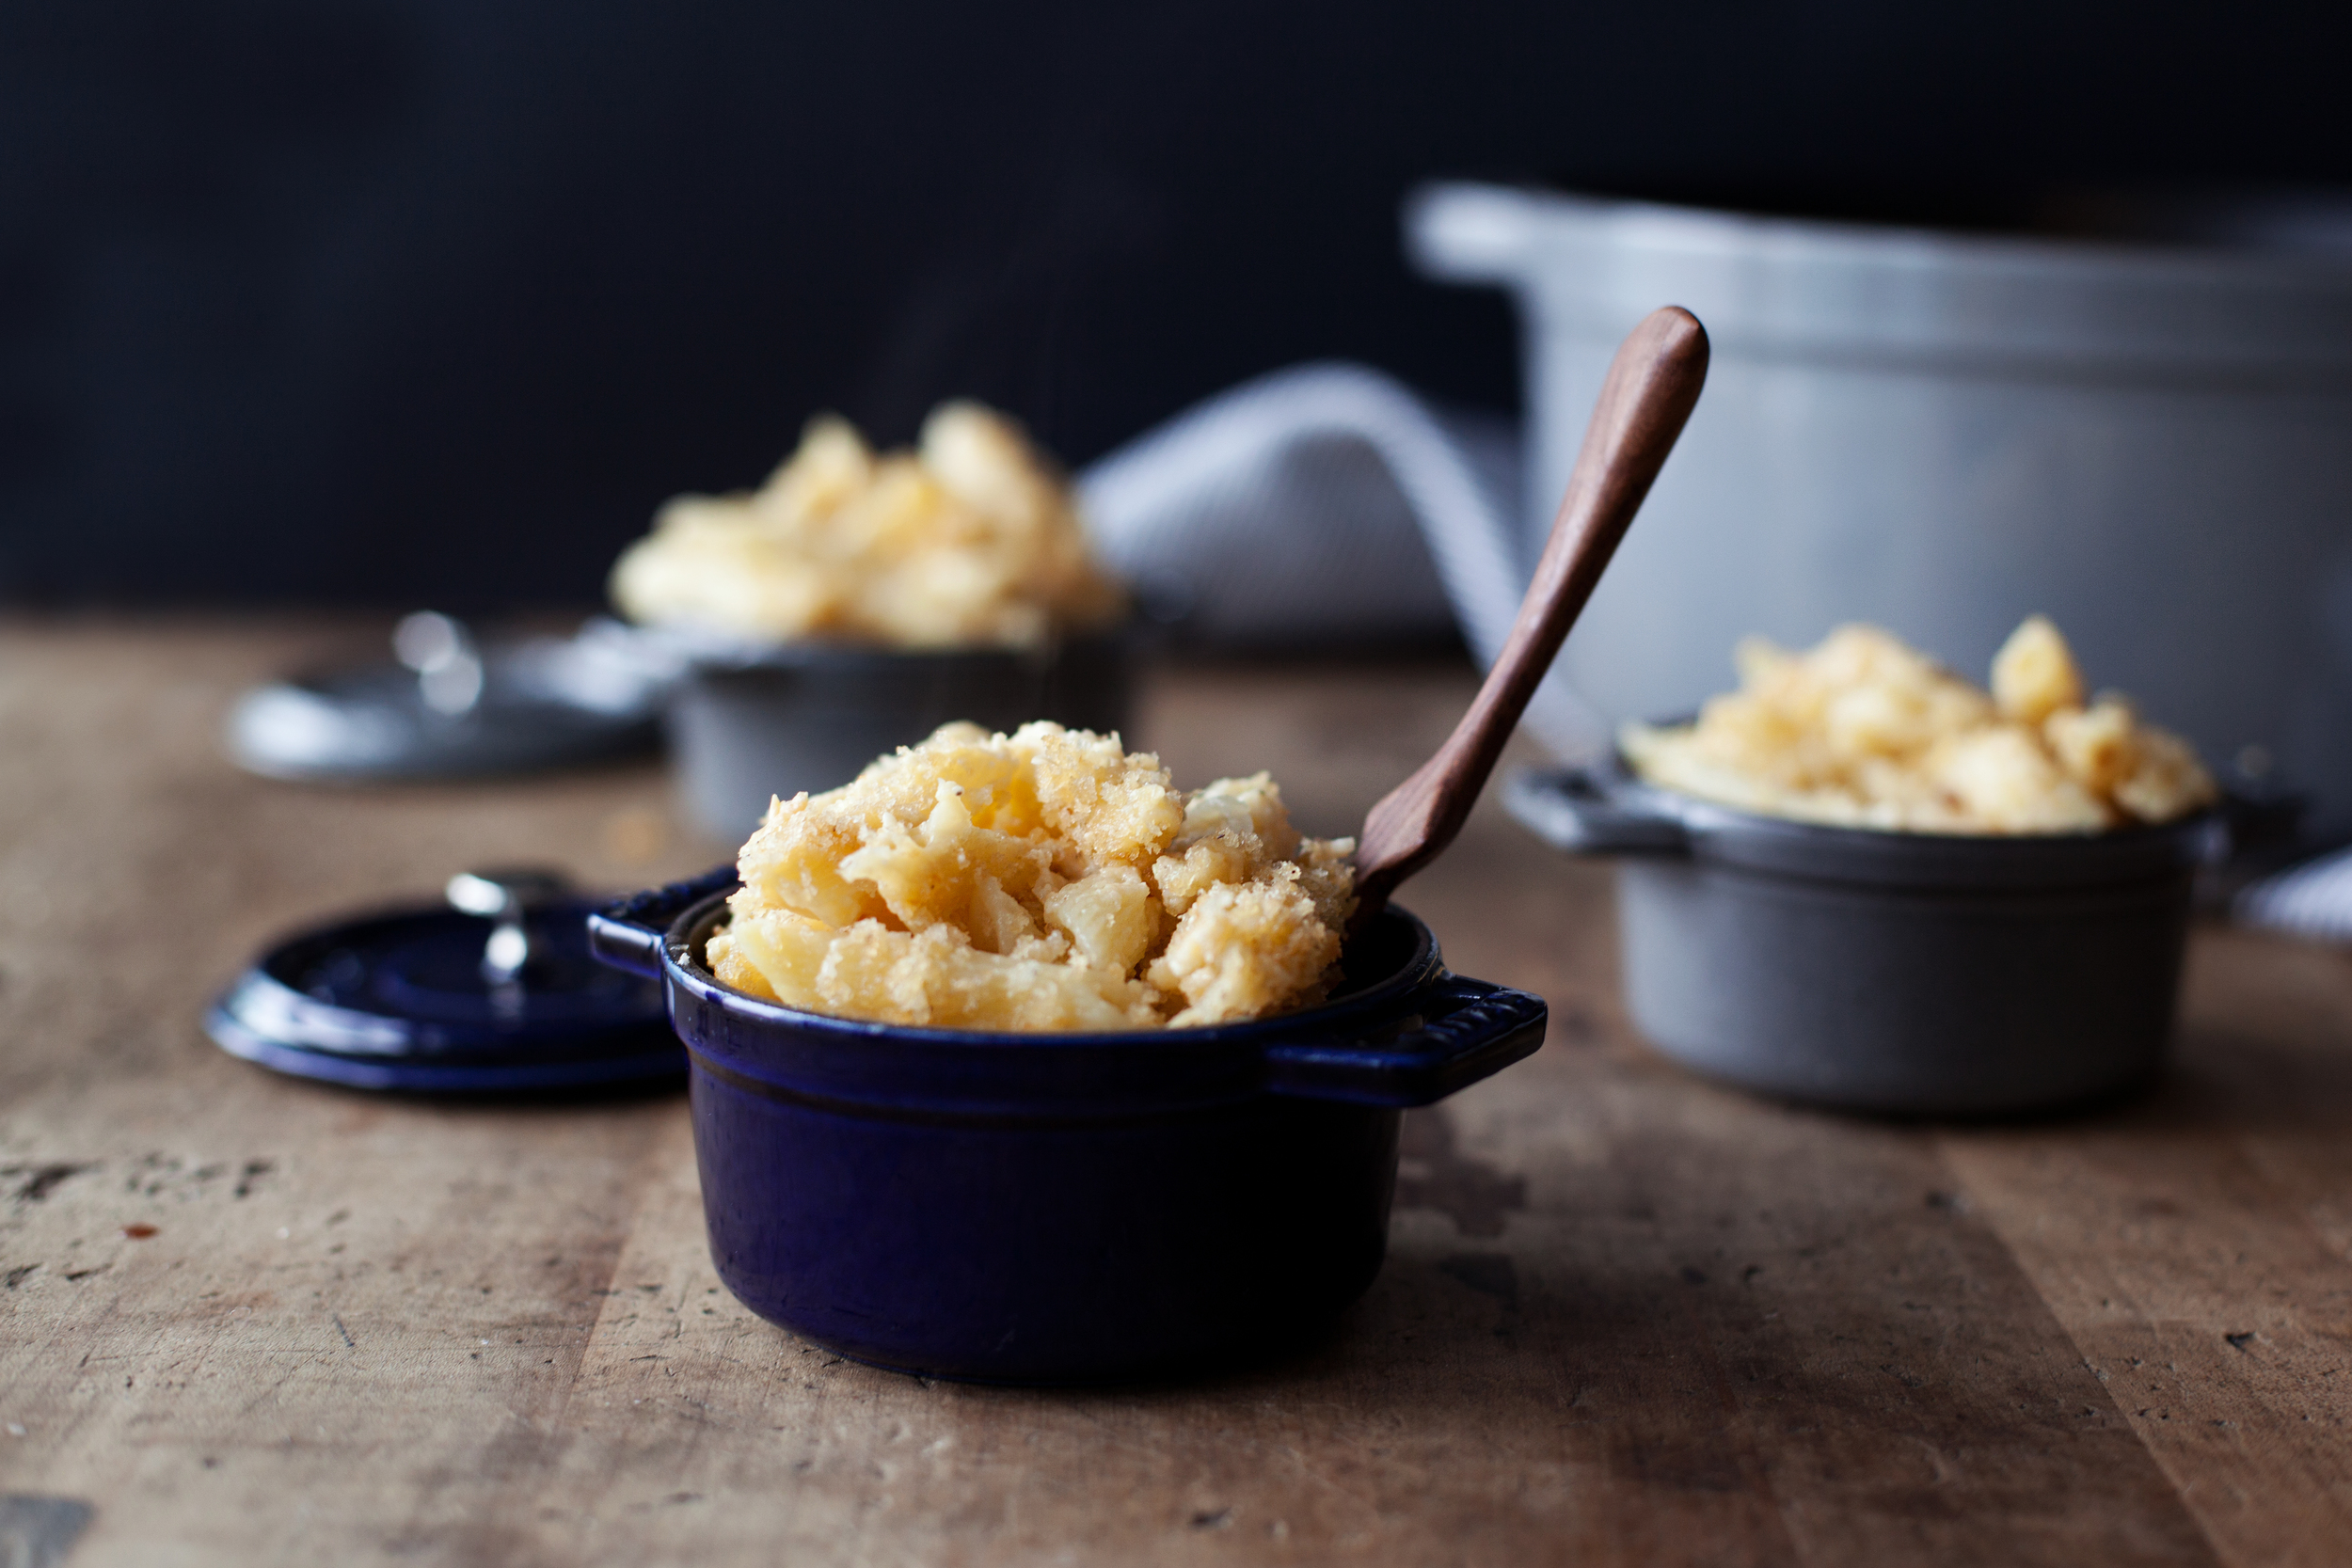
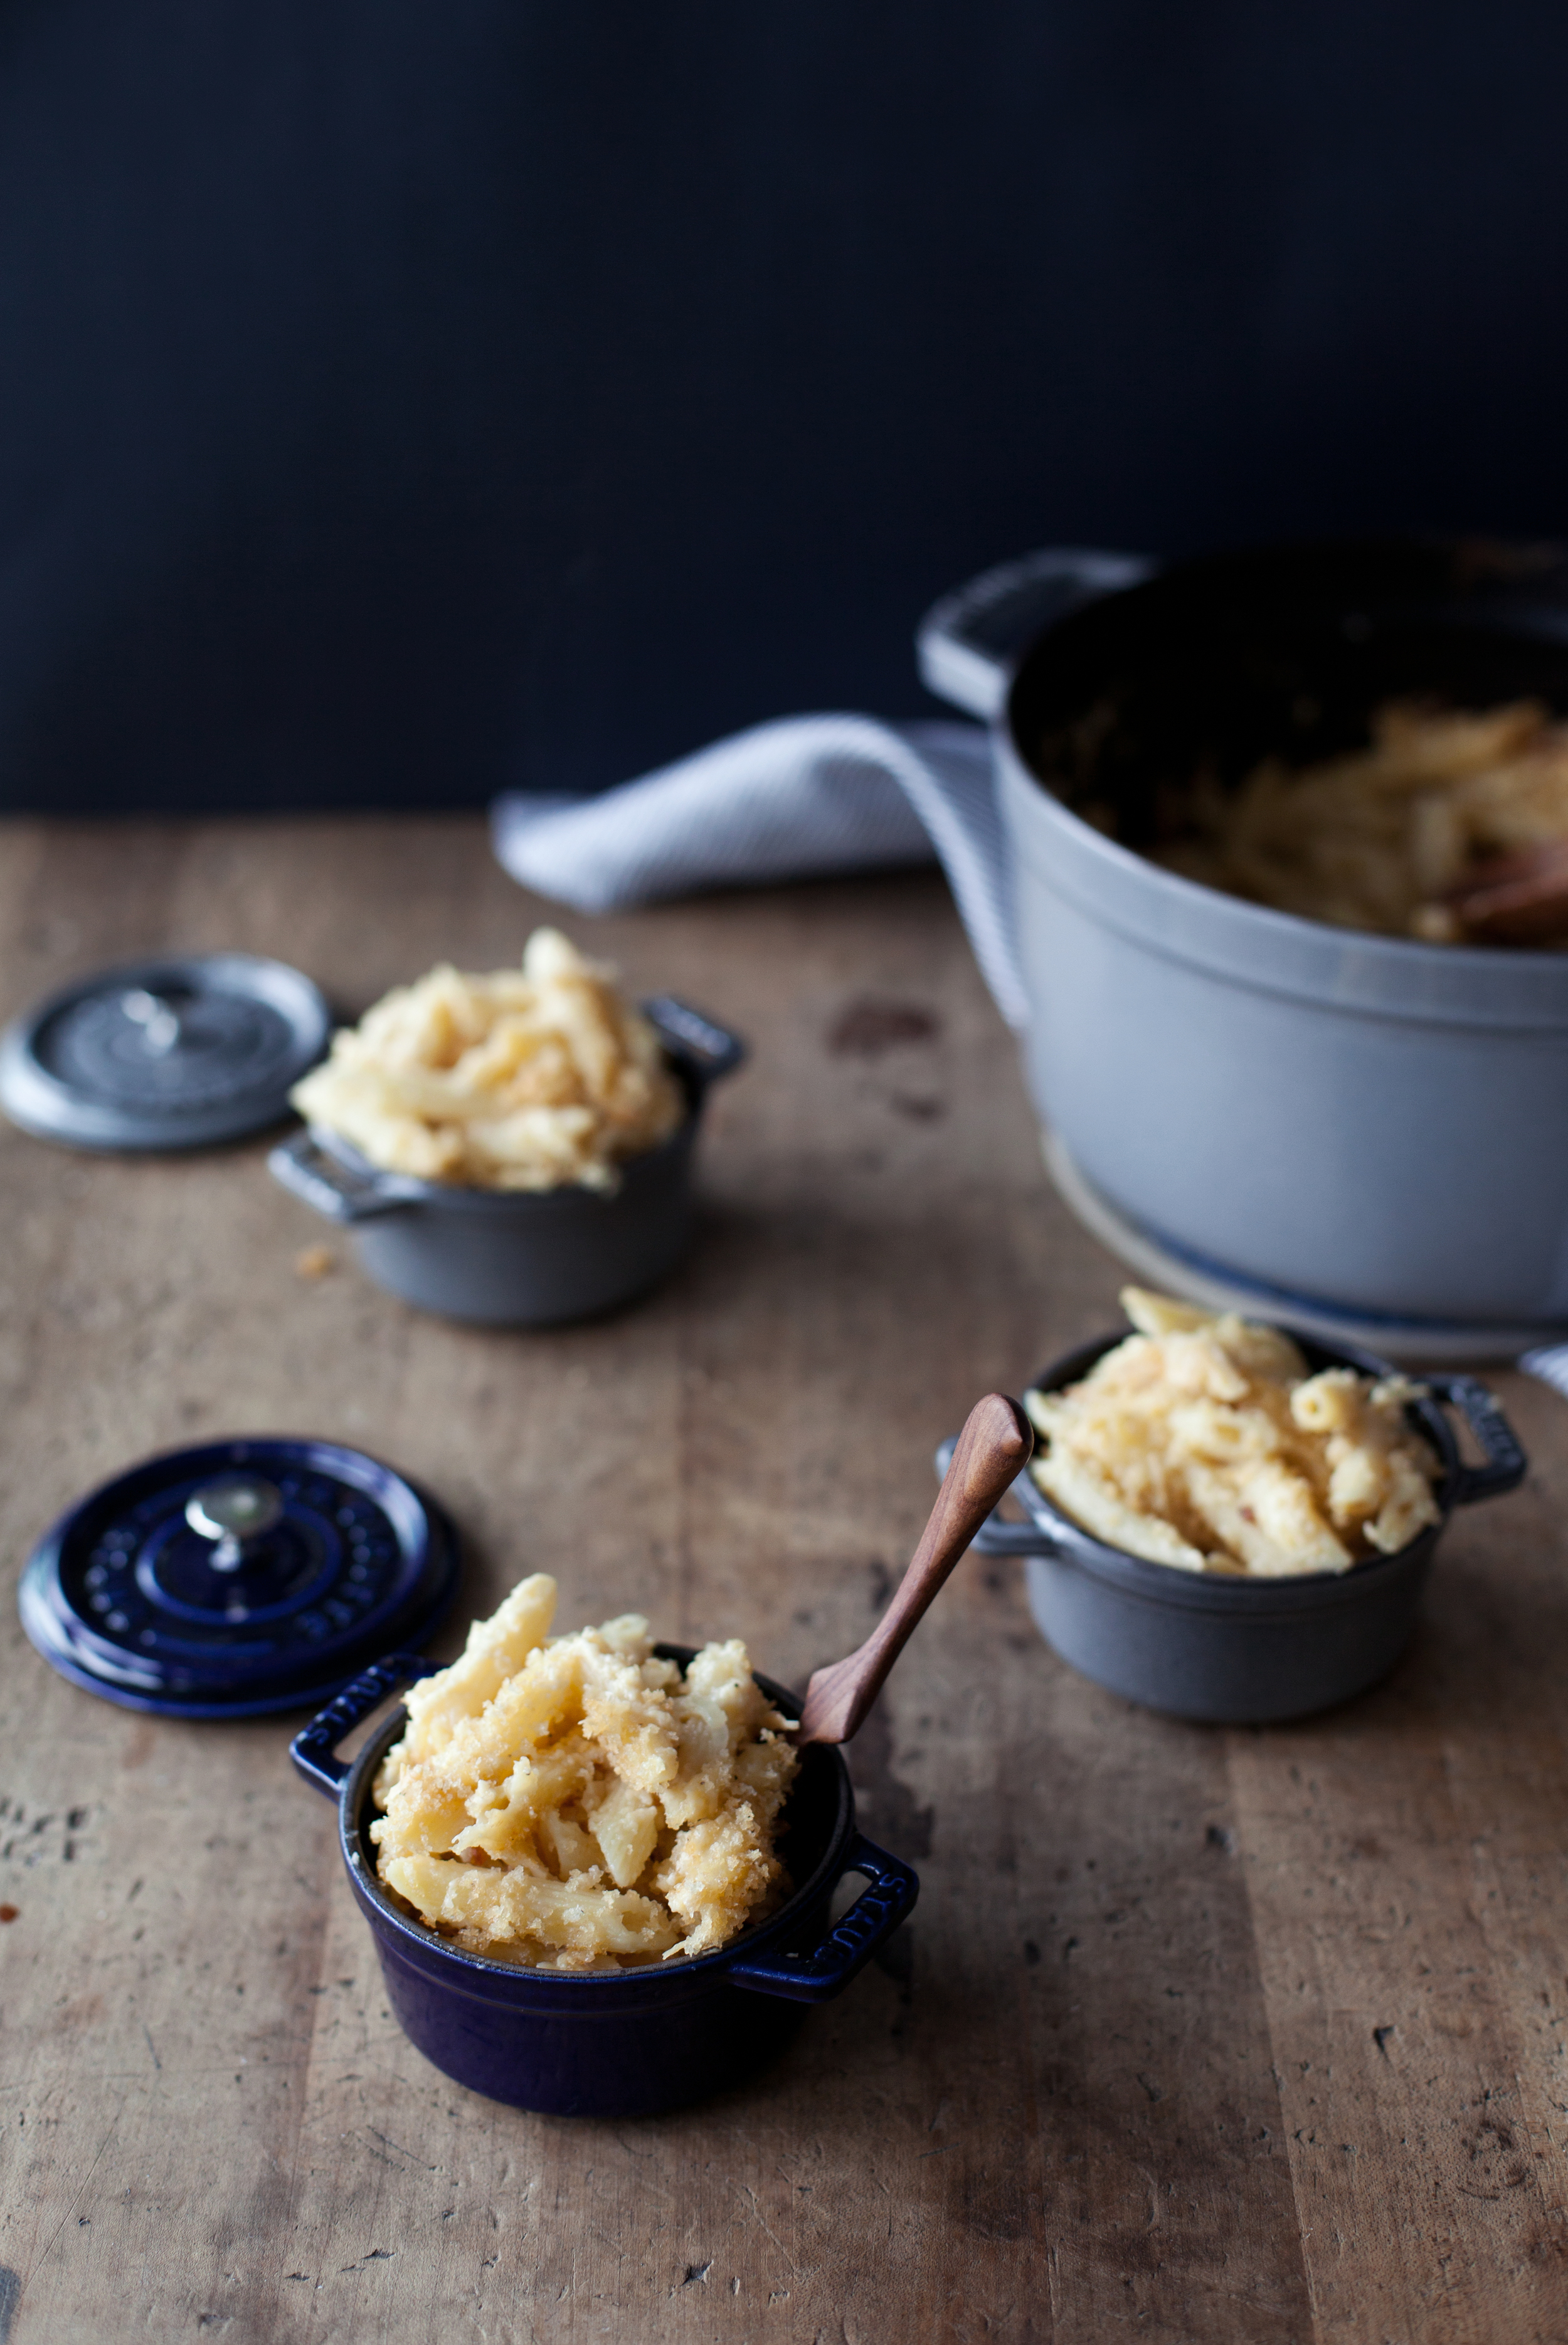
what could possibly be a better winter comfort dish then a melty, cheesy plate of mac & cheese? rhetorical question, there isn't one. i used my favourite alton brown recipe & kicked it up a notch by adding some caramelized onions + gouda cheese. if you want to kick it up one more notch, use smoked gouda! i highly suggest using a stinky, old, aged cheddar for the flavour it brings. i have had too many mac & cheeses in my life time that have been bland. when you are going to indulge in something this rich, it better be worth it! my favourite part of mac & cheese is the bread crumb topping/crispy cheese. so add as much of the topping as you want.. sometimes i double it because, well duh, for obvious reasons.

ingredients

for the caramelized onions

  • 2 tablespoons butter
  • 1 garlic clove
  • 2 medium onions, sliced
  • salt & pepper

for the mac & cheese

  • 1 bag of pasta
  • 1/2 cup butter
  • 1/4 cup flour
  • 1 tablespoon mustard powder
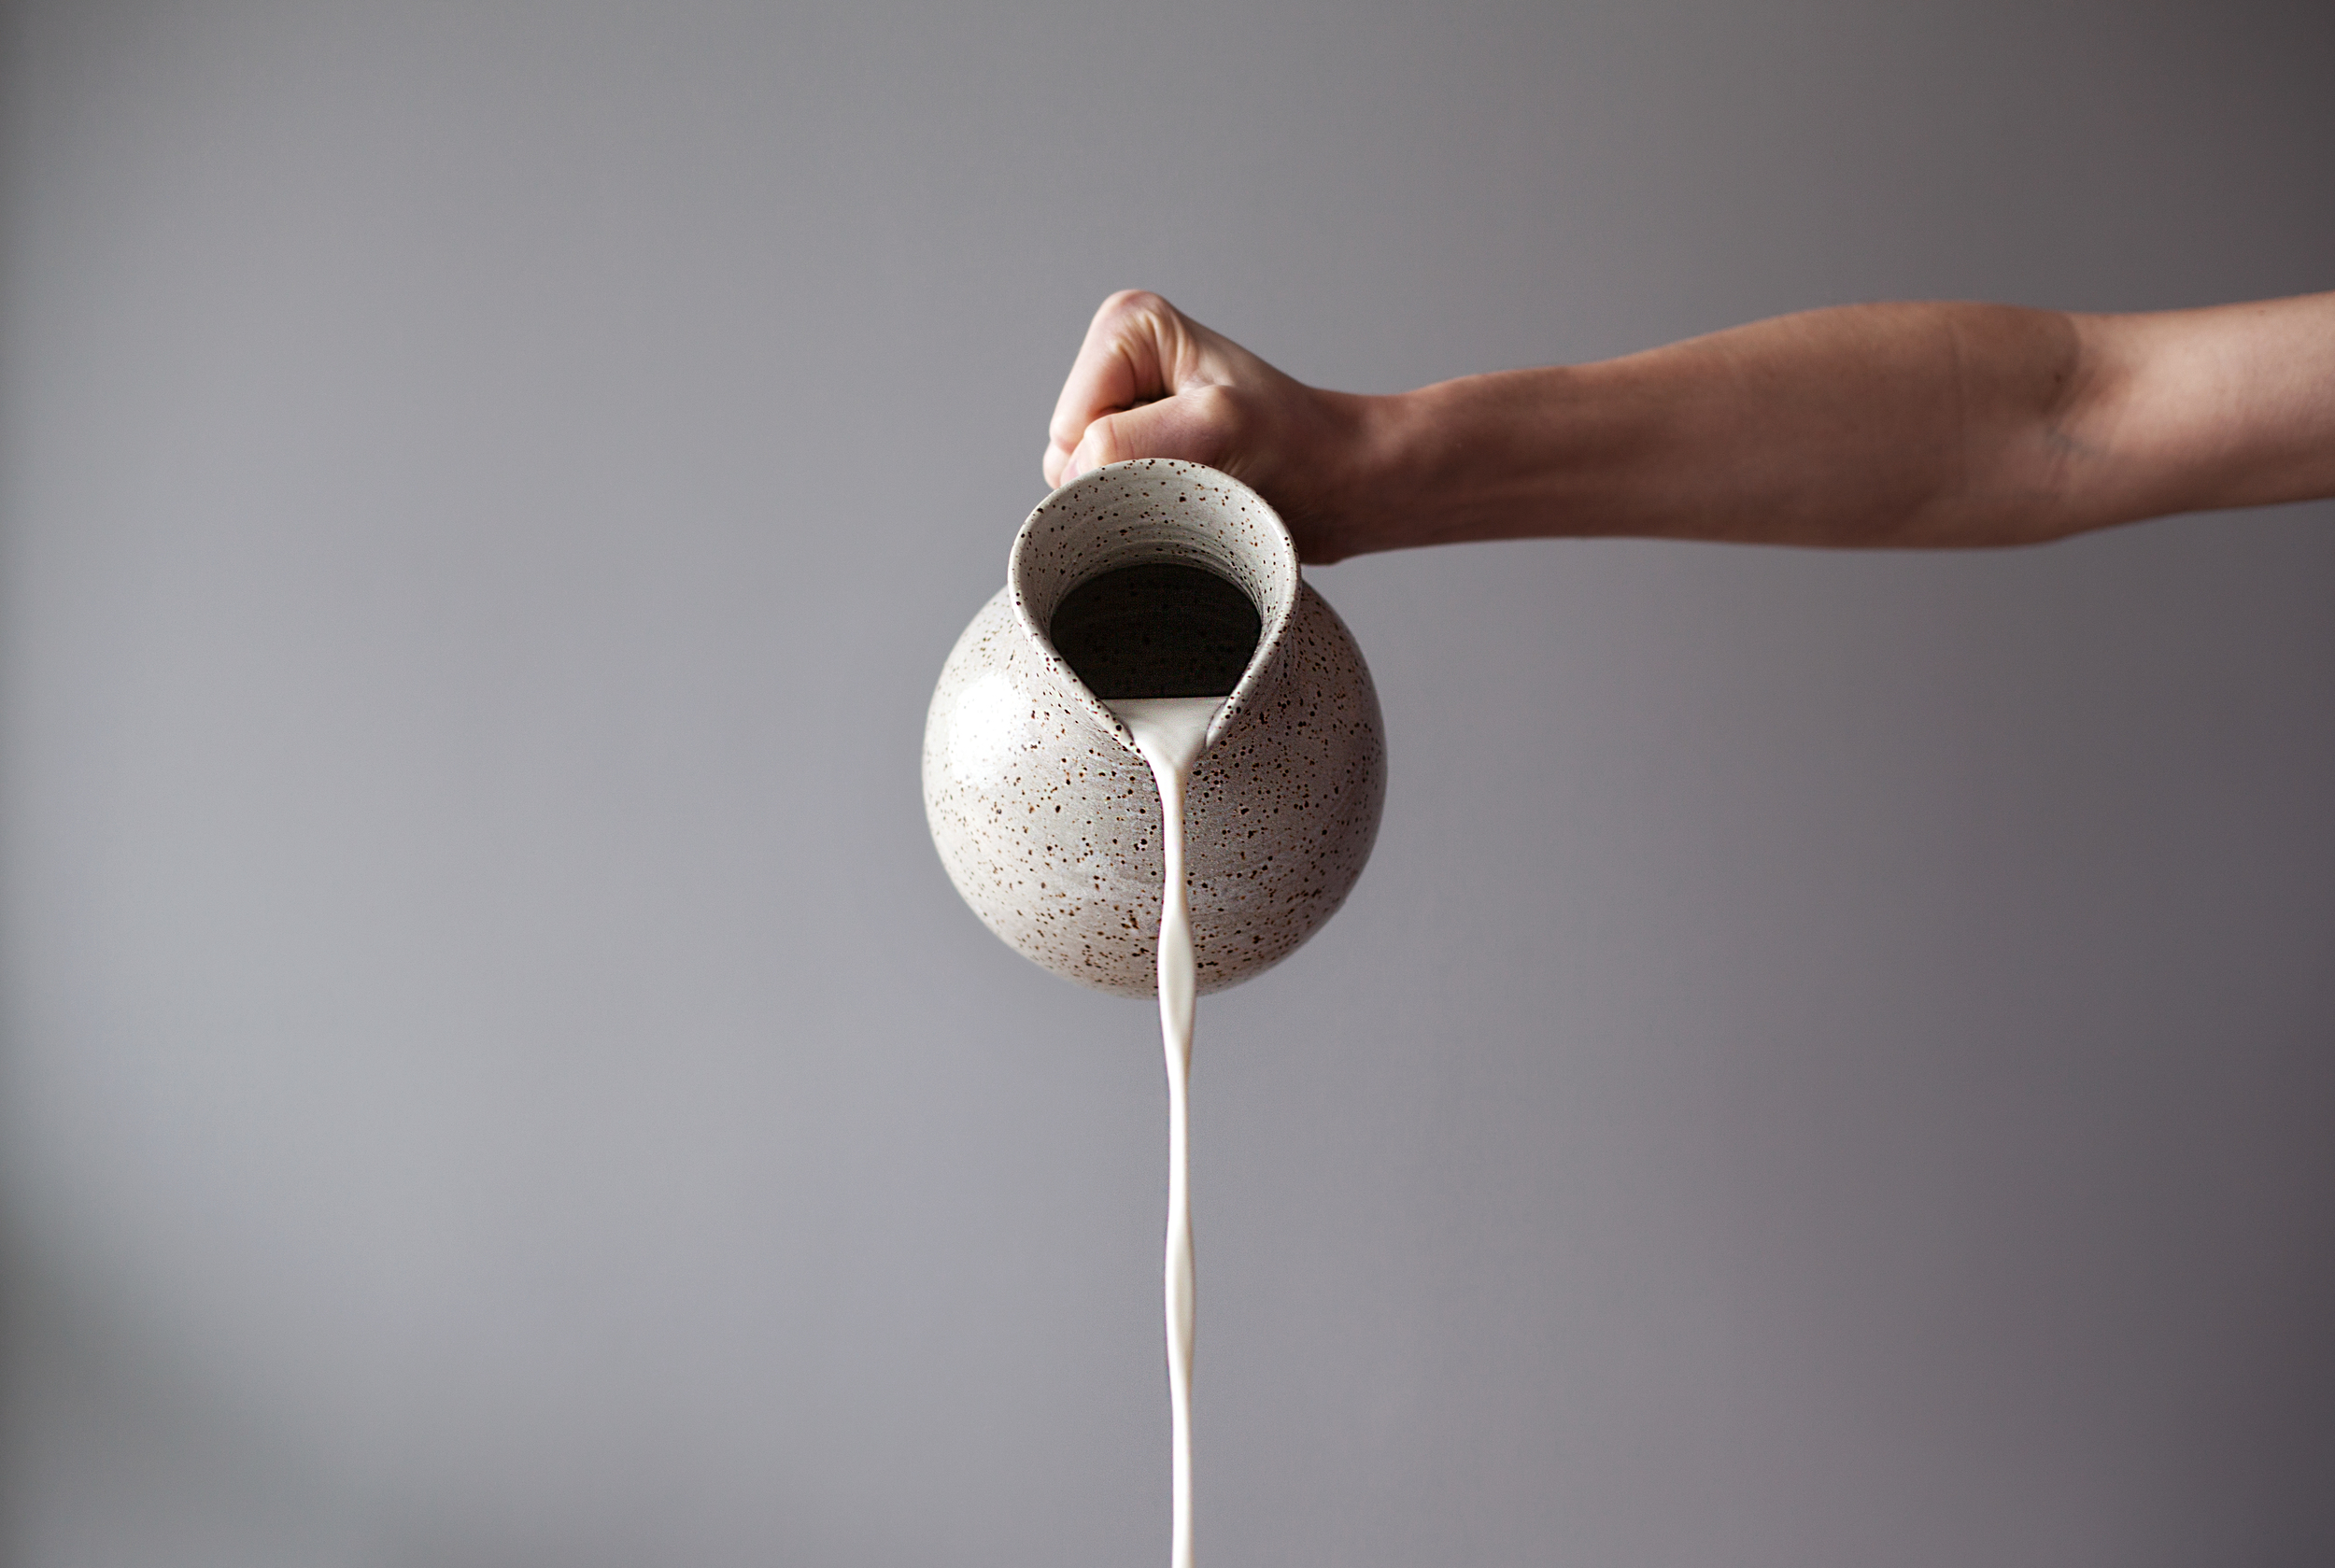
  • 3 cups whole milk
  • 1 bay leaf
  • 1 egg
  • 1 cup extra sharp white cheddar, grated
  • 2 cups gouda or smoked gouda, grated
  • salt & pepper, too taste

for the topping

  • 1 cup panko bread crumbs
  • 2 tablespoons butter

directions

for the caramelized onions

  • in a sauce pan over low heat add butter & garlic. once butter is melted add onions, salt & pepper. cook until onions begin to turn a caramel colour, about 30 minutes. set aside.

for the mac & cheese

  • preheat oven to 350 degrees.
  • cook pasta in boiling, salted water until al dente (use package time).
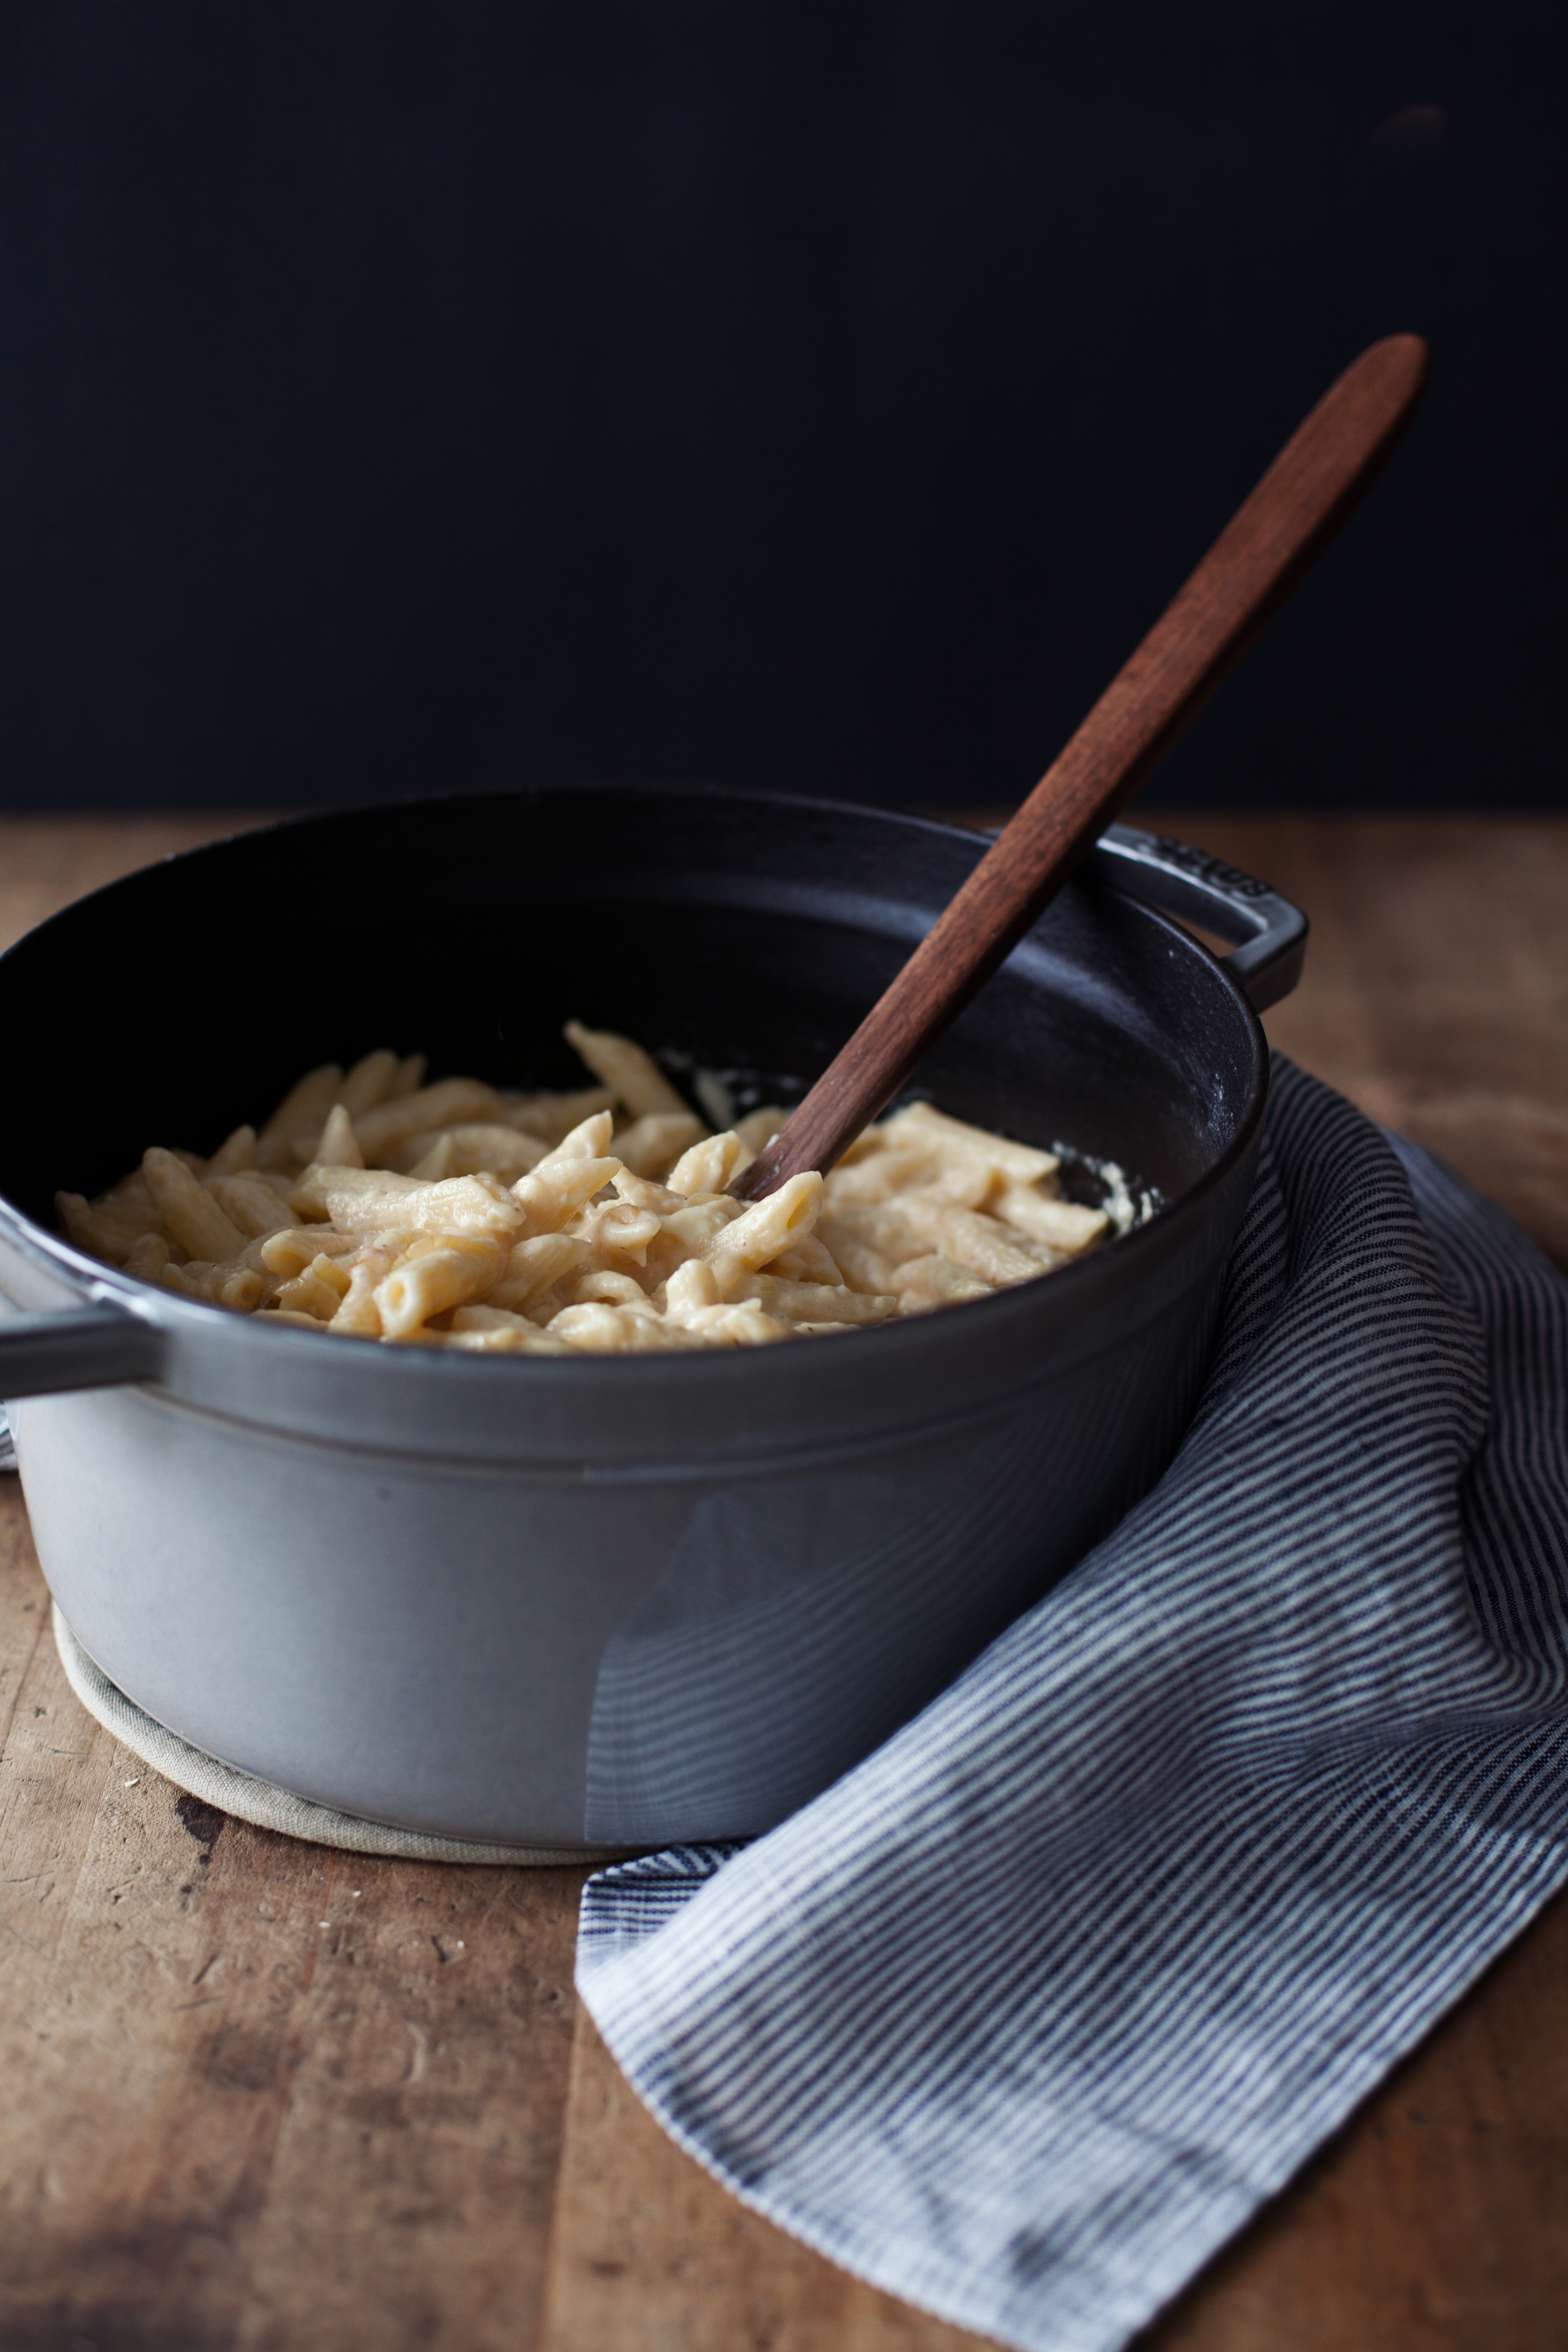
  • in a separate pot over medium heat add the butter, flour & mustard powder. stir constantly & cook until a lump free roux forms, about 5 minutes.
  • add the whole milk & bay leaf. simmer for ten minutes.
  • remove bay leaf & temper in the egg, followed by the grated cheese. reserve a half cup cheese to sprinkle on top.
  • toast breadcrumbs & butter in a separate sauce pan.
  • add the strained, cooked pasta to the pot & stir. if the pot is not oven safe, transfer to a casserole dish.
  • top with breadcrumbs & remaining grated cheese.
  • bake for 30 minutes.

BLOOD ORANGE ROSEMARY CAKE


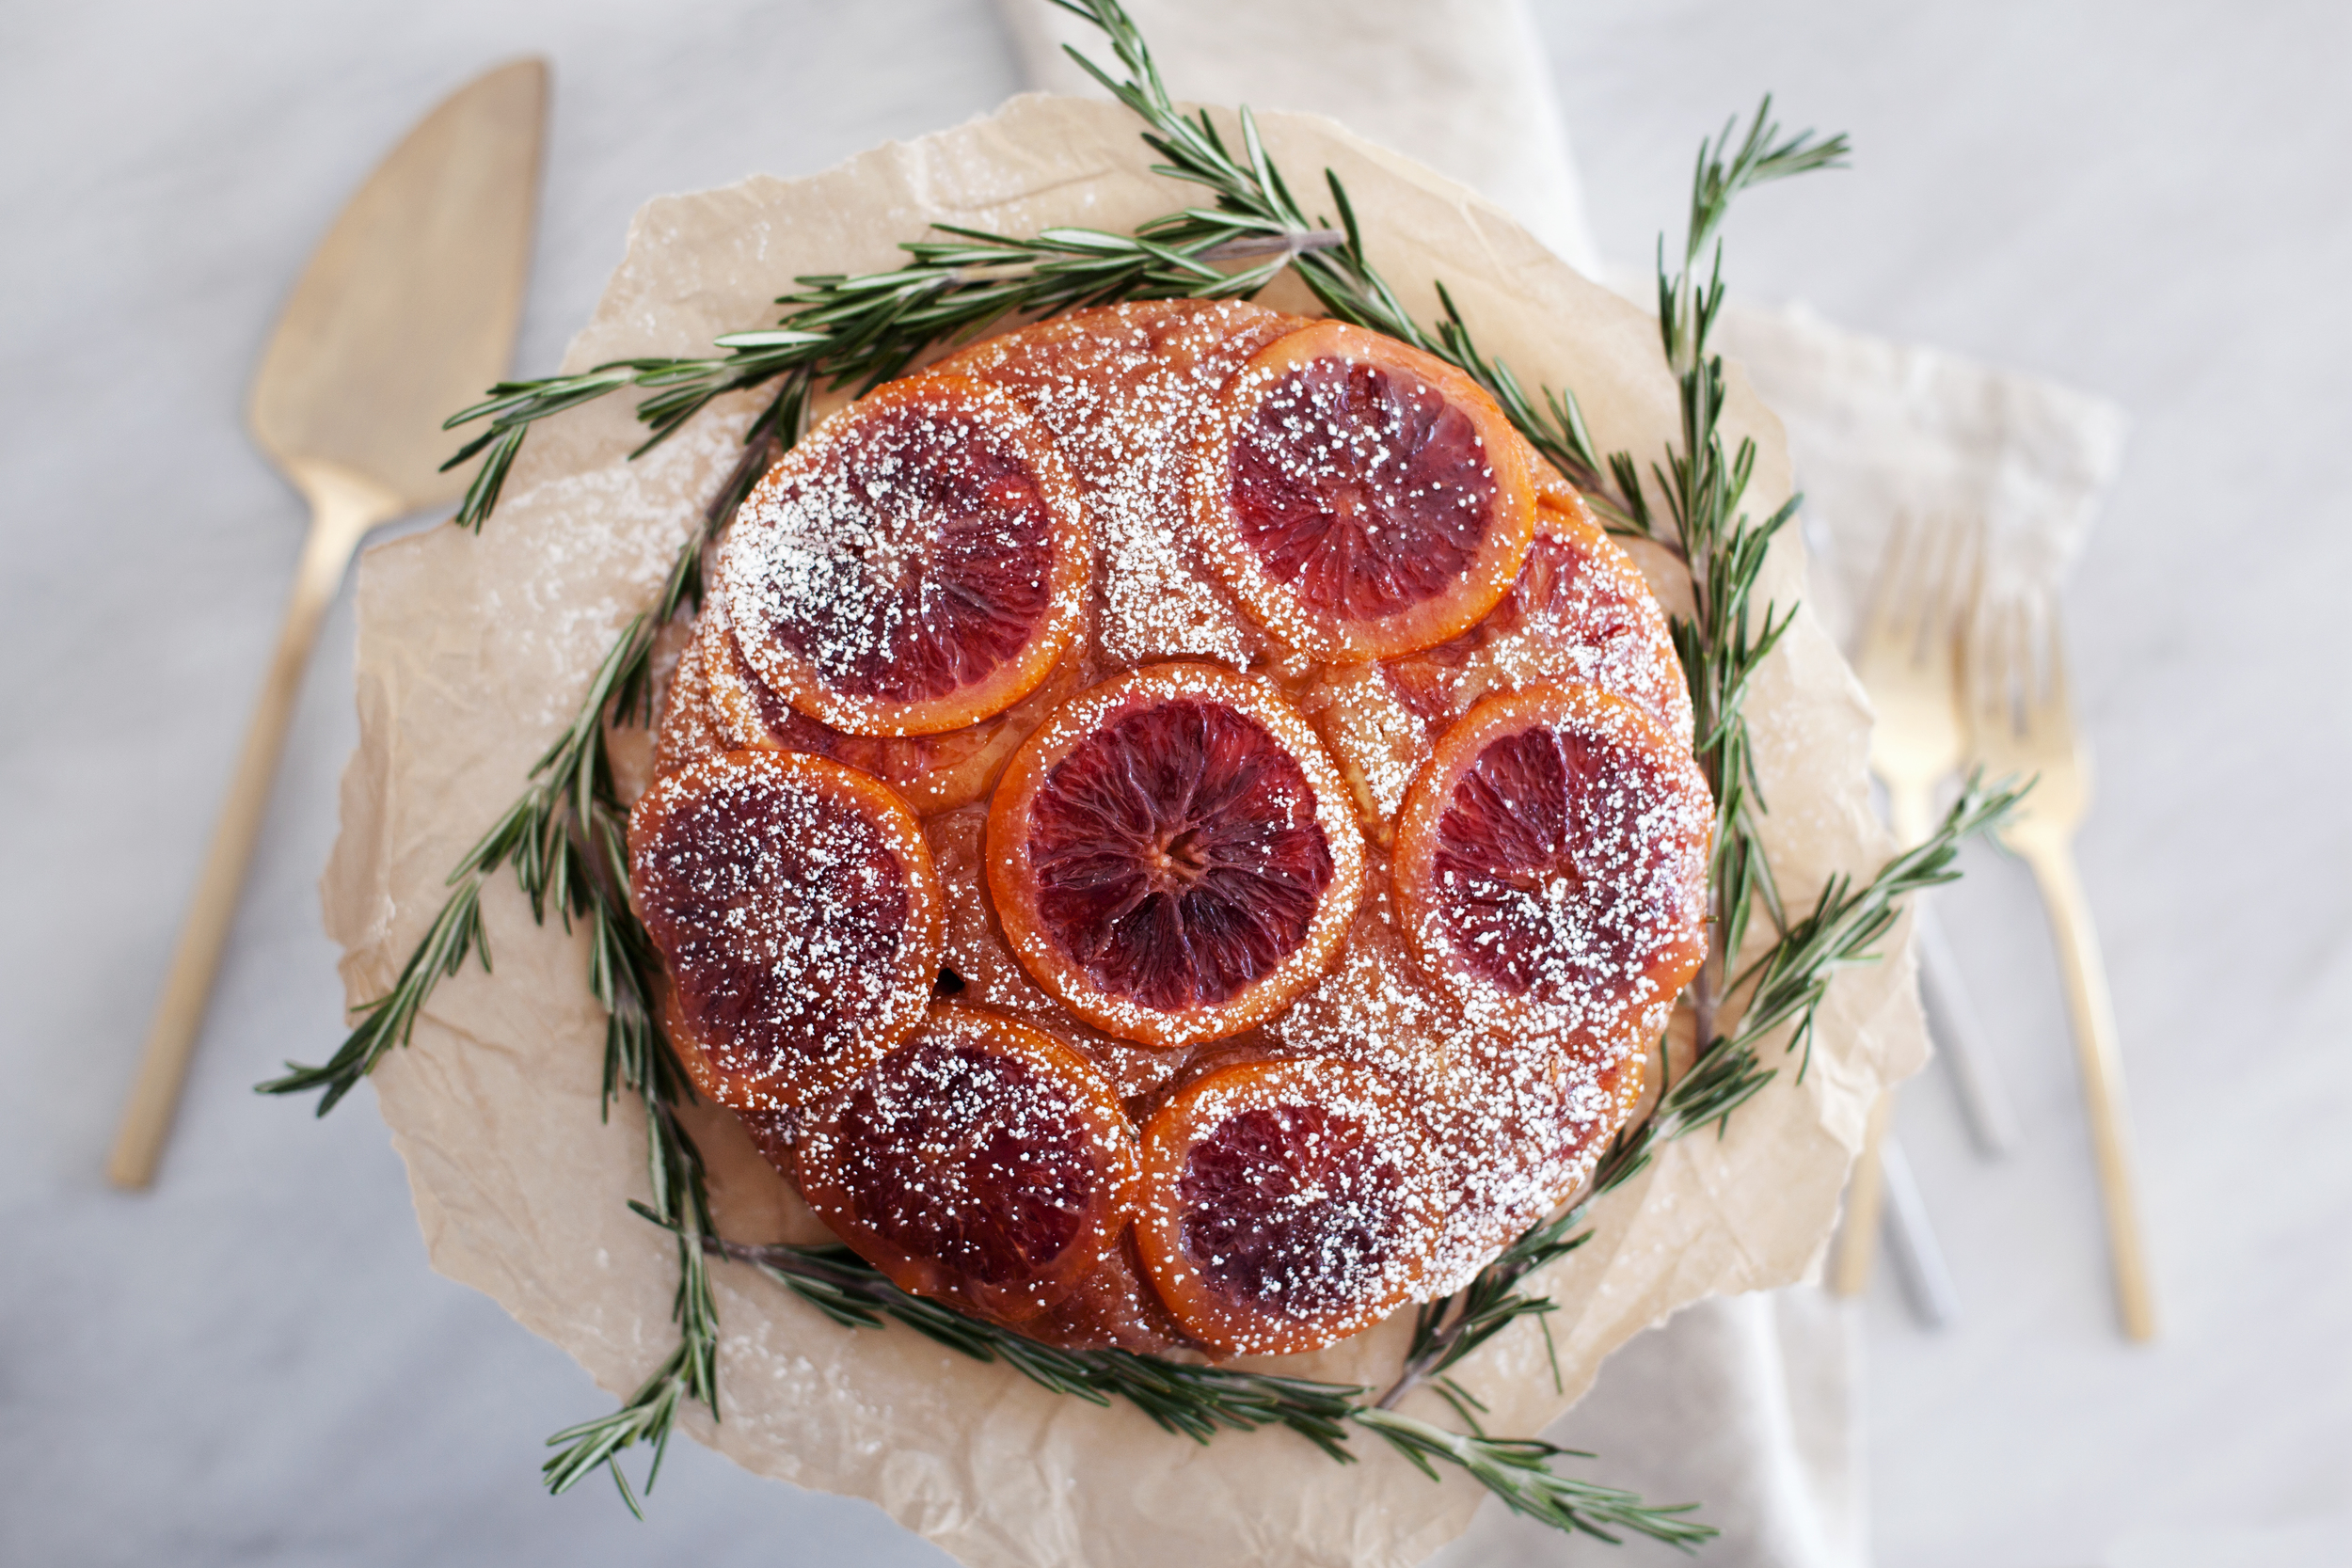
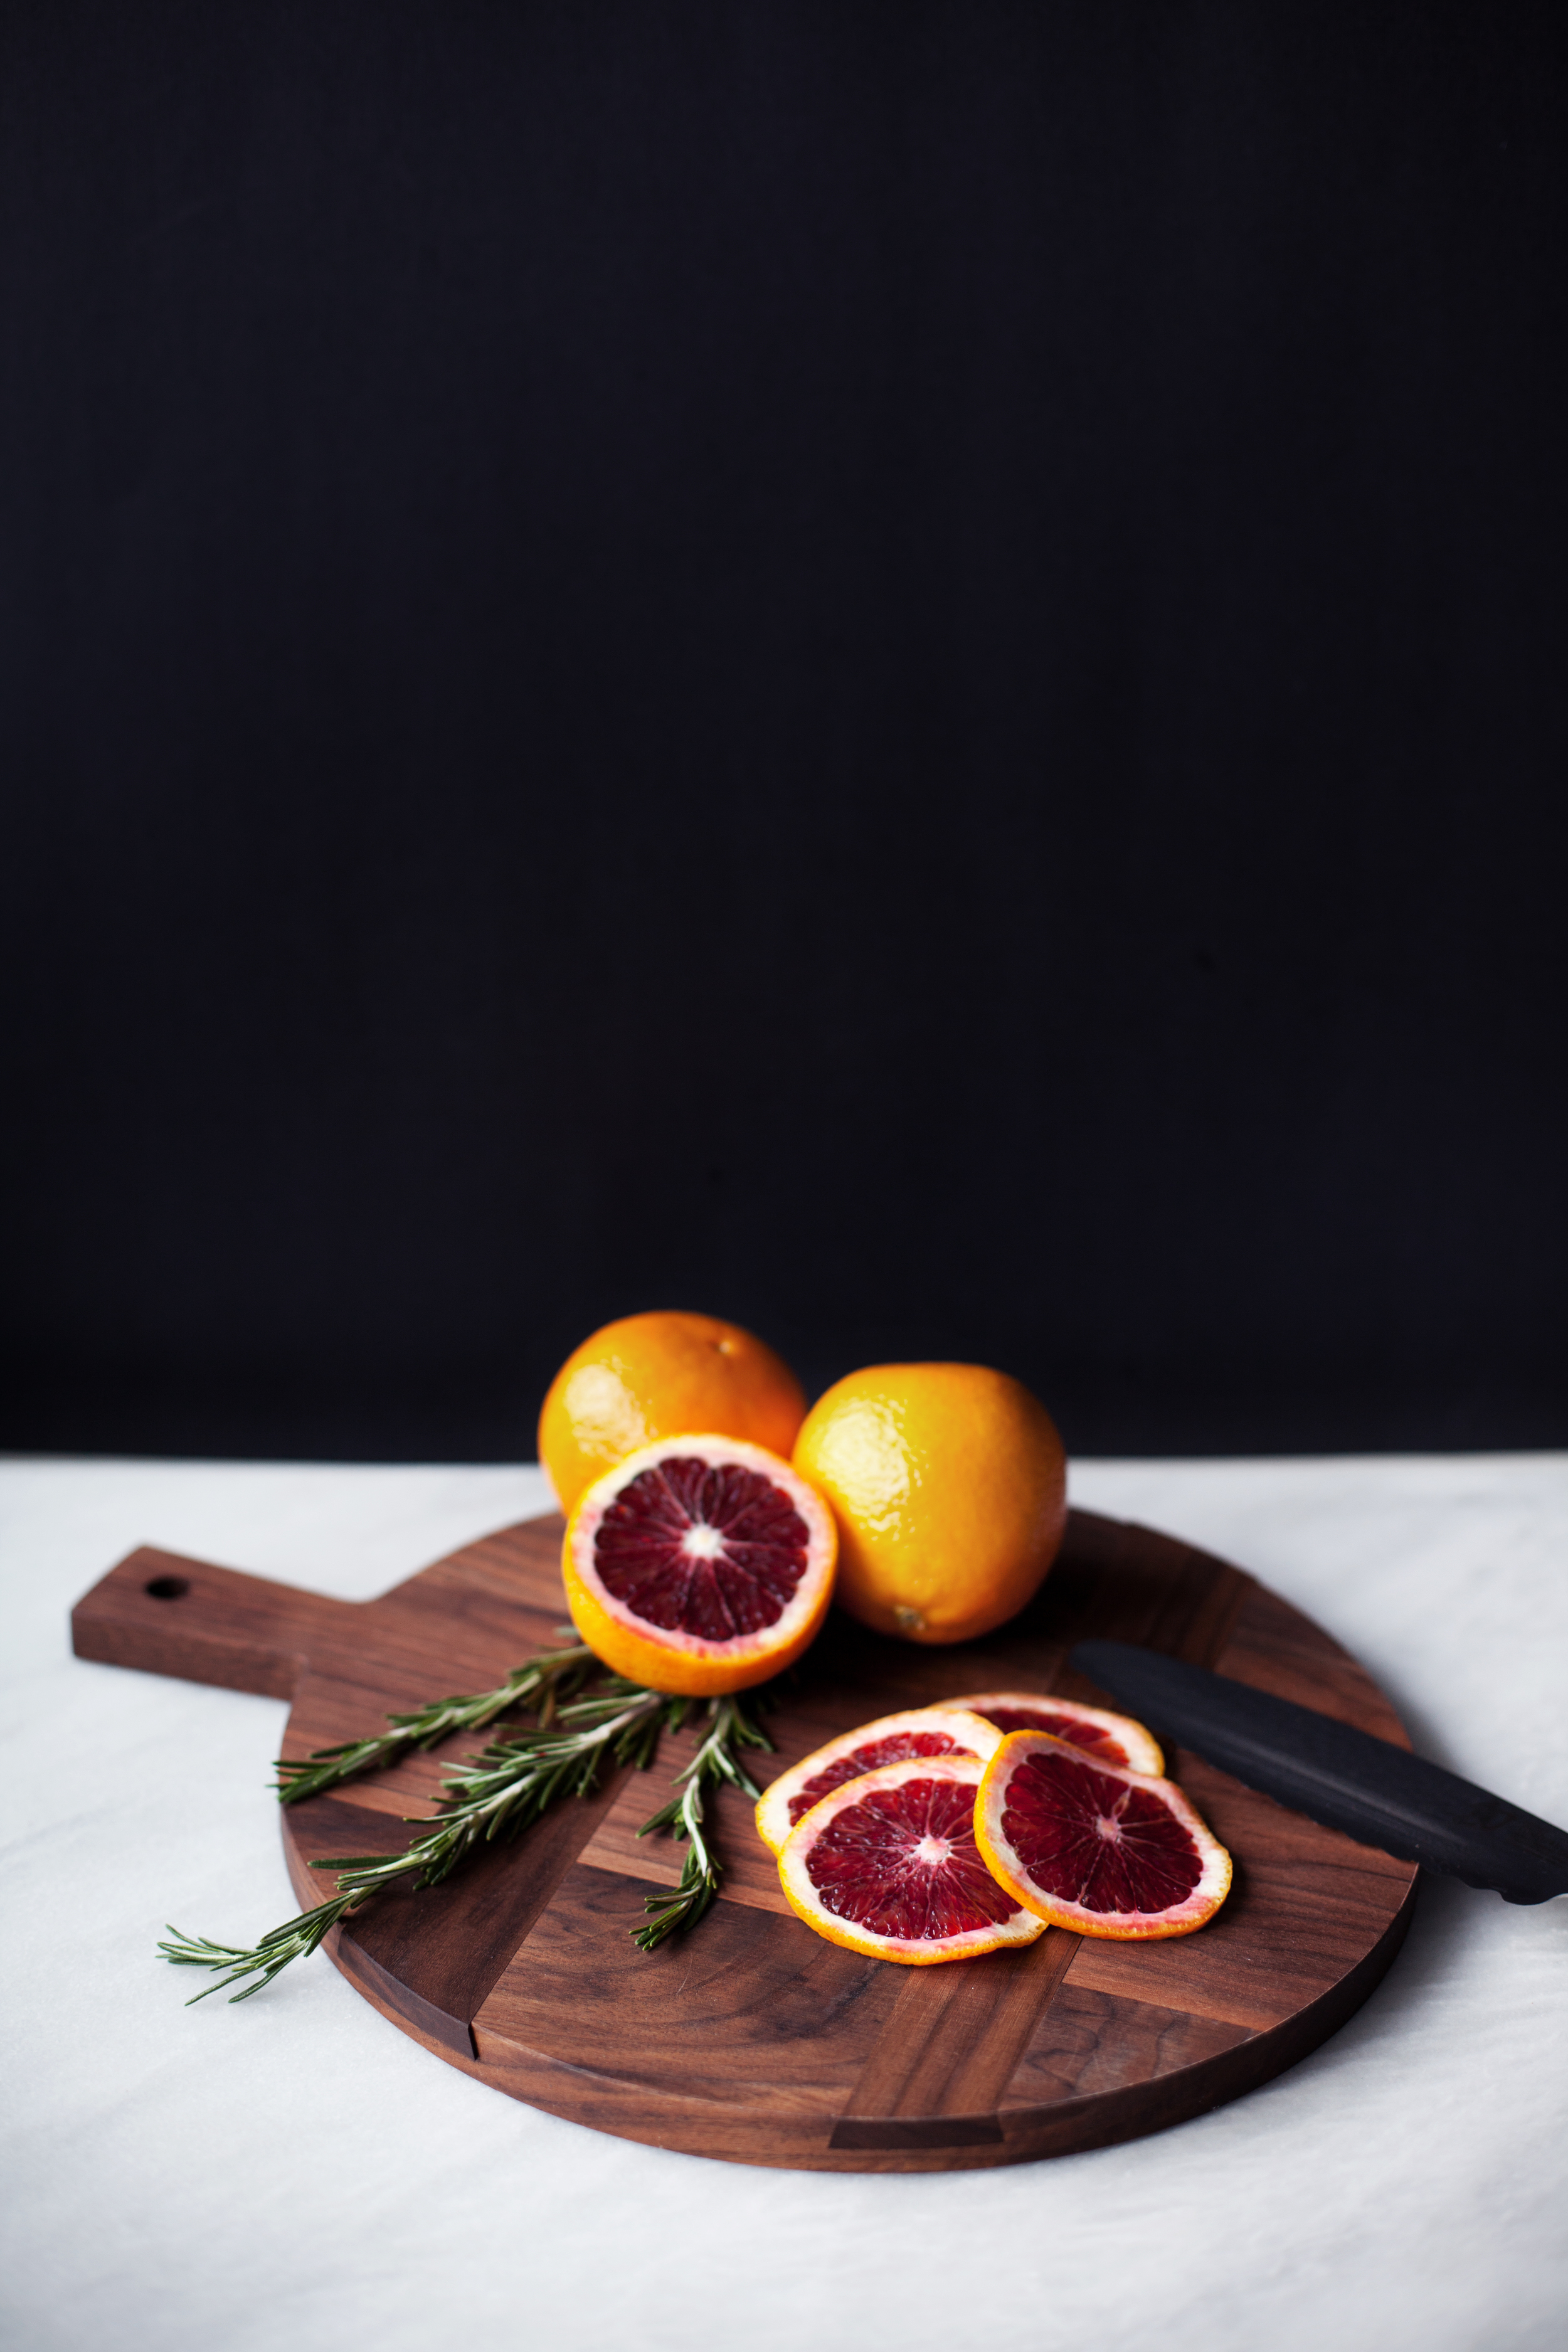
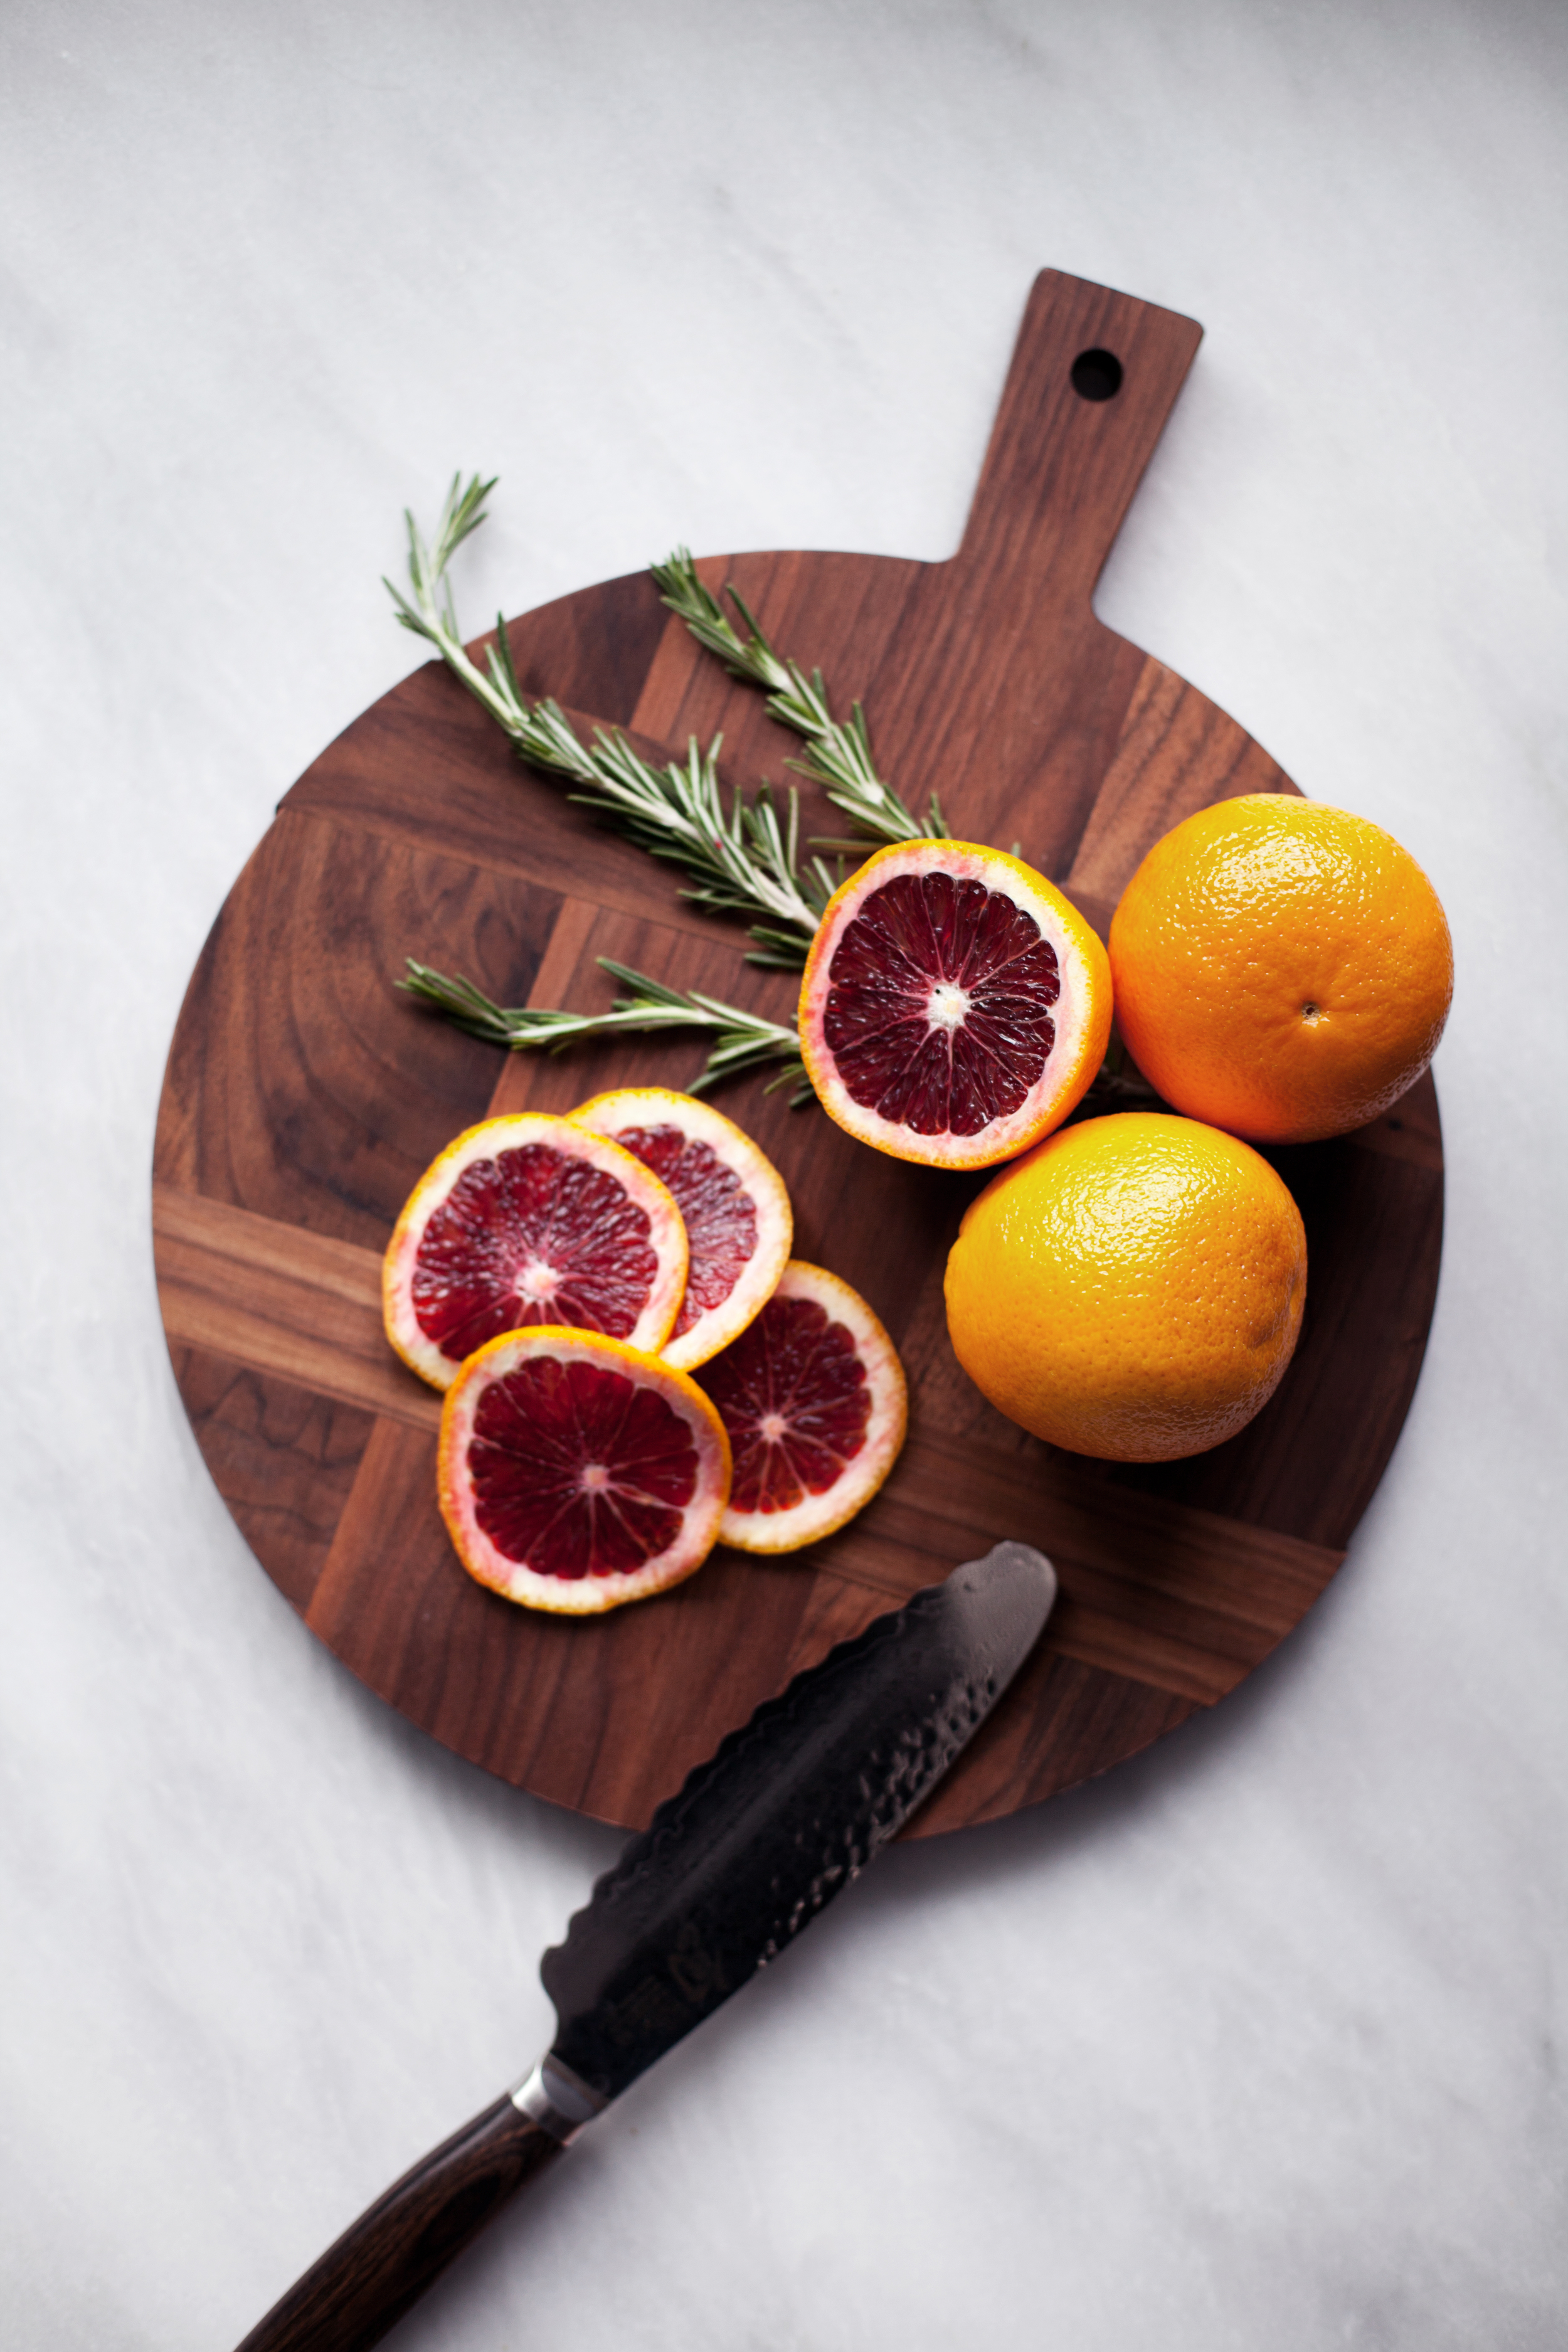
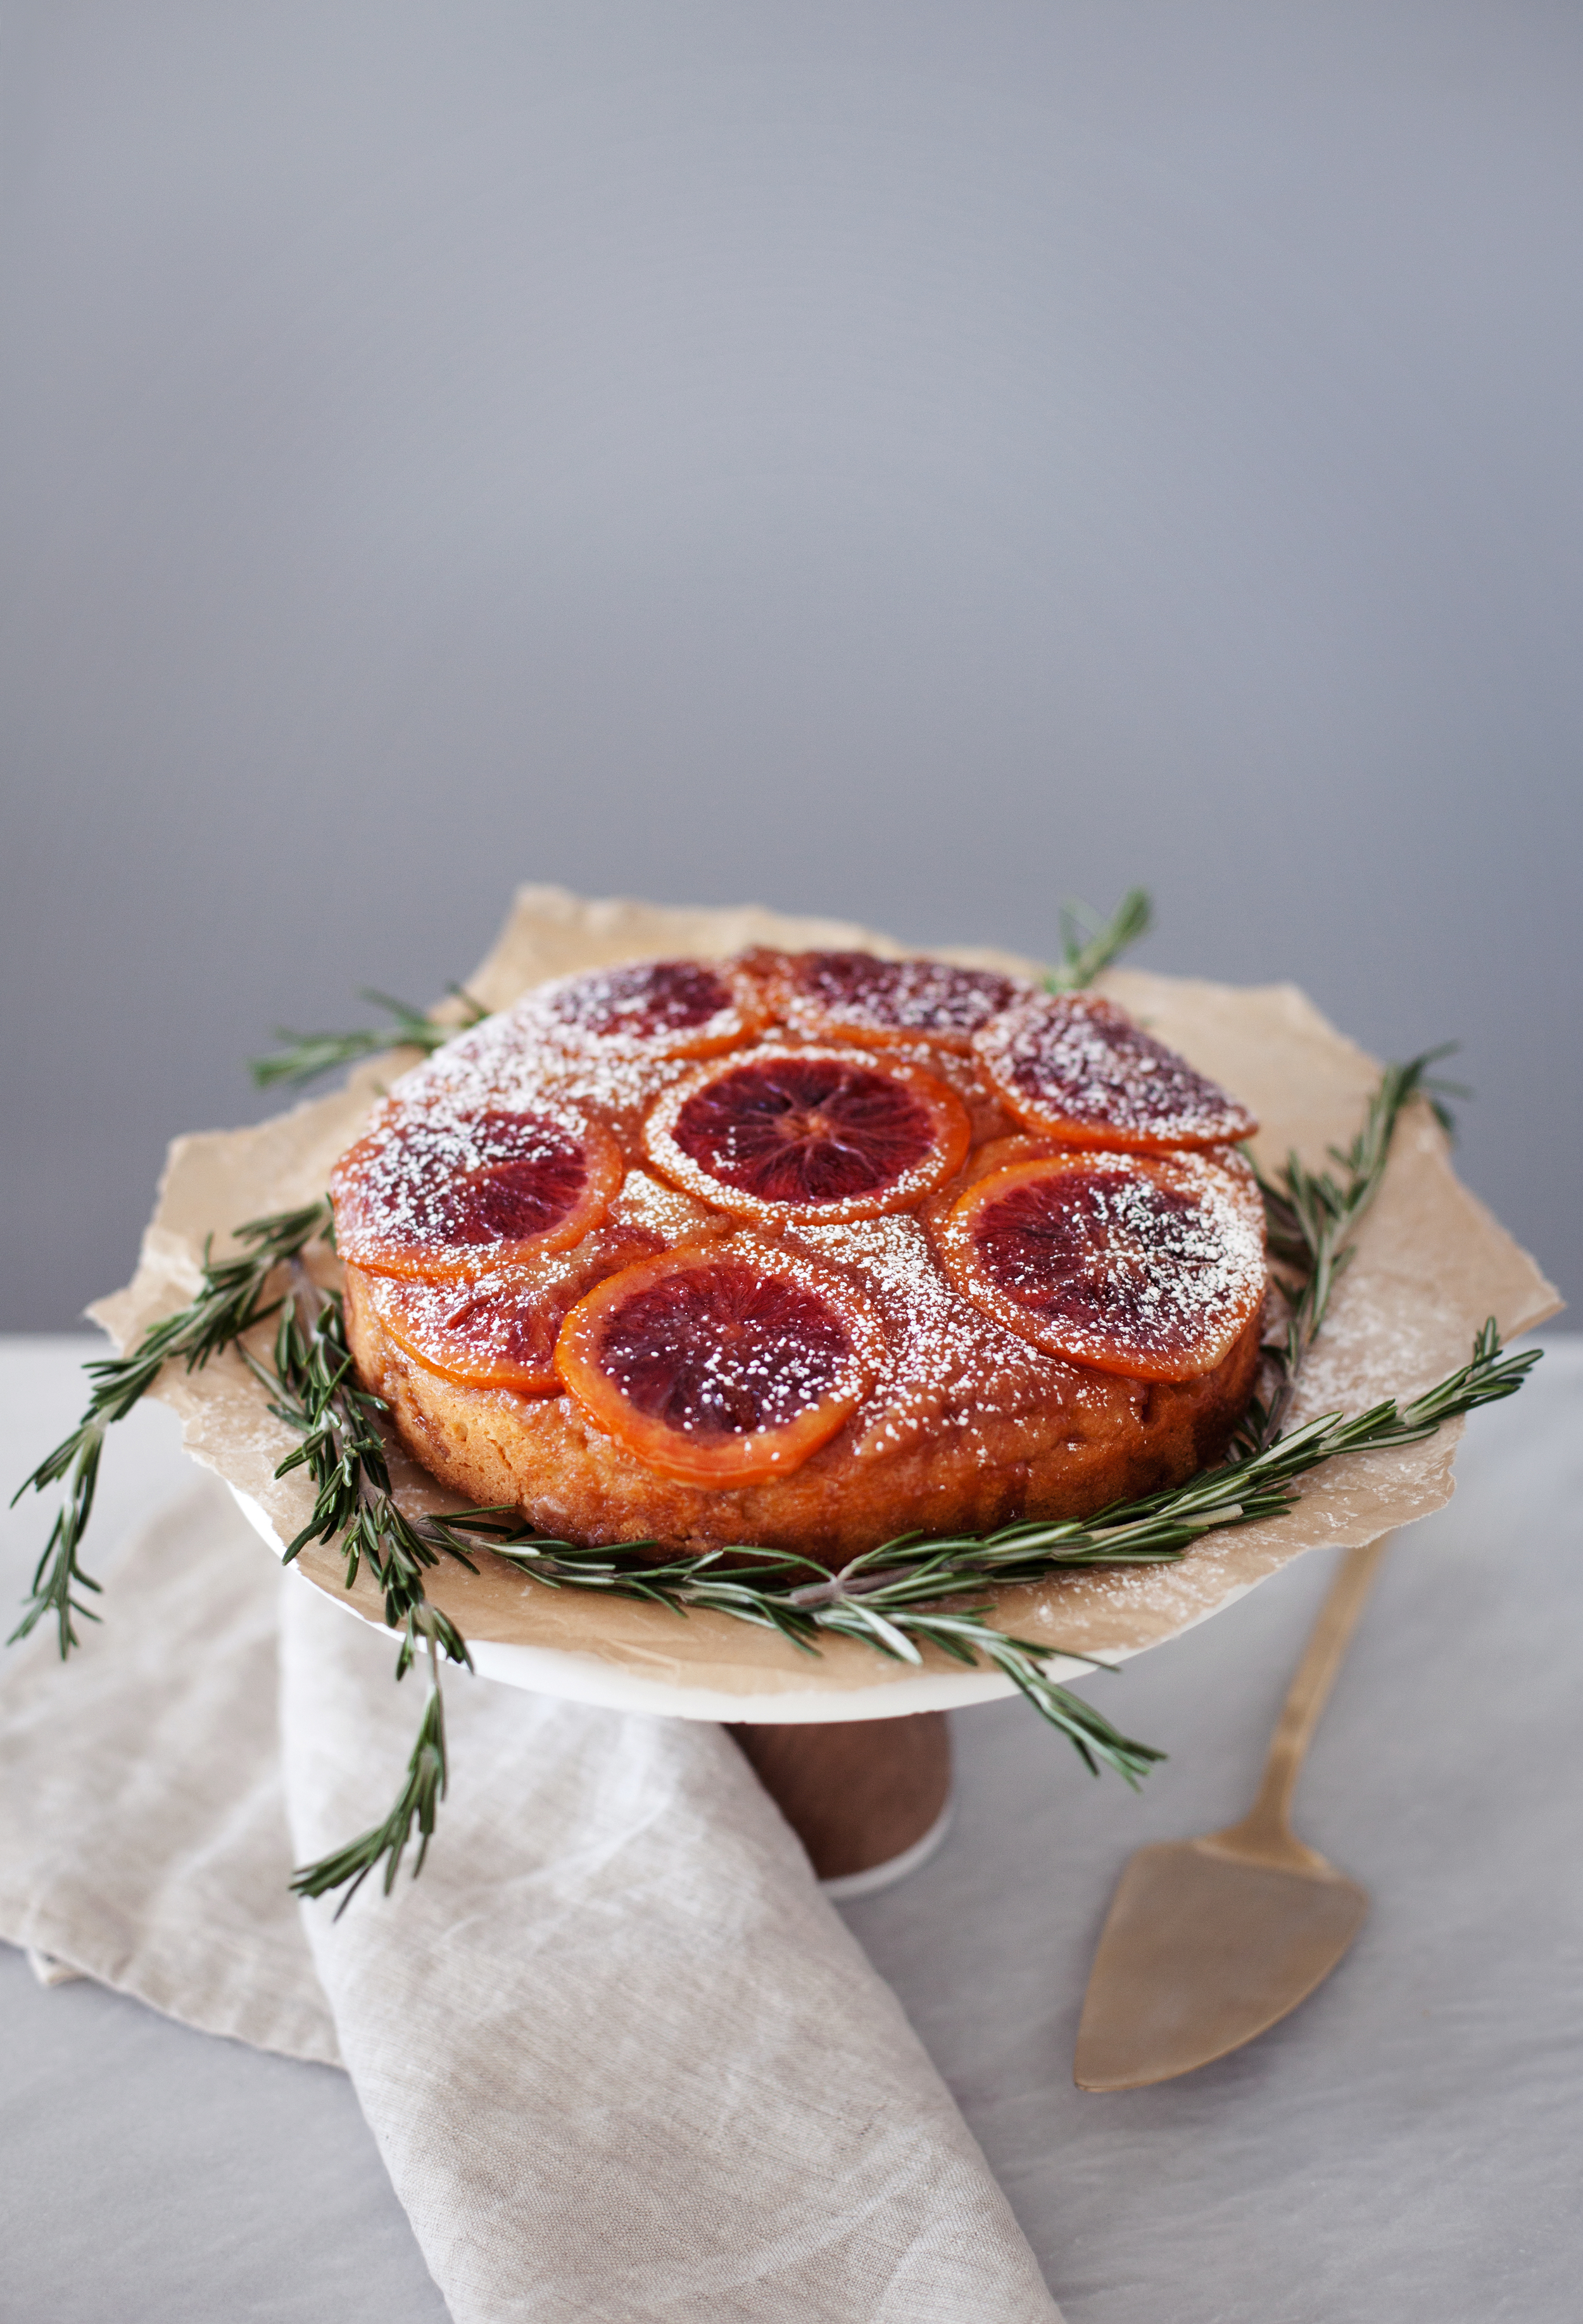
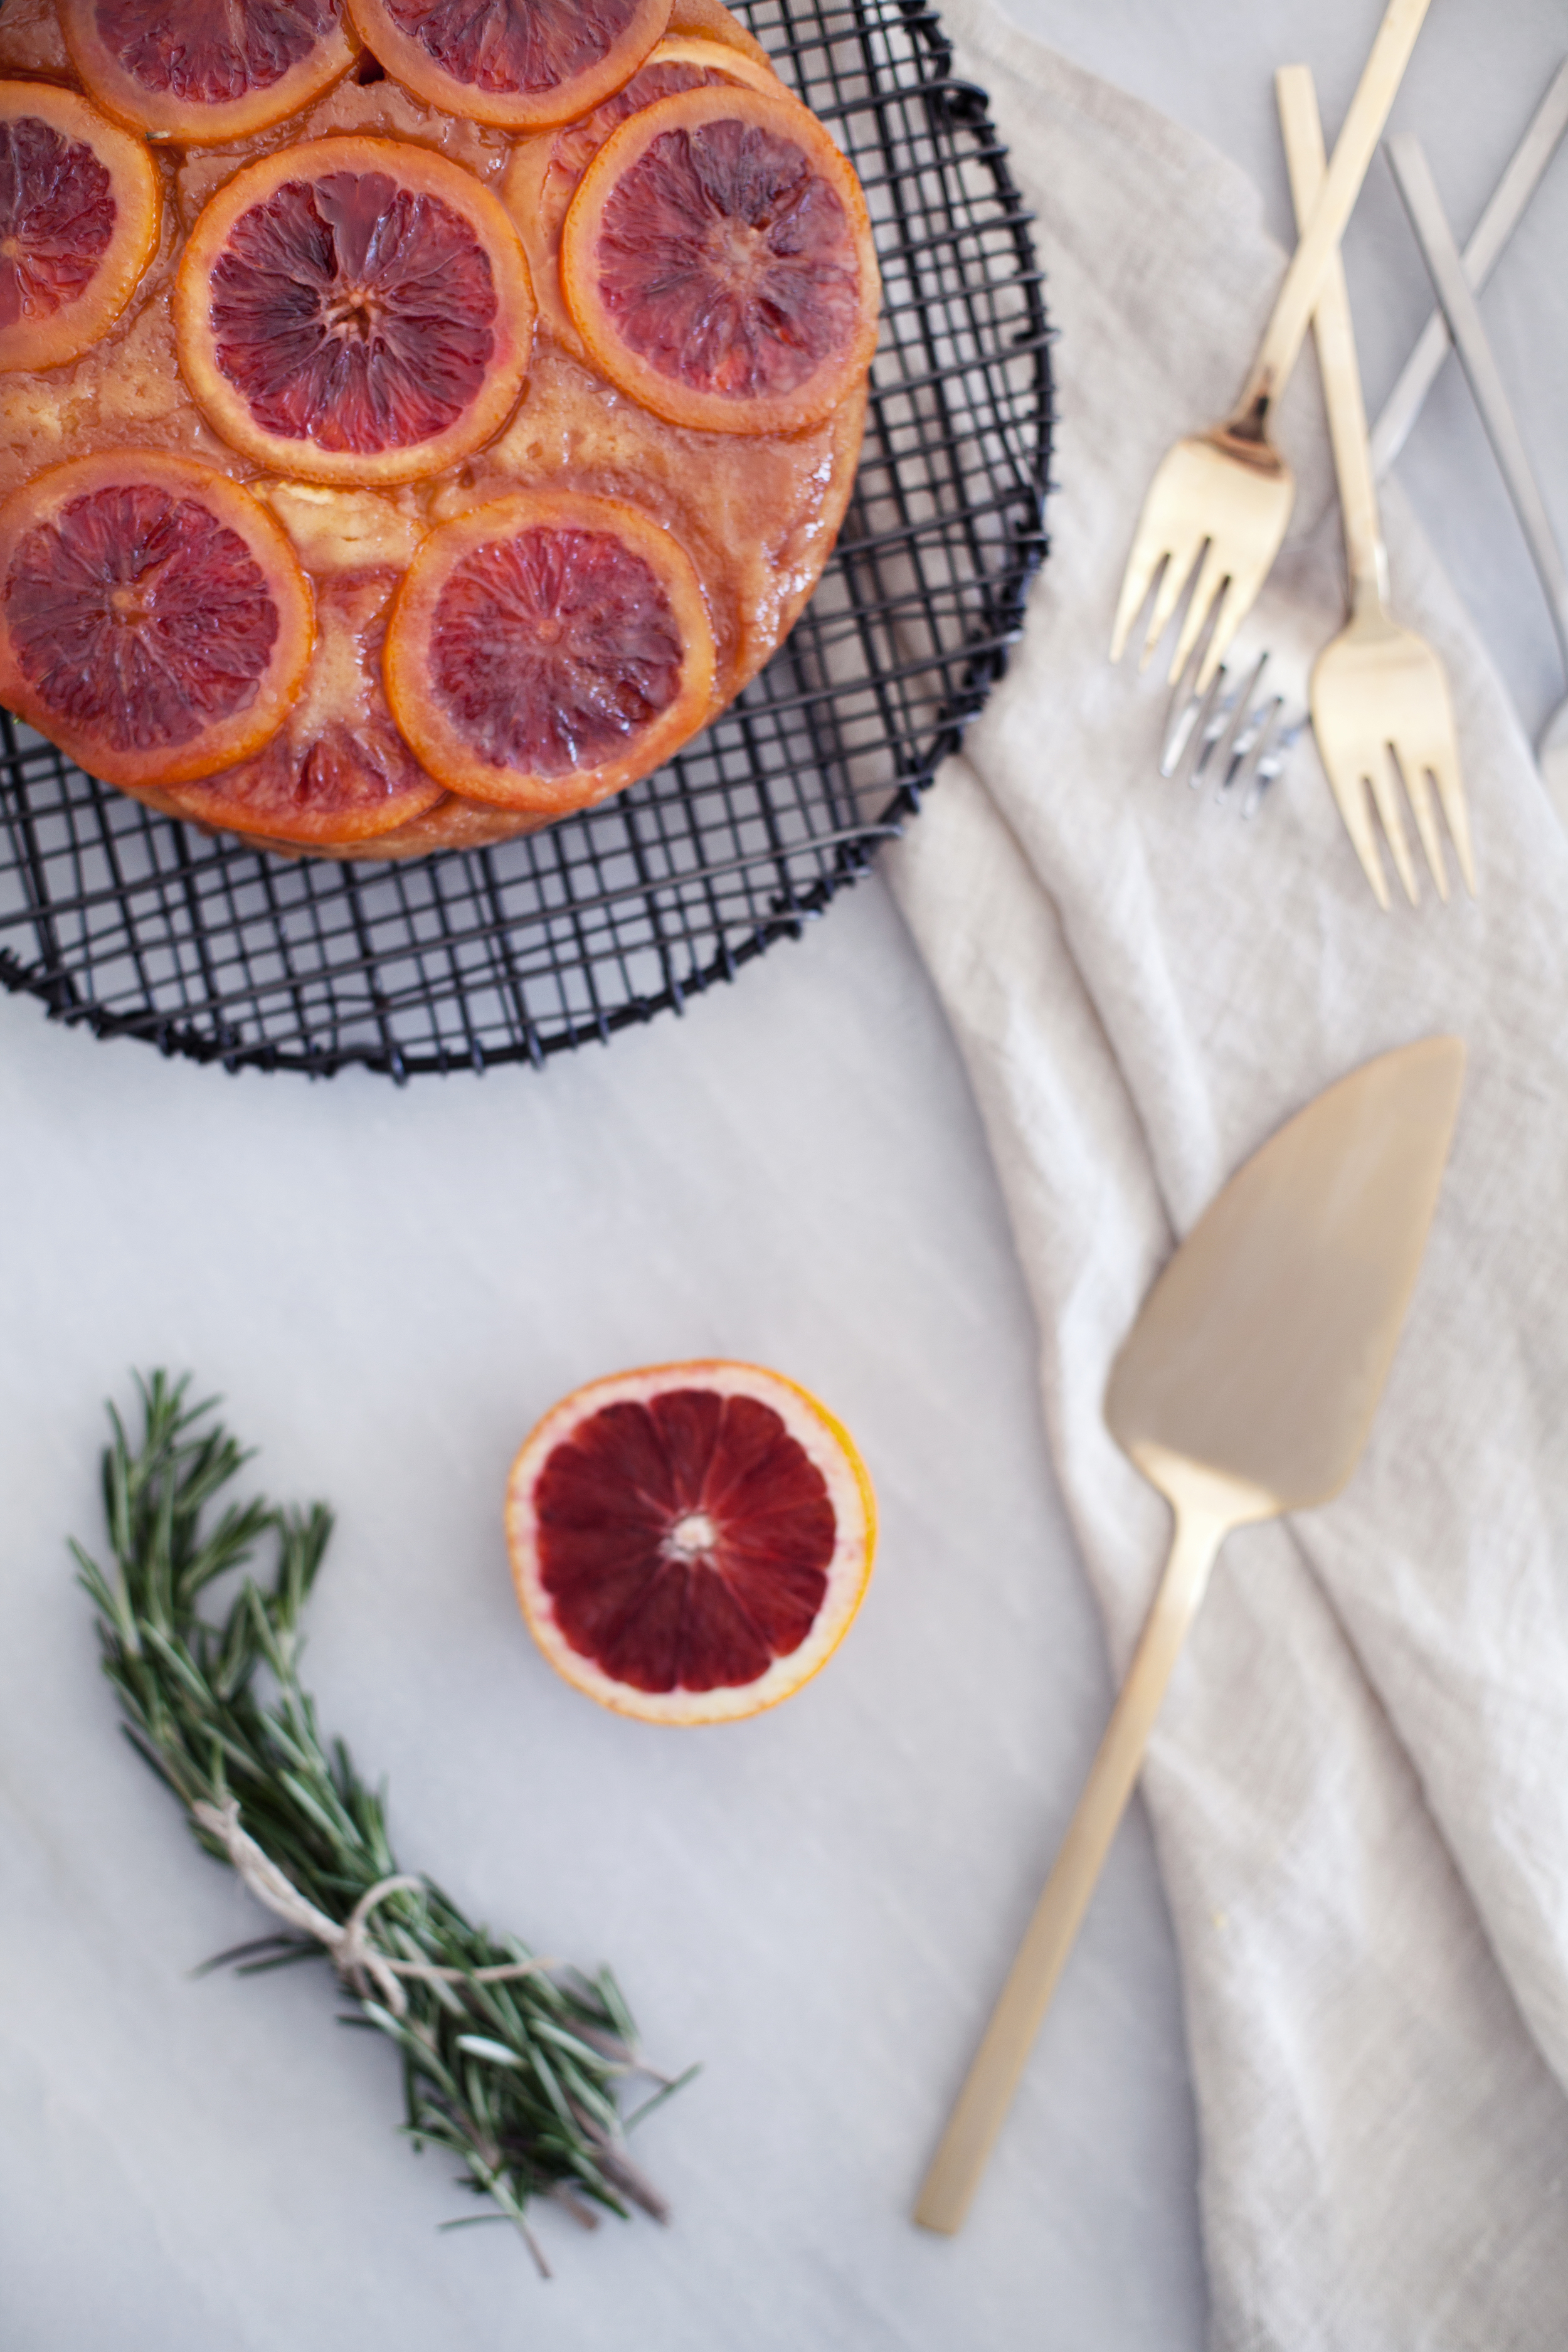
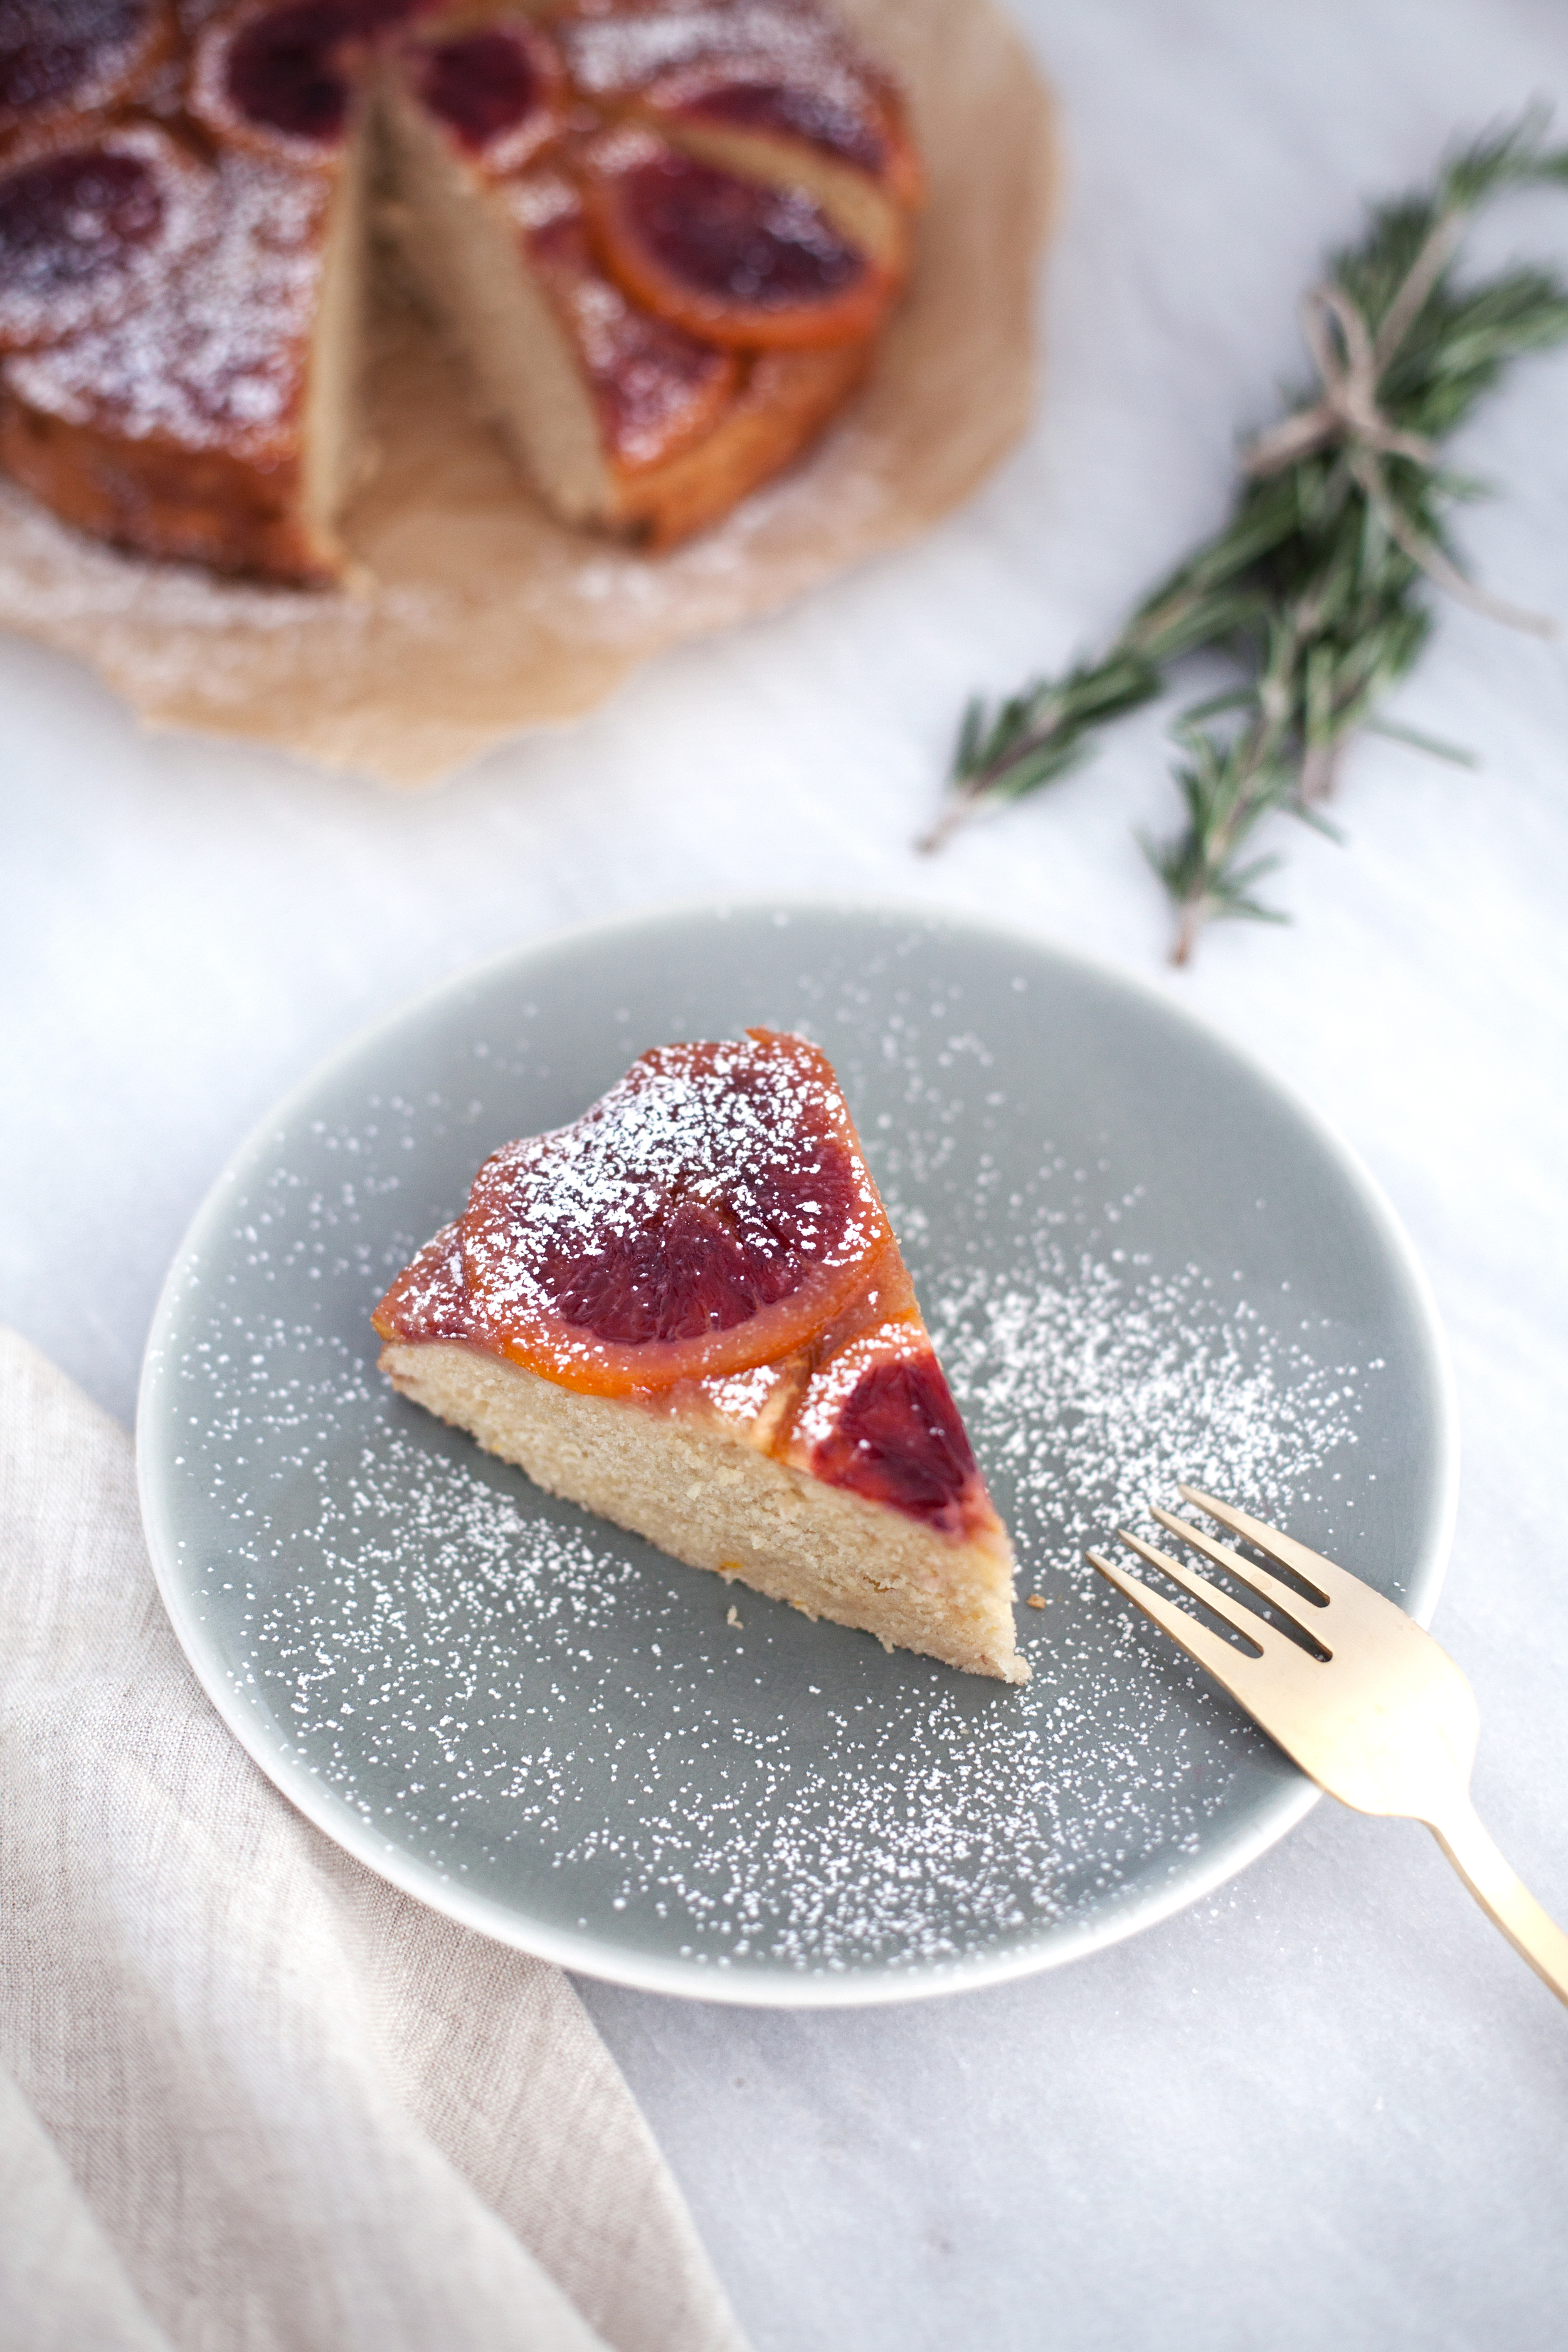
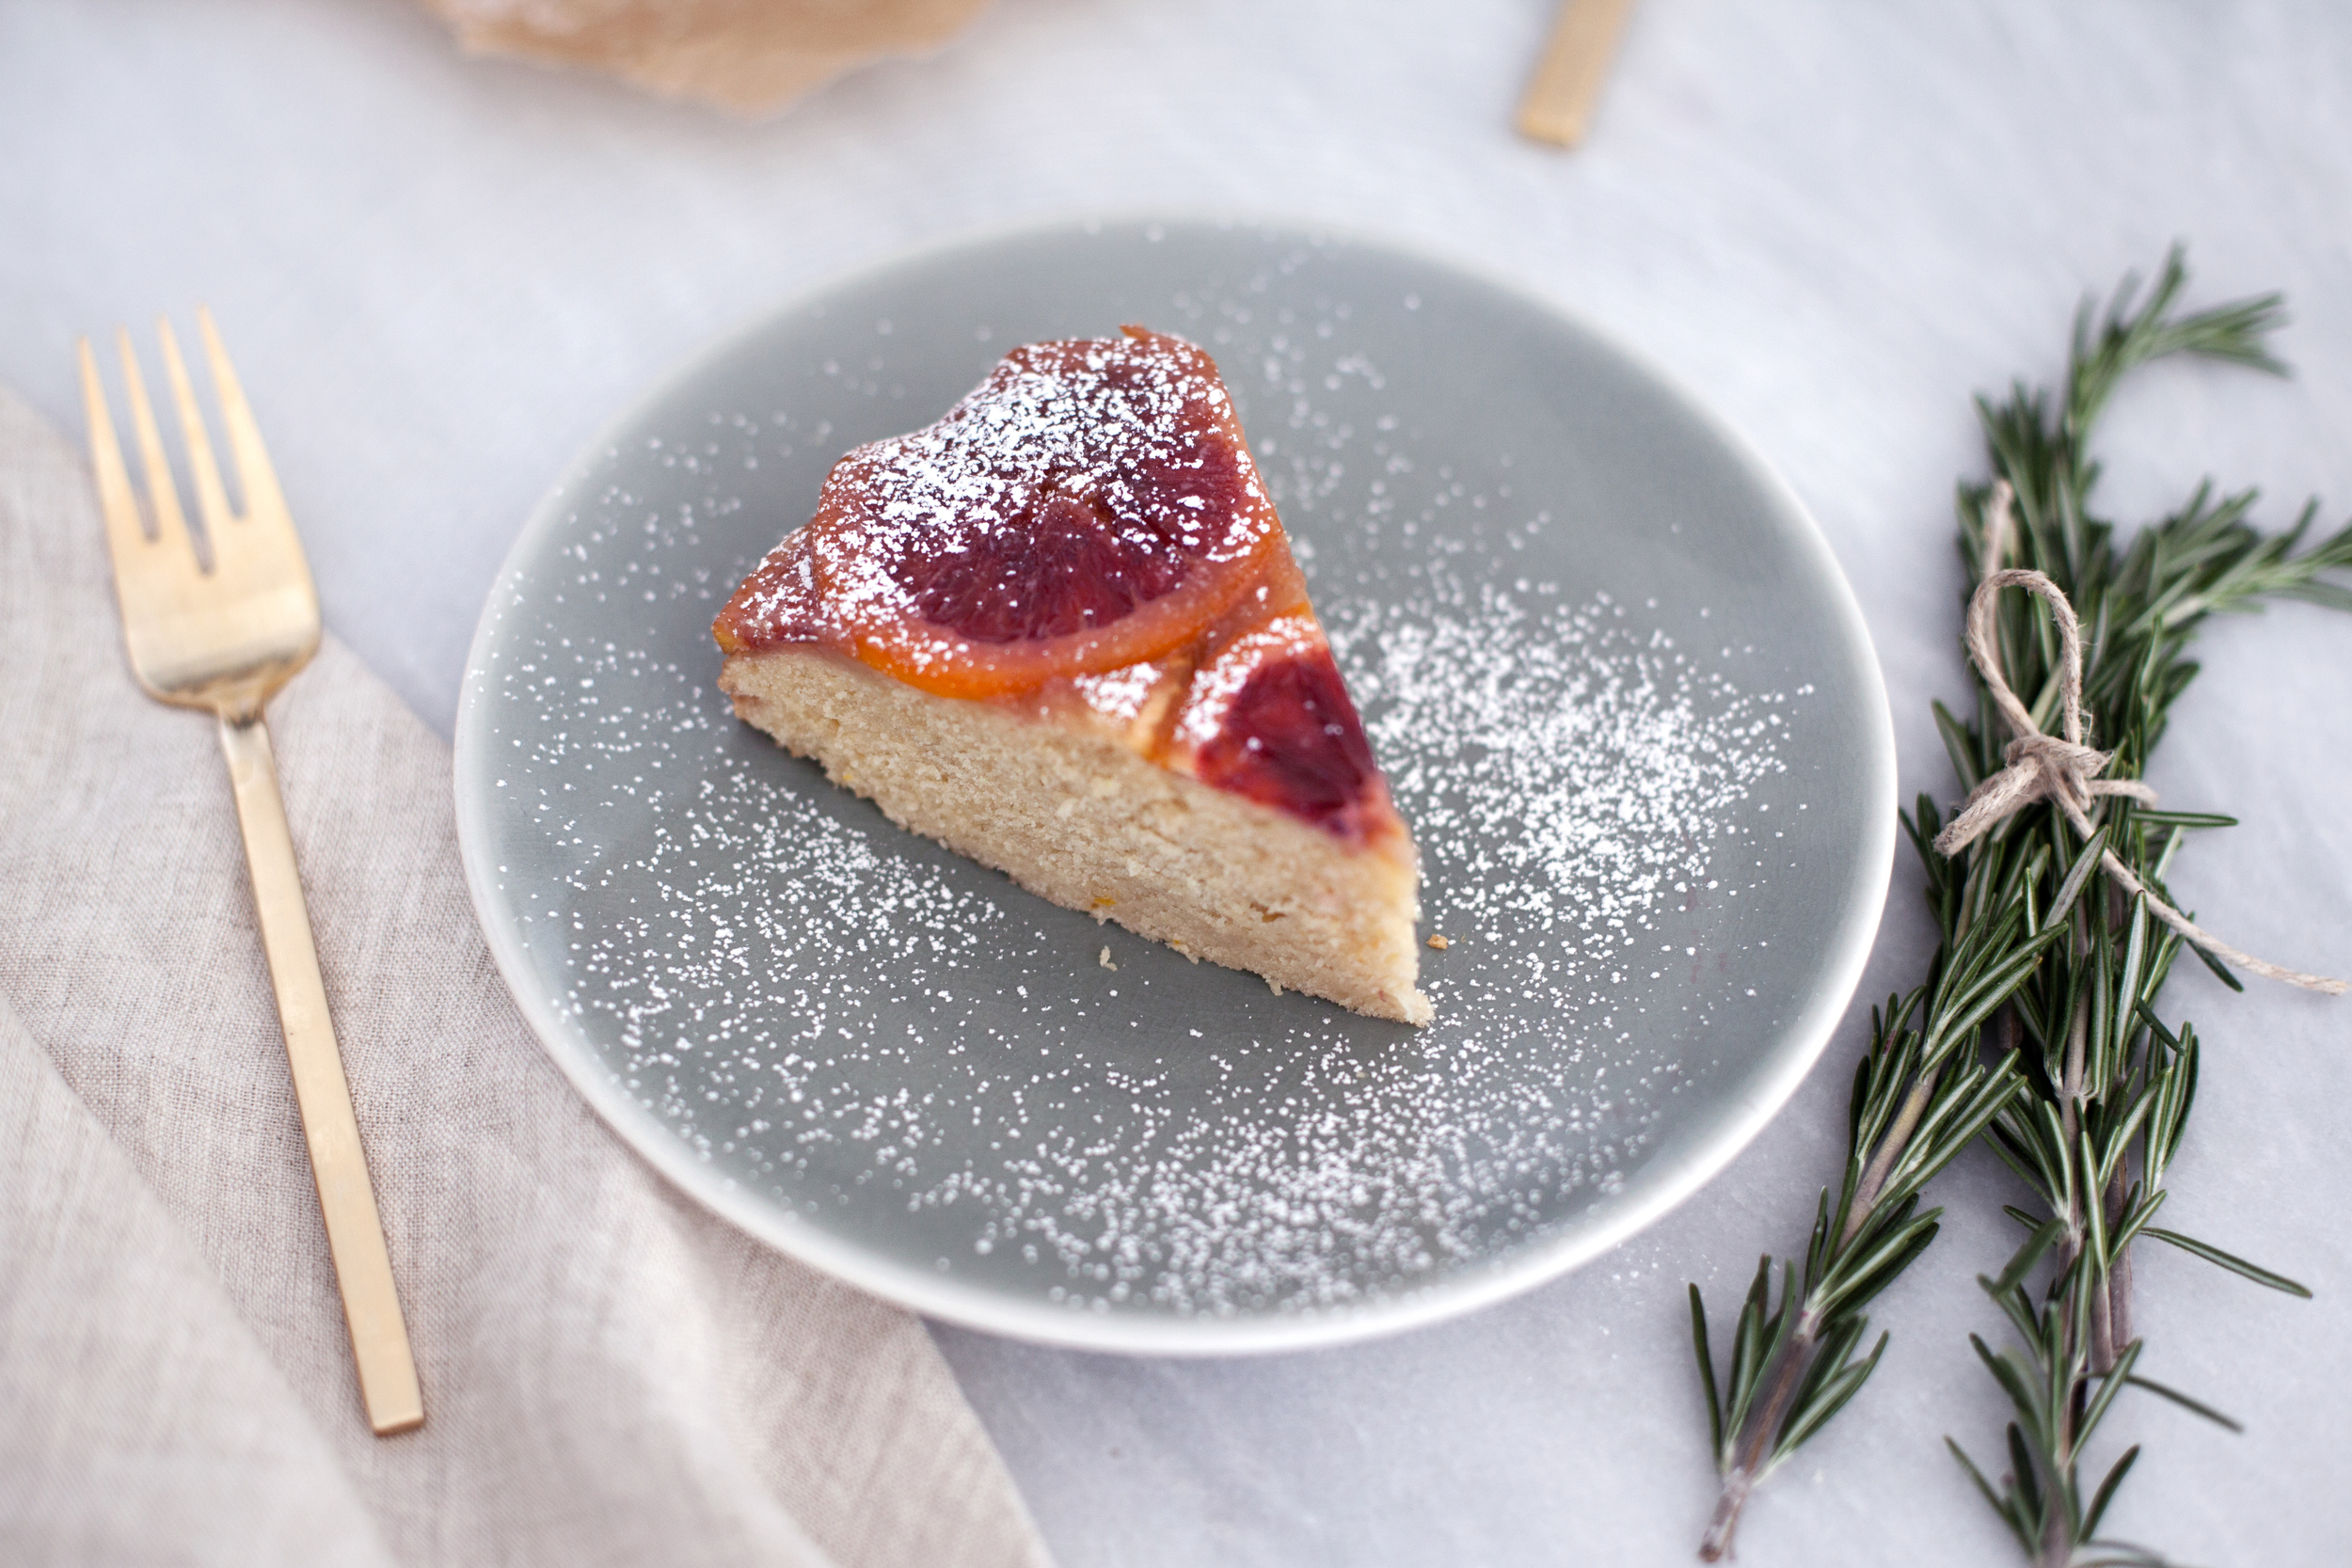
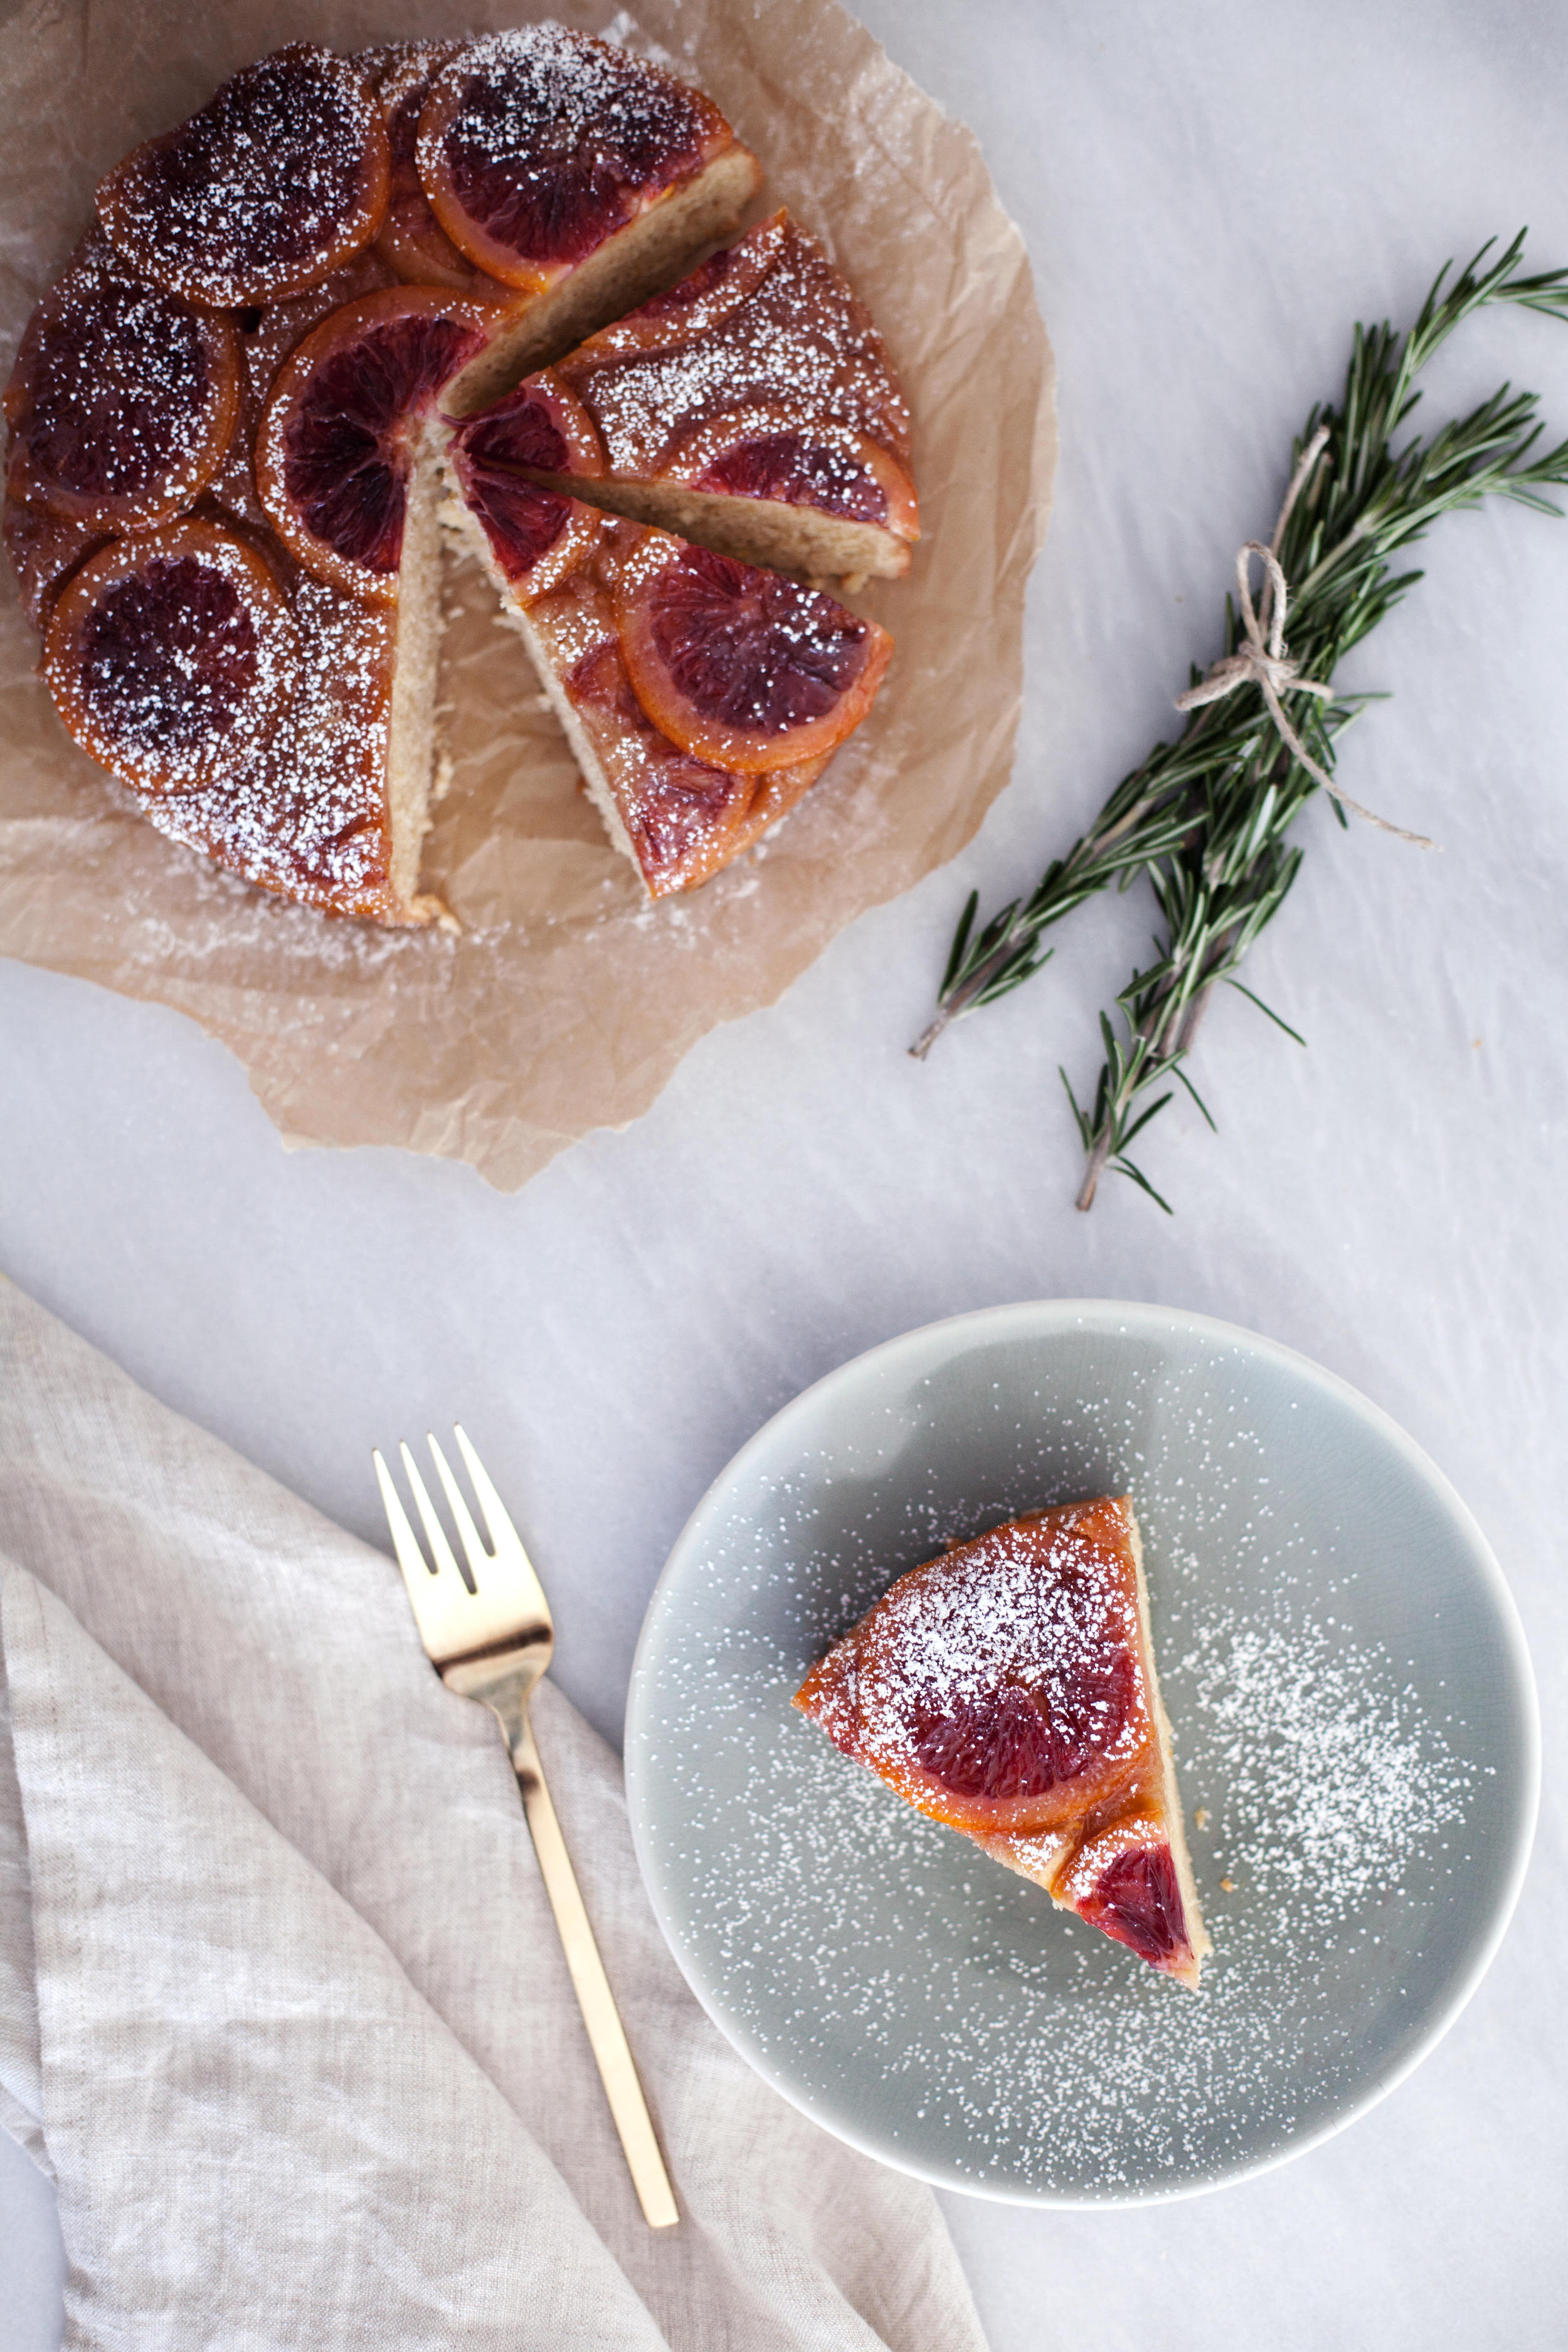
SO.. i tried to make this blood orange rosemary cake back in early fall, only to find out grocery stores do not carry these oranges year round! shows how much i know about my citrus. but huzzah! it is officially blood orange season, the perfect winter citrus. the colour of these is gorgeous & they are absolutely delicious. i almost ate them all on their own before even getting to my baking! now i guess i will just have to eat all of this cake to myself too. i used a bit of the zest & juice in the actual cake batter better hoping it would give the cake a nice deep rosey tinge. it did not.. at all. however, for flavour purposes it was worth it! i left the rinds on the top slices for asethic purposes, but if you are worried about serving it that way or a touch of bitterness i suggest you peel the oranges. the shape is just so much prettier leaving the peels on! anyways, i will leave this decision up to you. if you want bonus points for asthetics, you know what to do!

ingredients

for the sauce

  • 1/4 cup unsalted butter
  • 1/2 cup brown sugar
  • 1/4 teaspoon salt
  • 1 sprig rosemary
  • 1 teaspoon pure vanilla extract
  • 1 blood orange, thinly sliced

for the cake

  • 2 cups all purpose flour
  • 1 3/4 teaspoon baking powder
  • 1 teaspoon, orange zest
  • 1/2 teaspoon salt
  • 1/2 cup unsalted butter, room temperature
  • 3/4 cup brown sugar
  • 2 eggs
  • 1 teaspoon pure vanilla extract
  • 3/4 cup whole milk or cream
  • 1/4 cup blood orange juice (i used the juice from one orange)

directions

  • preheat oven to 350 degrees.
  • sauce: in a sauce pan over medium heat add butter, sugar, salt, rosemary & vanilla. bring to a boil constantly stiring and remove from heat. strain the rosemary. slice oranges thinly. pour caramel sauce in an 8 or 9 inch cake pan & arrange the slices in a circular pattern.
  • cake: in a mixing bowl sift flour, baking powder, orange zest and salt. in the bowl of a stand mixer using the beater attachment cream butter and sugar. add eggs one at a time until light and fluffy. mix in vanilla, juice & milk until combined. slowly add your flour mixture and beat until the batter is smooth. carefully pour batter over the orange slices, making sure you do not alter the design of the fruit. bake for 20-25 minutes or until cake is cooked throughout. let cool completely before flipping & serving.

MAPLE OATMEAL COOKIES


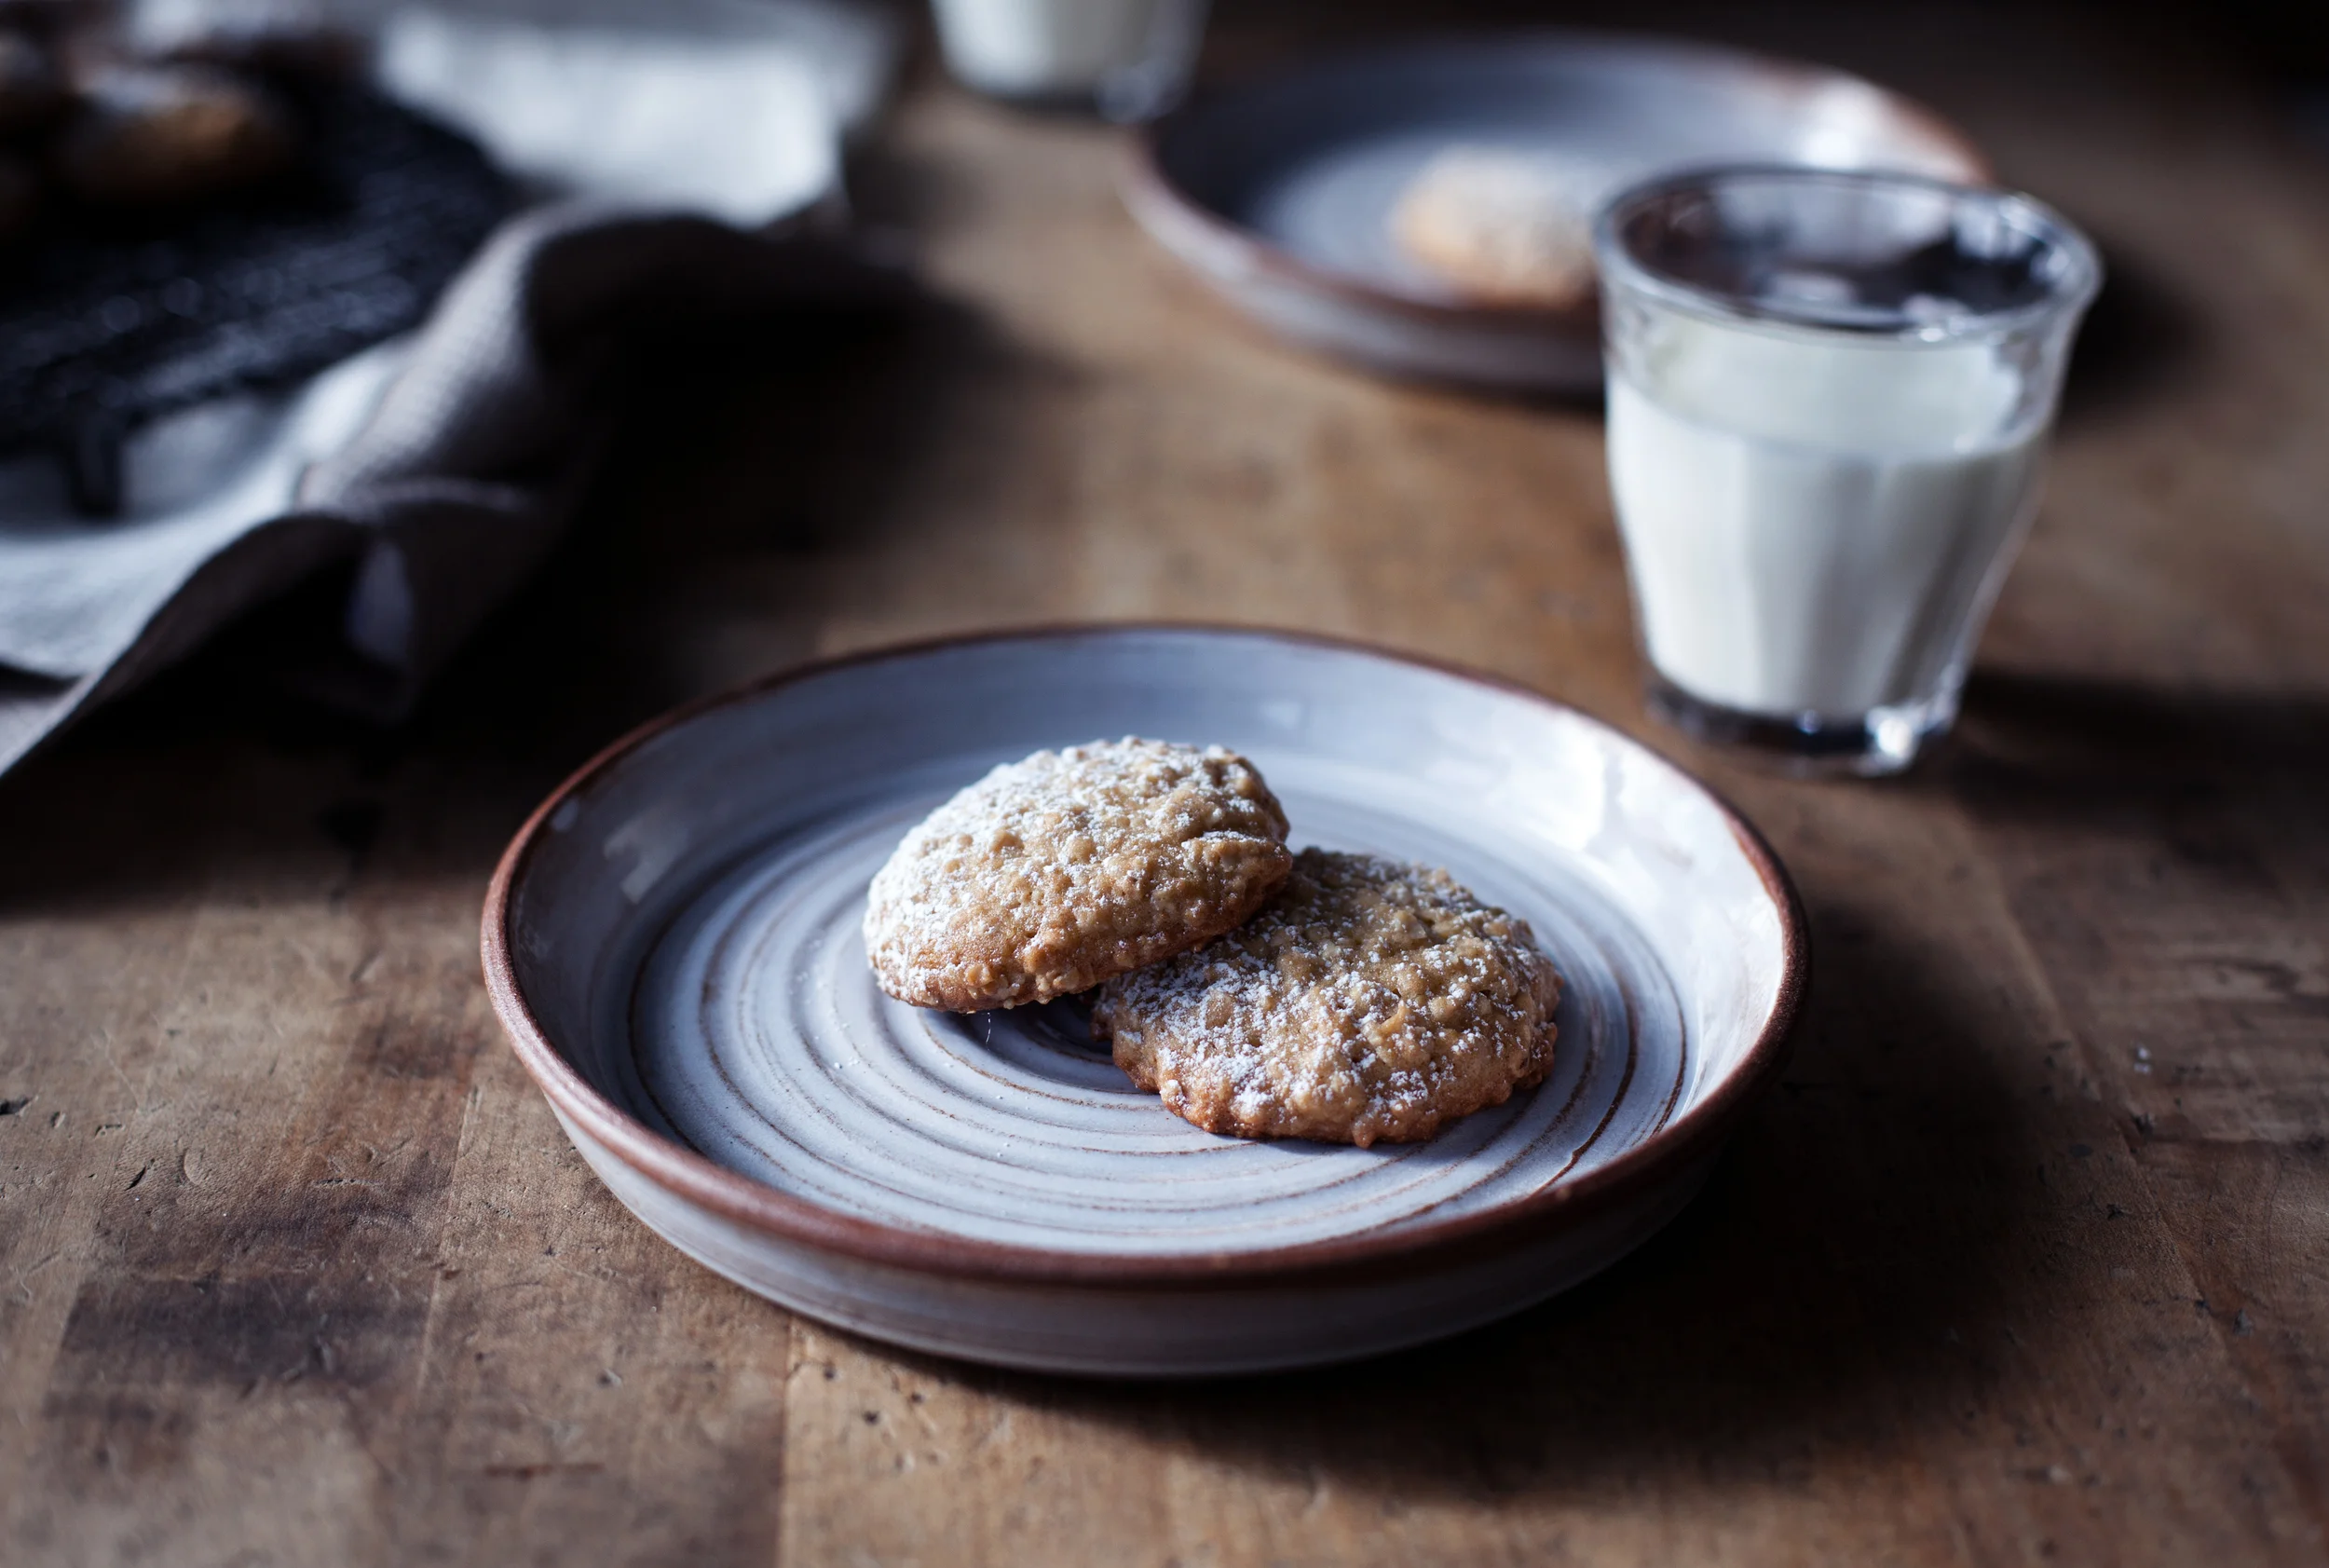
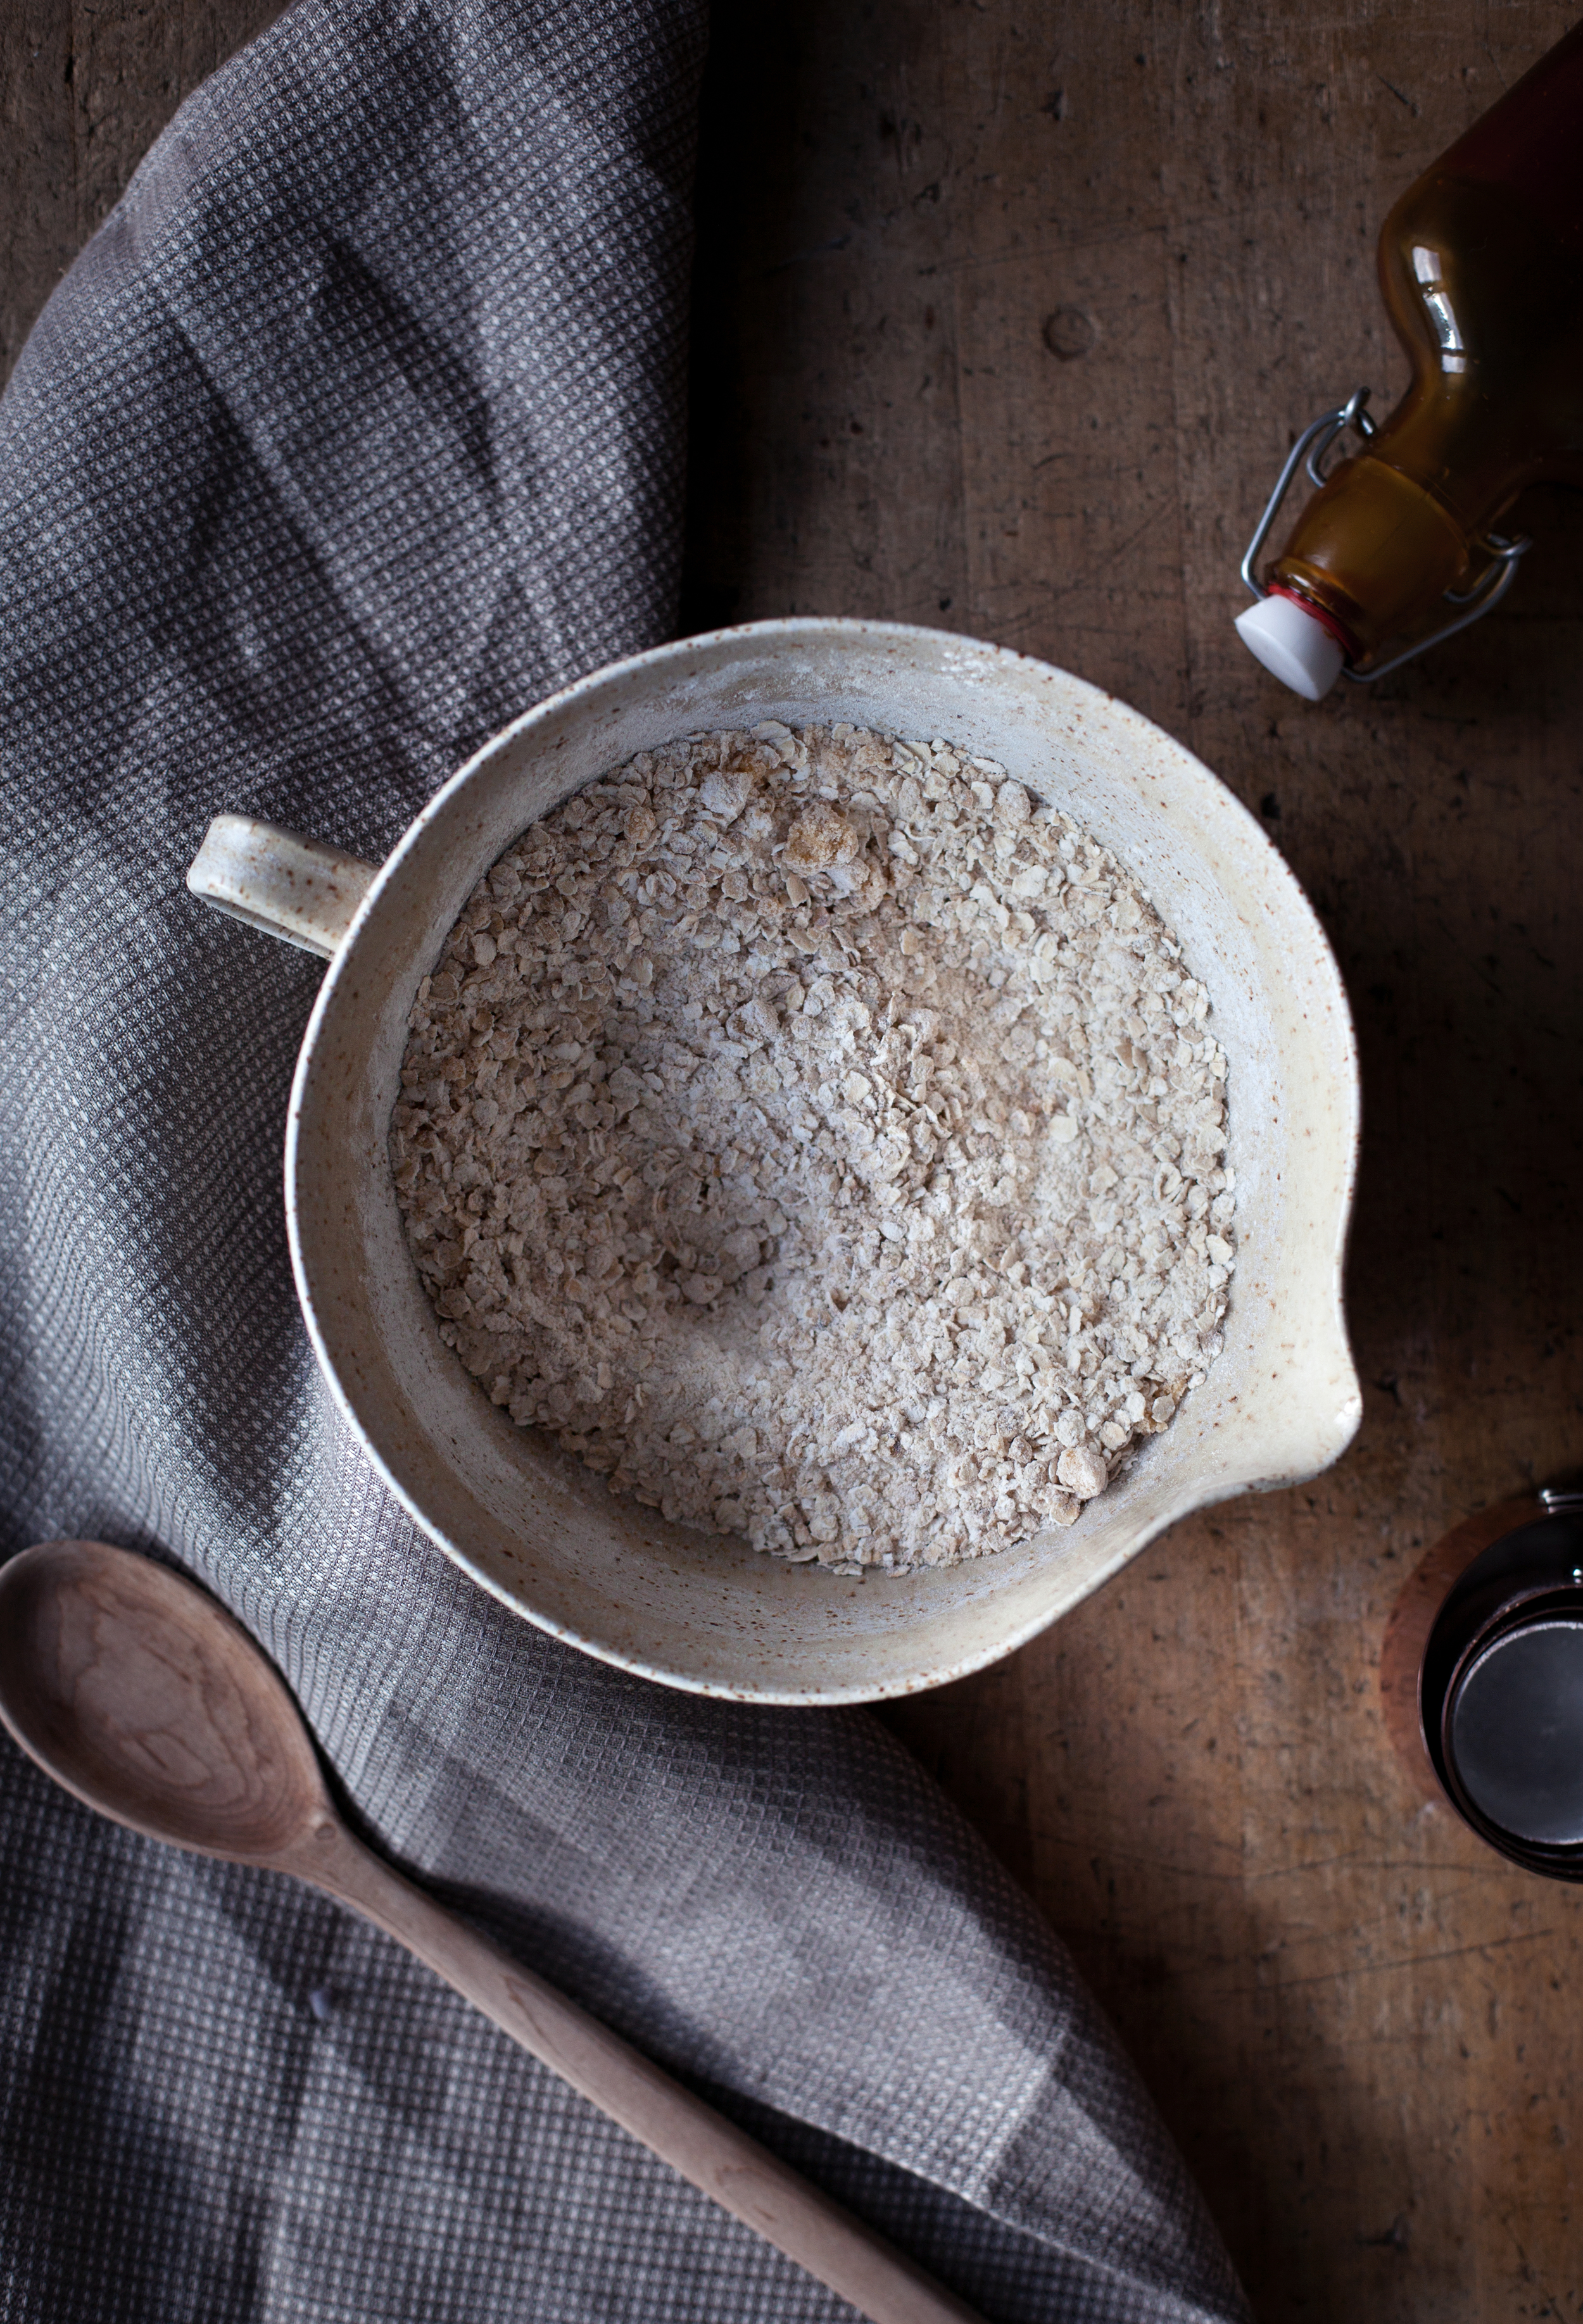
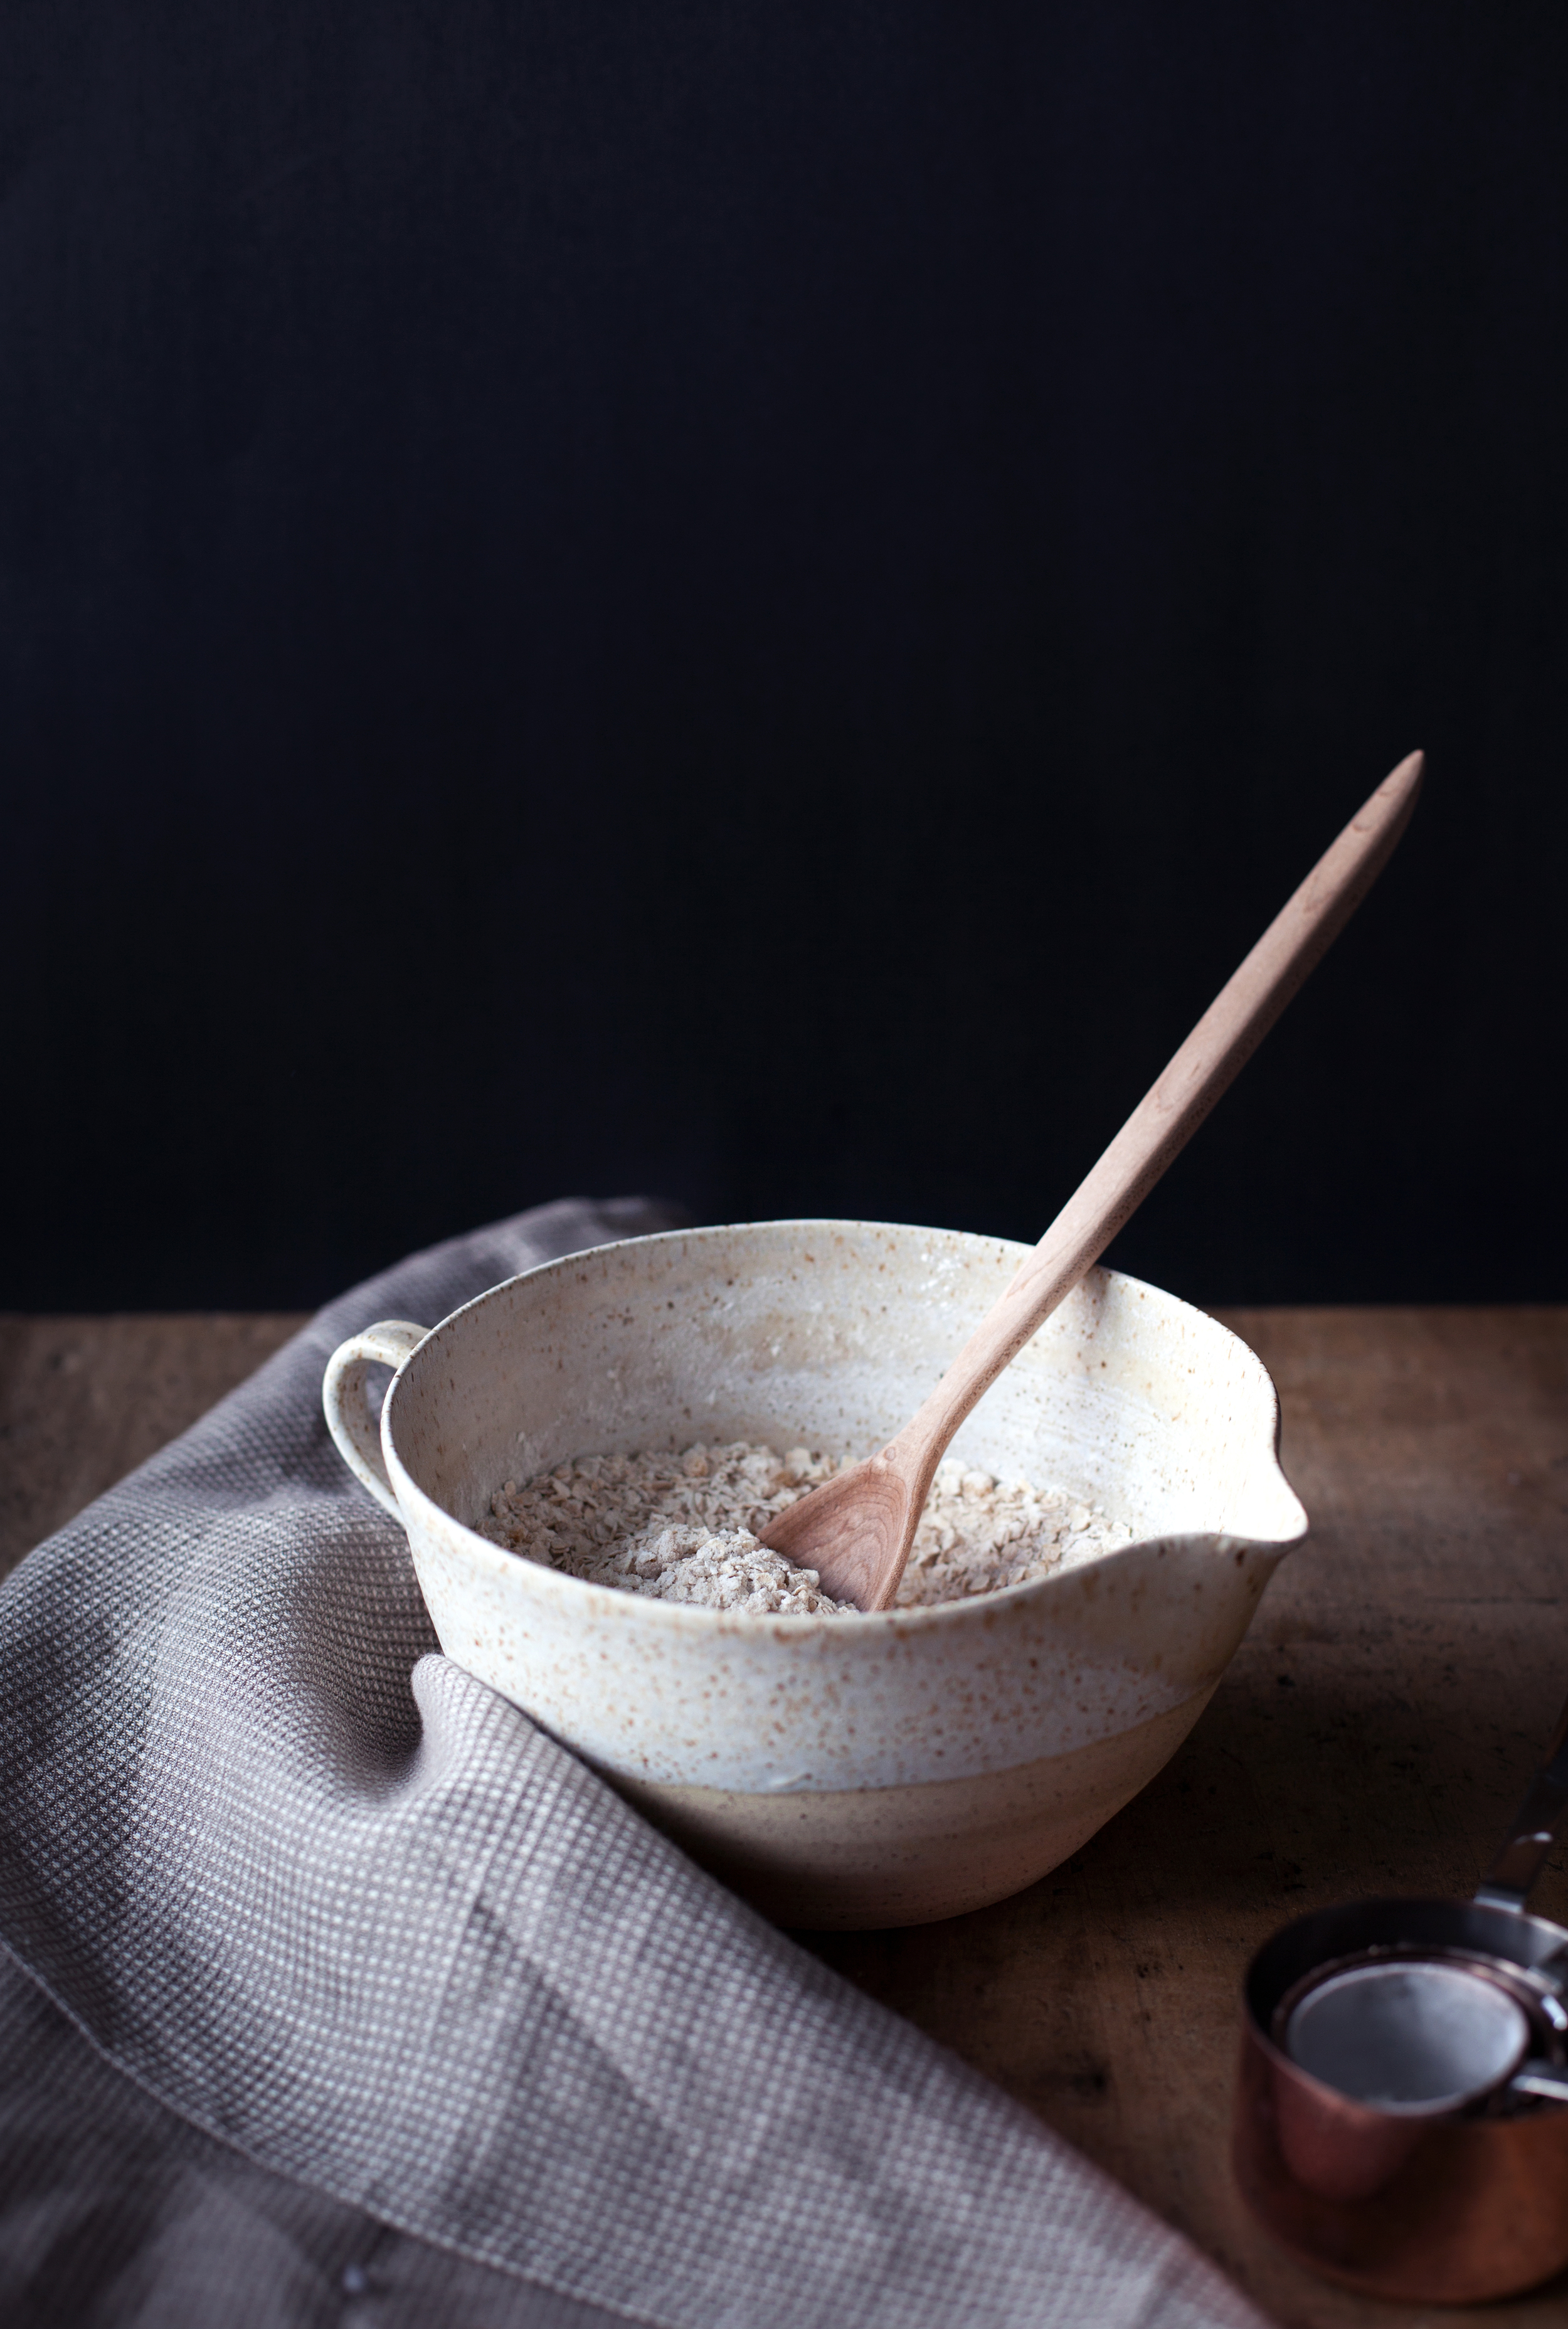
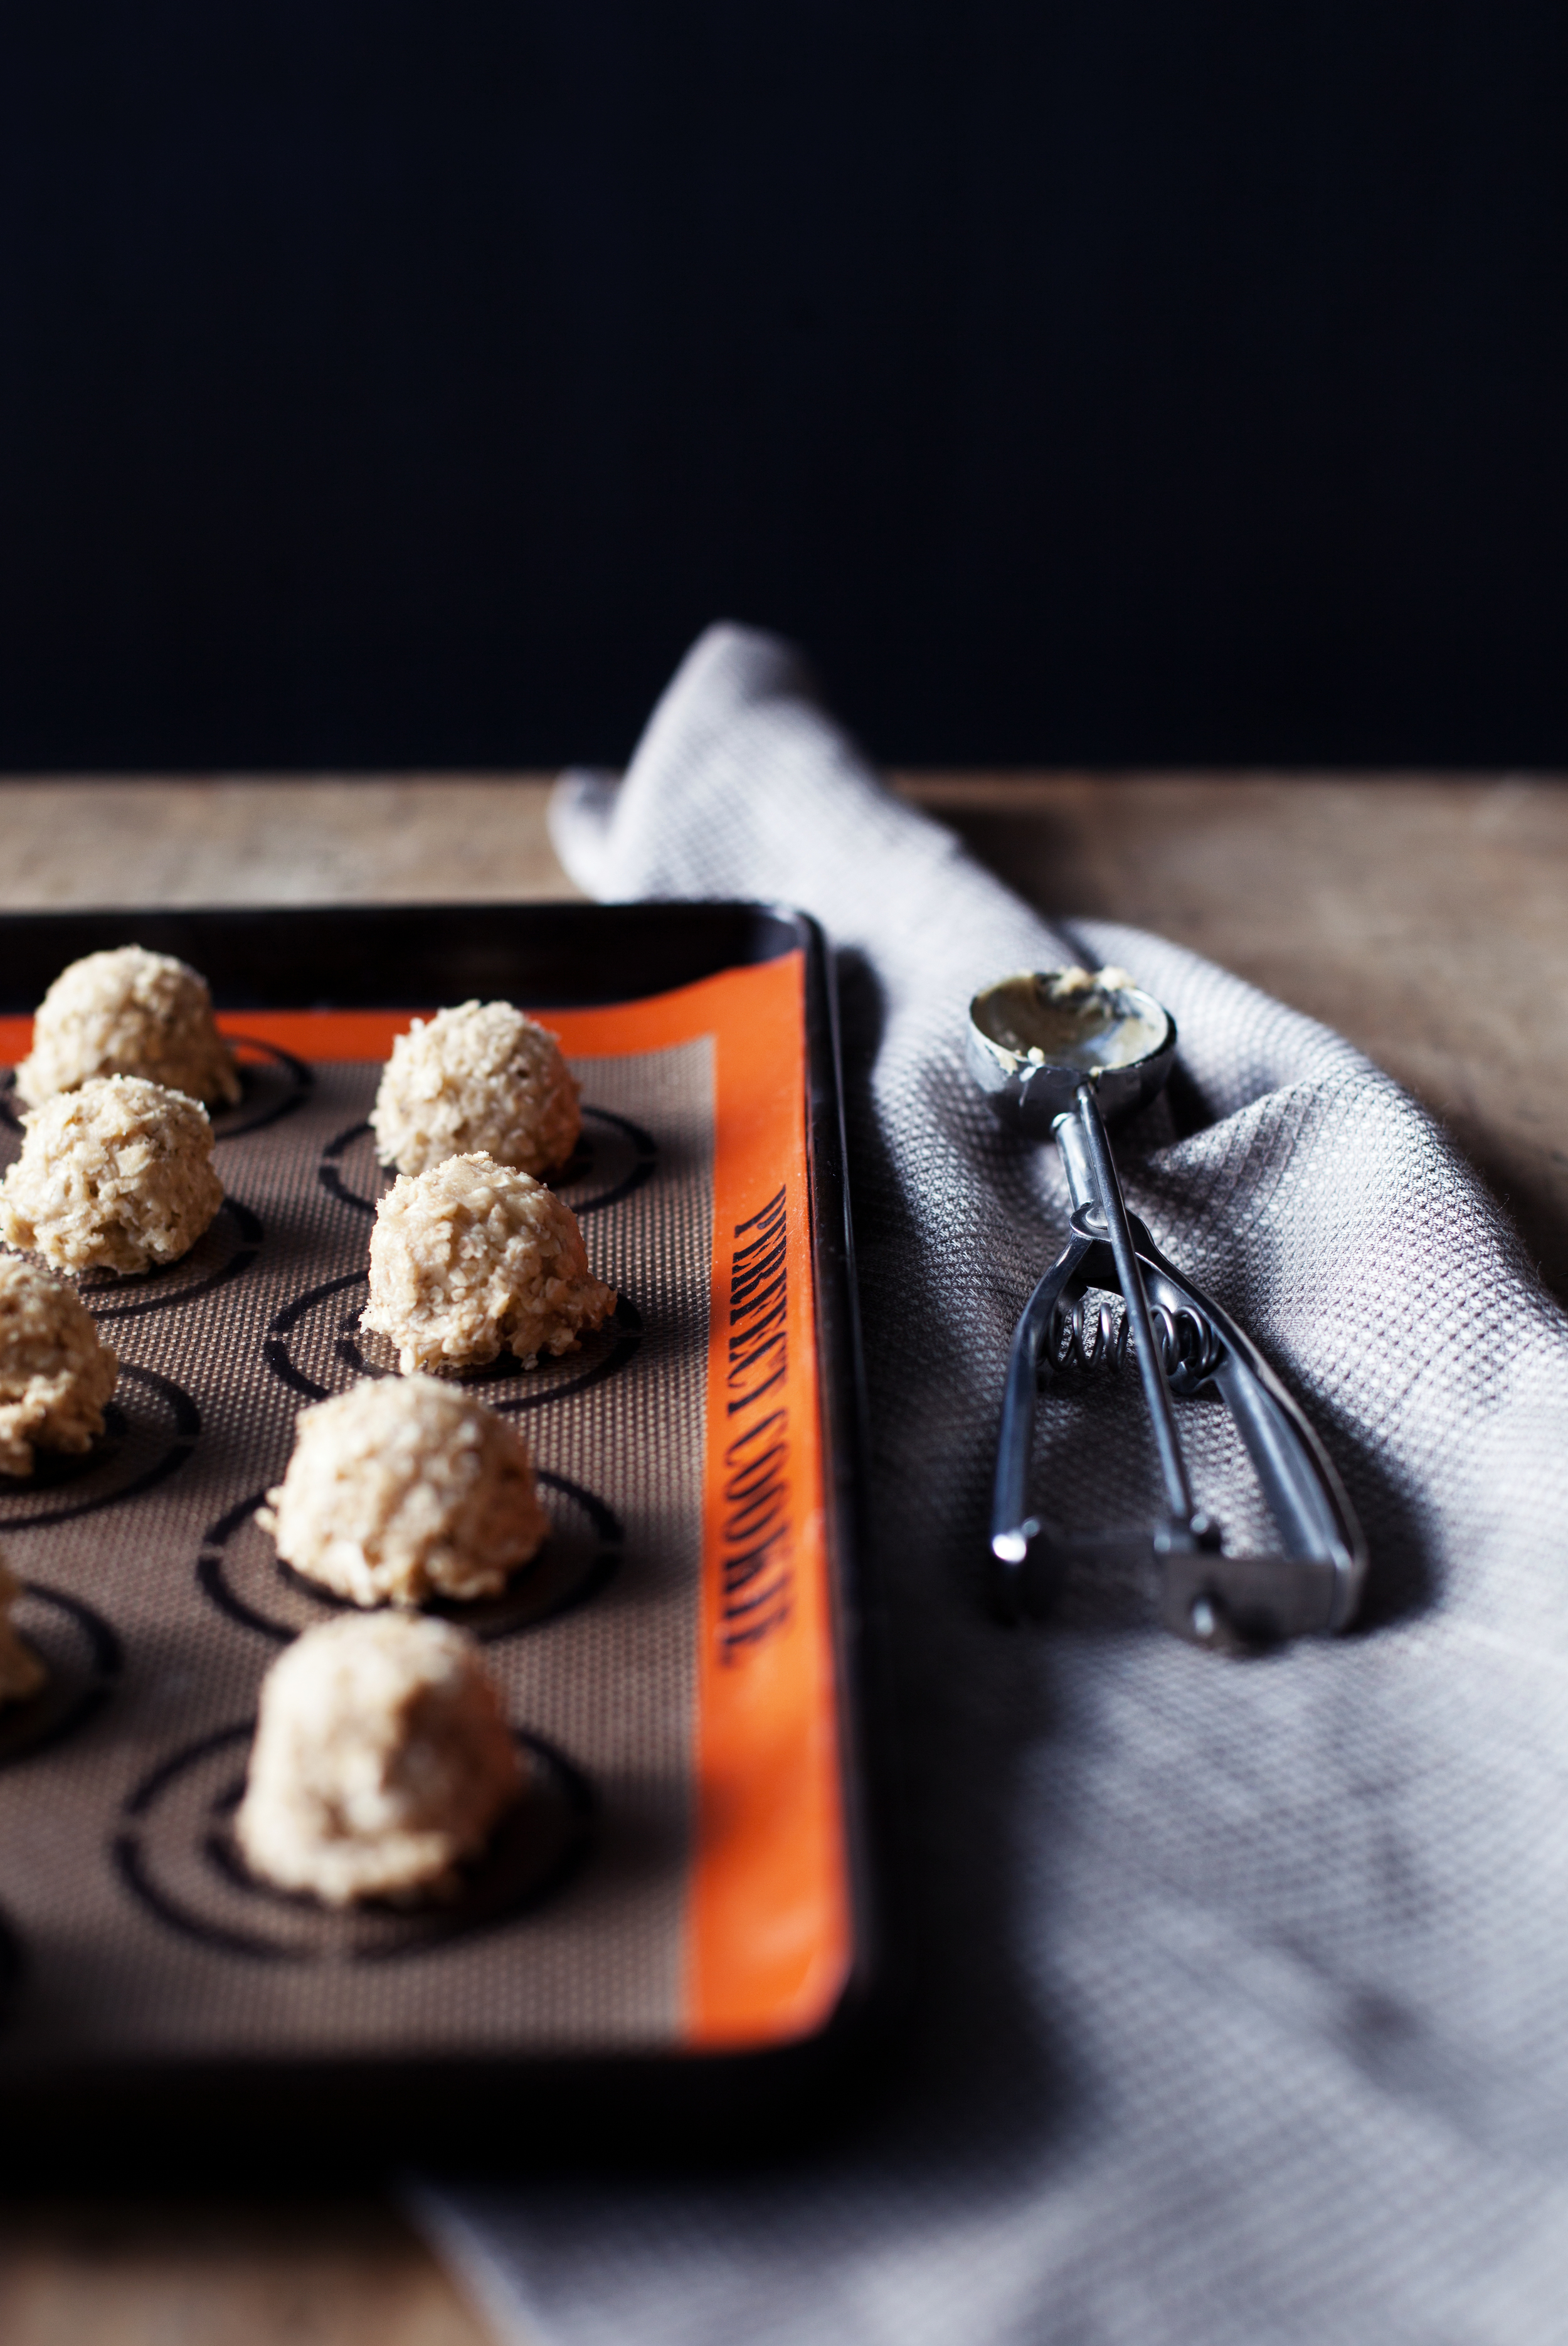
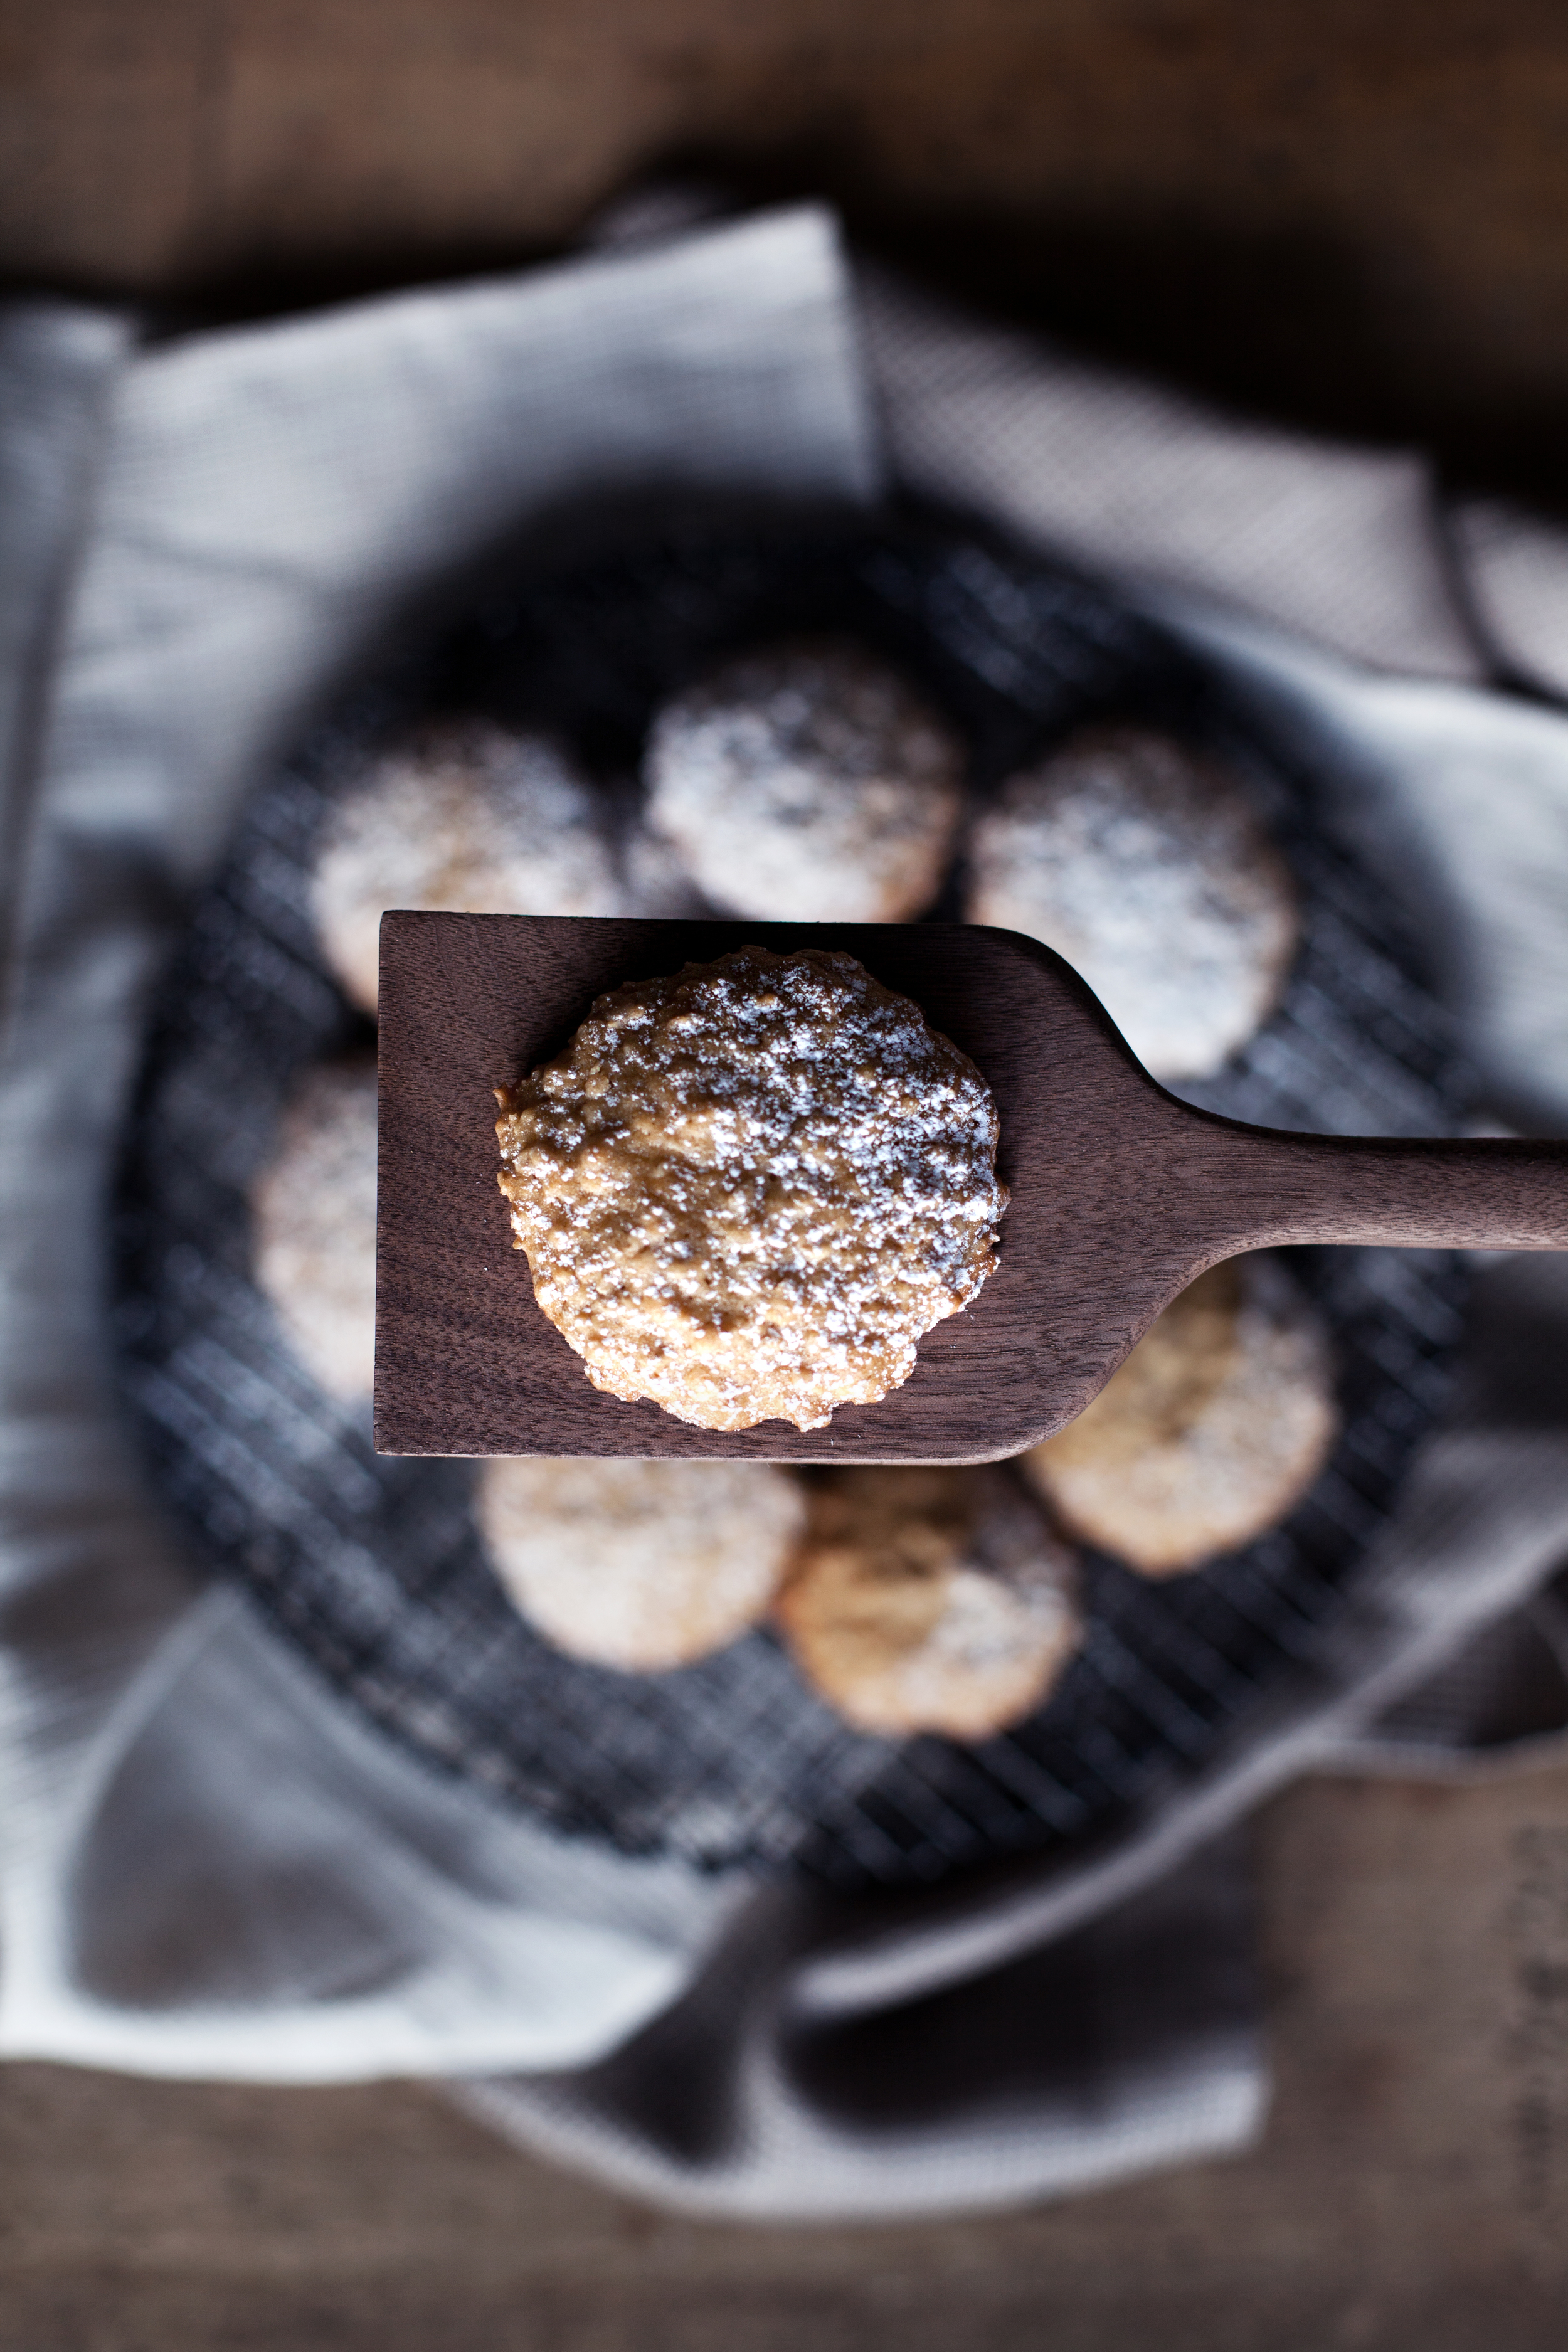
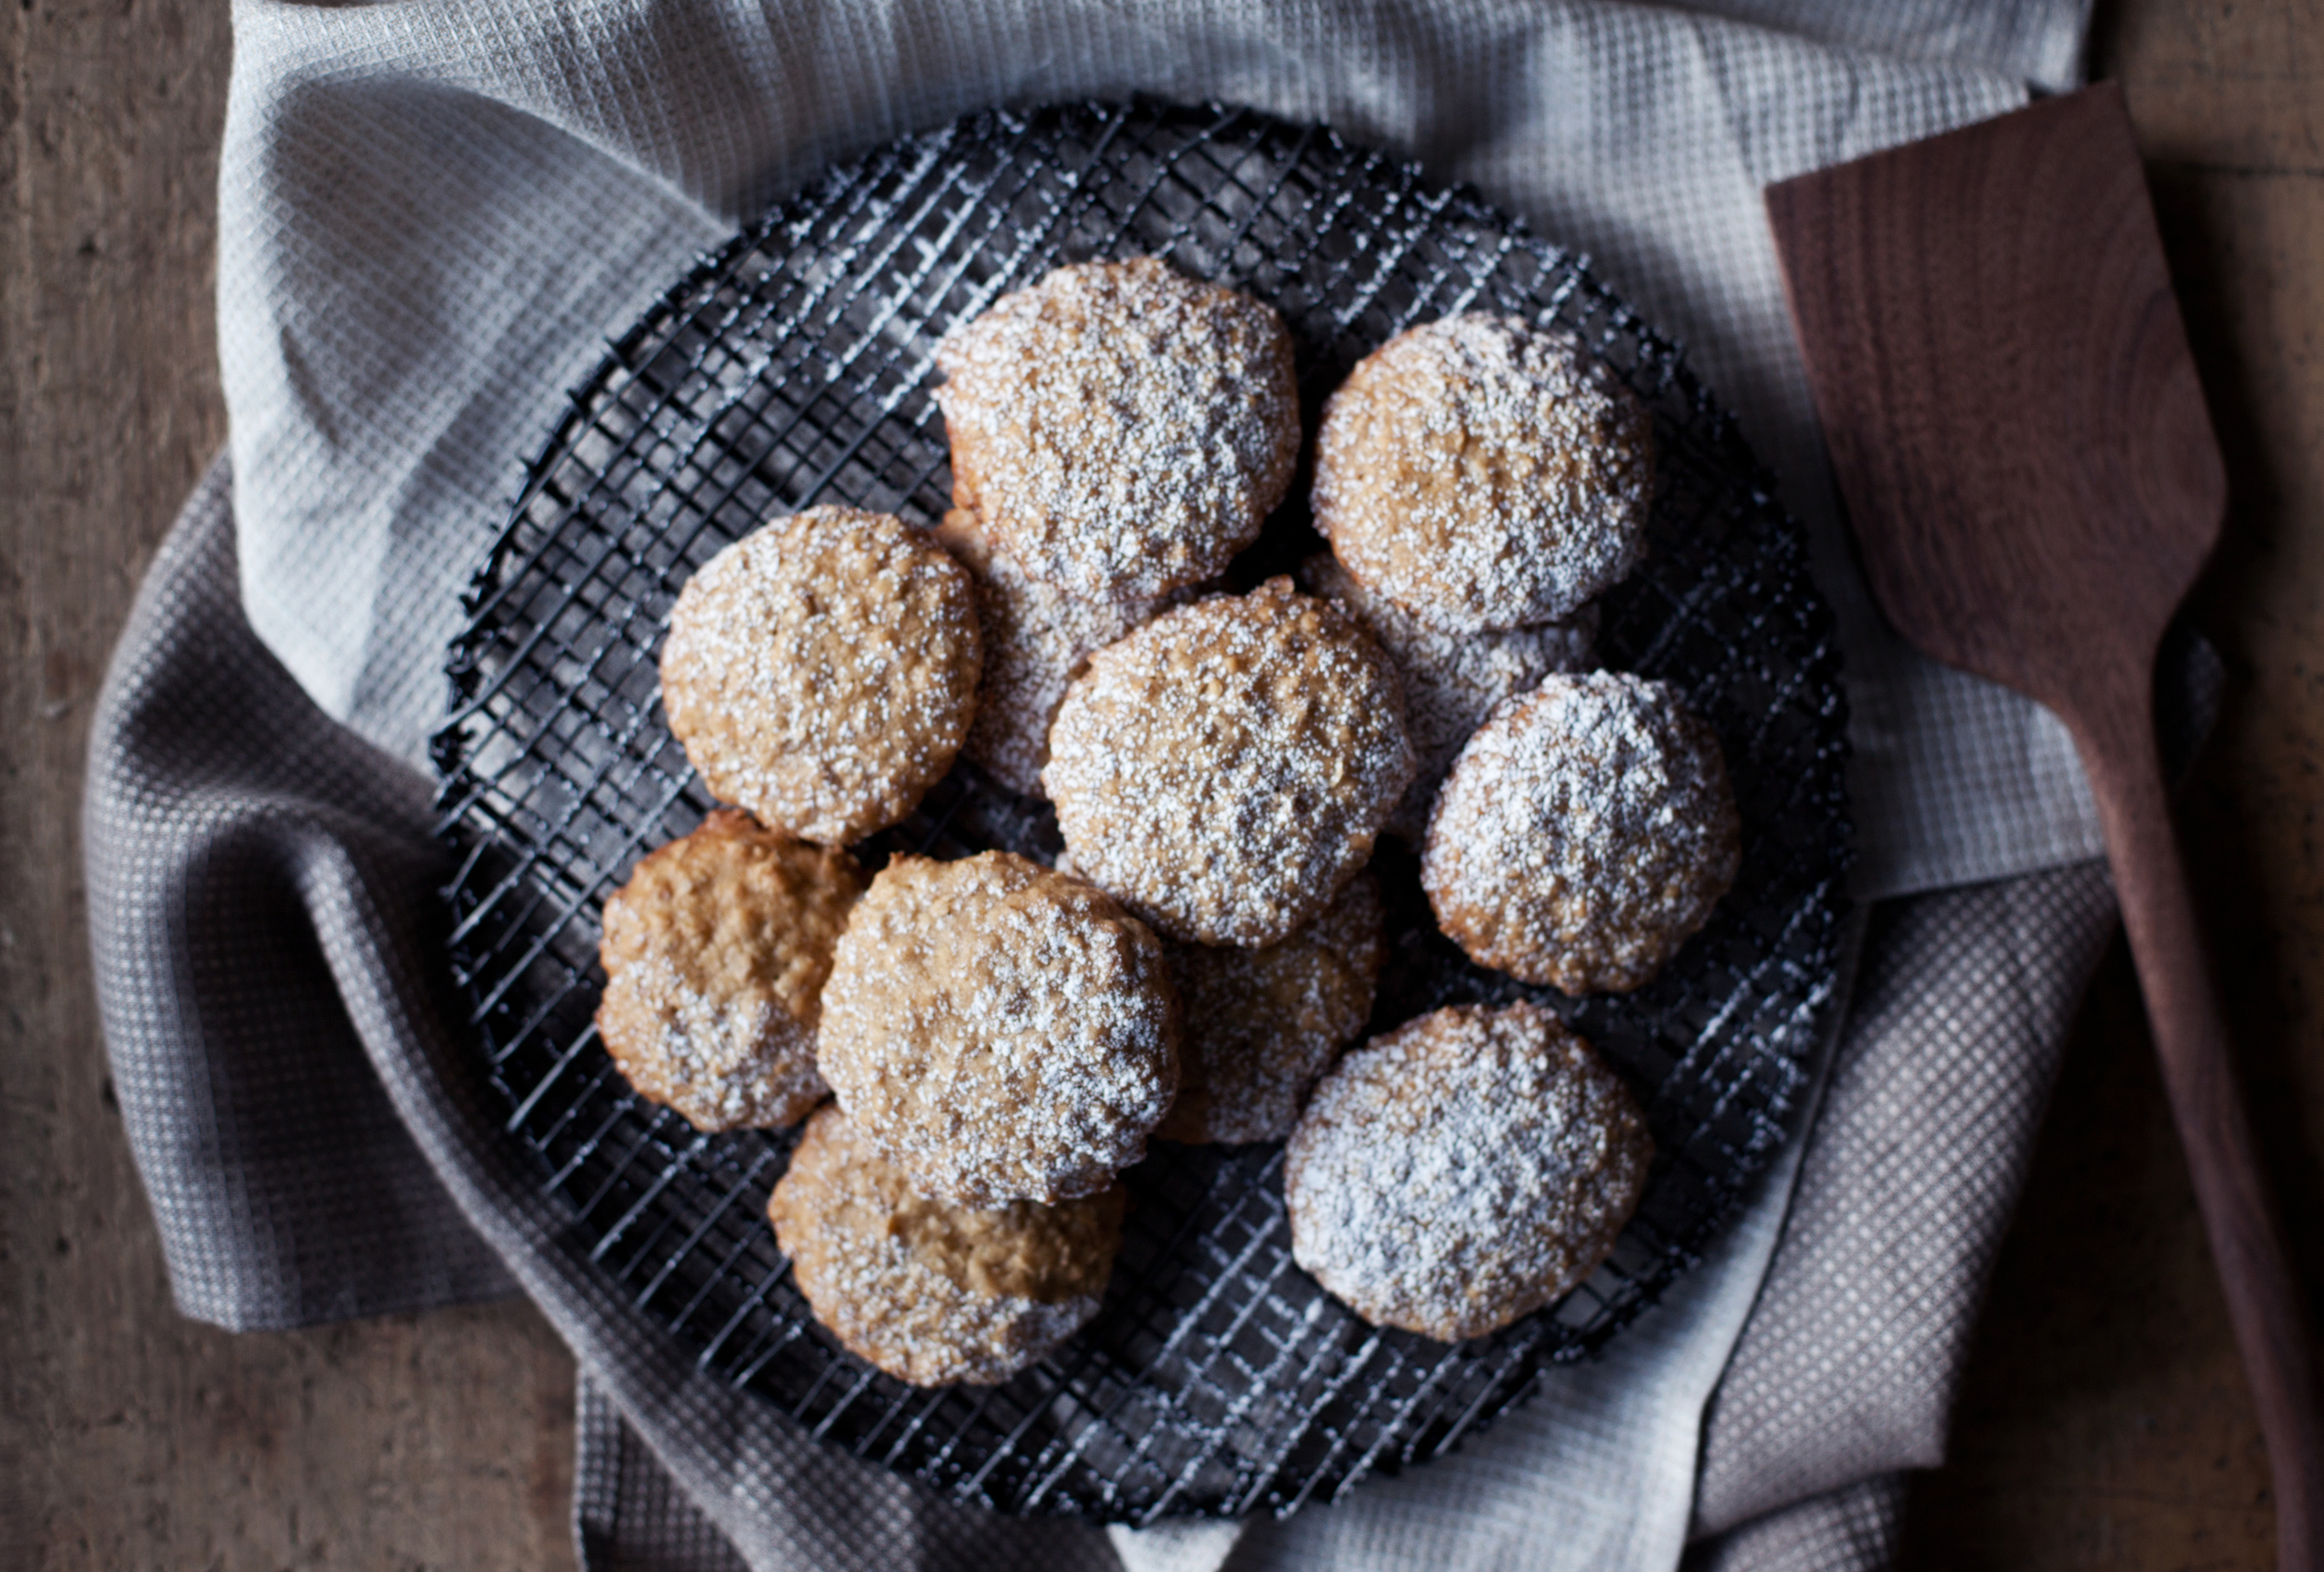
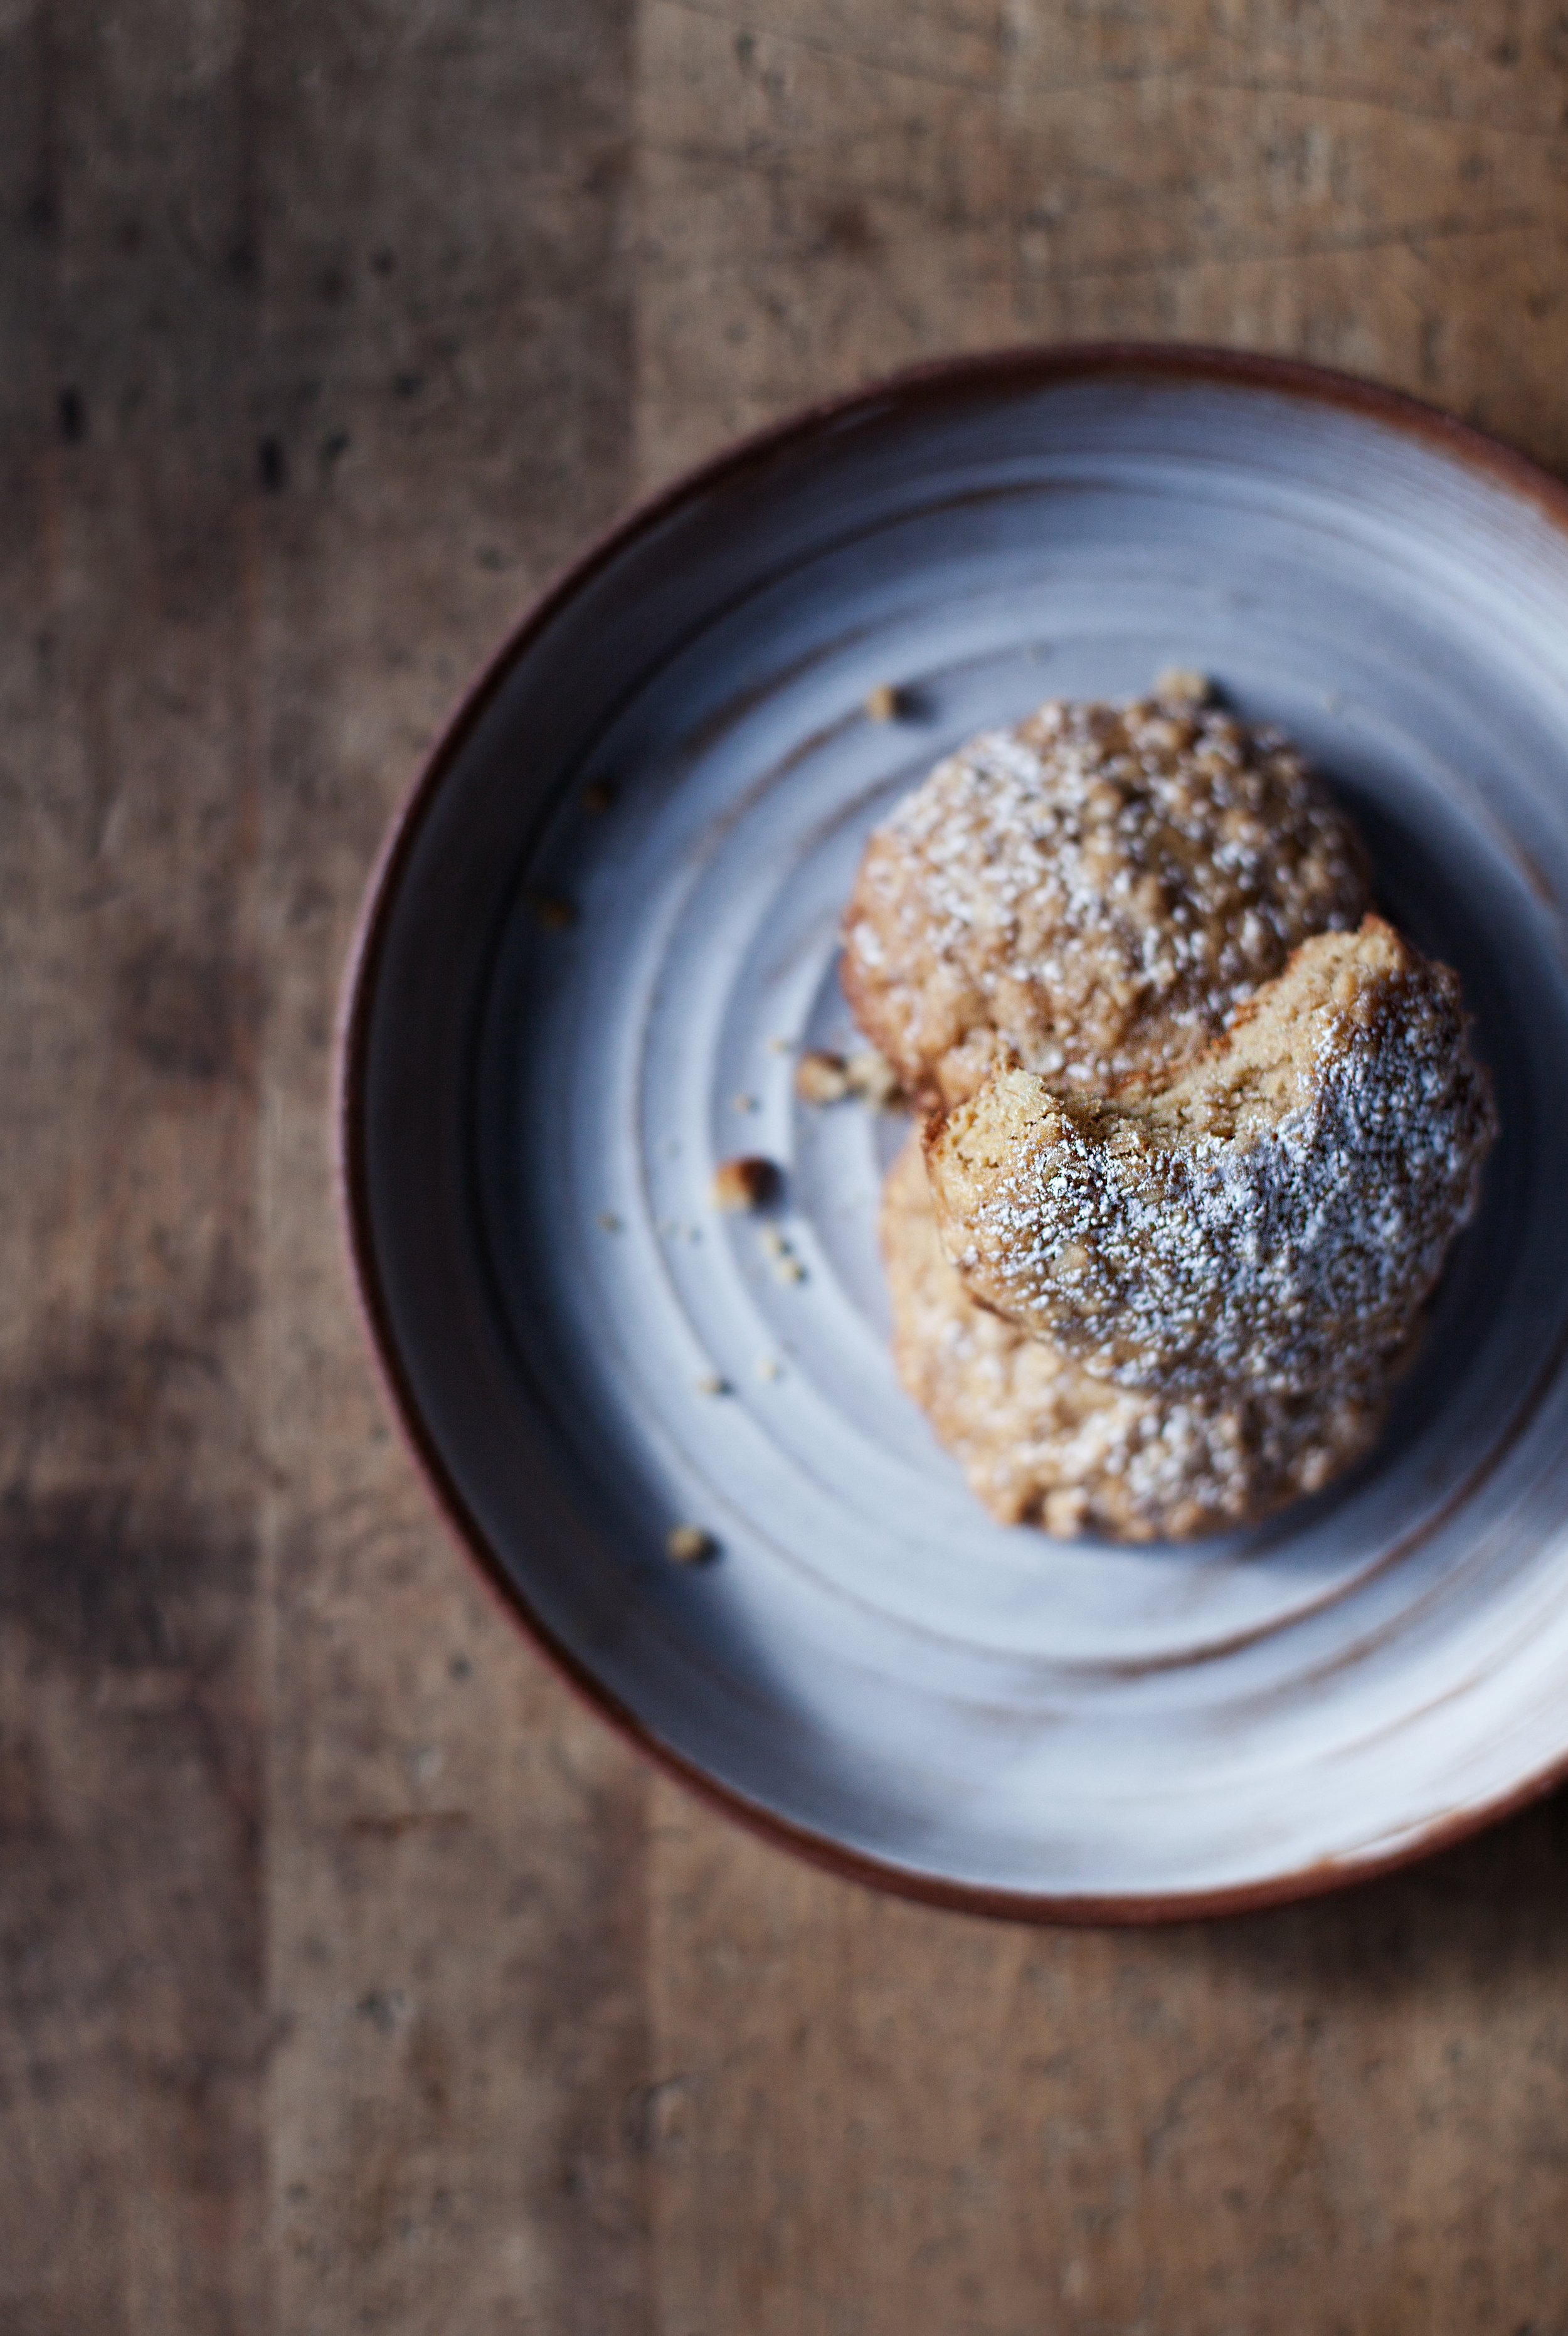
cookies are one of my favourite things to bake, BUT one of my least favourite things to photograph. which is why my blog is not flooded with all the delicious cookie recipes i whip up at home. however, i couldn't resist sharing these wintery maple oatmeal cookies. i created a muffin version of these last year which you can find here. my photo skills have oh, just slightly improved, eh. i like to believe both the maple oatmeal muffins & cookies can be eaten as a quick grab & go breakfast because they are made with oats, pure maple syrup + raw sugar. it is healthy(ish) & close enough to oatmeal, right?! oh how i love my canadian maple syrup. happy monday!

ingredients

  • 1 cup oats
  • 1 cup all purpose flour
  • 1/2 cup raw sugar
  • 1/4 teaspoon salt
  • 1/4 teaspoon baking soda
  • 1 pinch ground nutmeg
  • 1/2 cup butter, melted
  • 1/4 cup pure maple syrup
  • 1 egg
  • 1 teaspoon pure vanilla extract

directions

  • in a mixing bowl stir oats, flour, sugar, salt, baking soda & nutmeg.
  • in a separate bowl whisk butter, syrup, egg & vanilla.
  • add the wet ingredients to the dry ingredients. beat until batter forms into a dough.
  • shape into a ball & refrigerate for a minimum of one hour.
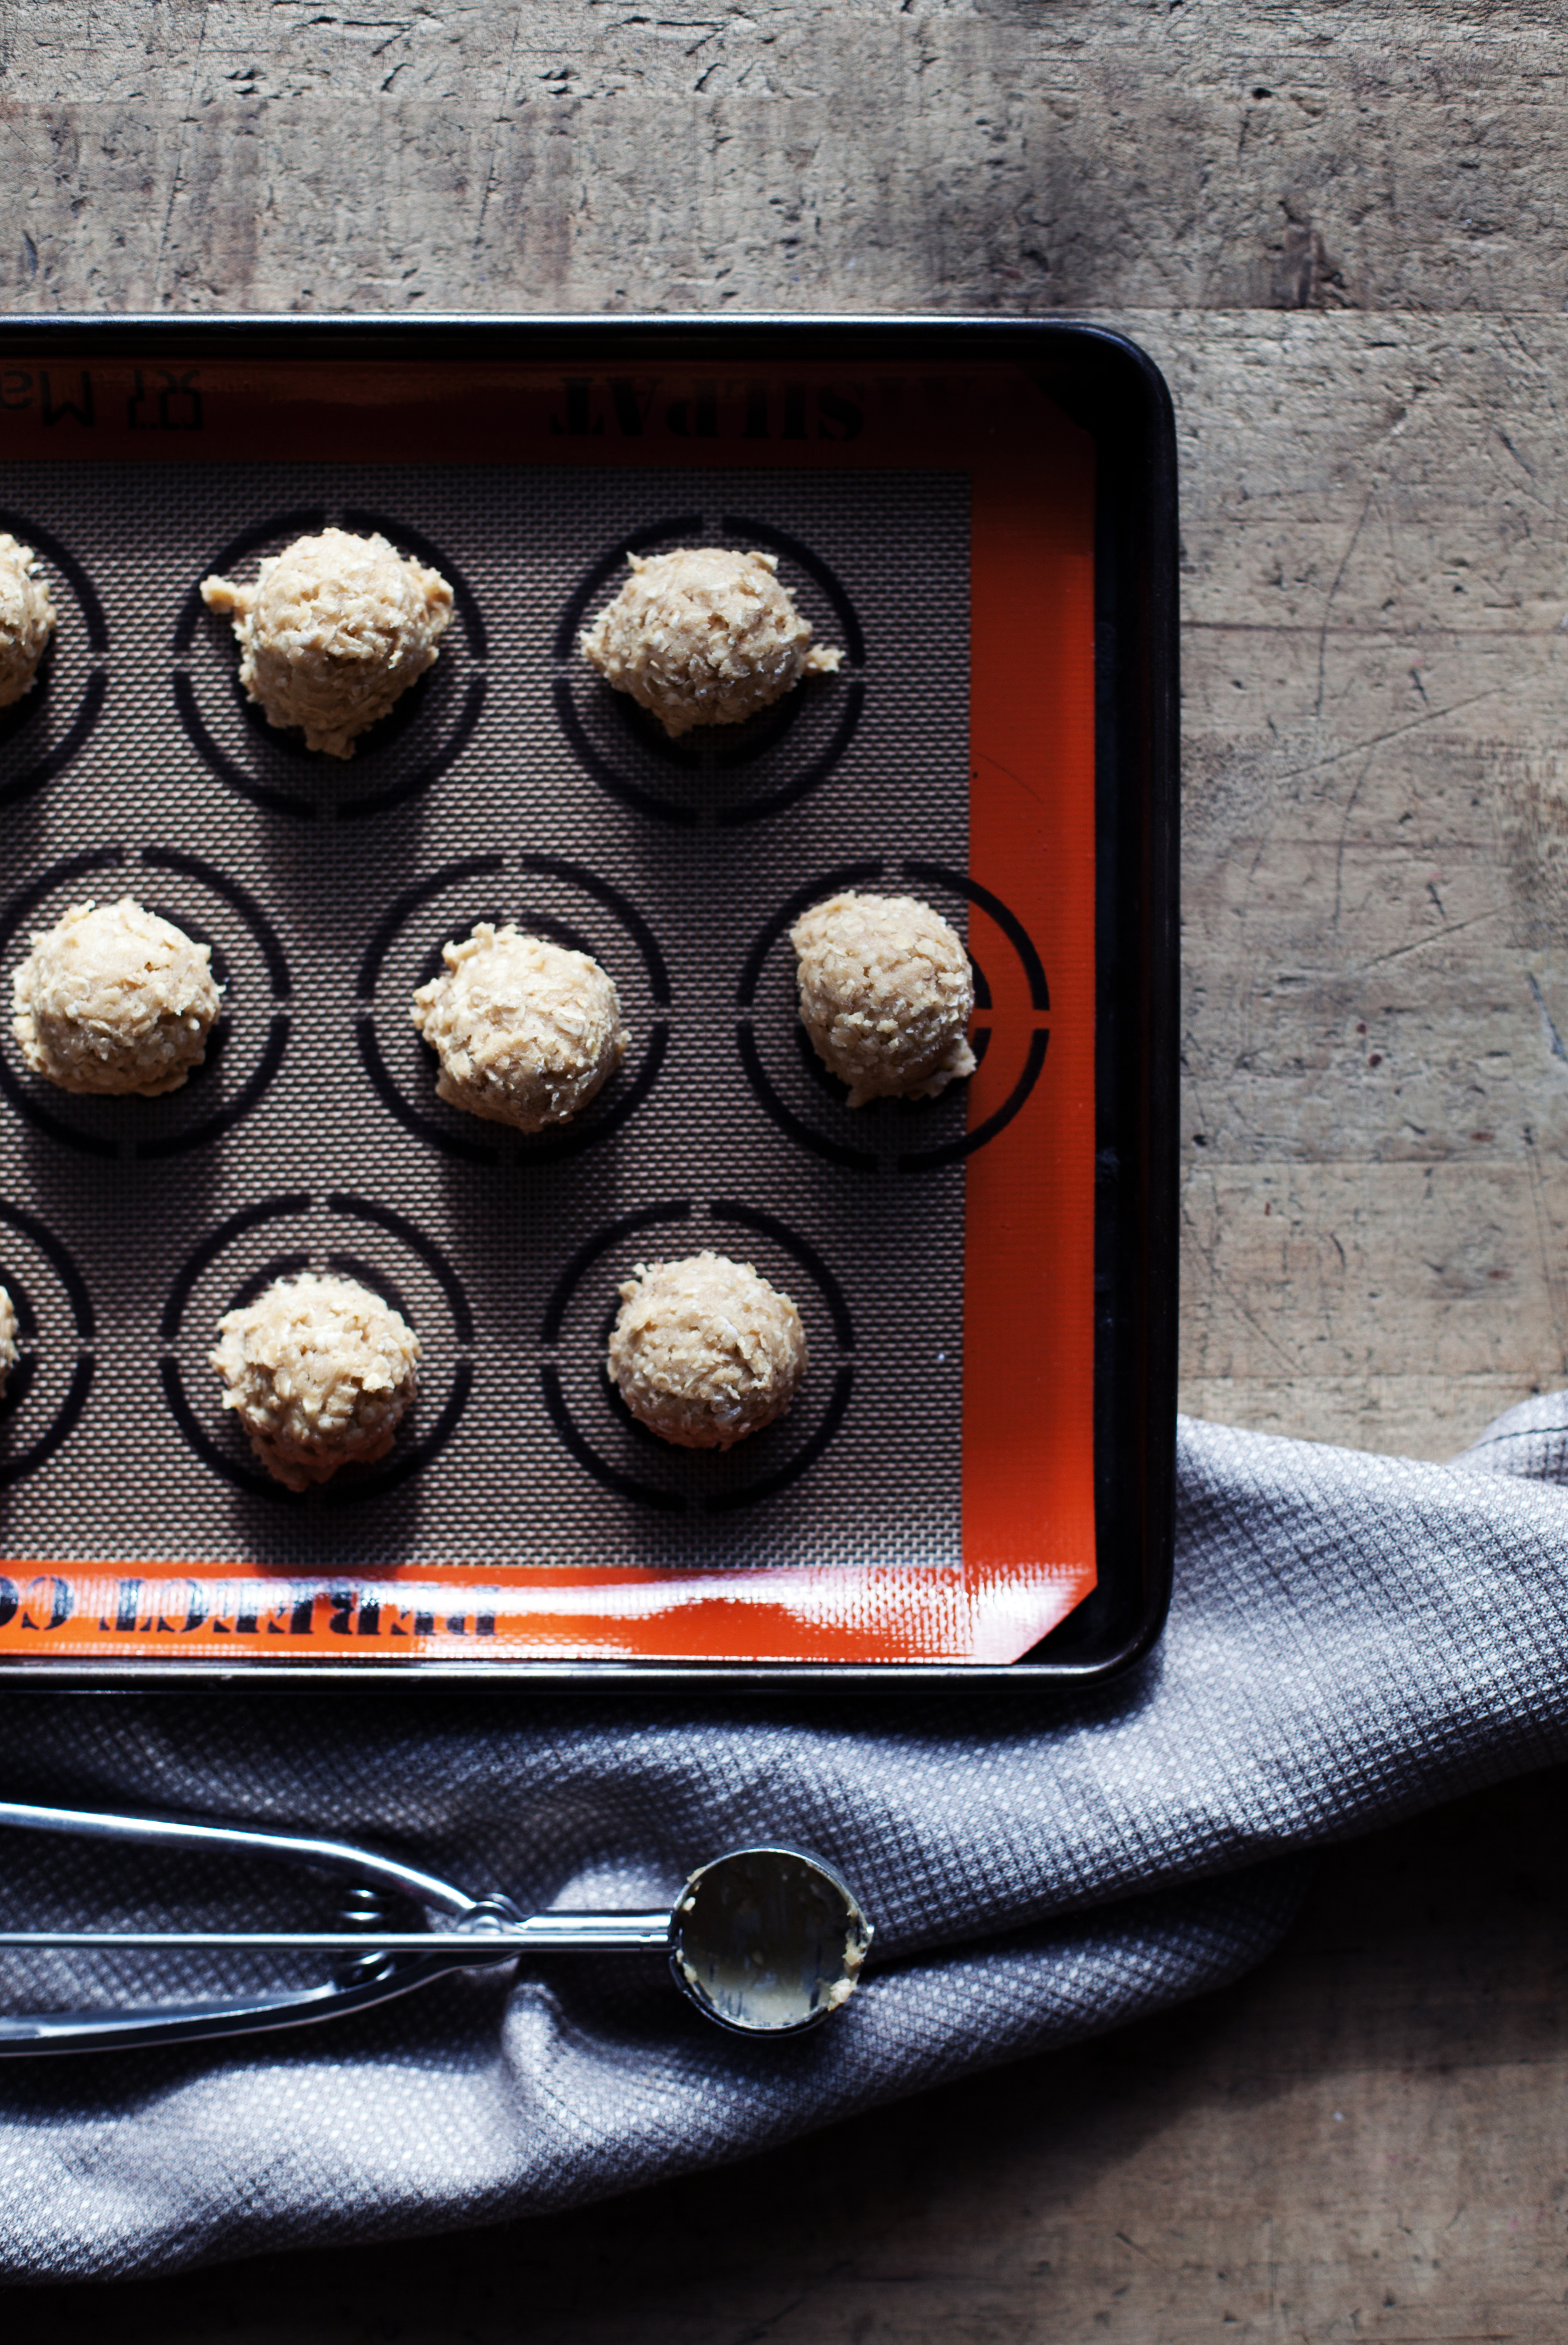
  • once dough has cooled, shape into desired size balls, flatten & bake for 6-8 minutes at 350 degrees.
  • sprinkle with powdered sugar if desired.