yours for the making: part two


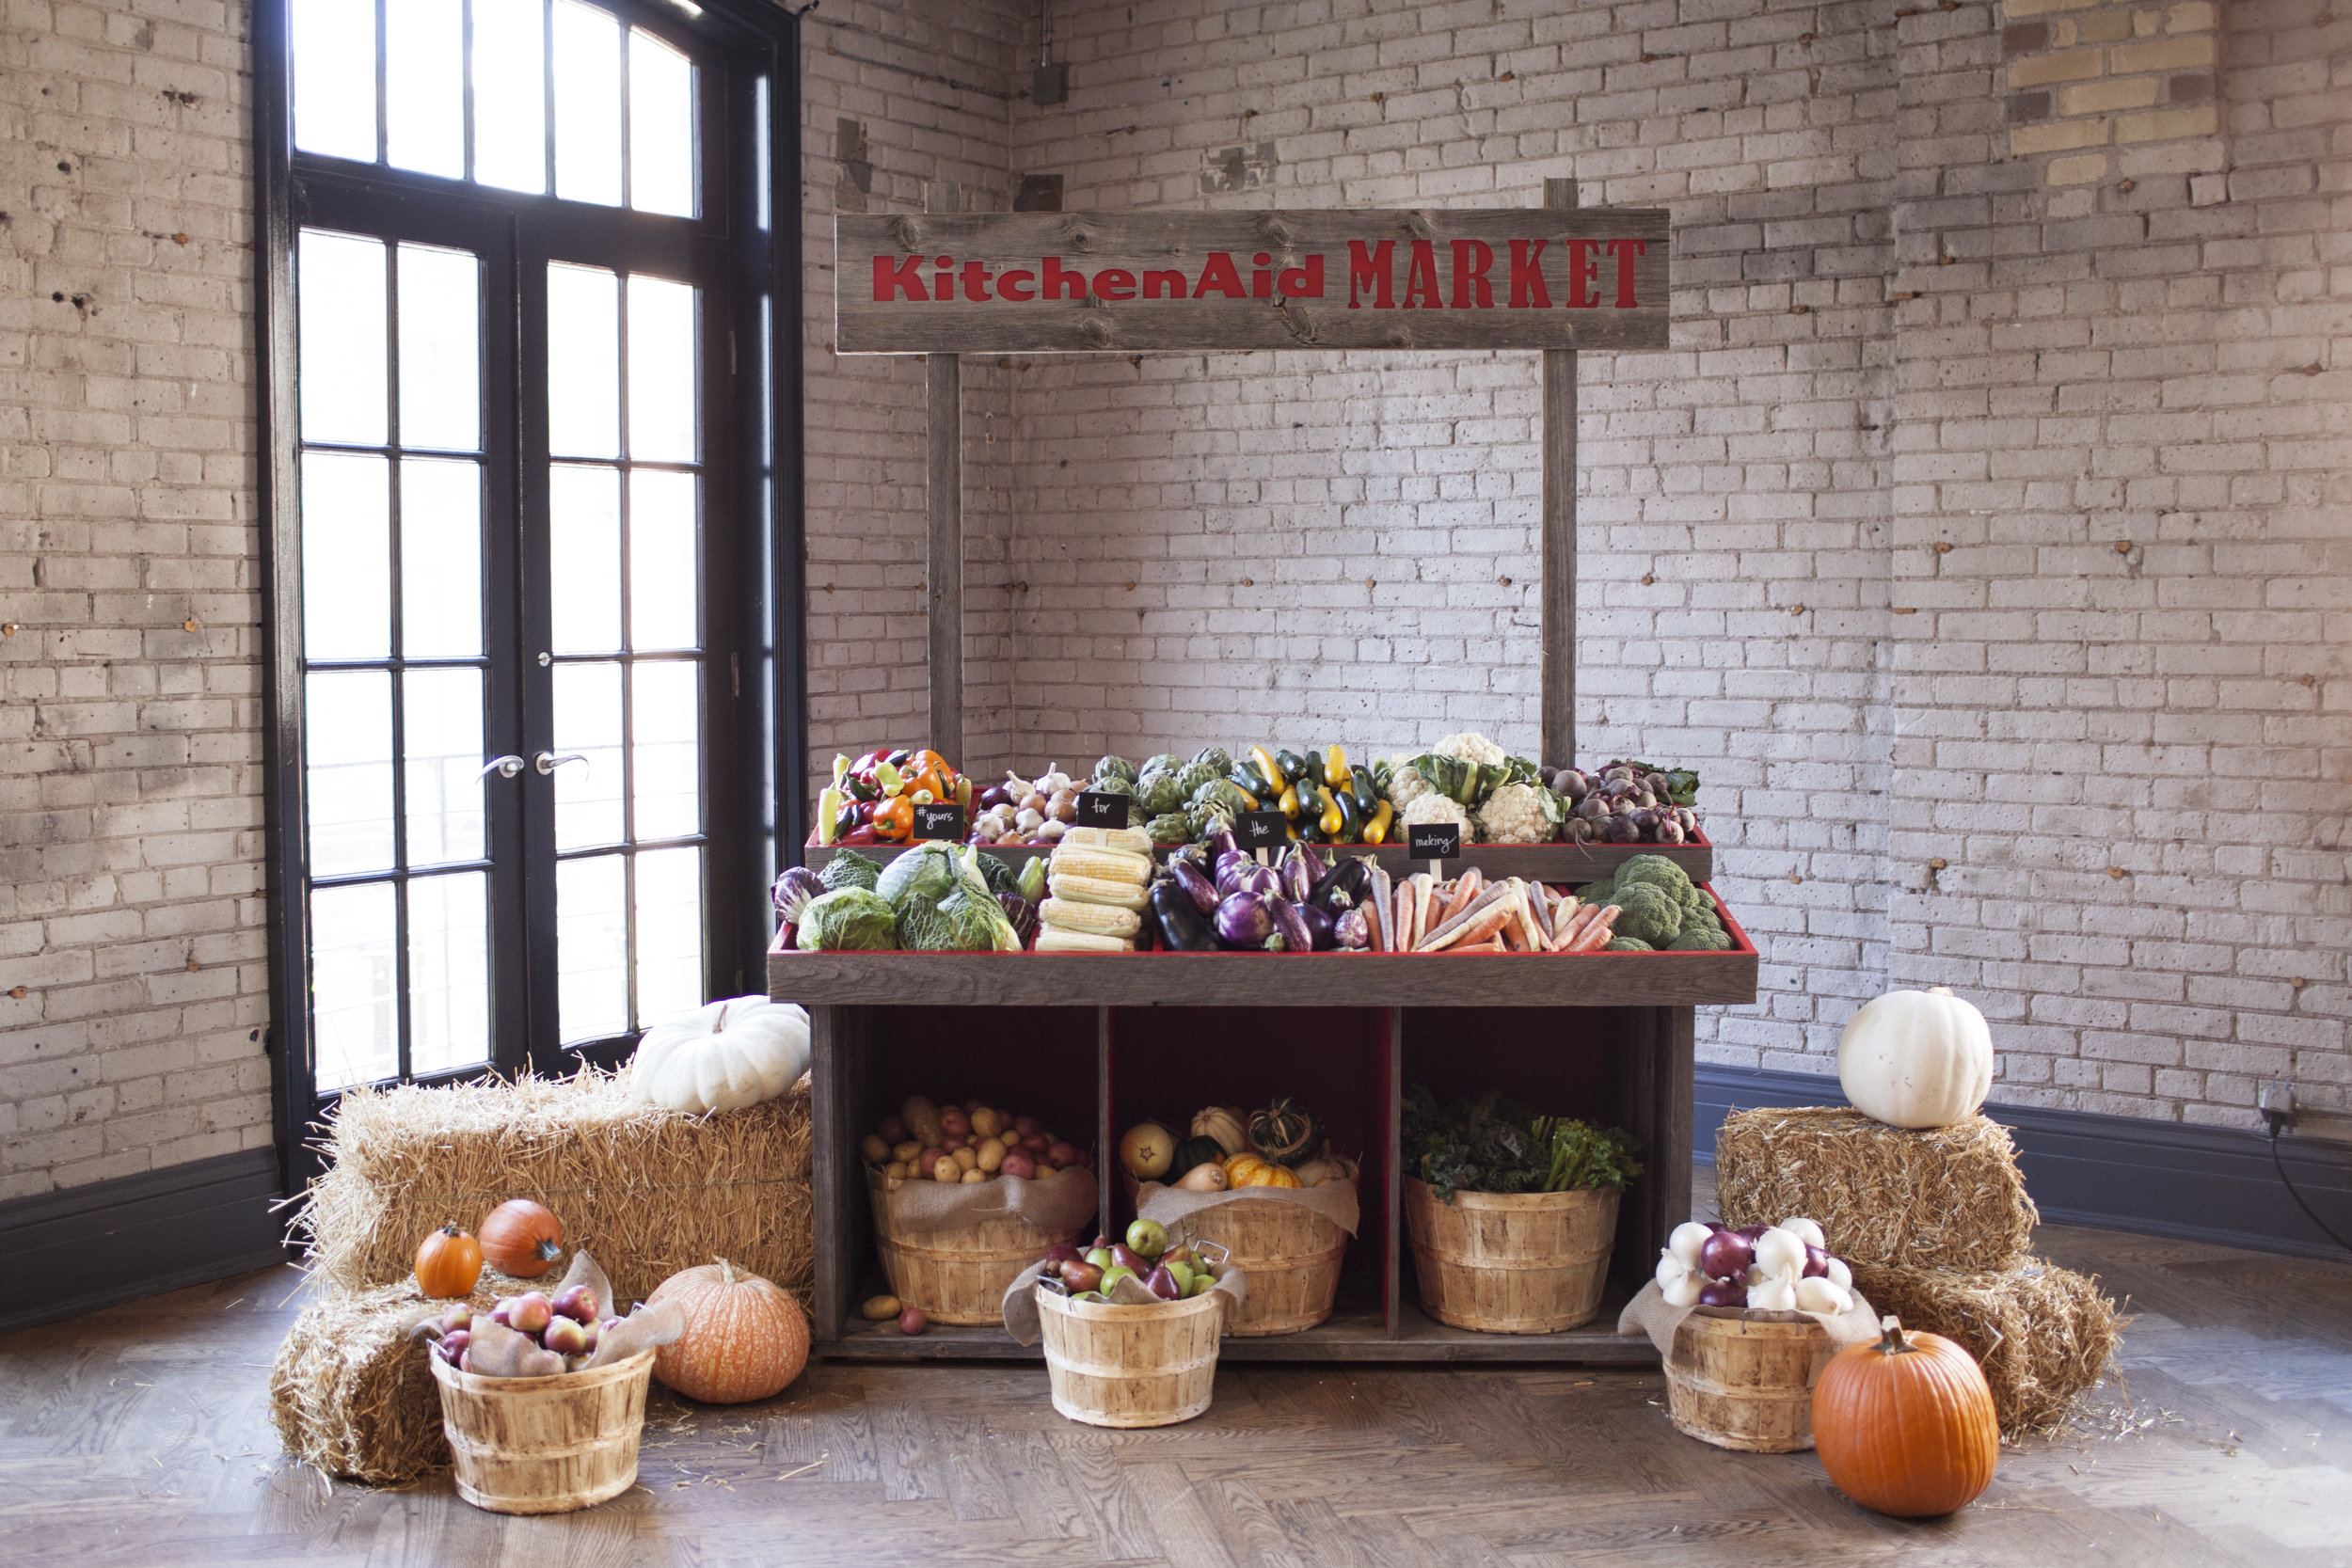
hi again! as i mentioned in my previous post, a few weeks ago justin & i went back to the city for a few days. we ate, we shopped, i shopped some more & we attended a KitchenAid event with chef Corbin Tomaszeski from the food network!

we got to learn all about the newest products from KitchenAid like the fancy refrigerators & dishwashers i talked about in my previous post. today, i am going to run through my favourite stand mixer attachments that were displayed at the event.

i think it is safe to say the bulk of us have a KitchenAid Stand Mixer on our counter top (i may or may not have more than one). i love that they have so many different attachments, so you can really utilize it as an investment piece. after all, stand mixers are not just for bakers!

while a lot of us are familiar with the Pasta Making Roller & Cutter Set, KitchenAid also offers the 5-Piece Pasta Deluxe Set that includes a pasta roller, spaghetti cutter, fettuccine cutter, lasagnette cutter & capellini cutter. my mom is the queen of making pasta so i know she is reading this now & adding it to her christmas wish list. an electric mixer will aid in making double the amount of pasta with how much quicker it is than the classic hand-cranked version.

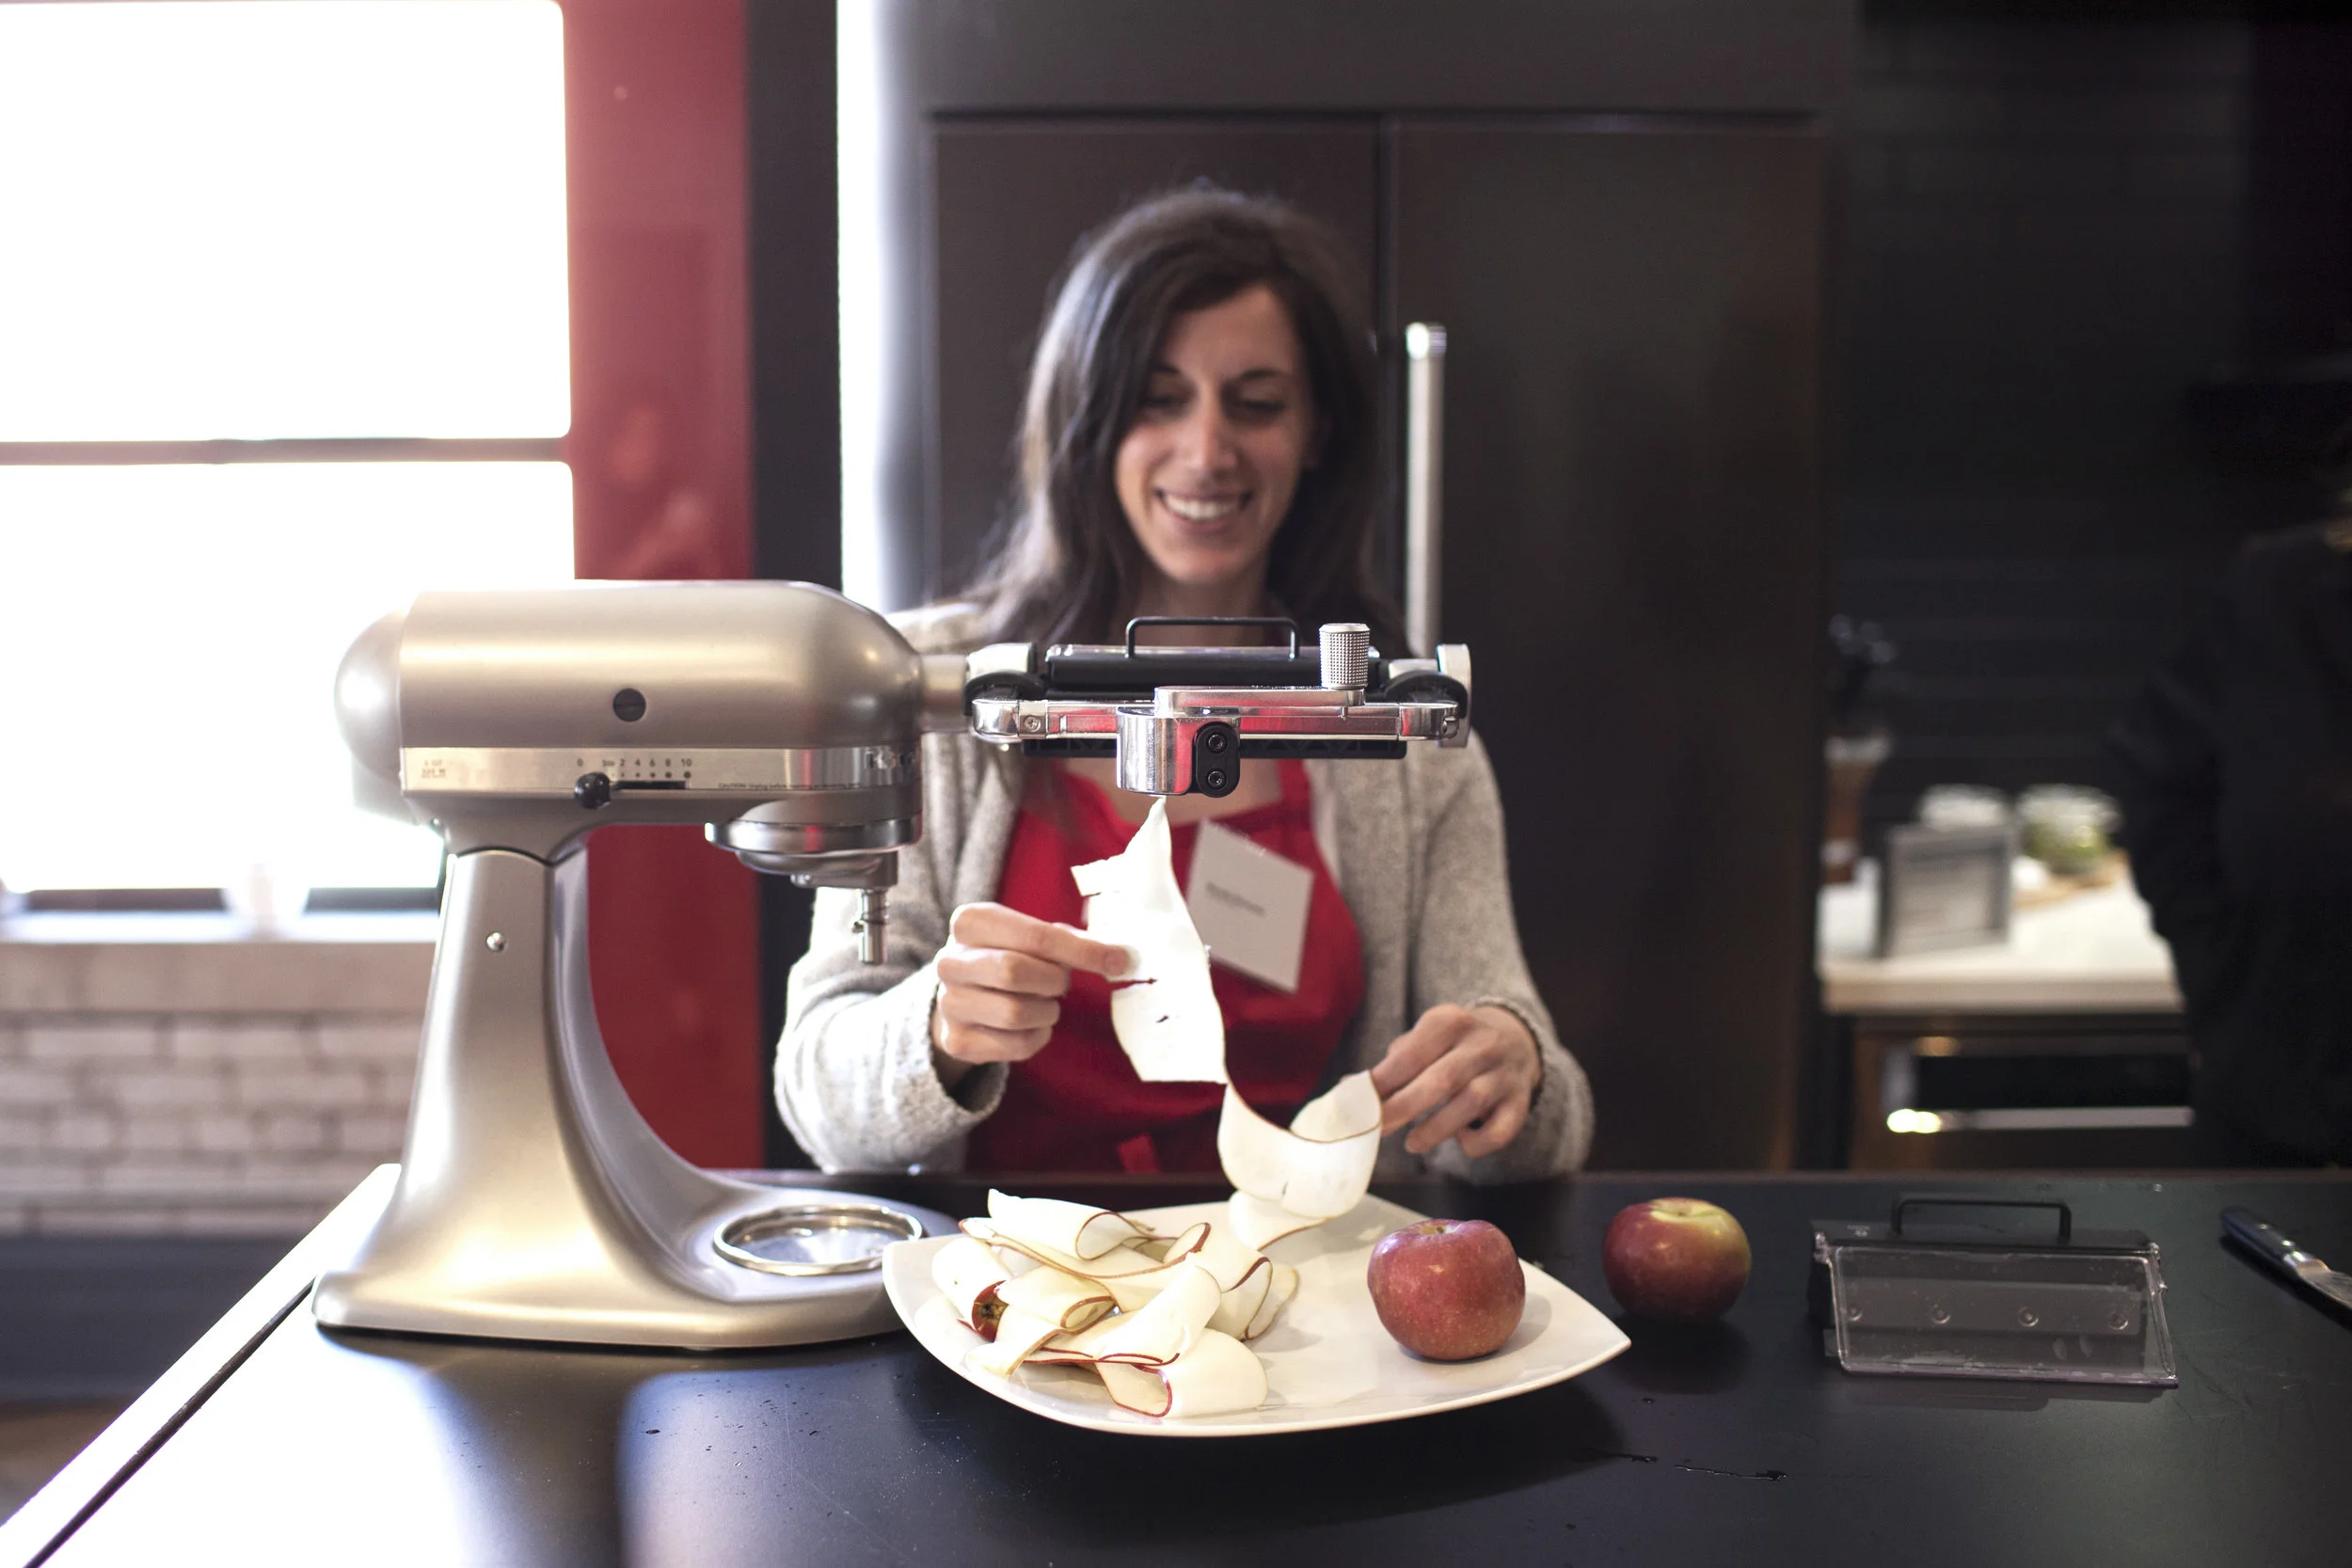
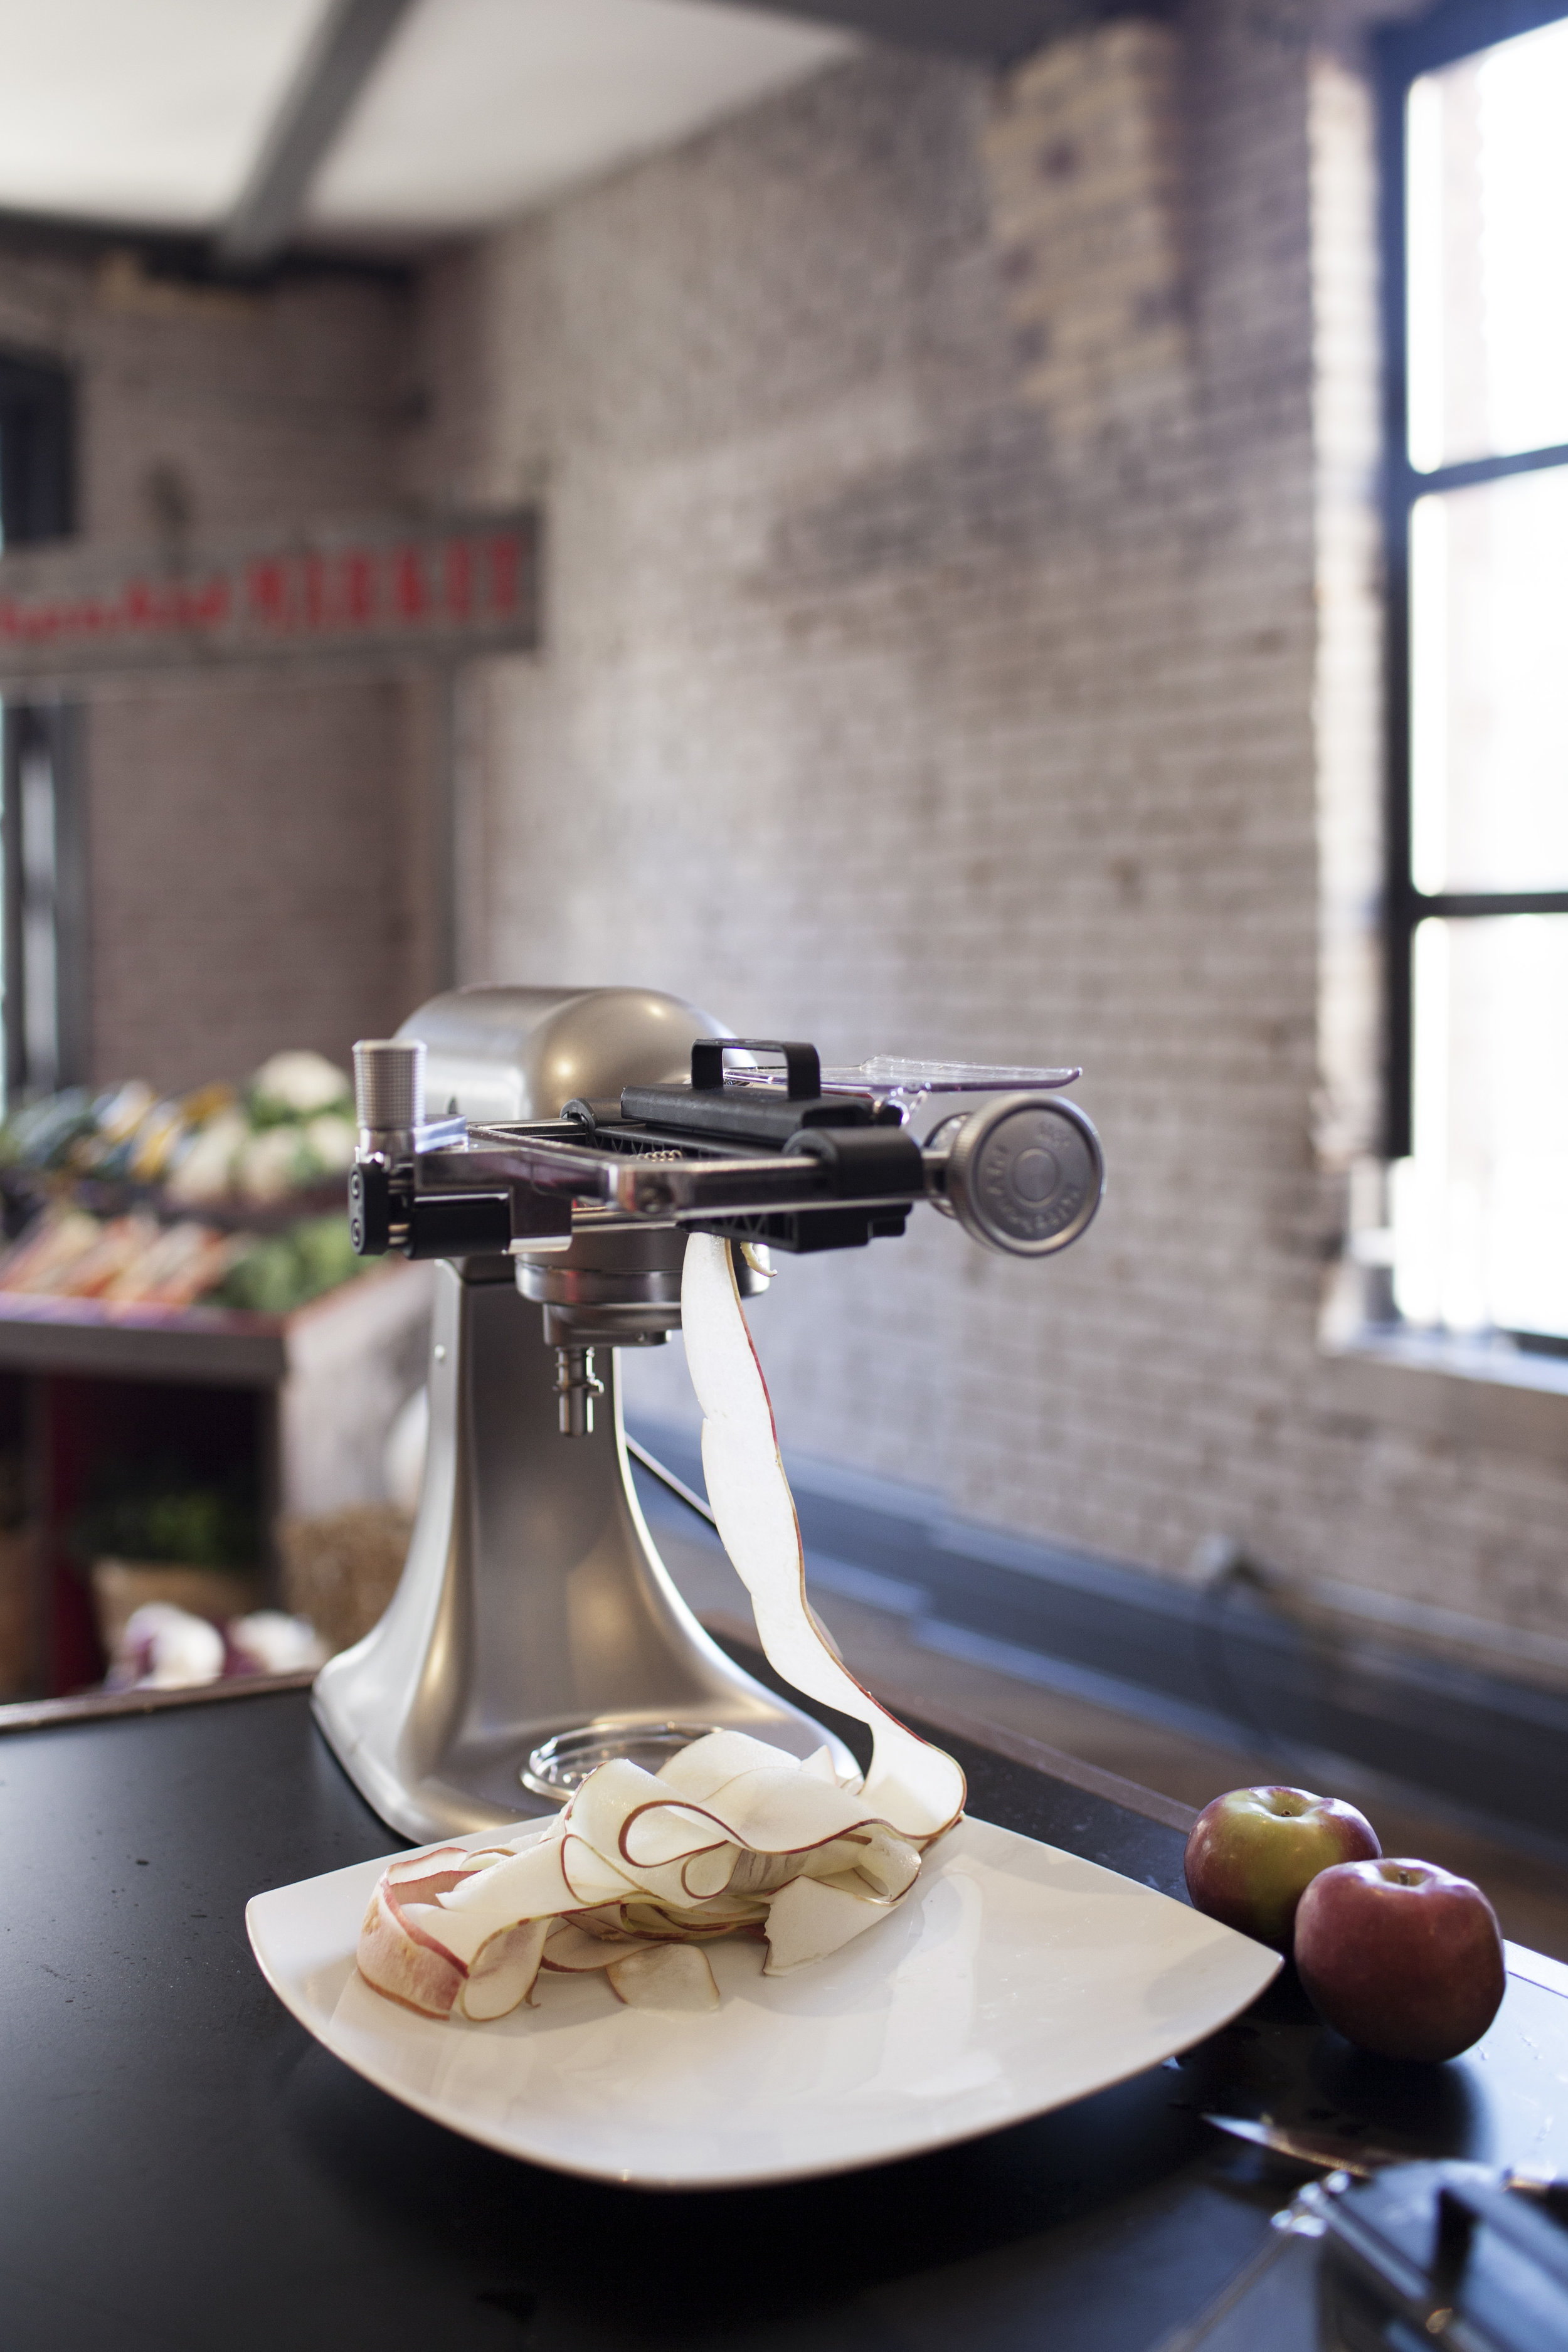
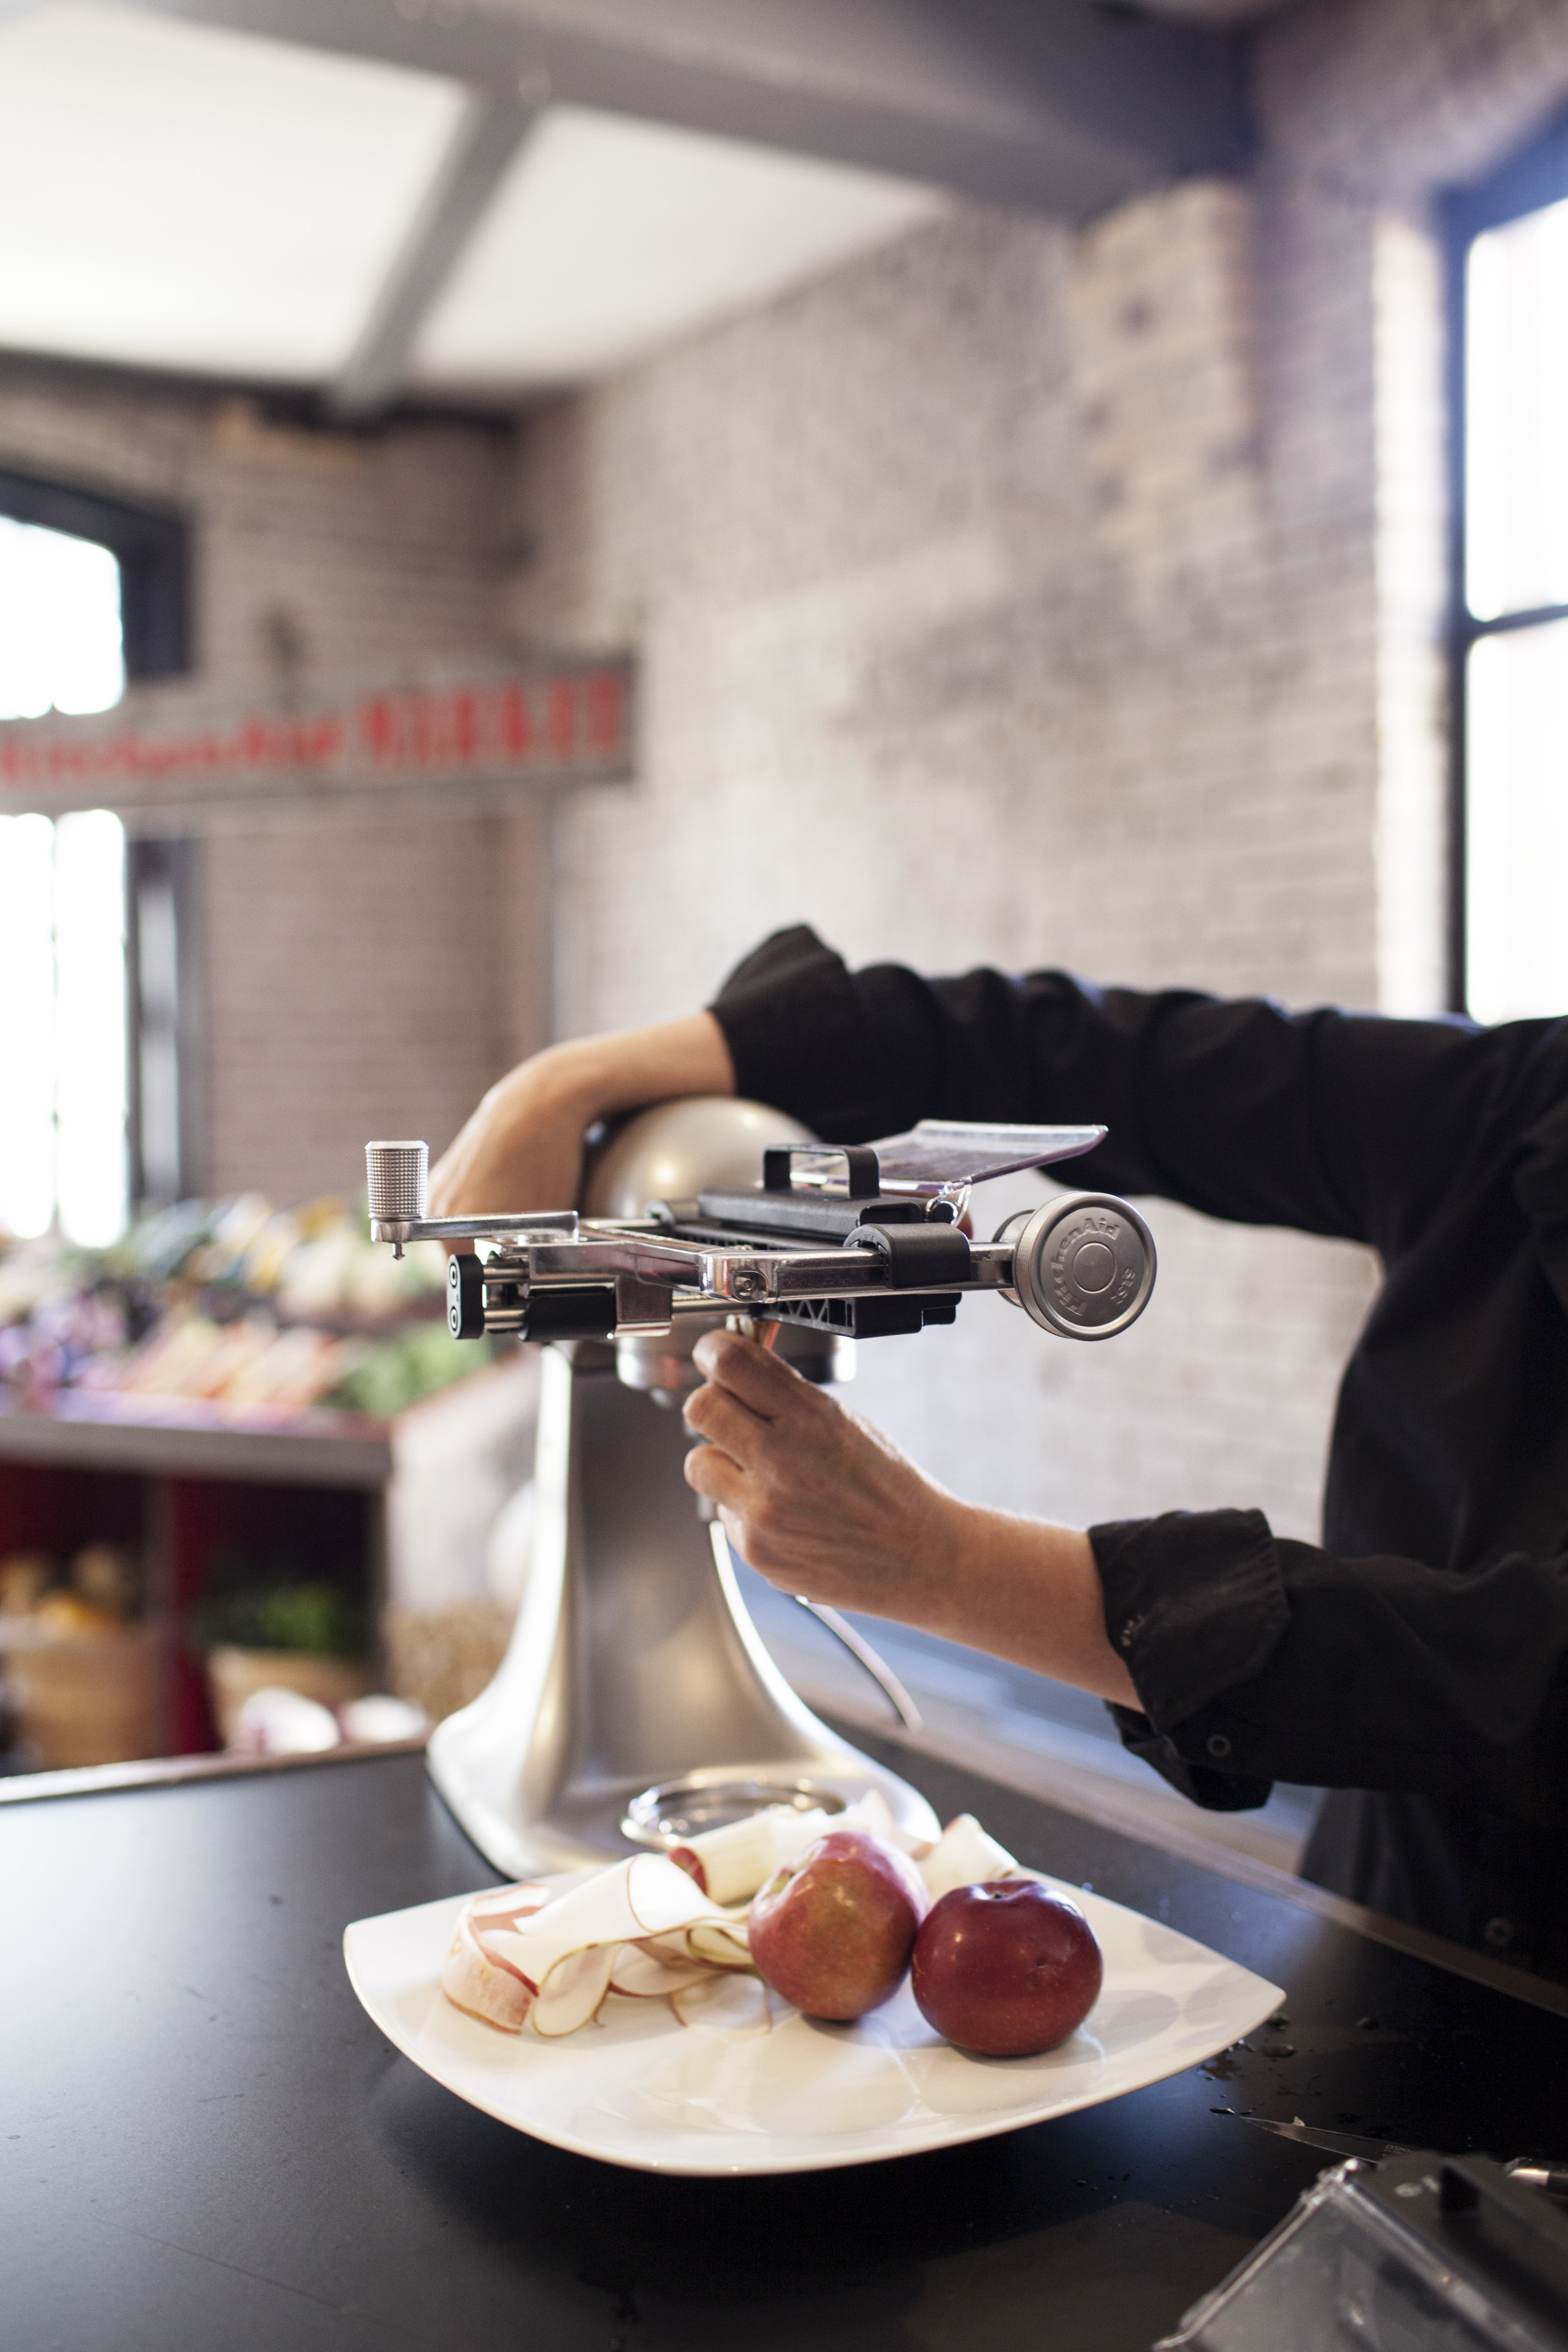
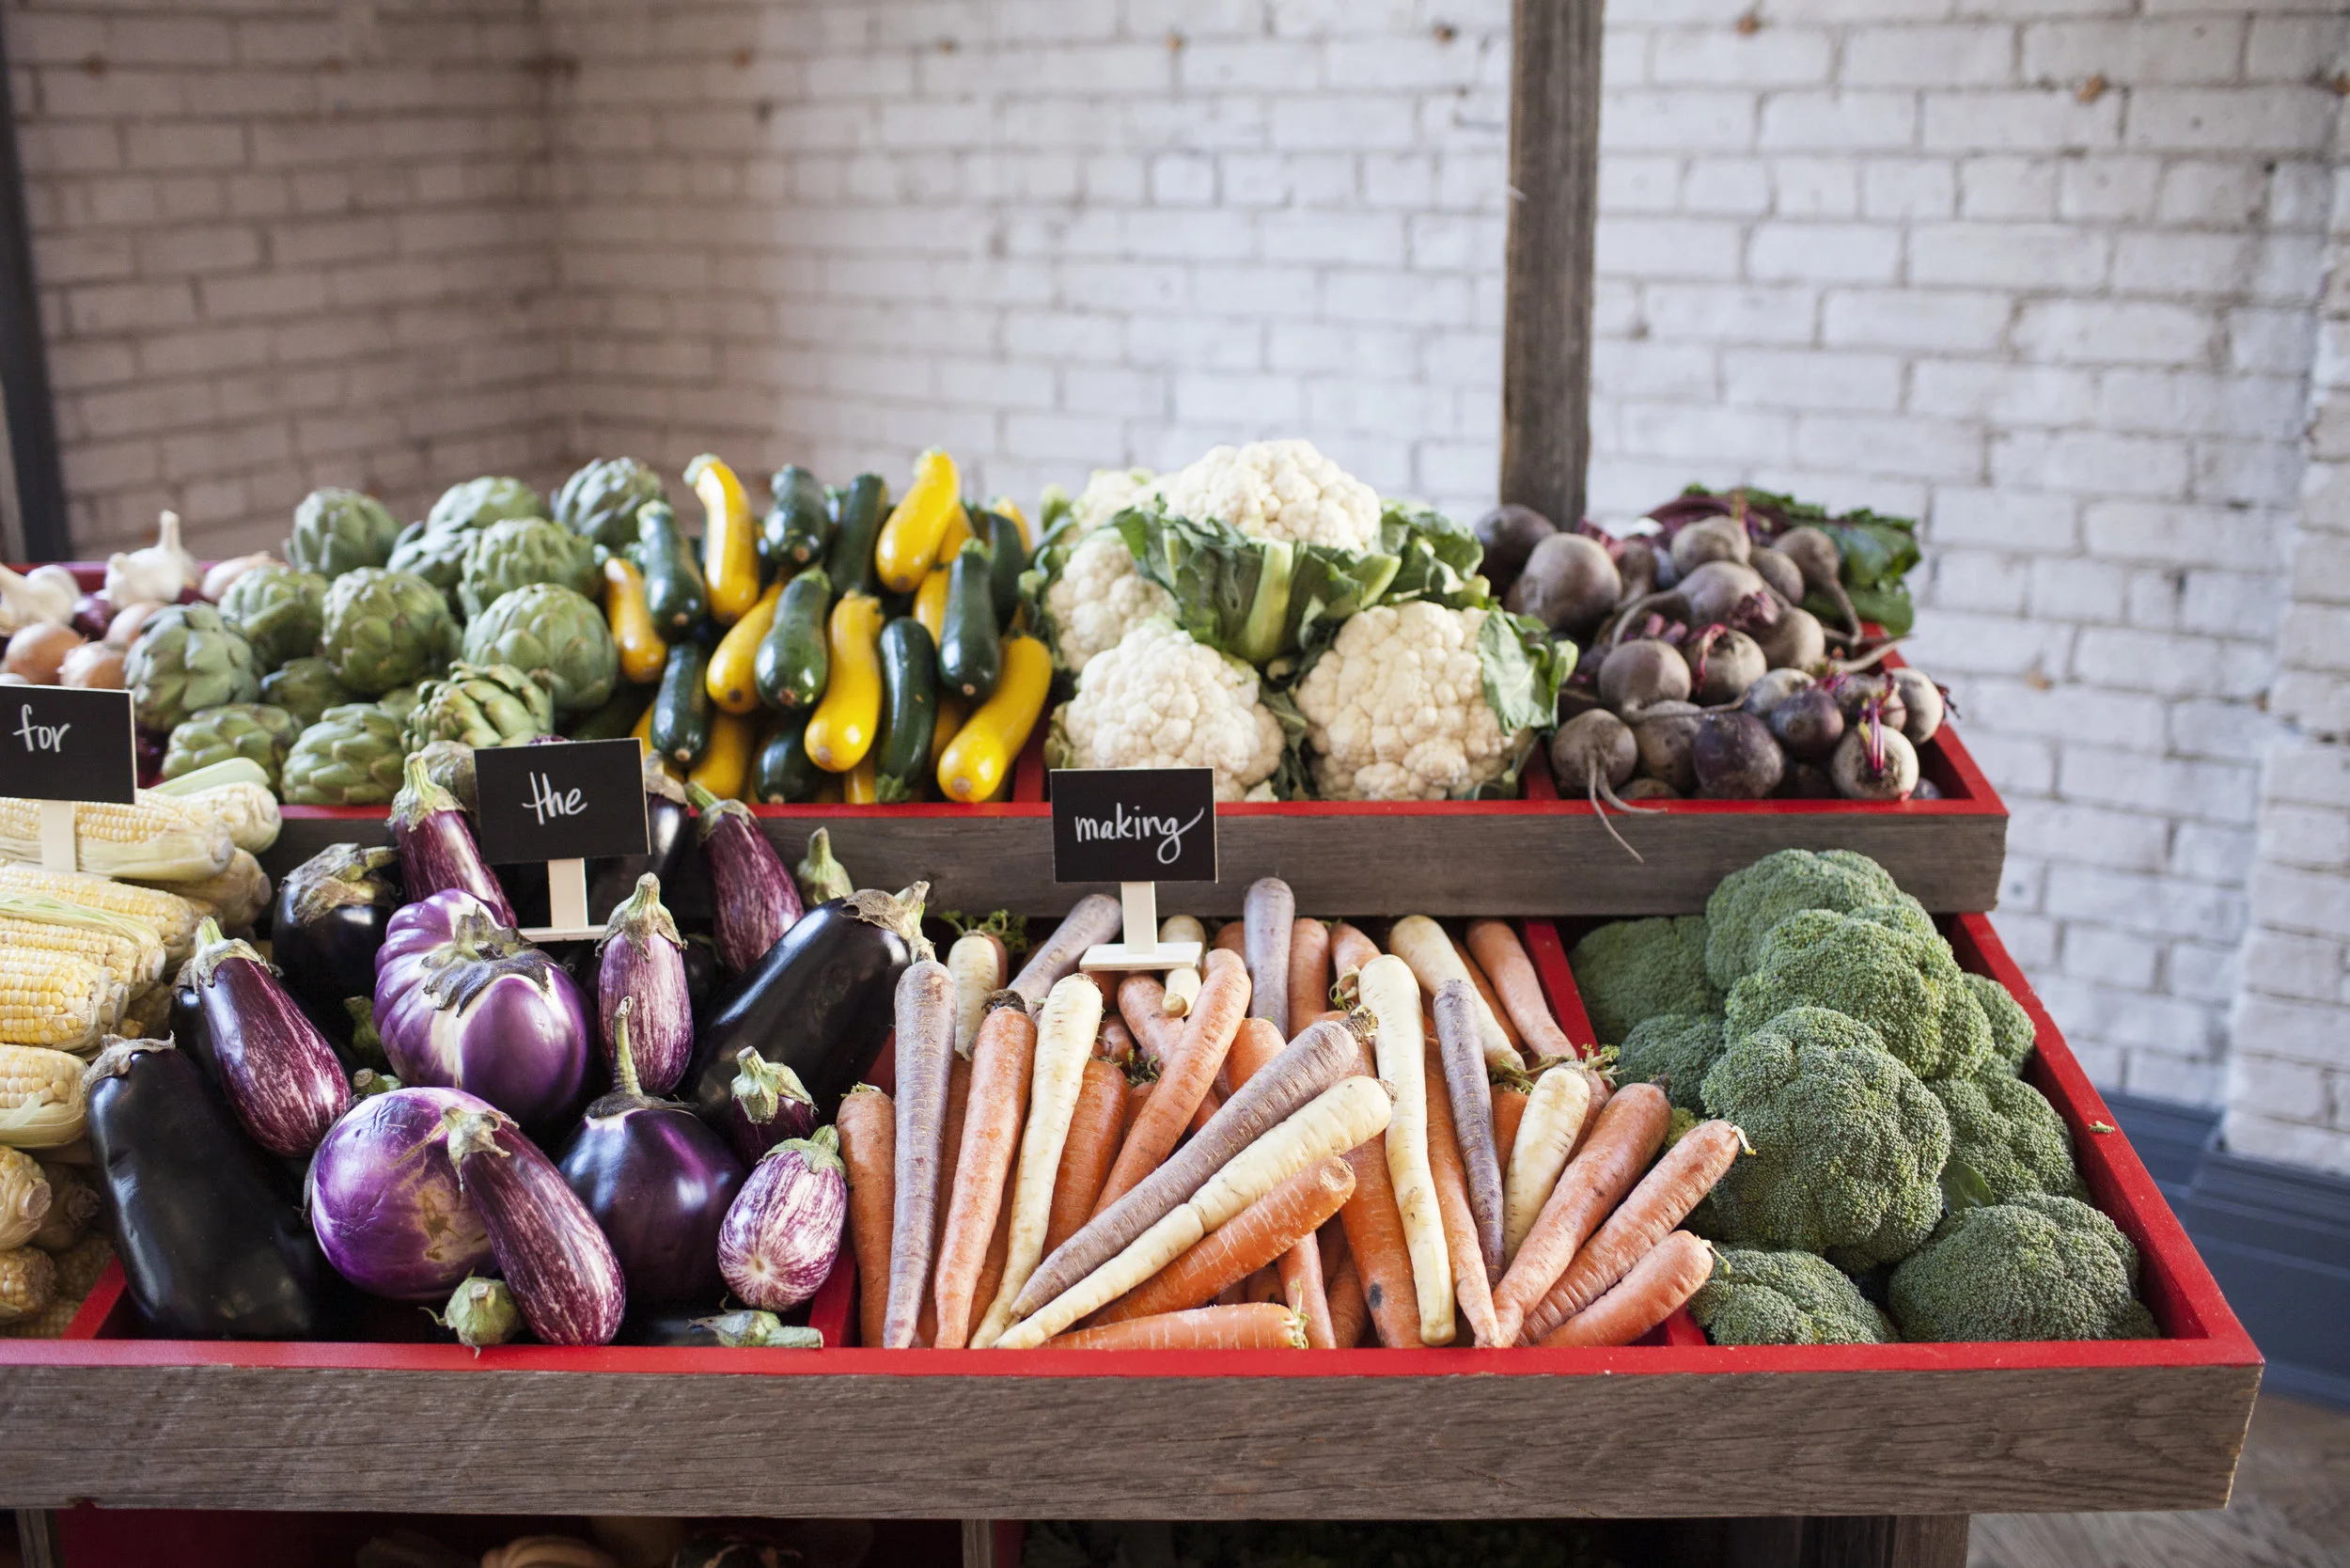
the attachment that i took the most interest to was the new KitchenAid Vegetable Sheet Cutter. there are so many different vegetables people use to substitute pasta & wraps. this attachment makes that much easier. it peels the vegetables into thin sheets which would be so perfect for my favourite eggplant lasagna. Sometimes it is just too hard to peel vegetables thin enough with a knife, let alone how dangerous it can be. this attachment comes with two interchangeable blades so you can produce thick or thin sheets. like many of the other attachments, the Vegetable Sheet Cutter attaches to the power hub of any stand mixer and is compatible with all models.

what is your favourite attachment?!

this post was created in partnership with Kitchenaid Canada. #yoursforthemaking
yours for the making: part one


a couple of weeks ago justin & i went back to our old stomping grounds in the city to attend a KitchenAid event with chef Corbin Tomaszeski! i remember watching chef Corbin on restaurant makeover back in my food network-obsessed high school days. it was so cool to meet him in person, watch him cook & enjoy the food he prepared for us. we also got to learn all about the newest products from KitchenAid that chef Corbin used to prepare our meals. seeing KitchenAid's latest products gave me so many ideas for our own kitchen! from a Counter-Depth French Door Refrigerator with Freshvue™ Door-Within-Door (how cool is that), to new stand mixer attachments, to a Fully Integrated Dishwasher with a Pocket Handle!

today i am going to give you a little run down on the dishwasher, and save the details on the new stand mixer attachments for my next post! just wait till you see them.. good thing christmas is right around the corner.

now, a dishwasher is something justin & i are in need of. the one that came with the house seems to be a little leaky so we just avoid it all together. it also runs the longest wash cycle of life & sounds like it is working extra hard with the amount of noise it makes. ironically, it is the exact same dishwasher my condo in toronto had & i avoided it then too!

KitchenAid's new "Fully Integrated Dishwasher with Pocket Handle" looks so high end & sleek. it is designed to seamlessly blend into any kitchen style. the dishwasher features a front status display to show where you are in the cycle which is a good thing because it’s so quiet, you hardly know that it’s on! i love the bottle wash feature – if you’re into morning smoothies or dealing with baby bottles, this is for you! lastly, it is available in black stainless and "PrintShield" stainless steel to resist smudges which i love! i know everyone loves the look of stainless steel in a kitchen but i feel like i am constantly cleaning fingerprints/drip marks off of my fridge and dishwasher. so happy to see this one is smudge resistant. given the amount of dishes i do on a daily basis (you don't even want to know, trust me), i think a good dishwasher like this is such a worthy investment.

this post was created in partnership with Kitchenaid Canada. #yoursforthemaking
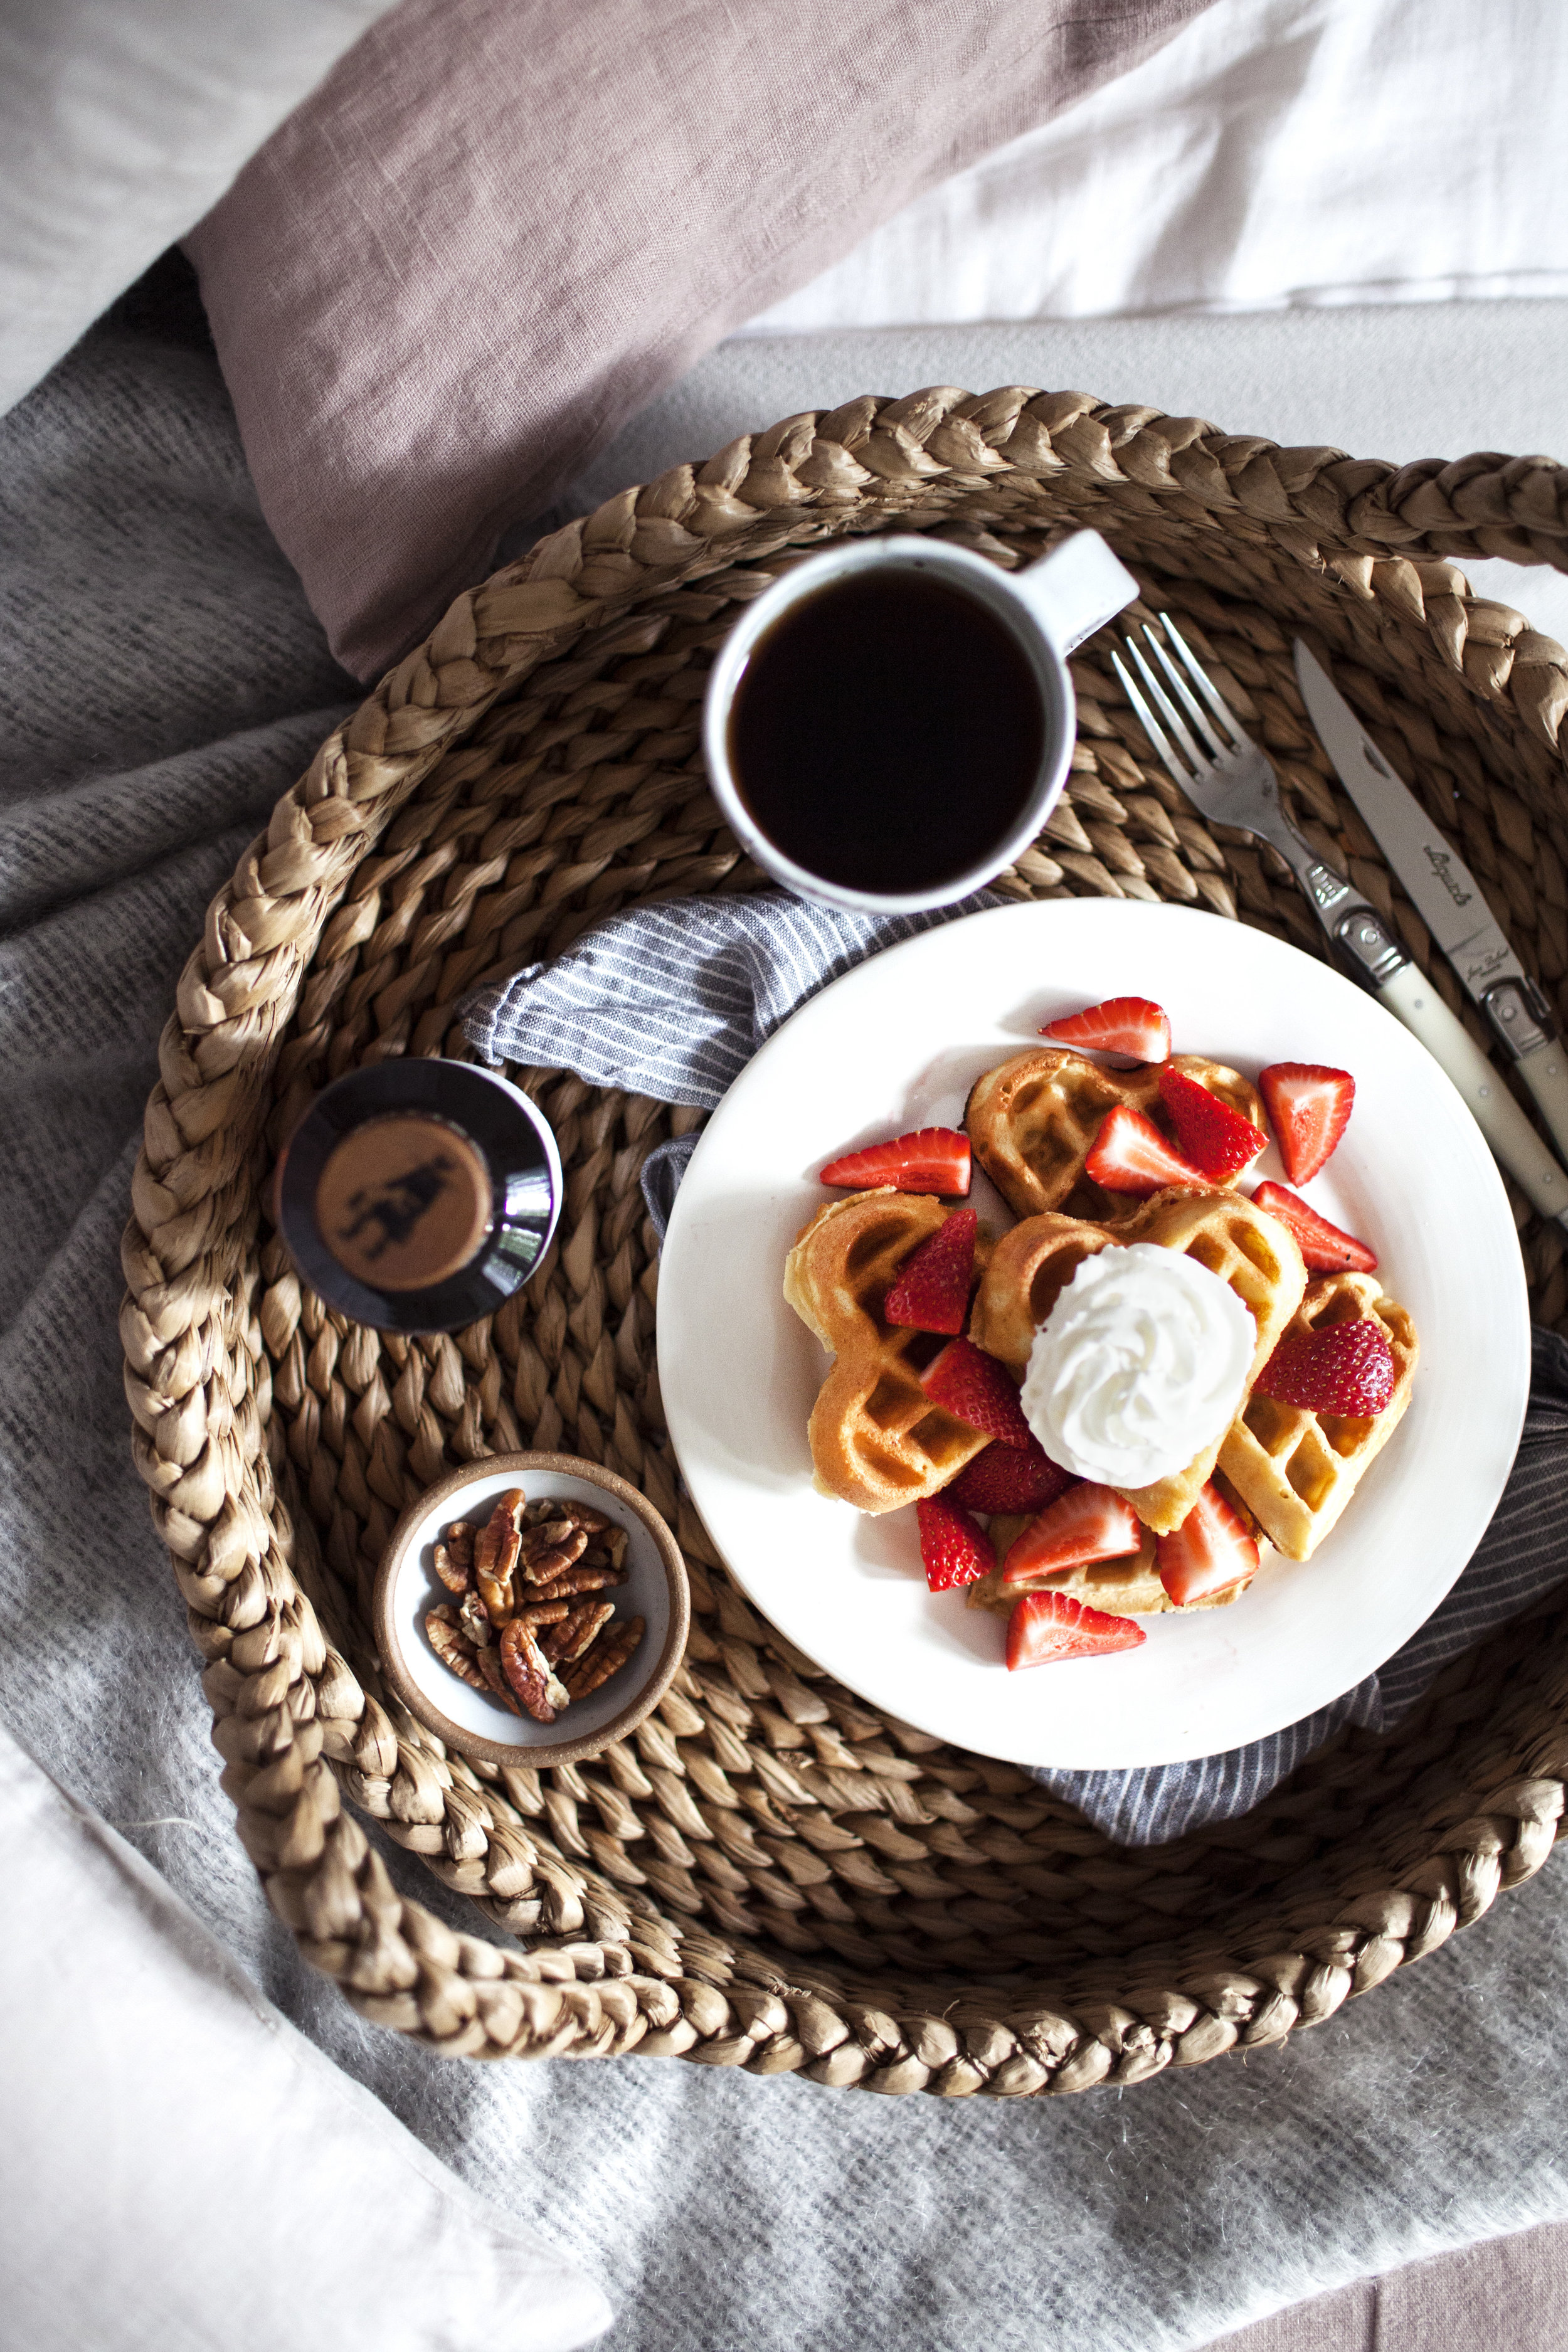
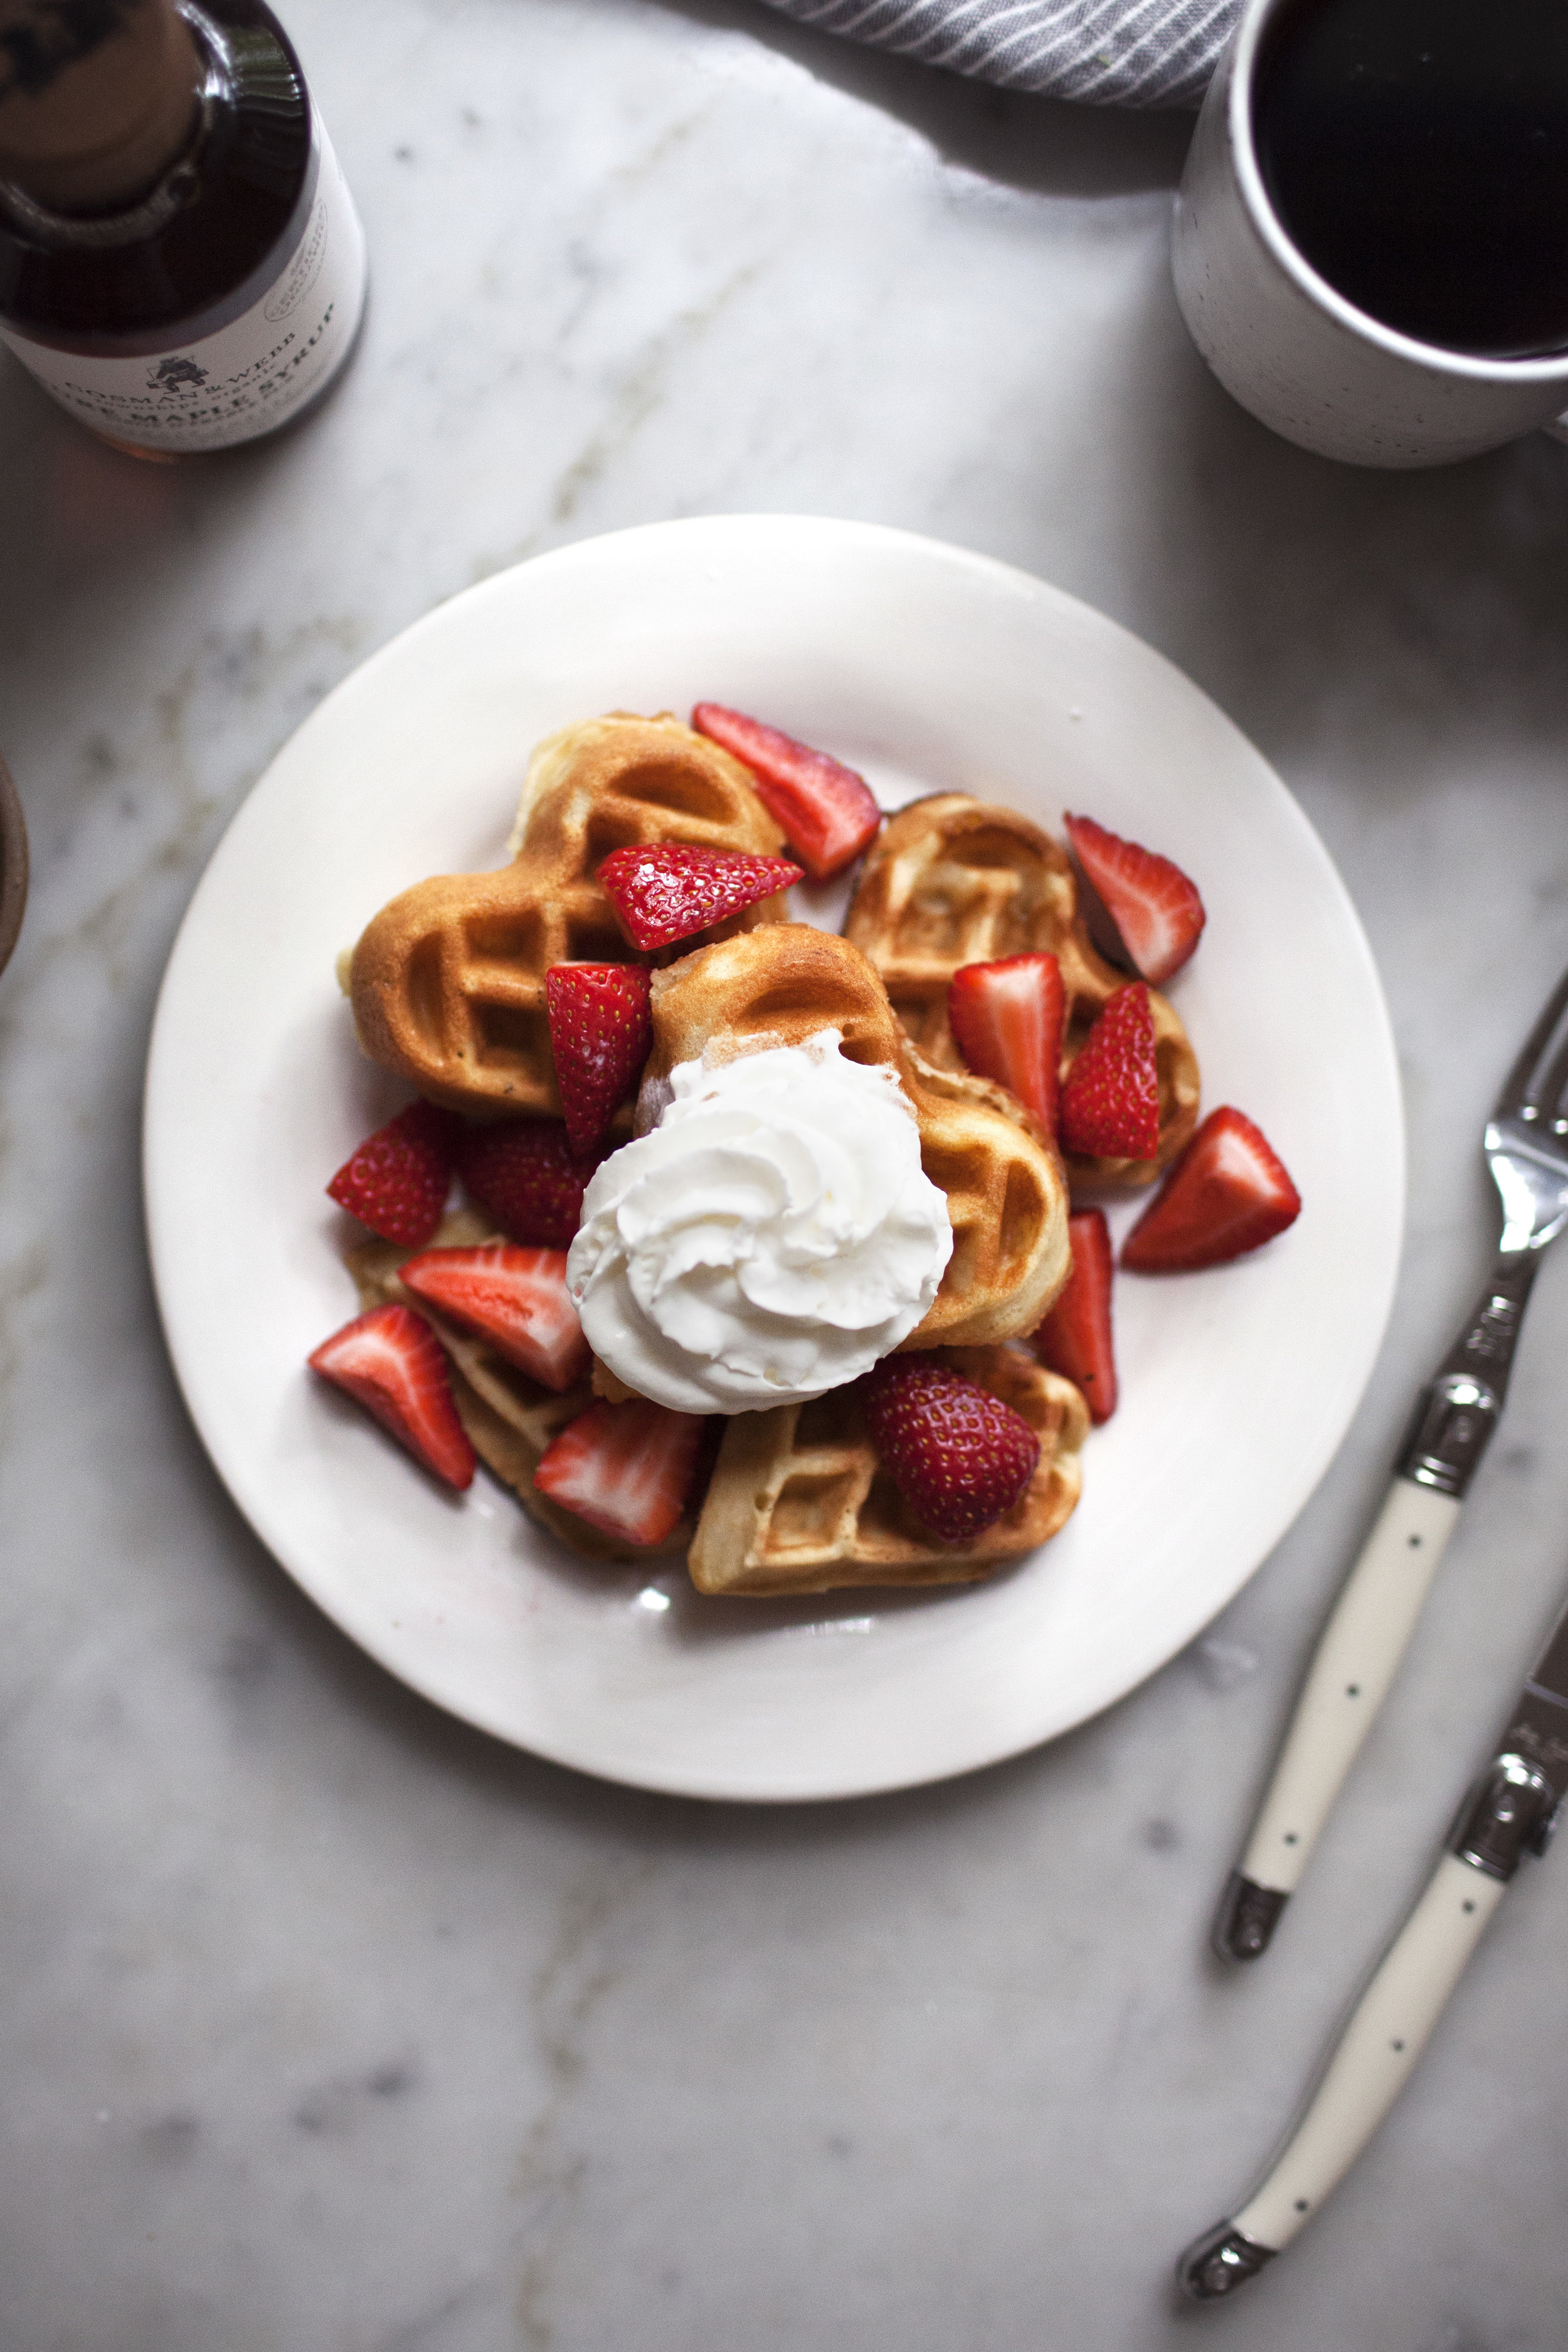
double maple belgian waffles


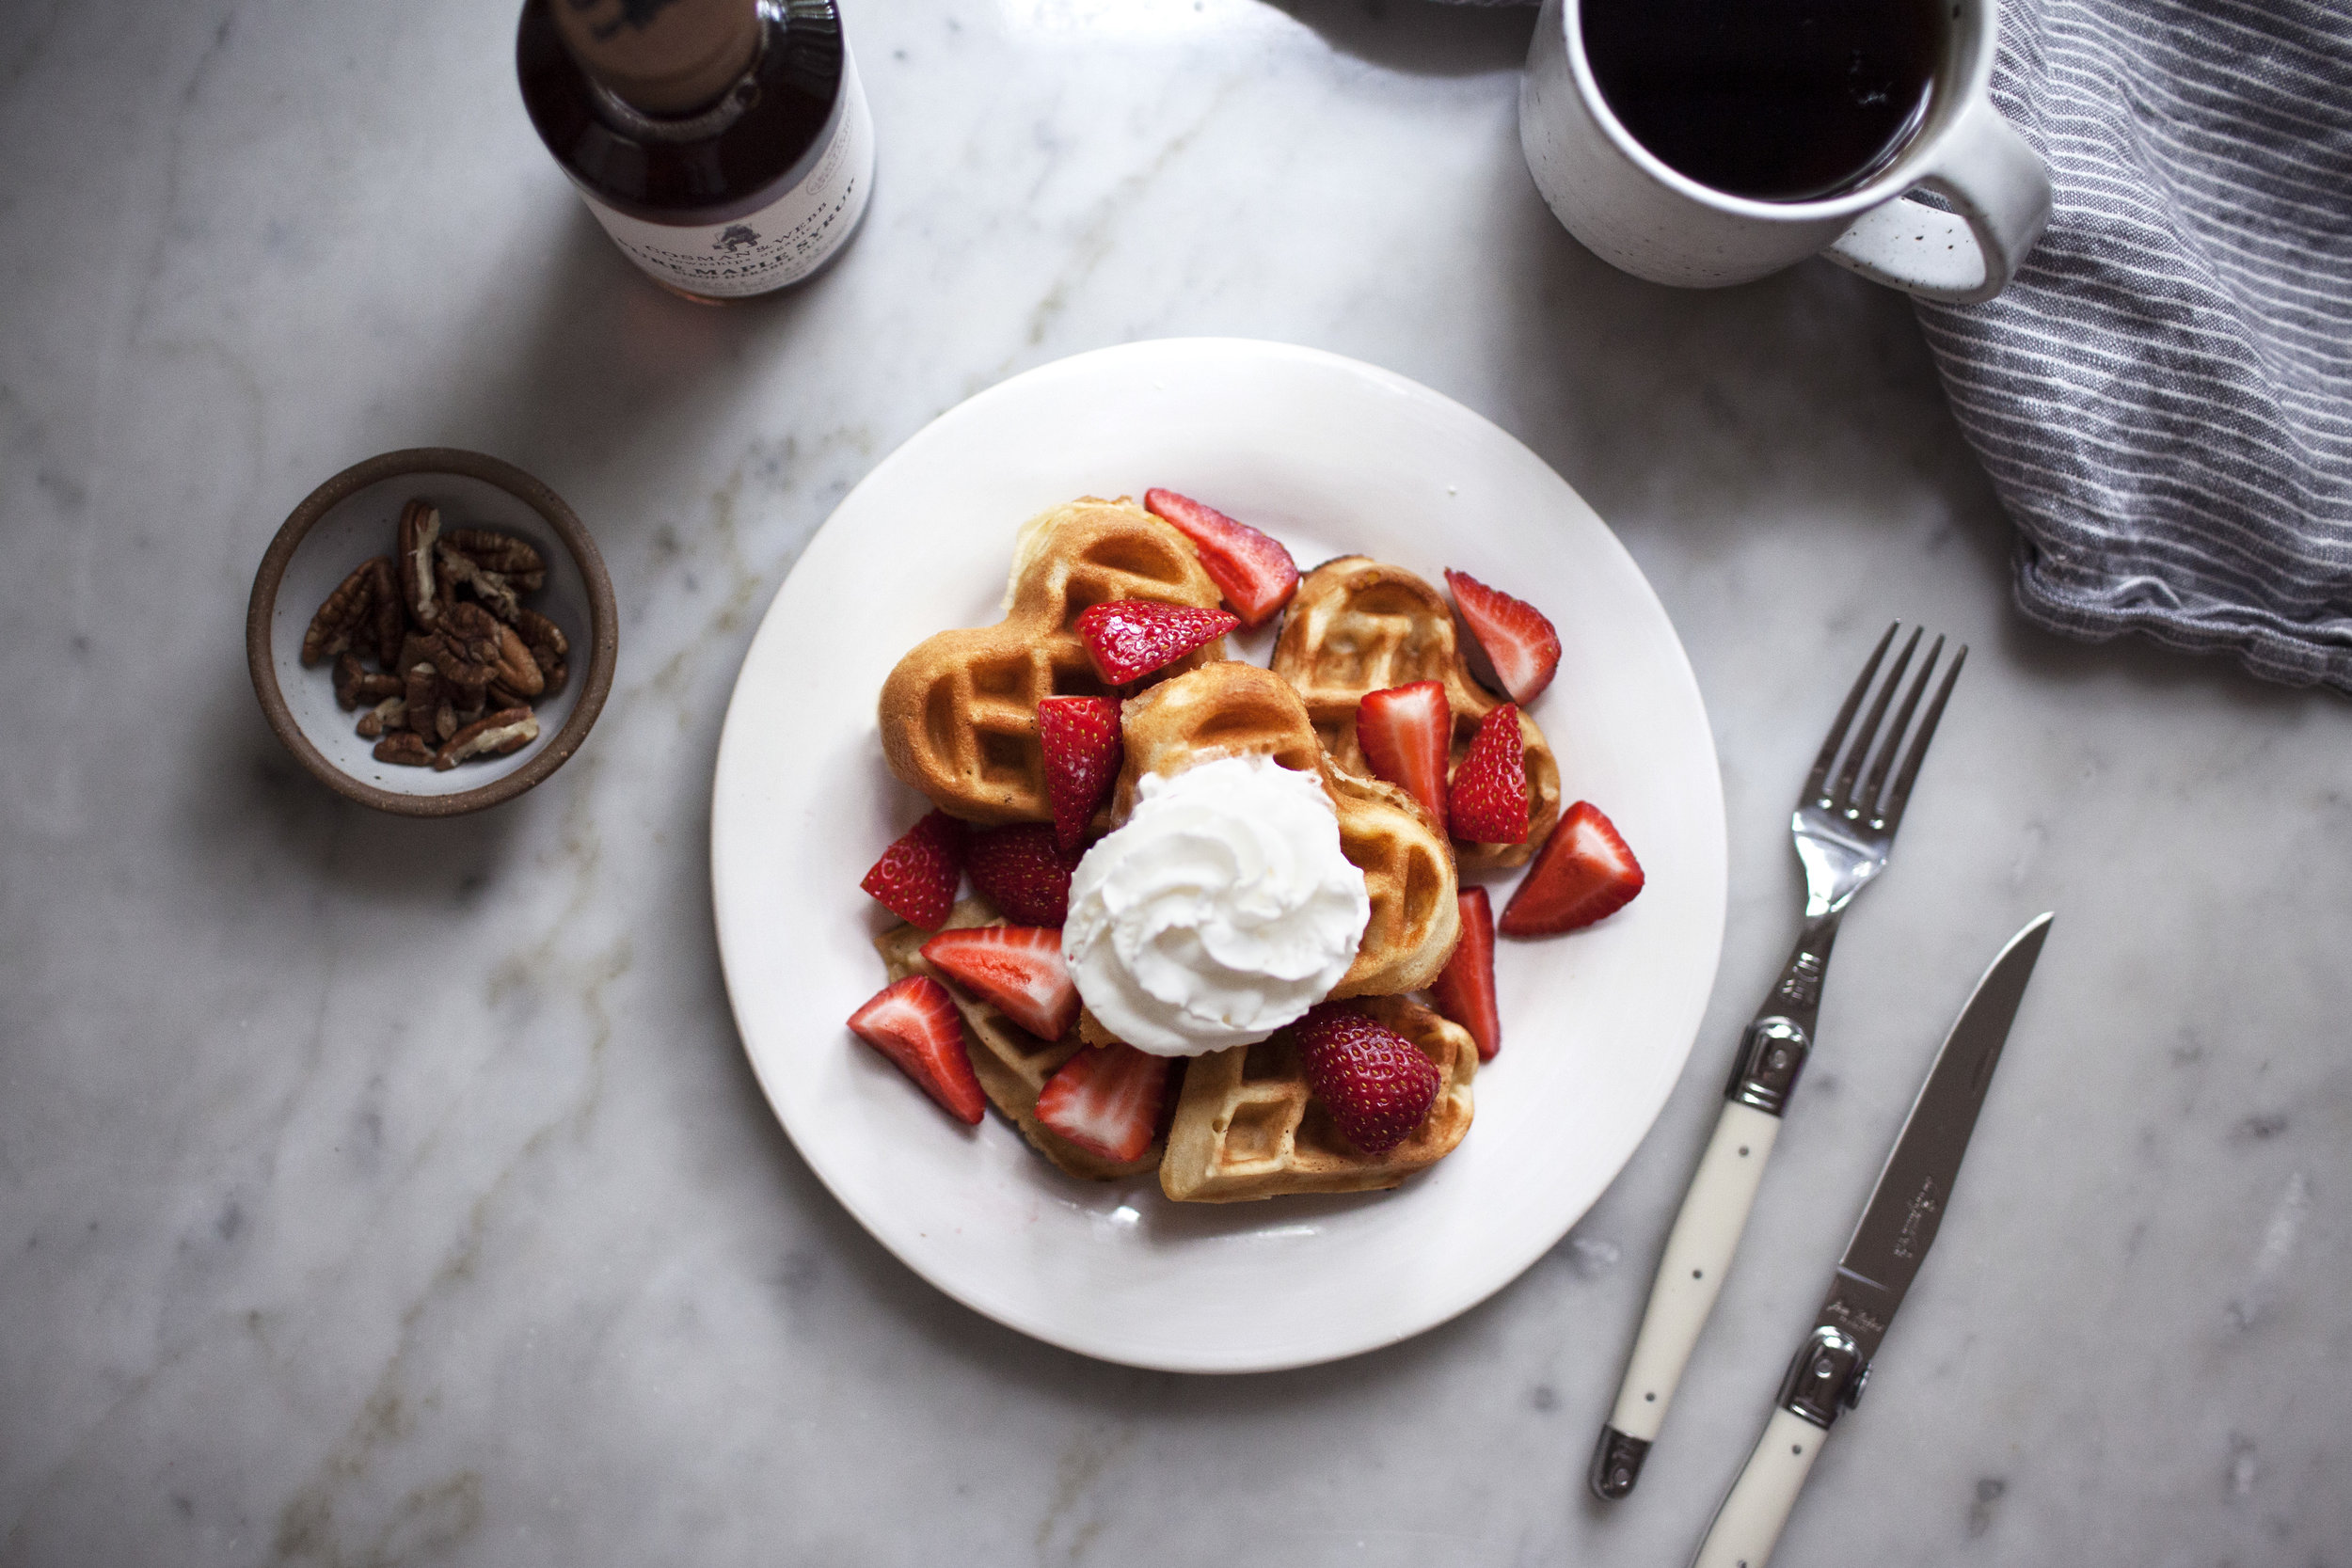
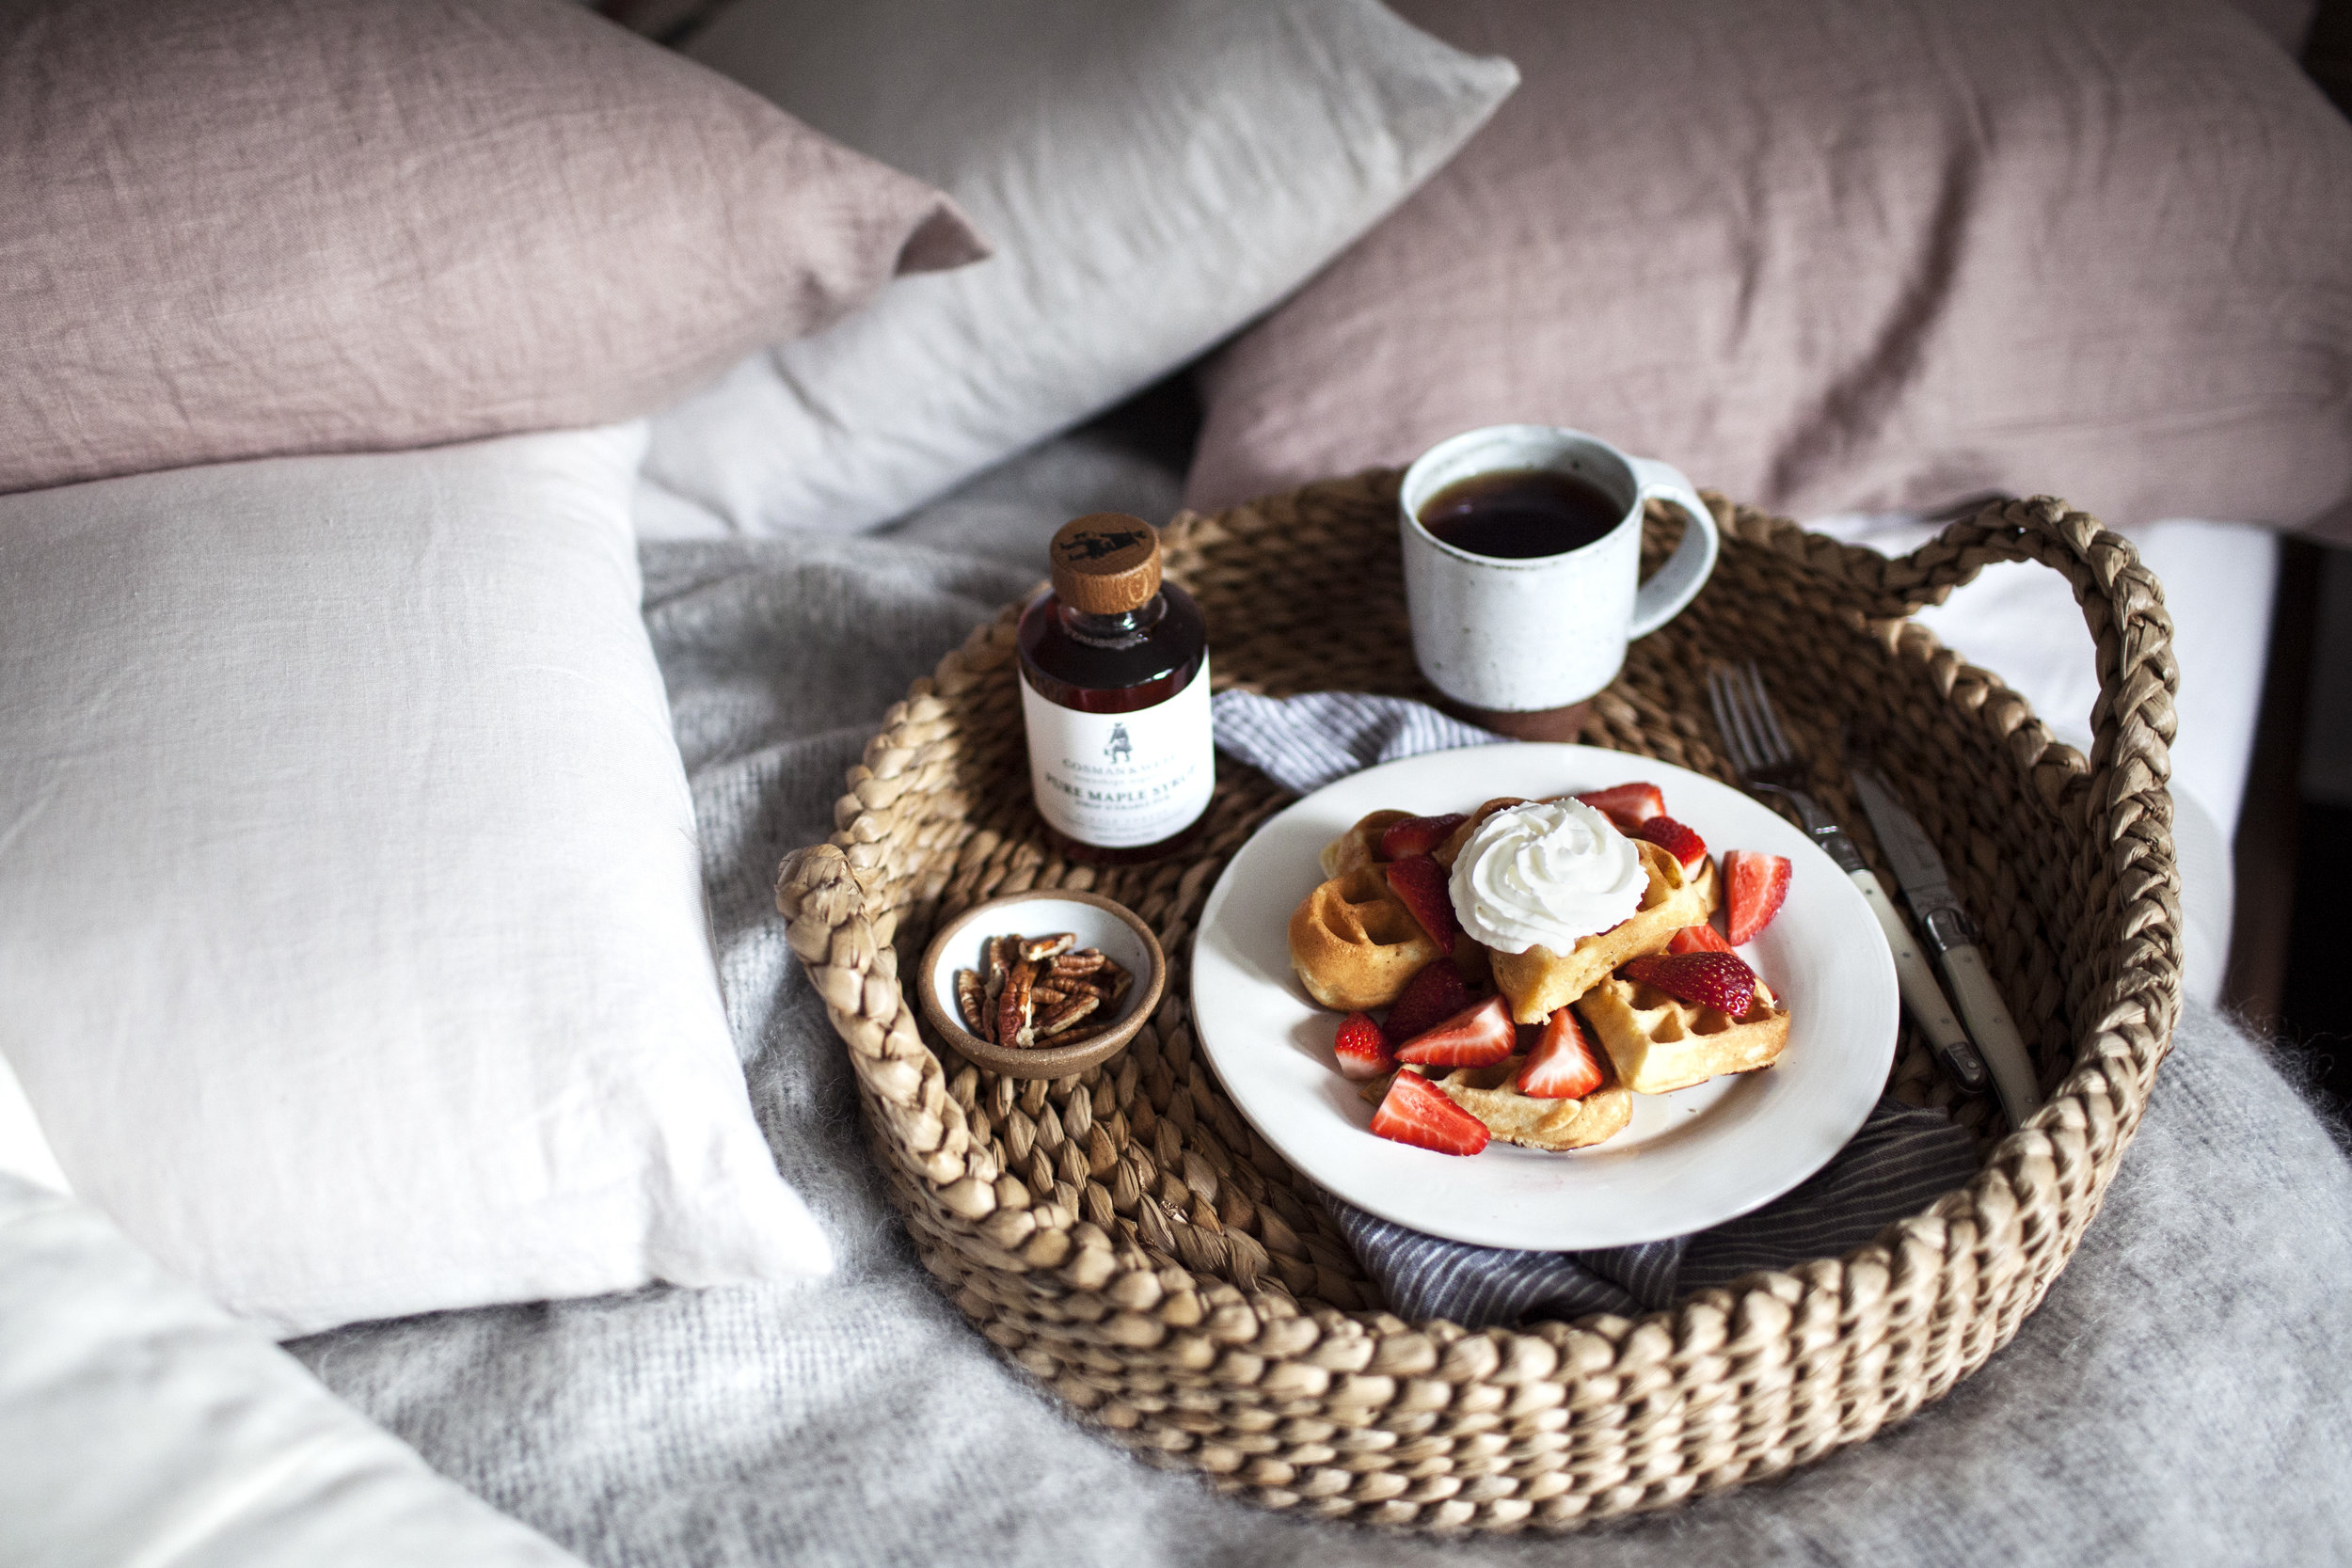
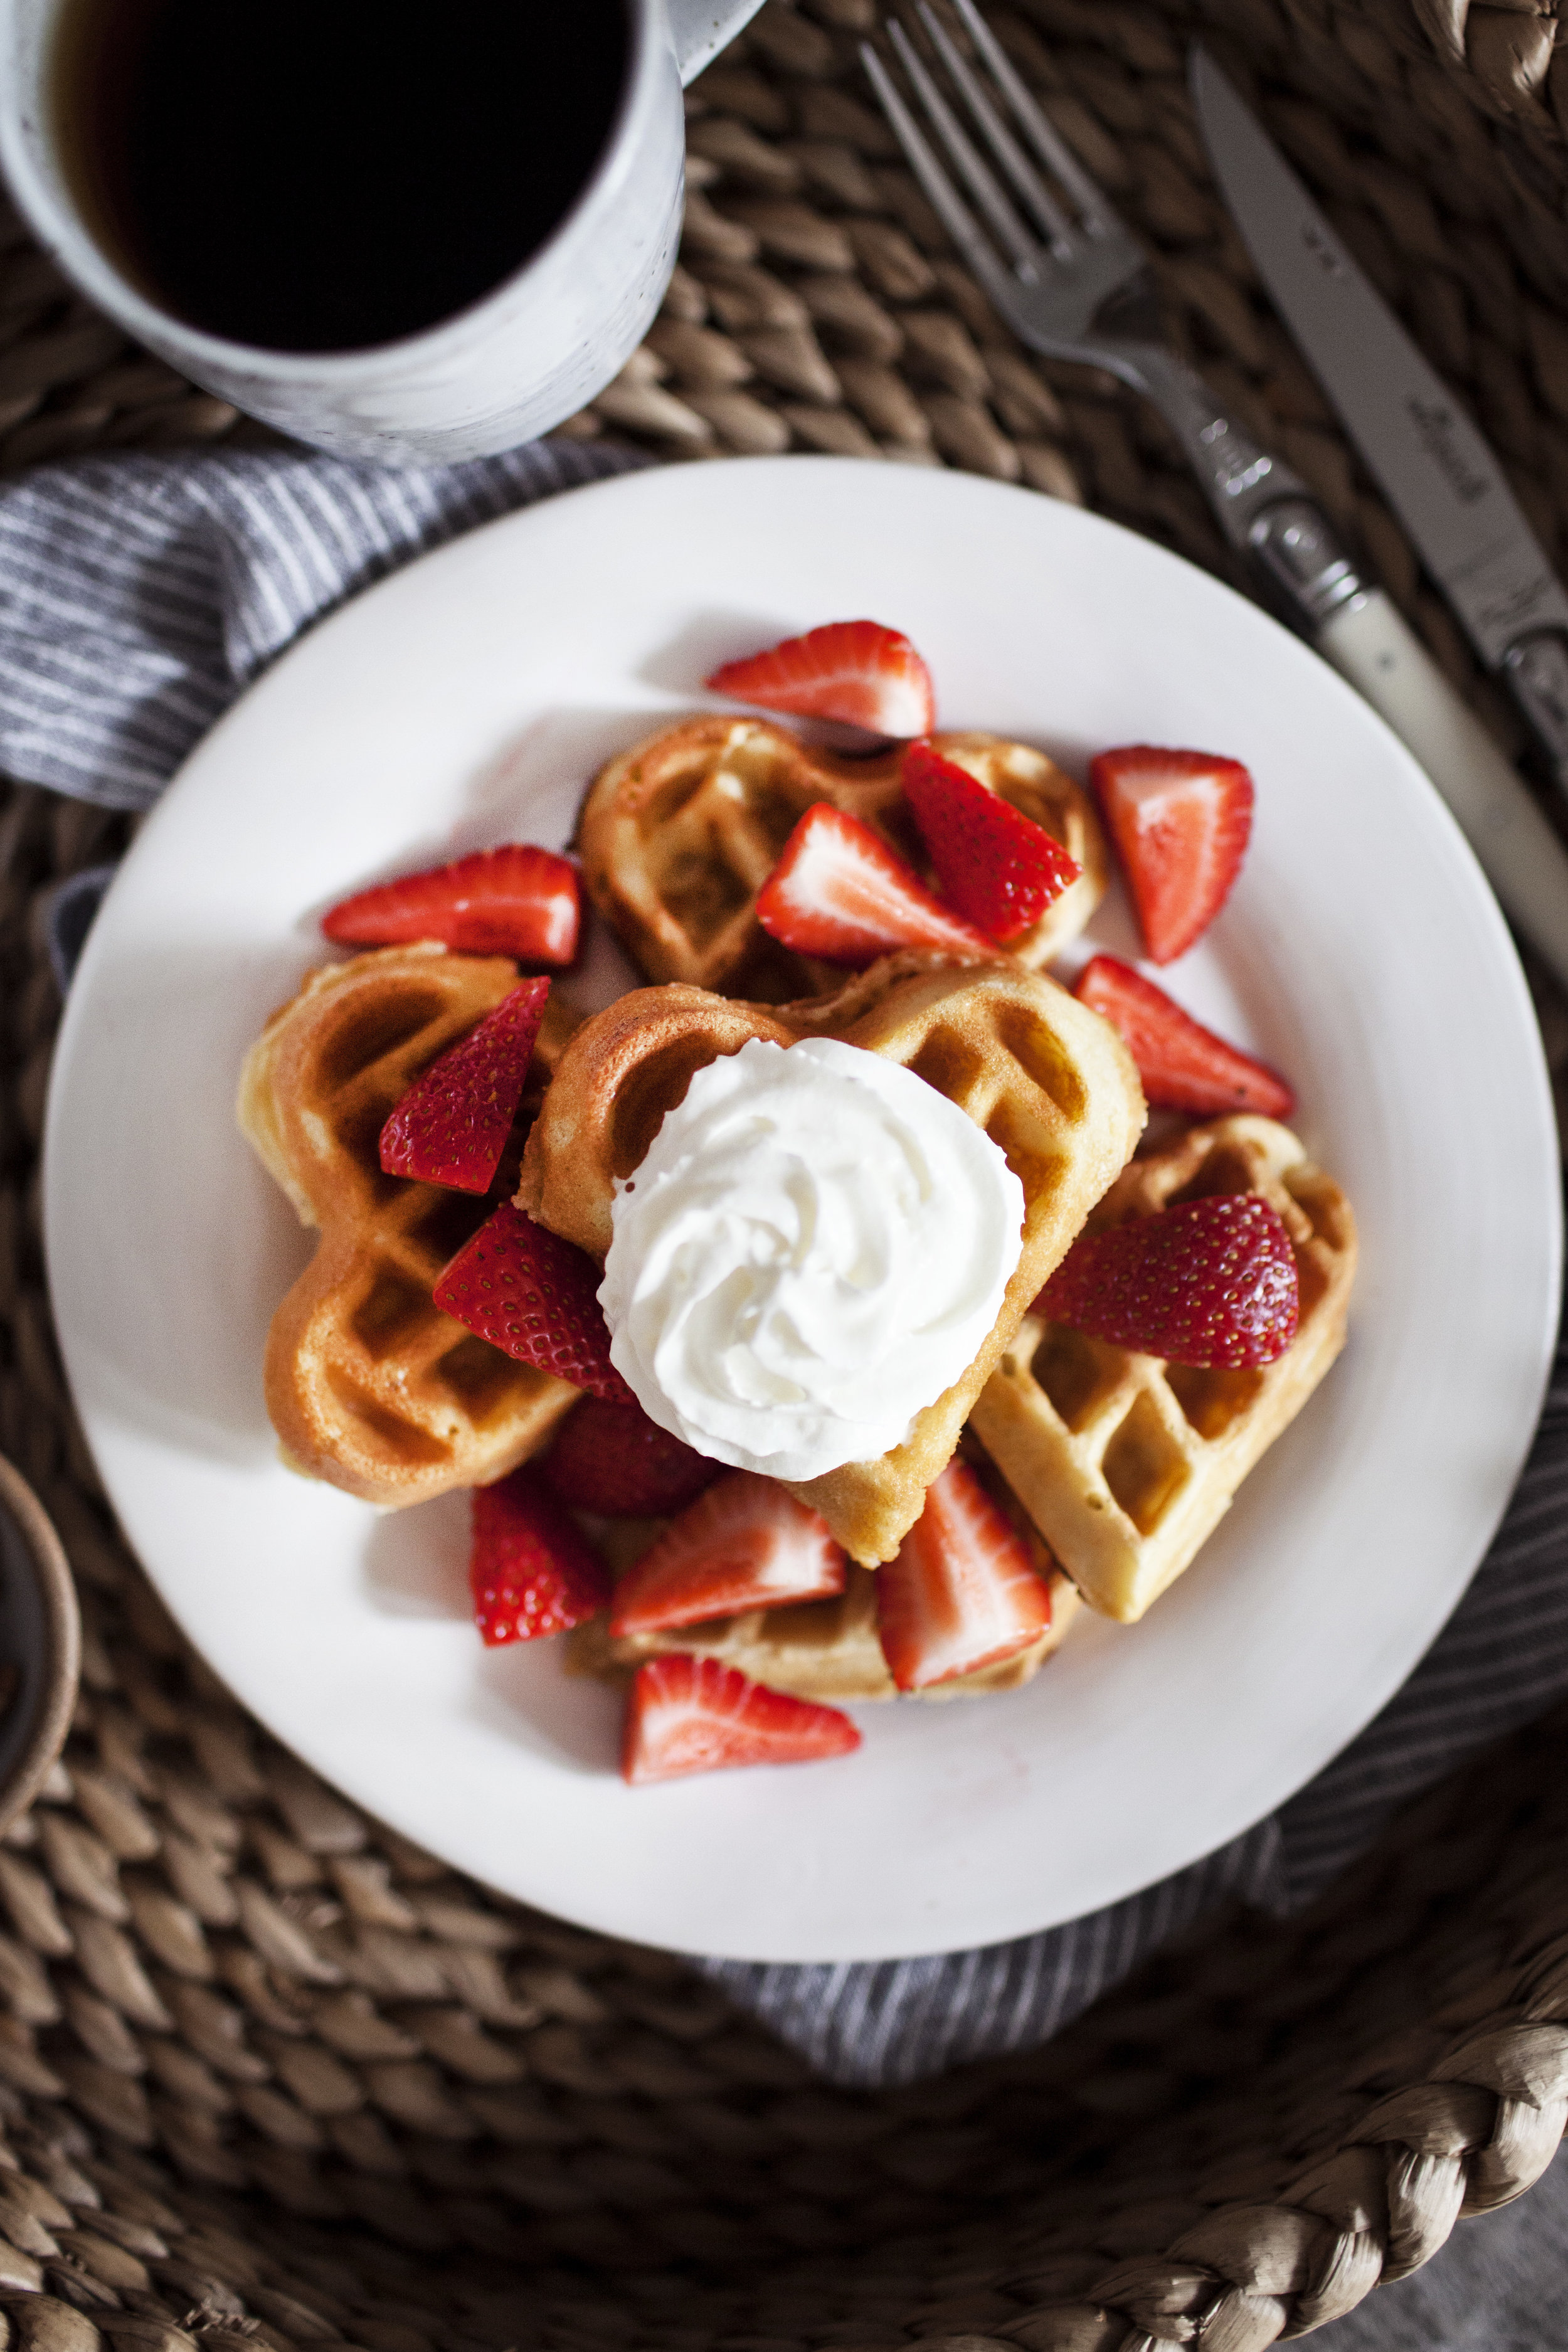
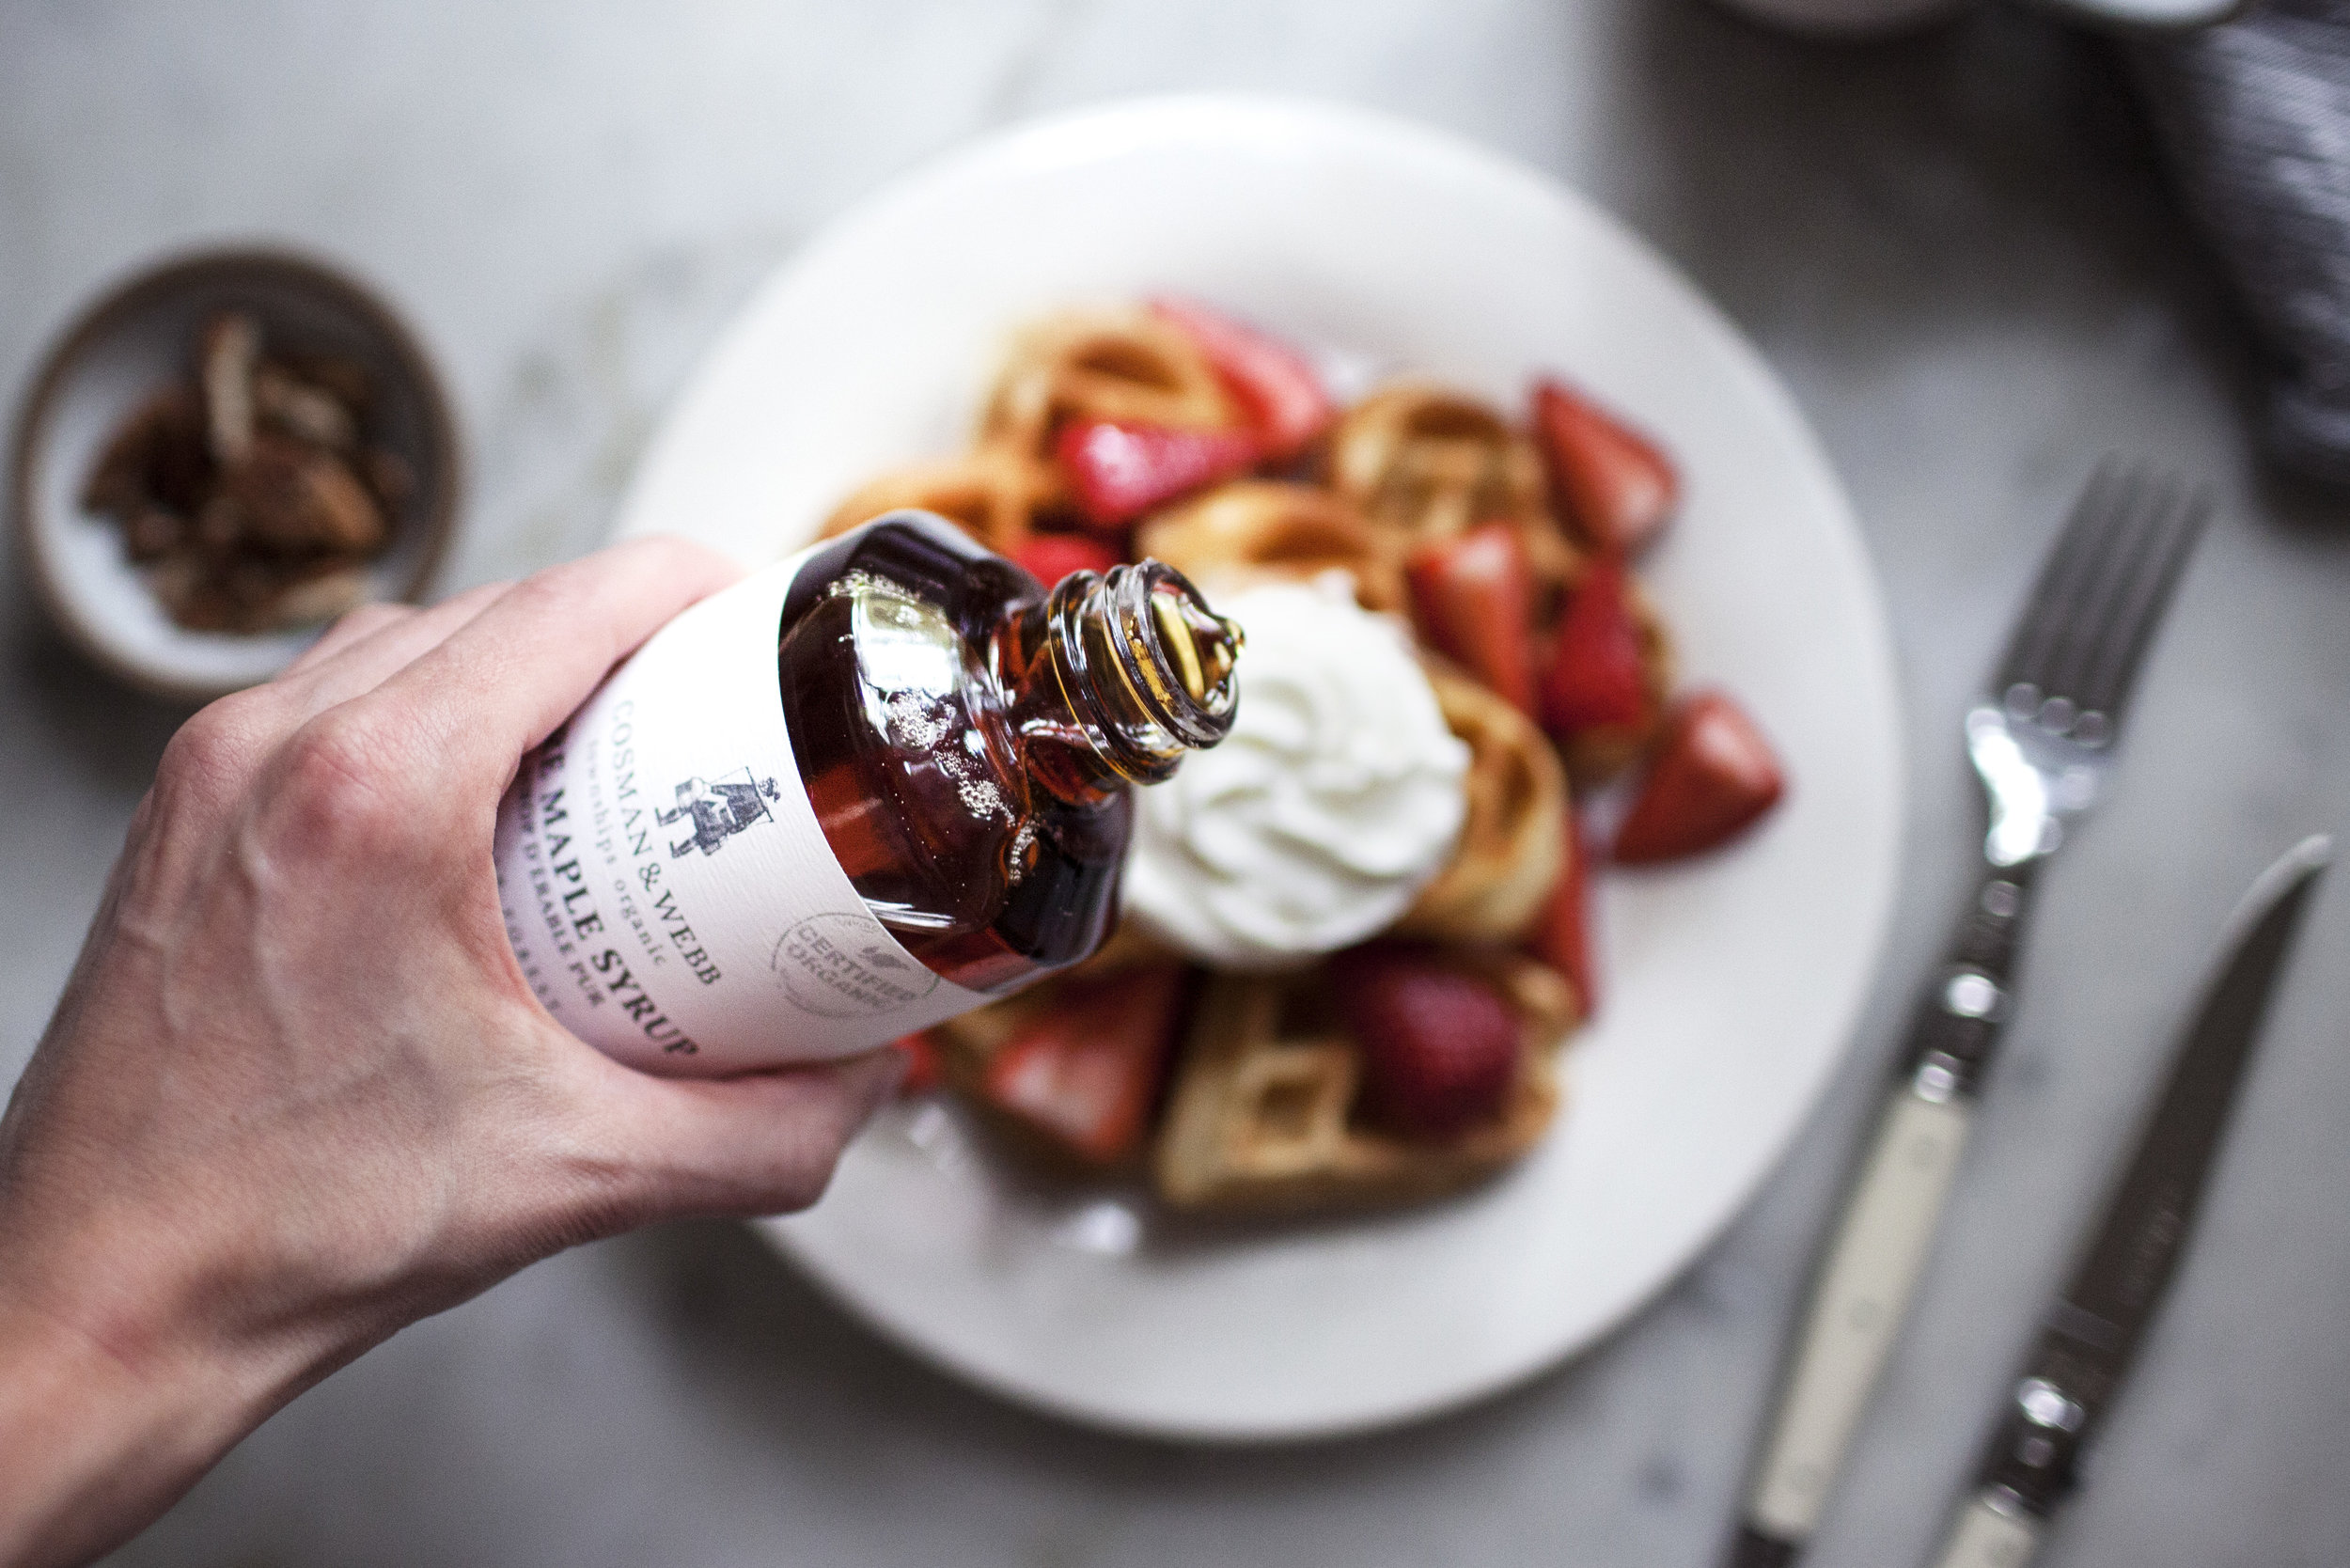
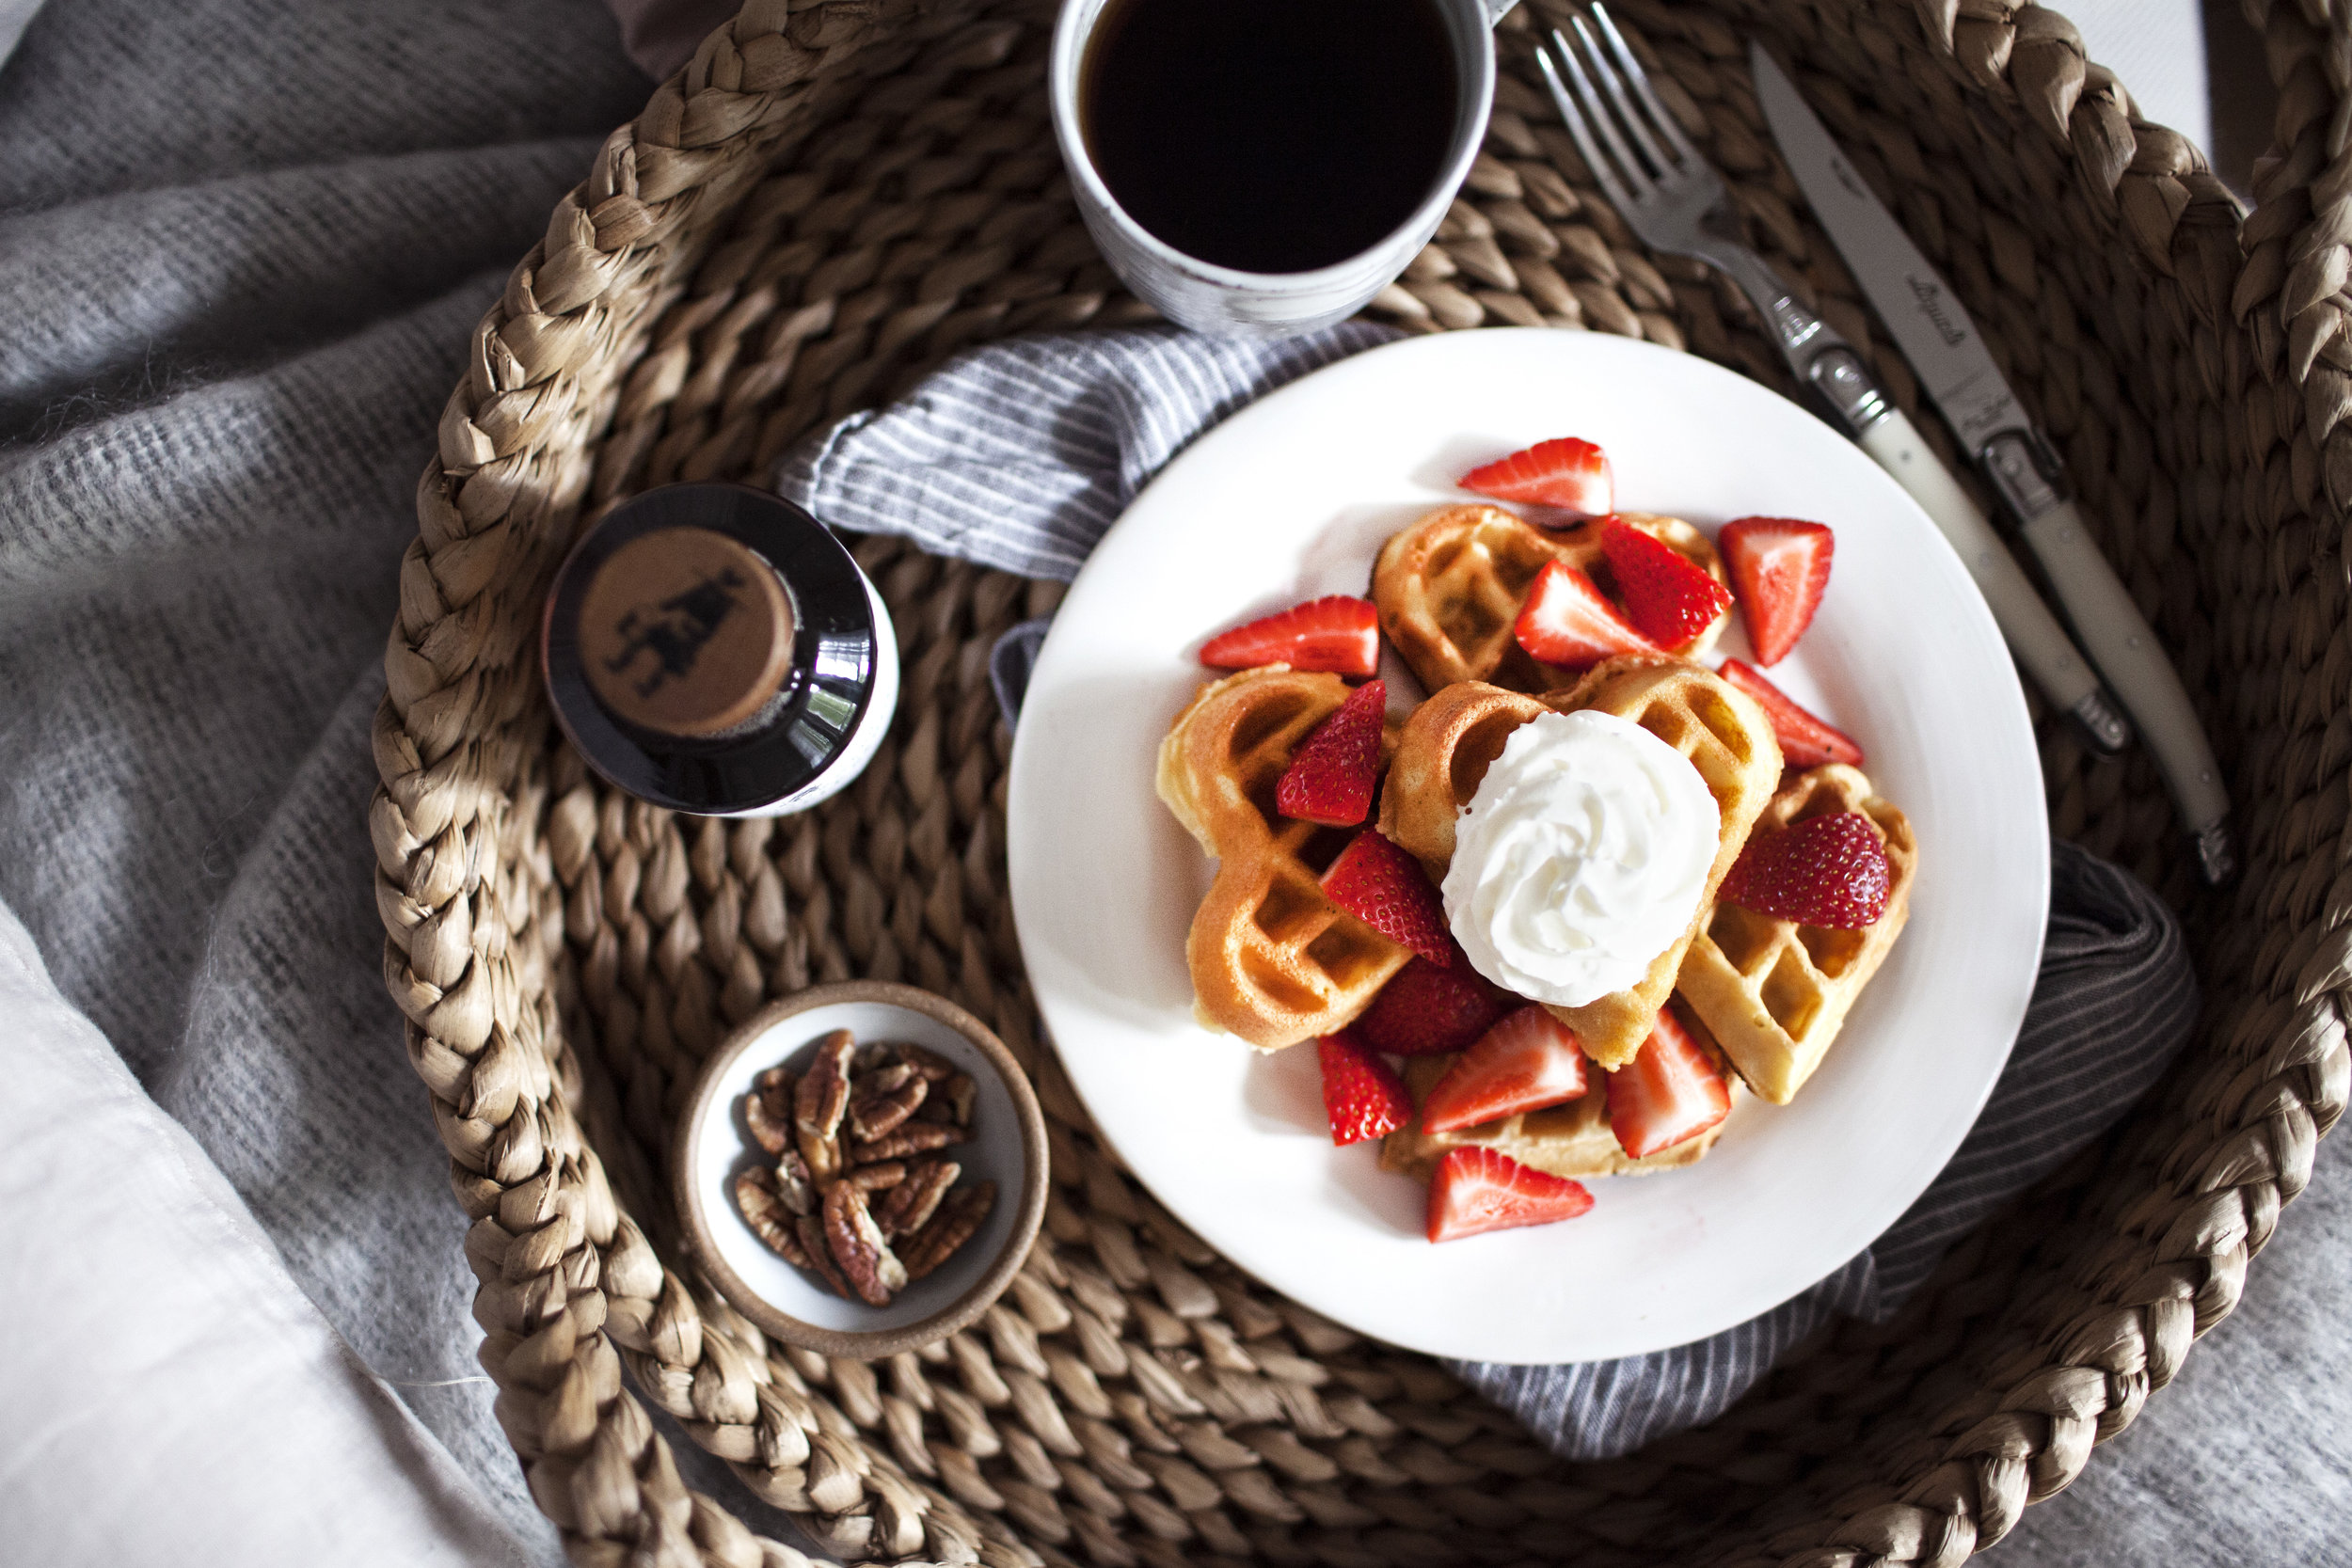
there is something so cozy about starting a sunday fall morning with belgian waffles. they are a favourite in modest house (sorry pancakes) thanks to the soft interior and crispy exterior. these belgian waffles are the ultimate fall waffle. they are double maple flavoured thanks to the maple syrup AND maple sugar included in the recipe. i even topped them with maple infused whipped cream because maple. i always like adding a little extra sugar to my batter because it just tastes so much better that way. these waffles feature cosman & webb townships organic maple syrup & sugar. a family run maple farm in southern quebec. the syrup is organic, unblended, single forest maple syrup that comes directly from the family farm. the farm has been certified organic for over two decades! i really hope to go to quebec this winter and visit the maple syrup farms. cosman & webb's products are truly the best maple syrup i have tasted! my local shop oliver & rust carries the product so it is always at my finger tips. happy sunday! xo

ingredients

for the waffles

for the maple whipped cream

directions

for the maple waffles

  • in a mixing bowl using a wooden spoon beat together the egg YOLK, milk, melted butter, vanilla extract, maple sugar and maple syrup until smooth.
  • sift in the flour, baking powder, sea salt & nutmeg until batter just comes together.
  • in a separate mixing bowl whisk the egg WHITE to medium peaks. gently fold in ensuring not to deflate the whites.
  • scoop batter onto waffle iron & cook according to the waffle iron directions (about 1-2 minutes on each side).
  • top with maple whipped cream!

for the maple whipped cream

  • whisk whipping cream, maple sugar & vanilla to stiff peaks. ensure not to over whip the cream.
  • cover is plastic wrap and refrigerate while you prepare the waffles.