no-bake apple pie cheesecake


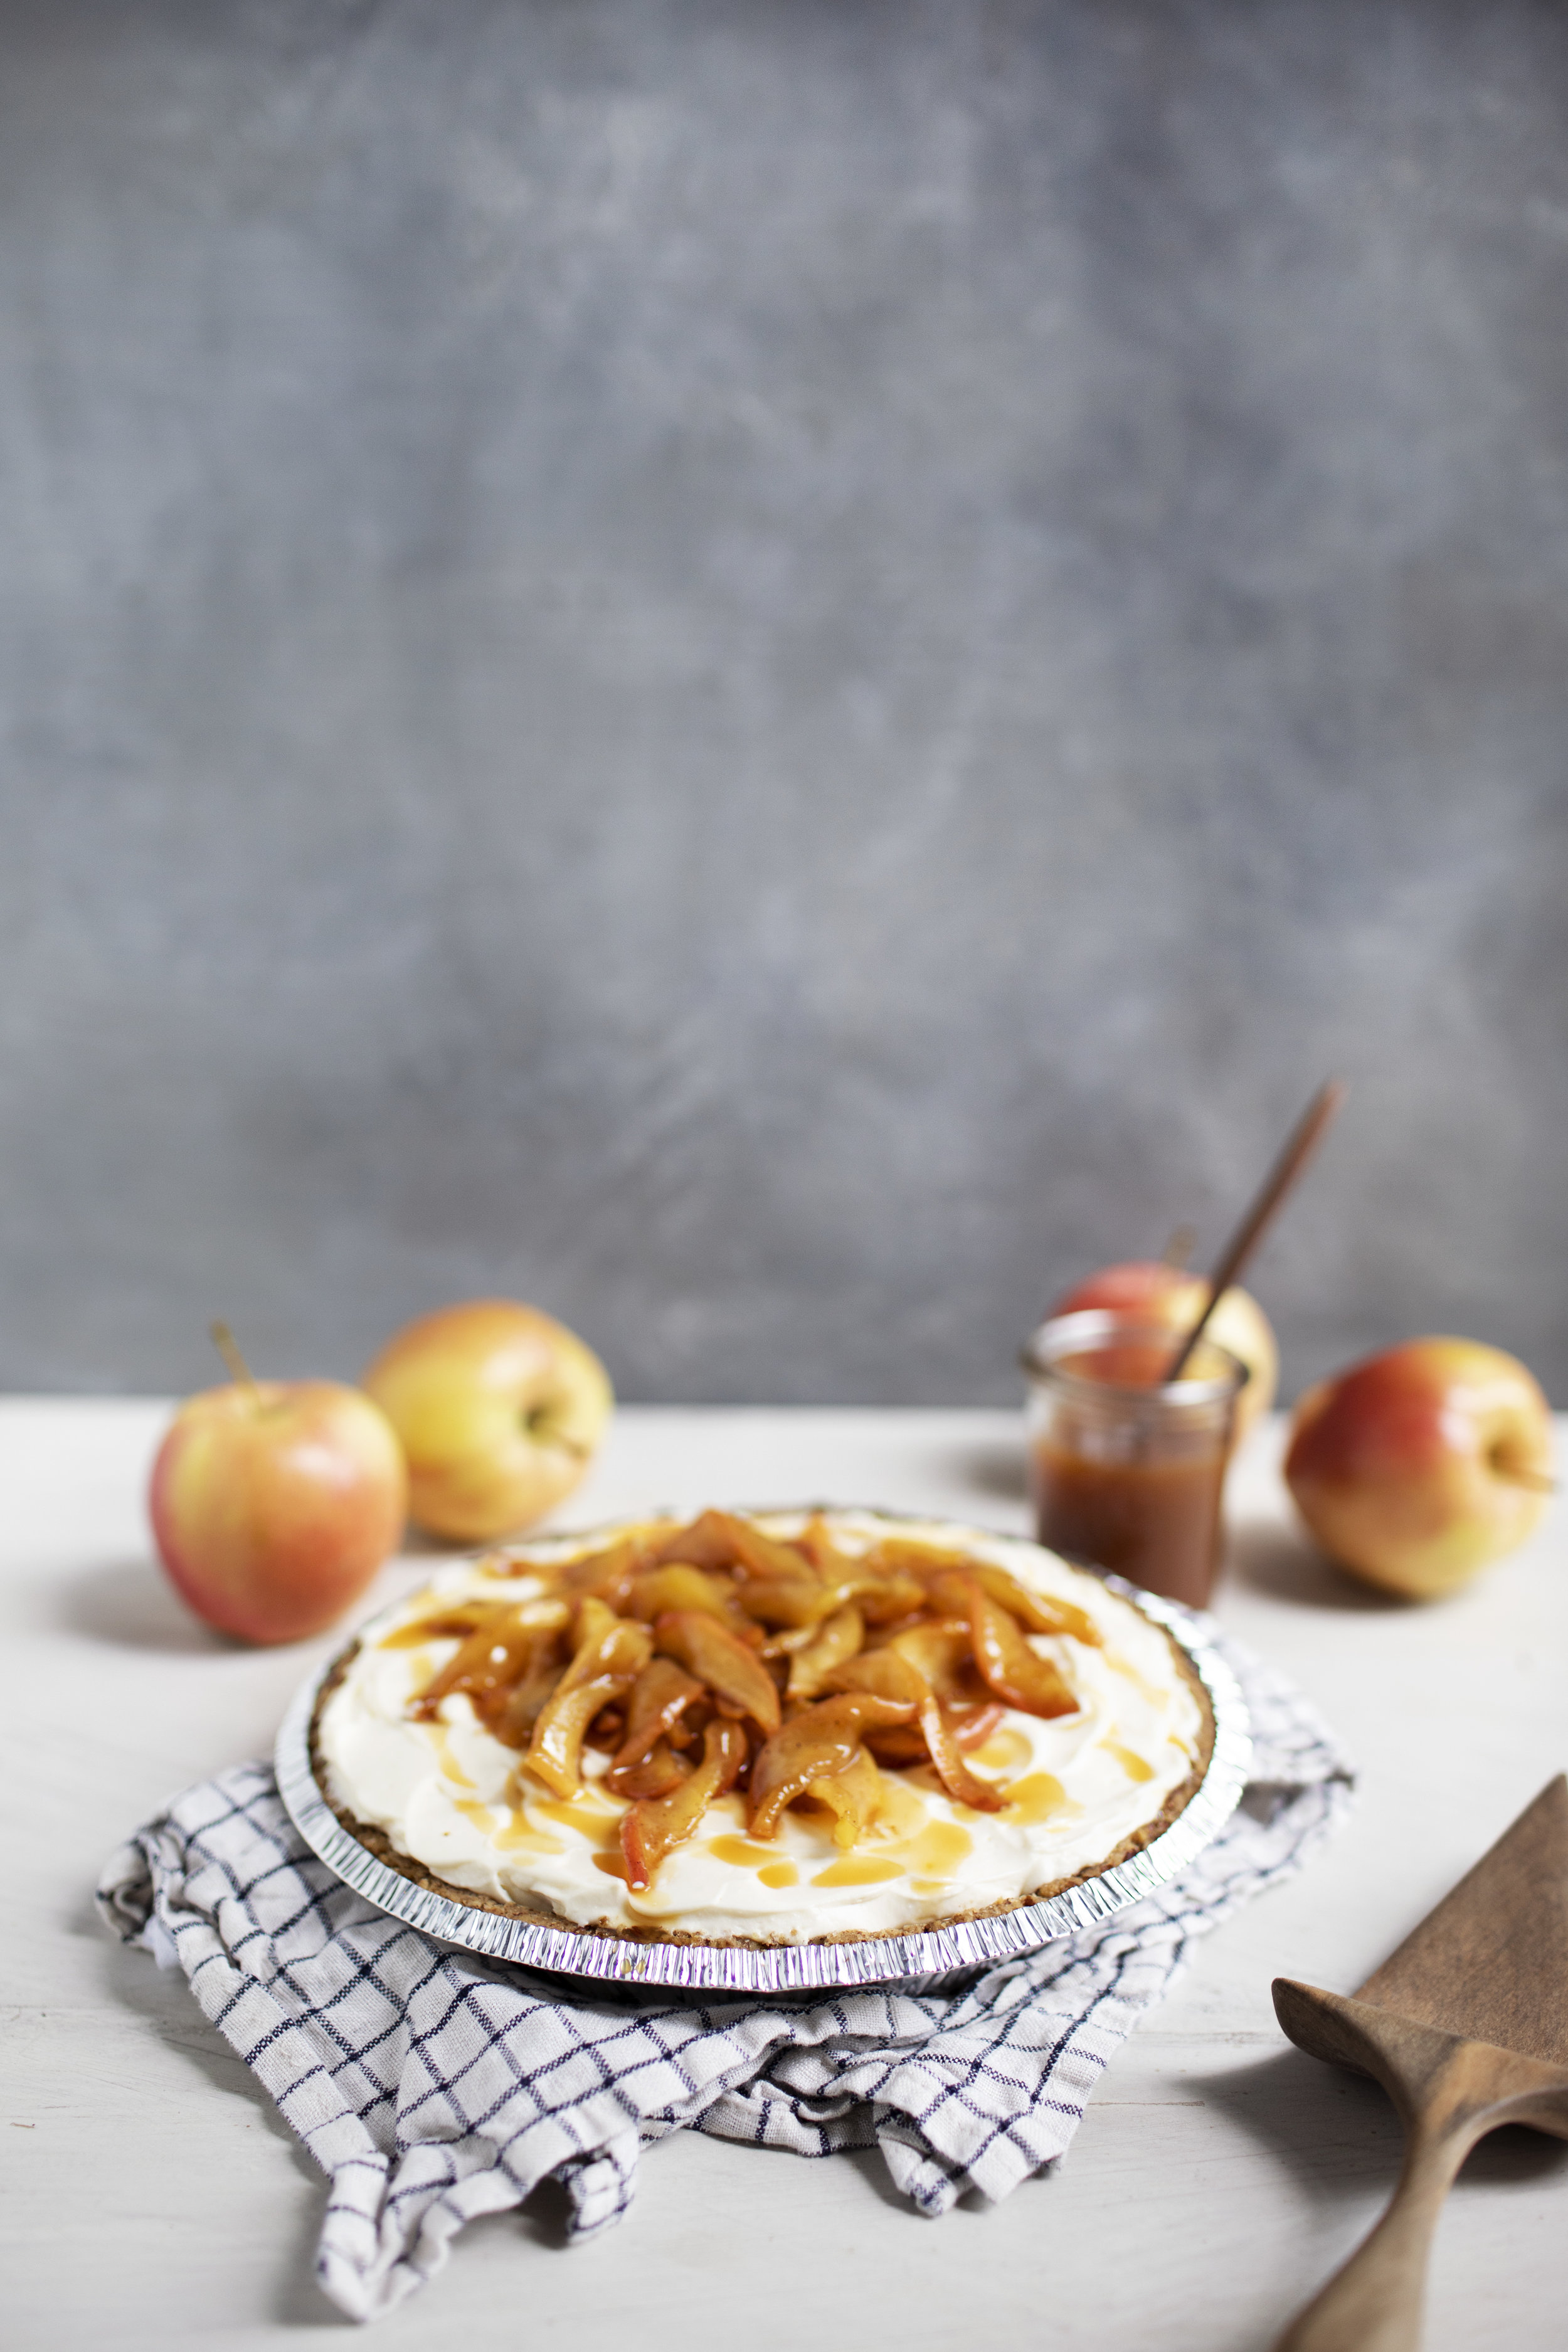
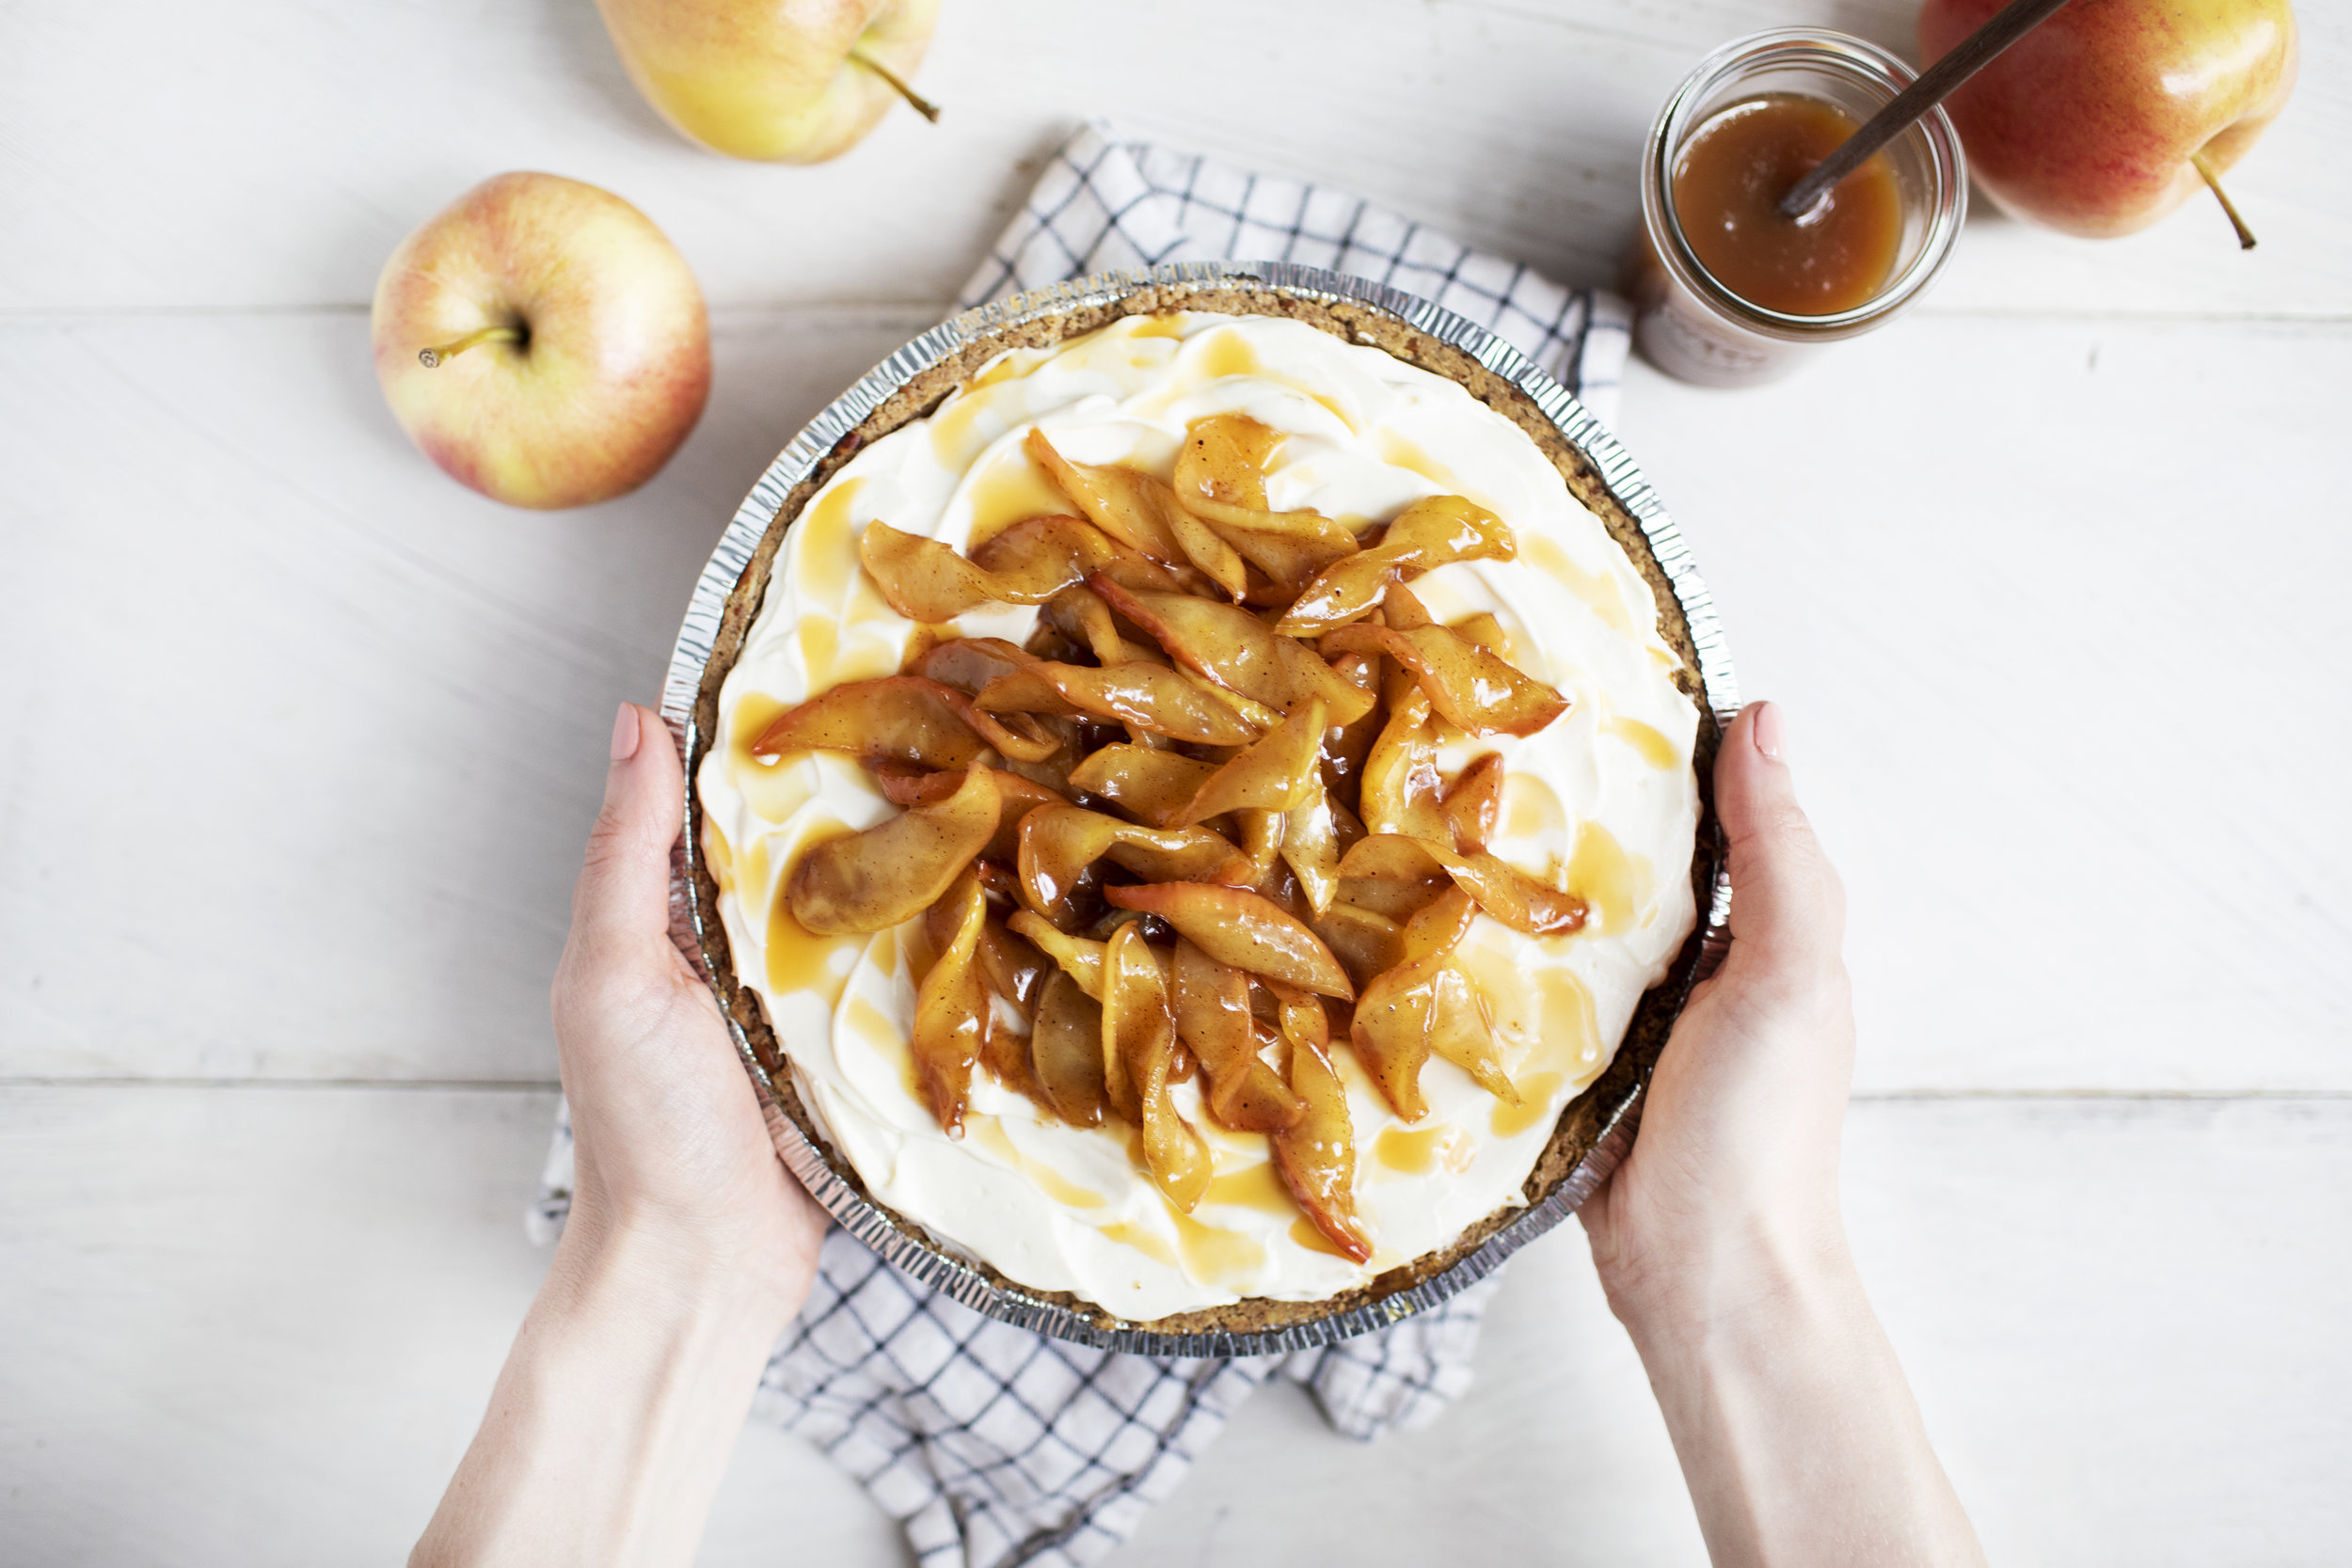
apple picking season is here & i am so excited for fall! i seriously wait for this moment all summer long (sorry summer lovers). summer was amazing & went by rather quickly, but instead of being sad it's over let's just celebrate with pie. this pie is not your tradtional apple pie or traditional cheesecake. it is a no-bake recipe with a stove top apple pie topping! it brings the best of both worlds together.

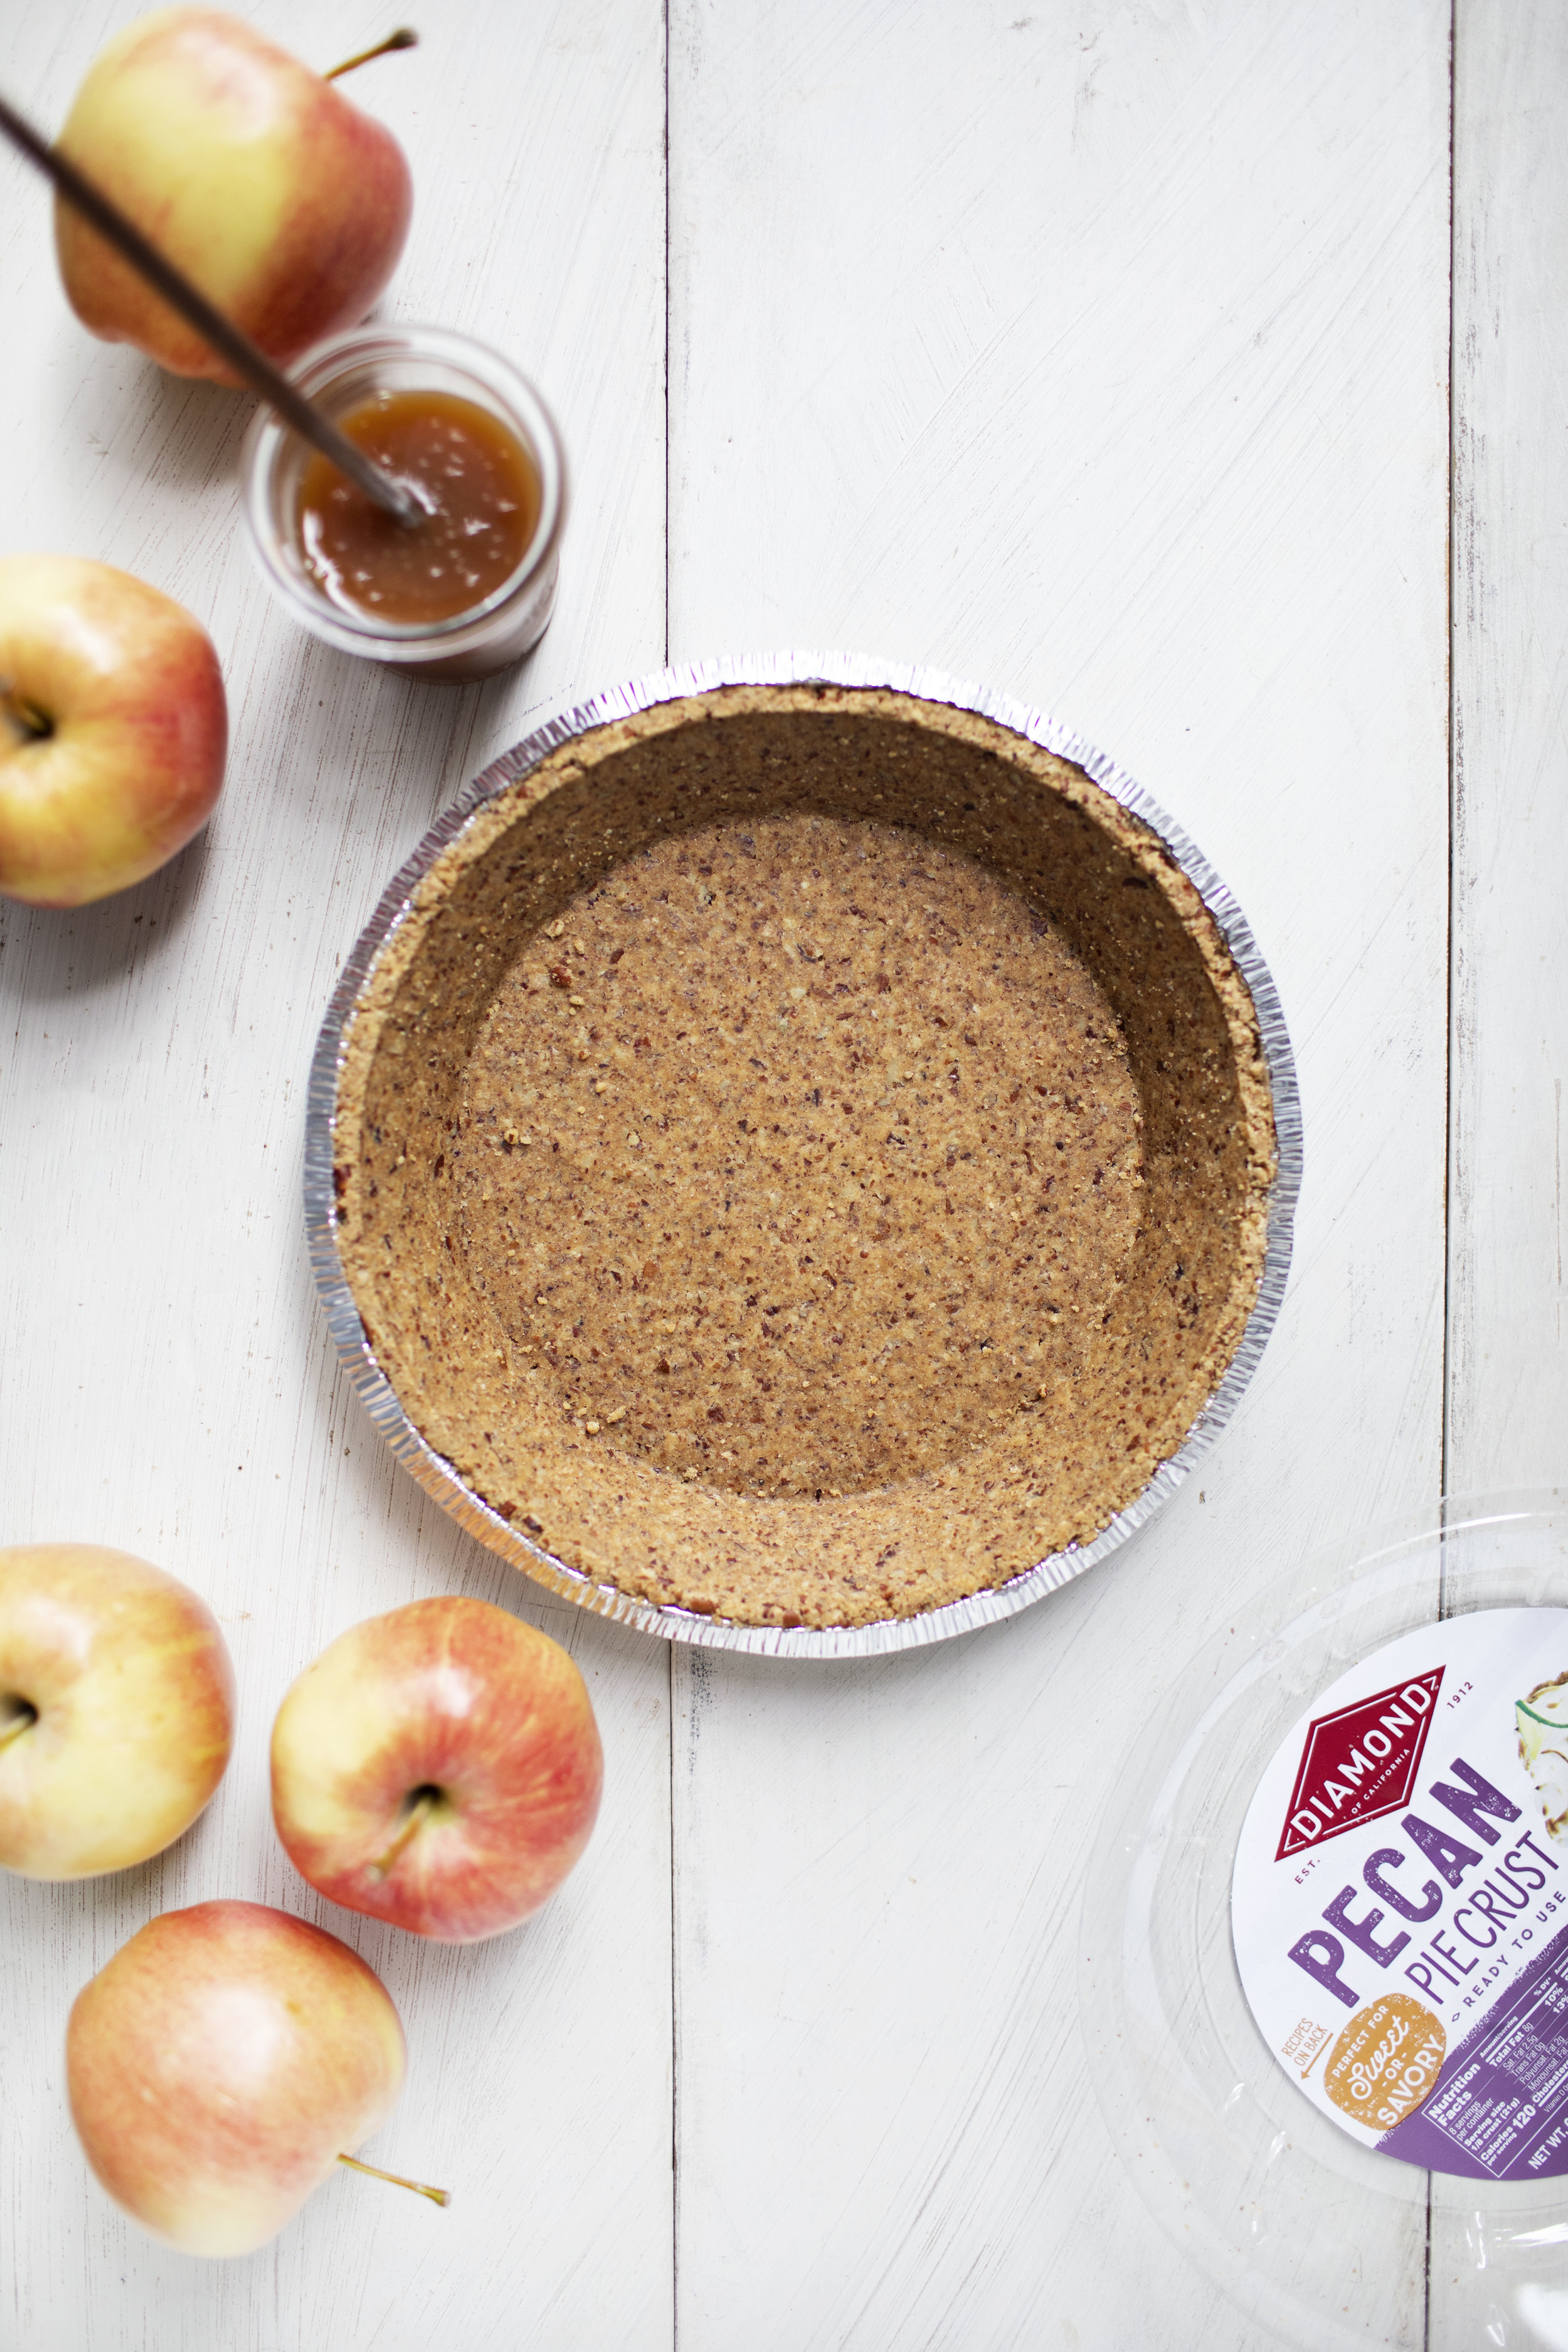
for the crust i use diamond's of california prepared pecan crust. it makes this recipe extra simple, as you don't have to worry about preparing a crust from scratch. it also works as the perfect base for this fluffy cream cheese filling & has a great nutty flavour. i favour no-bake cheesecakes not just because they are easier to make, but i love the texture of them too. not dense like a baked cheesecake, more like biting into a cloud! diamond's crust comes in both pecan + walnut flavour, so either works for this recipe. for the apples, use any variety you like best for baking. the apples can be peeled or the skins left on (all about personal preference), but be sure to slice them evenly so they cook up at the same time.

ingredients

for the apple pie filling:

  • 2 tablespoons unsalted butter
  • 2 large apples, thinly sliced
  • 1/4 cup light brown sugar, packed
  • 1 tablespoon lemon juice, freshly squeezed
  • 3 tablespoons + 1 tablespoon water
  • 1 teaspoon pure vanilla extract
  • 1/2 teaspoon cinnamon
  • 1/4 teaspoon nutmeg
  • pinch of salt
  • 1/2 tablespoon cornstarch

for the cheesecake:

  • 16 ounces full fat cream cheese, room temperature
  • 1/3 cup + 1/3 cup white sugar
  • 1 teaspoon pure vanilla extract
  • 1 1/2 cups heavy whipping cream
  • 1 diamond of california's pecan pie crust
  • 1 batch apple pie filling (see recipe)
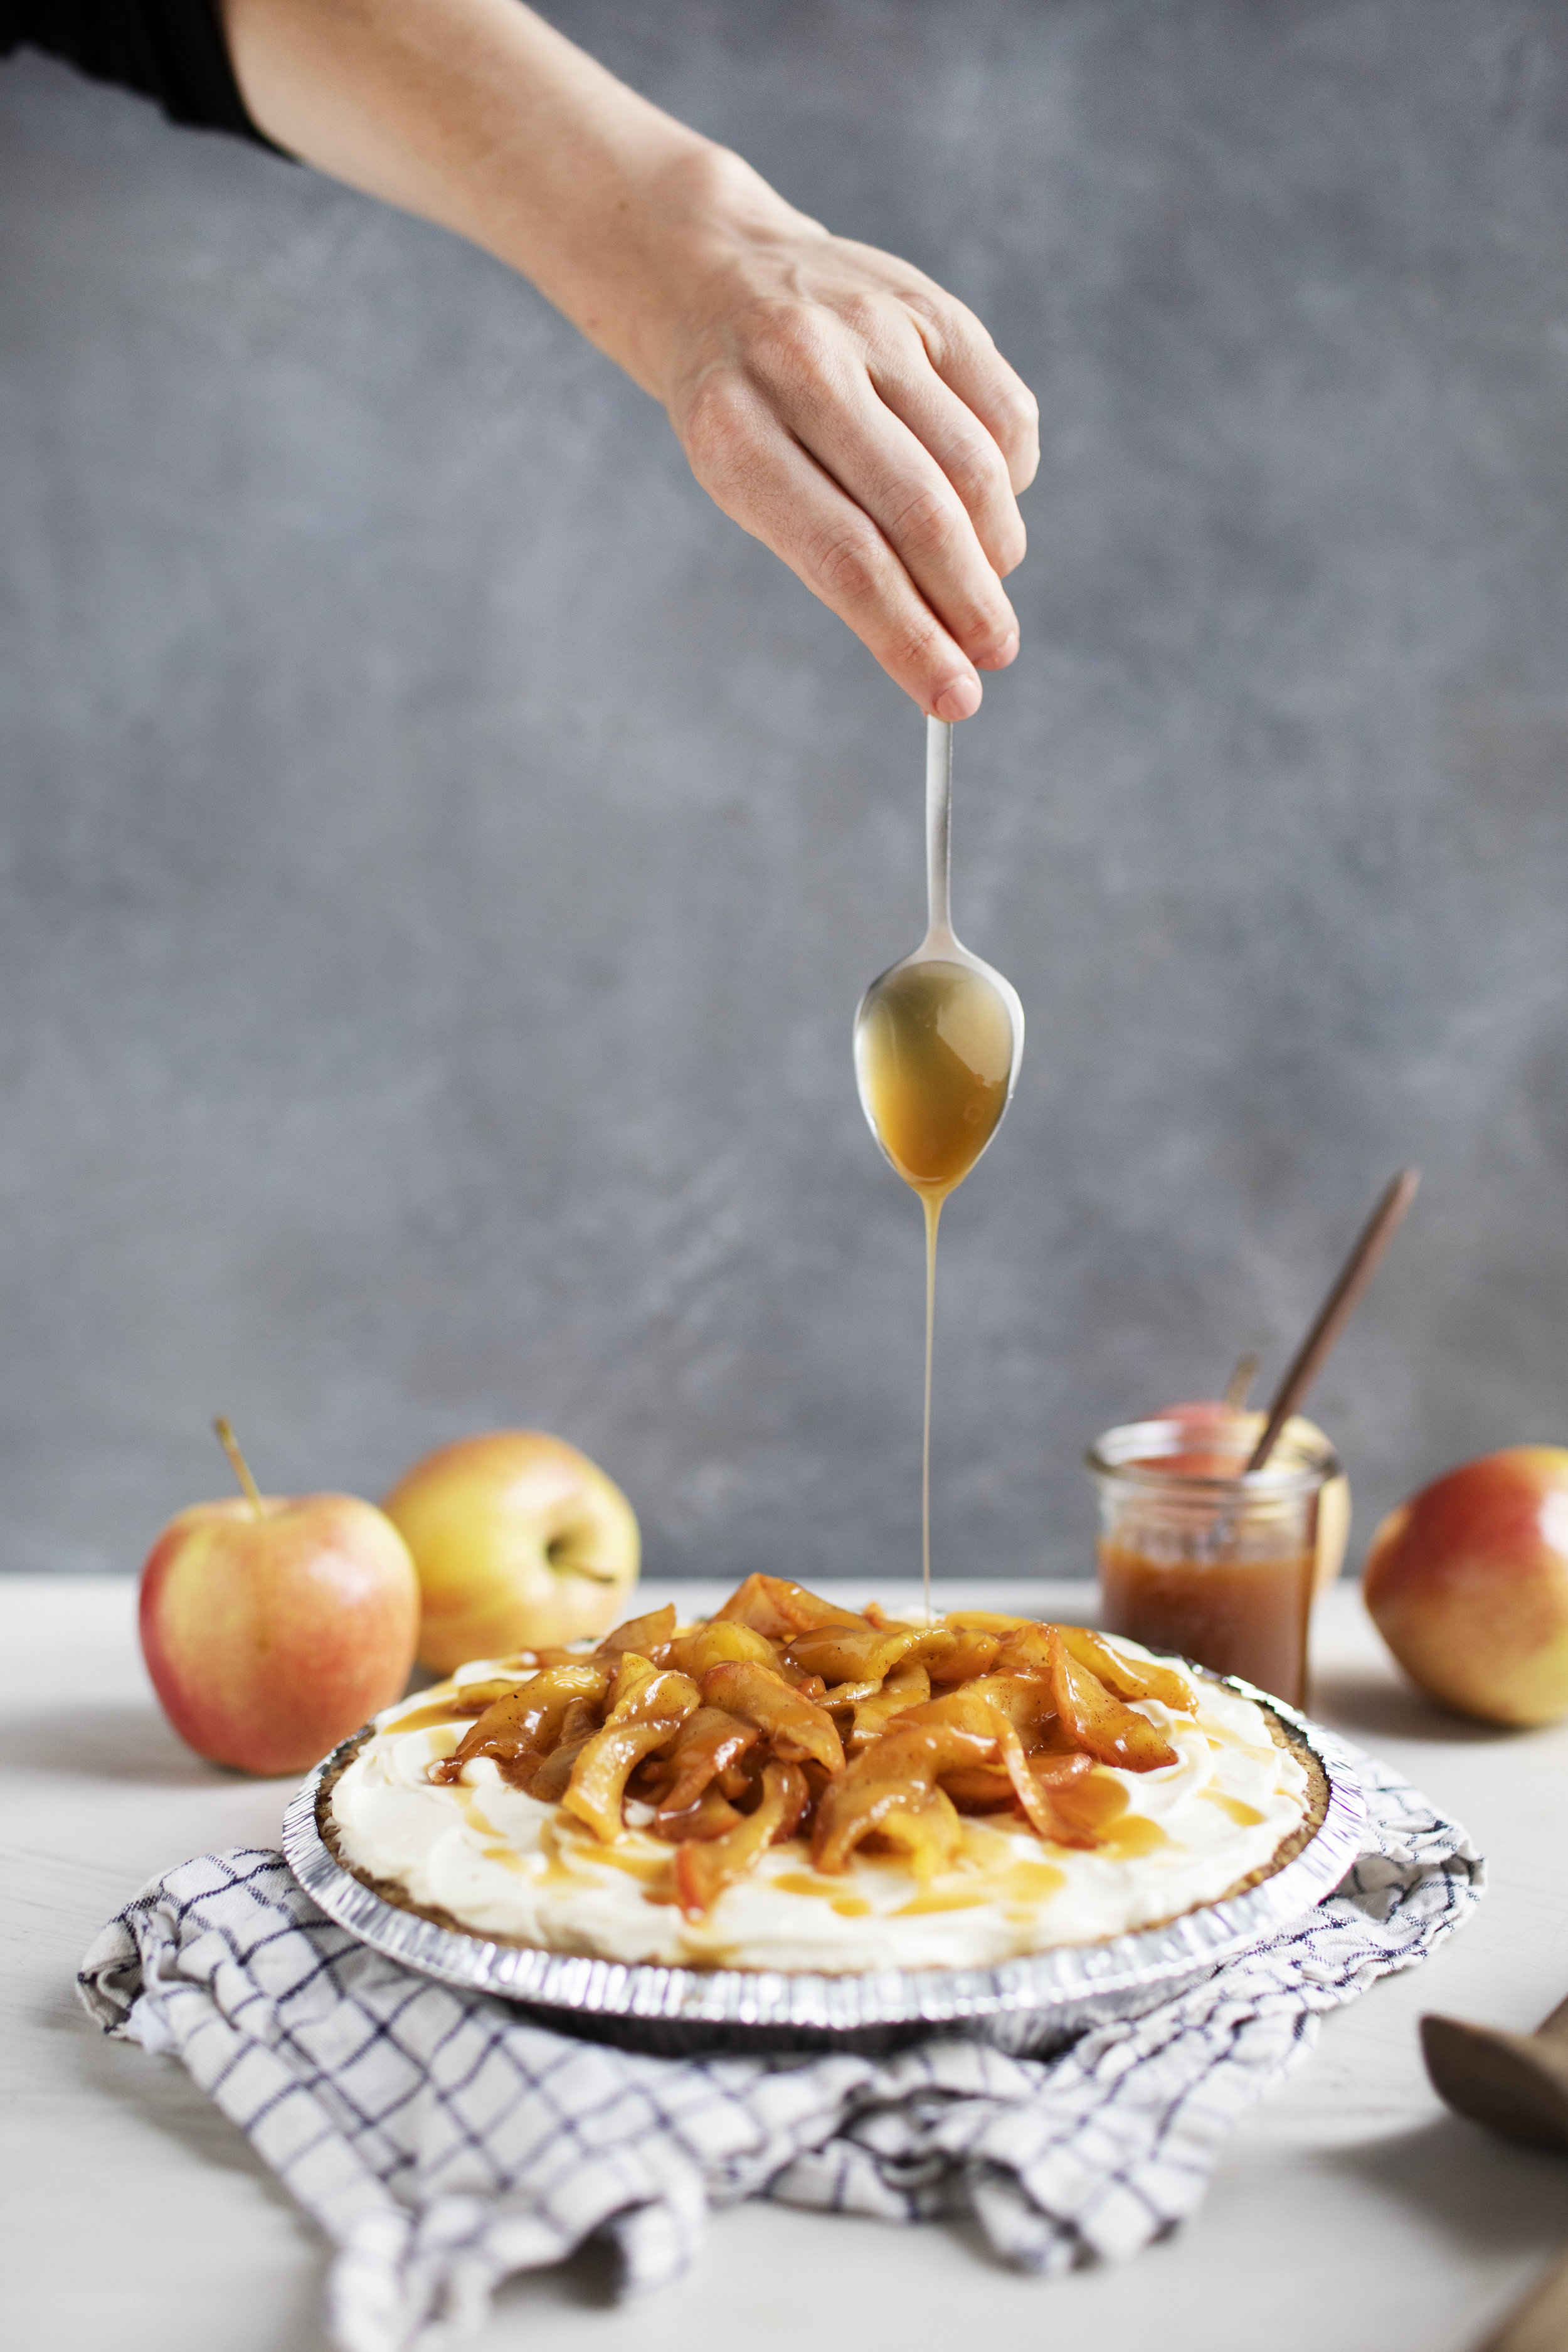
  • caramel sauce, for serving

directions

for the apple pie filling:

  • melt the butter in a medium skillet over low heat. add the apples & sugar, toss to coat.
  • stir in the lemon juice, 3 tablespoons of water, vanilla, cinnamon, nutmeg & salt. cook (continuously stirring) until the apples soften, about 10 minutes.
  • whisk together the cornstarch with the remaining water. add to skillet & stir to combined. once the filling begins to cool, remove from heat & let chill to room temperature.

for the cheesecake:

  • in a large mixing bowl beat together the cream cheese & 1/3 cup of sugar until fluffy.
  • in a separate large mixing bowl, whisk the egg whites to soft peaks. add the remaining sugar & vanilla extract. whisk to stiff peaks.
  • gradually add the whipped cream to the cream cheese mixture. beat until light & fluffy.
  • transfer mixture to prepared pecan pie crust & smooth the top flat with an offset spatula. refrigerate for a minimum of two hours.
  • when ready to serve, top with prepared apple pie filling.
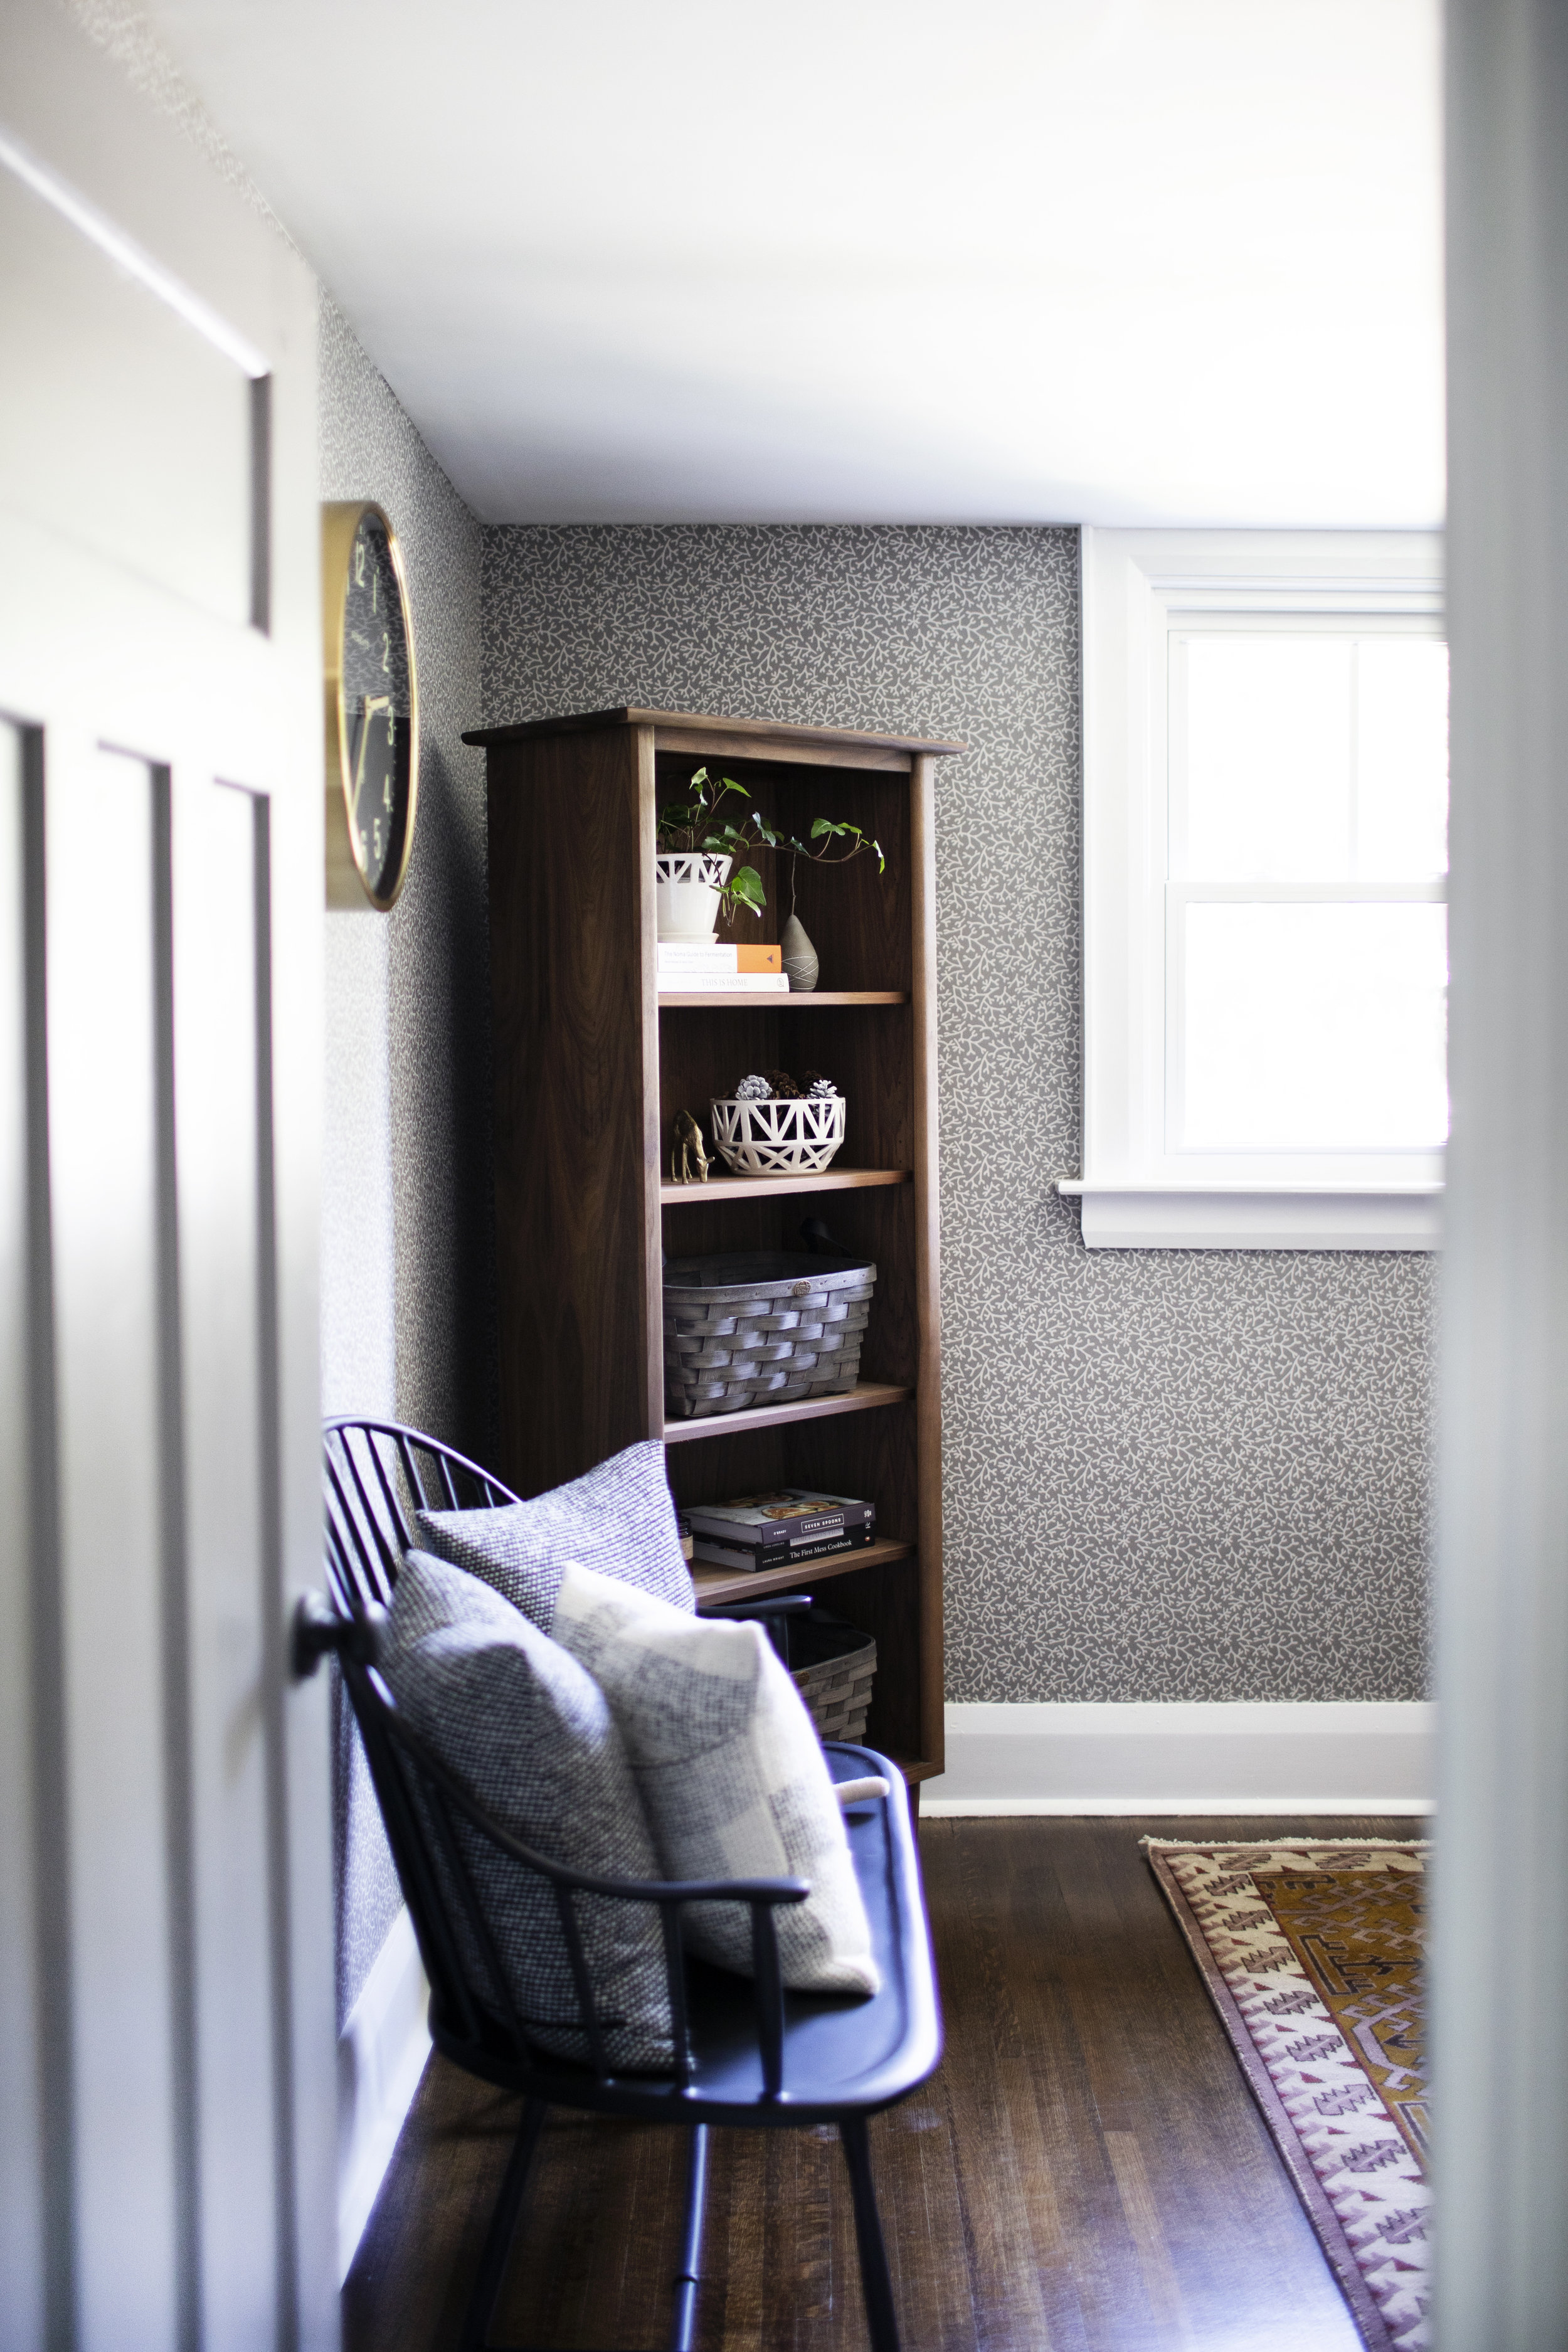
a cozy modest office


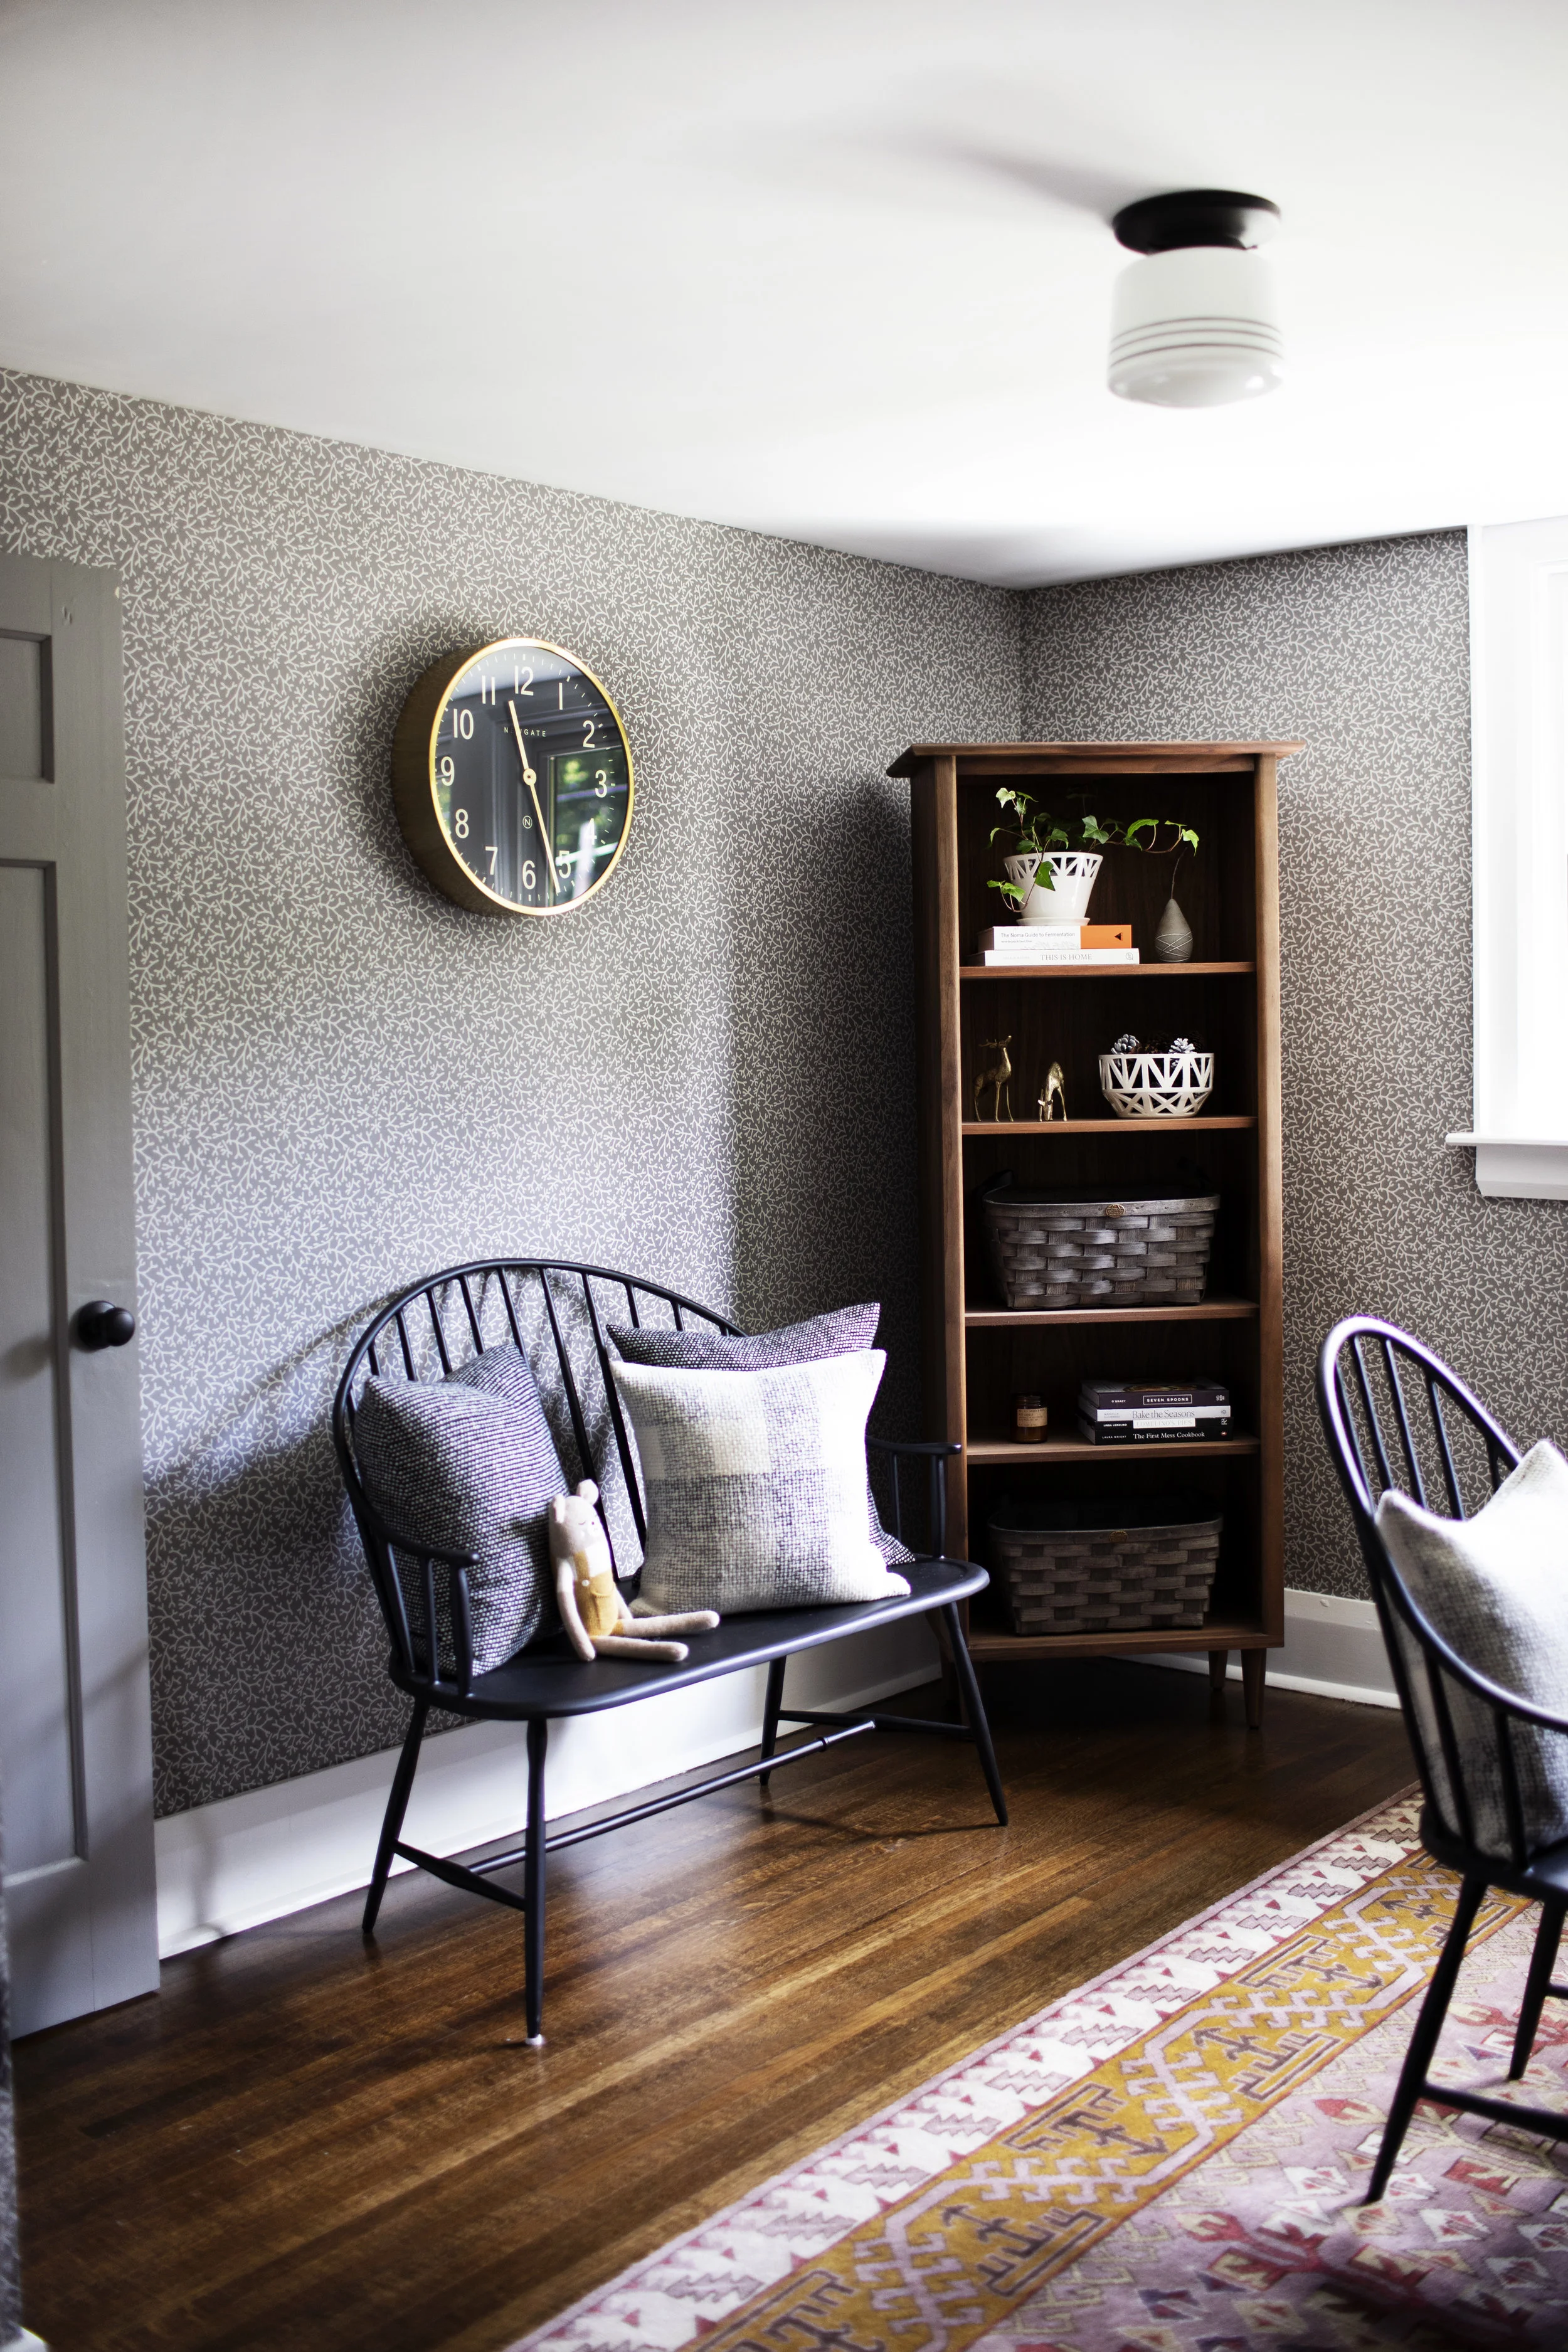
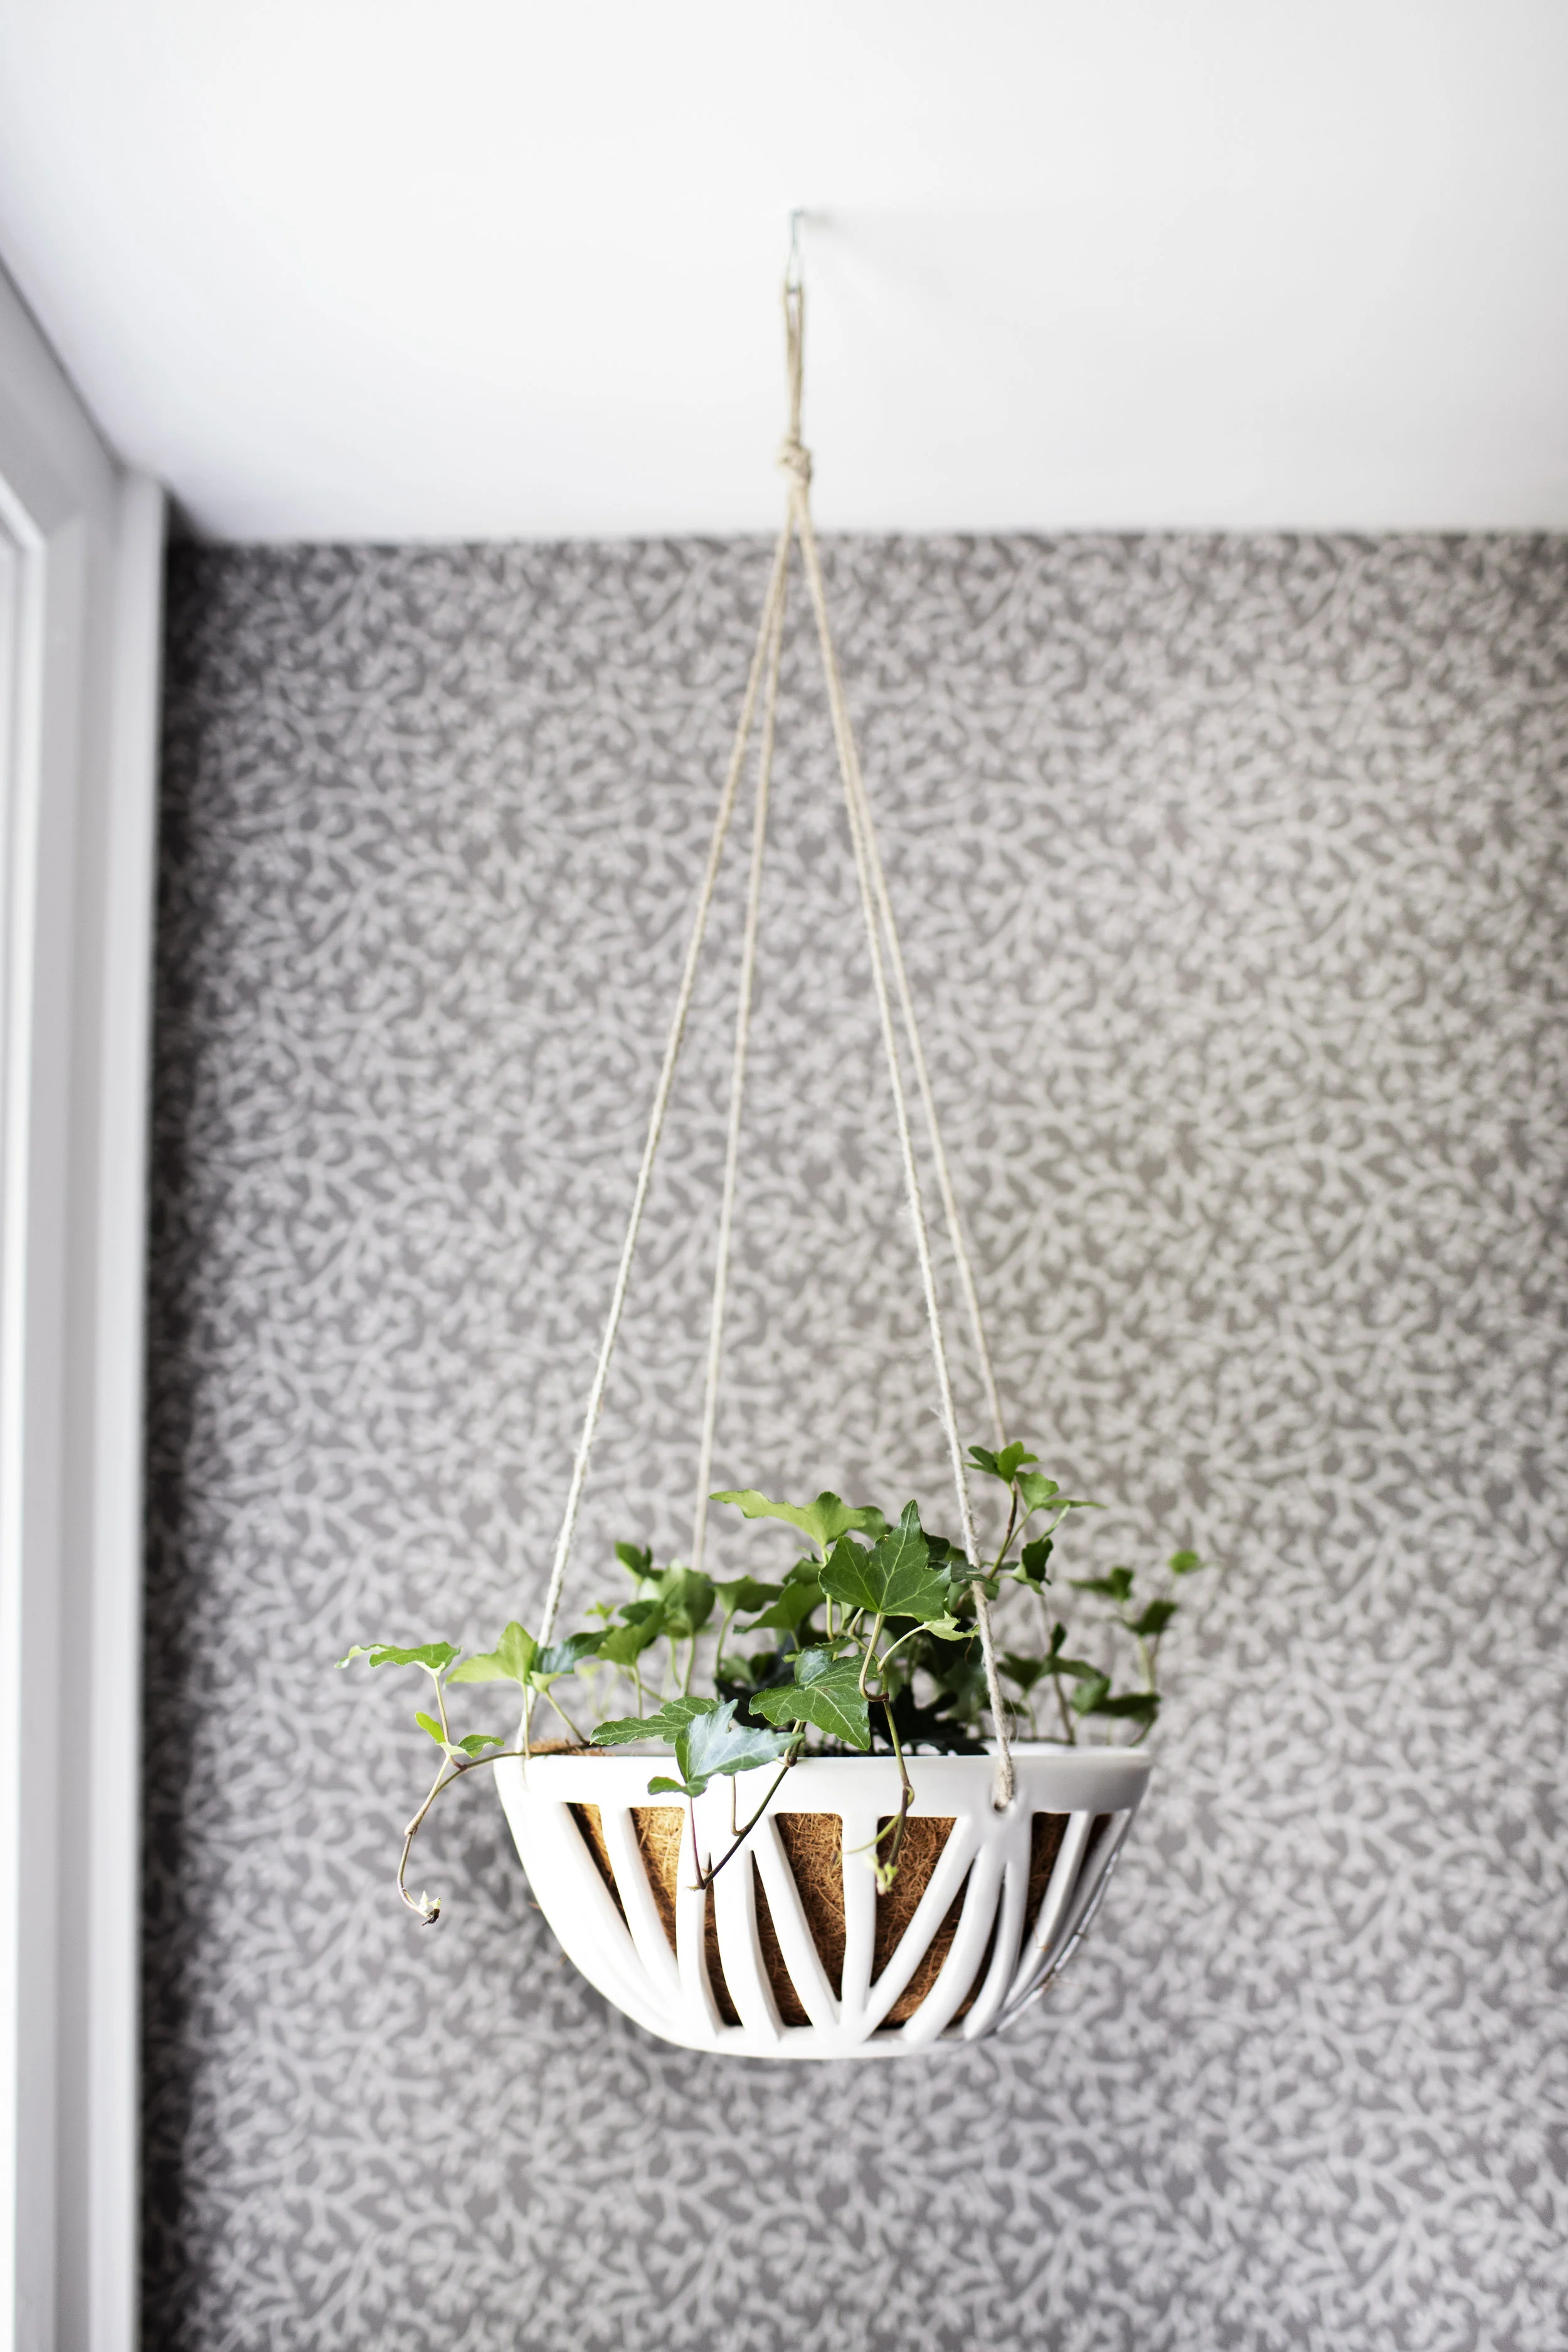
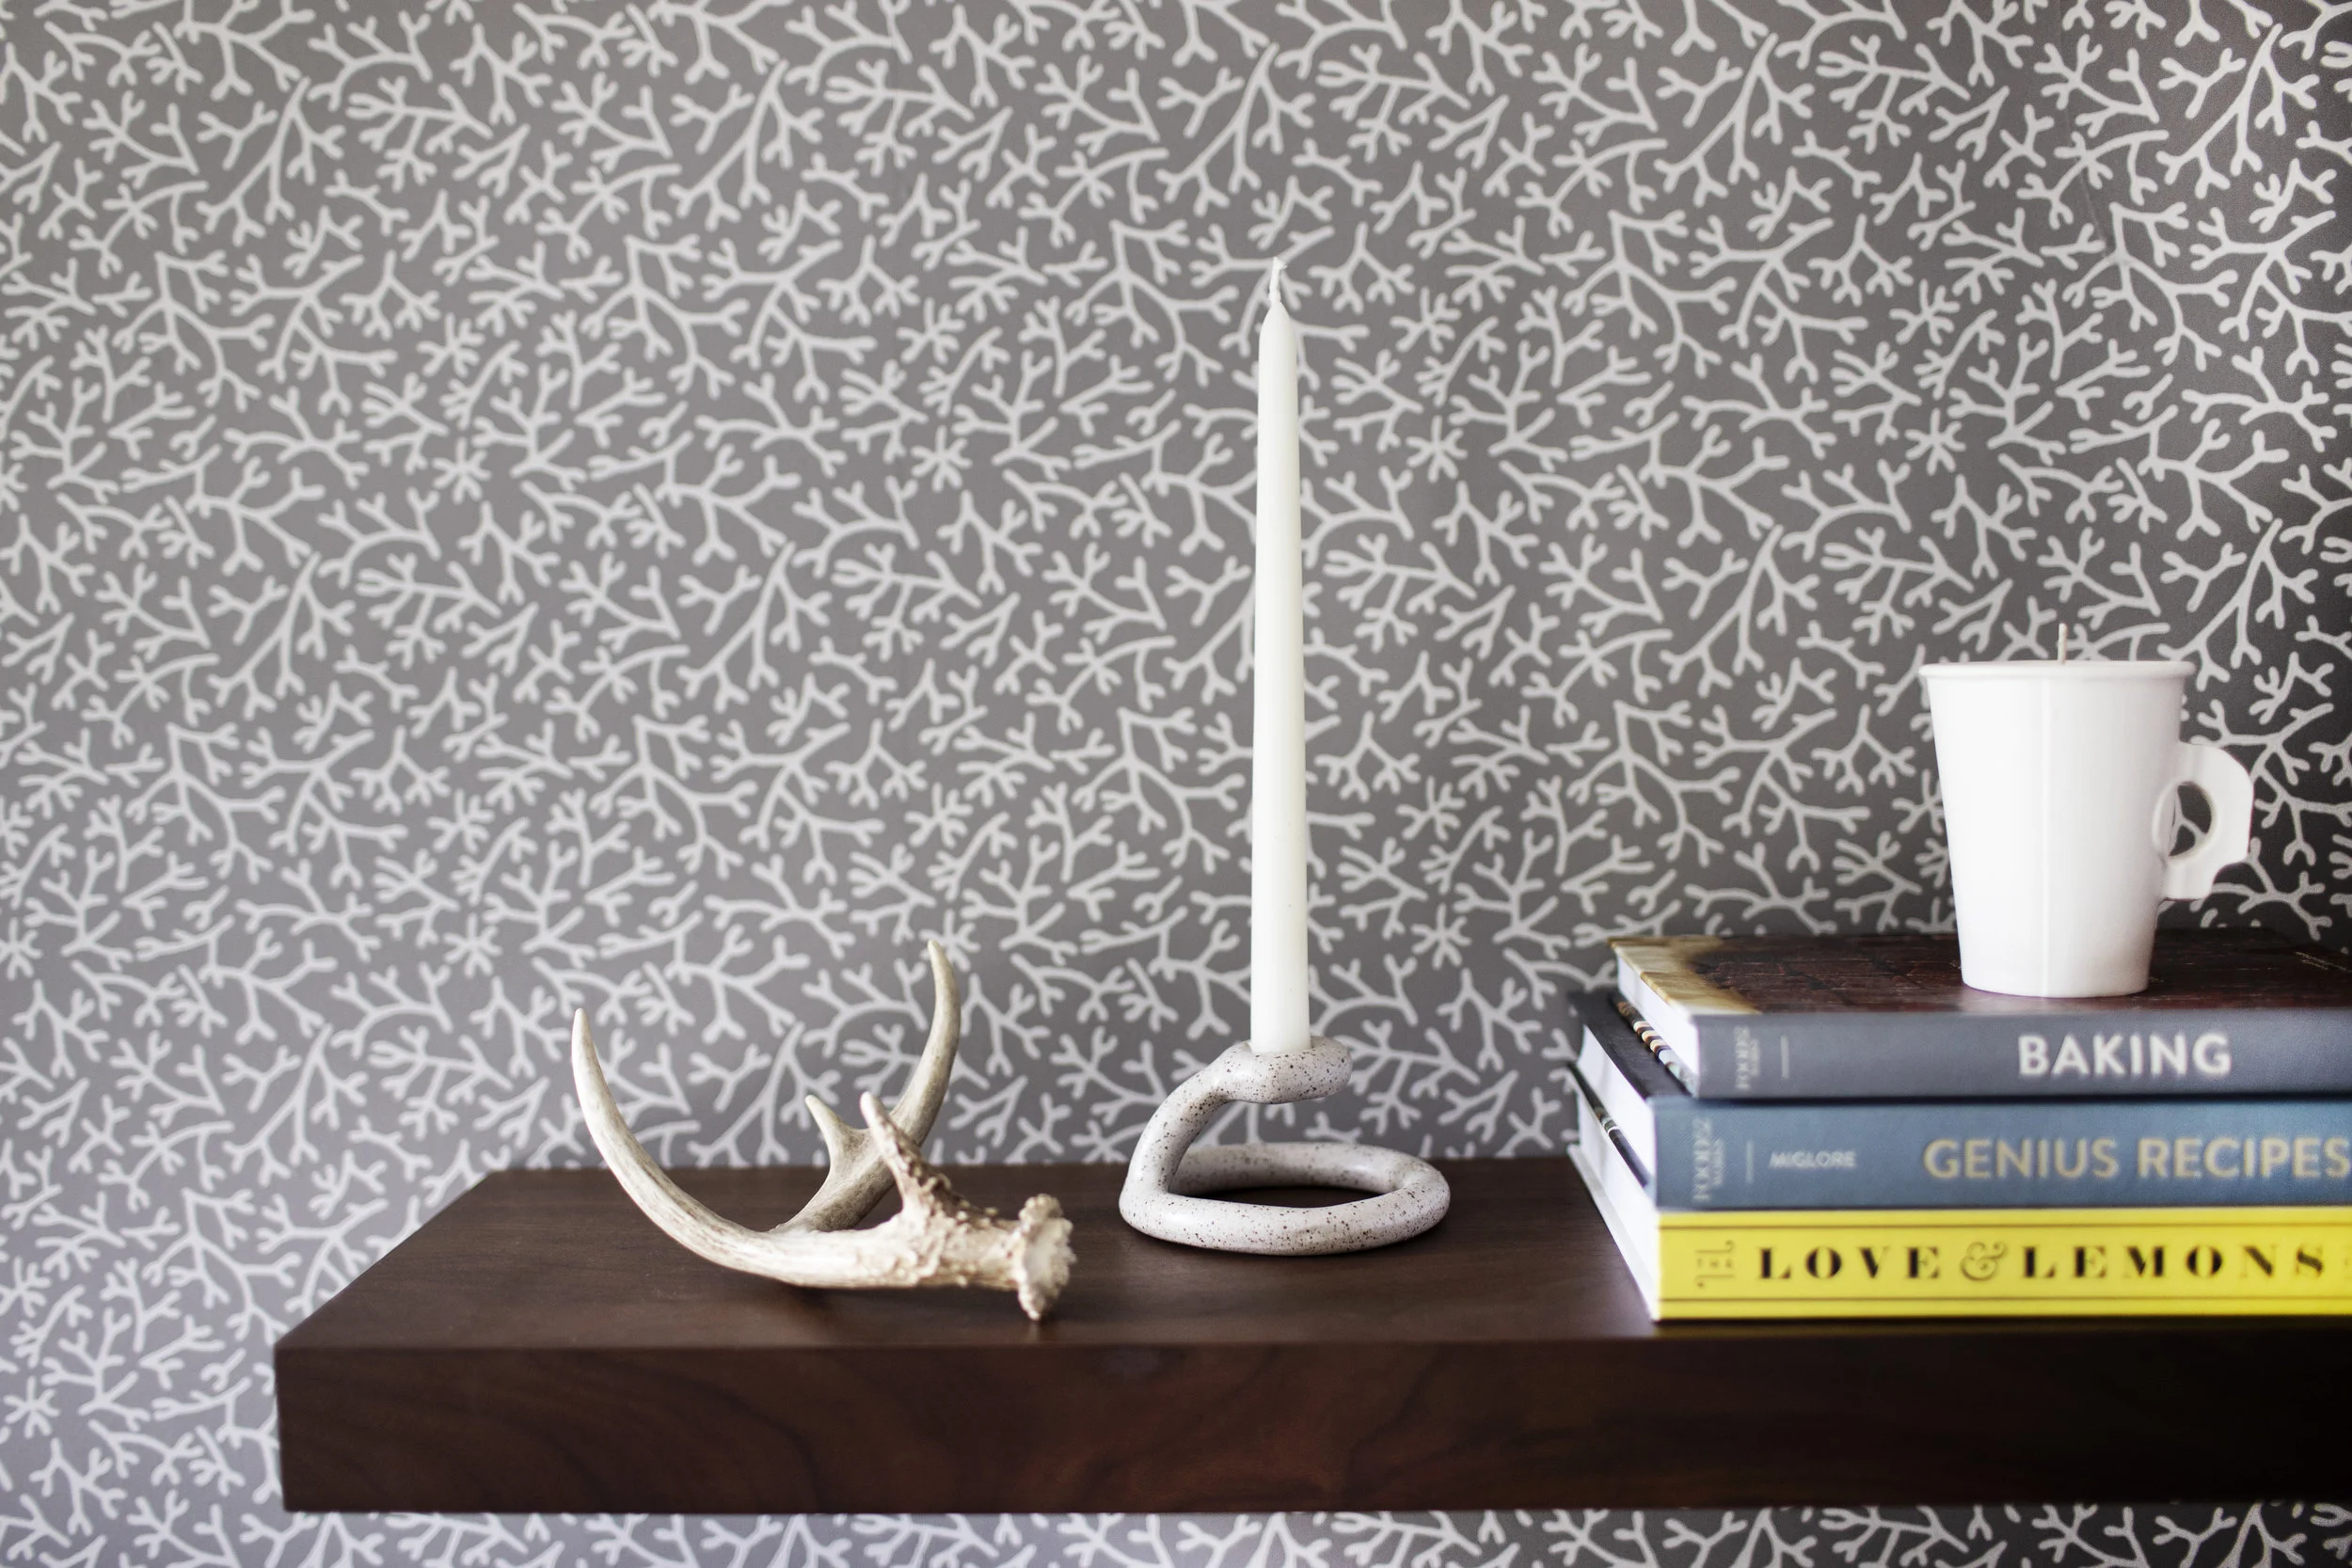
happy september friends! i am kicking off the start of fall with a little home office refresh. most days i work from home, which means i spend a lot of time between these four walls (some days too much time). it was beginning to feel very uninspiring, so i decided a refresh was in order. new season, new work space! the end results turned out so timeless with a hint of whimsical. i can't wait to walk you through this space! note: the wallpaper was done a few years ago when we first moved in & i love it as much as i did then. i went with samphire by farrow & ball, which looks woodsy to me. anyone who tried to stop me from hanging all the wallpaper in my house because i would quickly get sick of it was wrong. it makes for the perfect backdrop to any design. ok, lets get into the details of this office!

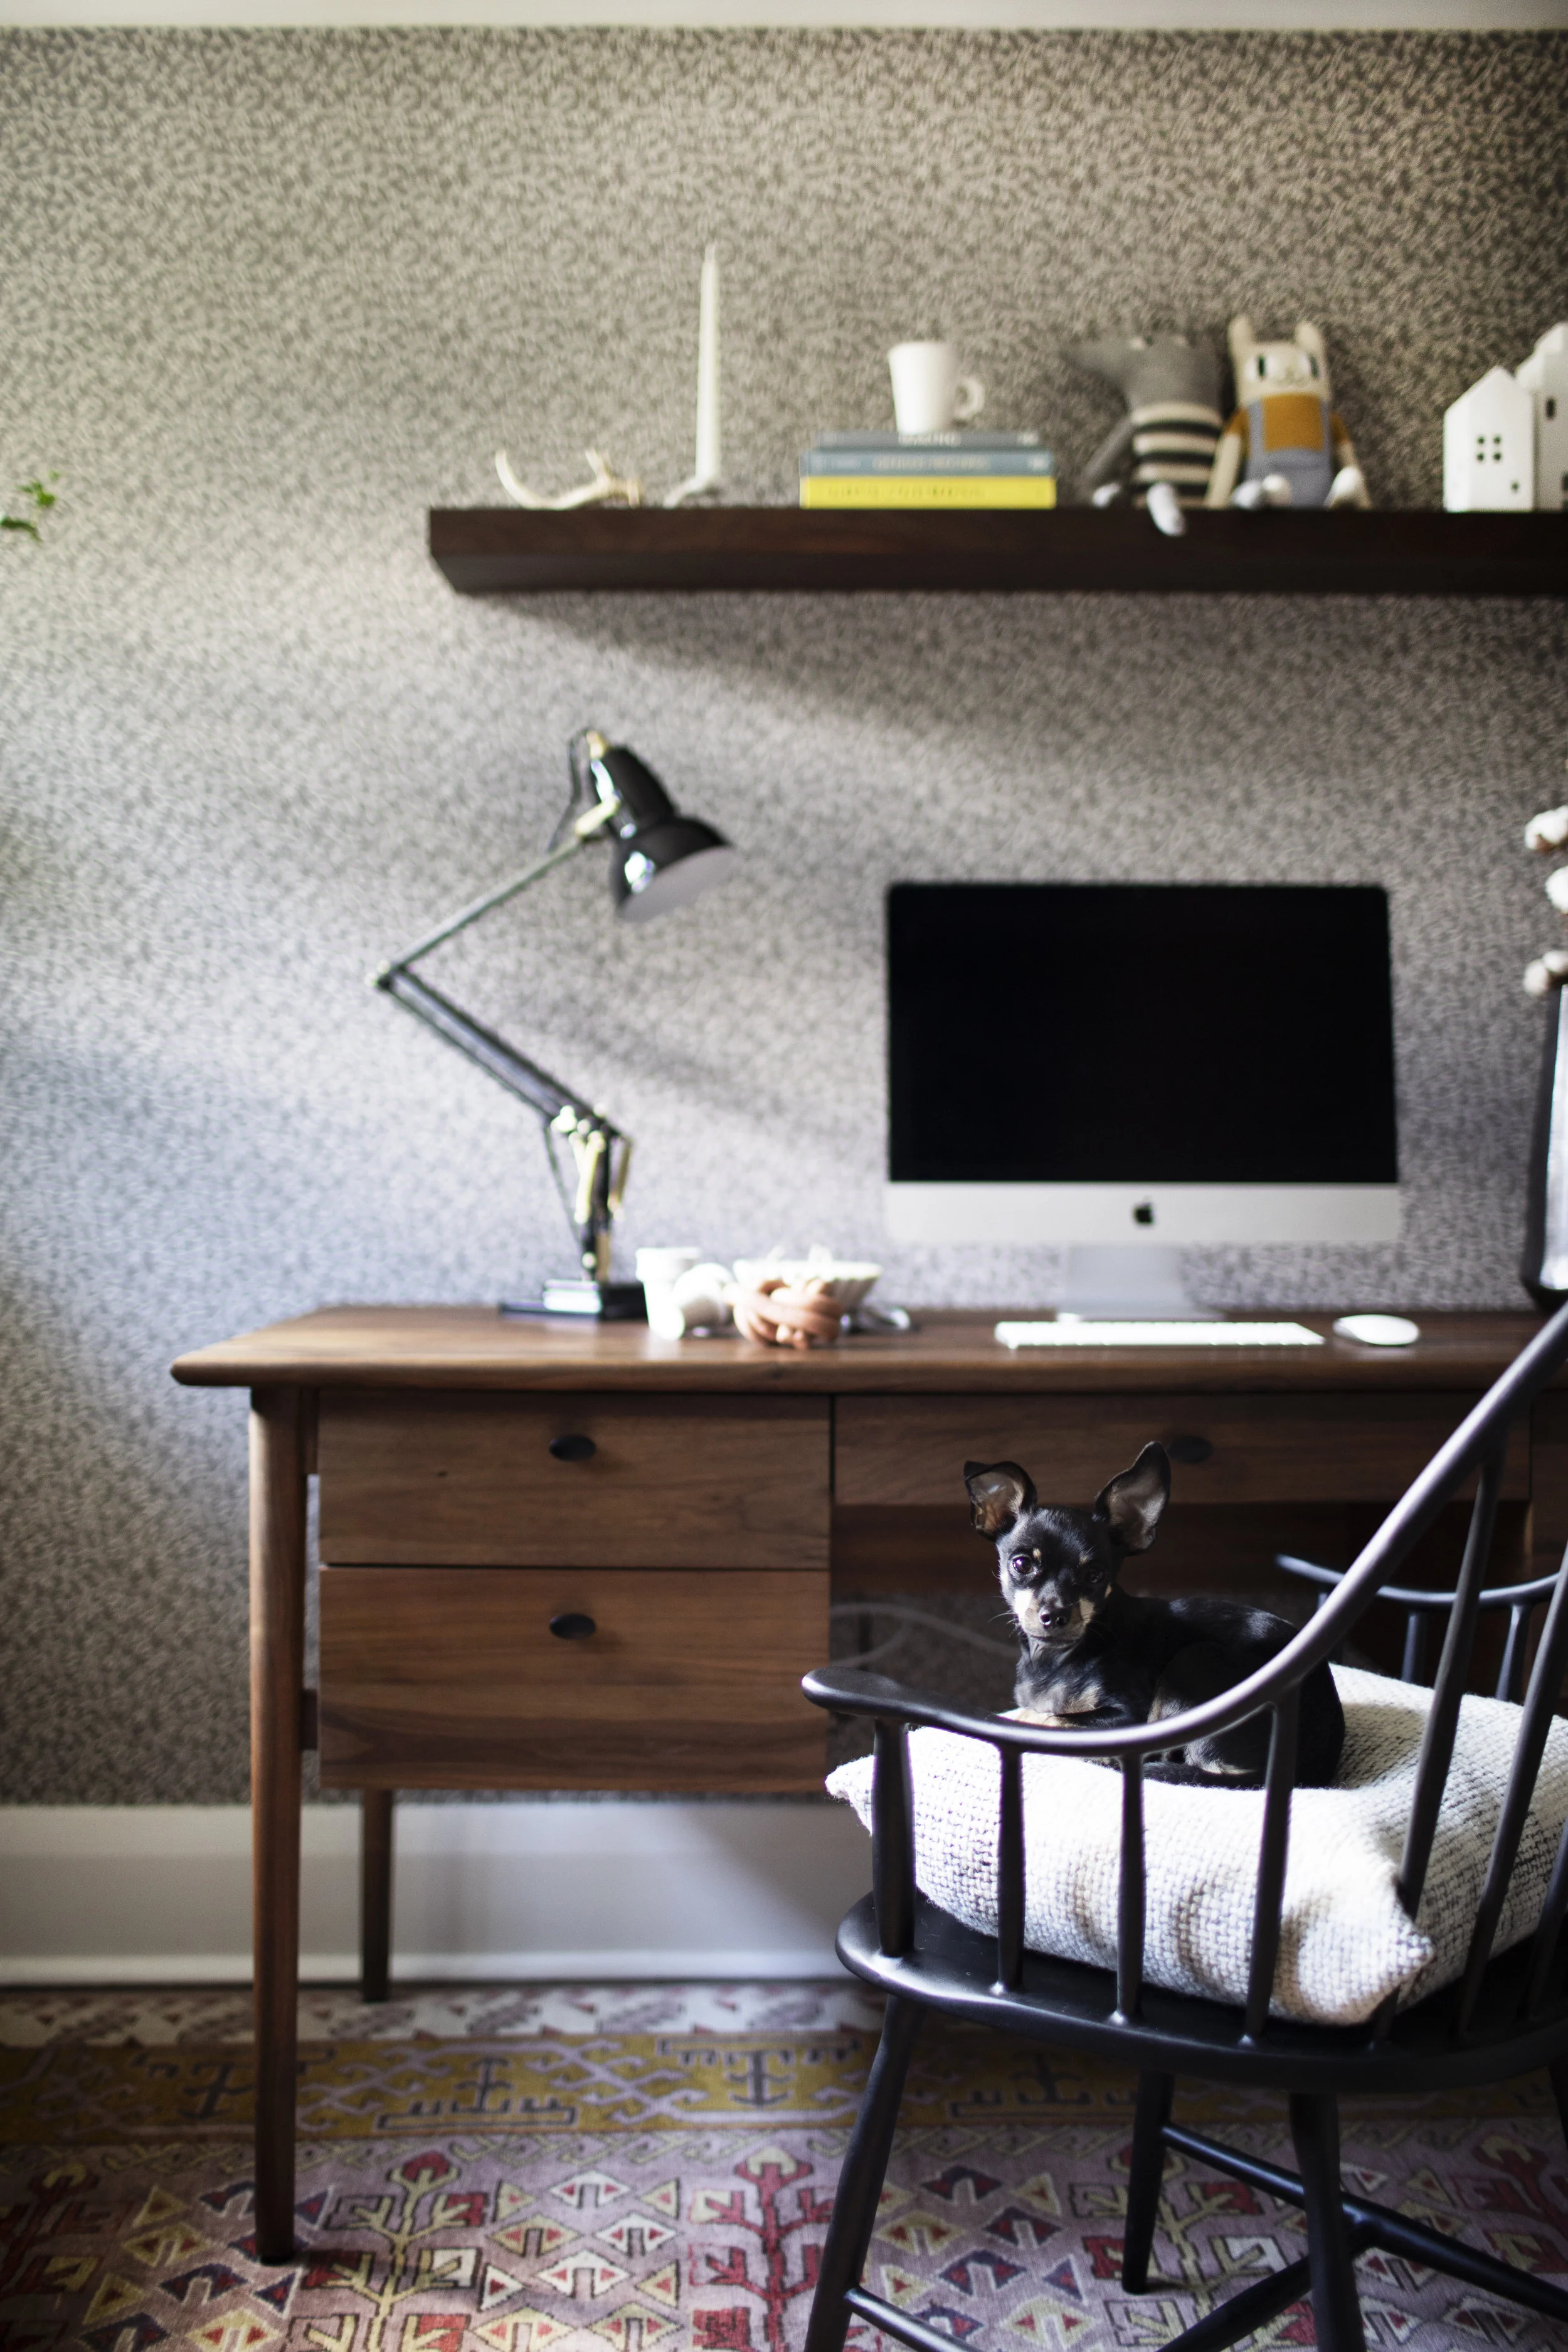
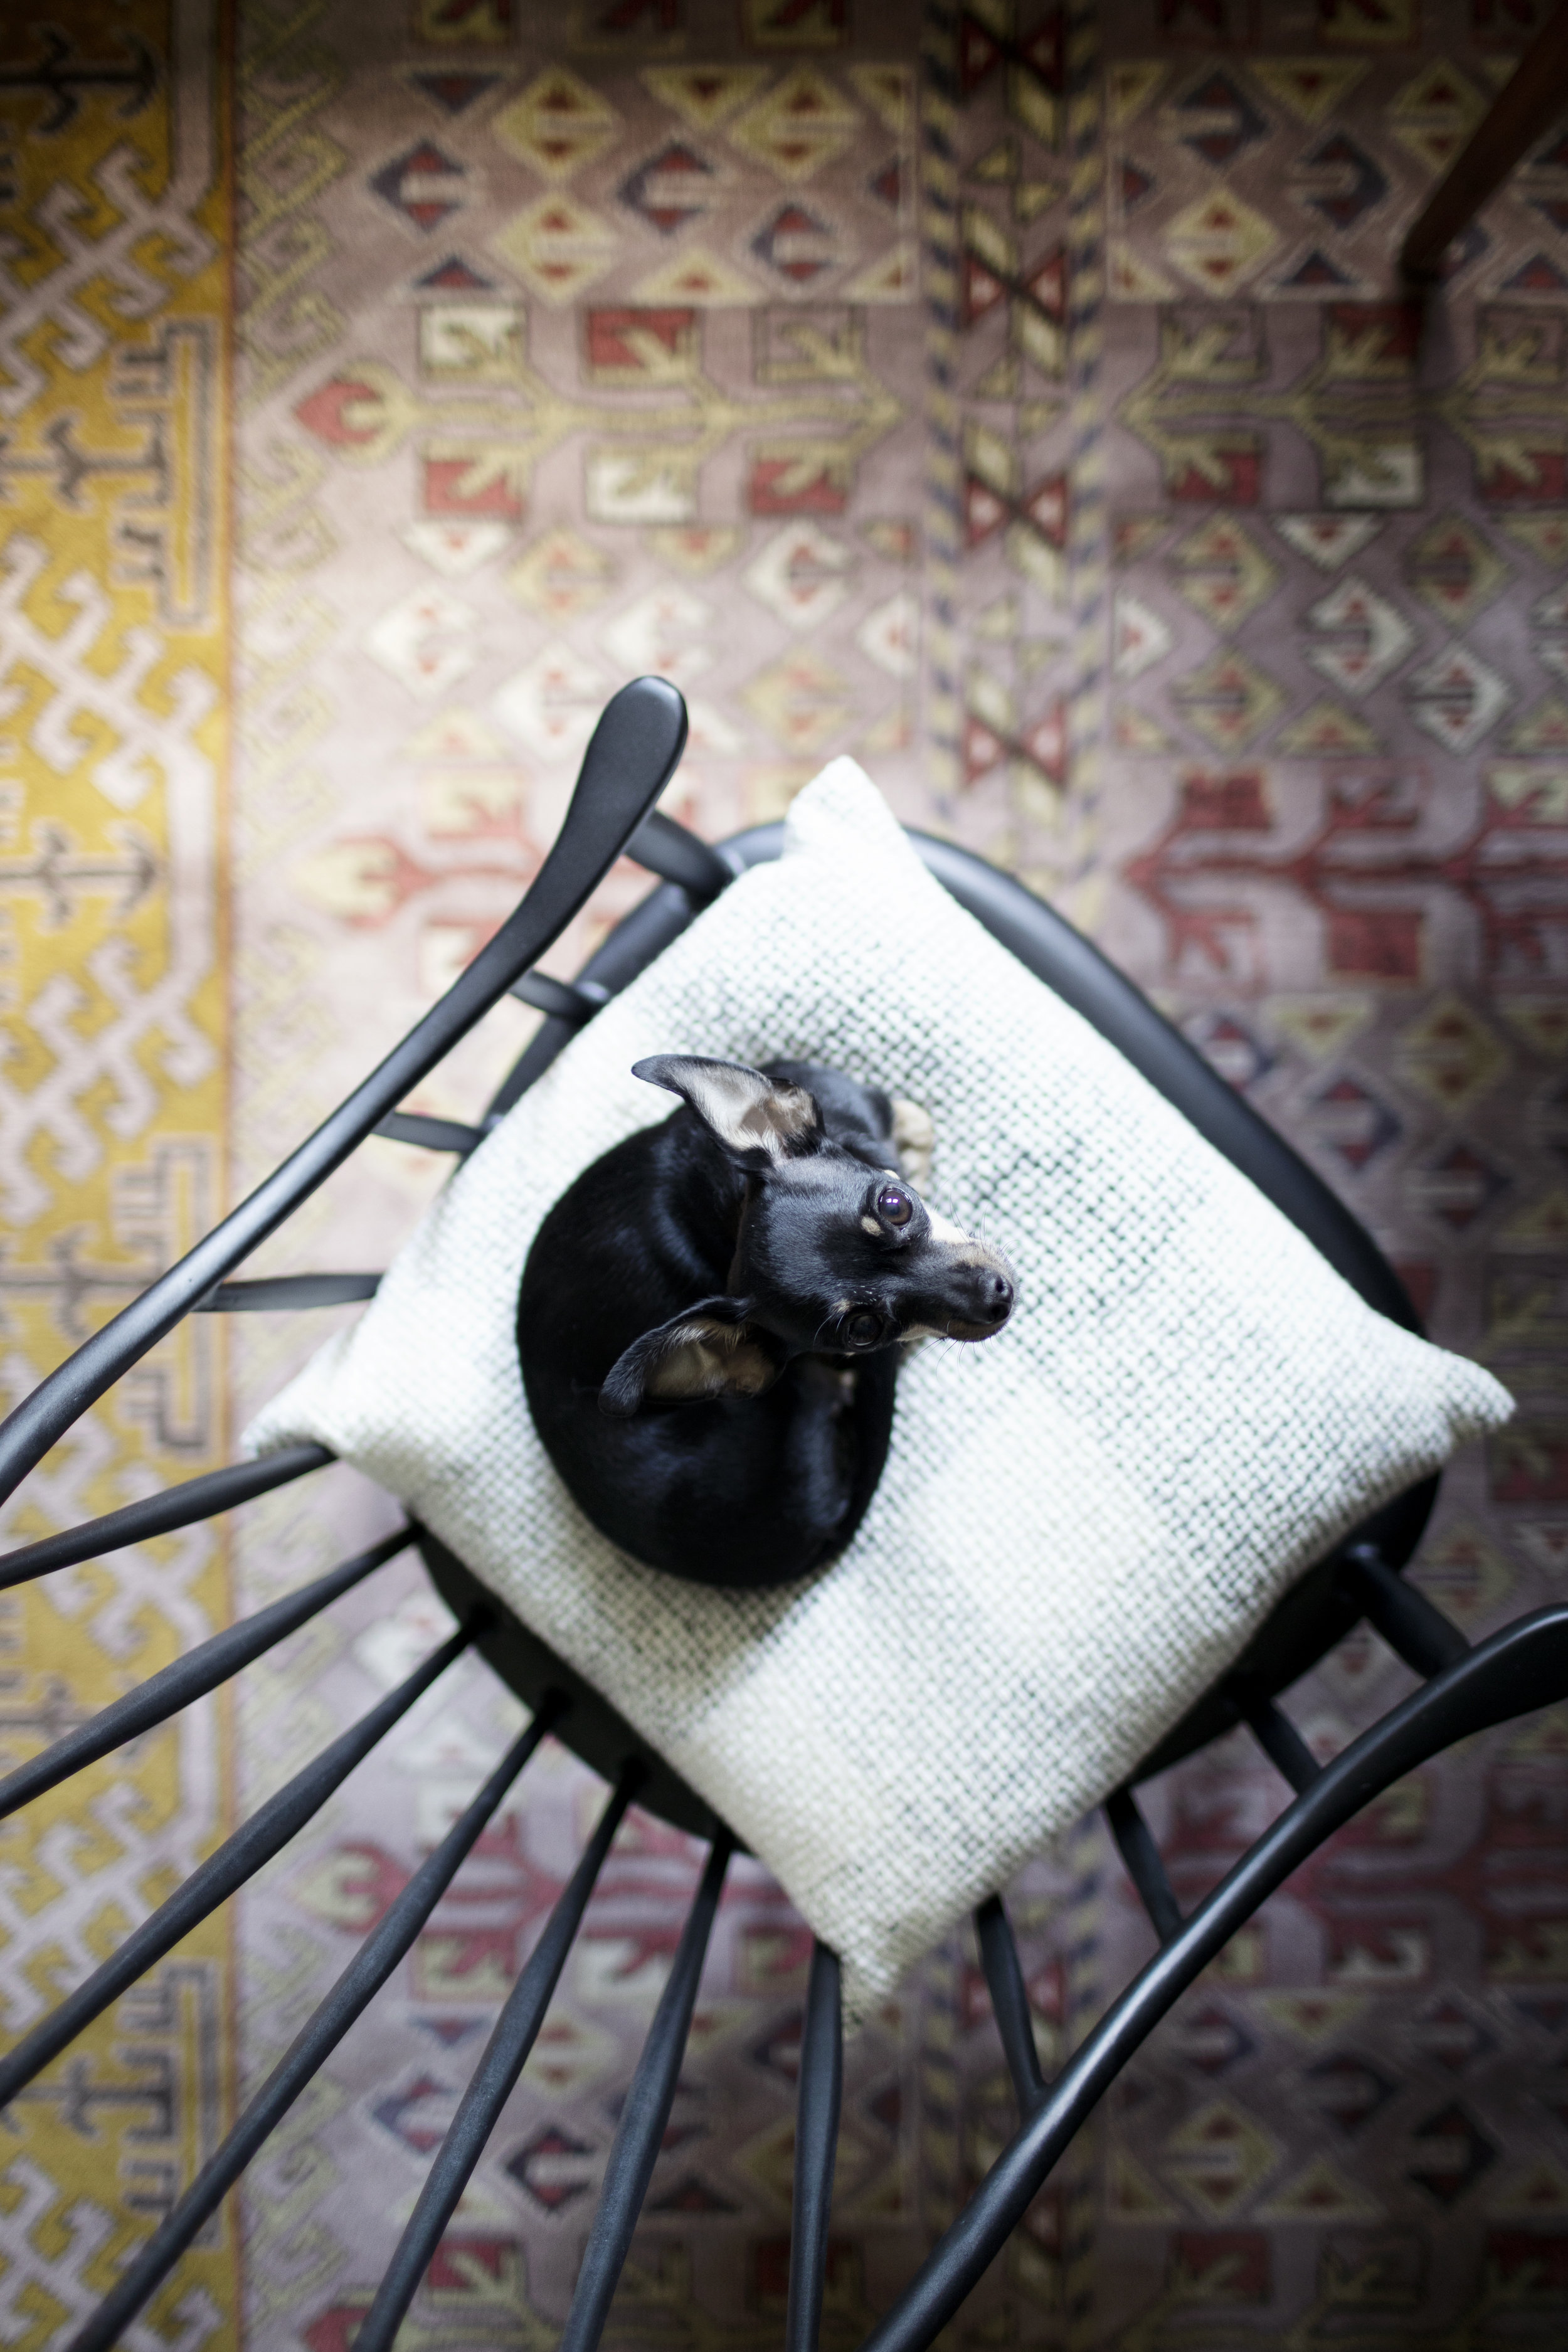
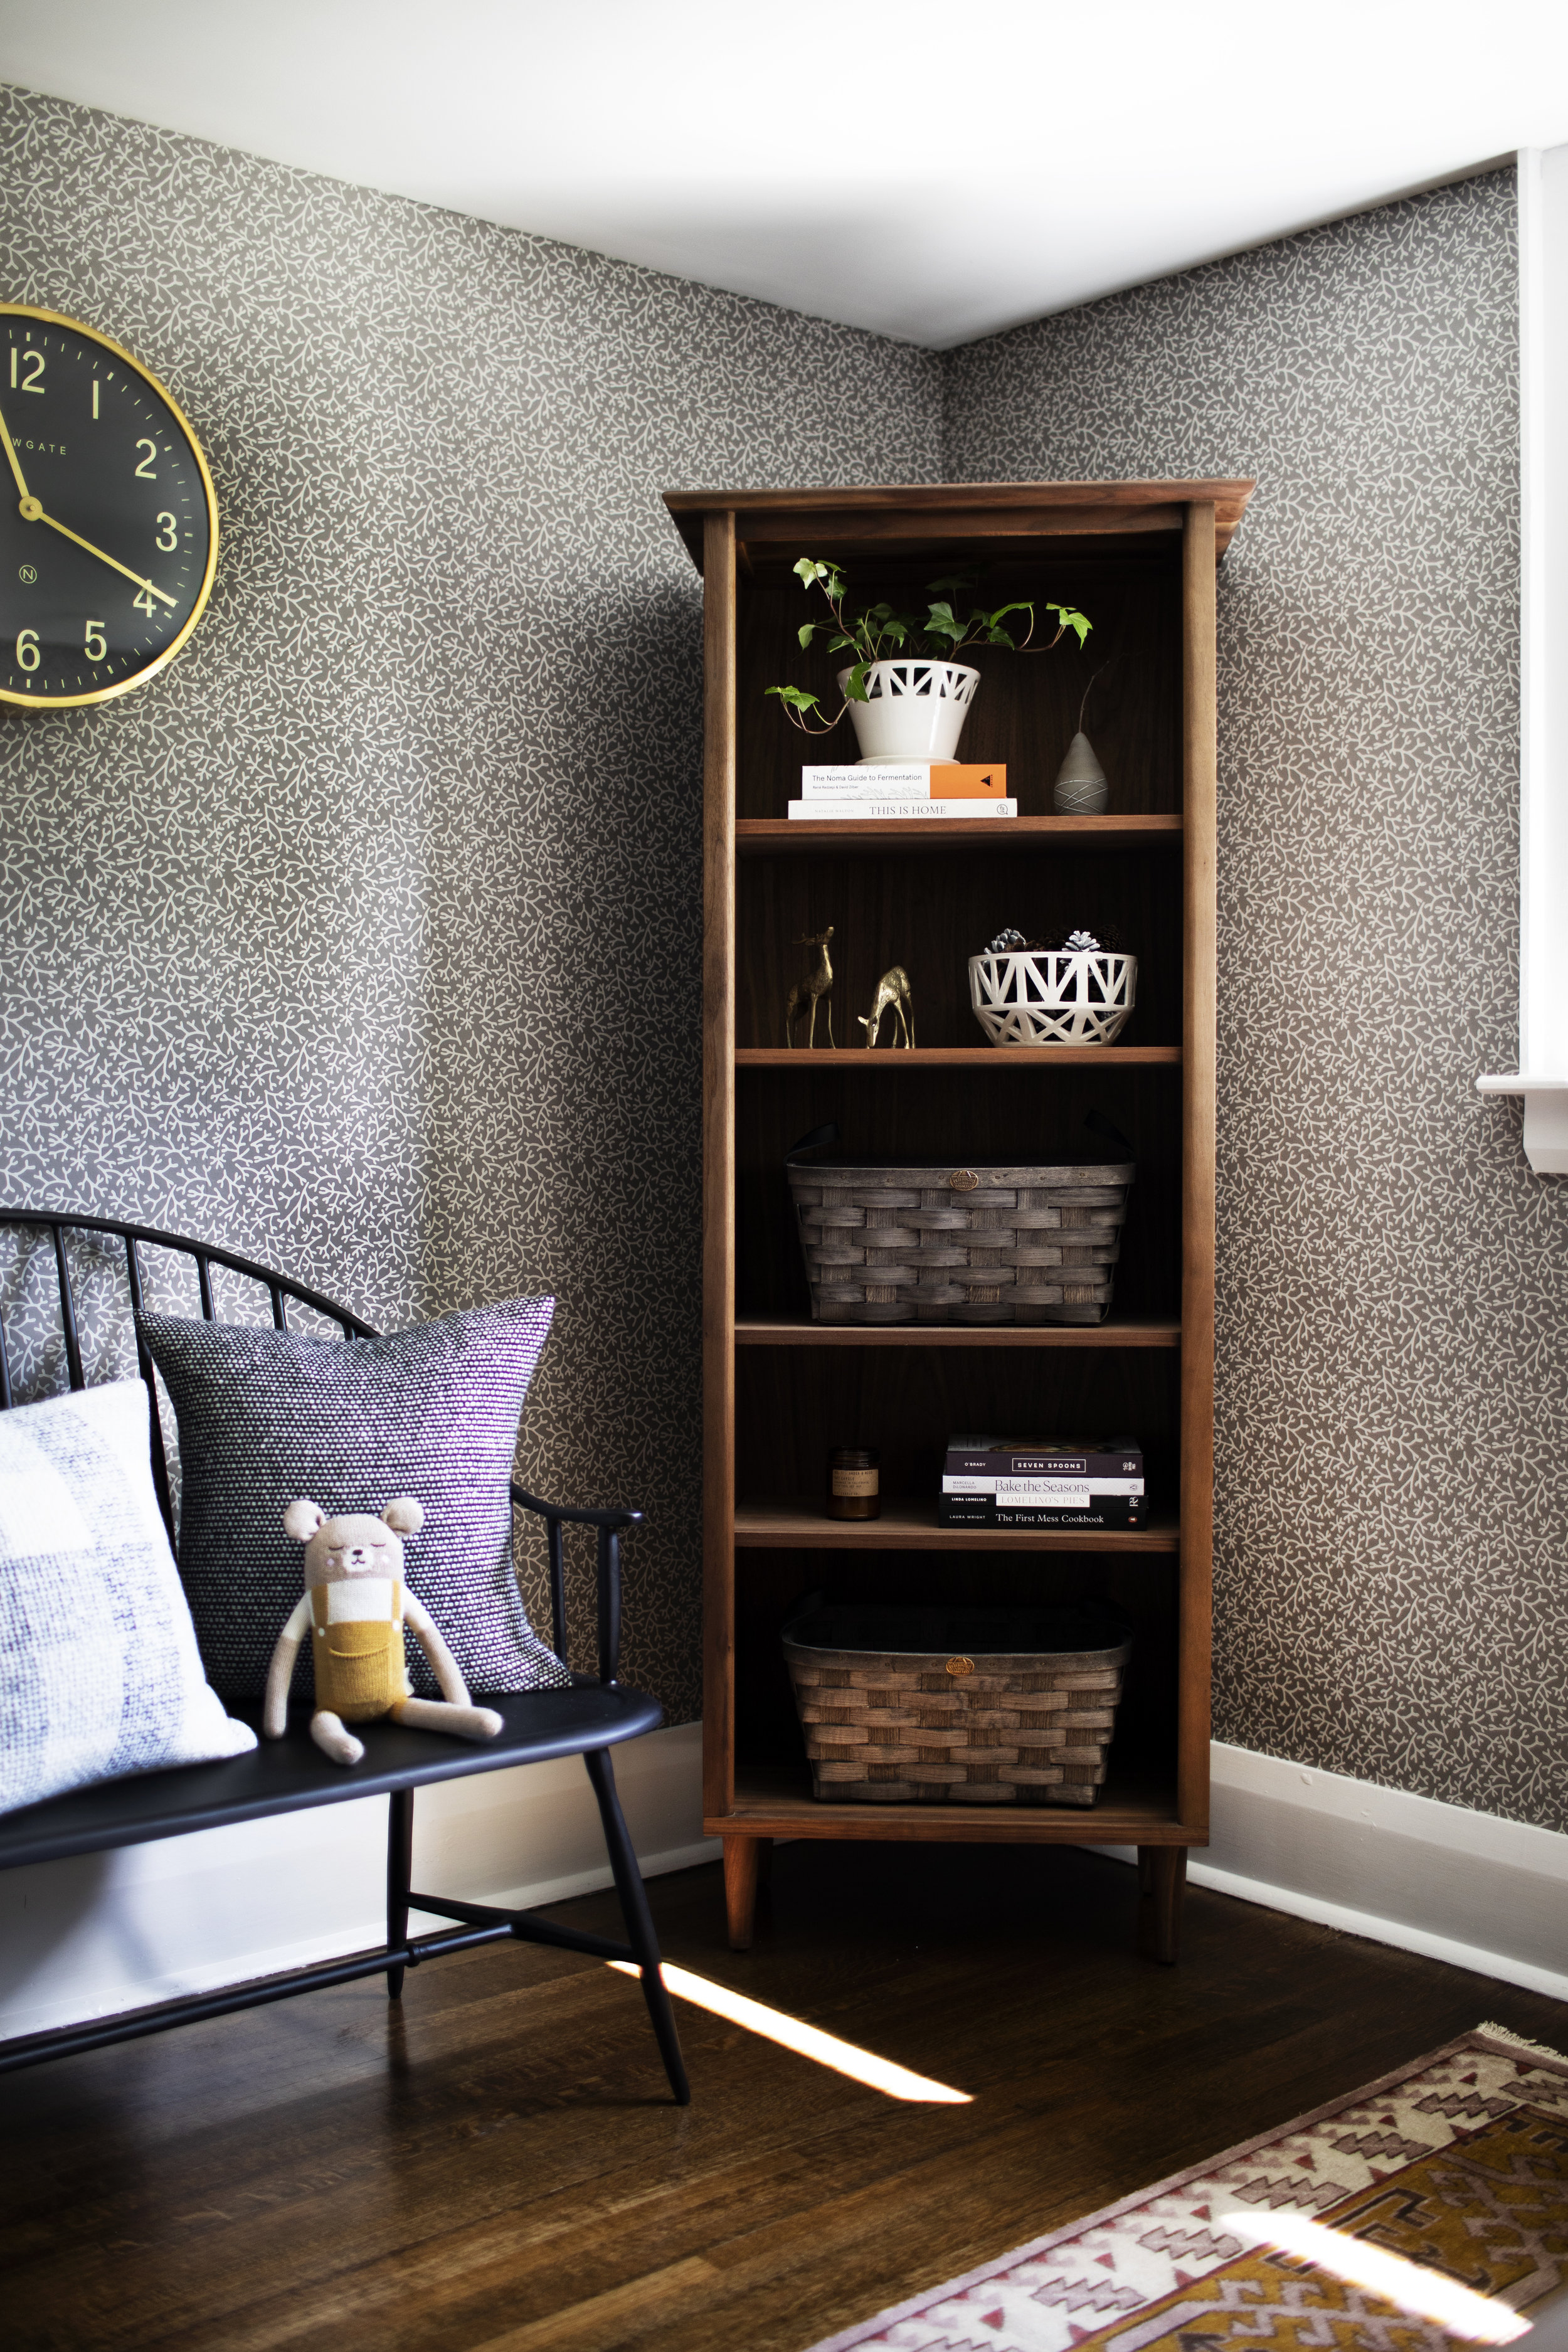
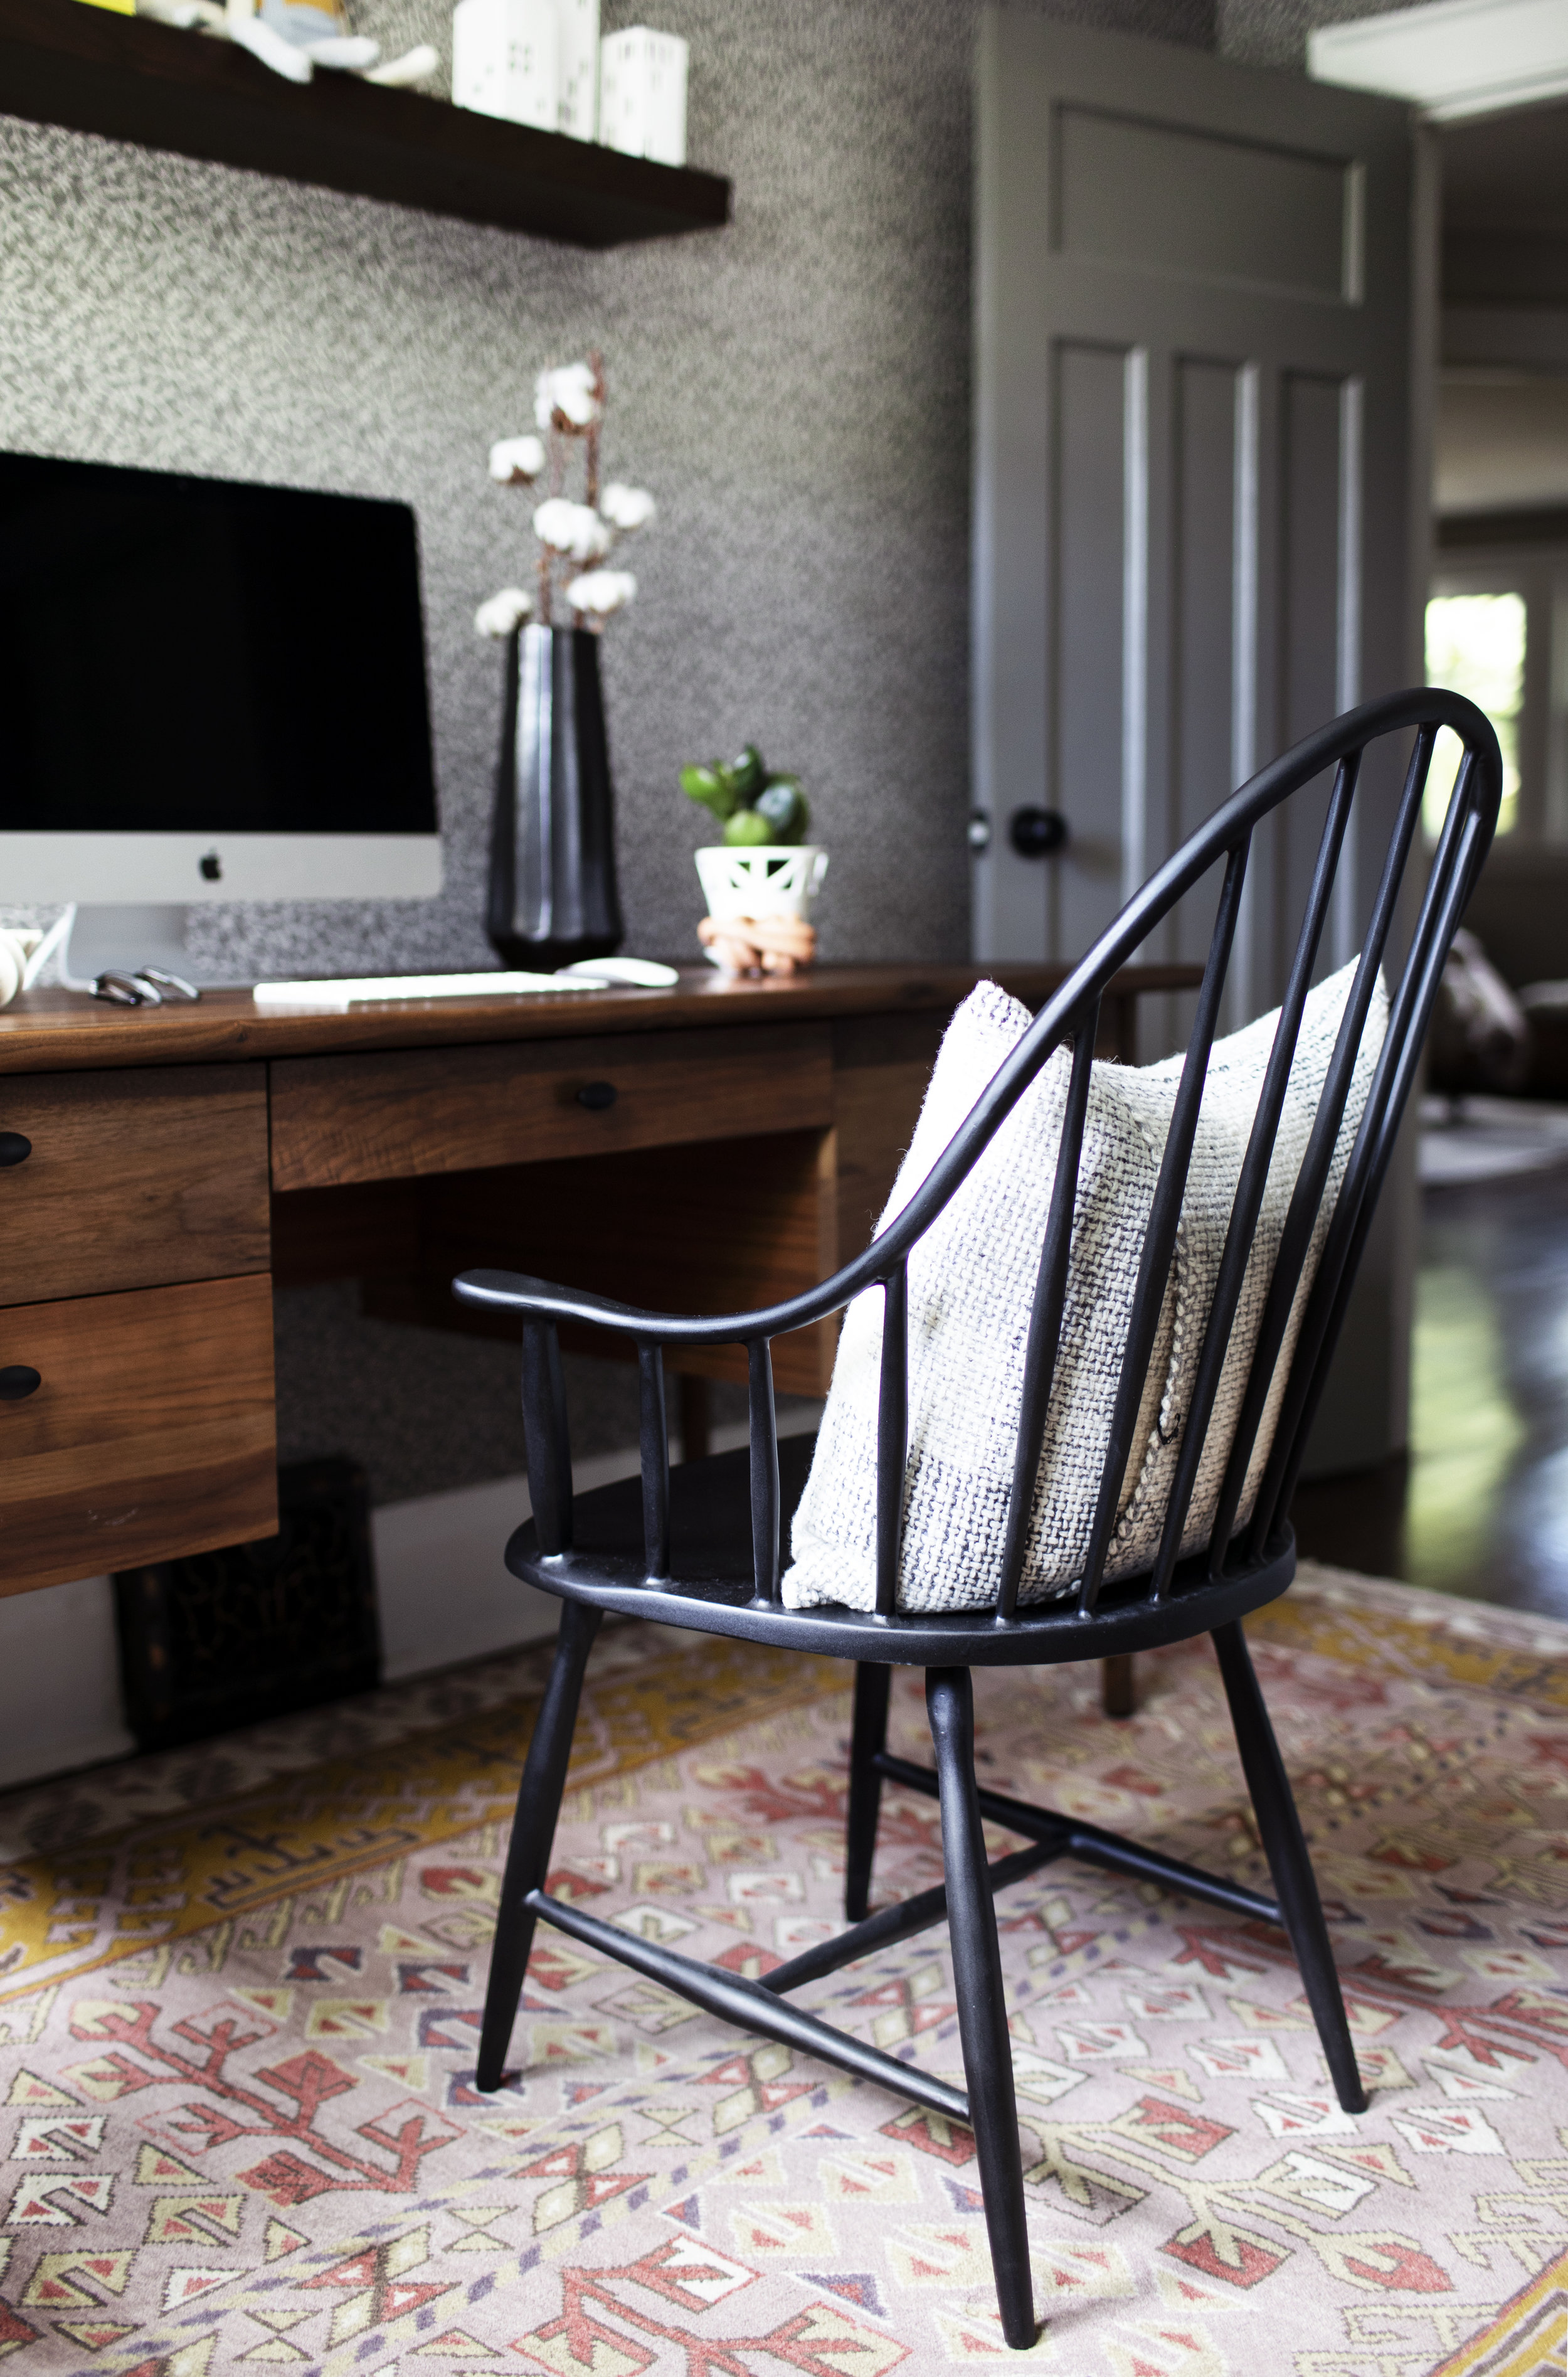
this space didn't require any updated furniture pieces. the mid-century inspired desk & bookcase remained the same, which shows it is amazing how a few interesting decor pieces can change a whole space (FYI the desk is the kendall walnut desk from crate & barrel). what brought the most colour & change to the space is a new area rug! i have wanted to add more colour throughout our home, without getting crazy. the rug has so many gorgeous soft pink & plum colours throughout the design pattern with a subtle pop of mustard yellow. i knew i wanted to bring a bold rug into the design, but it had to compliment the wallpaper. the muir hand-knotted rug from rejuvenation was the winner by a landslide. it looks so good with the wallpaper, without taking away from the simplicity of the pattern. it also compliments the guest room beside it as the room is wallpapered in soft pink hues.

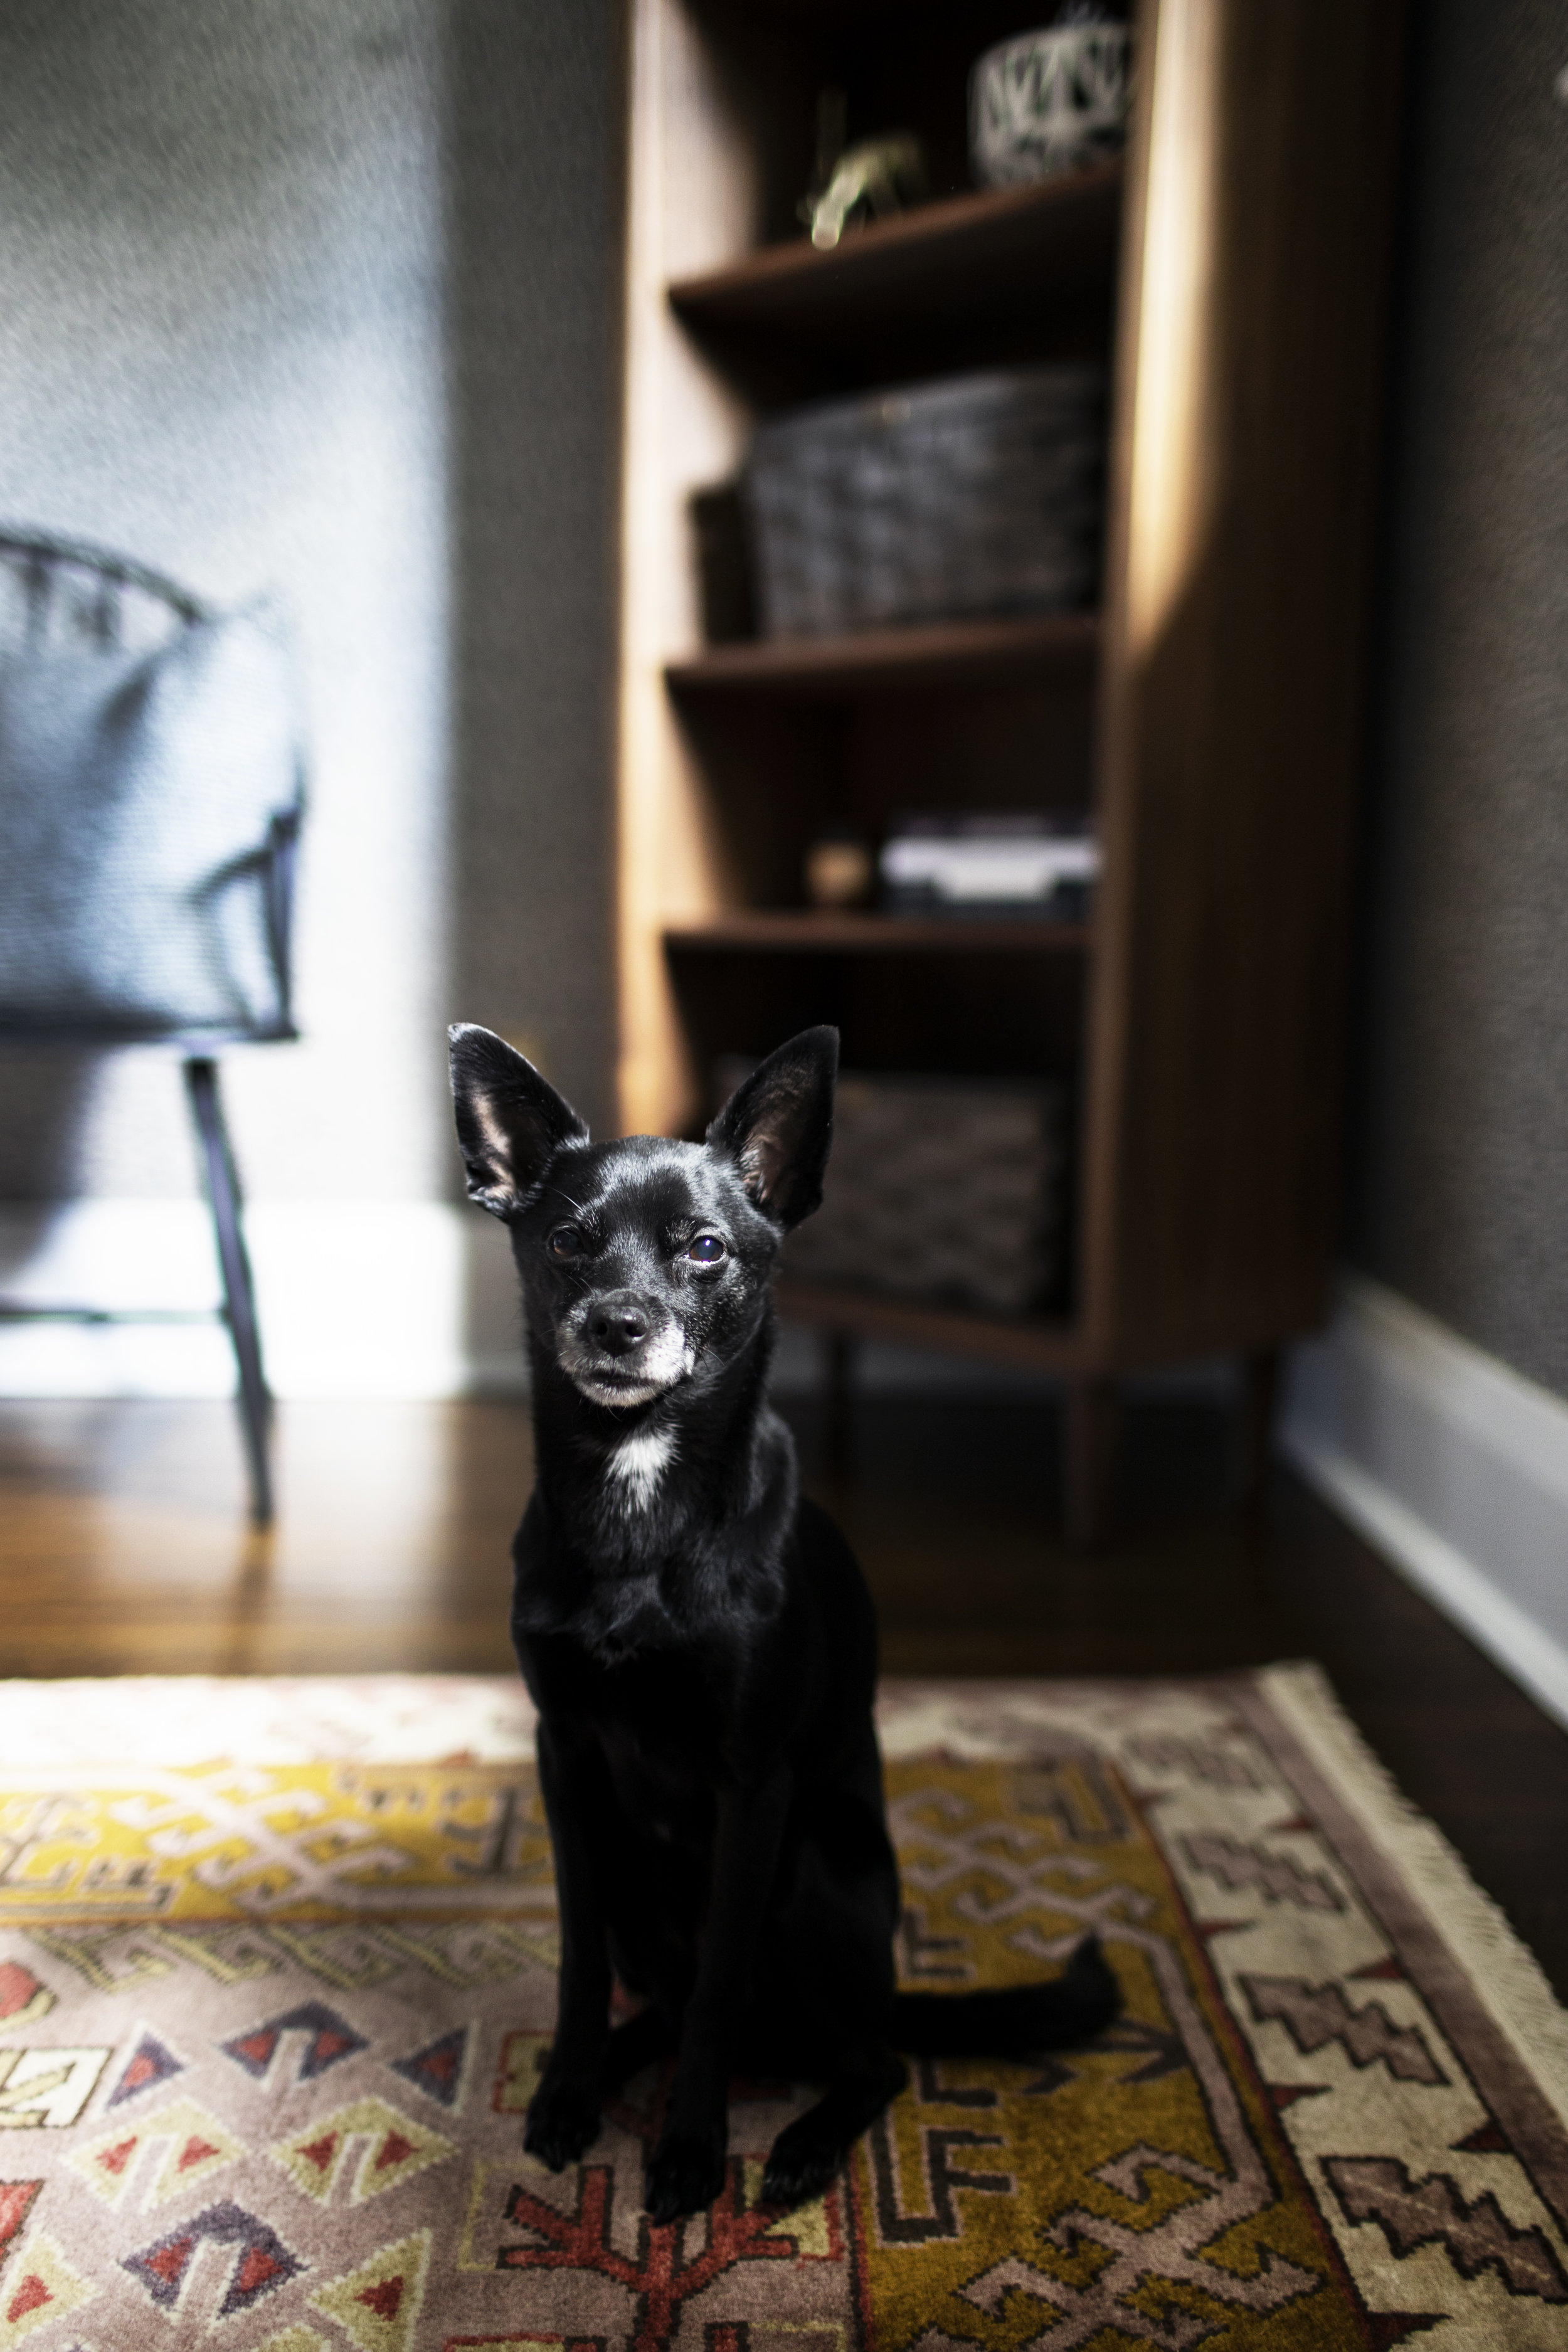
next up, the bench! this wall has been empty for years as i never really knew what to put in the space. since i am always forcing justin to come hang out with me while i edit photos & write blog posts, i realized he needed a place to hang out too. this bench fits the wall space perfectly & allows for extra seating in the office (for both justin, pete + buddy). it is the henry settee from rejuvenation & the matching desk chair is the henry chair. i love how it fits with the era of the house, as it is a modern take on the traditional windsor chair.

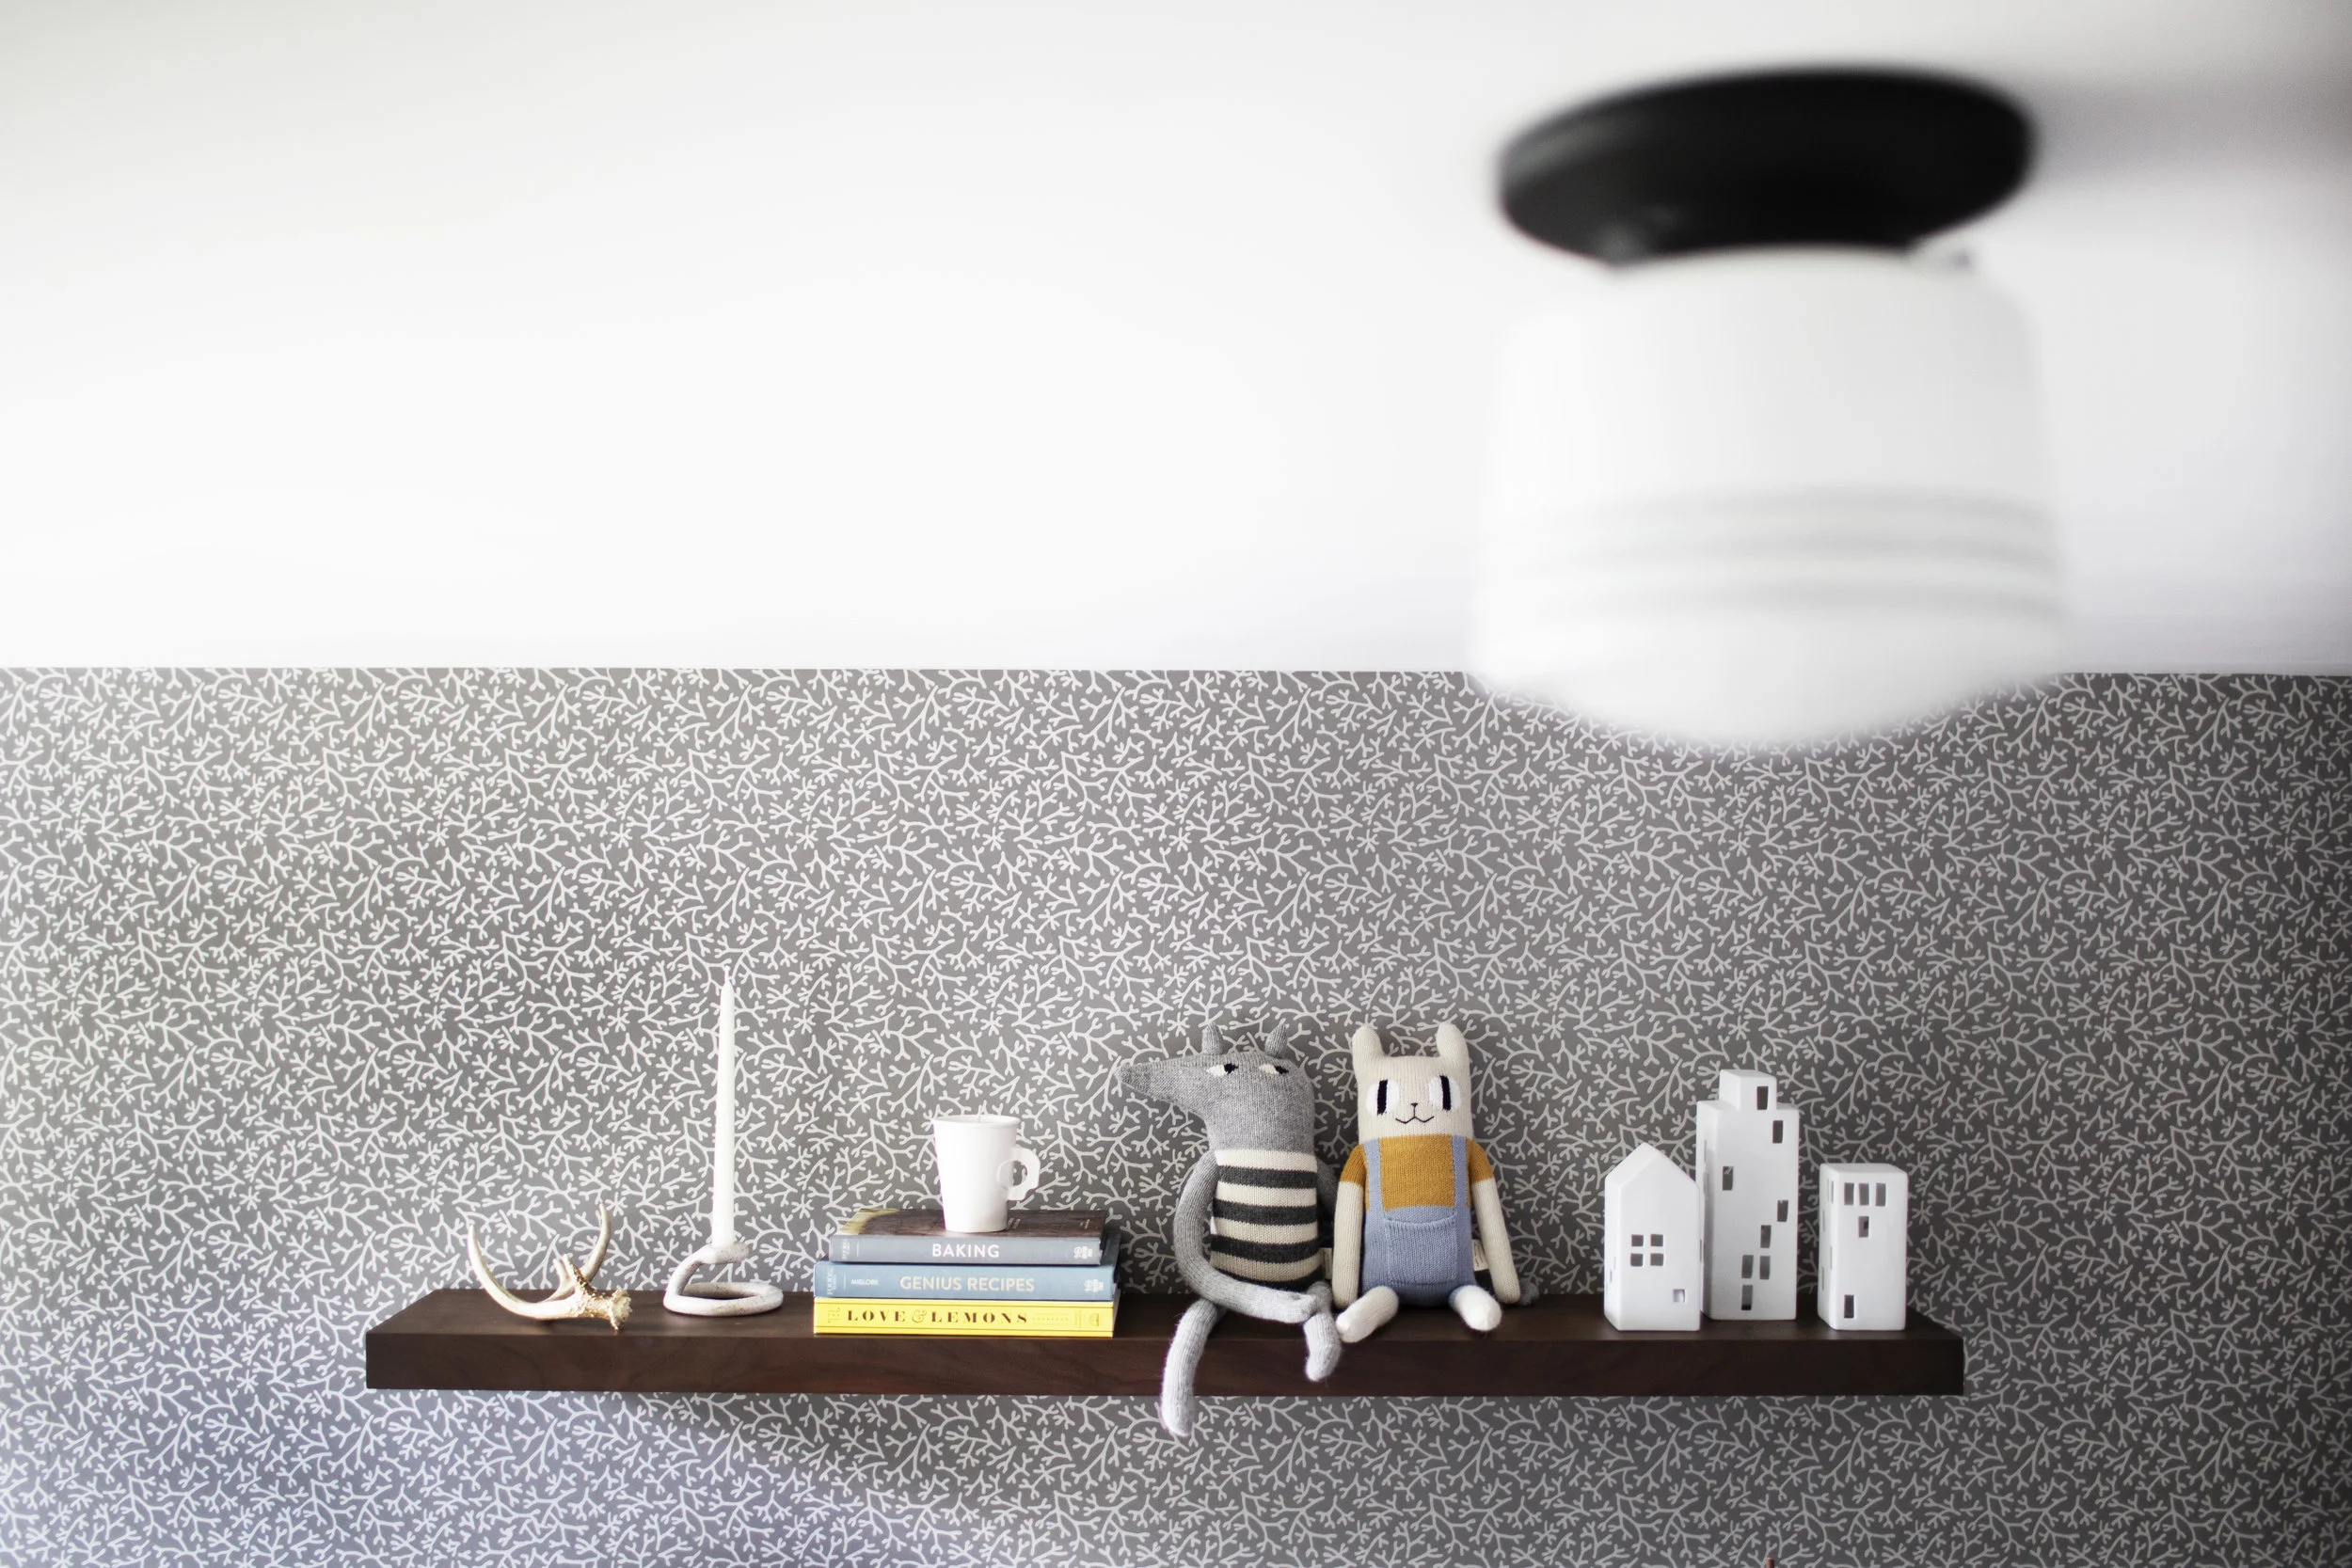
now let's talk wall decor & wallpaper. it took me way too long to allow anyone to nail or drill into my precious wallpaper (wallpaper people, you get me right?), until i realized this room looked so bland without anything on the walls. because it is an office & i have a thing for school house clocks, i decided hanging an oversized clock was worthy of putting a nail into the wallpaper. the mr. edwards clock matches the other the brass & black elements in the space, such as the brass switchplates + anglepoise original 1227 brass desk lamp. the second (most stressful) element we drilled into the wallpaper for was the floating shelf. above the desk was beyond bare & i knew it needed some sort of shelving. wall art just didn't cut it as nothing was large enough or interesting enough to fill the empty space. justin & i are not the best at hanging things straight in this crooked old house, but we did it! i can't believe what a difference something as simple as a shelf can make. now i get to display all my favourite clay pieces & whimsical creatures. i went with the floating american walnut shelf from rejuvenation as i wanted it to be minimal, clean & match the walnut desk. it ended up being super easy to hang, especially if we managed to do it on our own (haha).

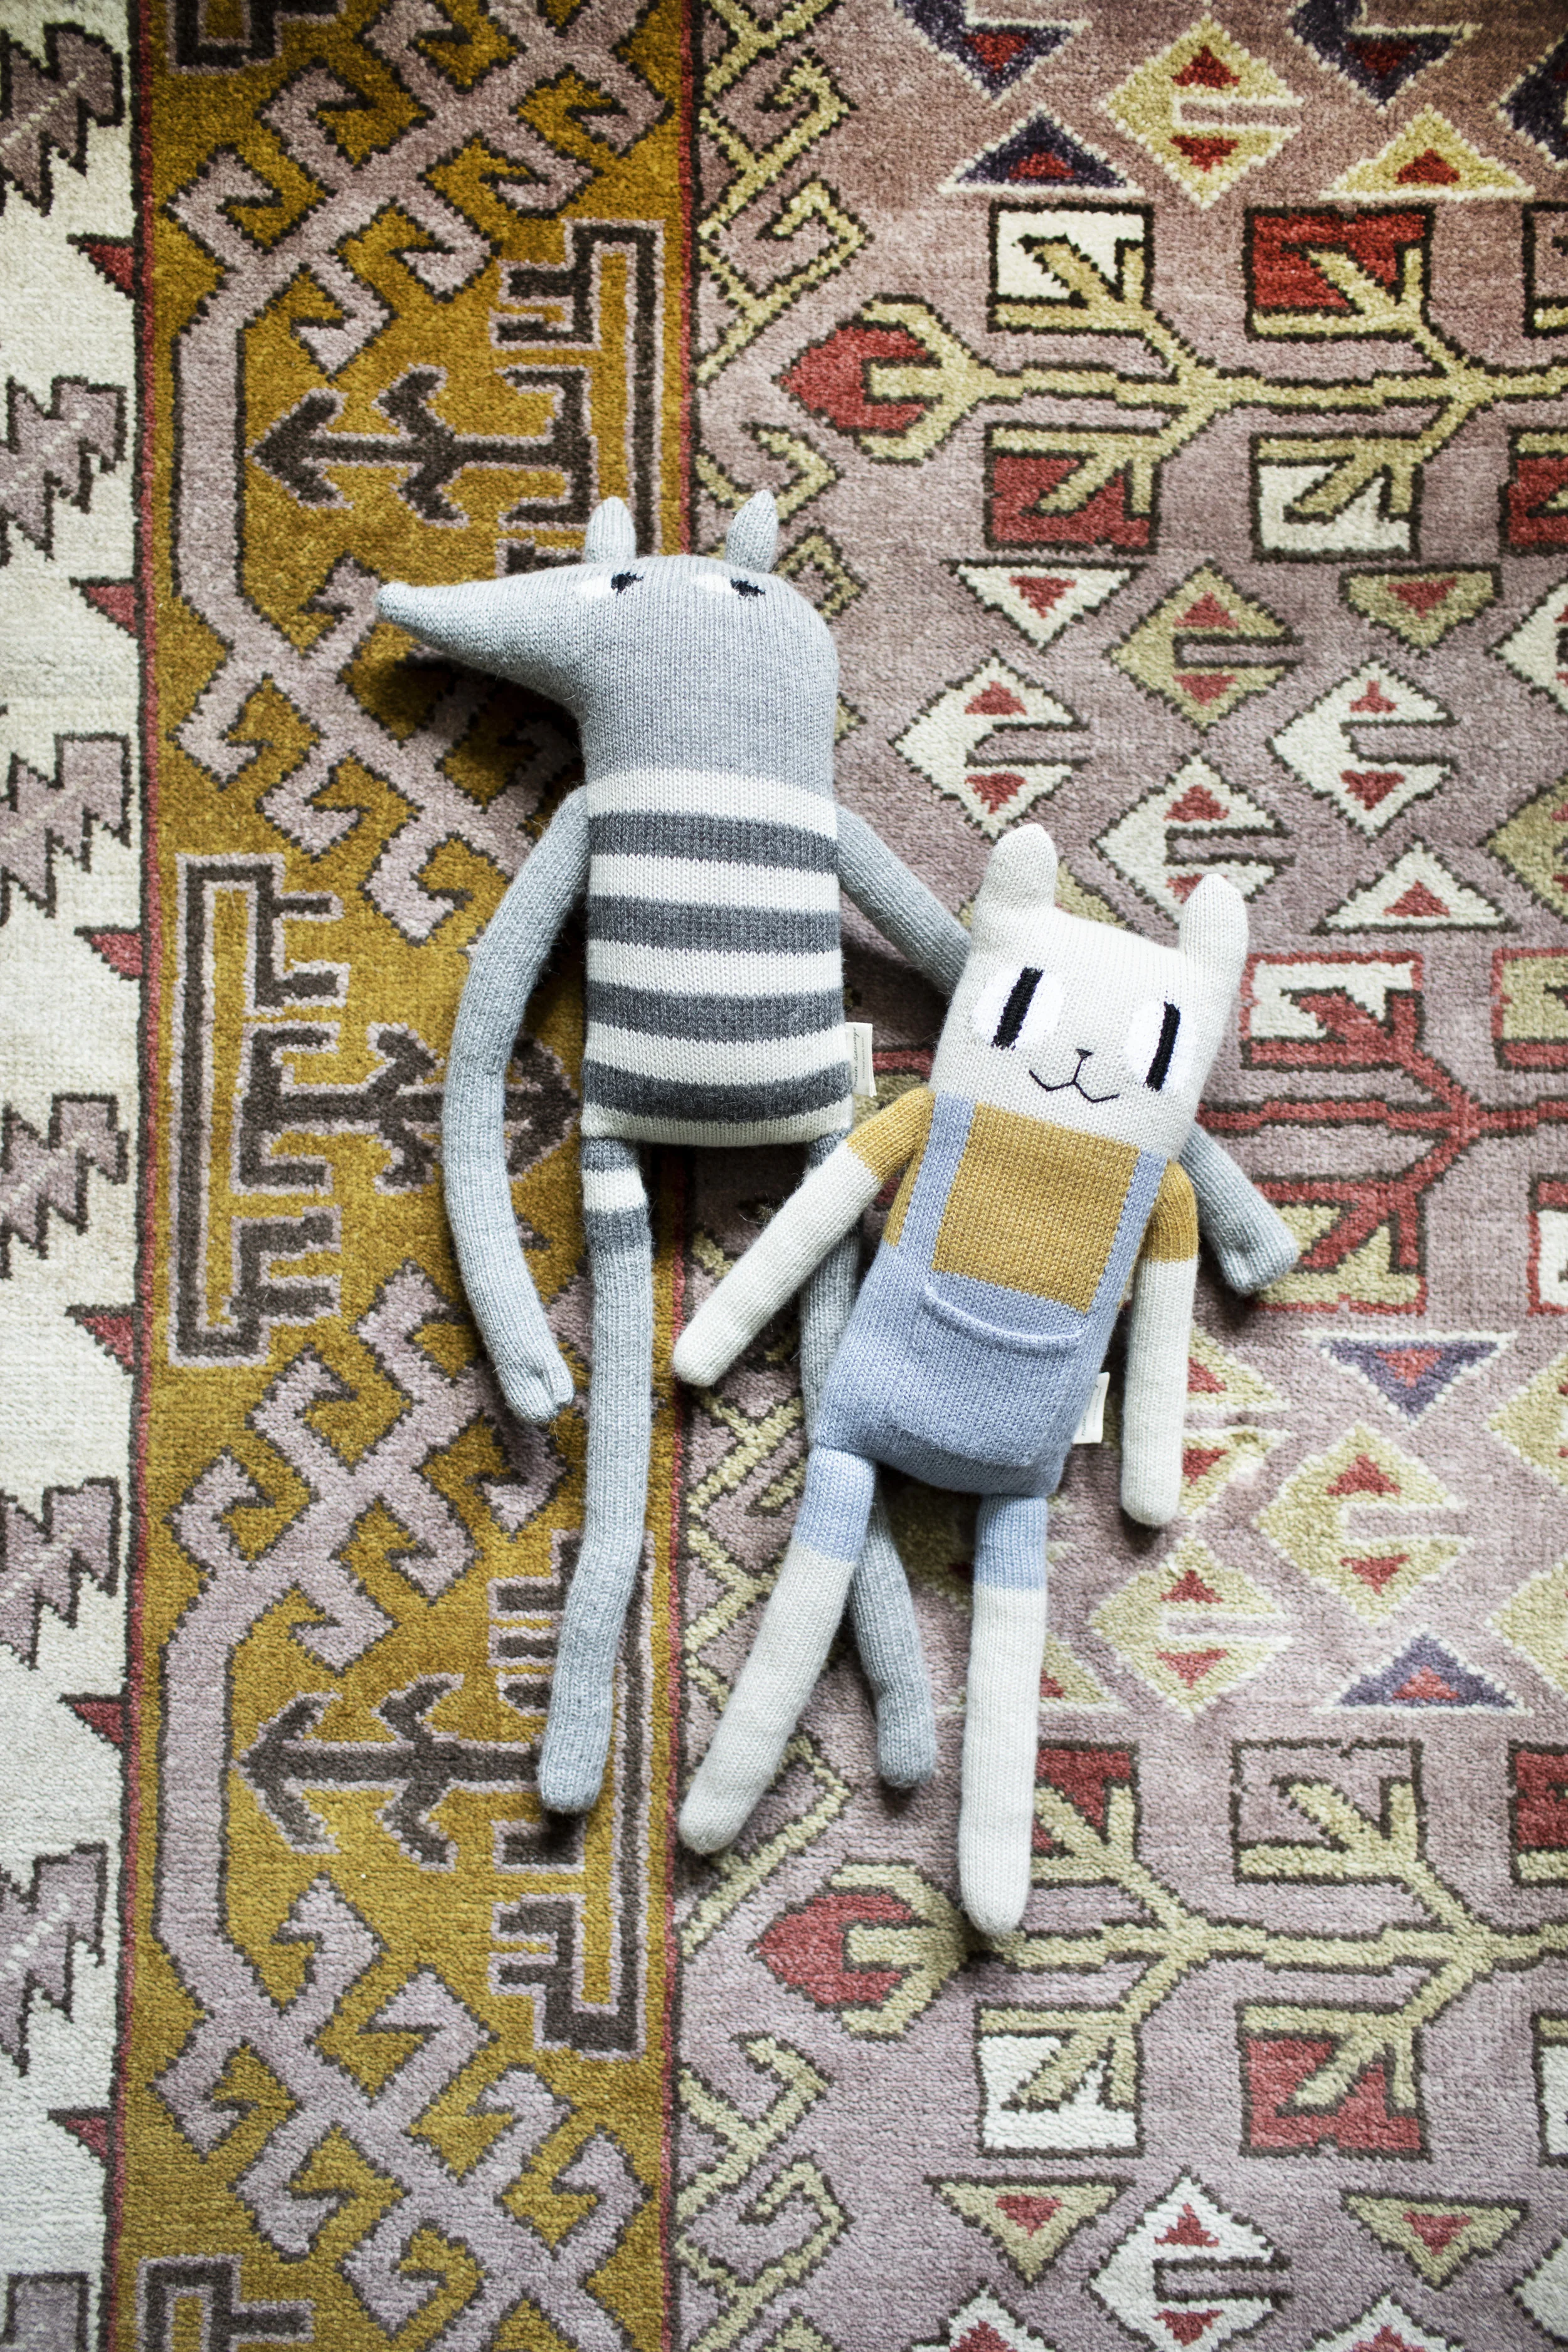
last but not least, the final touches that really make the space feel cozy. as i mentioned above, i wanted to add a little whimsical vibe to the design because i will forever be a kid at heart. these hand knit baby alpaca soft toys might be the cutest things i've ever seen. they are from main sauvage in france & bring a sense of joy to the space. for the textiles i brought in a variety of wool pillows to really cozy up the space. the pillows are from rejuvenation & are woven in ireland from merino wool. i love the soft tones & texture they add to the space. now i just need to keep little pete off of them! for the decor, i have on display a few of my favourite cookbooks & handmade items from SIN ceramics & home goods. my favourite addition is the paper weight fist knot! virginia sin's creativity always amazes me.

i will link to everything item below & if i missed anything, just leave a comment. at last, another room in modest house is now complete! this year we finished the powder room, front entry & home office. to view ALL the designs, click the interiors tab at the top of the page. i think a kitchen reveal might be next..

xo

summery lemon hummus


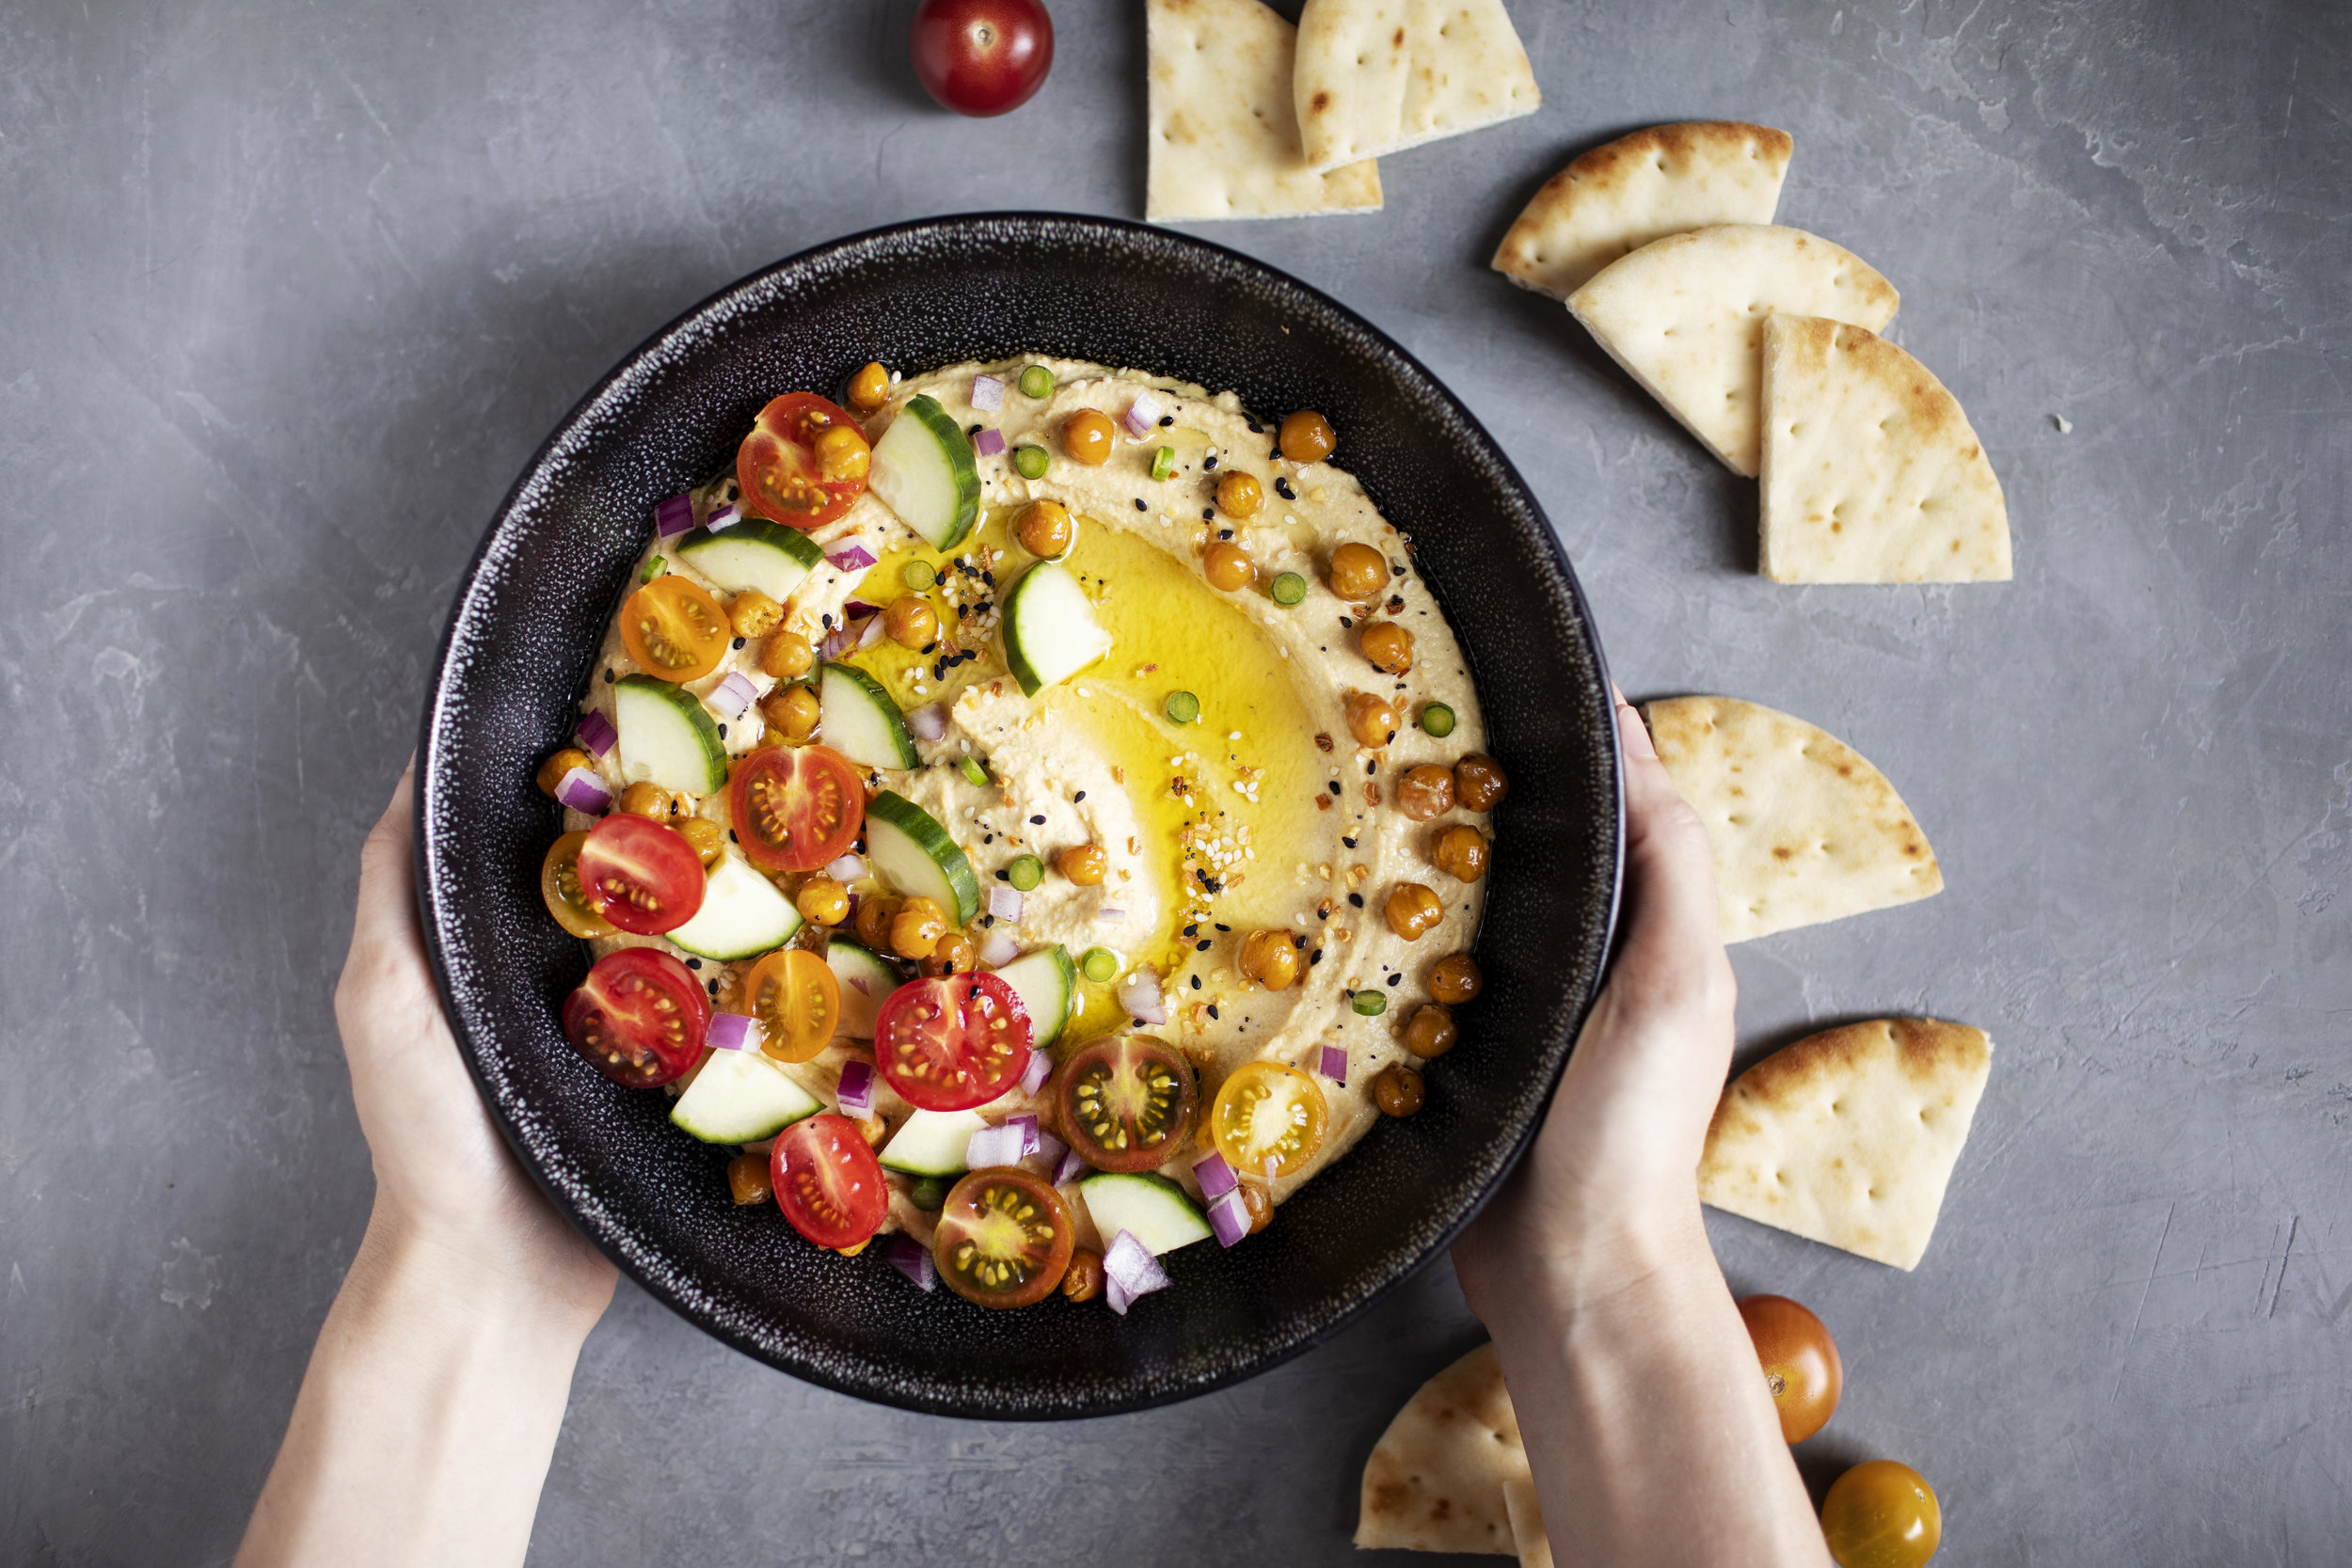
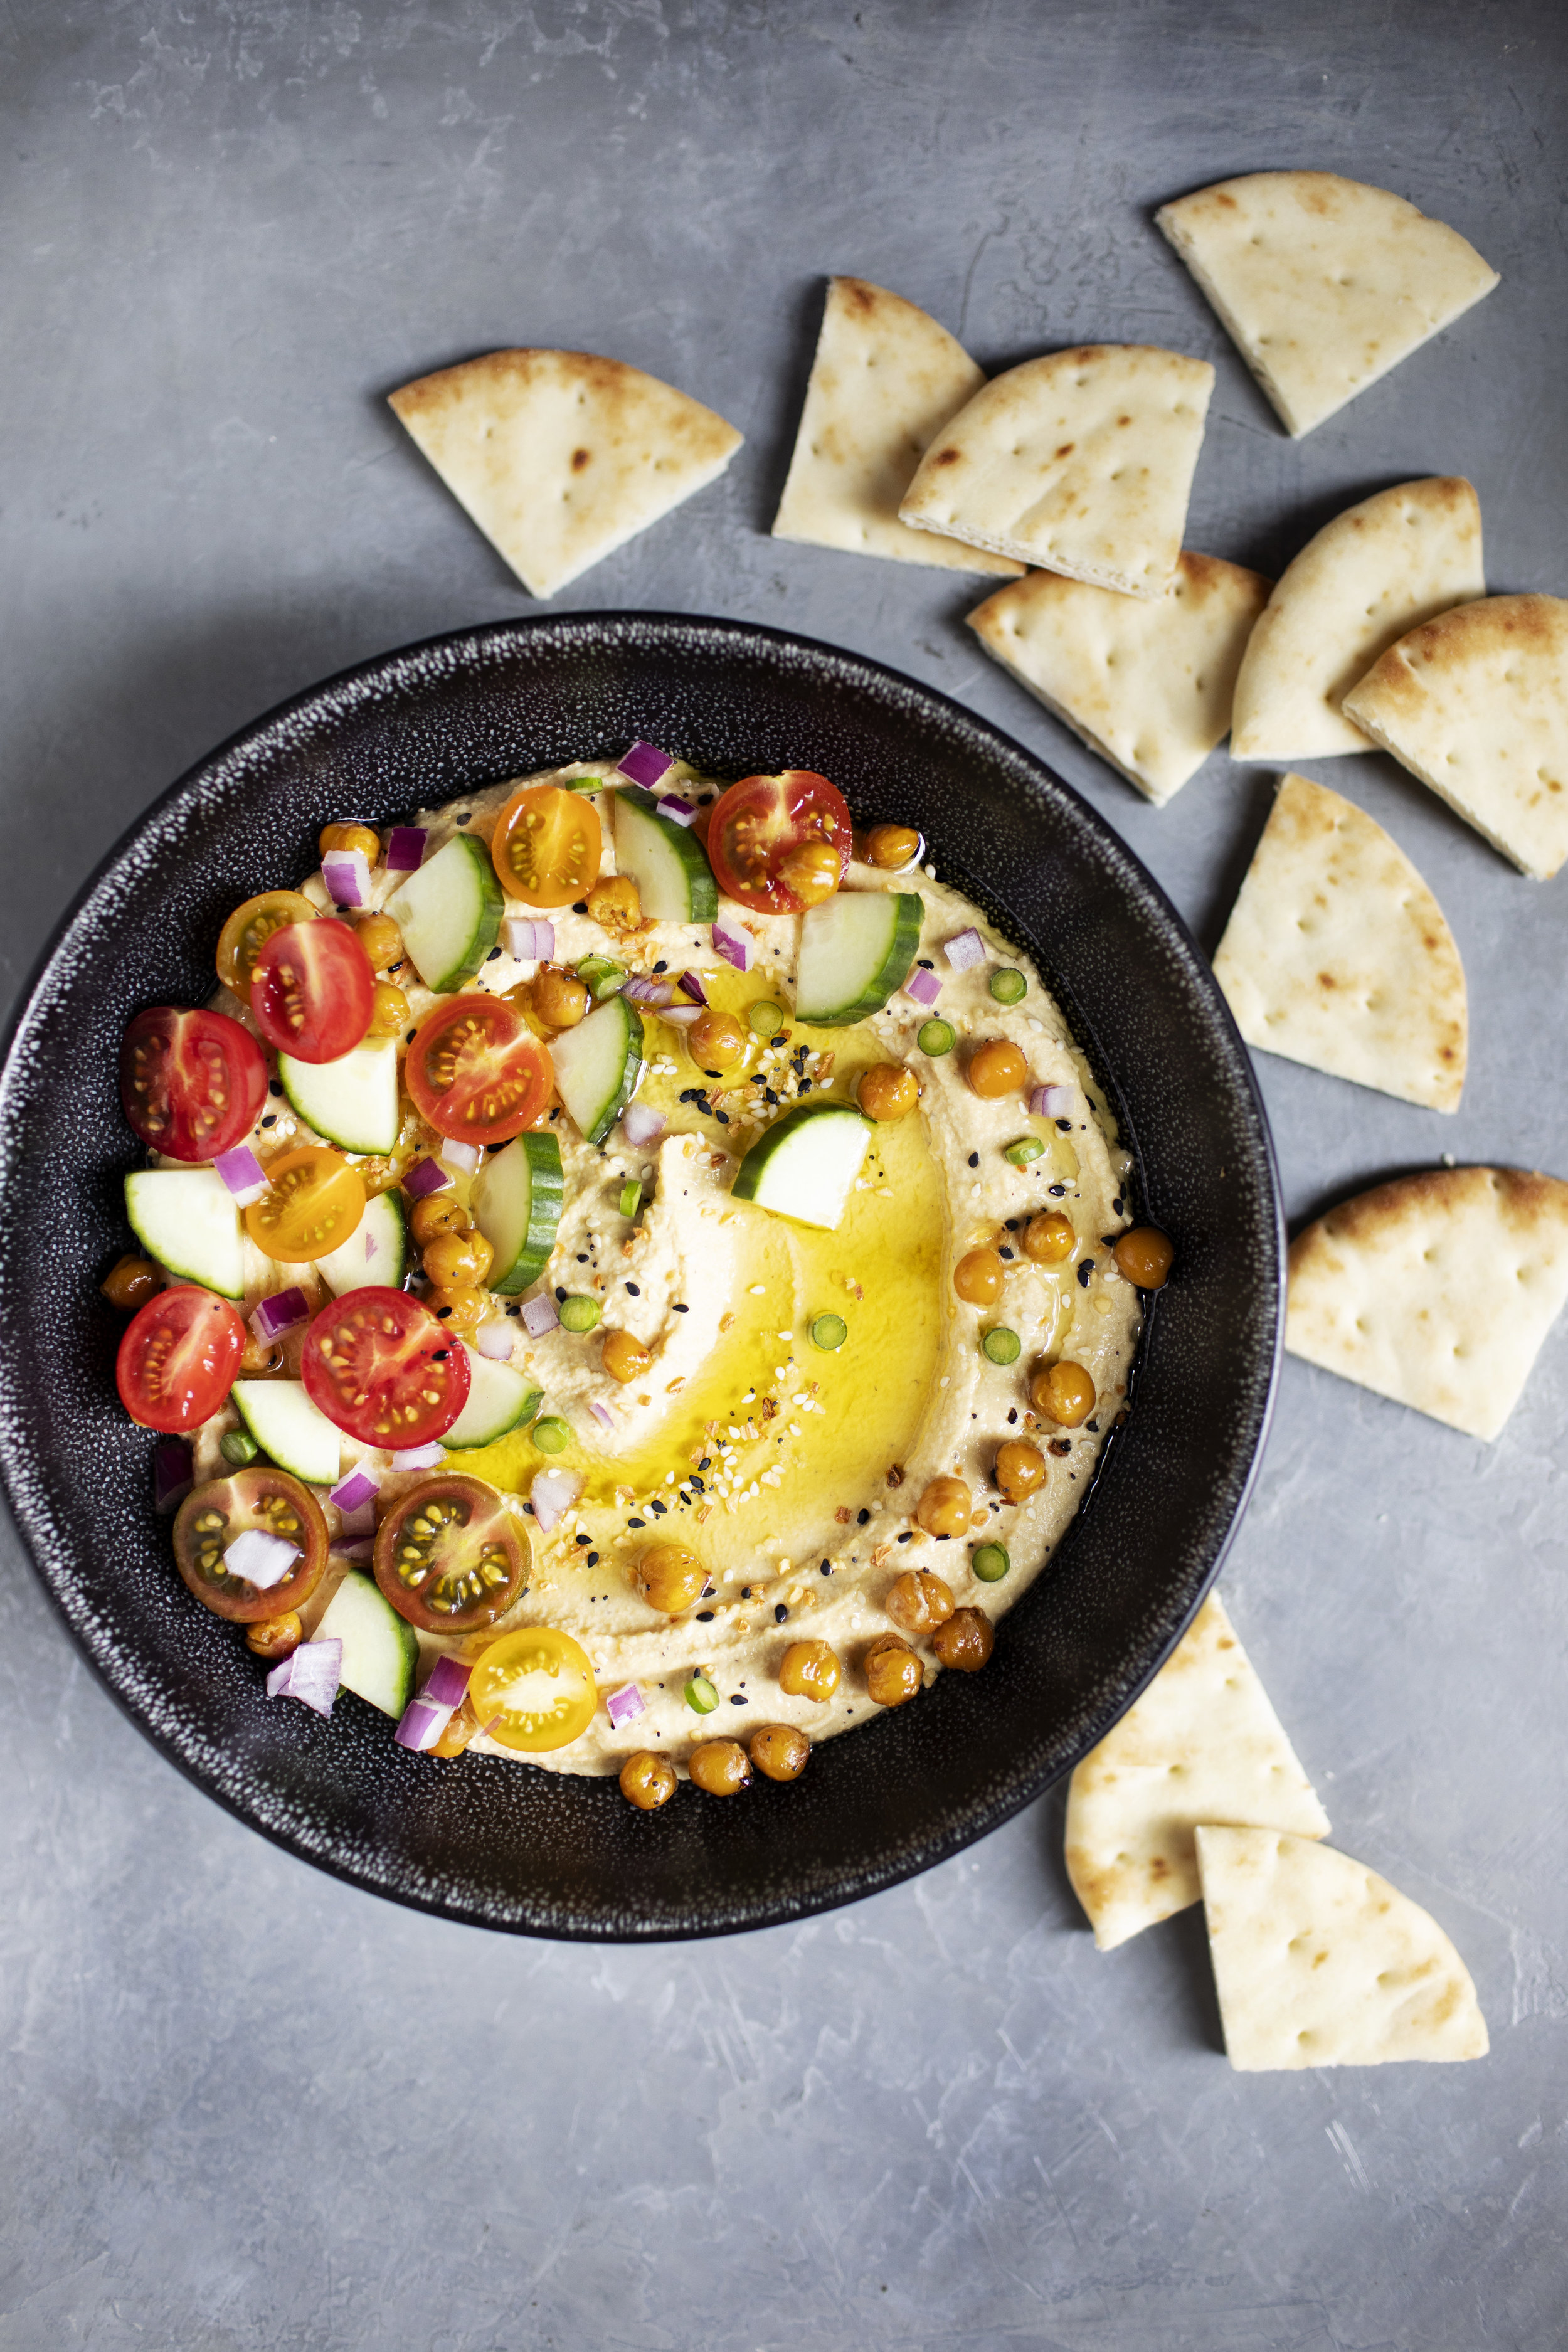
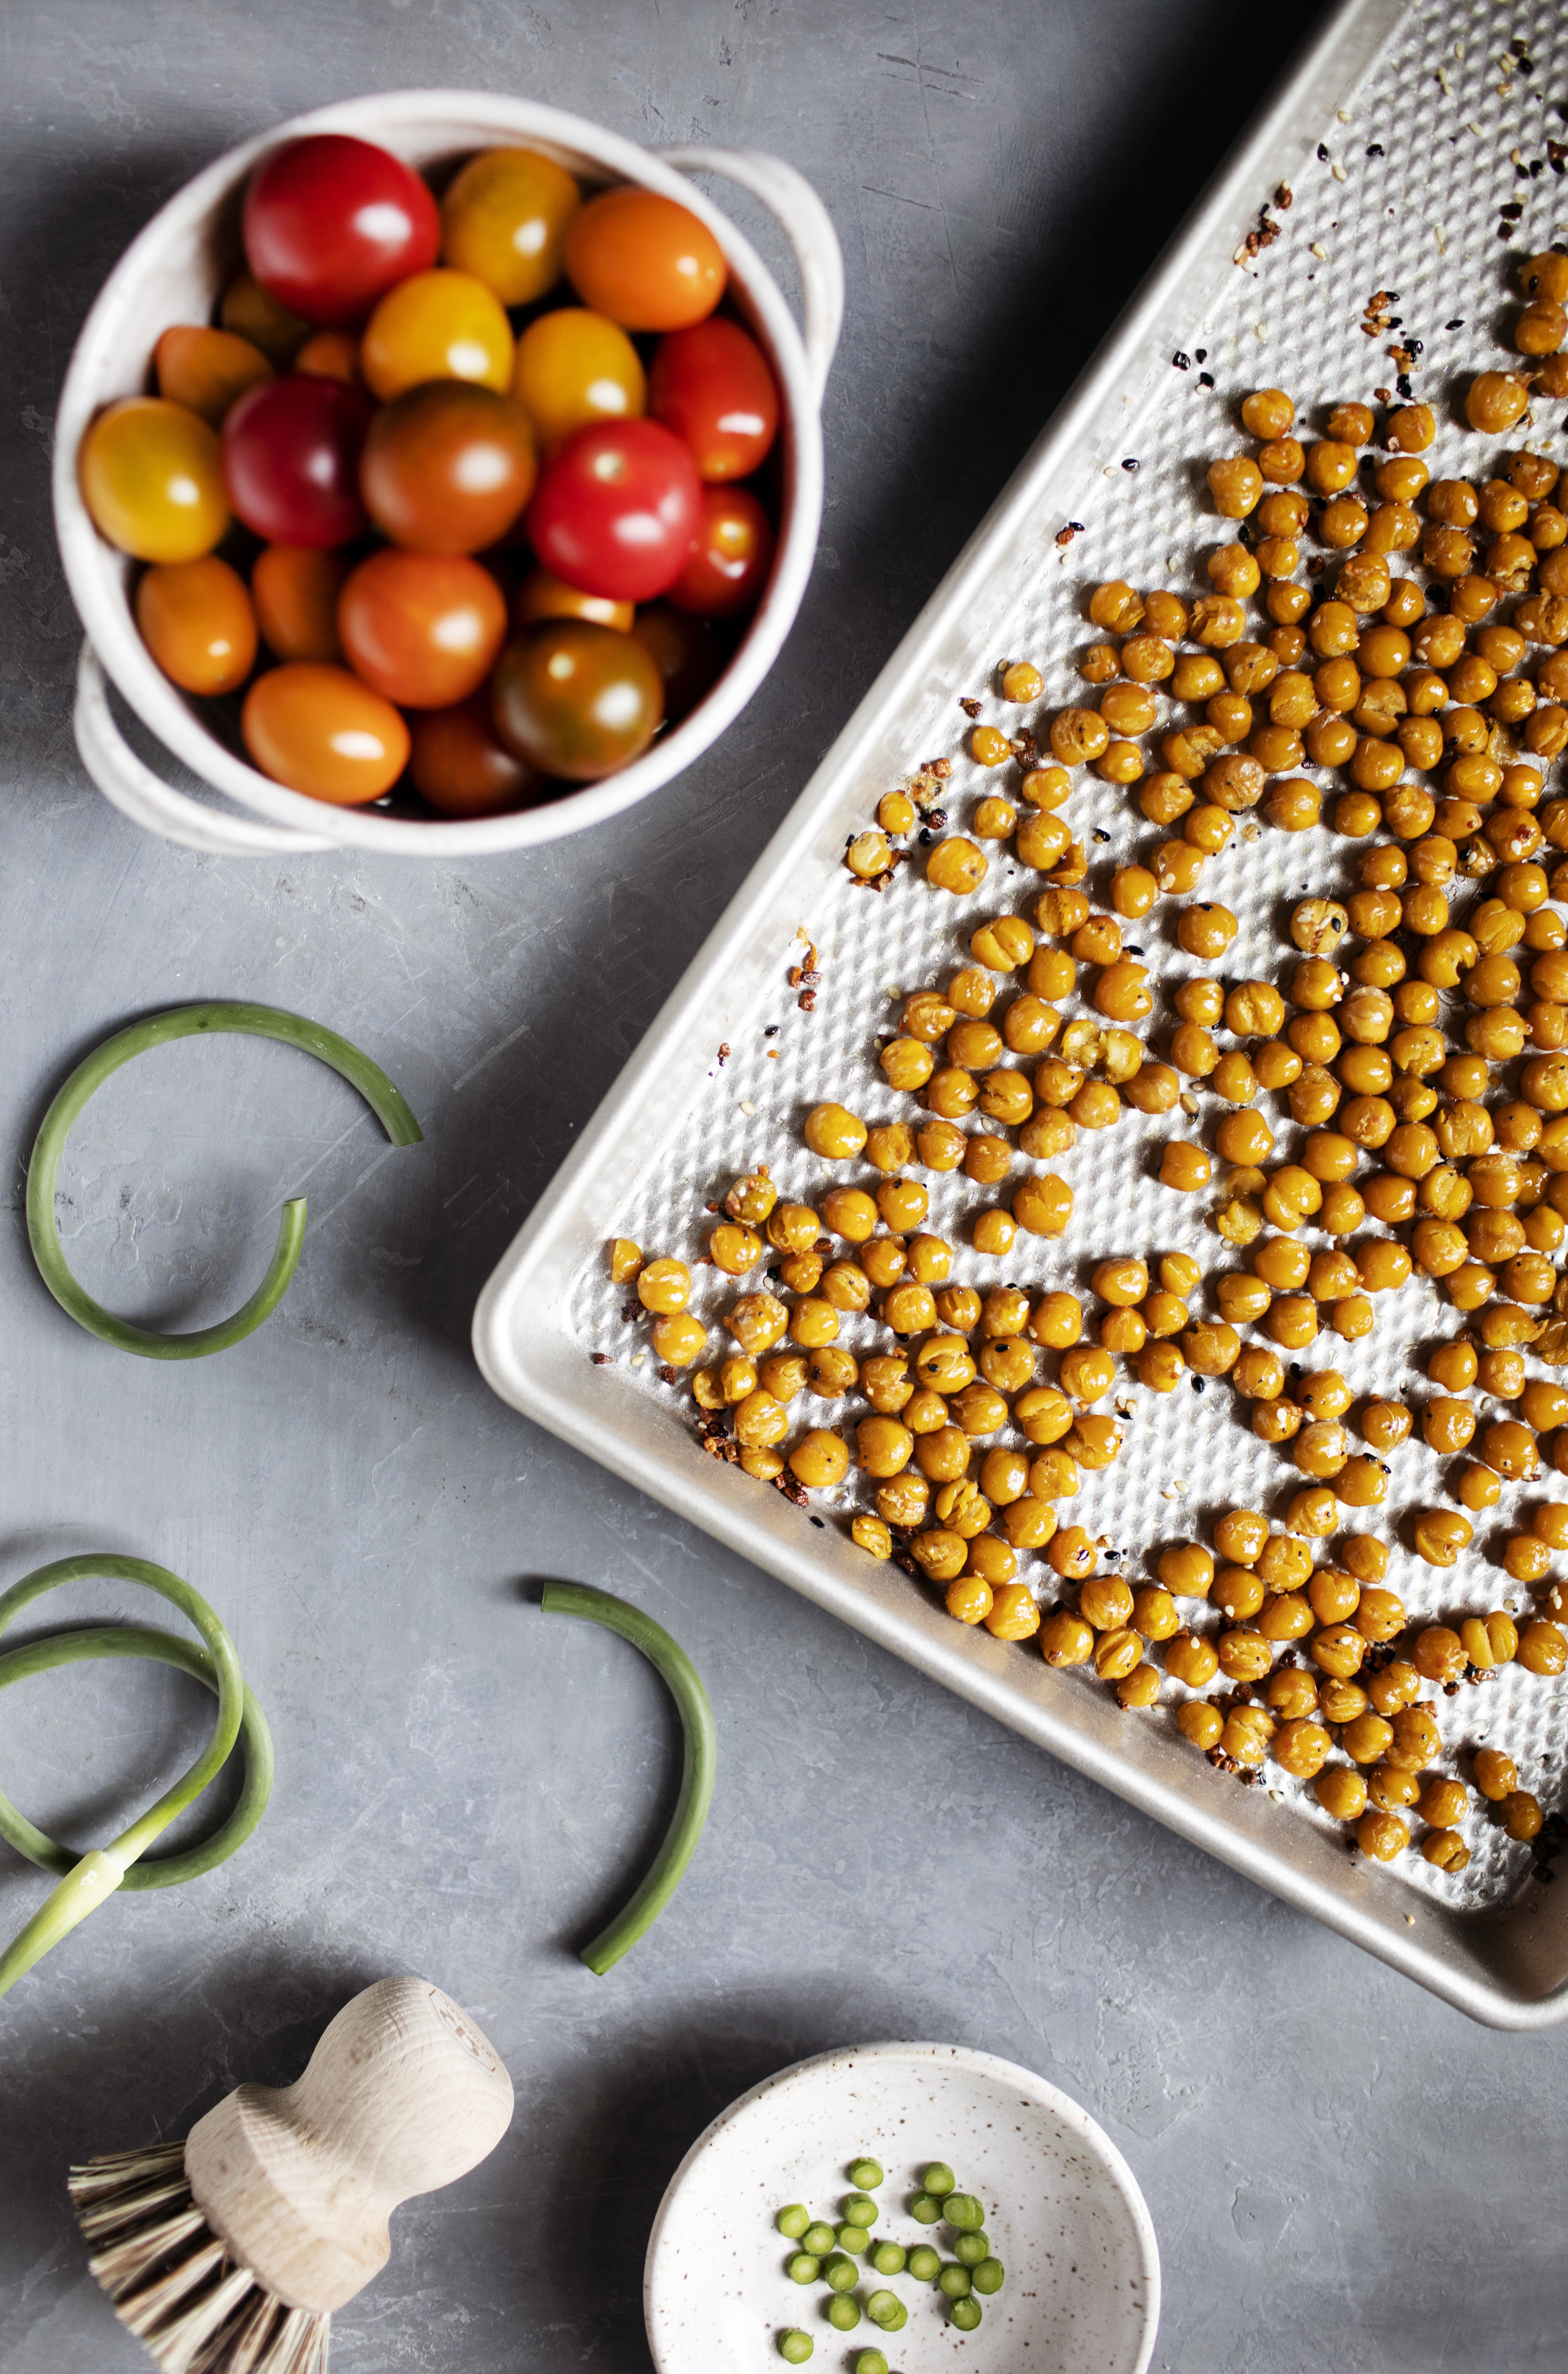
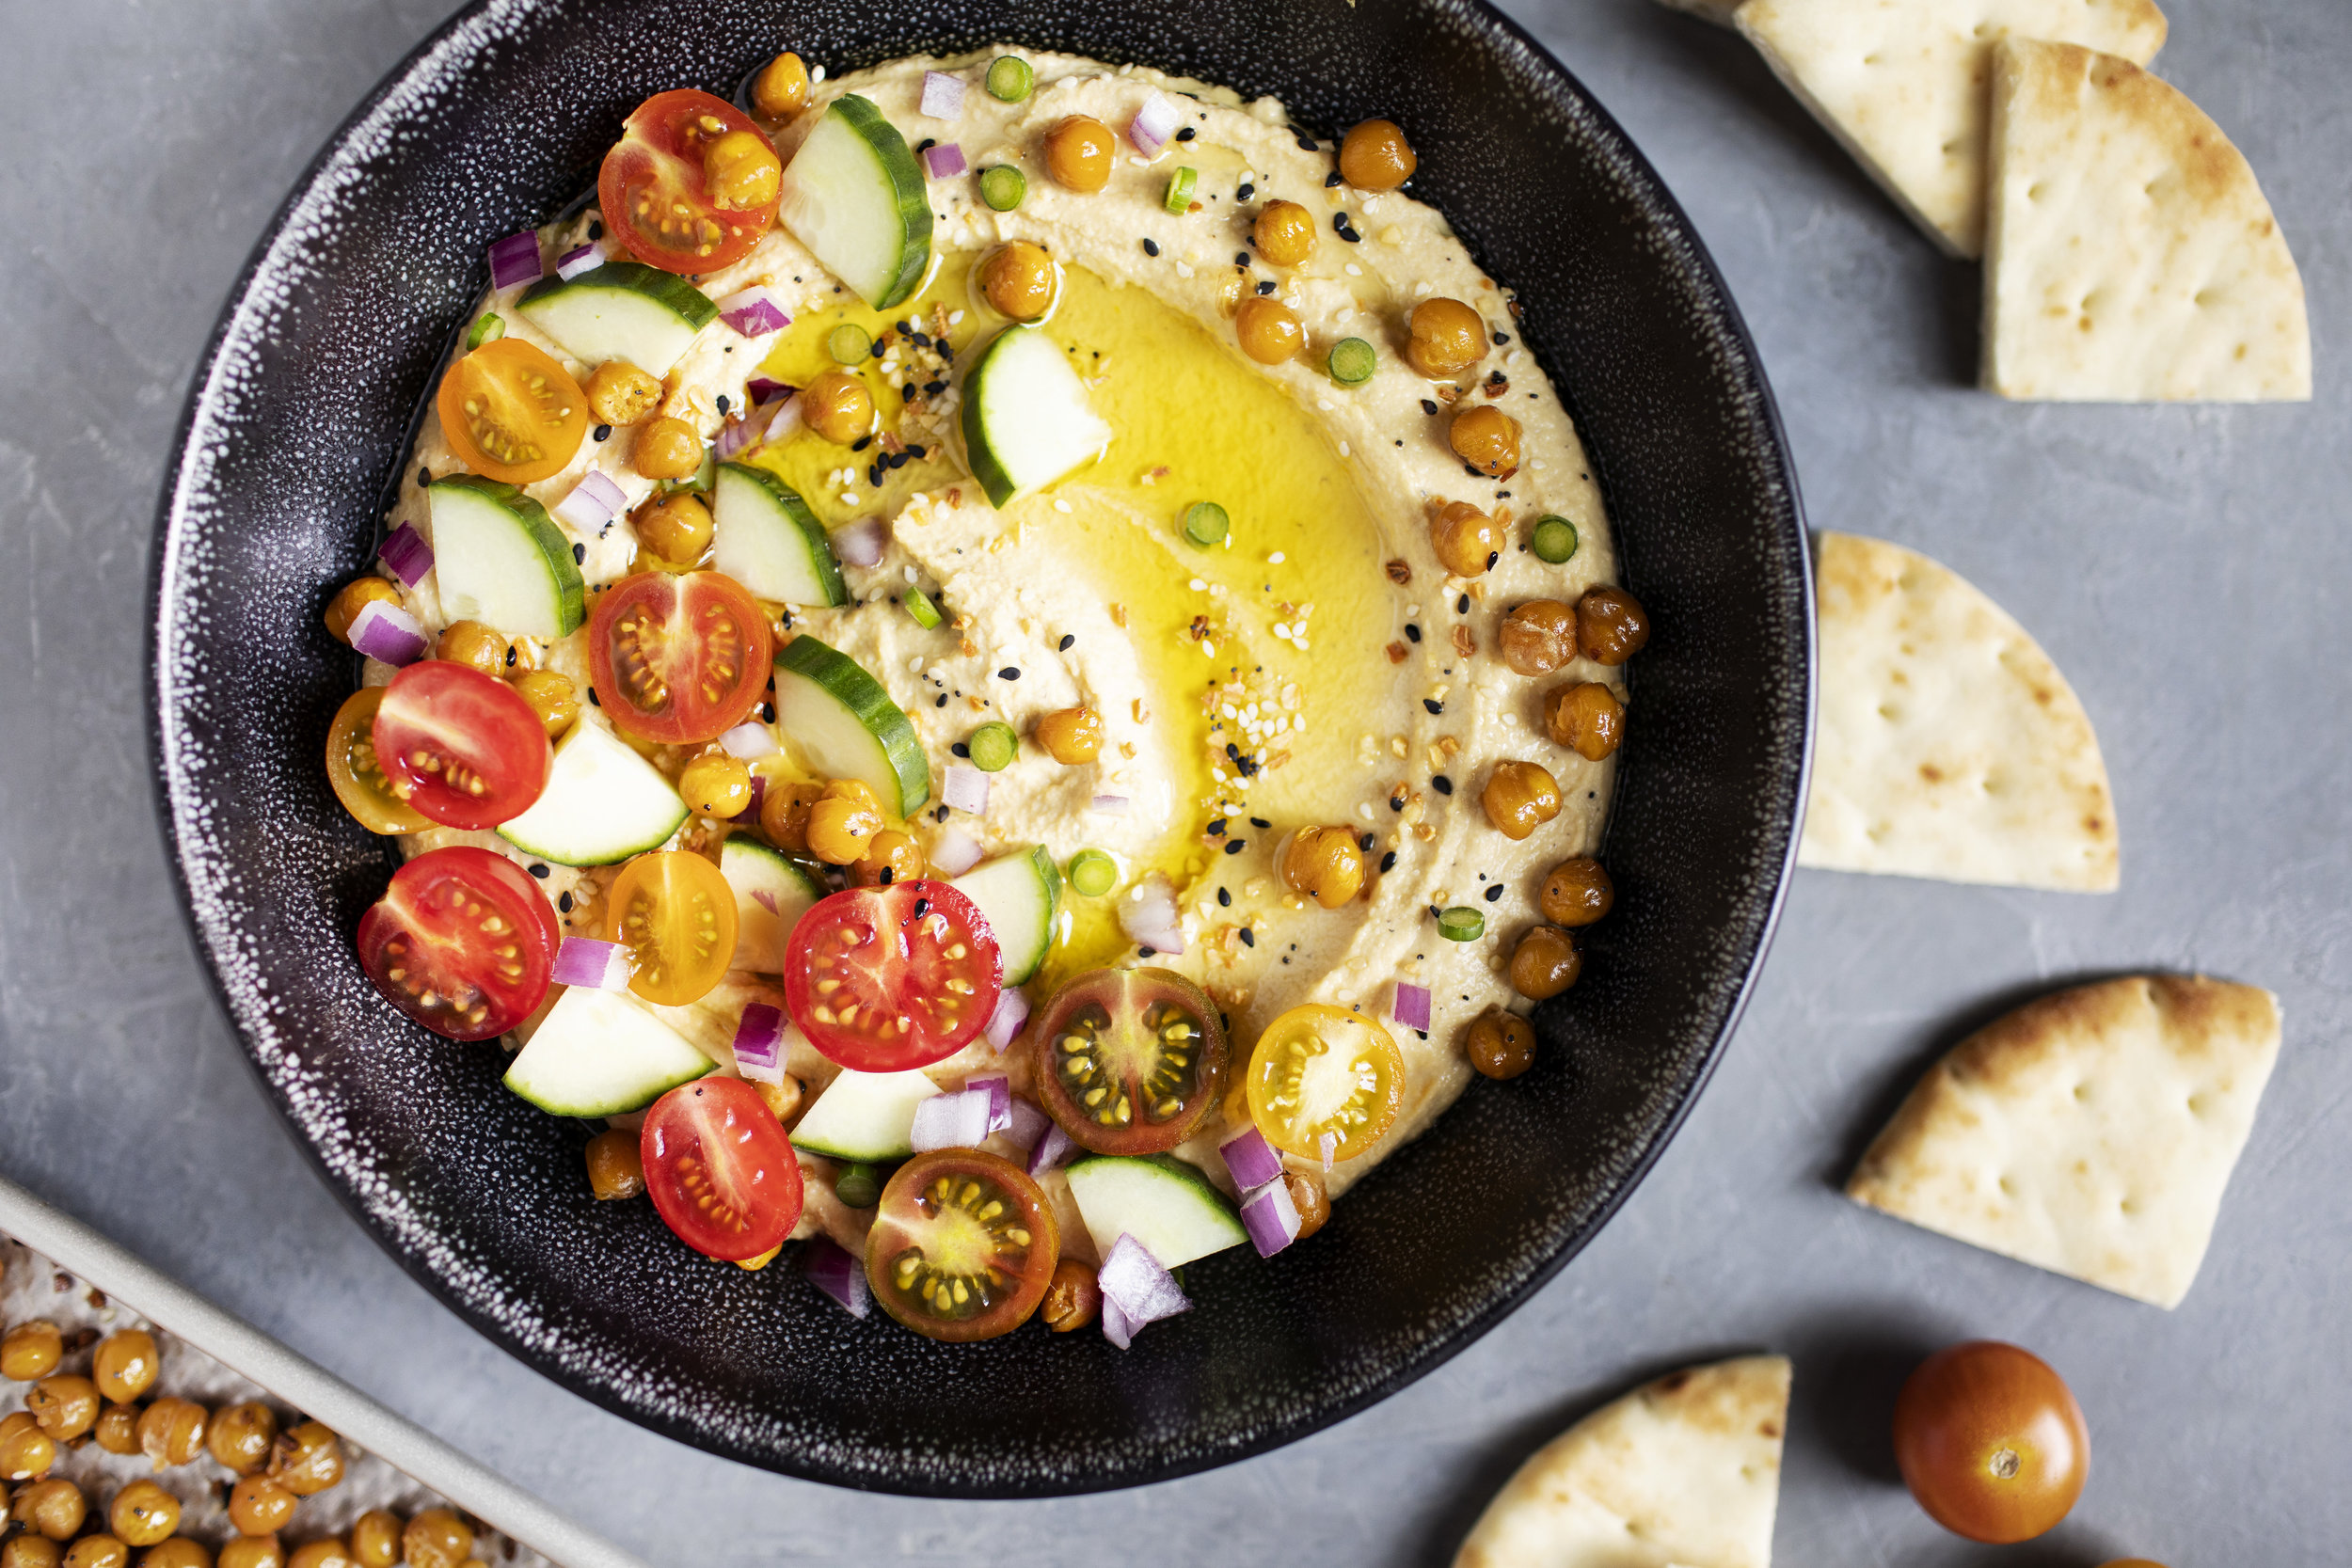
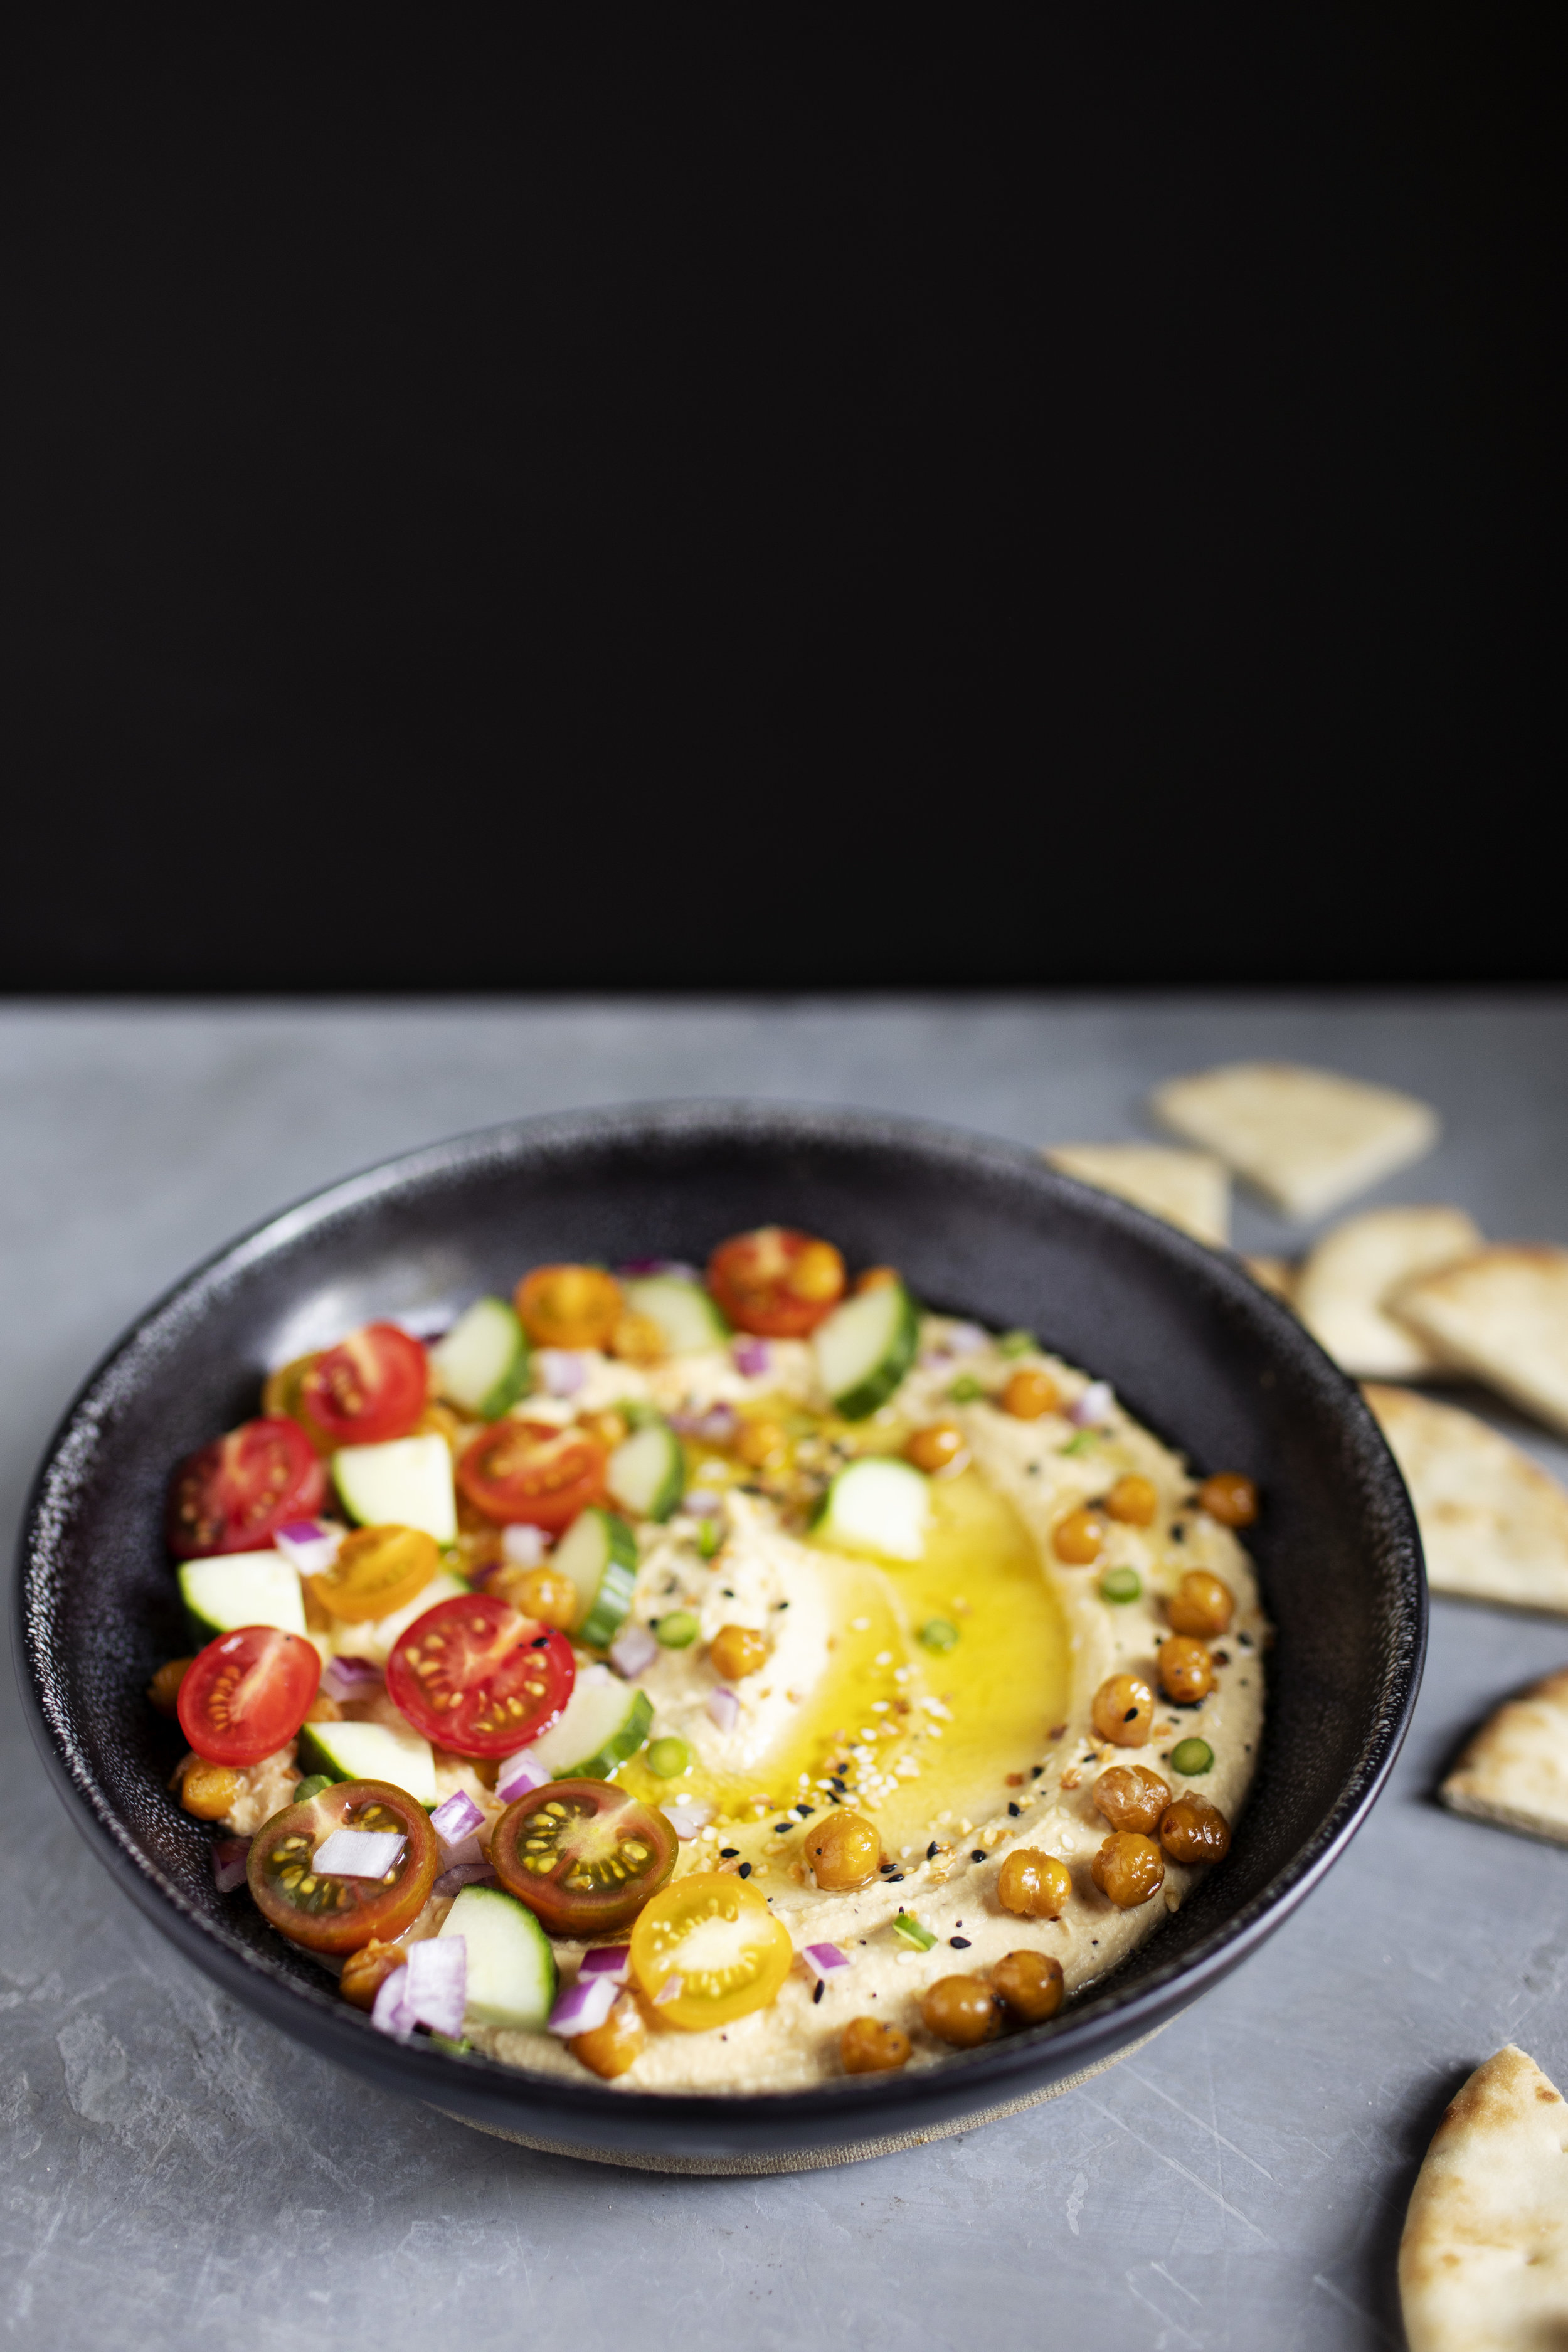
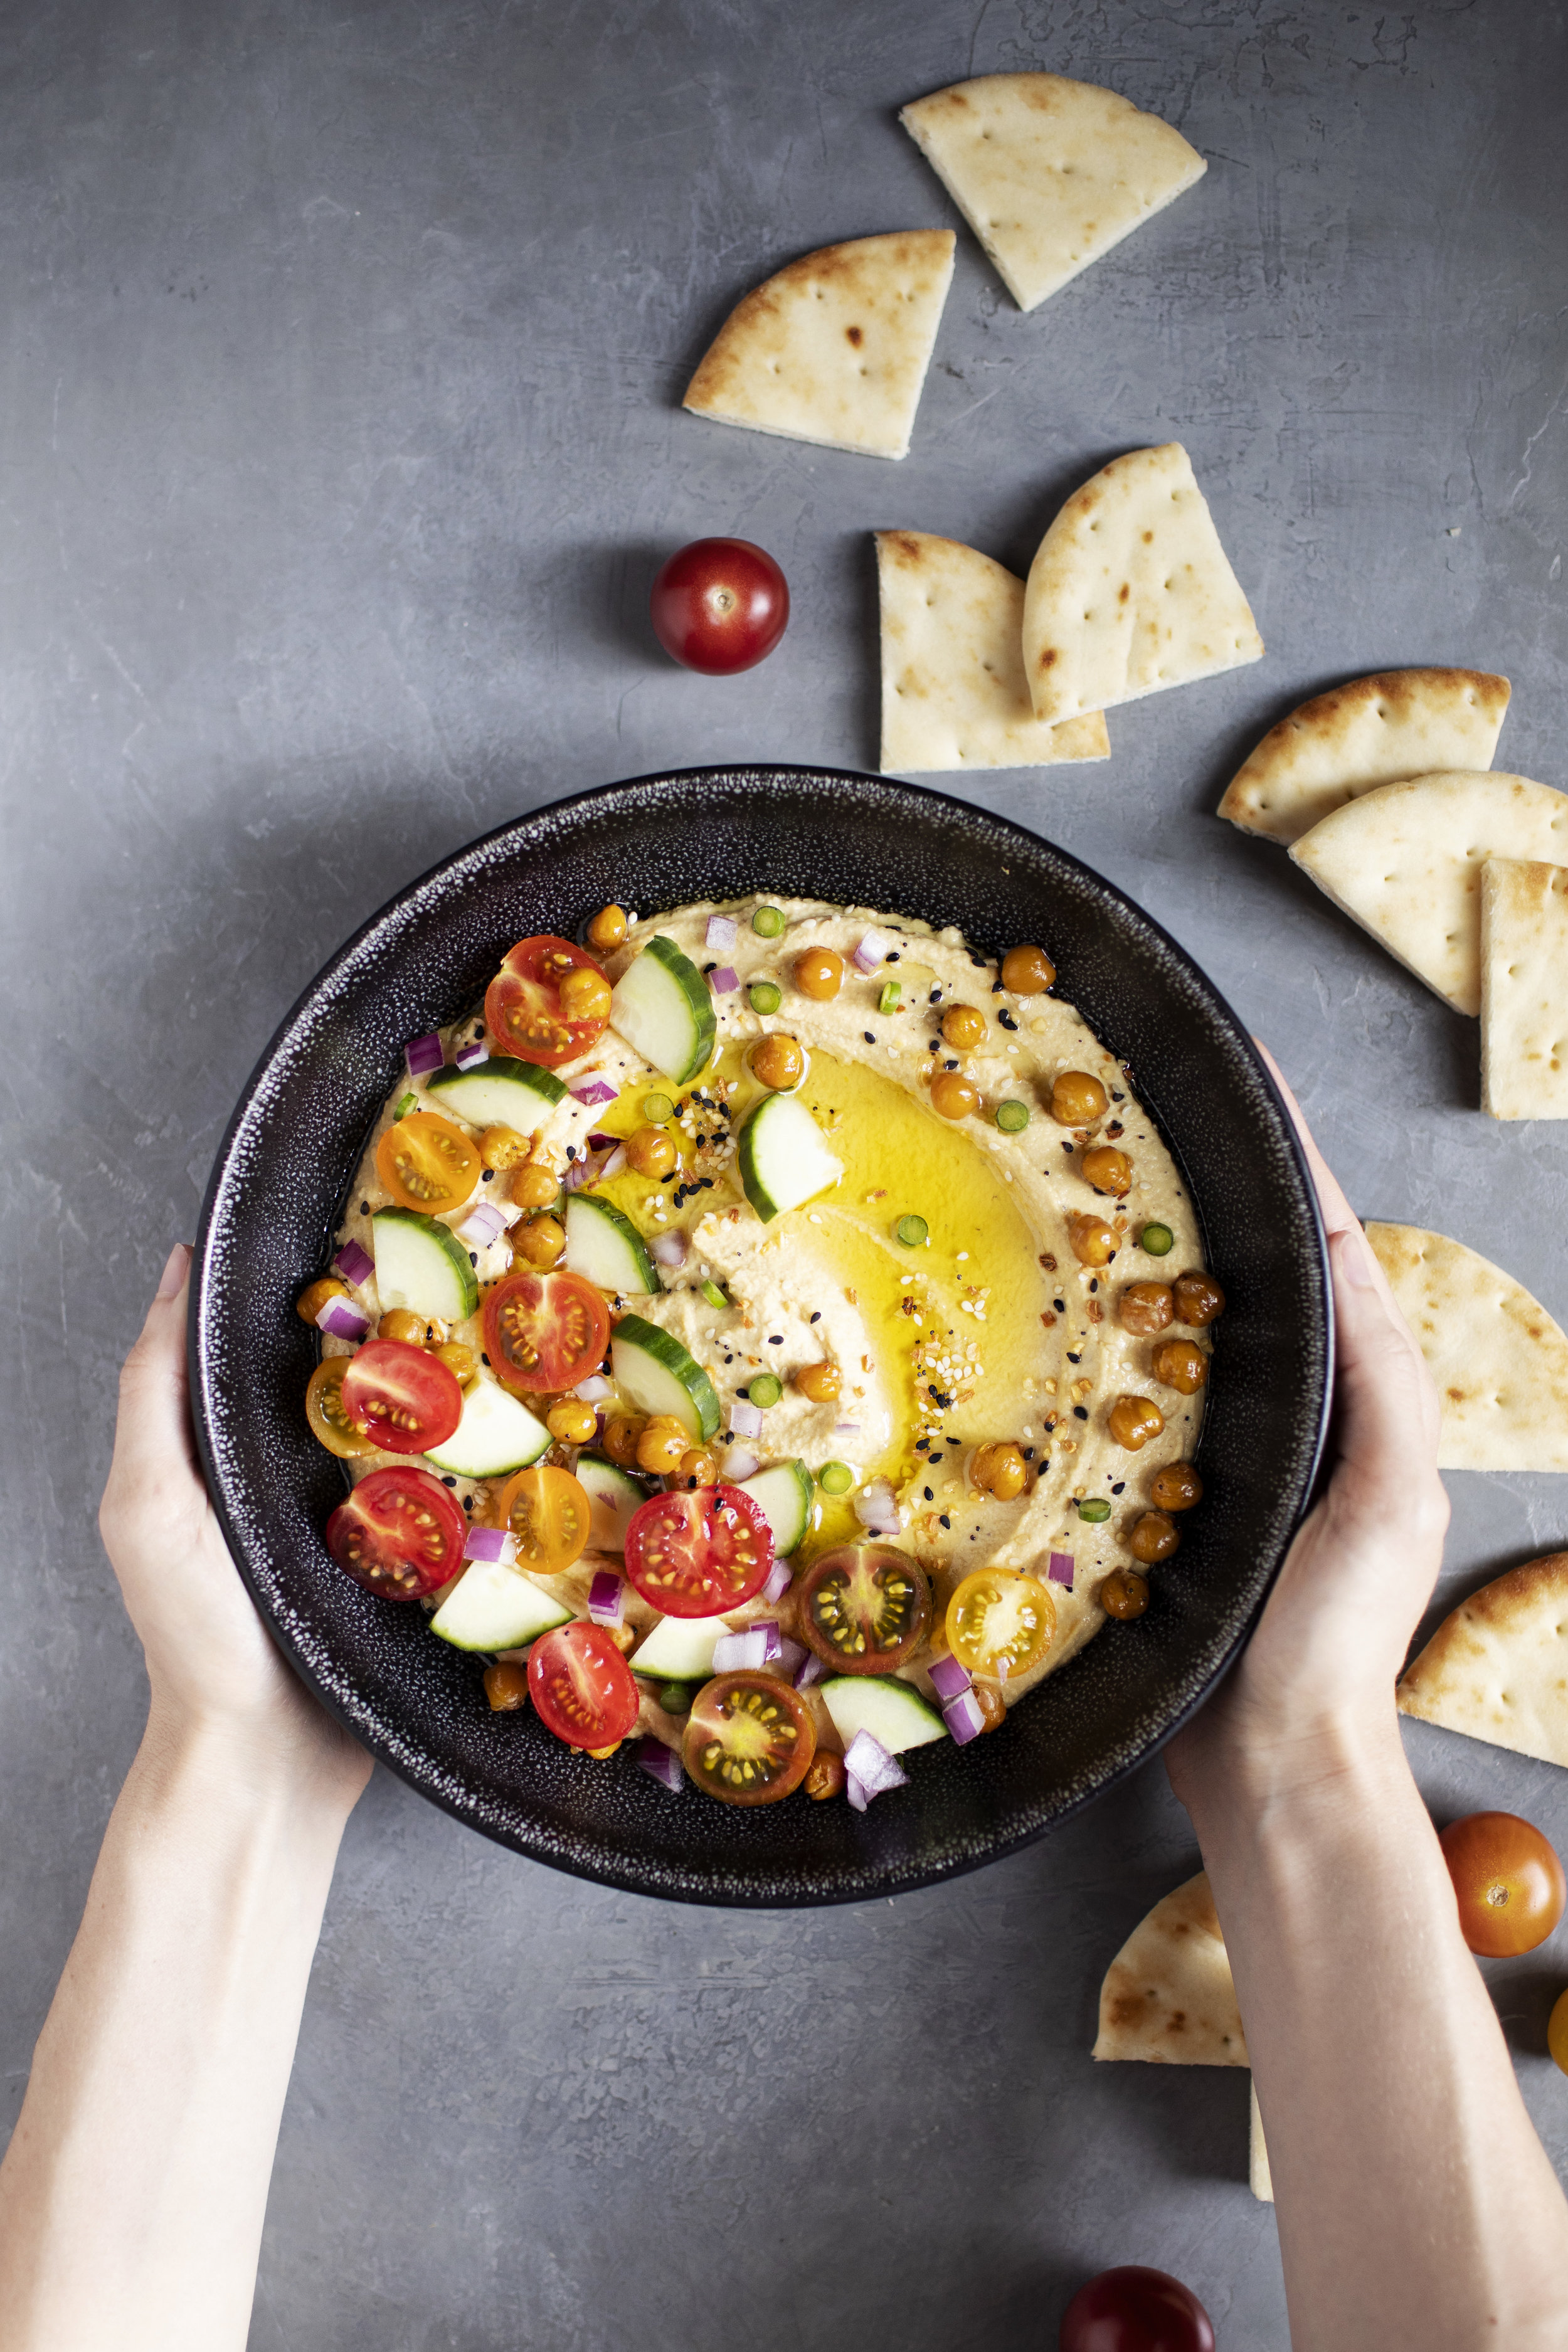
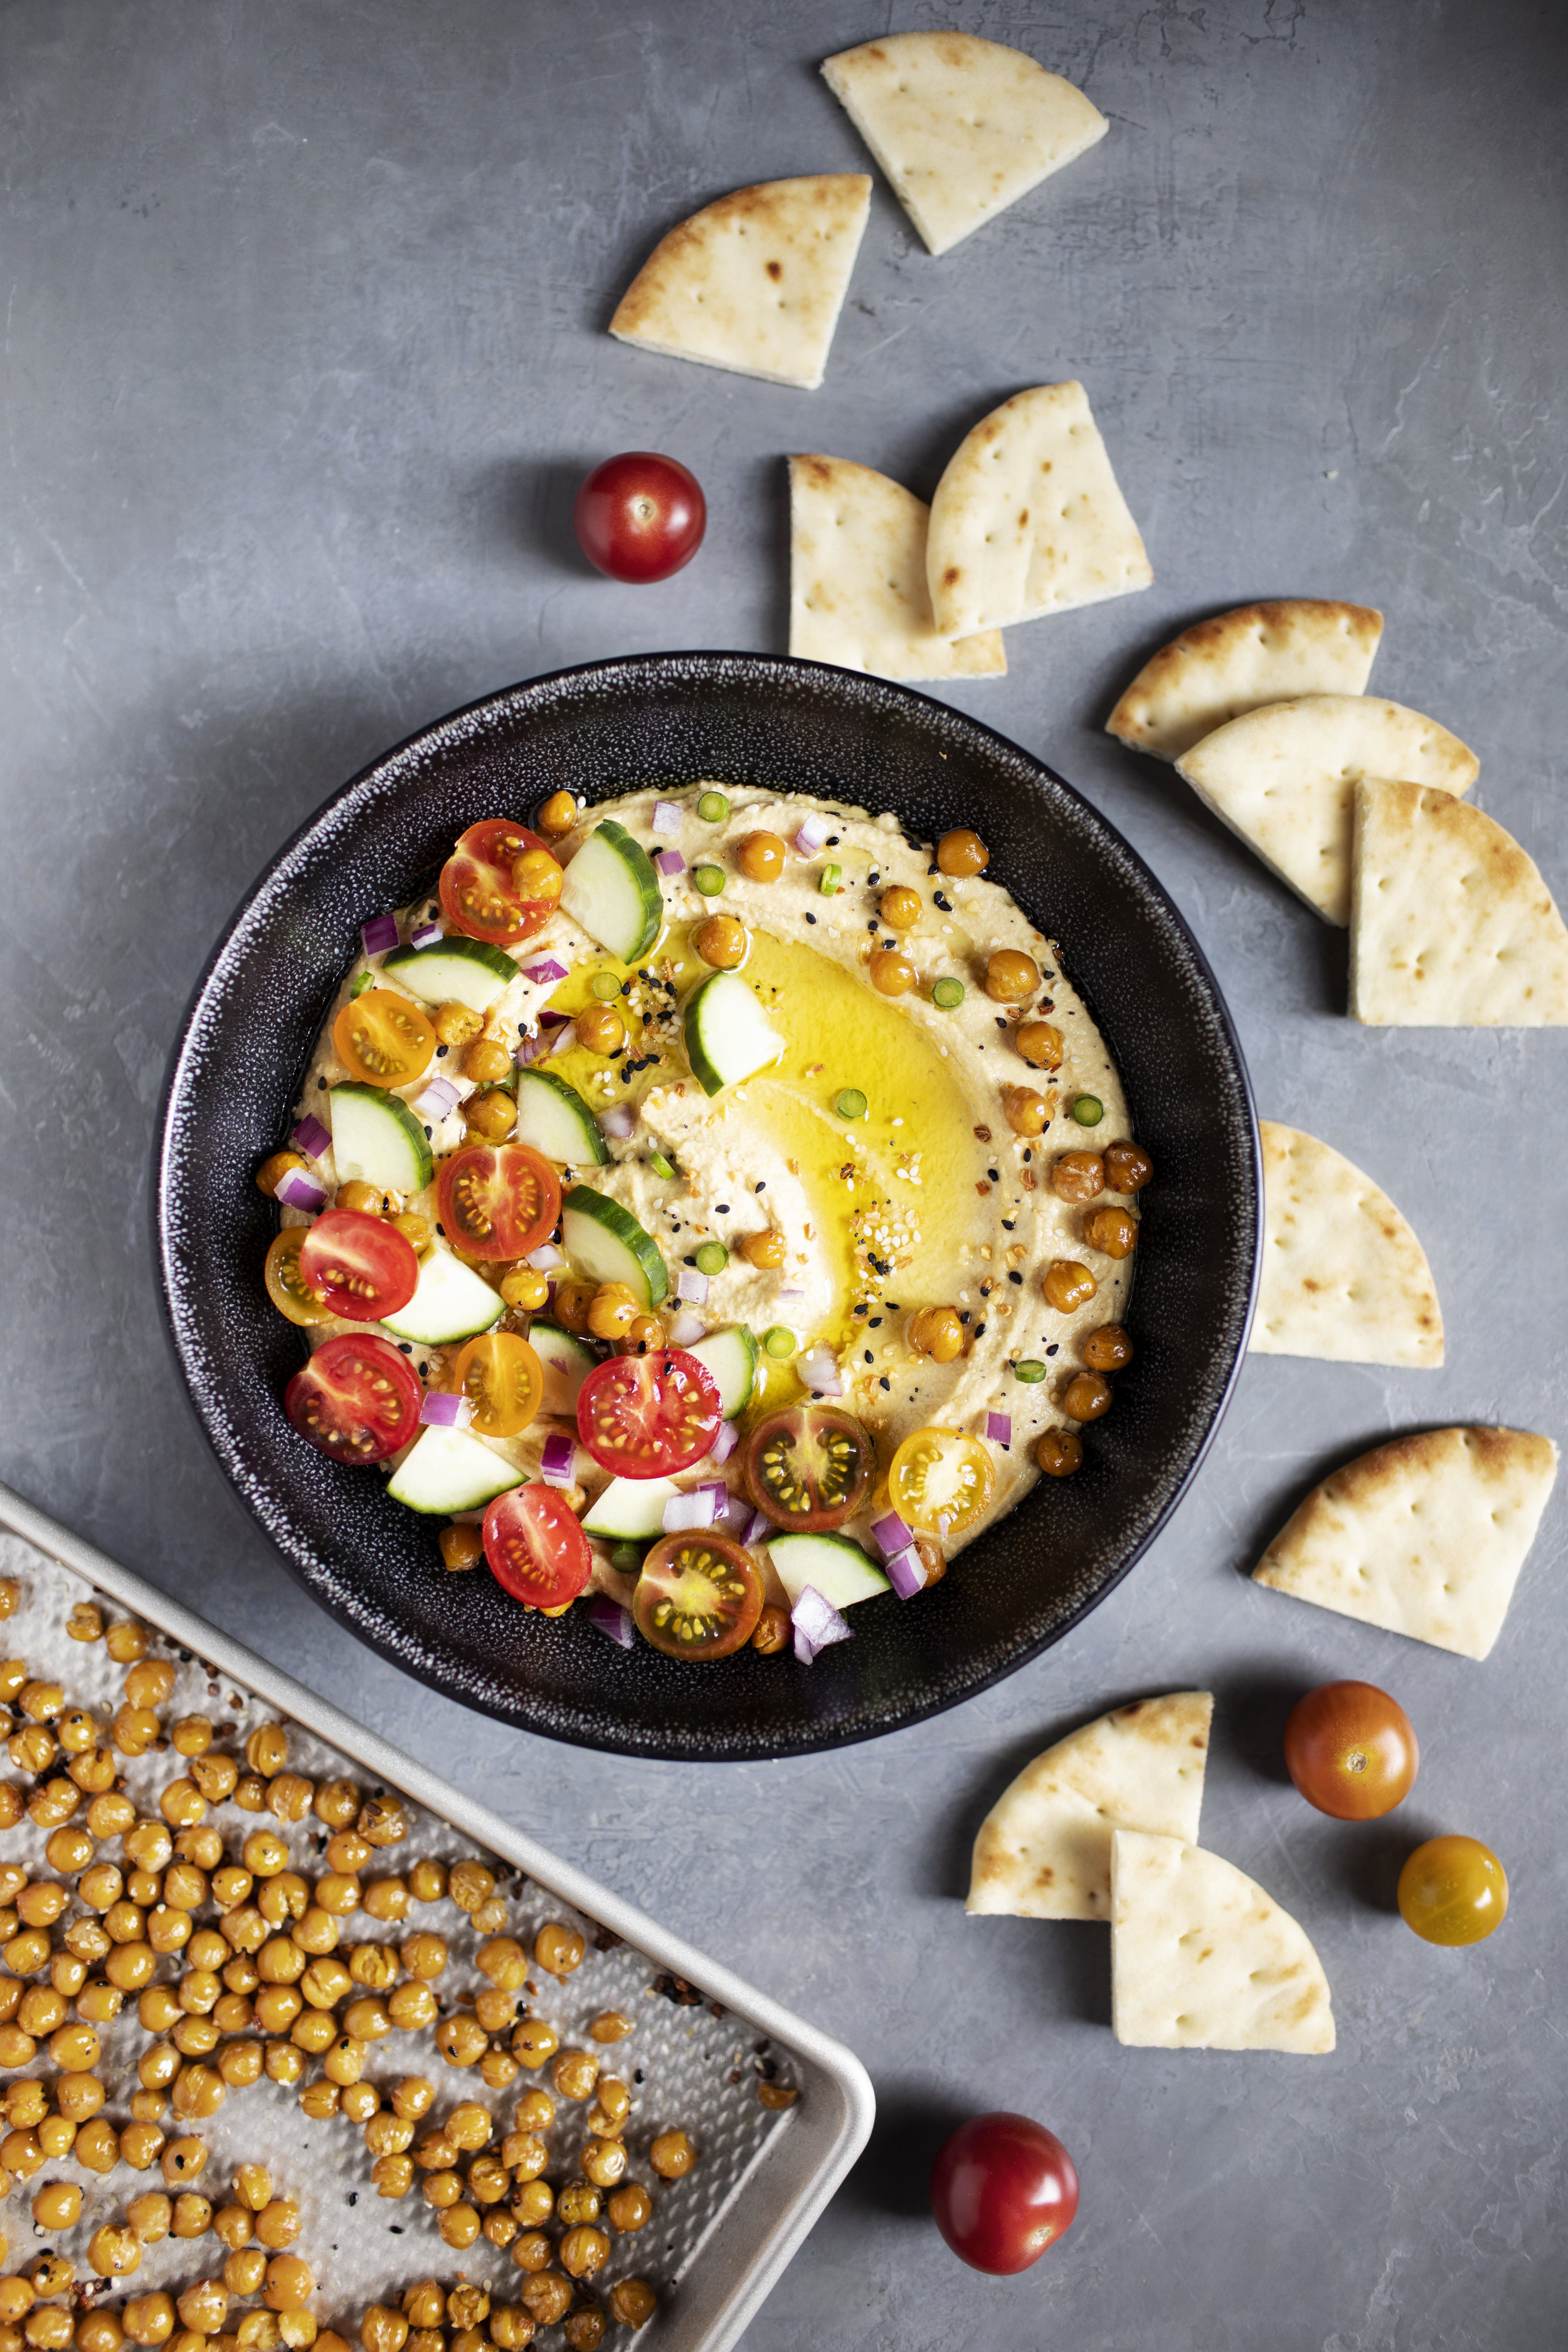
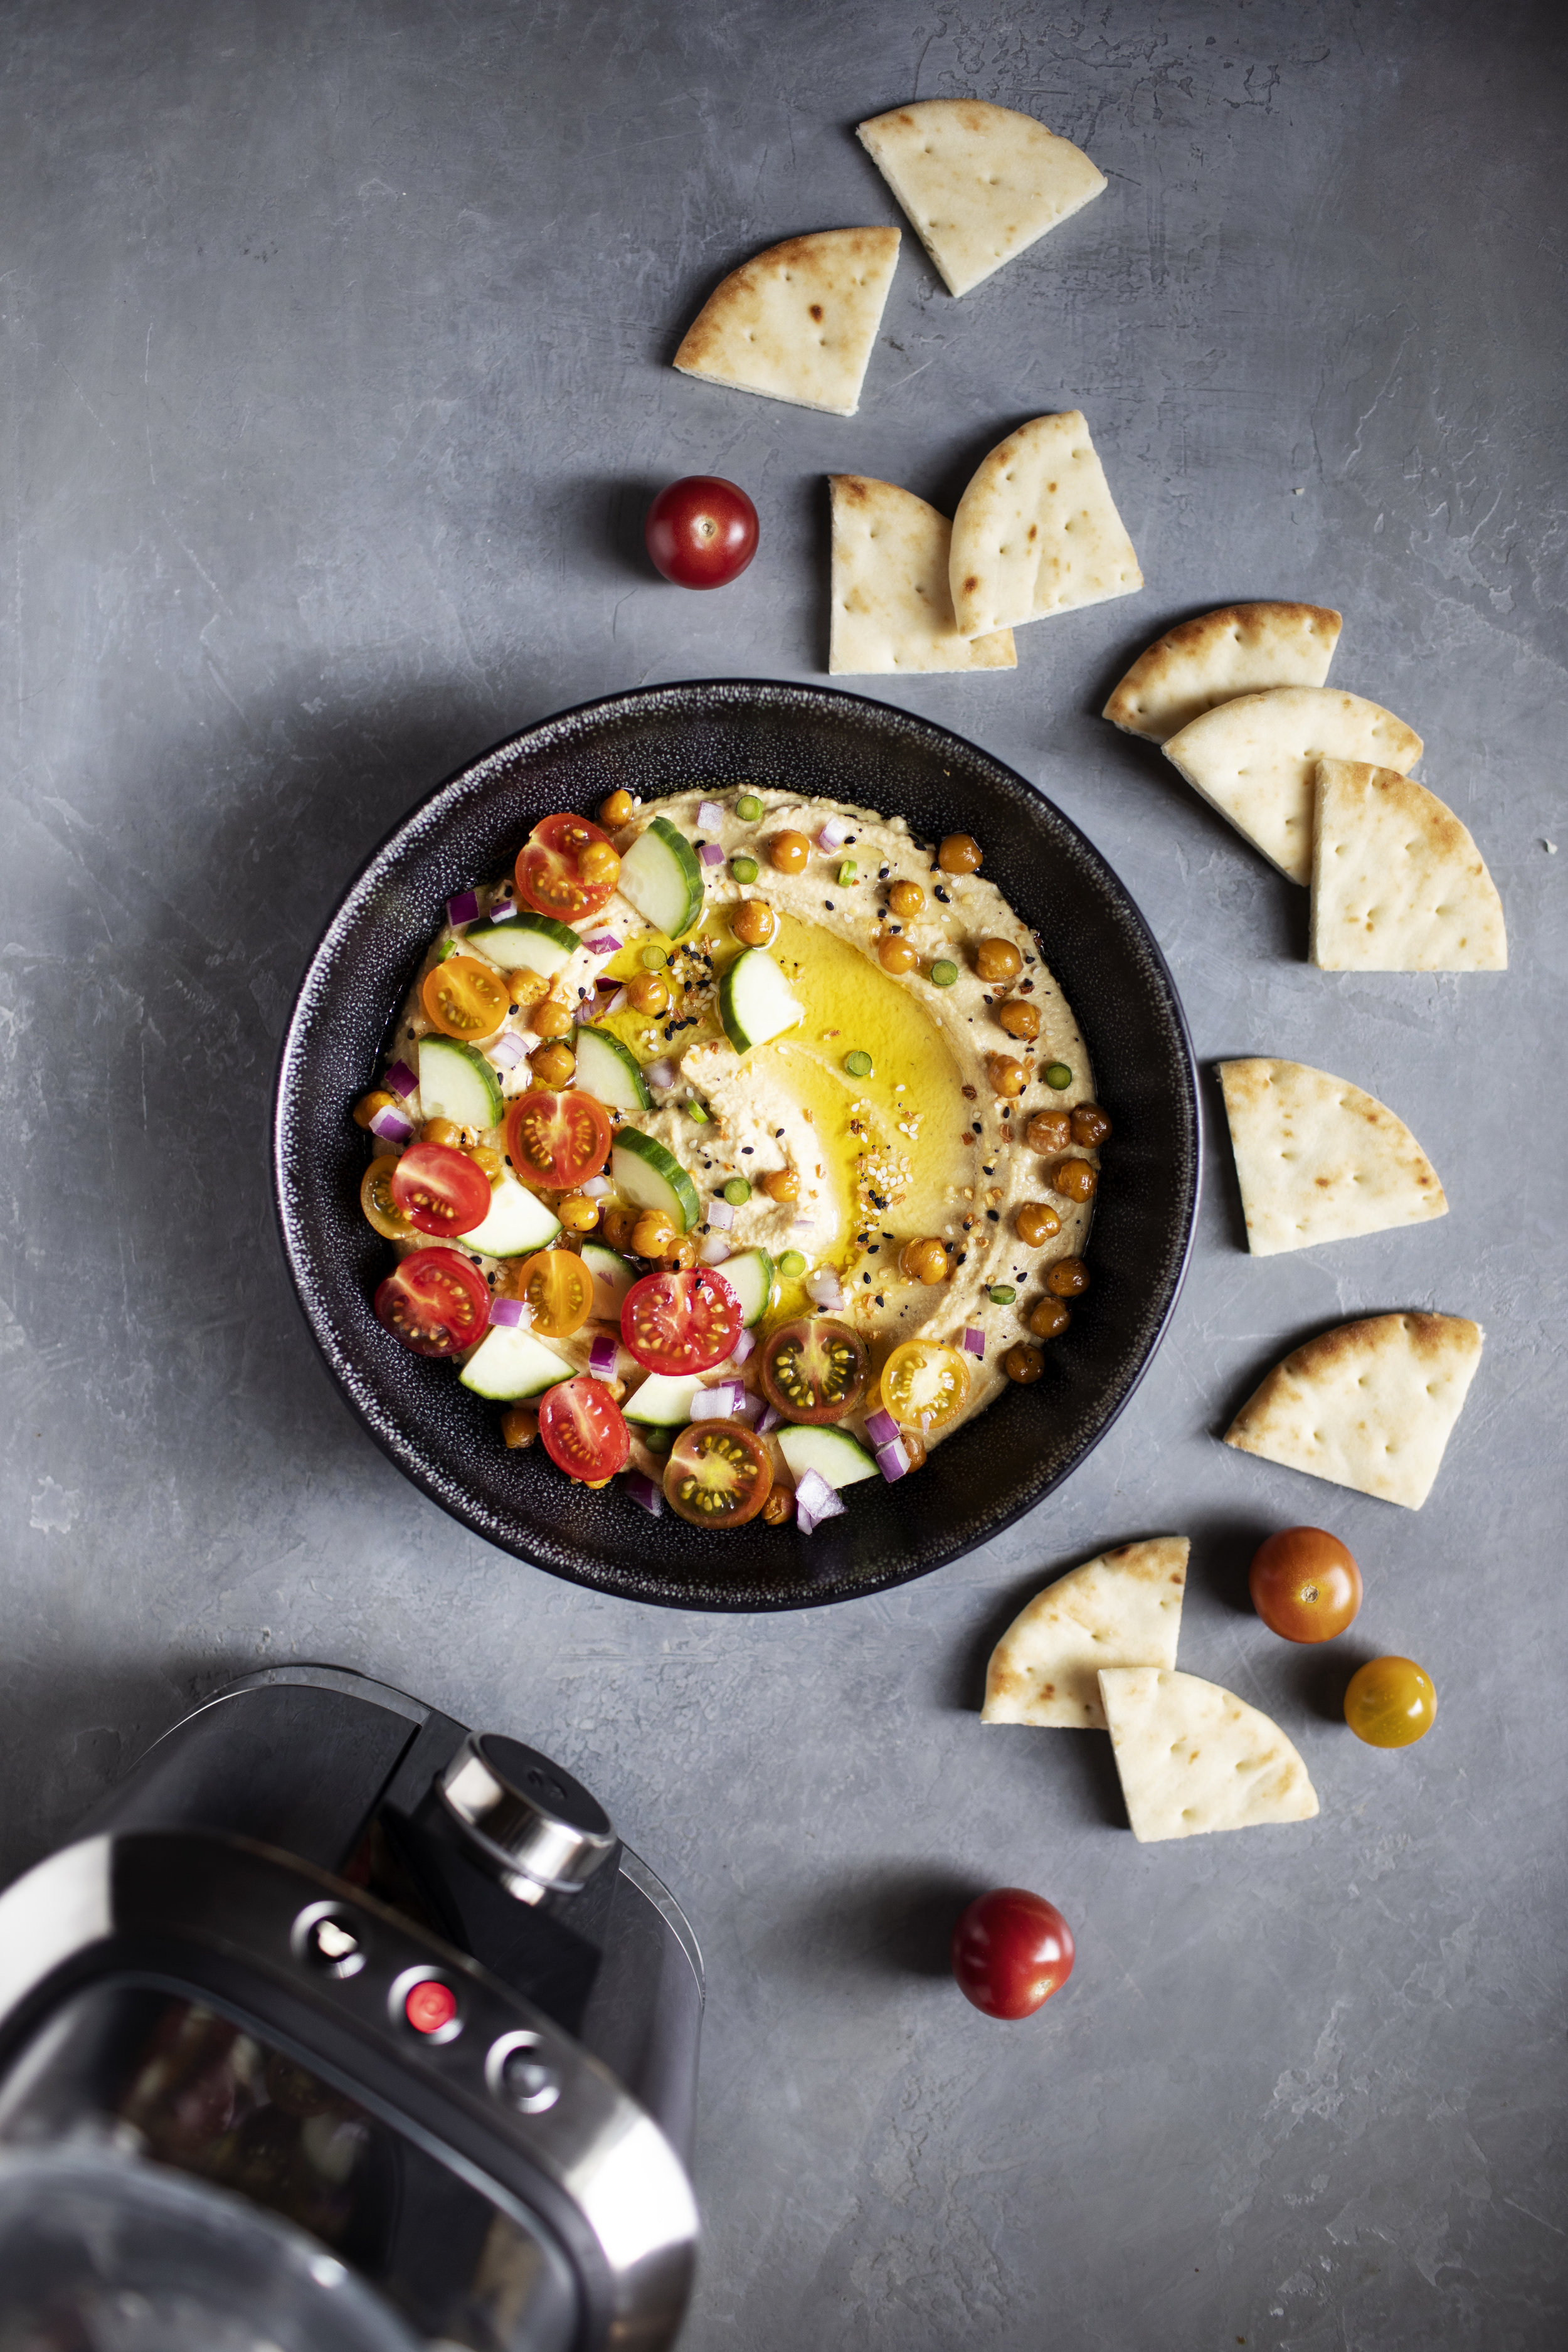
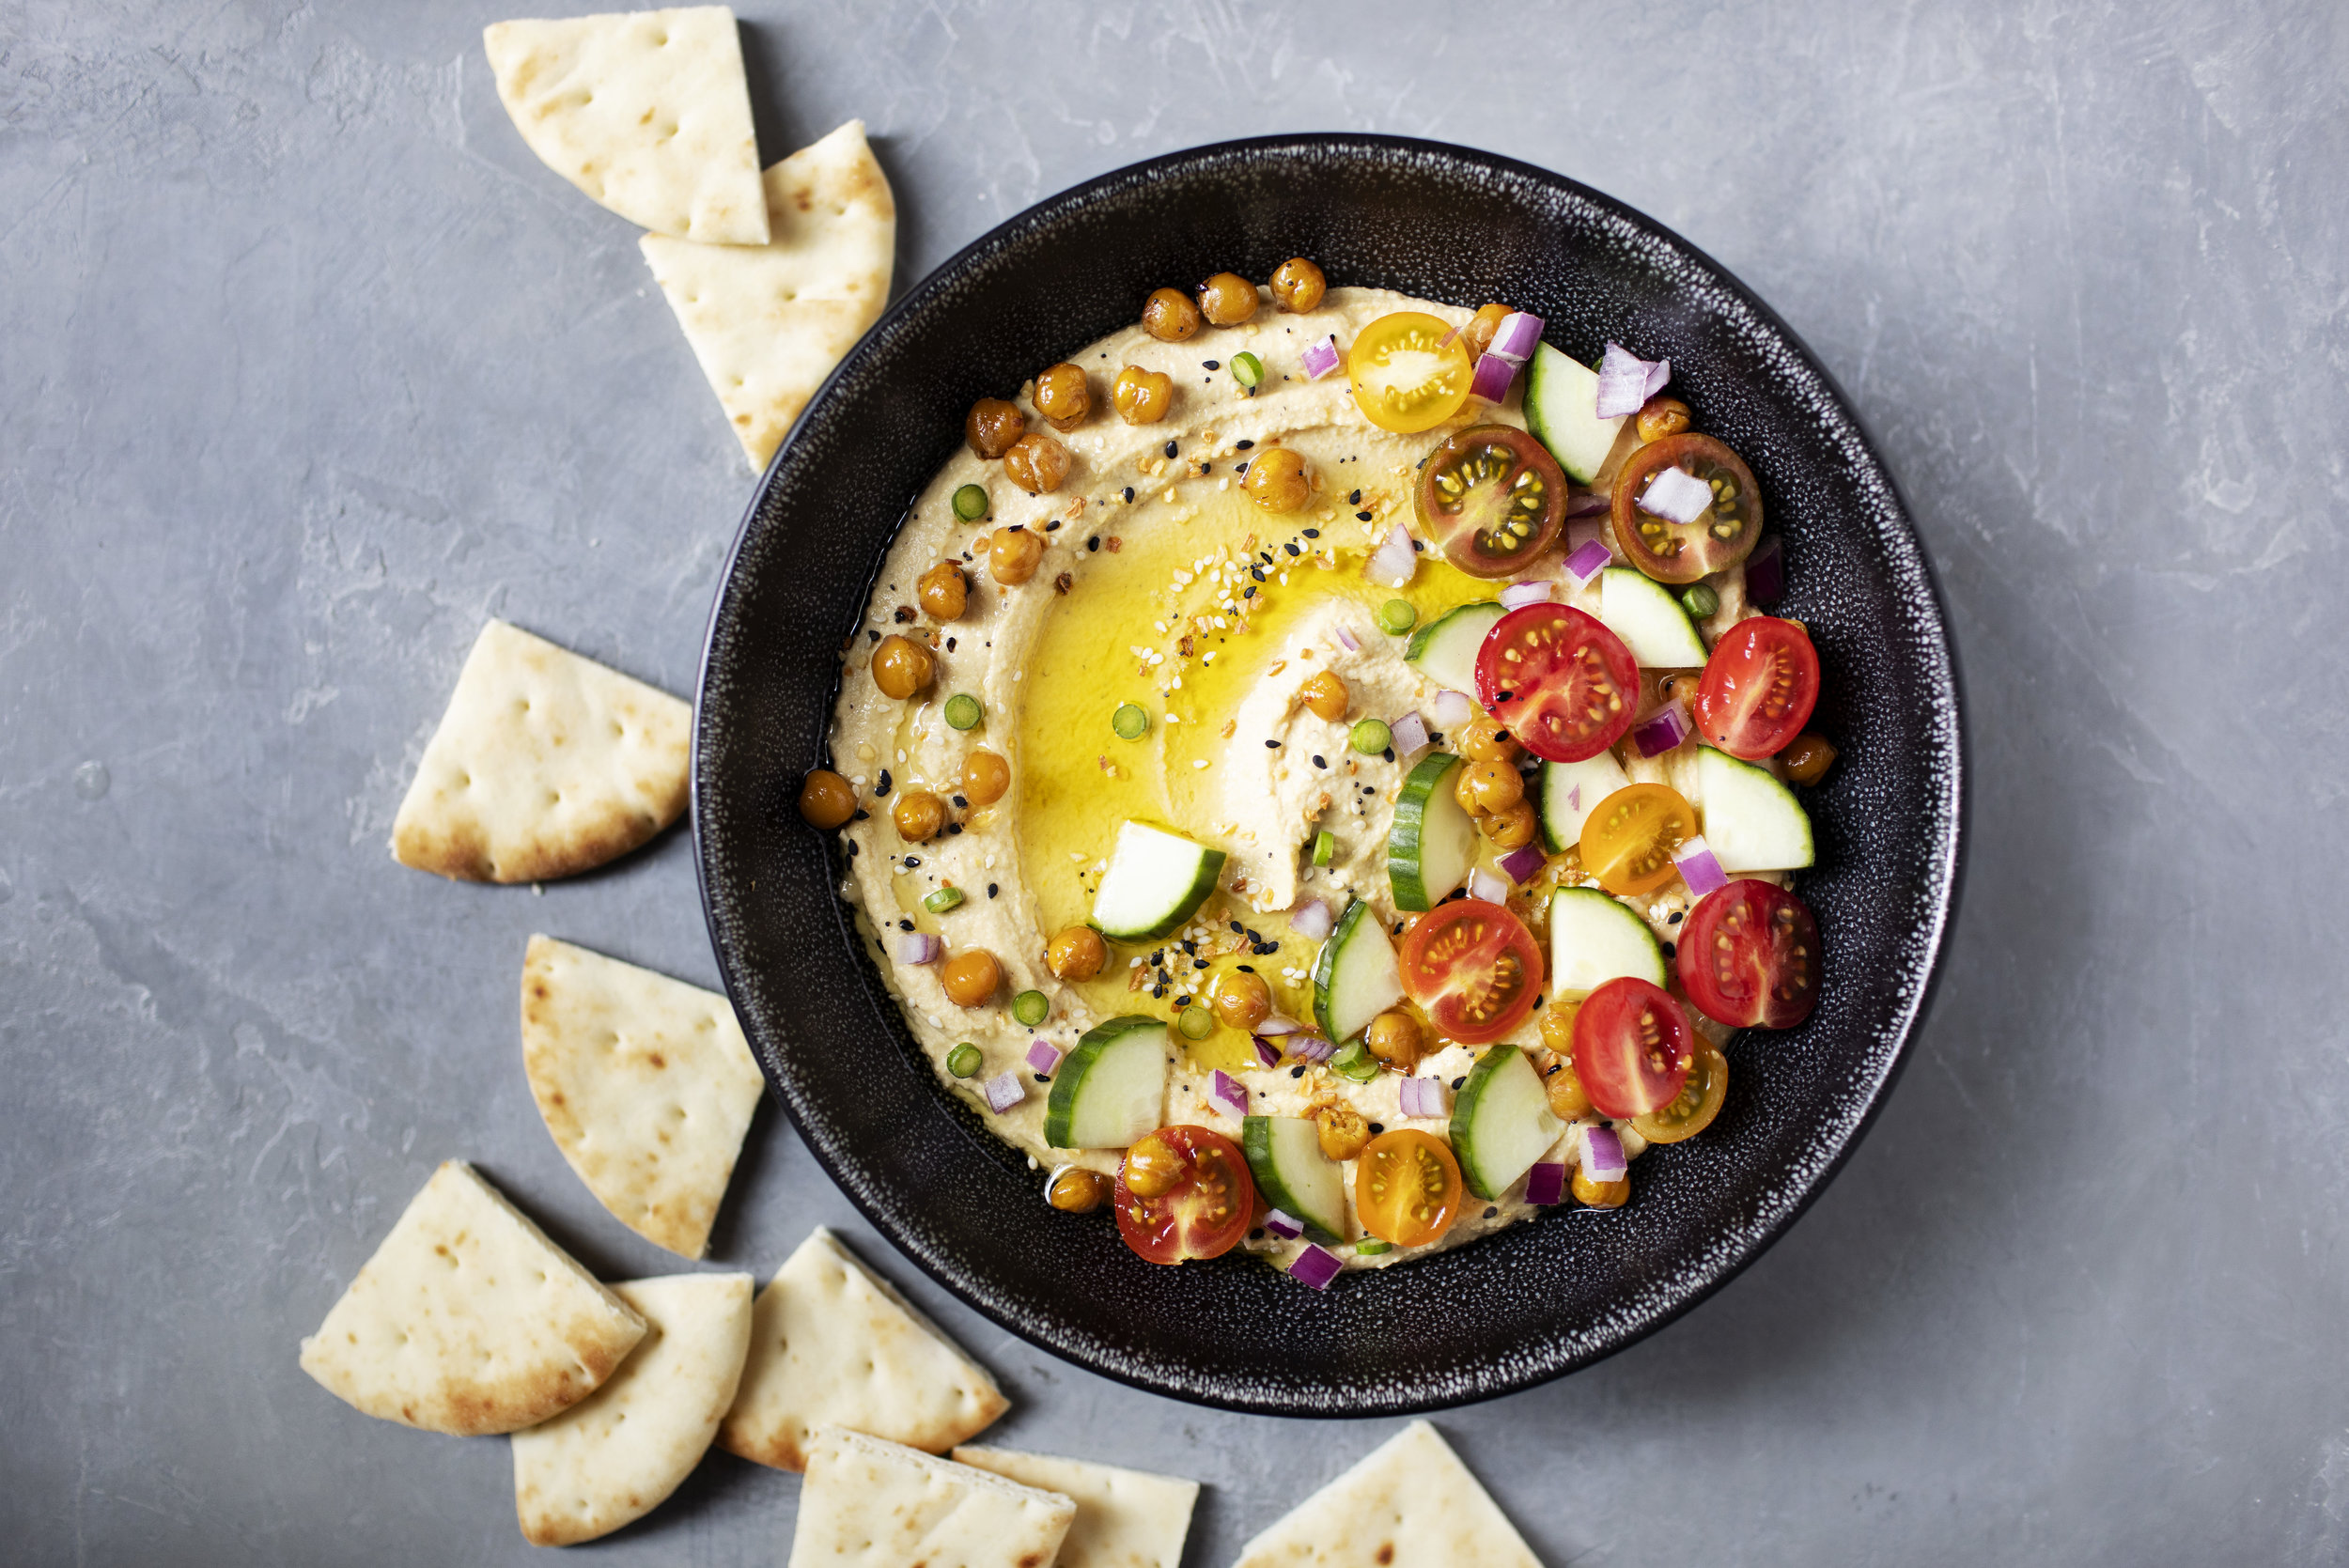
this isn't your average hummus.. it is the best of summer in a bowl & takes advantage of all august's produce has to offer. this dish has so many layers of flavour & freshness. the lemon zest brightens up the base of the hummus & the roasted chickpeas bring a pop of crunch. i seasoned the chickpeas with everything bagel seasoning because everything bagel seasoning! no but really, i can put that blend on just about anything. the roasted chickpeas make for a delcious healthy snack or protien to add to a salad too. you should probably double the recipe, as you might eat them all before the hummus is even ready!

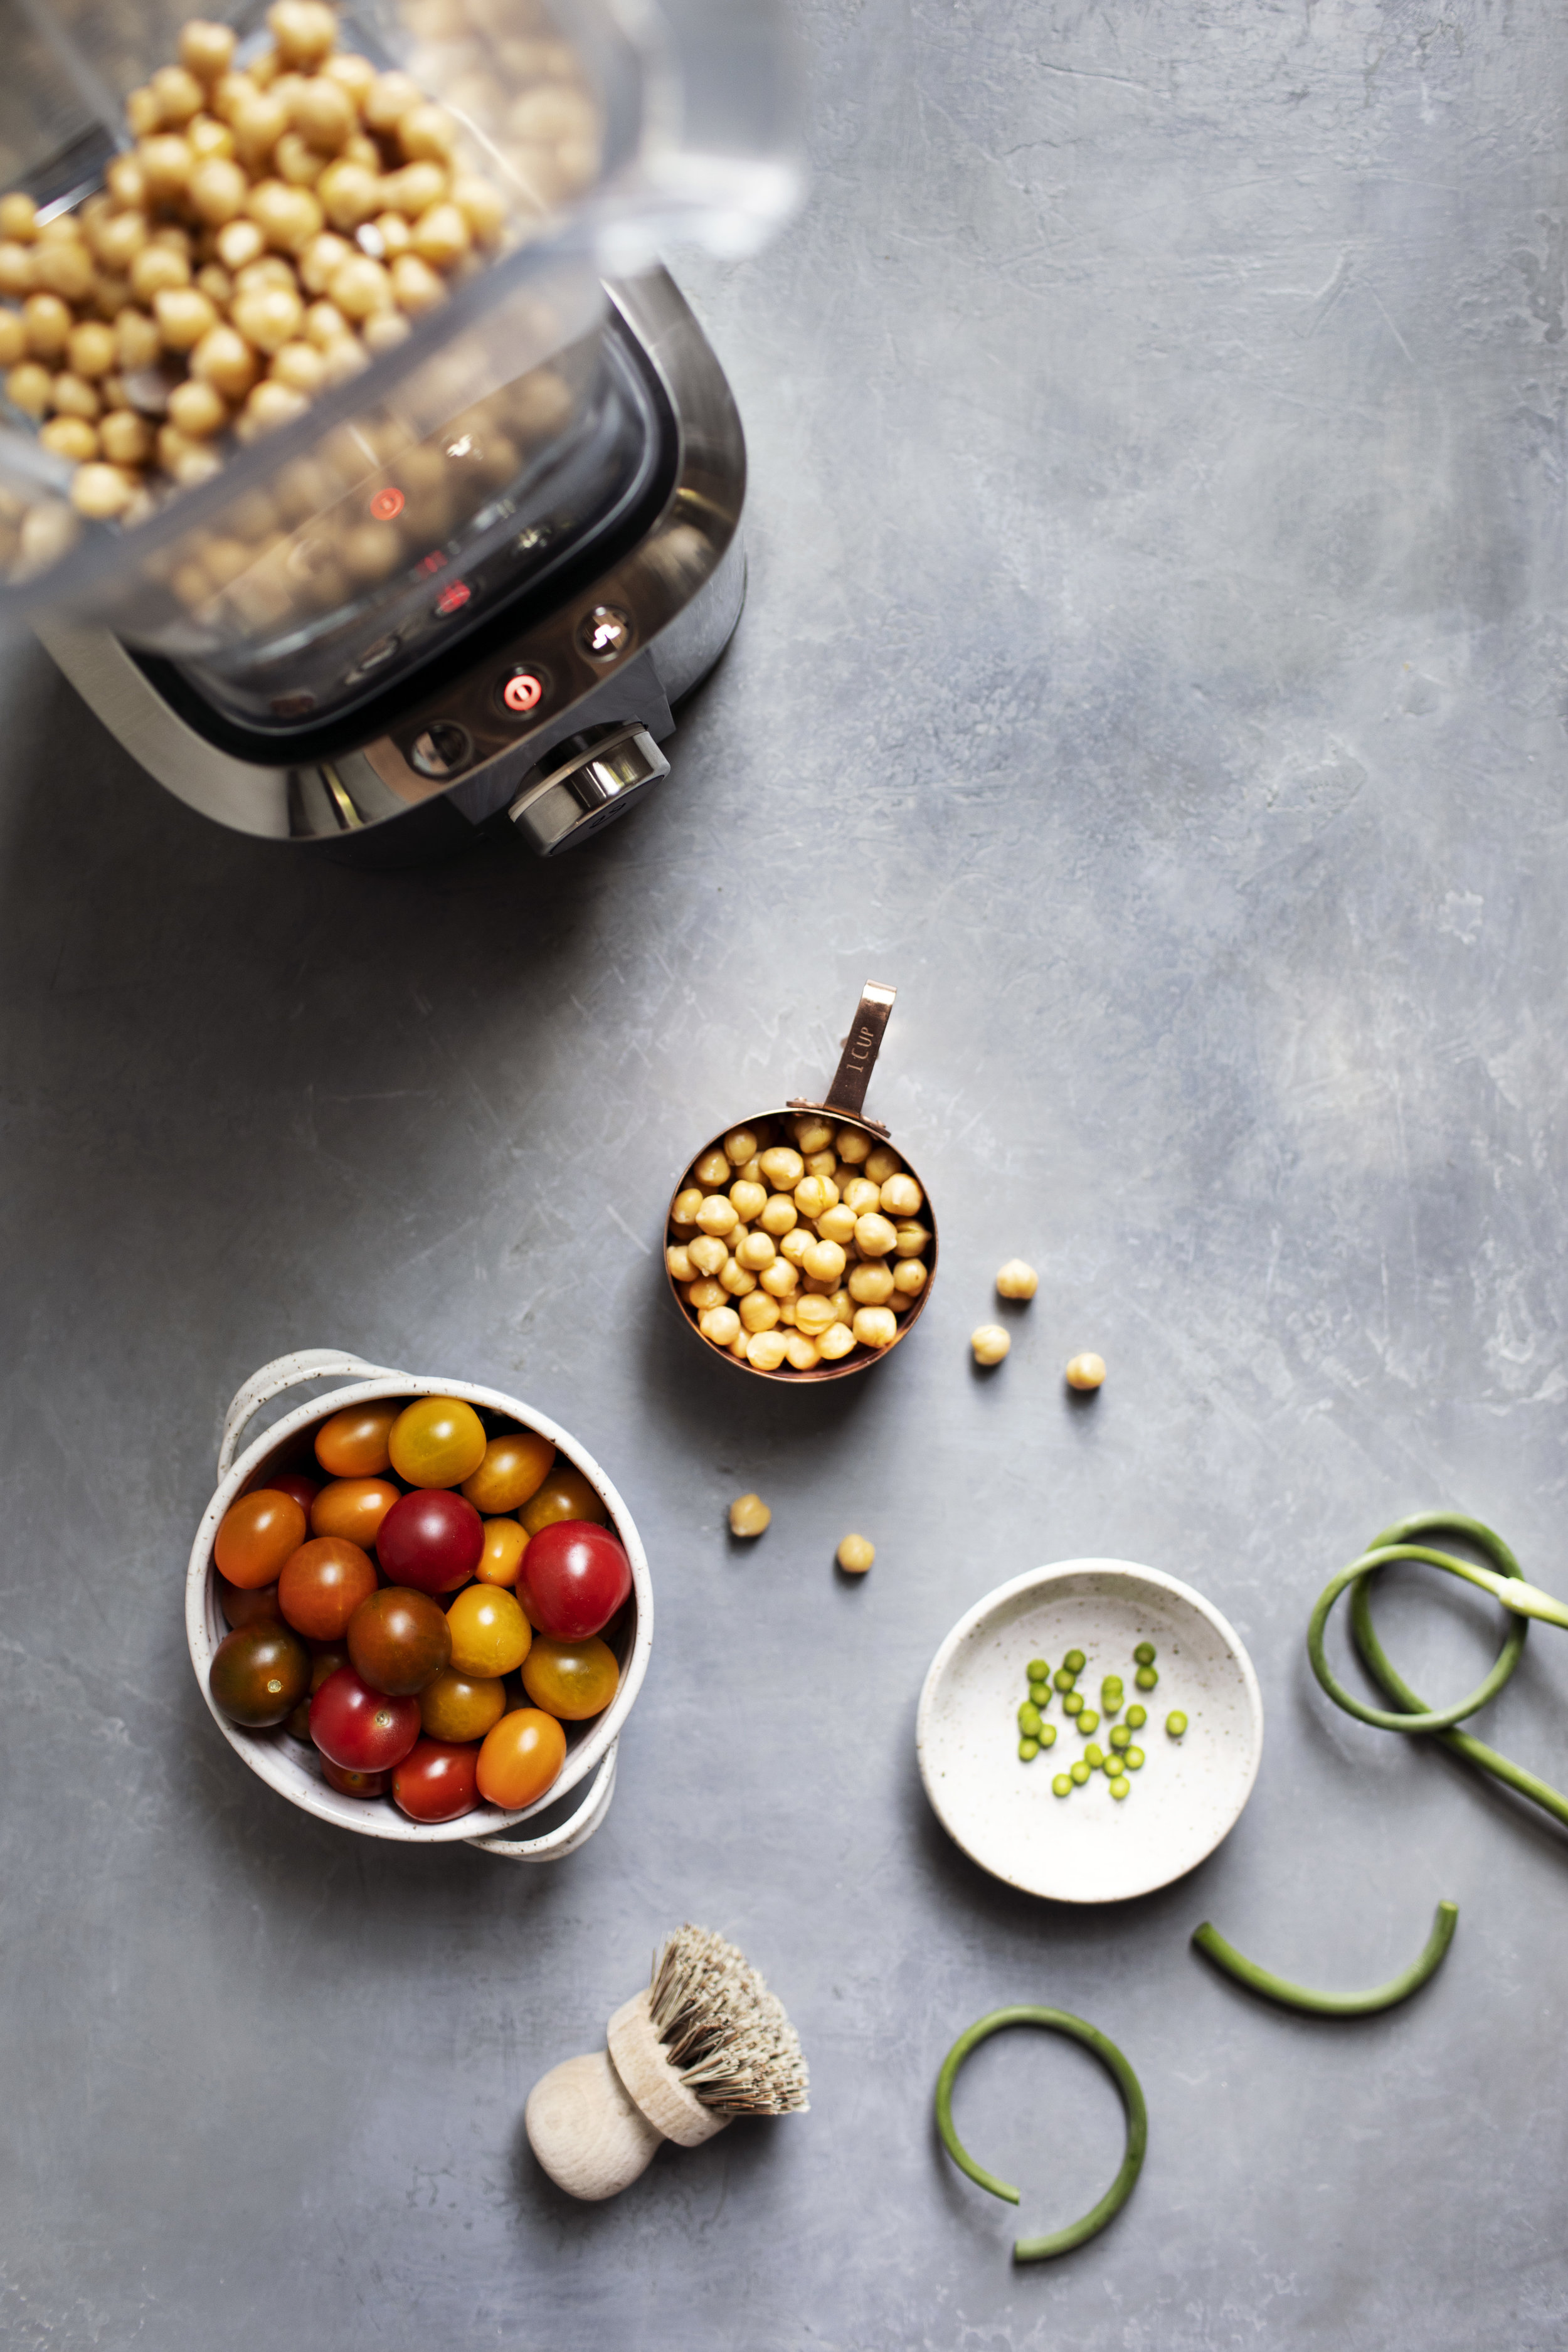
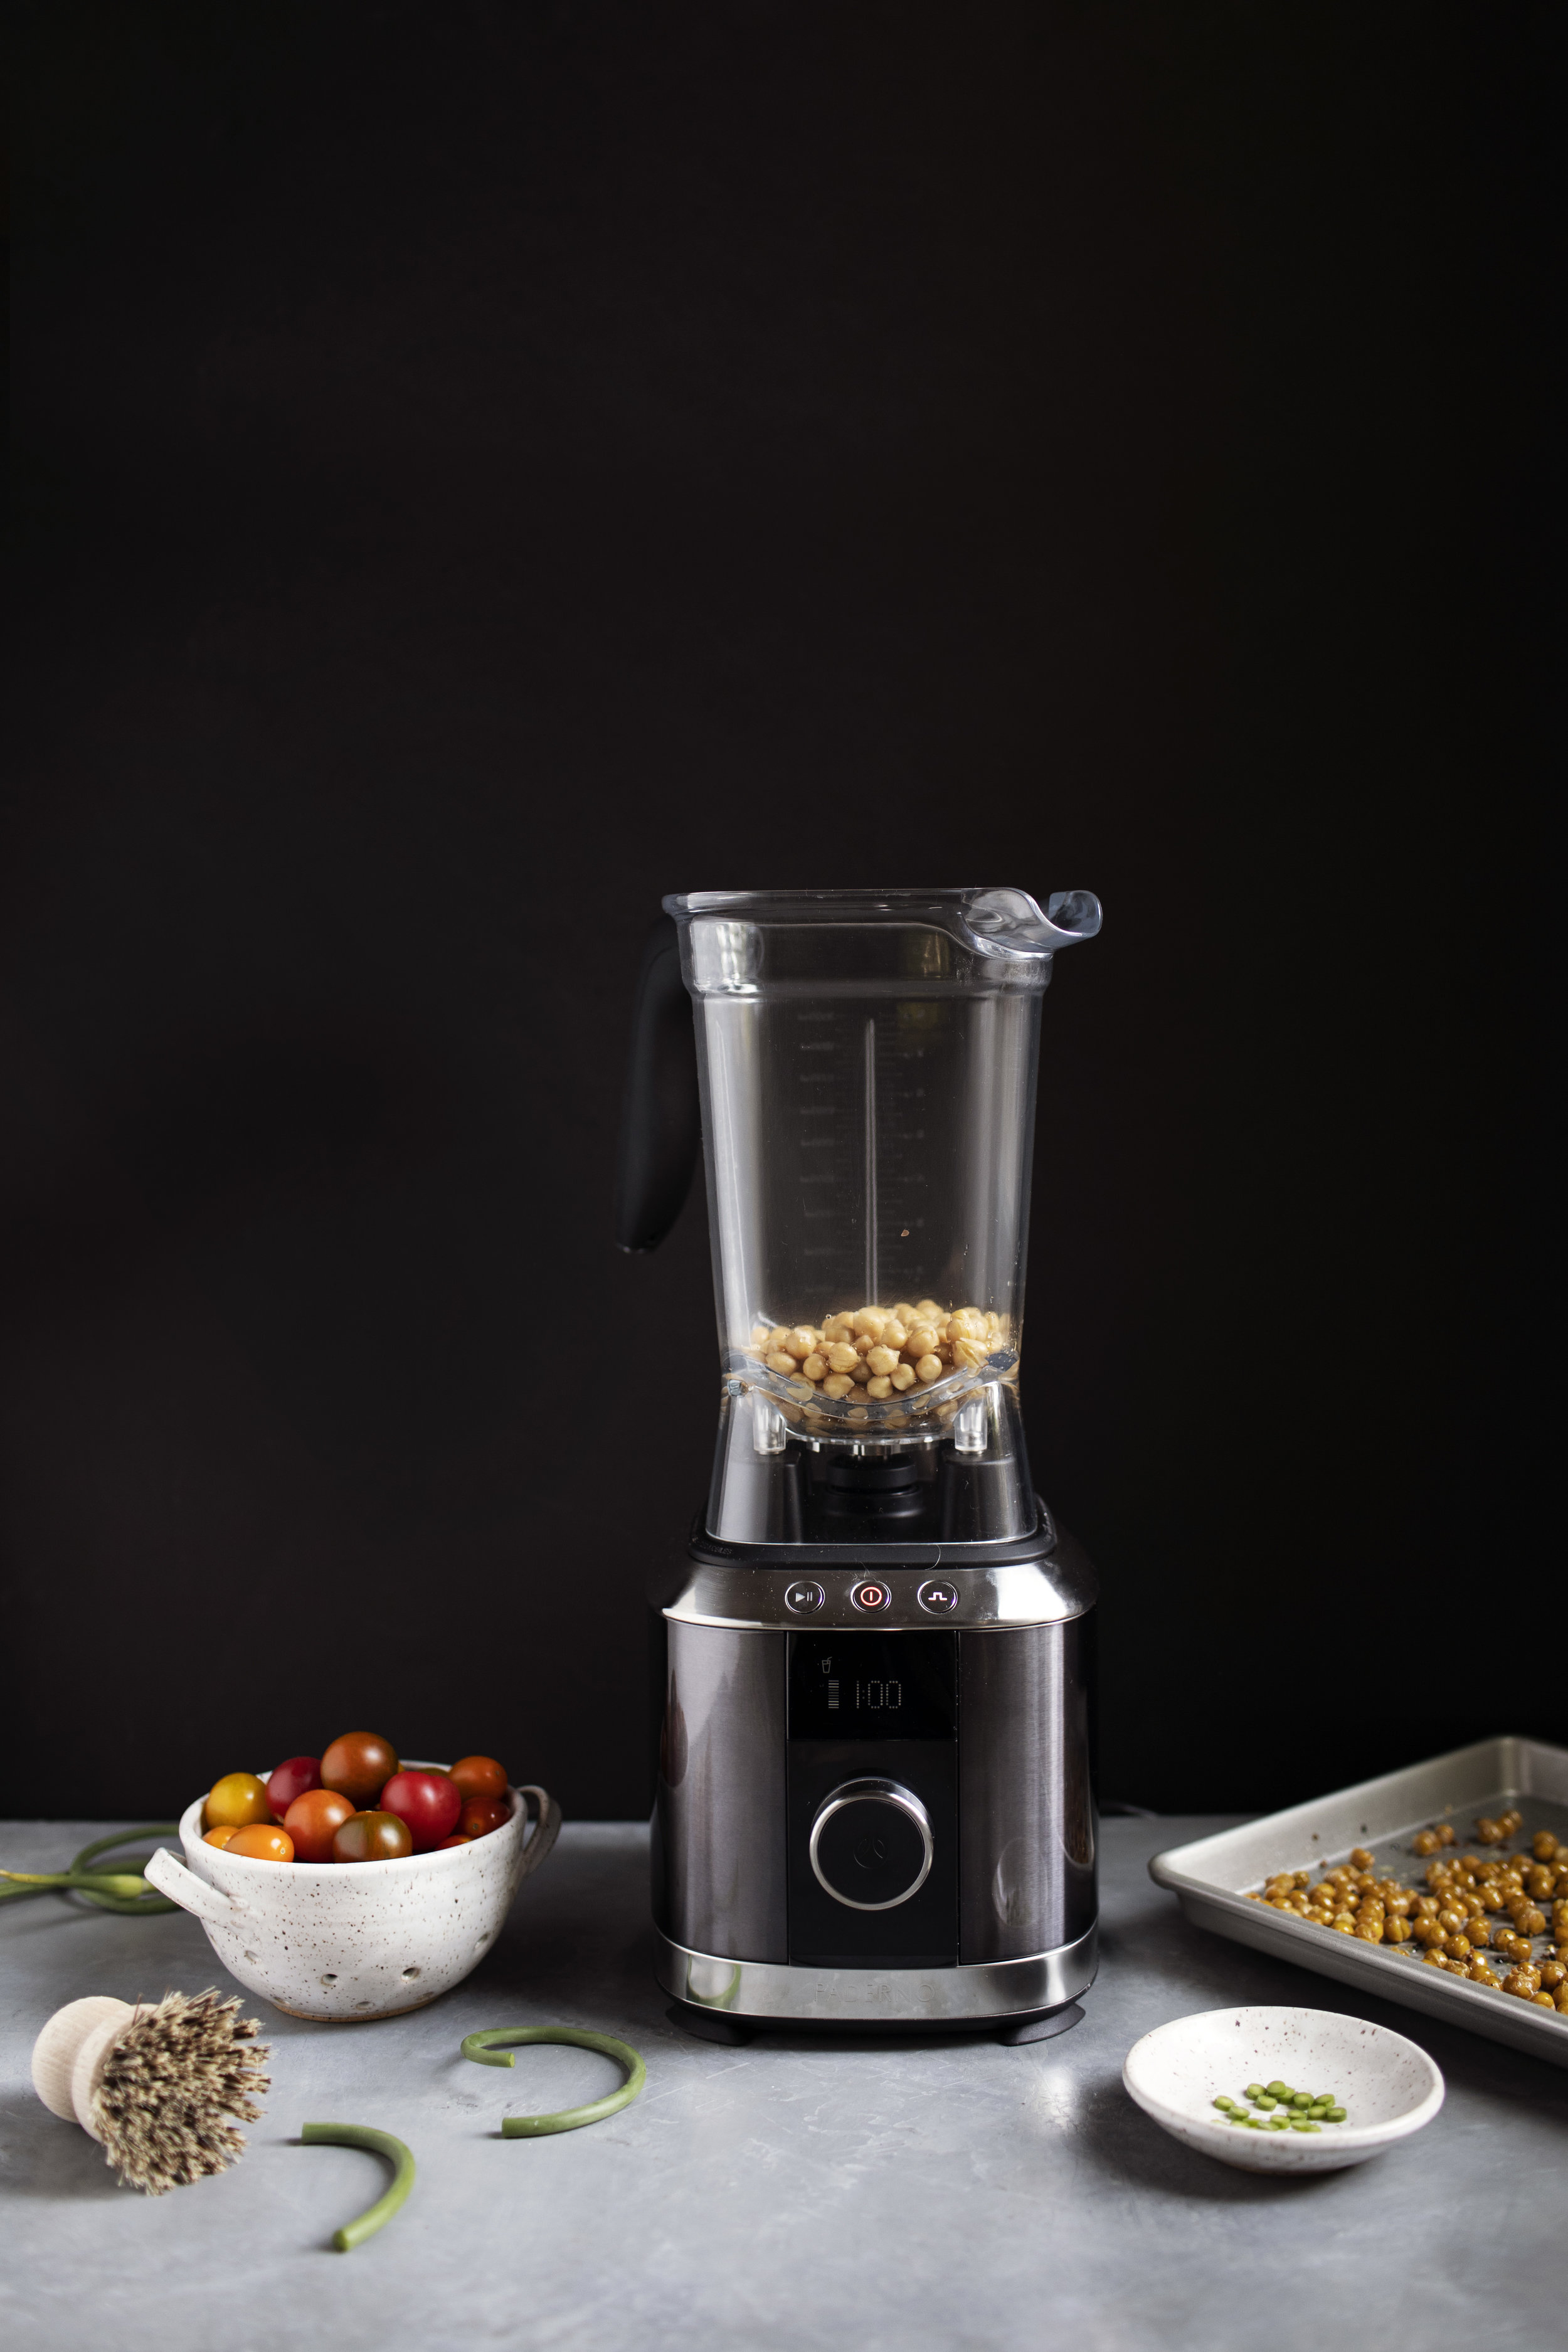
if you haven't made homemade hummus before, it is so easy to make at home. it is one of those store bought items that once you make it from scratch you won't ever buy it again. this version topped with vegetables & roasted chickpeas also presents so beautifully as an appetizer for guest. it is so colourful! it goes well with a glass of wine too for girls night. i used the PADERNO Power Blender which makes making hummus even easier! it is so powerful & smooth, yielding an extra creamy texture. my best advice when making hummus is to use a quality tahini. it is such a prominent & distinctive flavour, so use the best tahini you can get your hands on.

p.s. don't forget to serve it with warm pita or crispy corn chips too!

ingredients

for the lemon hummus

  • 1 can of chickpeas (15 ounces), rinsed & drained
  • 2 heaping tablespoons quality tahini
  • 3 cloves of garlic, smashed
  • 2 tablespoons cold water
  • 2 tablespoons lemon juice, freshly squeezed
  • 1 teaspoon lemon zest
  • salt & pepper, to taste
  • 1/4 cup extra virgin olive oil, plus more for serving
  • 1/2 cup cherry tomatoes, halved
  • 1/2 cup cucumber, thinly sliced & quartered
  • 1/4 cup red onion
  • 1/4 cup garlic scapes or chives, thinly sliced
  • 1 teaspoon everything bagel seasoning
  • roasted everything chickpeas (see recipe below)
  • warm pita, for serving

for the roasted everything chickpeas

  • 1 can of chickpeas (15 ounces), rinsed & drained
  • 2 tablespoons extra virgin olive oil
  • 1 tablespoon everything bagel seasoning

directions

for the lemon hummus

  • in a blender combine the chickpeas, tahini, garlic, water & lemon juice. blend for 60 seconds.
  • add the lemon zest, salt, pepper & olive oil. blend on high speed until mixture is creamy & smooth. if mixture is thick, add additional water until desired consistency is formed. taste for salt & adjust as needed.
  • transfer hummus to a large serving bowl & drizzle with additional olive oil. top with tomatoes, cucumber, red onion, garlic scapes, everything bagel seasoning & roasted chickpeas.
  • serve fresh with warm pita.

for the roasted everything chickpeas

  • preheat oven to 375 degrees. line a baking sheet with parchment paper.
  • in a large mixing bowl toss together the chickpeas, olive oil & everything bagel seasoning. transfer to prepared baking sheet.
  • roasted for 25-30 minutes, giving the occasional shake to ensure all sides are golden.
  • set aside until ready to use.

this post was created in partnership with paderno!