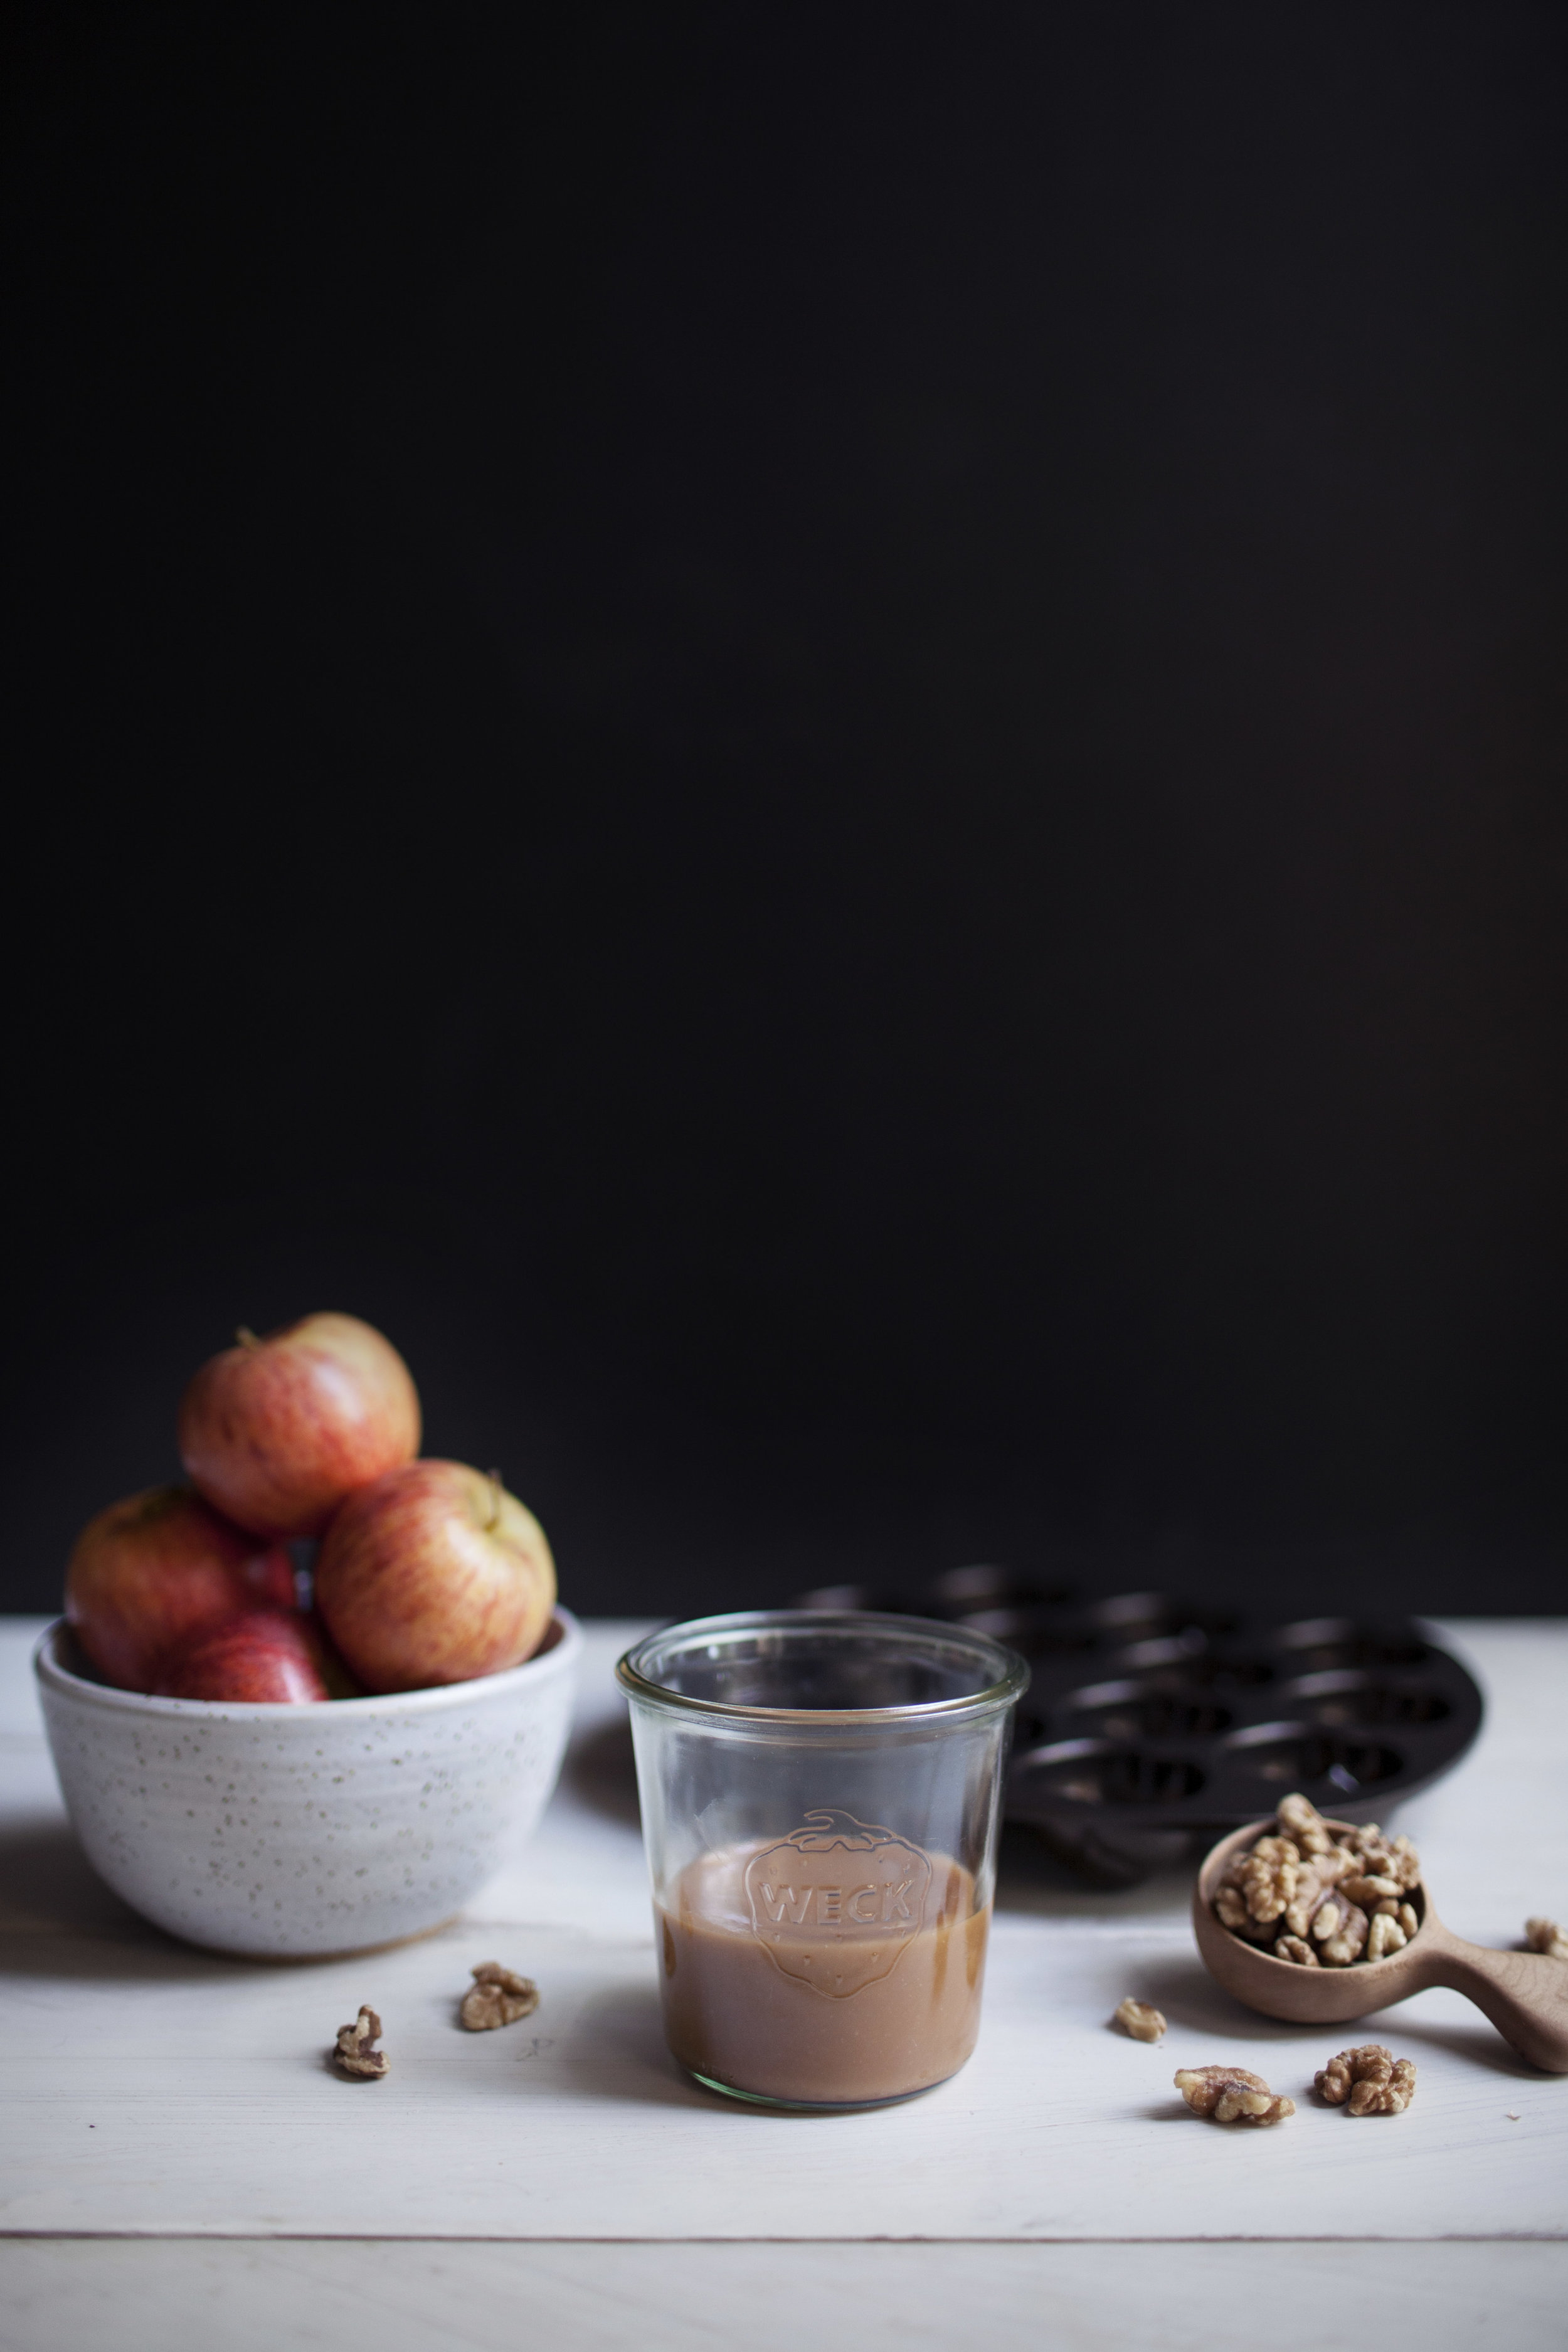
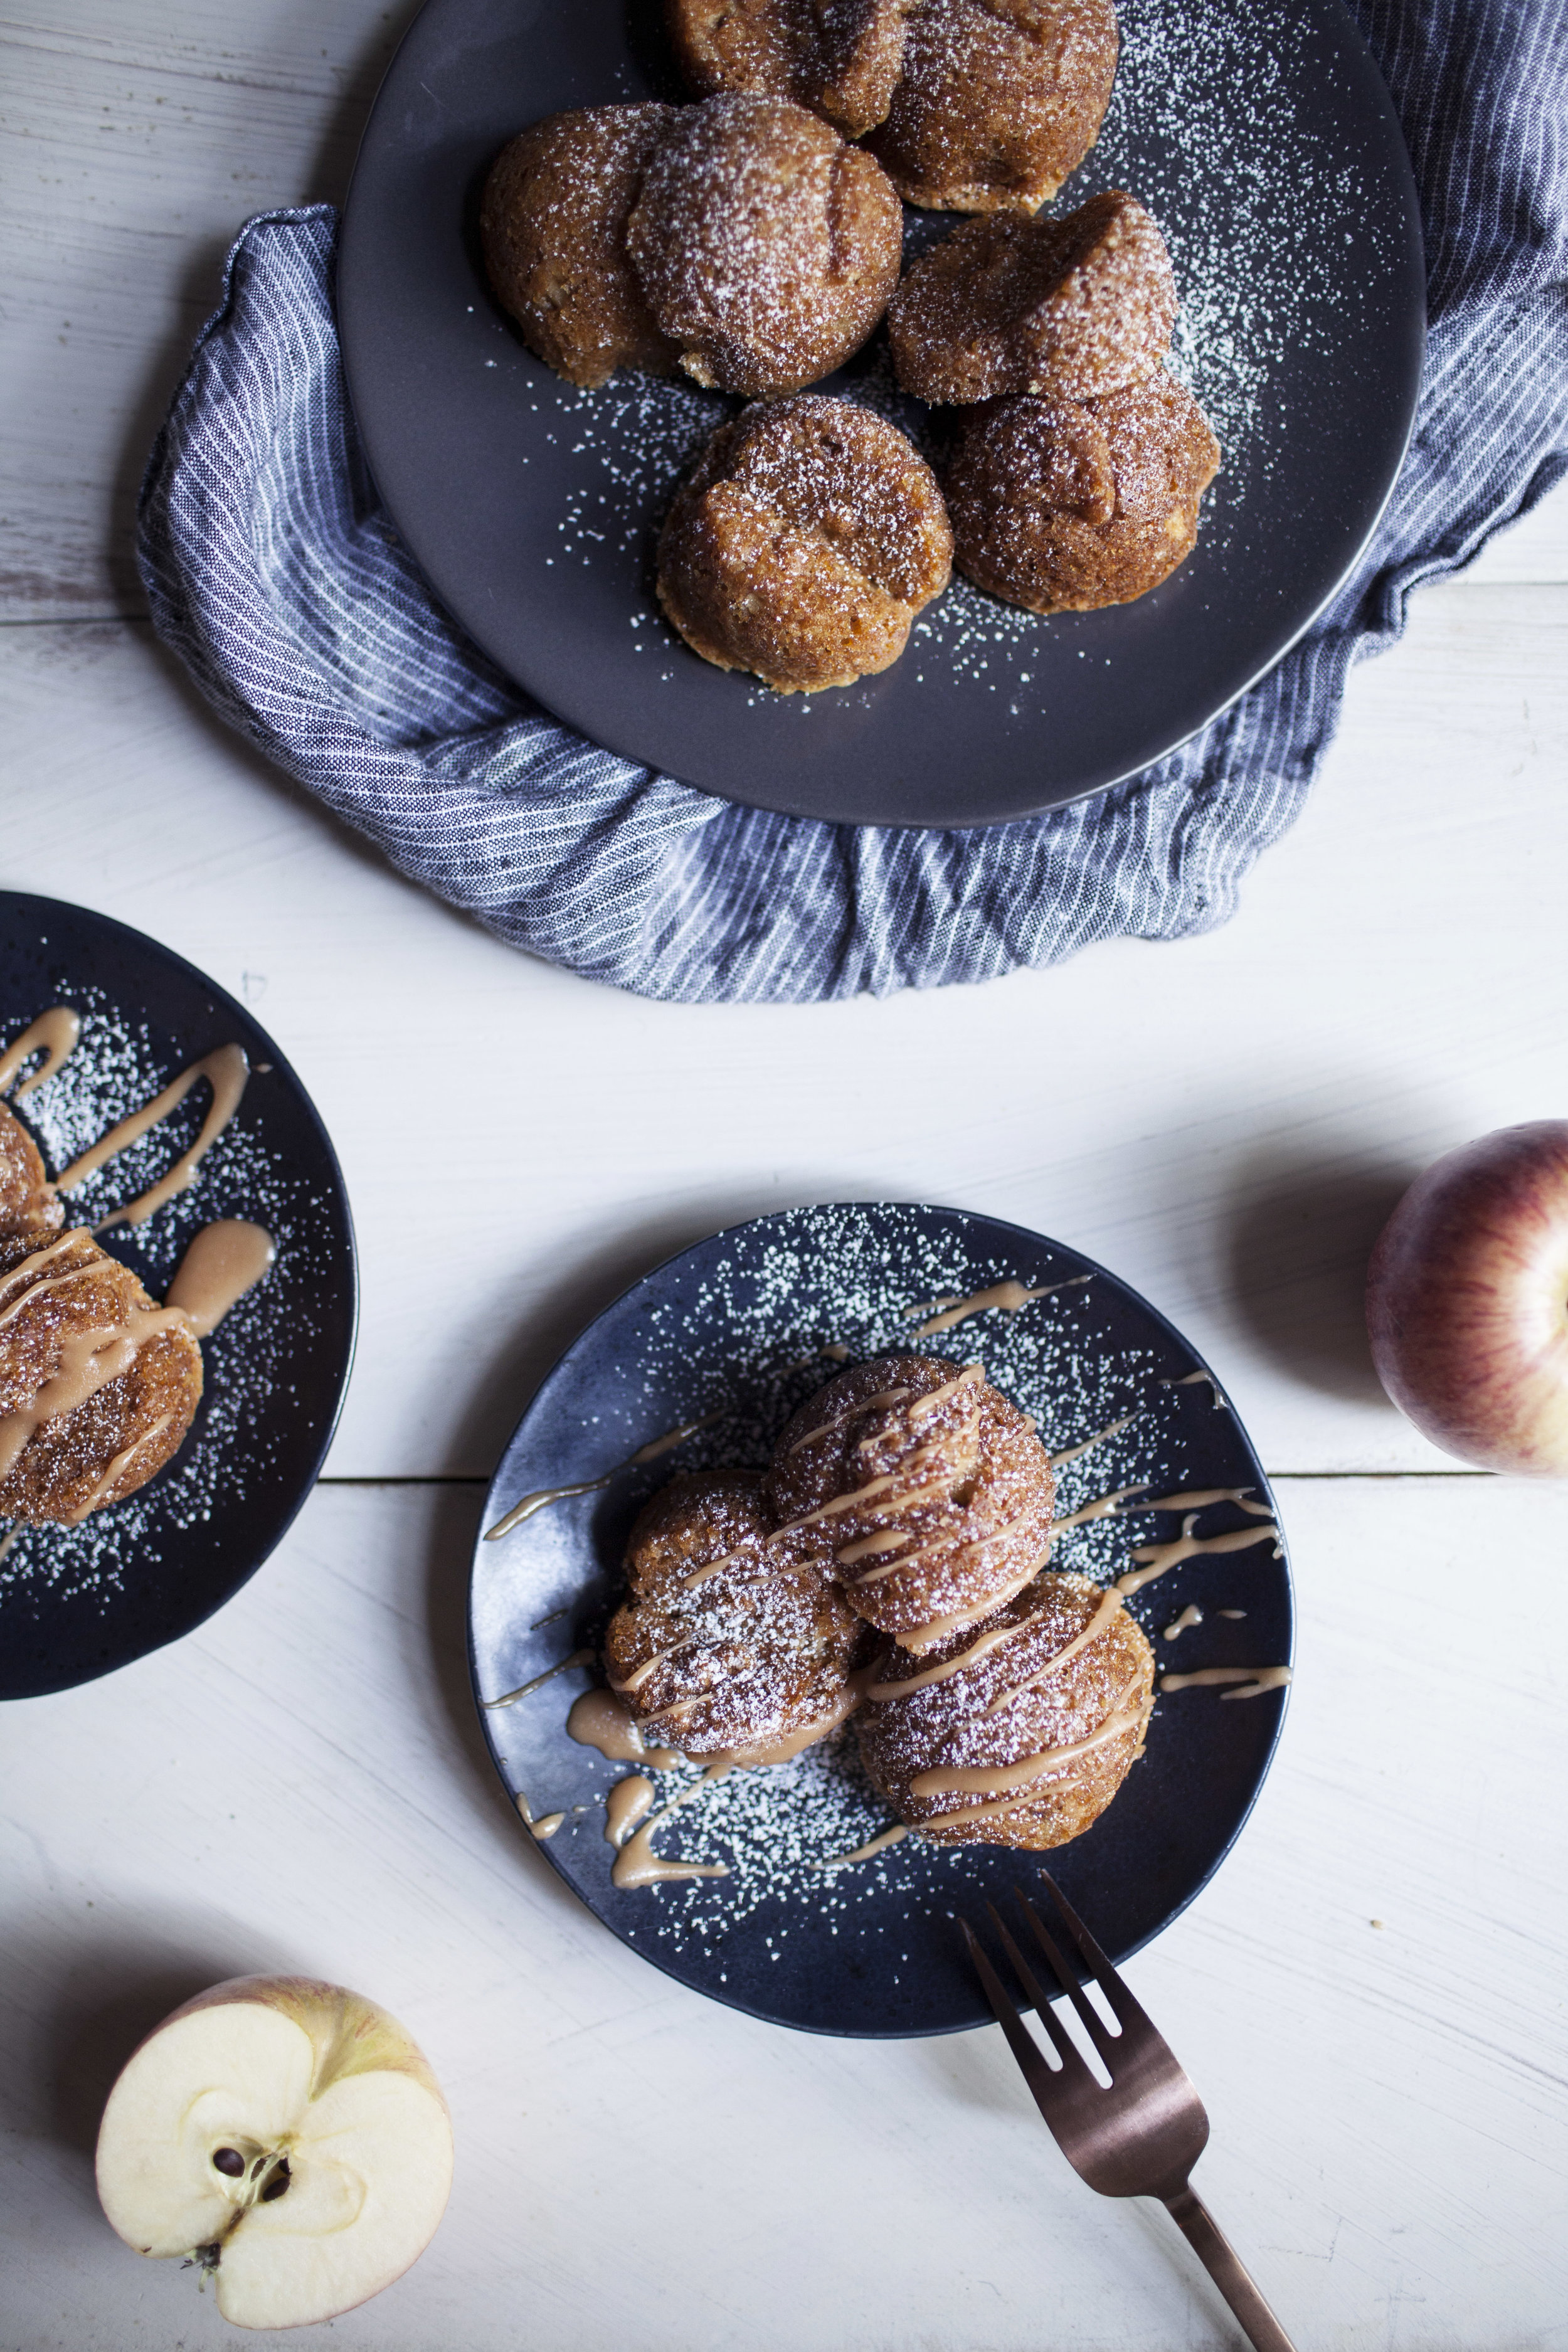
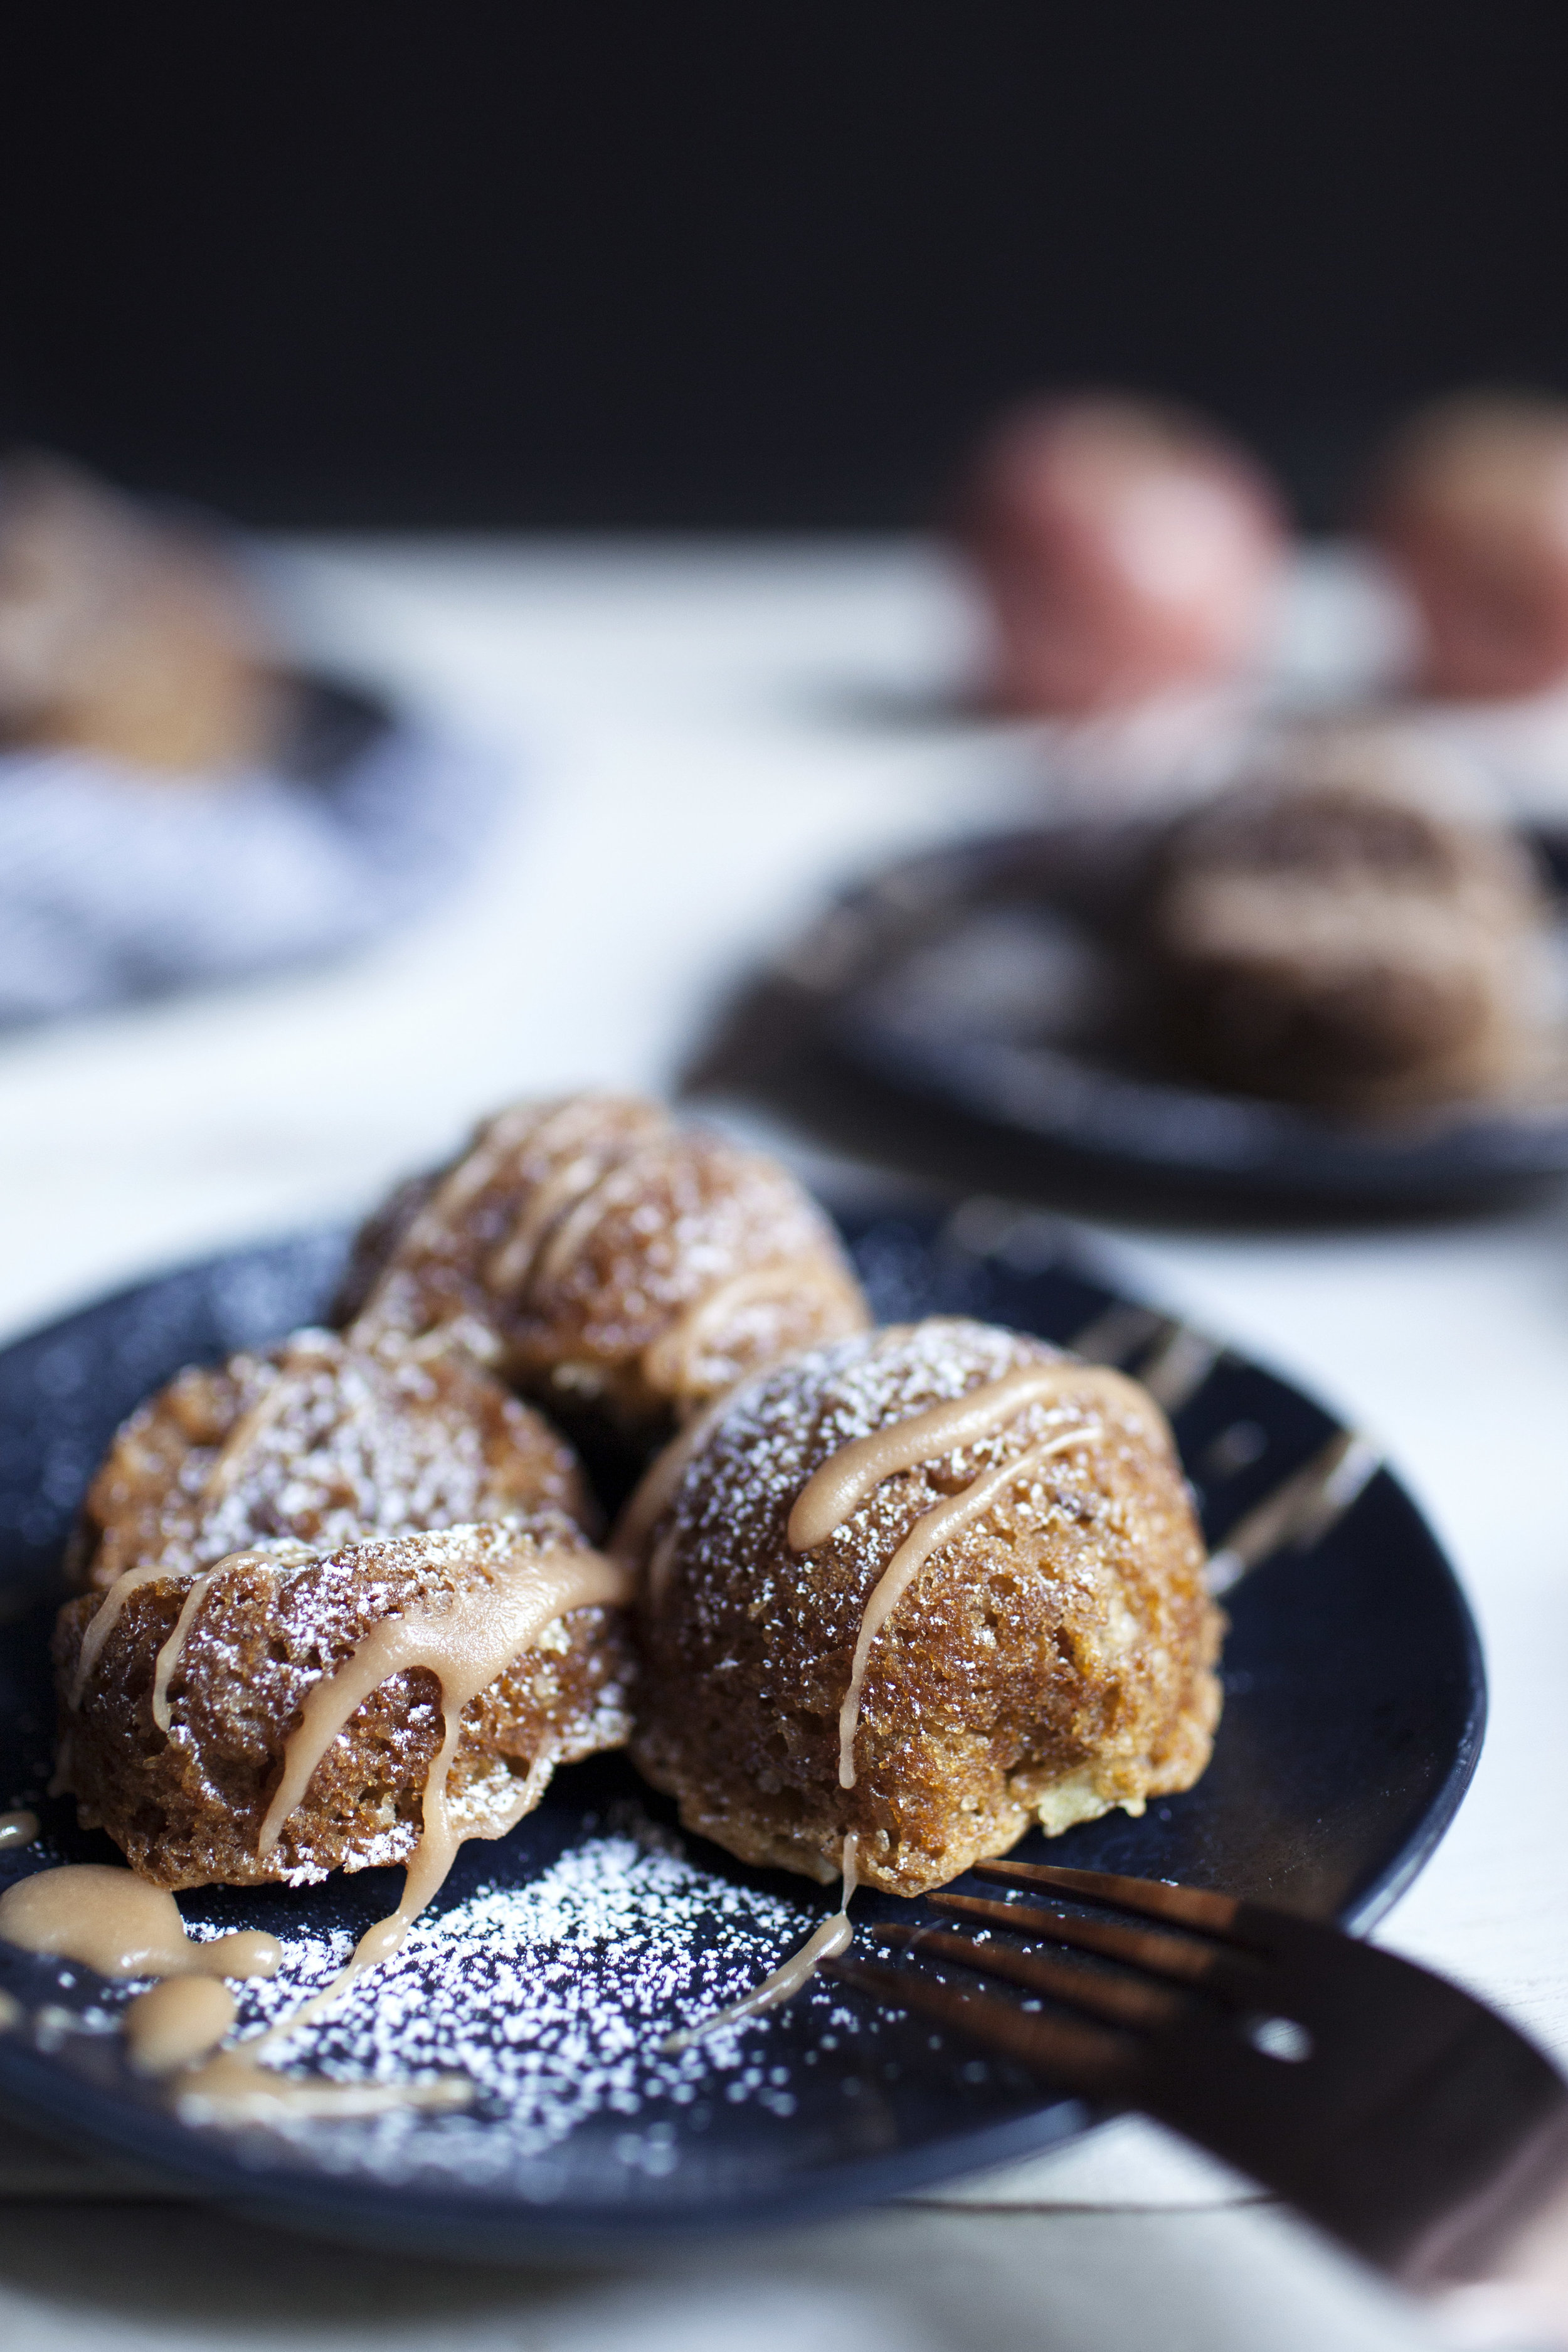
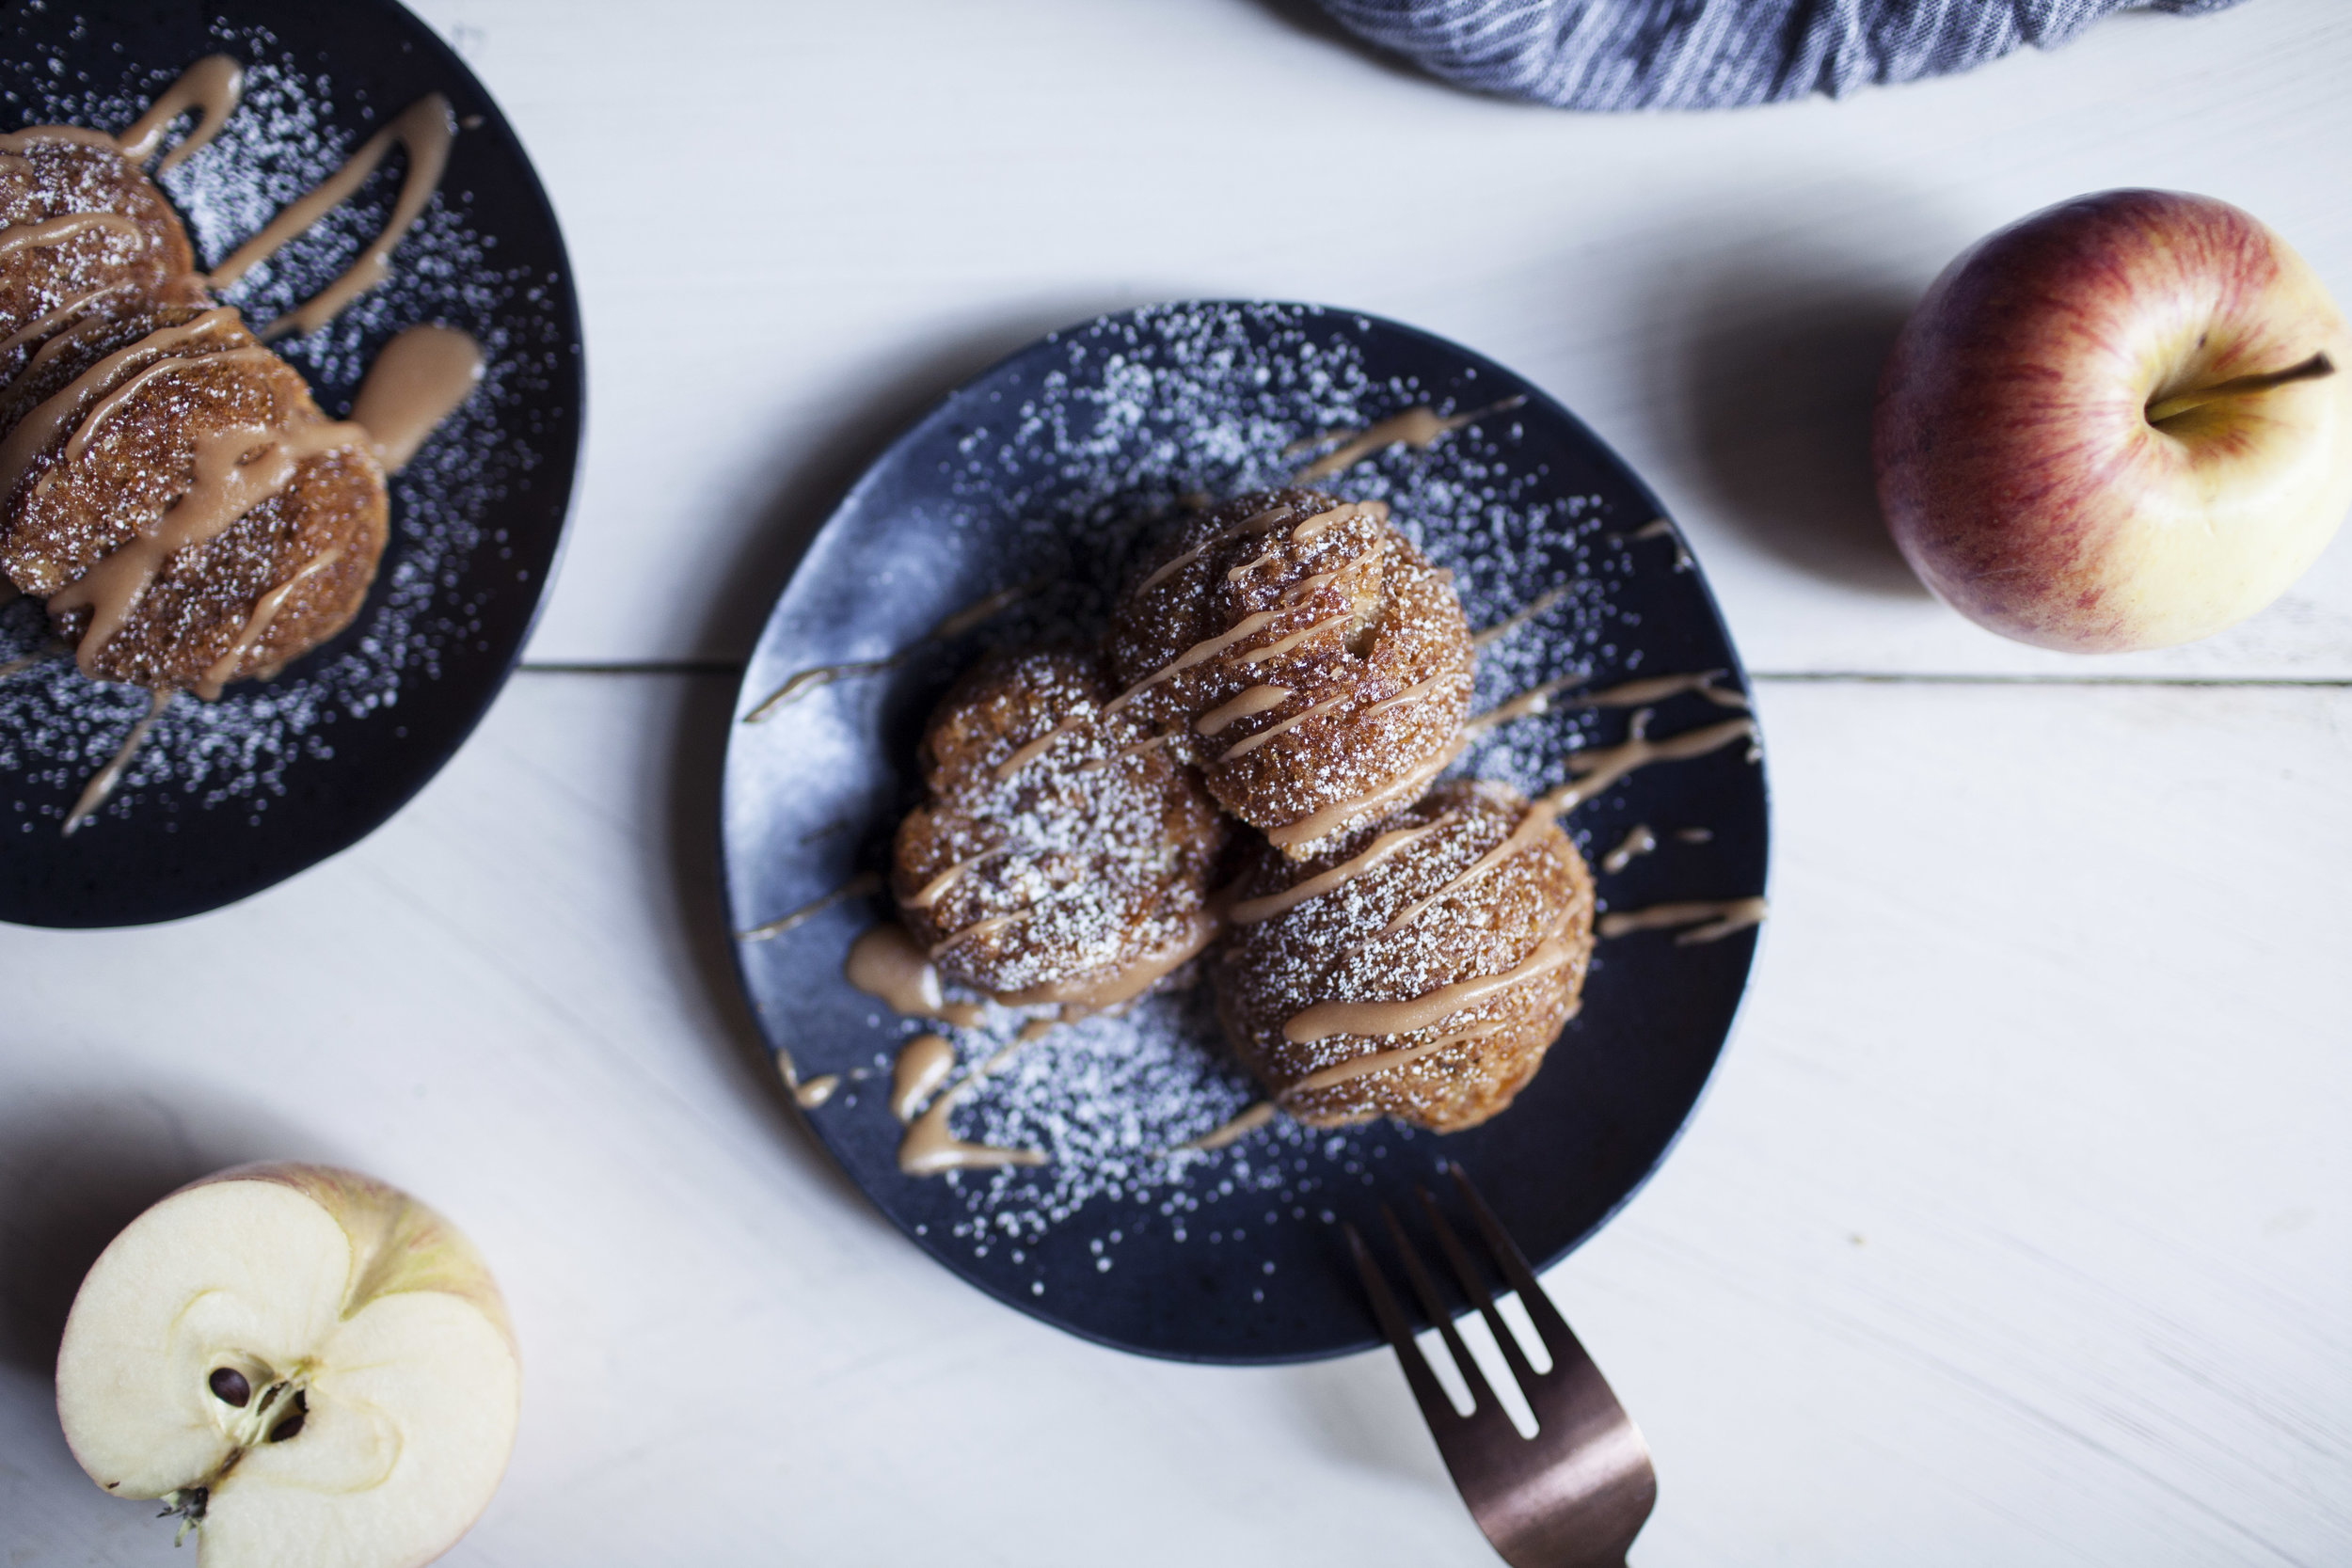
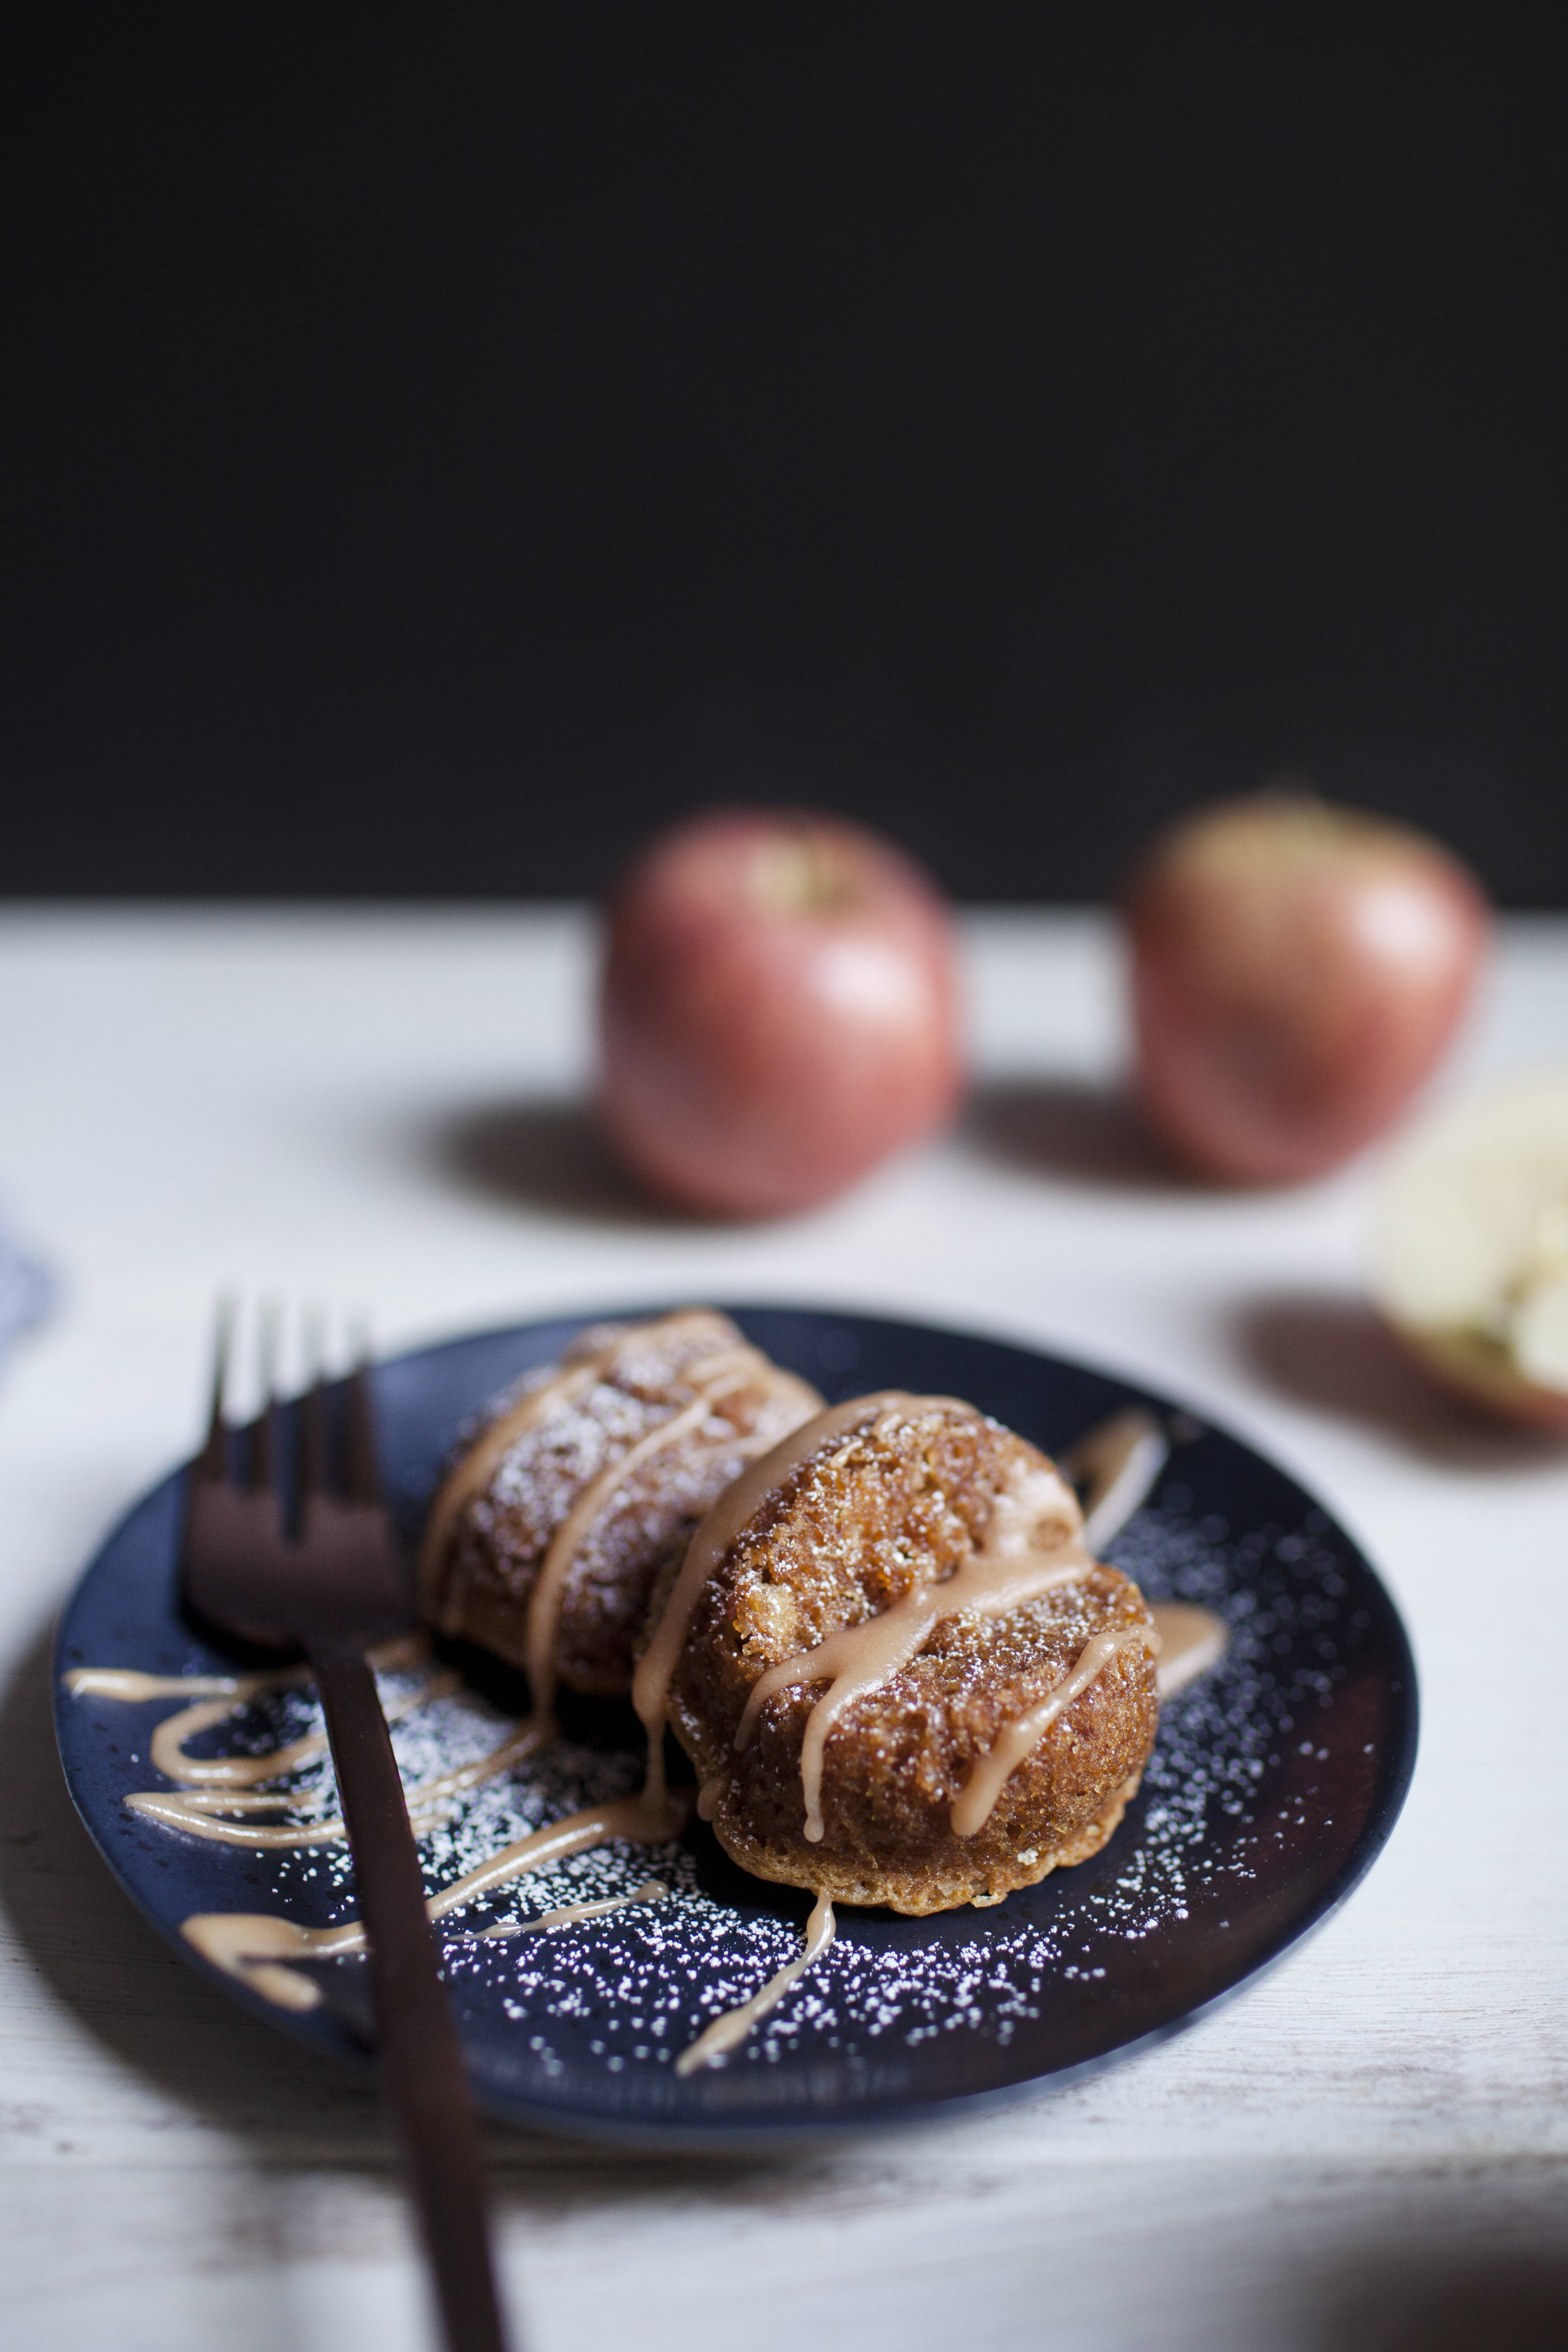
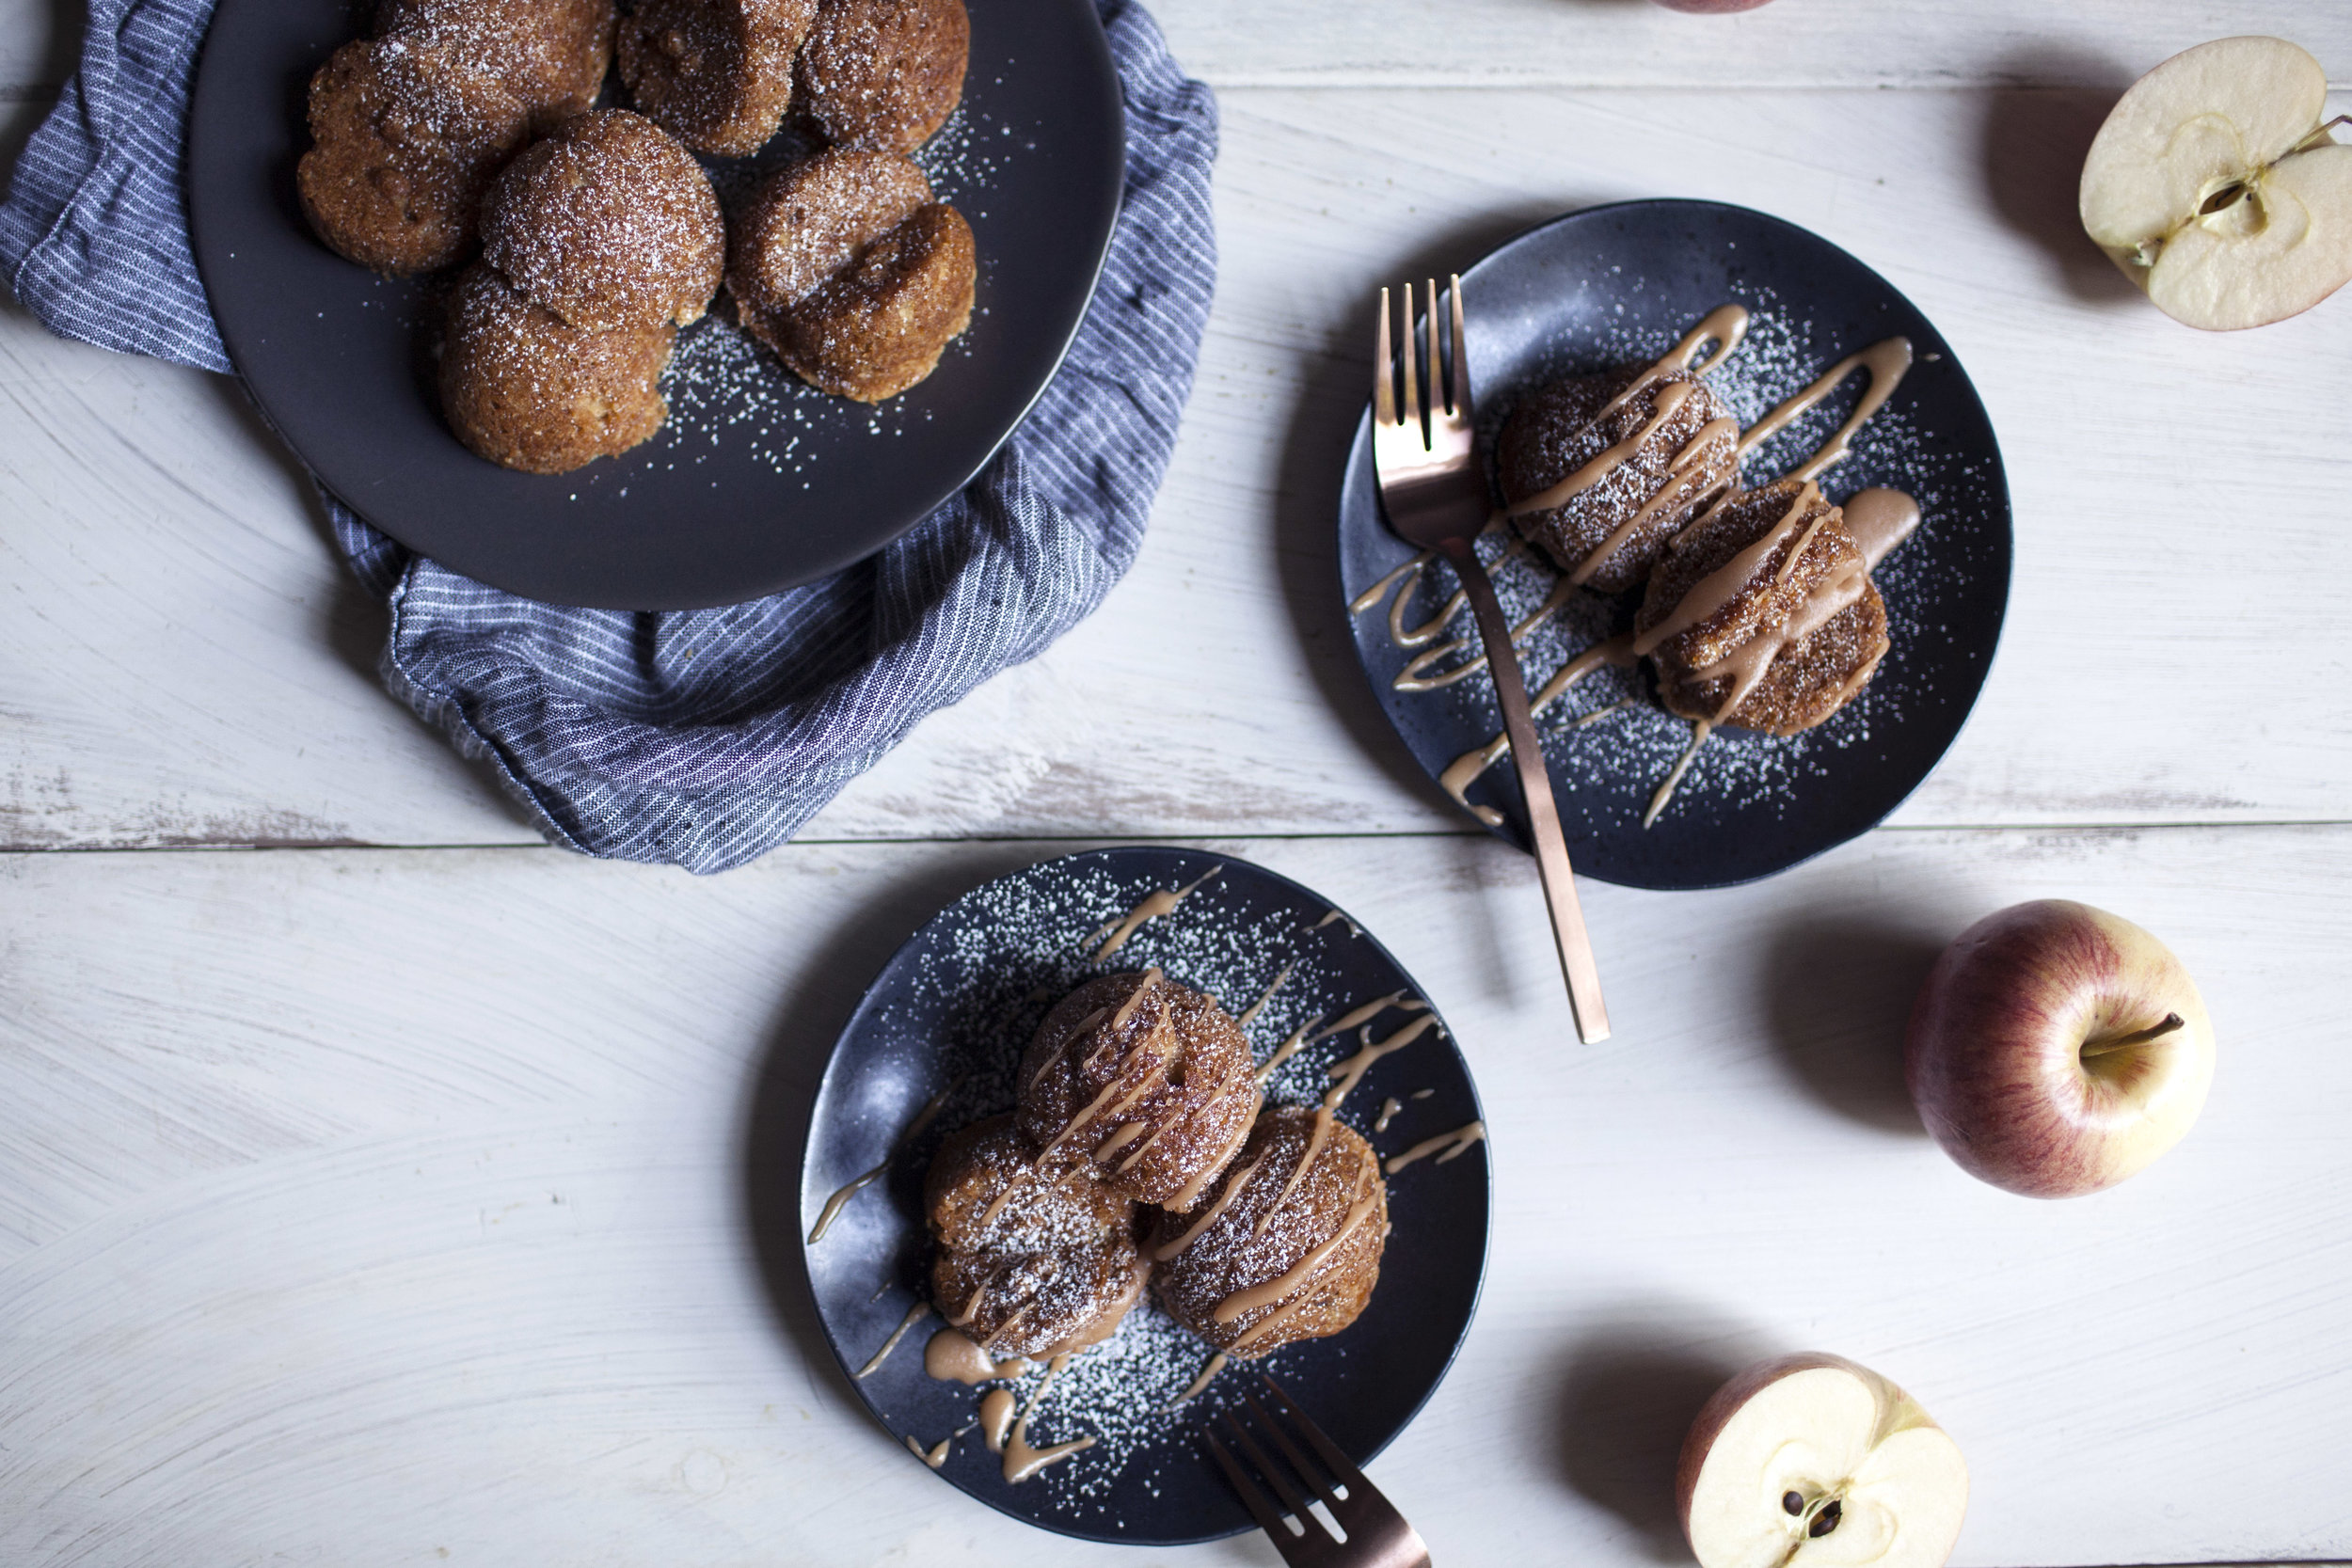
salted caramel apple cakelets


SEPTEMBER!!!! i am probably most excited for this month then i am any other month. especially because it is no longer signals back to school time for me. instead, i just get to take it all in & enjoy what early fall has to offer: pumpkins, apples, corn mazzes & more pumpkins! i already decorated the house earlier this week for fall. justin claims it was too early but i don't think it is ever too early when it comes to fall. we rock that pumpkin spice soap all year long! next on my list is to decorate the front porch when the real pumpkins start popping up at the farm. i am going all out this year... whymsical white pumpkins galore! we got our rejuvenation x o&g studios rocking chairs the other week so i am ten times more motivated to get the porch ready.

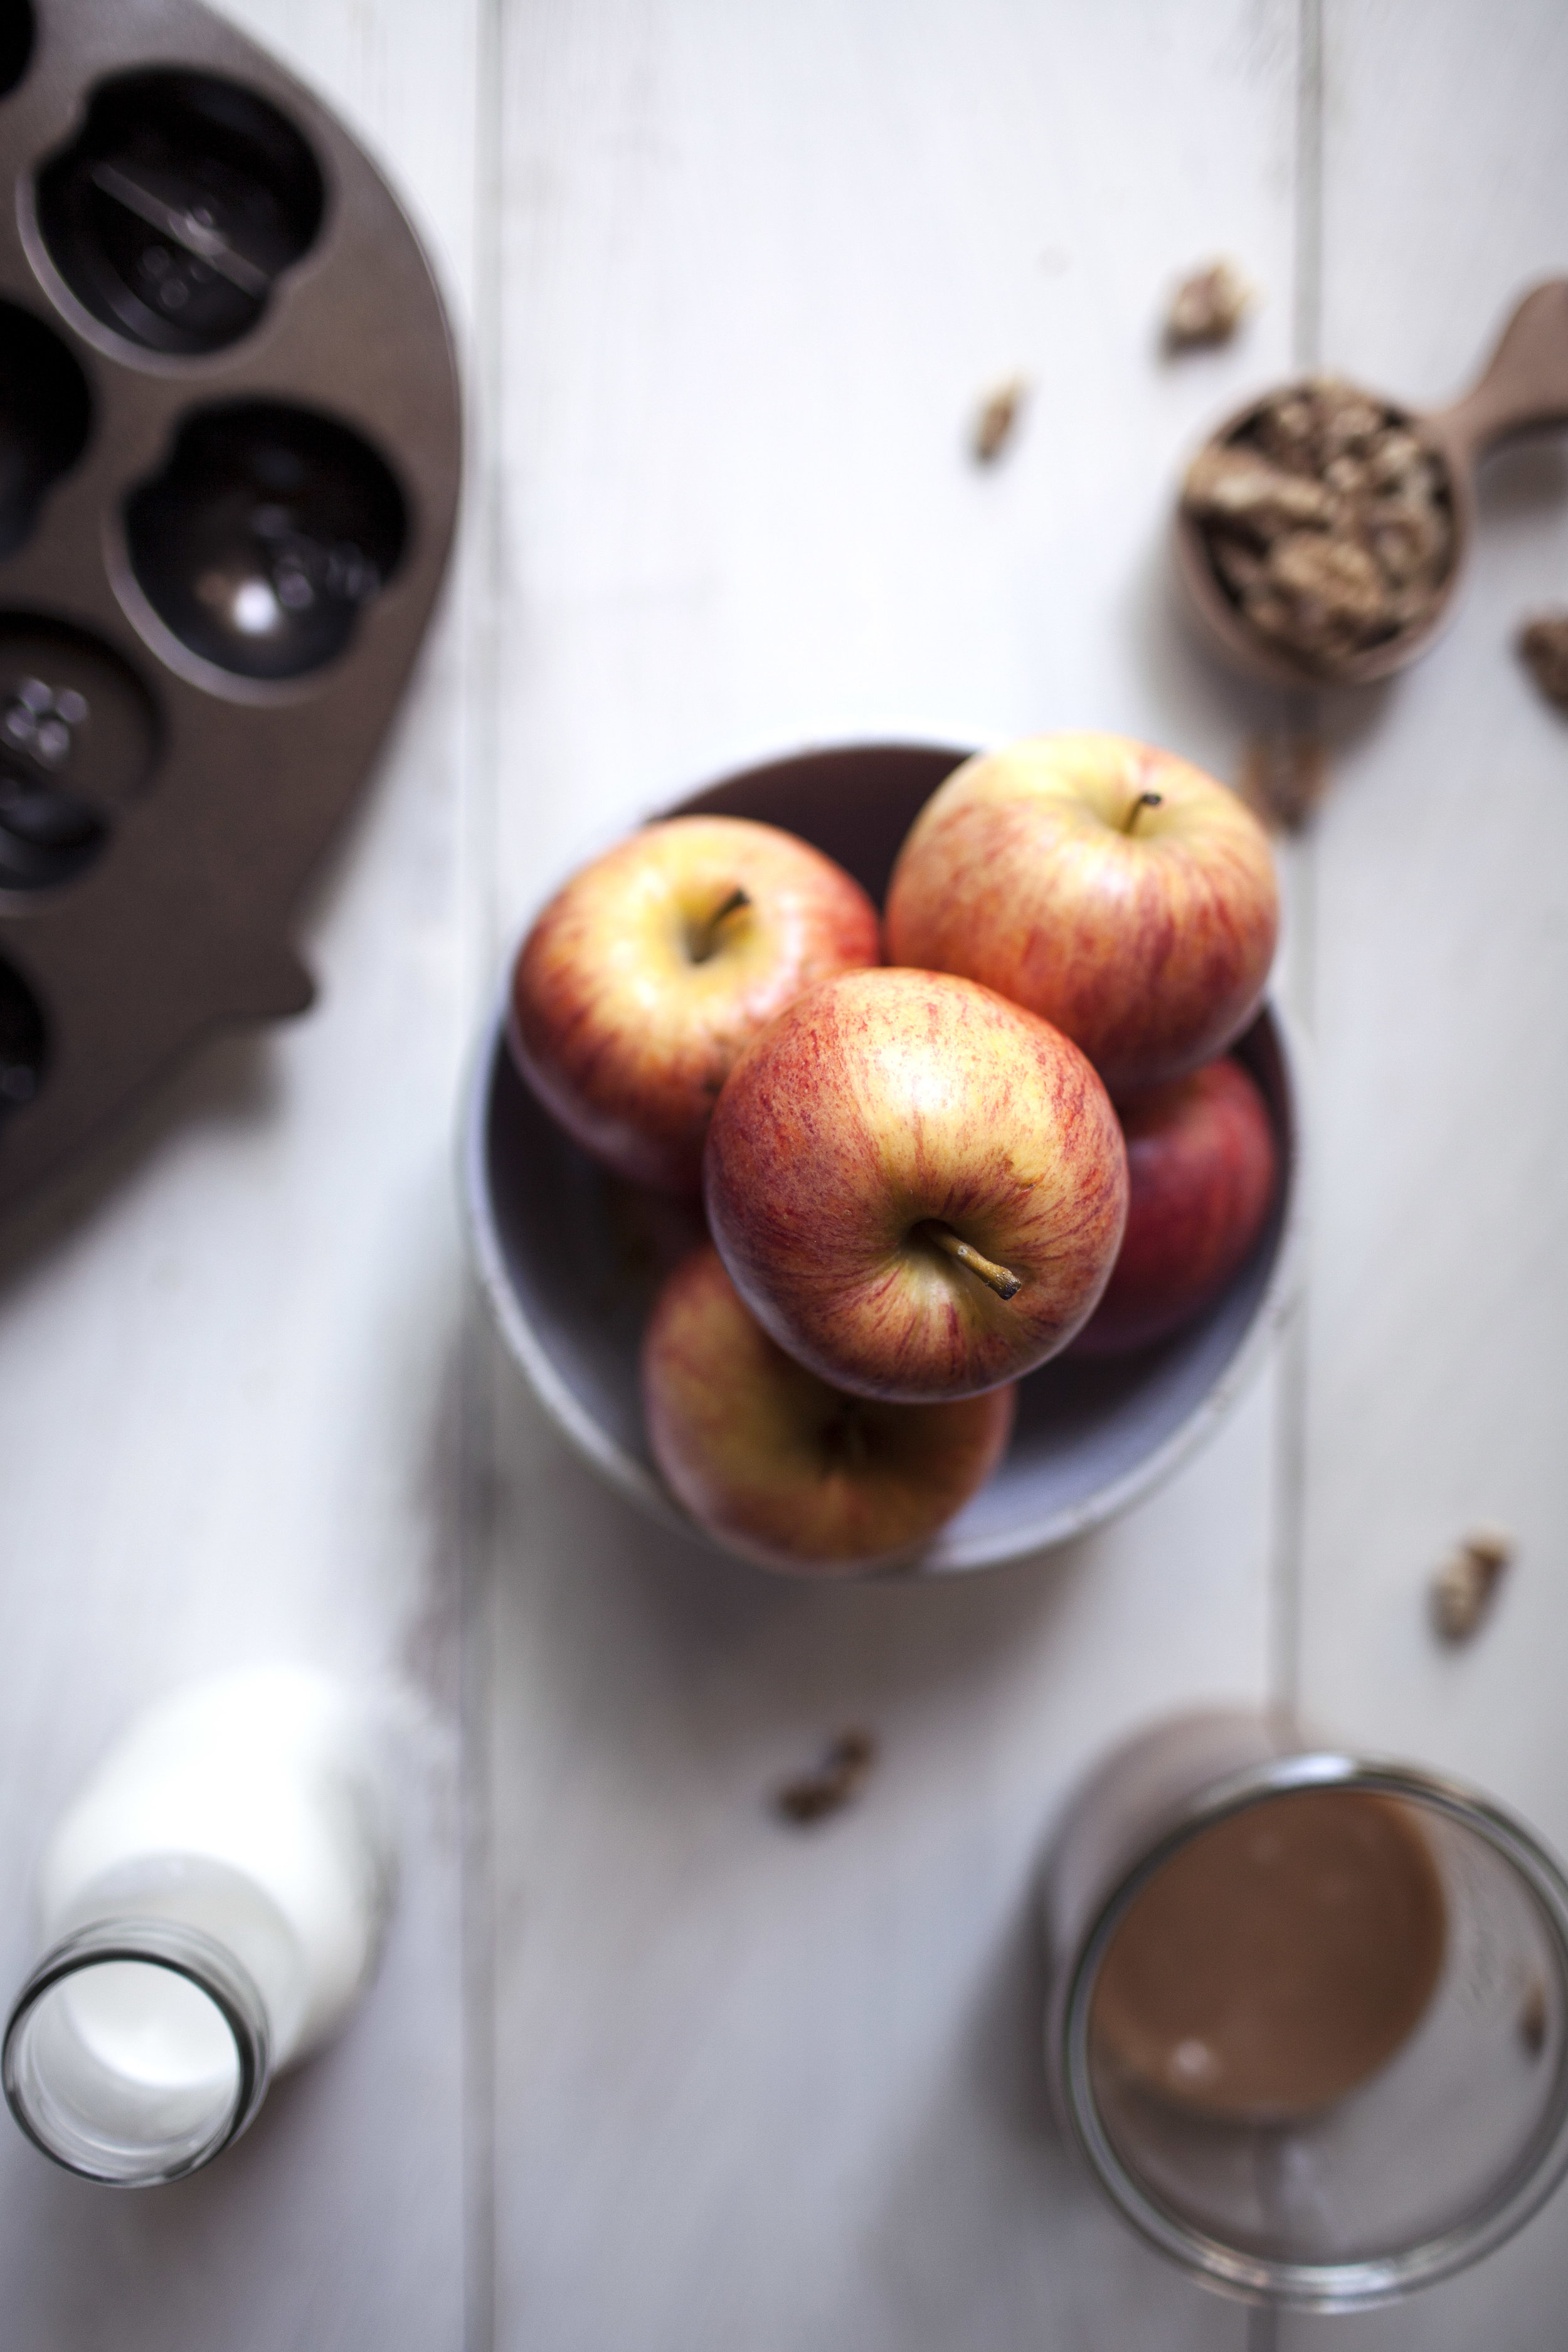
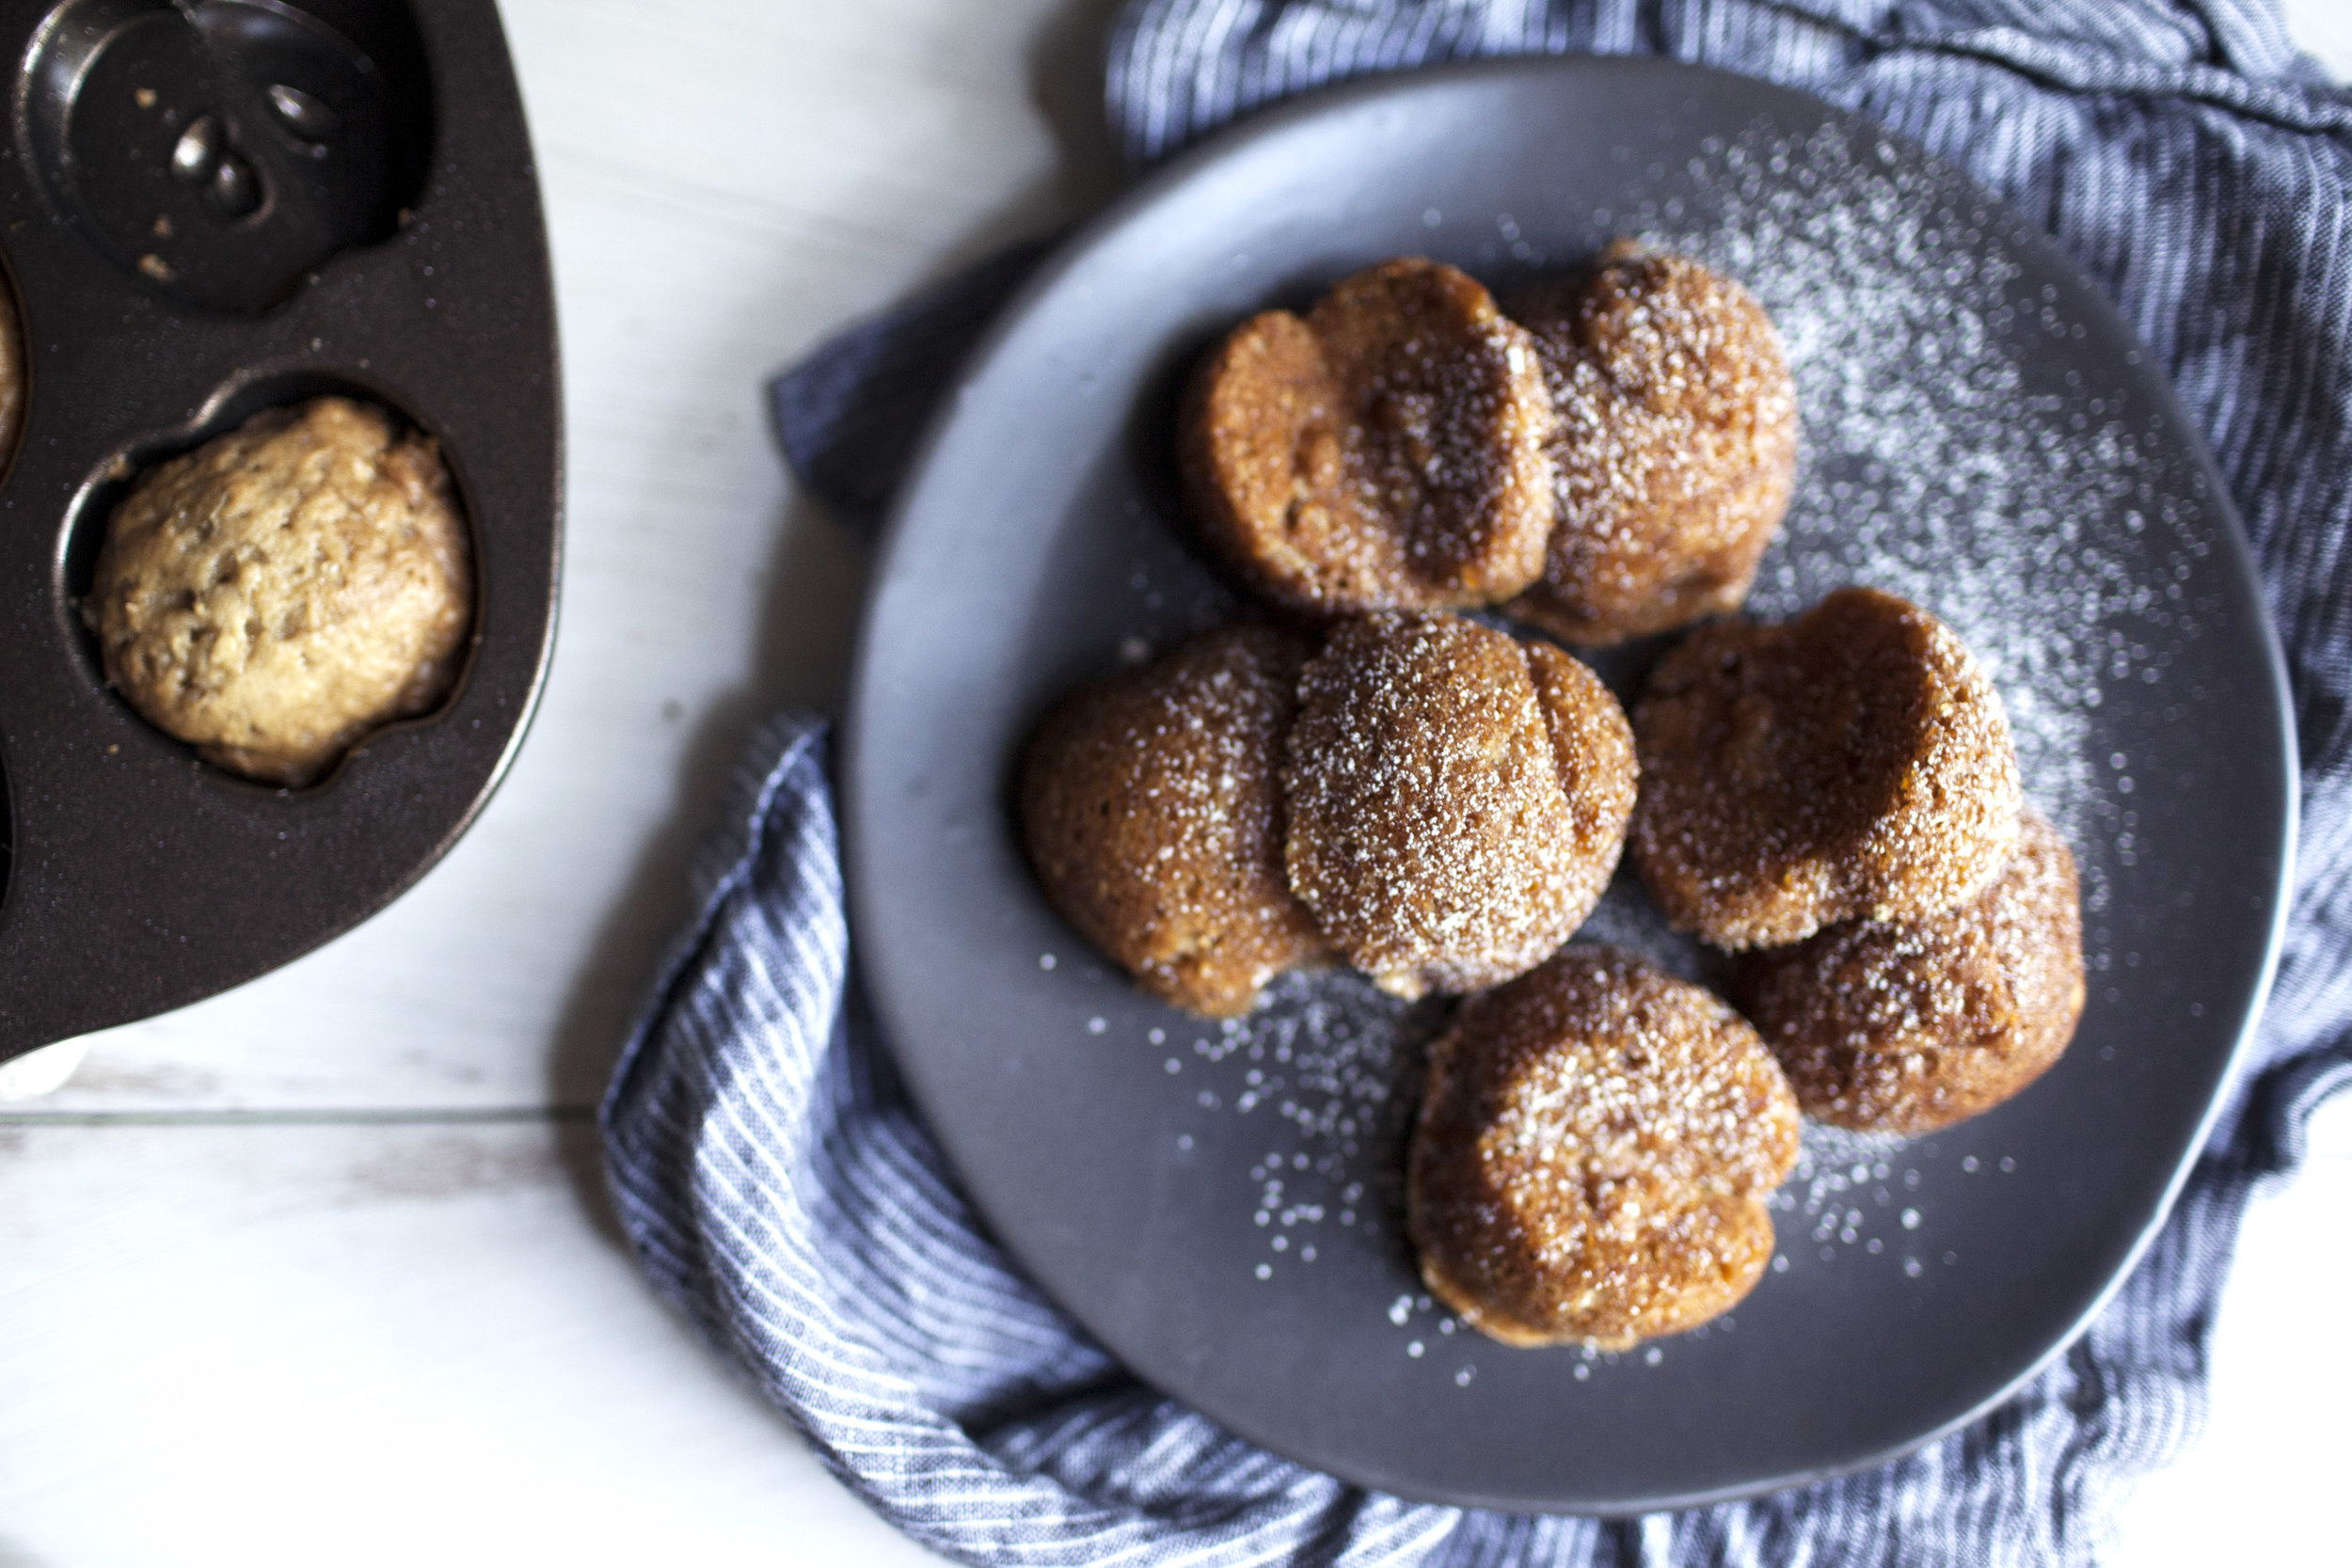
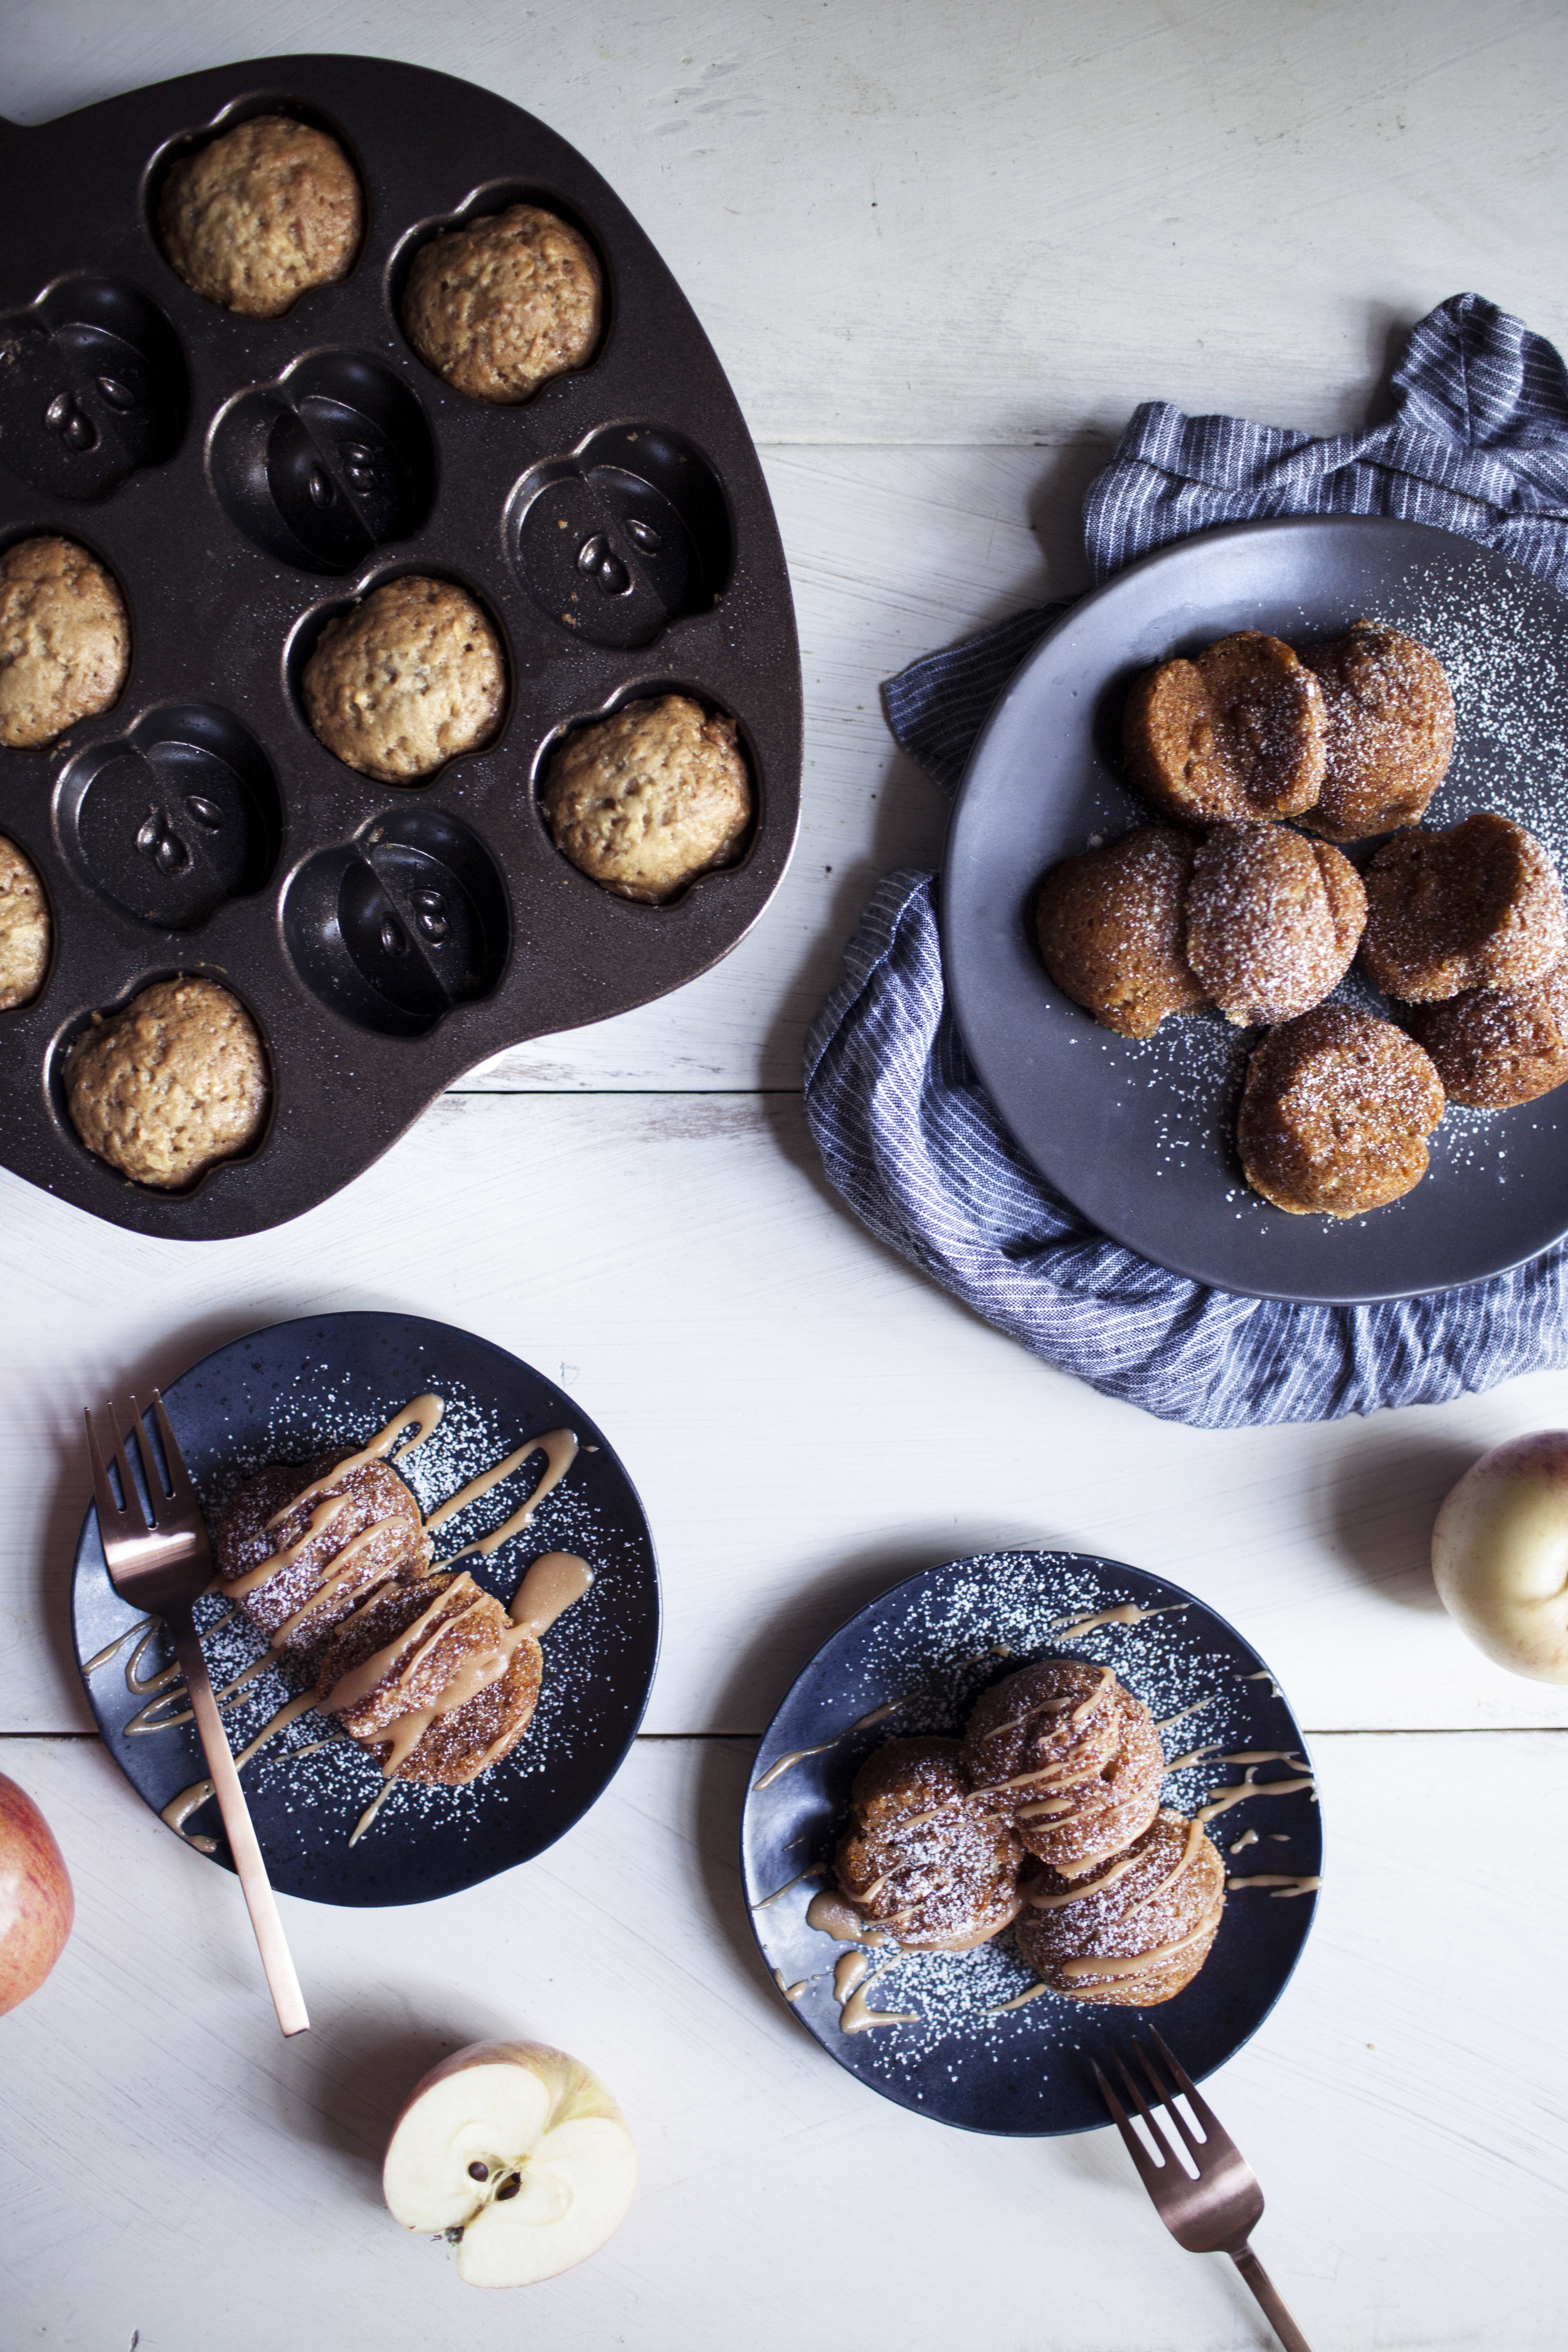
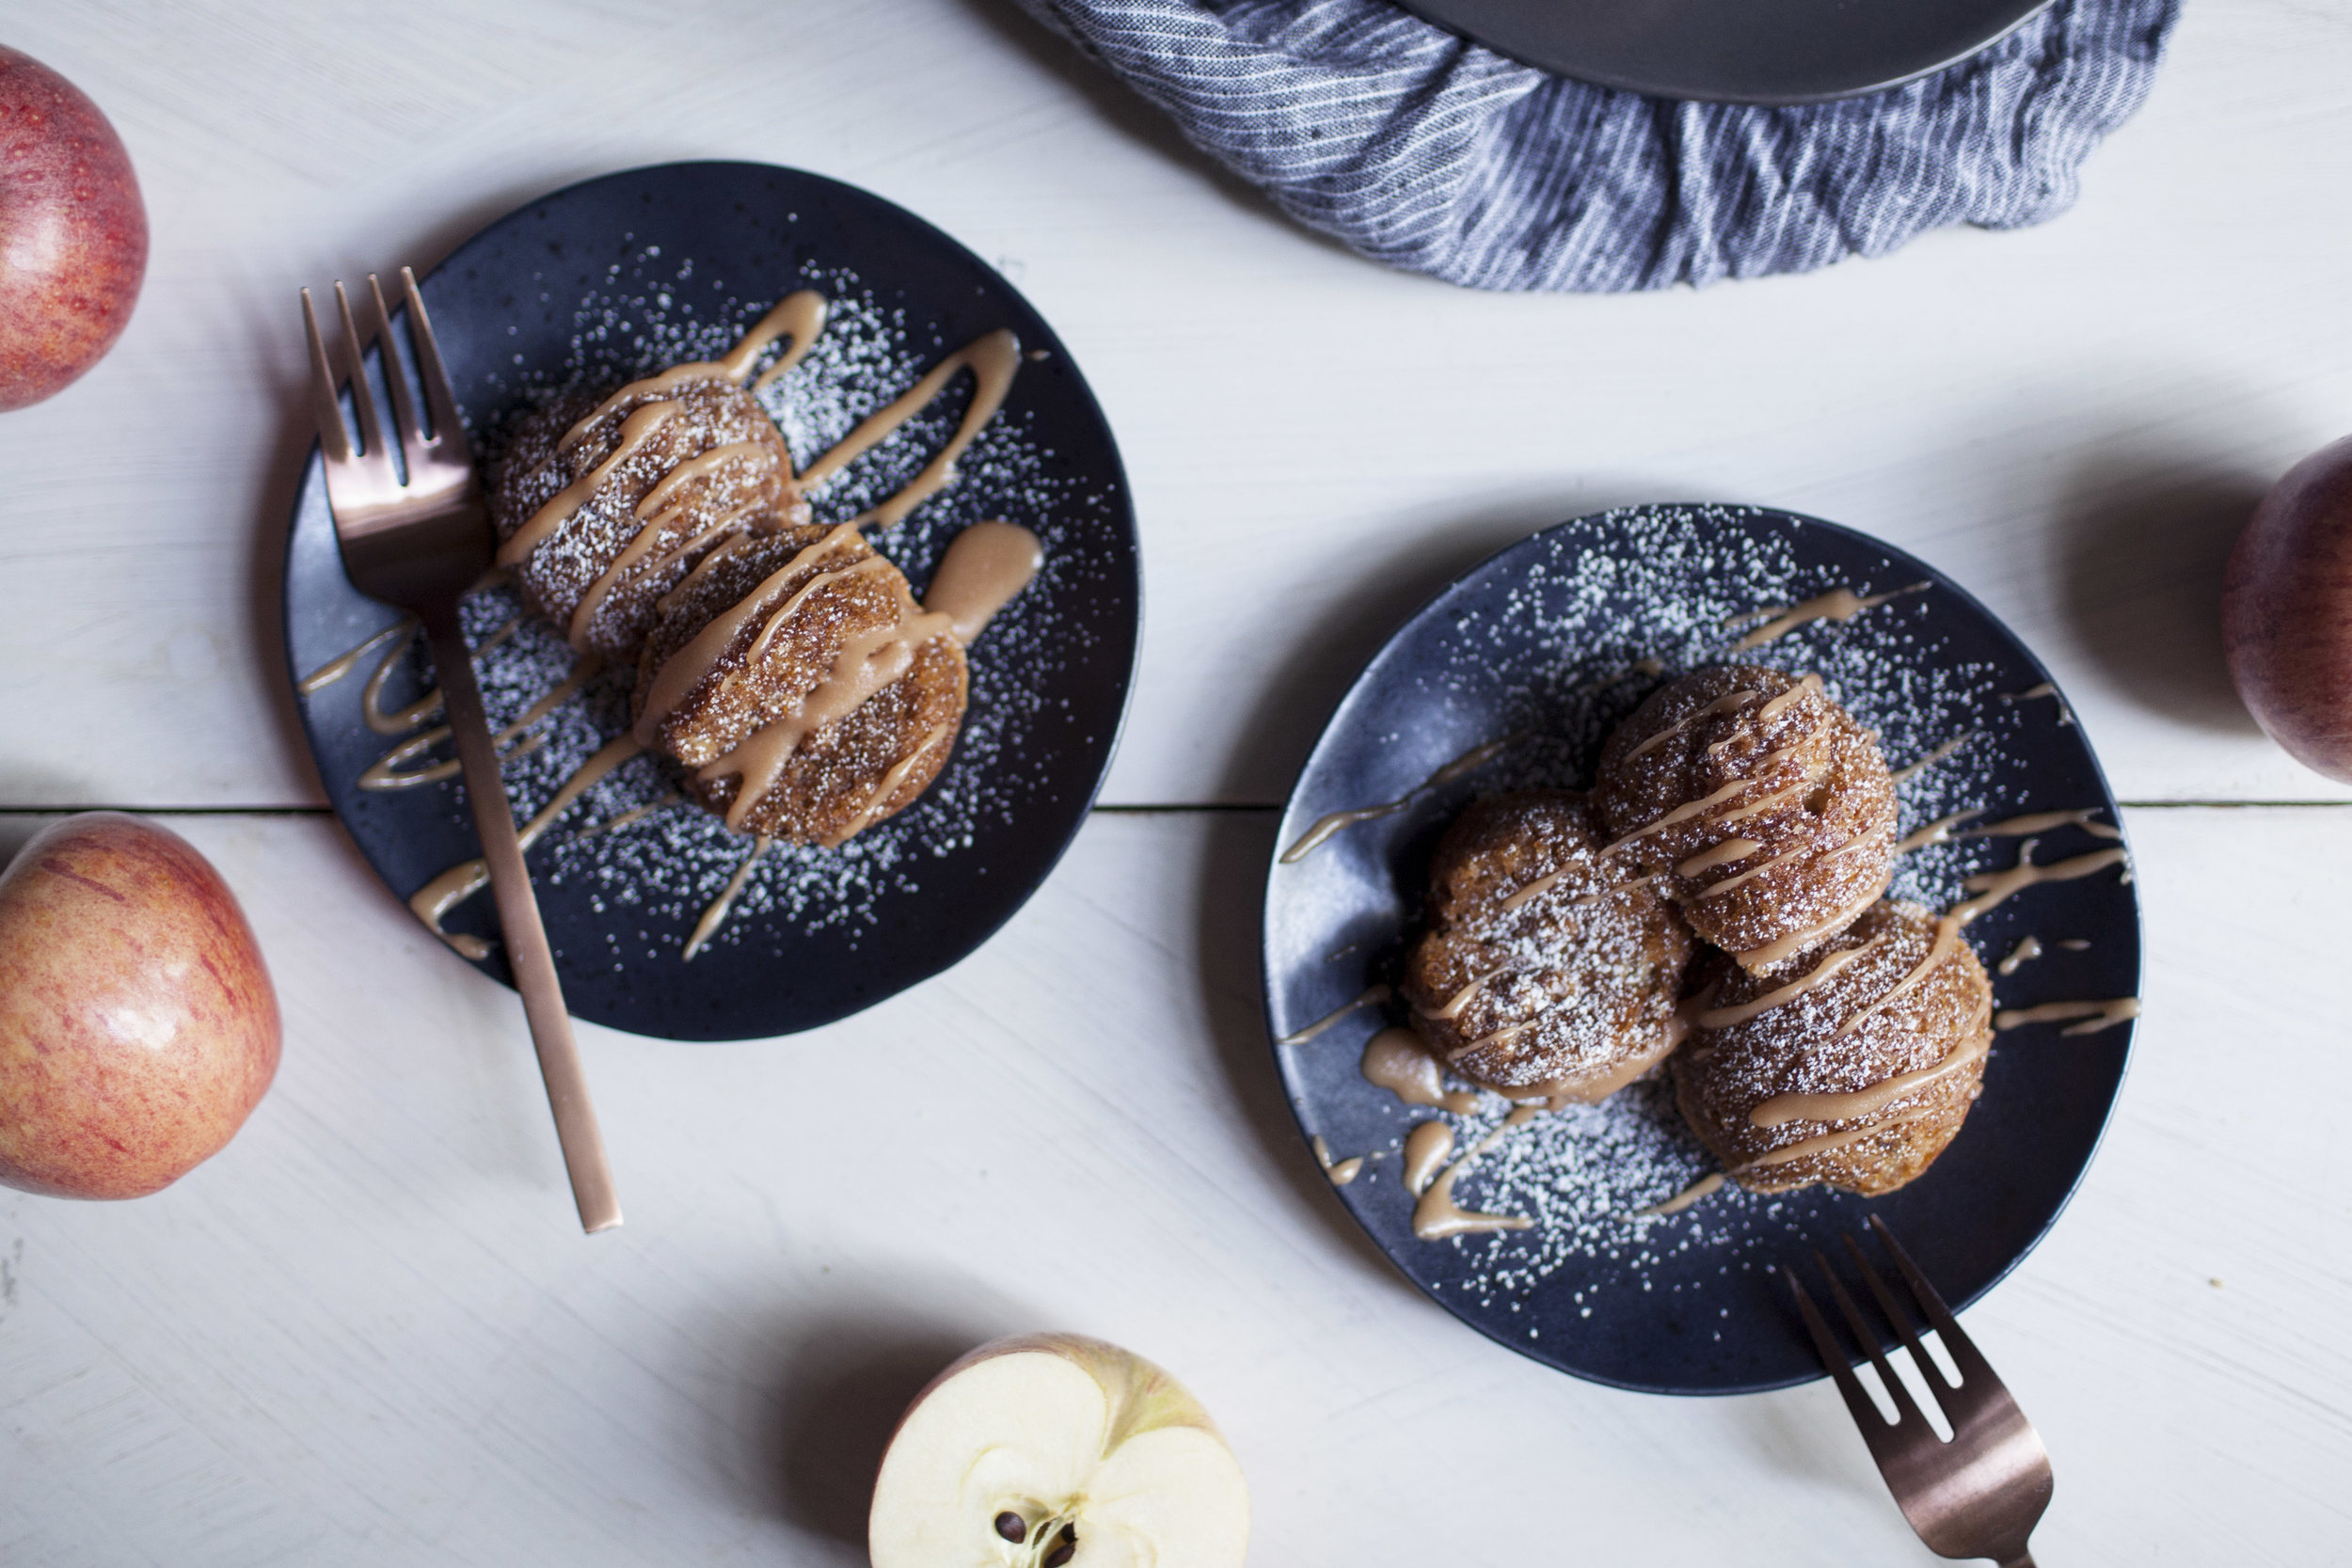
okay, but enough about my fall obsession! let's talk about these little cakelets. i had to kick september off with an apple recipe because apples are starting to pop up at the local farmers market. this recipe is infused with a homemade salted caramel, but you can also go the extra mile and drizzle a little on top too! i grated the apple into the cakes so the cakelets aren't filled with apple chunks. i baked them in the cutest nordic ware "apple slice cakelet pan"! i am just in love with it. the pan is made of cast aluminum & features all different sliced apple designs rather then just the same one. i think kids would love these as a back to school snack! i gave the pan a quick spray & not a single cakelet stuck.

p.s. nordic ware make a pumpkin pan too! i so need that for october when pumpkin takes over my kitchen. it is called the "autumn delights cakelet pan".

happy september friends & enjoy the long weekend:) xo

ingredients

for the salted caramel

  • 1 cup white sugar
  • 1/3 cup water
  • 1/4 cup heavy cream
  • 1/2 cup unsalted butter
  • 1 teaspoon sea salt

for the apple cakelets

  • 2 large eggs
  • 1/2 cup vegetable oil
  • 1 1/2 cups raw sugar
  • 2 tablespoons salted caramel (see recipe above)
  • 1 teaspoon vanilla extract
  • 2 medium apples, grated
  • 2 cups all purpose flour
  • 1 1/2 teaspoons baking soda
  • 1/2 teaspoon salt
  • 1 teaspoon cinnamon
  • 1/4 teaspoon nutmeg
  • powdered sugar, for serving
  • salted caramel, for serving

directions

for the salted caramel

  • in a saucepot add the sugar and water. bring the pan to a boil while wiping down the crystals that form on the sides of the pan using a pastry brush (do not stir, i repeat, do NOT stir).
  • continue to boil until the mixture turns to a deep amber colour, approximately 5 minutes. be sure not to burn the caramel! it will go from a deep amber to burnt sugar VERY quickly.
  • remove from heat and immediately whisk in the butter, cream & salt. cool to room temperature before serving.

for the cakelets

  • preheat oven to 350 degrees.
  • in a large mixing bowl whisk together the eggs, oil, raw sugar, salted caramel and vanilla. stir in the grated apples.
  • in a separate mixing bowl sift together the flour, baking soda, salt, cinnamon and nutmeg. add this mixture to the wet ingredients and stir until batter just comes together (do not over mix).
  • lightly grease apple slice cakelet pan and pour a tablespoon of batter into each cakelet.
  • bake for 20 minutes or until the top bounces back to touch.
  • dust with powdered sugar & drizzle with salted caramel before serving.
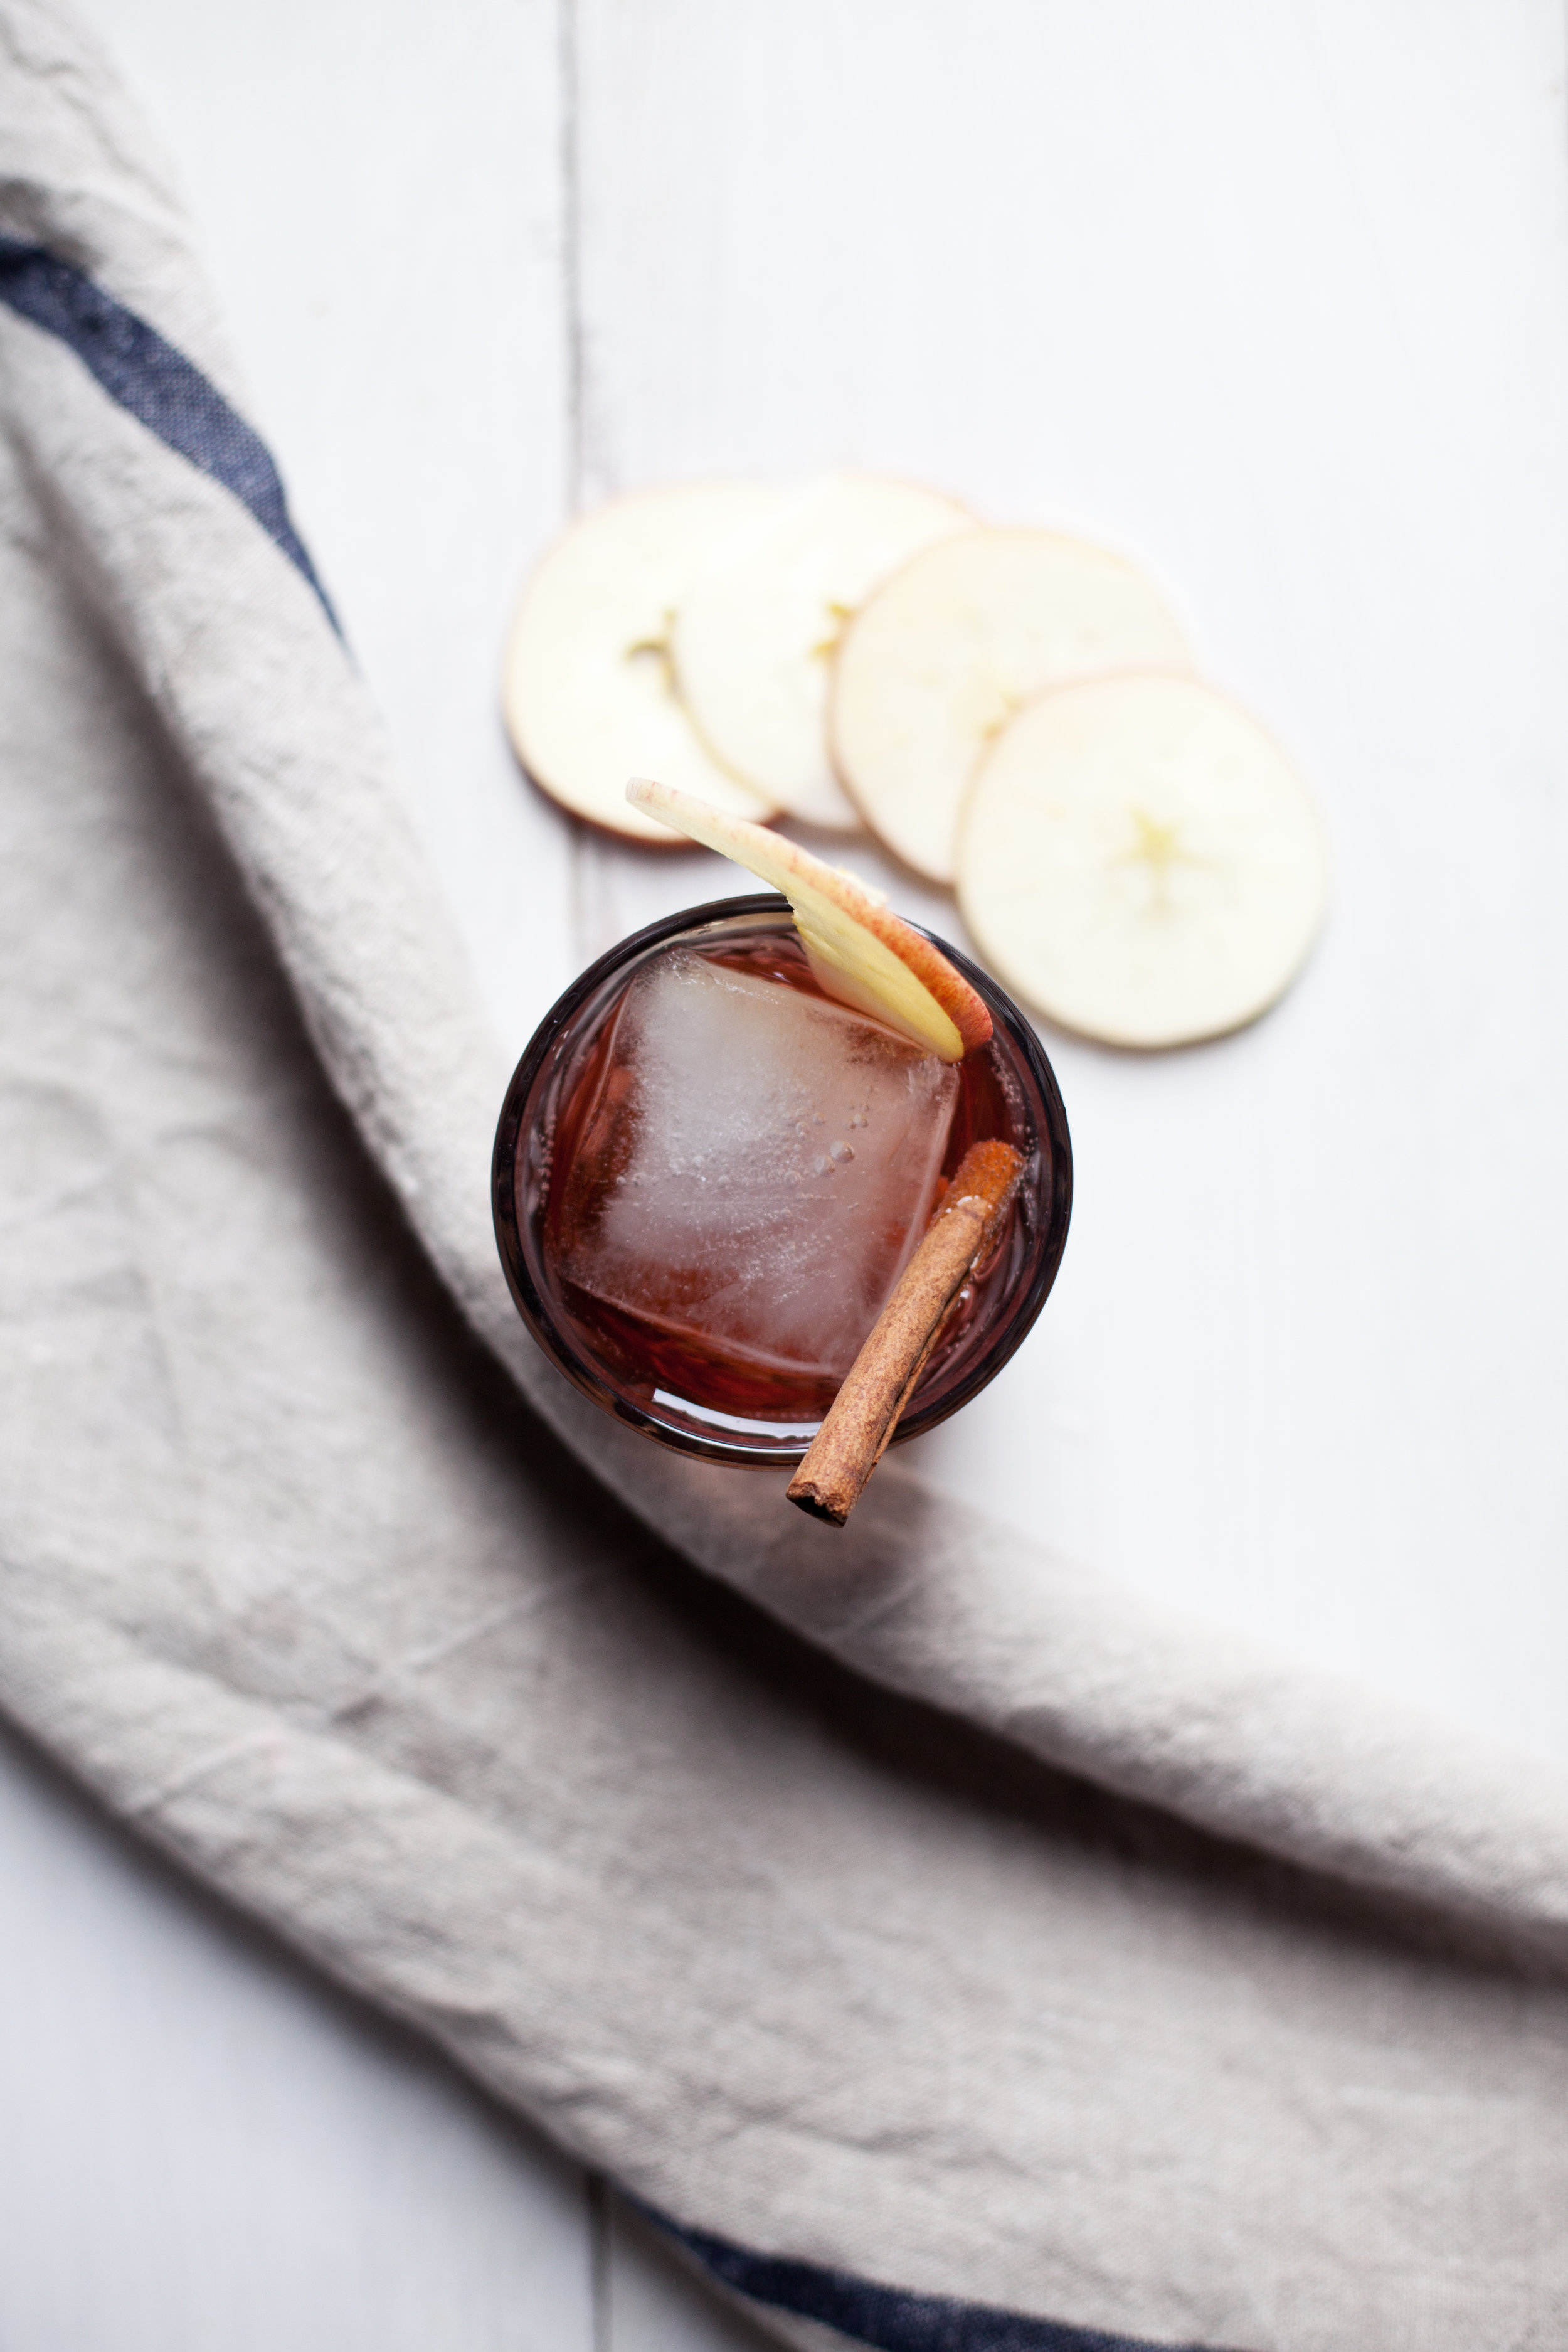
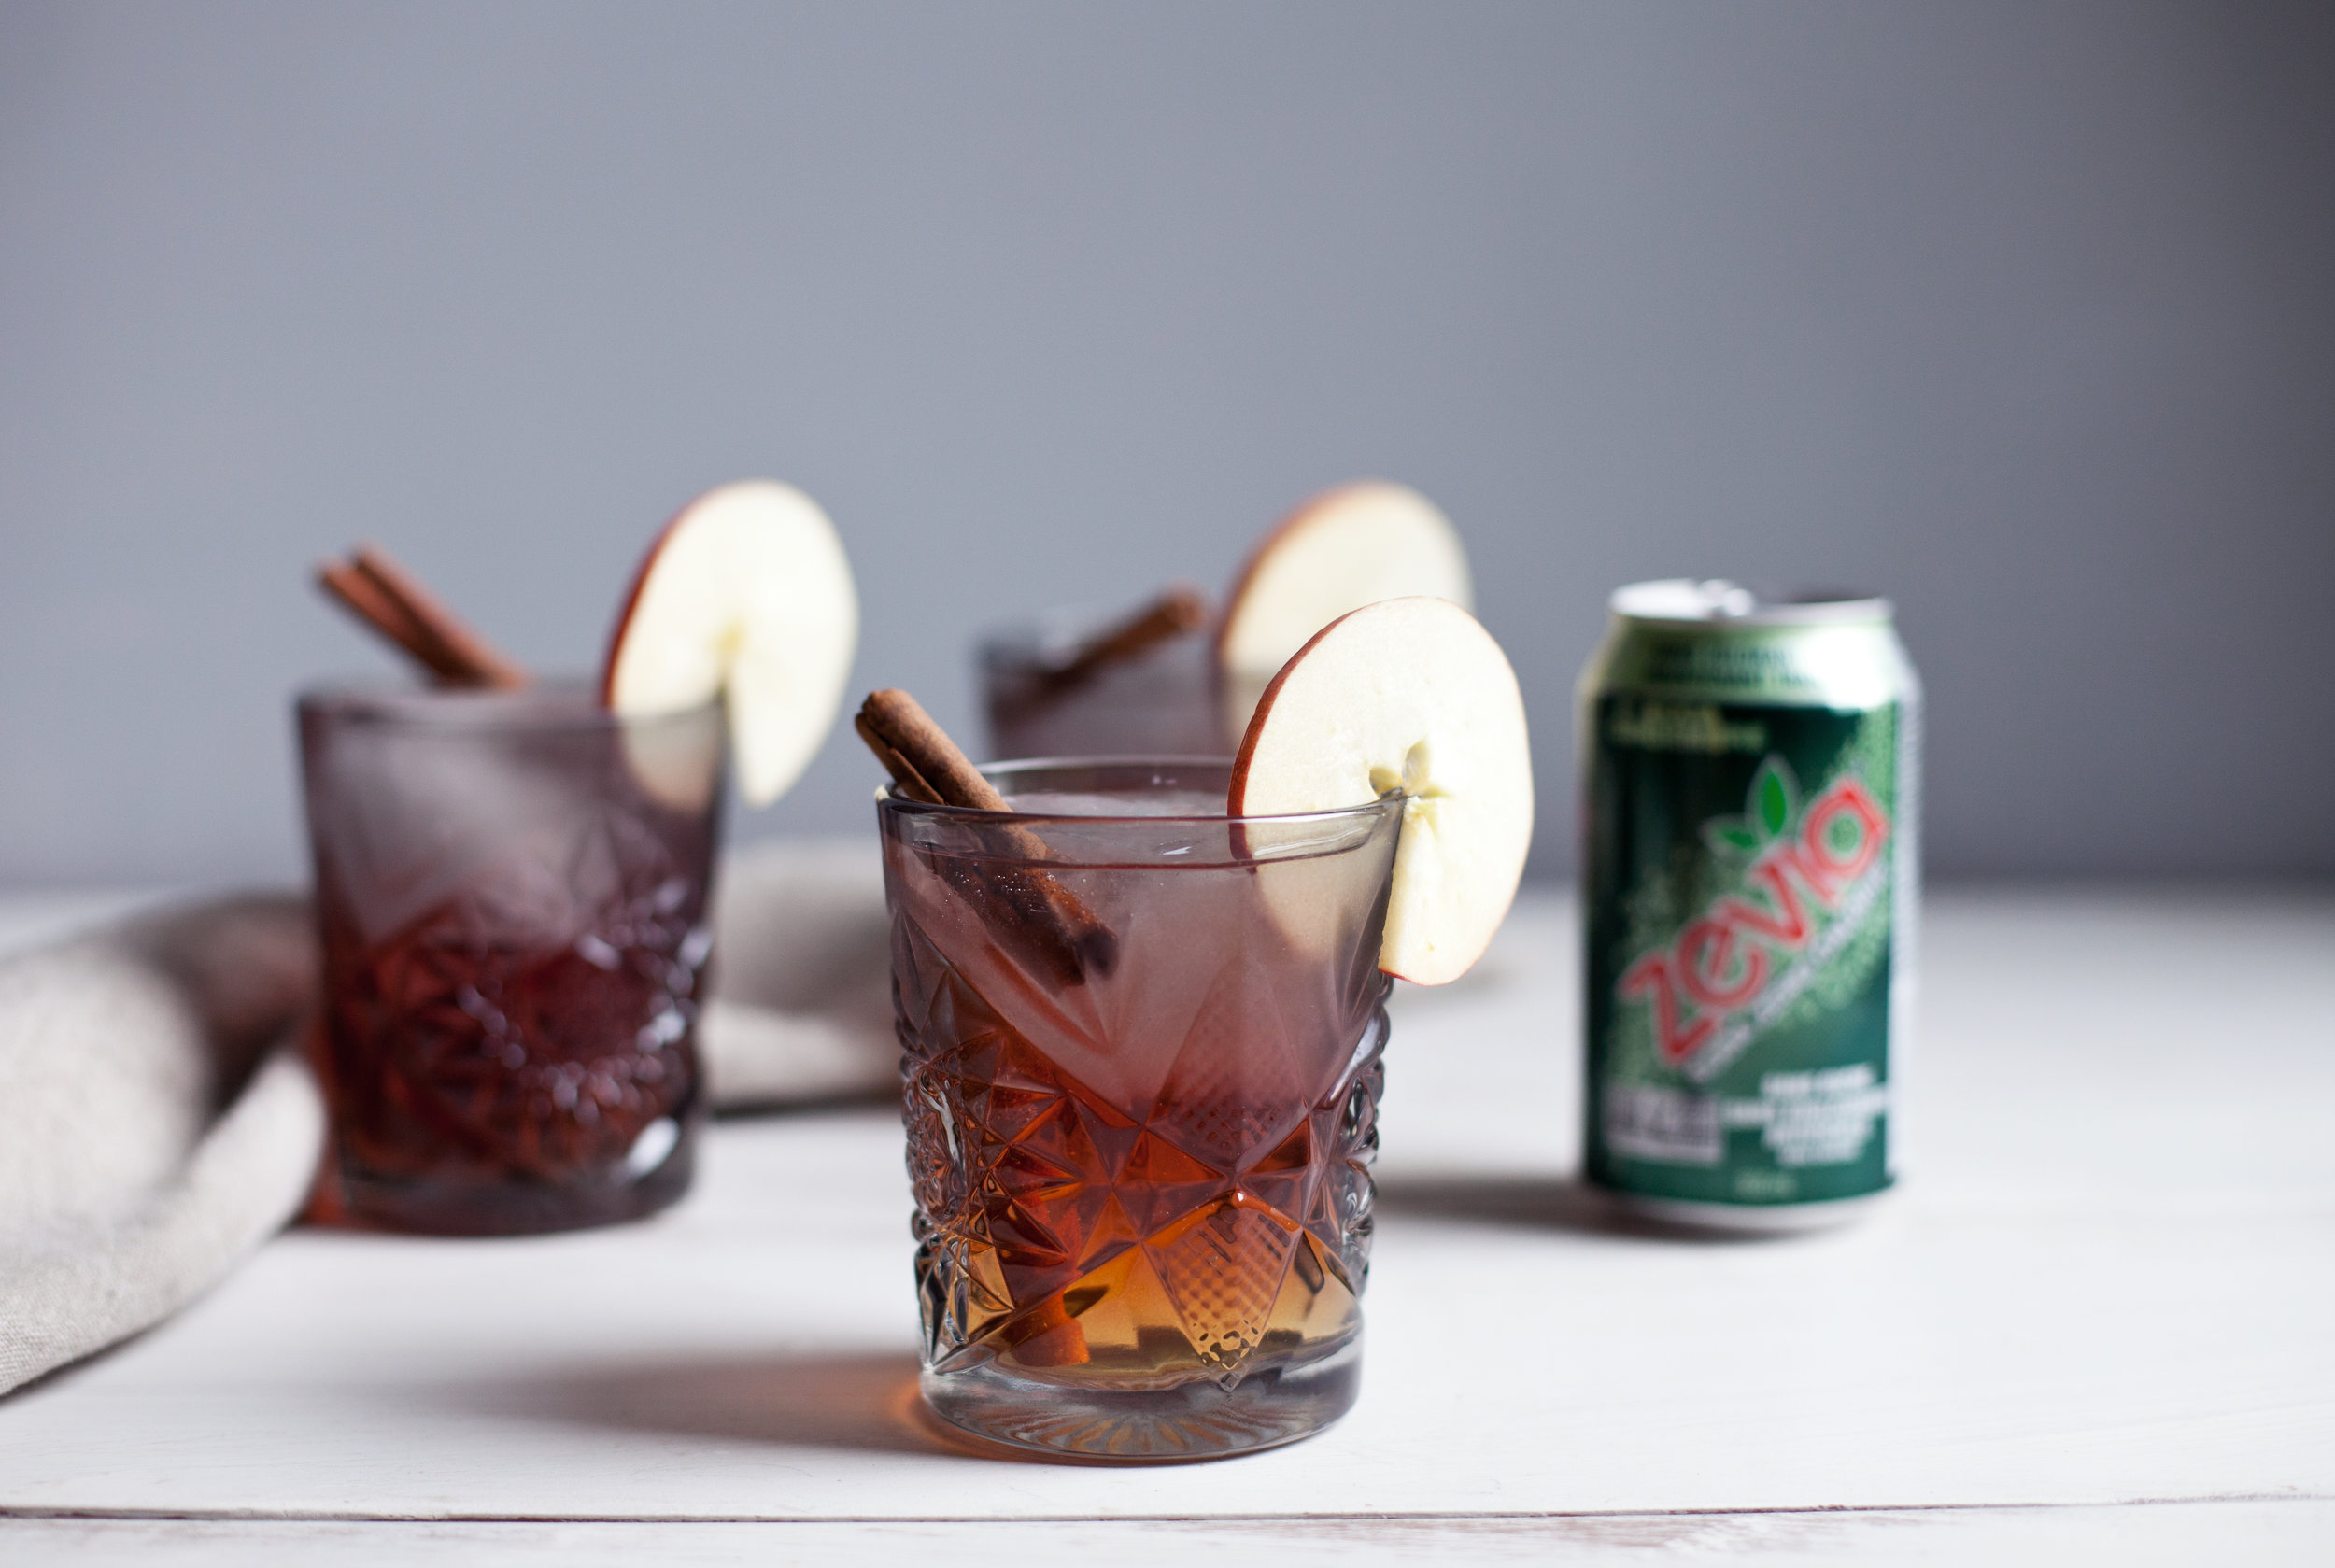
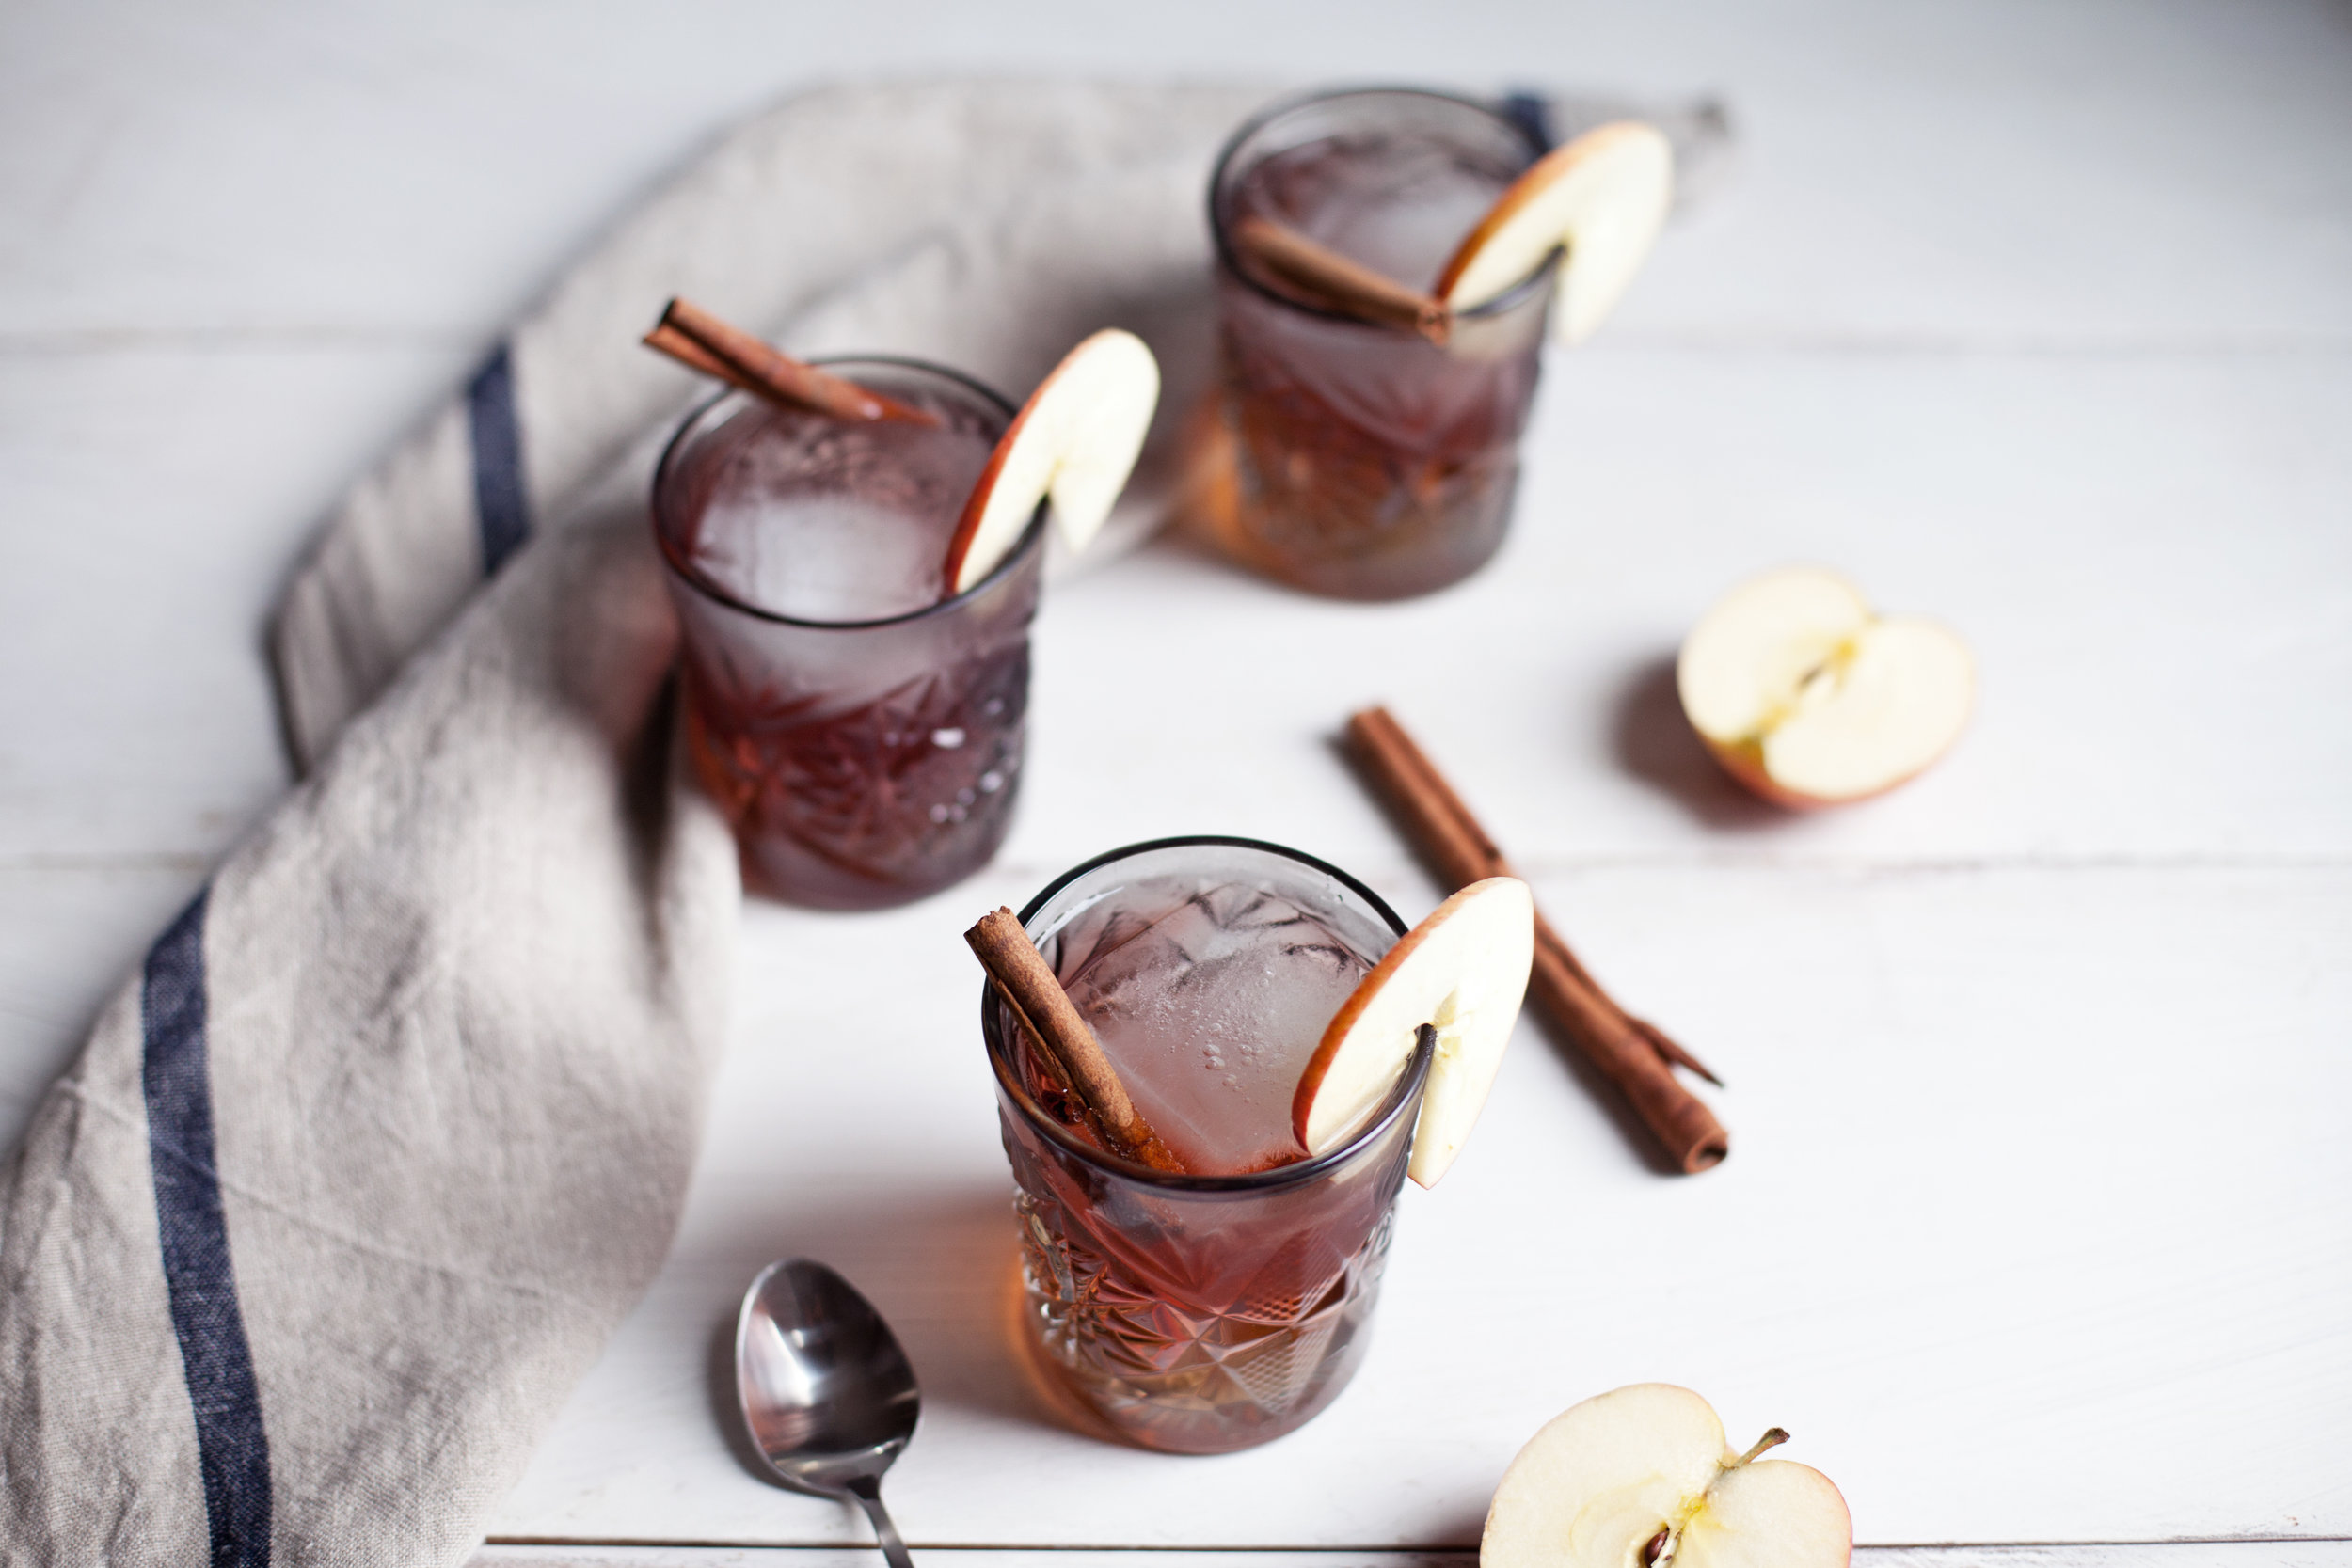
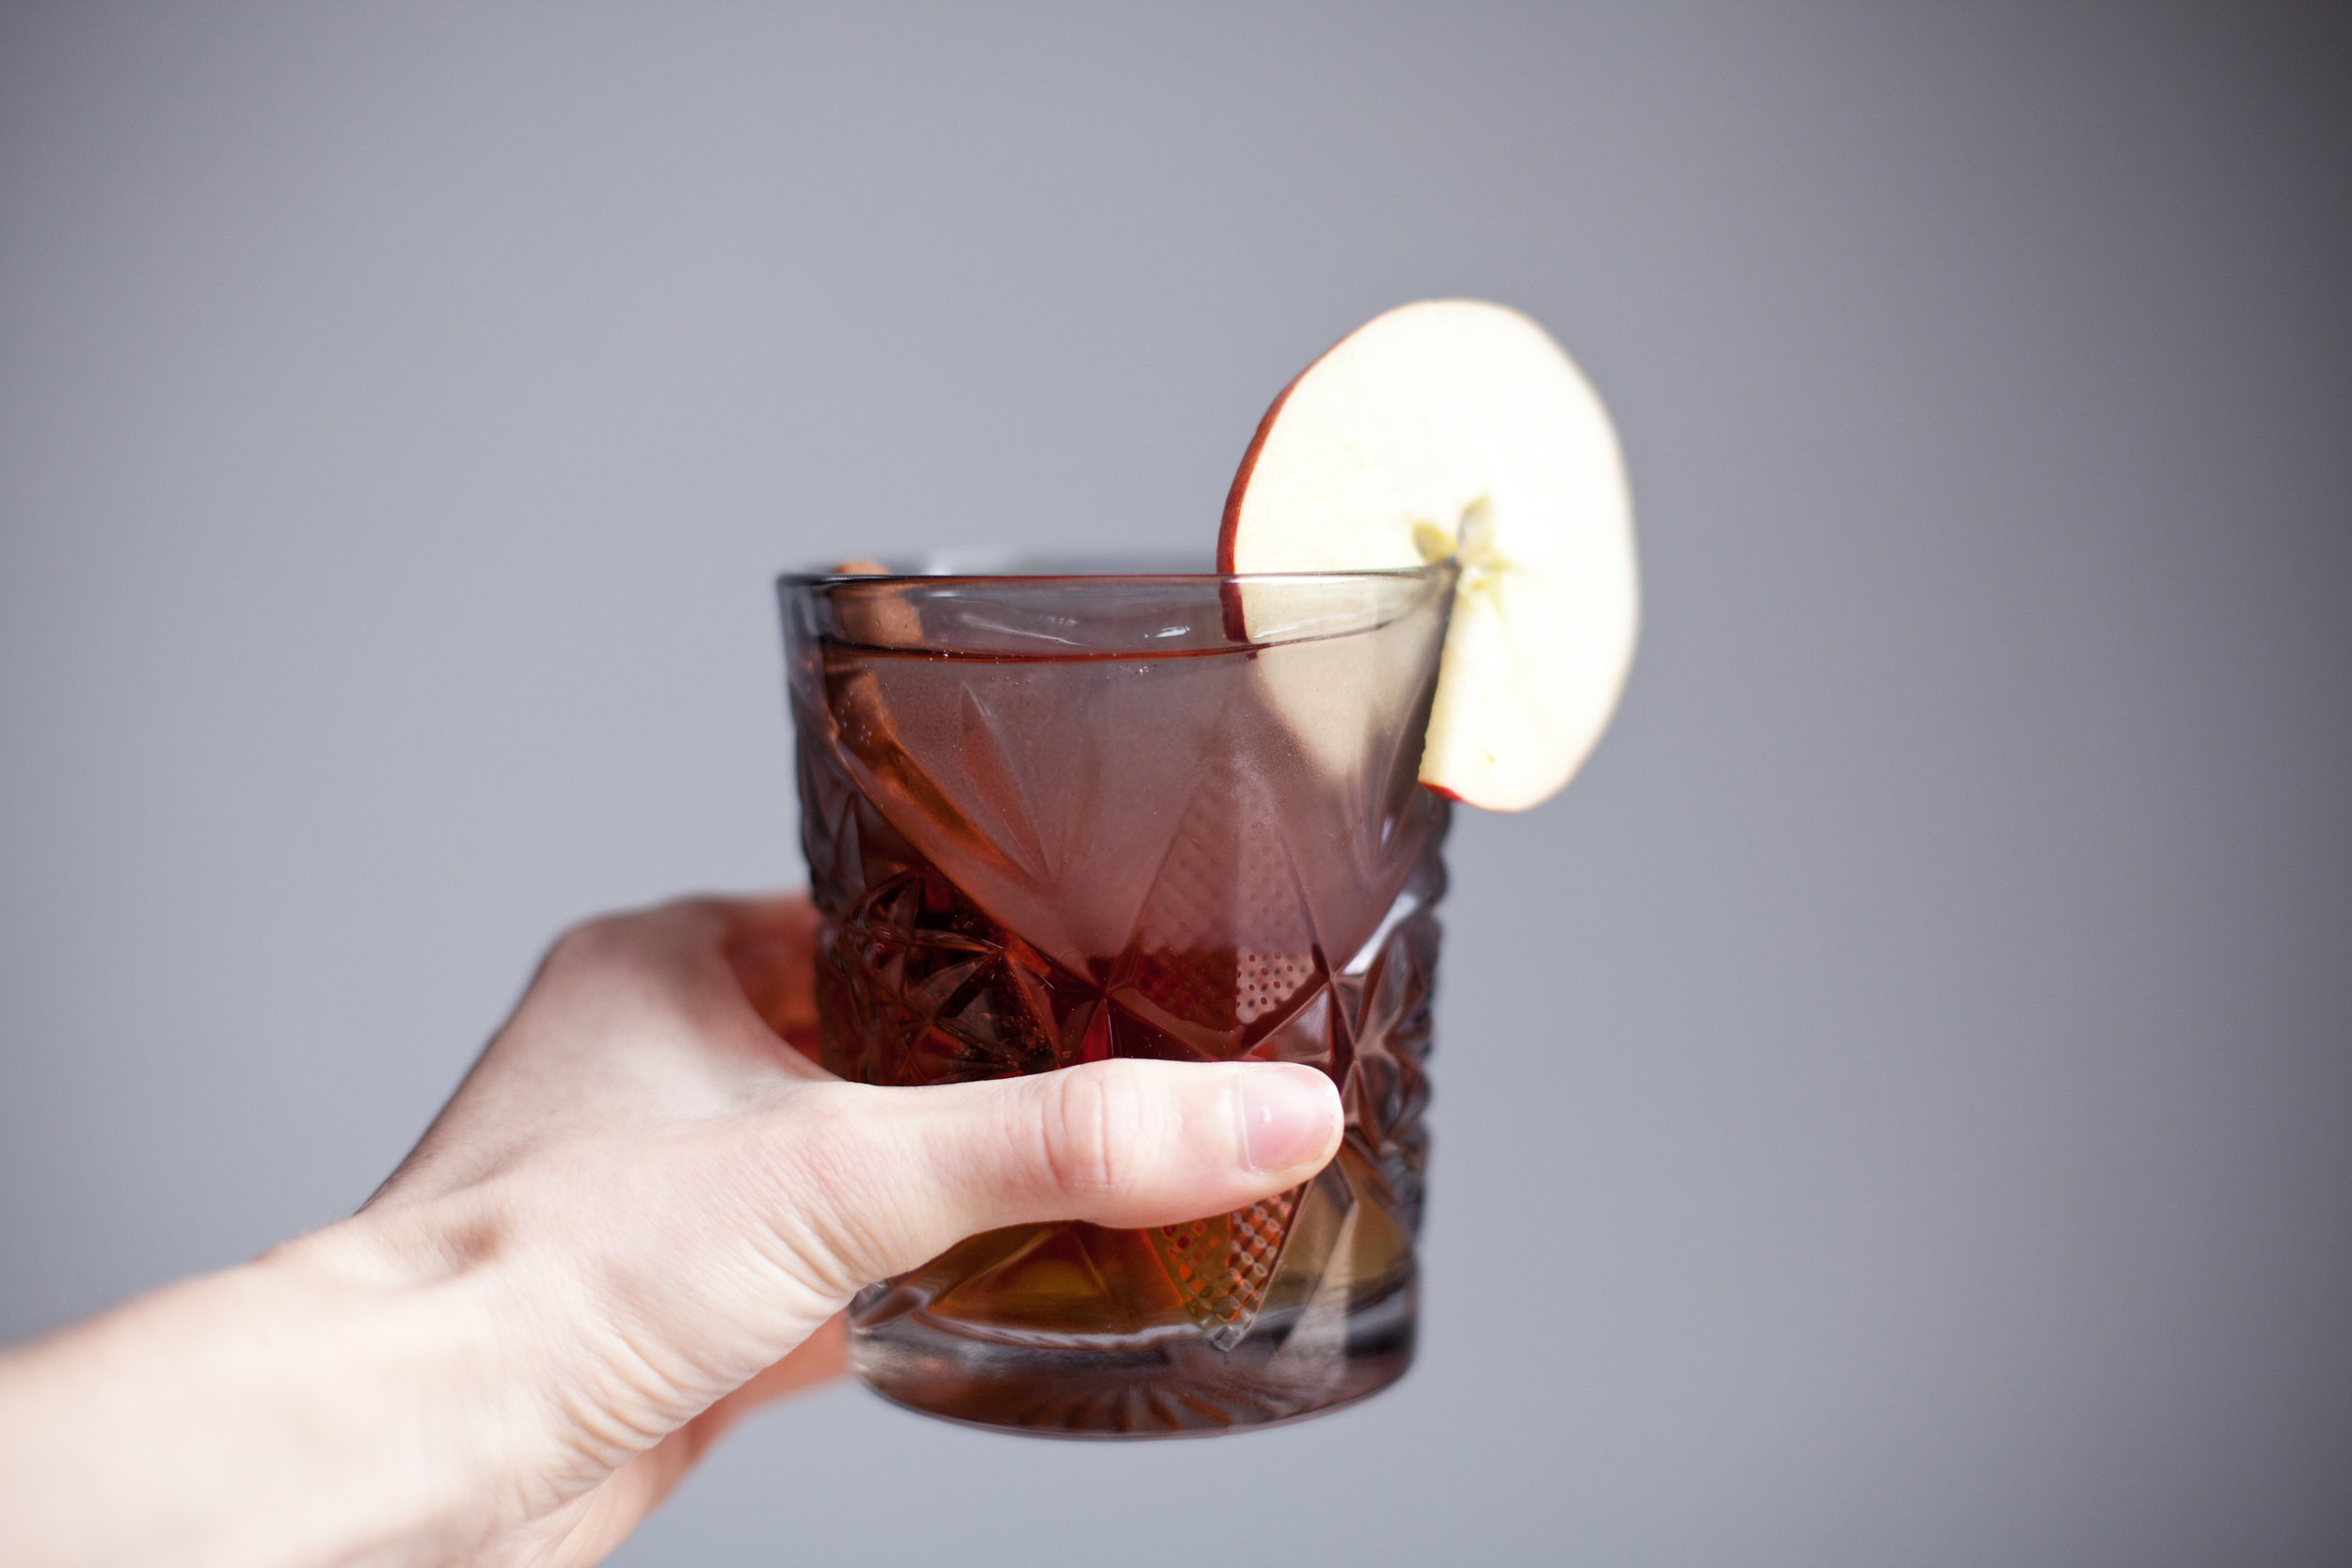
apple, cranberry + ginger cocktail


is everyone ready for christmas?! we are only TWELVE days away from the best day of the year. how is december half over though, seriously. before i get into the full holiday spirit i have a huge birthday to celebrate friday, justin turns thirty (i mean 29, again)!!!!

insert ALL the over the hill jokes

while a lot of celebratory dinners out are in order, first i am going to take him to the cheesecake factory after some last minute holiday shopping because he has never been nor heard of such a place (WHAT? crazy, i know). then we have quite a few fancy restaurants to try out in our new town. it will be very different from last year's birthday in toronto. but enough about that & more about this holiday cocktail!

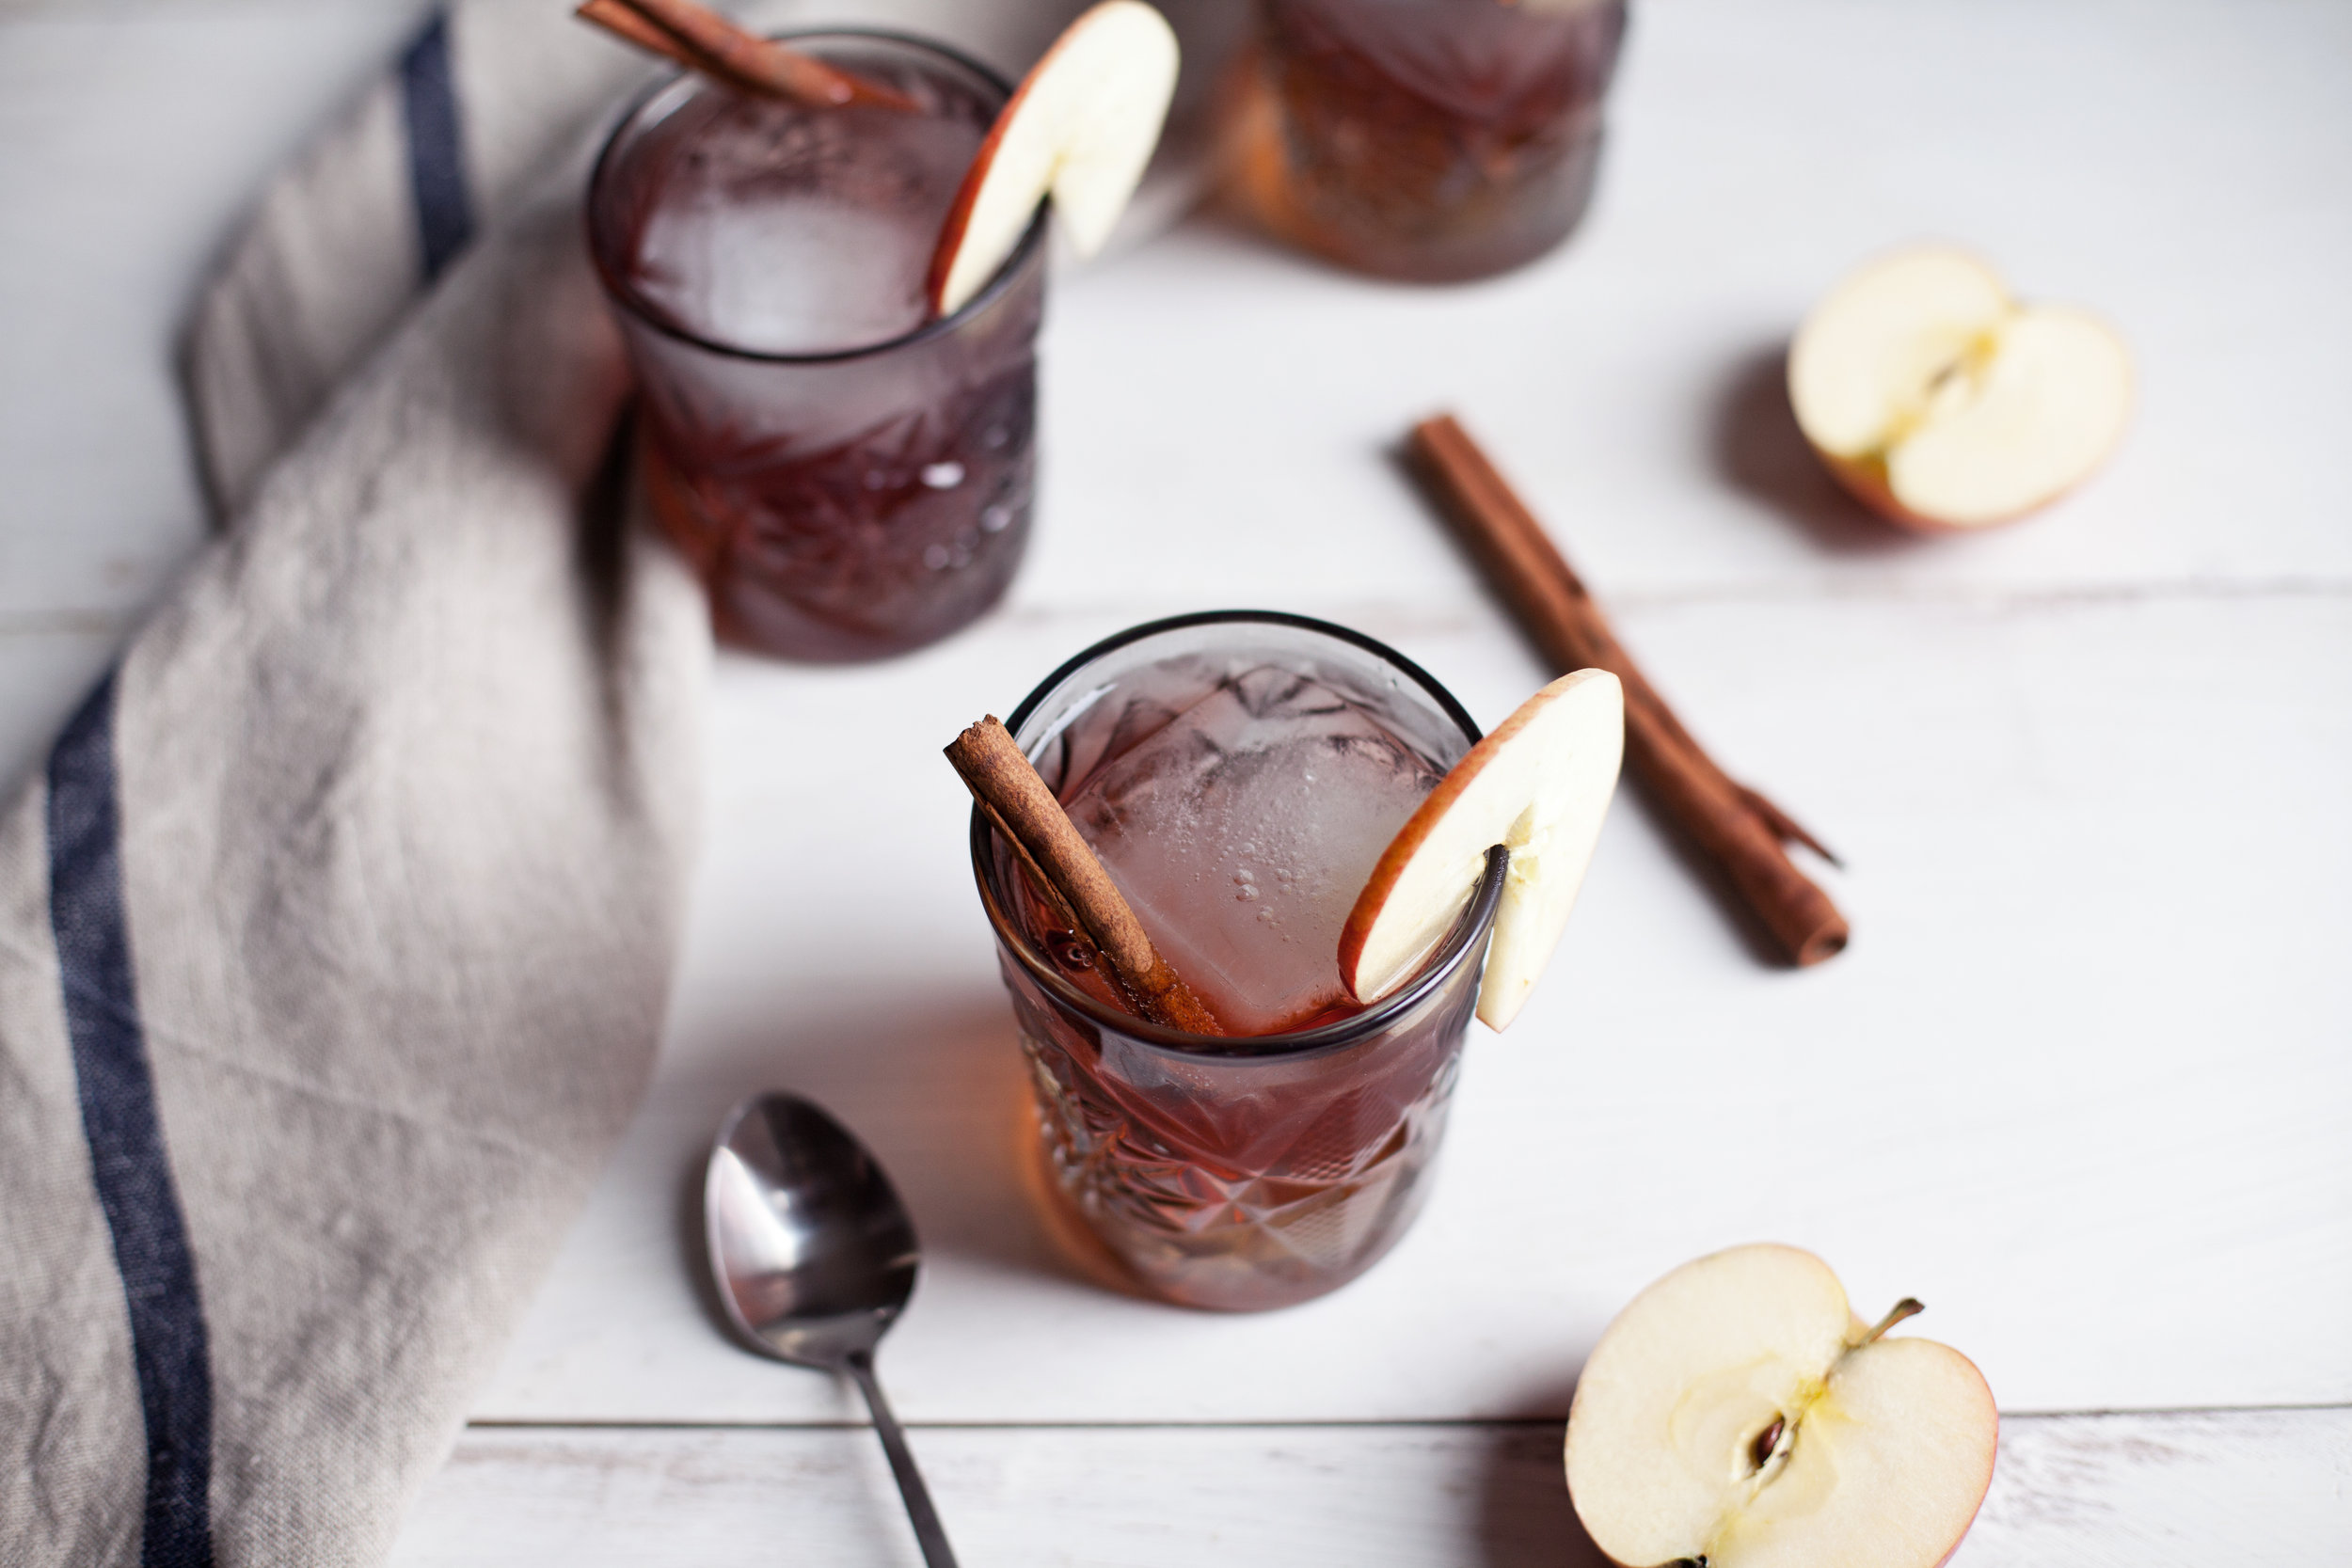
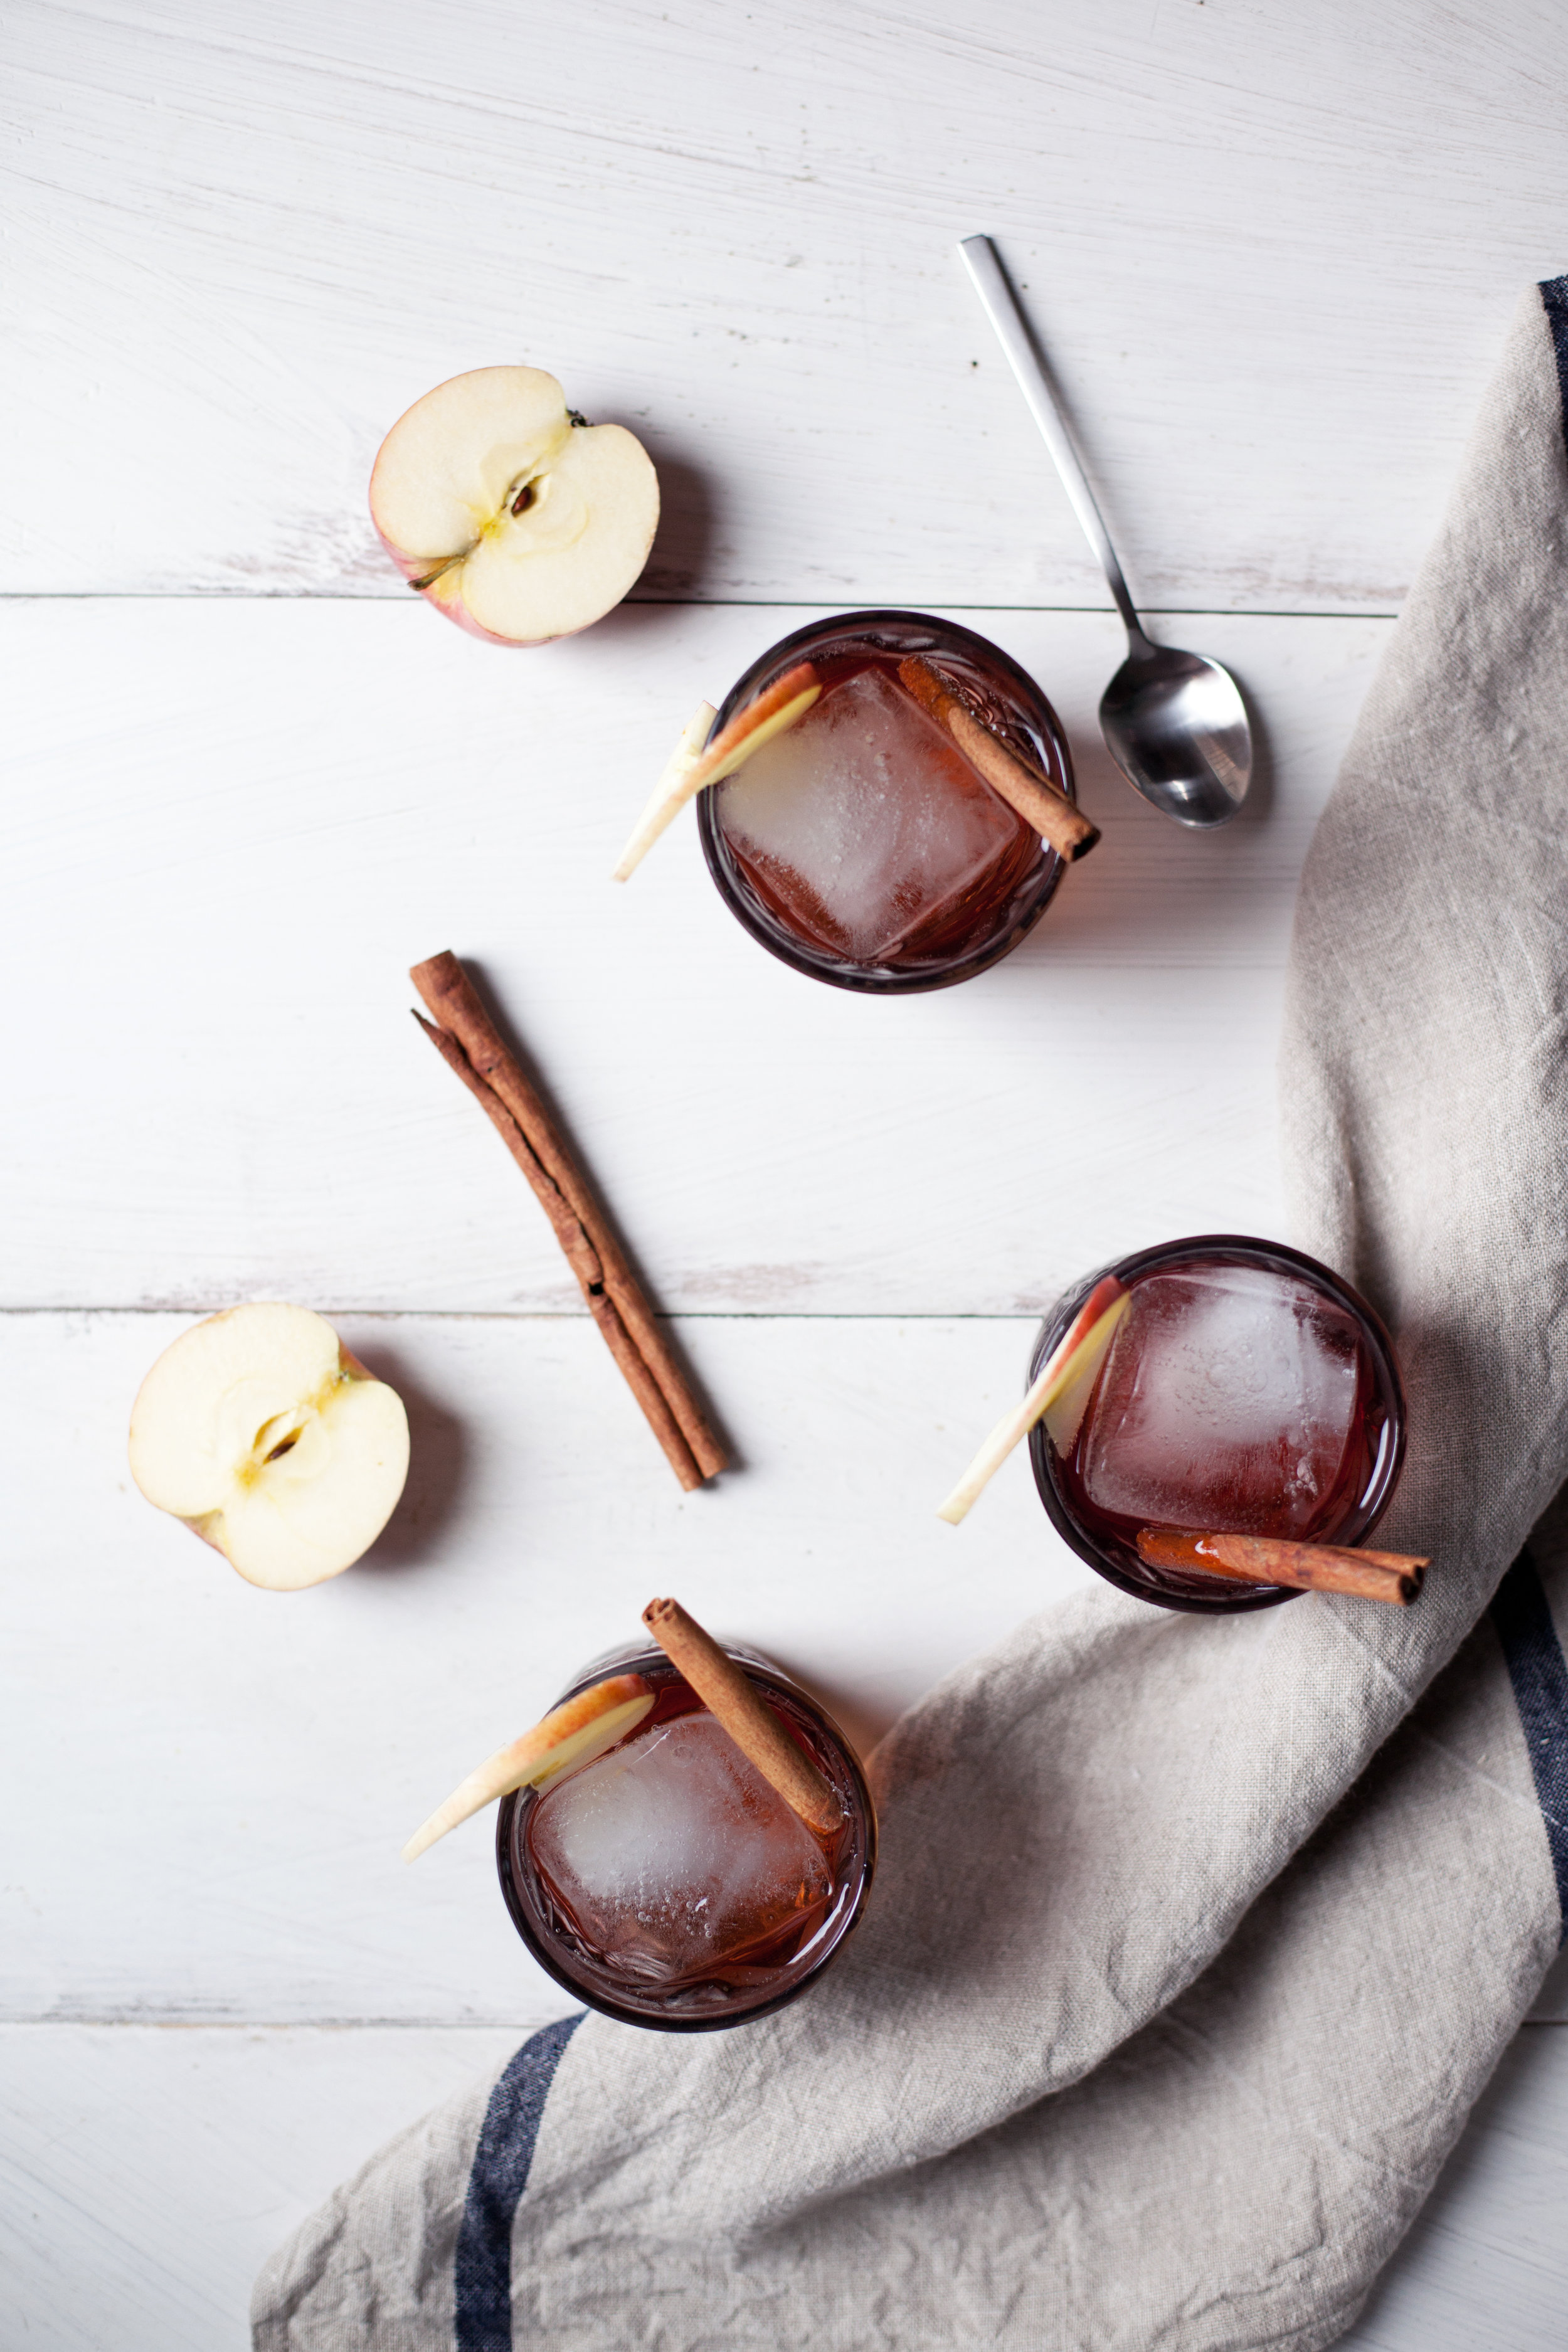
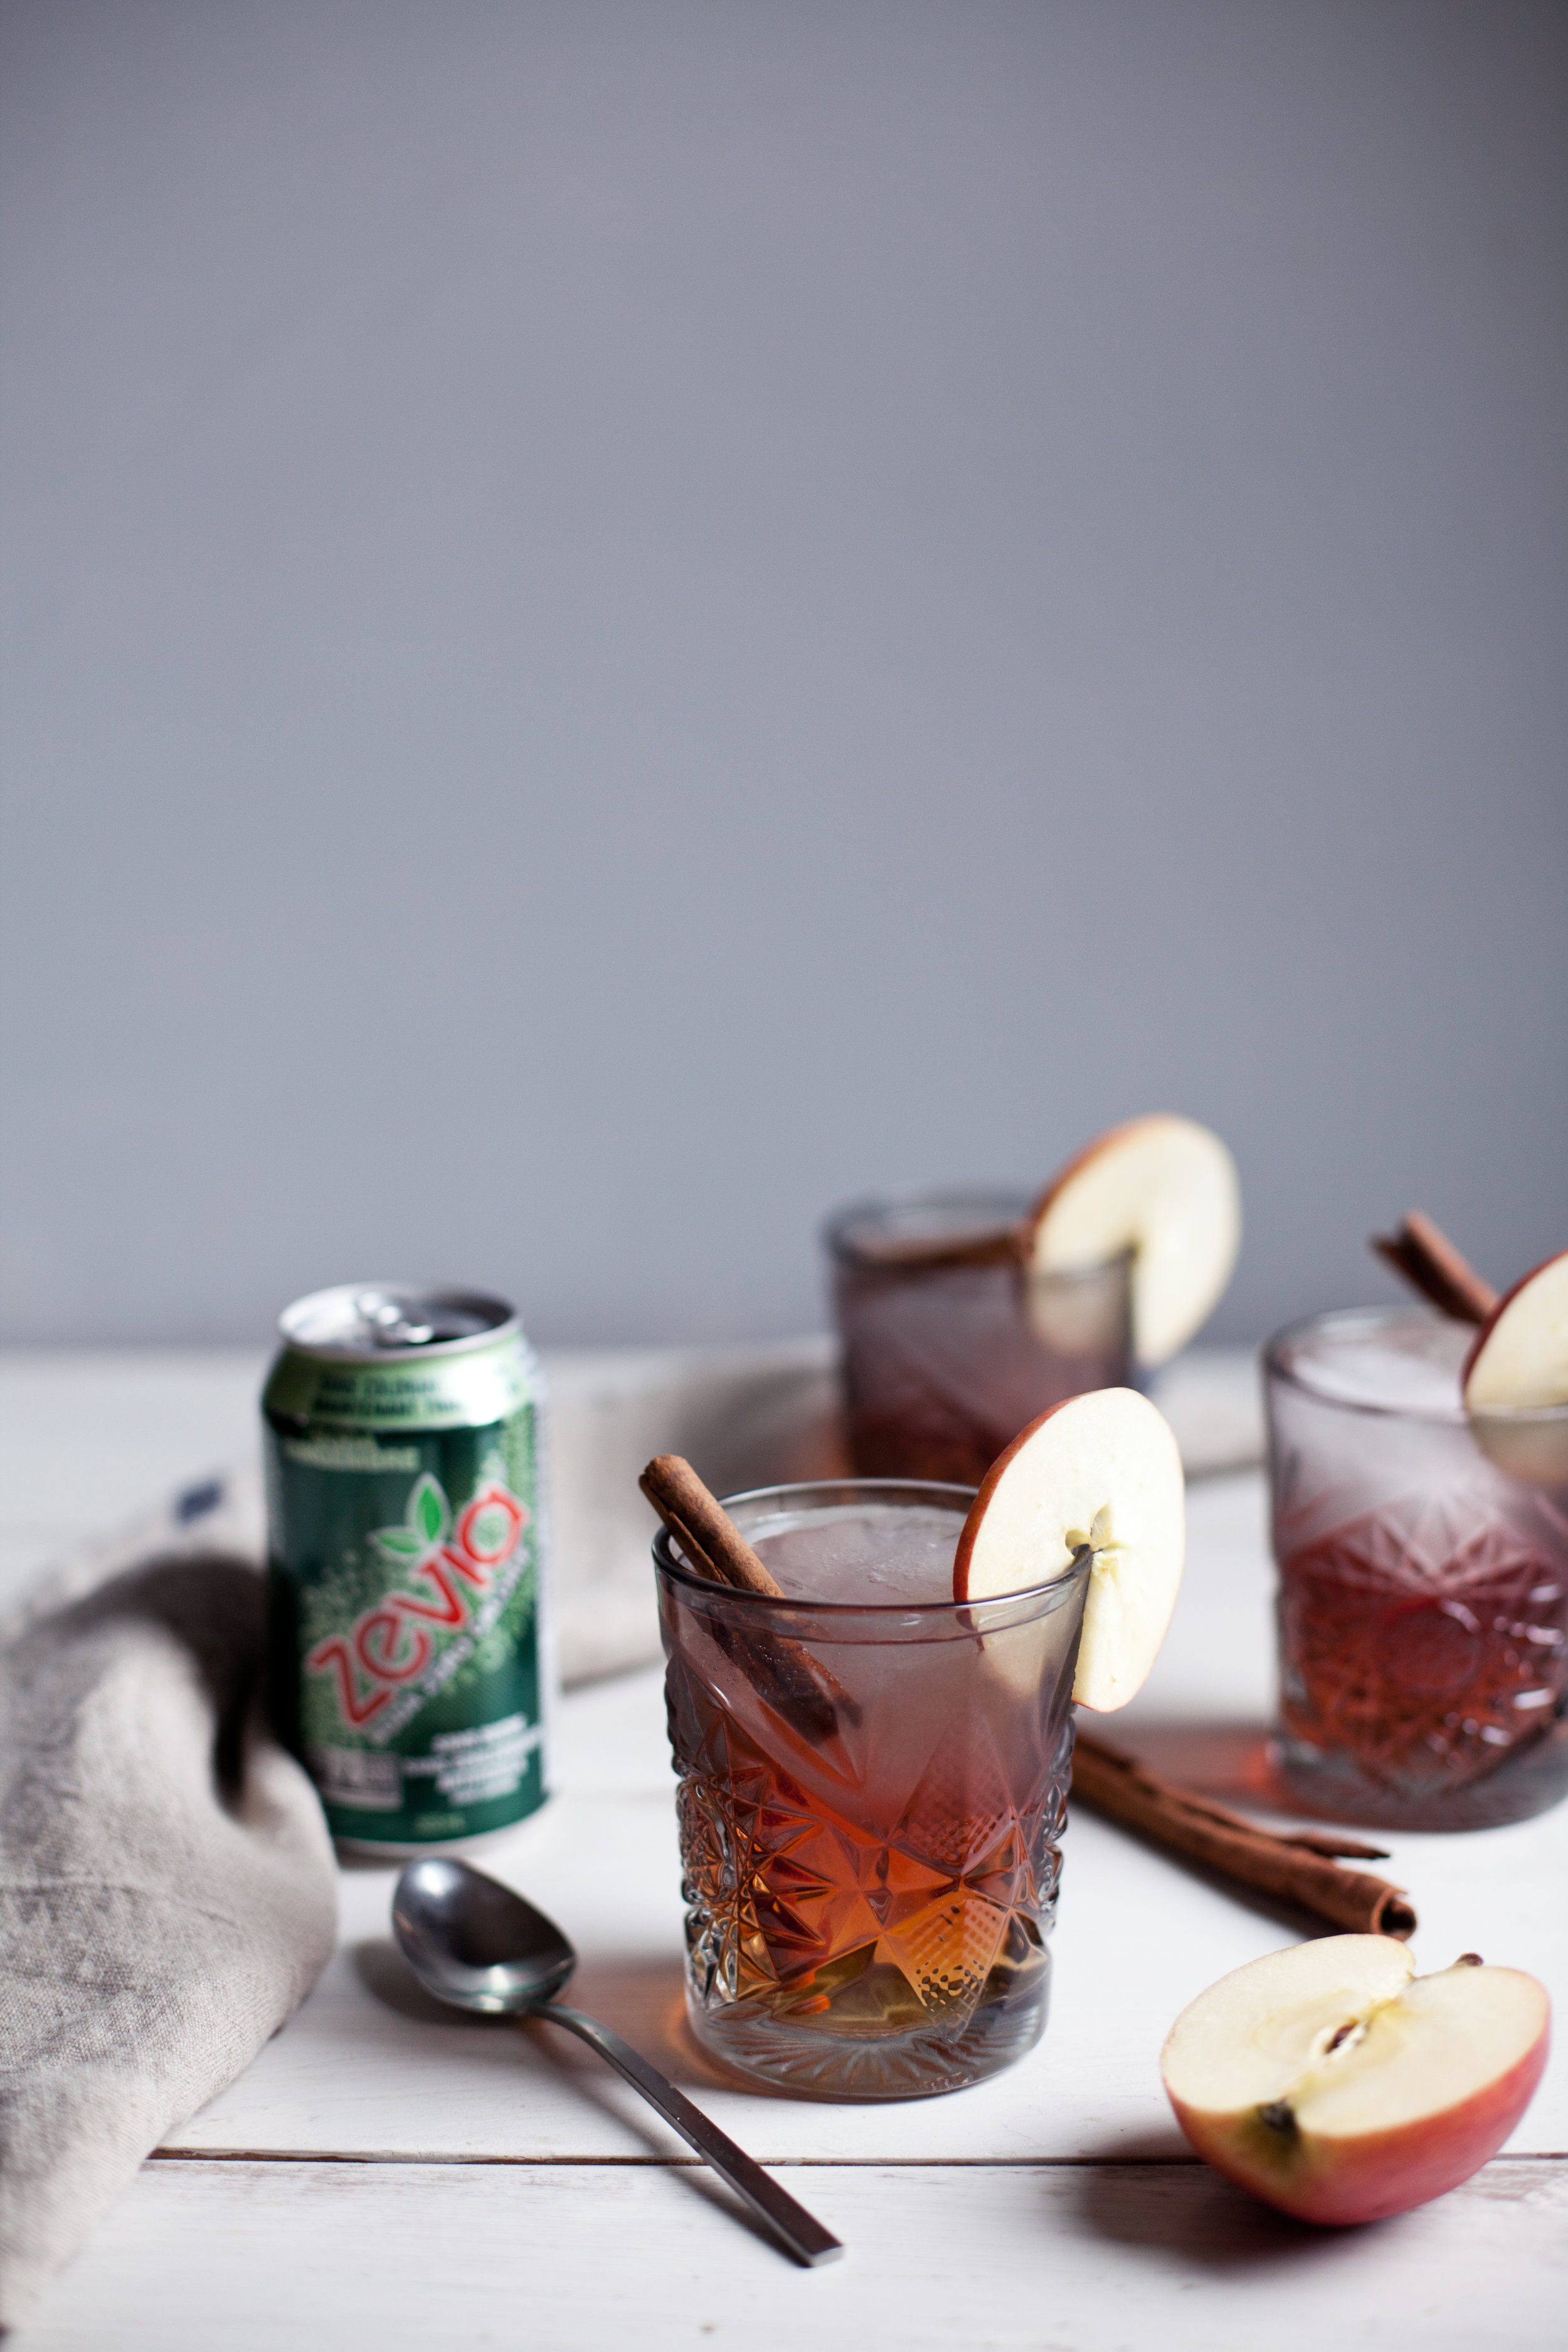
the only thing just as important as baking cookies this month (stay tuned for those) is the cocktails! every party needs a signature drink so today i have teamed up with zevia to make a lighter, healthier cocktail that will help get you through the holidays (you can take that statement however you please). i used pure fruit juices & added the fizz with zevia's ginger ale. zevia is a zero calorie soda made with natural ingredients & natural sweeteners like stevia. nothing pairs better then the flavours of cider, cranberry, cinnamon & ginger! while i used a clear rum, this drink will work with just about any clear liquor. i will be sharing a fun new years cocktail next! but first stay tuned for some not so traditional christmas cookies.

ingredients

  • 1.5 oz white rum
  • 2 oz 100% cranberry juice
  • 2 oz pure apple cider
  • 2 oz zevia ginger ale
  • 1 pinch cinnamon
  • ice, for serving
  • cinnamon stick, for garnish
  • applie slice, for garnish

directions

  • in a cocktail shaker add rum, cranberry uice, apple cider, gingerale, cinnamon & ice. shake well!
  • pour into desired cocktail glass, add fresh ice & garnish with a cinnamon stick + apple slice.

cheddar apple pie + MIGHTYFIX OFFER


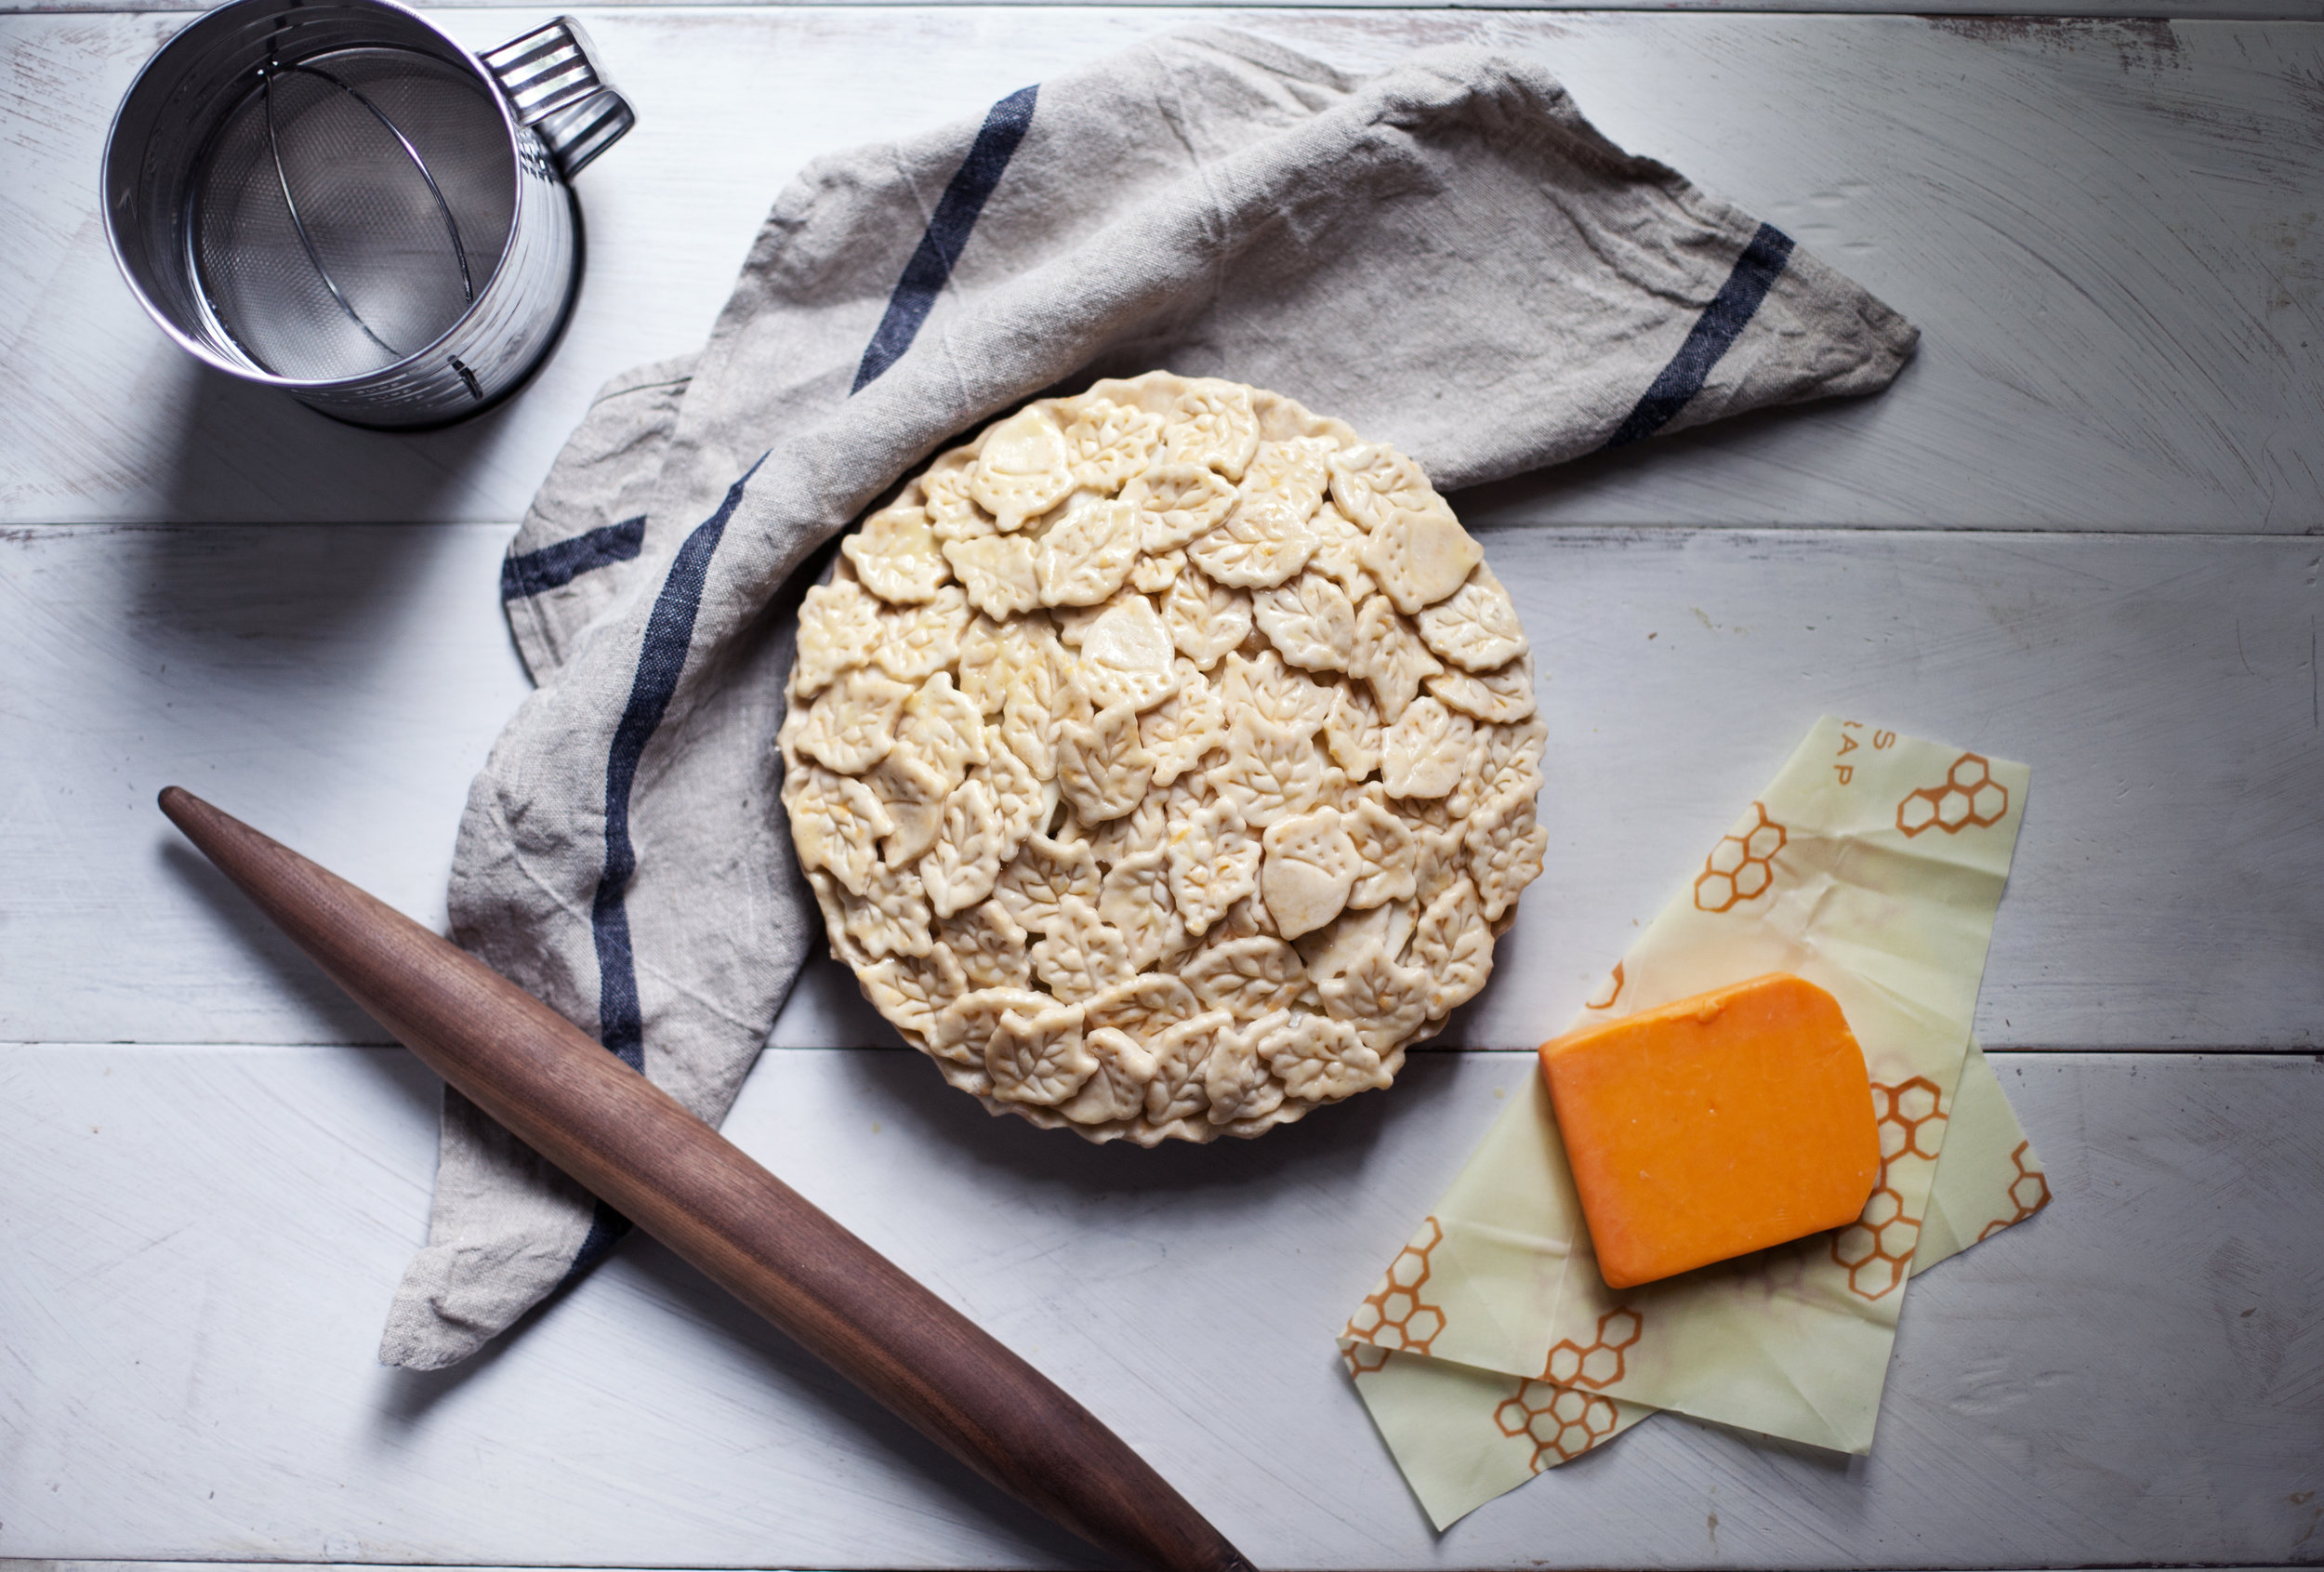
it is finally time for that apple pie i have been promising you guys all month long! this time i mixed things up a bit by adding some freshly grated old cheddar cheese into the pie dough & on top because the two flavours go hand in hand (& cheese literally makes everything better). BUT before i get into the details of this pie i wanted to let you know about a special promotion that mightyfix is offering for my modest marce readers! this month only, mightyfix is offering the bee's wax wraps for only $3 for the first month after signing up for the mightyfix! it includes both a medium & large sheet of bee's wrap & retails for over $18 after shipping. the promo code for the bee's wrap is MODESTBEESWRAPFIX & if you click here the promo code will be placed directly into your cart. shipping is free & you can add any other items they carry to ship free too!

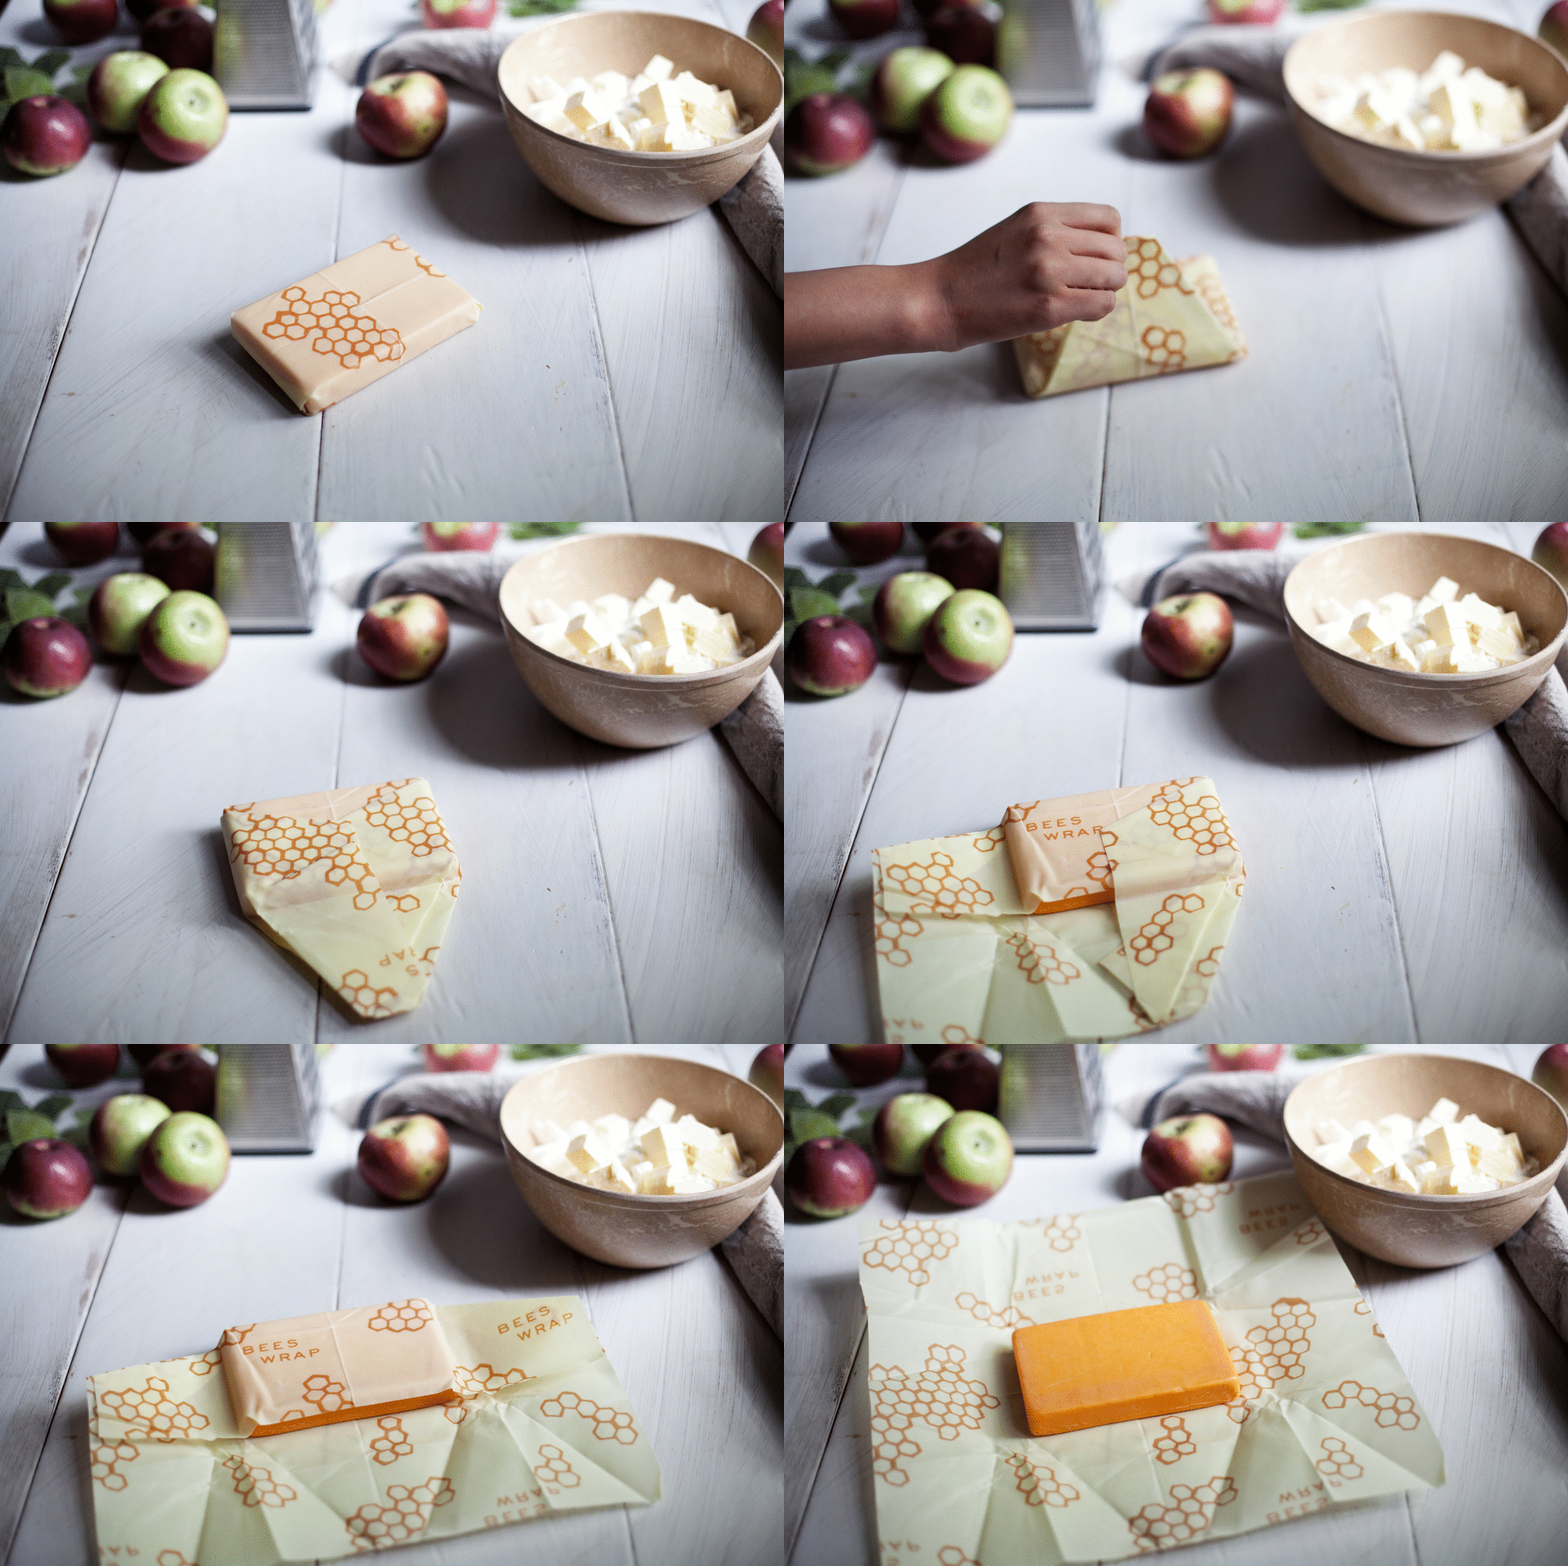
now i am obsessed with all sorts of aged cheeses. maybe it is the italian in me, but the stinkier the better! the natural bees wrap is favourite way to store cheese so it doesn't dry out & you aren't wasting plastic wrap every time you cut a slice. the natural bee's wrap from mightyfix is made in vermont from organic cotton muslin, beeswax, jojoba oil & tree resin. the combination of ingredients & the infused fabric create a malleable food wrap that can be used again & again. the simple warmth of your hands naturally creates a seal & as the beeswax cools the material stiffens to hold the seal intact. it also has antibacterial qualities that help to keep food fresh! while my favourite thing to use it for is cheese, it is also perfect for baked goods, vegetables & fruit.

over the years i have become all about searching for reusable materials for healthy kitchens because i hate spending extra money on things that end up in the garbage.. plastic wrap, foil, parchment paper, etc. i honestly find this bee's wrap the most genius way to store food & replace those expensive rolls of plastic wrap. it is the same idea as silicon baking mats & never having to buy parchment paper again! to care for it you just wash it in cool water with a touch of soap, let it air dry & store it folded up like a kitchen towel.

now back to that pie! the base of this pie dough would be so good for savoury pies as well, i will definitely be making myself a chicken pot pie very soon. ultimate comfort food. growing up i used to see classmates eat apples & sliced cheddar cheese together. while a completely normal thing to do, i thought it was the weirdest thing ever! now here i am, adding cheese to my pies & wishing i wasn't such a stubborn little kid who missed out.

happy baking! xo

ingredients

for the dough

  • 3 cups all purpose flour, sifted
  • 1/2 teaspoon fine sea salt
  • 3/4 cup unsalted butter, cold and cubed
  • 1/3 cup shortening, cold
  • 1 cup old cheddar cheese, finely grated plus more for topping
  • ½ cup ice water
  • 1 egg, whisked with 1 tablespoon of water for egg wash

for the filling

  • 5 cups sliced apples
  • 3/4 cup raw sugar
  • 1/4 teaspoon ground nutmeg
  • 1 teaspoon pure vanilla extract
  • 1 tablespoon freshly squeezed lemon juice
  • 1 tablespoon cornstarch

directions

for the dough

  • in a large mixing bowl stir together the flour & salt.
  • add the butter & shortening. using your hands or a pastry cutter, work in the solids until a pea-sized crumb mixture is formed.
  • sprinkle in the one cup of cheese & toss to combined.
  • add the ice water 1-2 tablespoons at a time until the mixture begins to come together. shape into disk, wrap in cling wrap & refrigerate for two hours.

for the filling

  • in a large mixing bowl toss together the apples, sugar, nutmeg, vanilla, lemon juice and cornstarch. set aside while you begin to roll out the dough. drain excess liquids.

for assembly

  • divide the dough into two equal potions; place half back in the fridge until ready to use for the top portion of the pie.
  • roll out the remaining dough to 1/4 inch thick and transfer to pie dish, pressing down & cleaning up the edges.
  • add the filling and evenly distribute throughout the baking dish.
  • using the remaining dough, roll out to 1/4 inch thick and create desired design. i used little pastry cutter leaves & piled them on top.
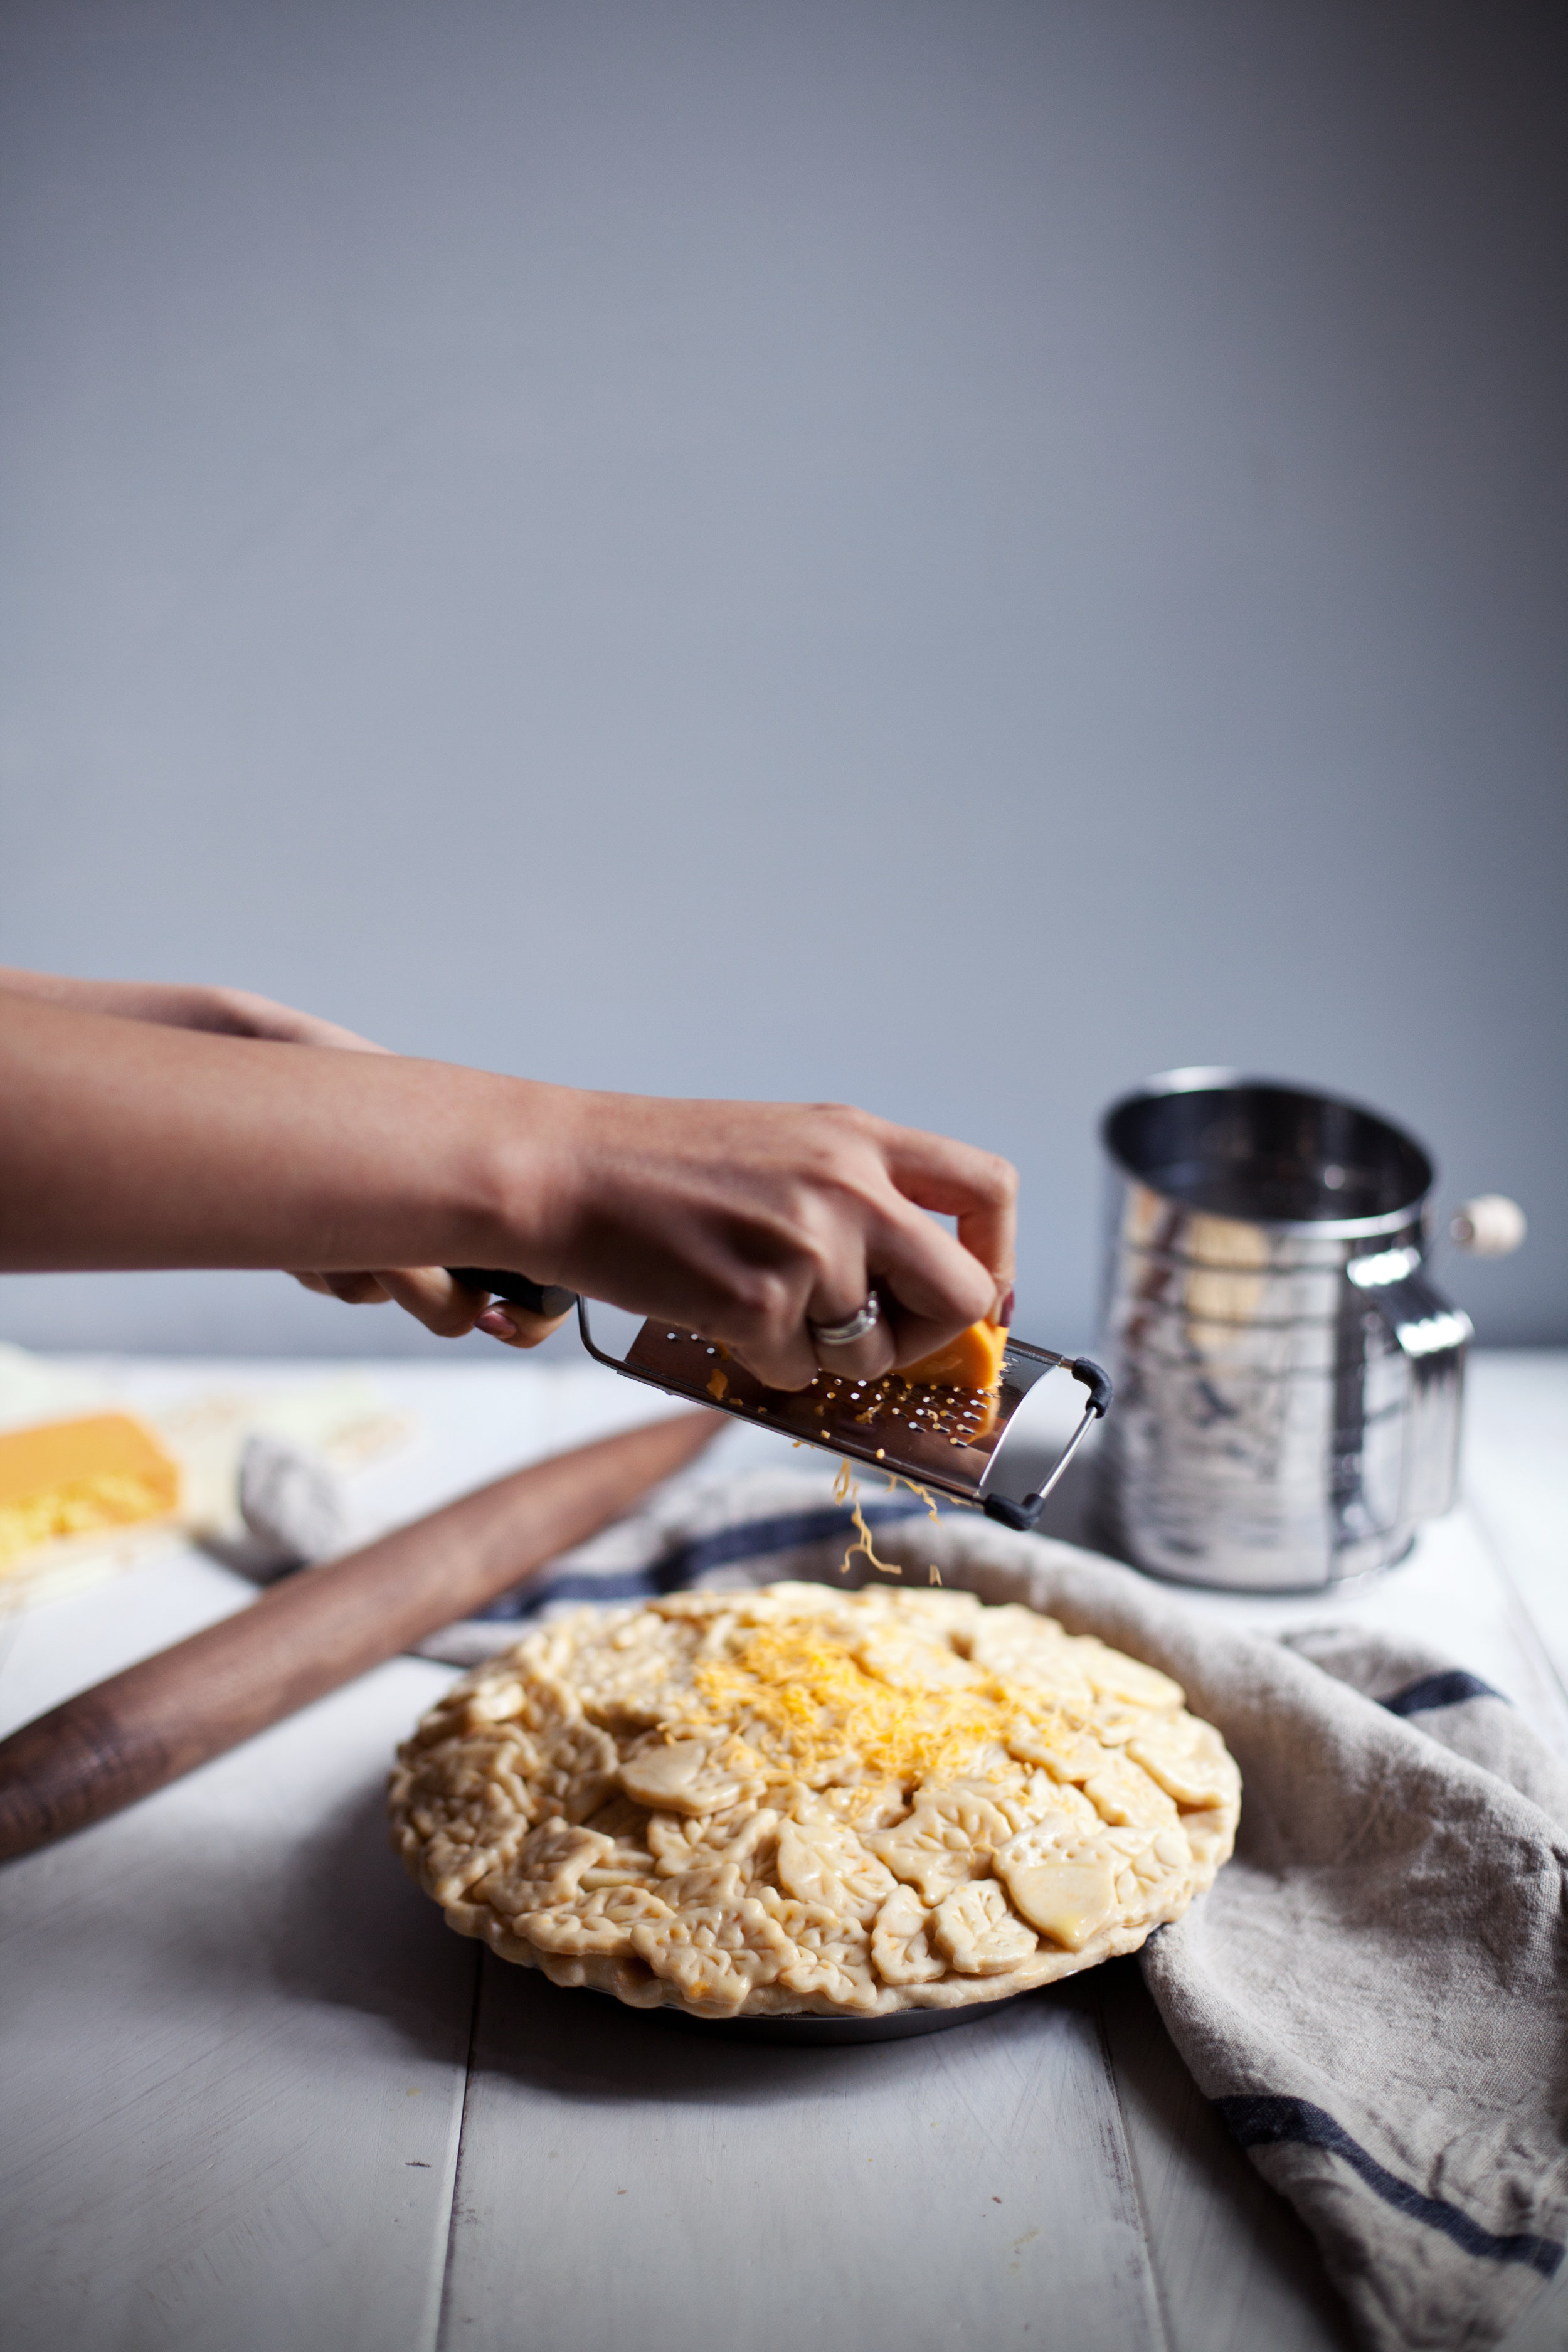
  • brush with egg wash & top with a little extra grated cheddar cheese. bake at 375 degrees for 45 minutes to 1 hour. if the crust begins to brown too soon, simply cover the top with foil.
  • let cool & set completely before serving.

this post was created in partnership with mightyfix. to get your own set of the mightyfix bees wrap for only $3 use the promo code MODESTBEESWRAPFIX or click the link here for it to be automatically added to your cart. thank you for supporting the brands that keep me doing what i love!