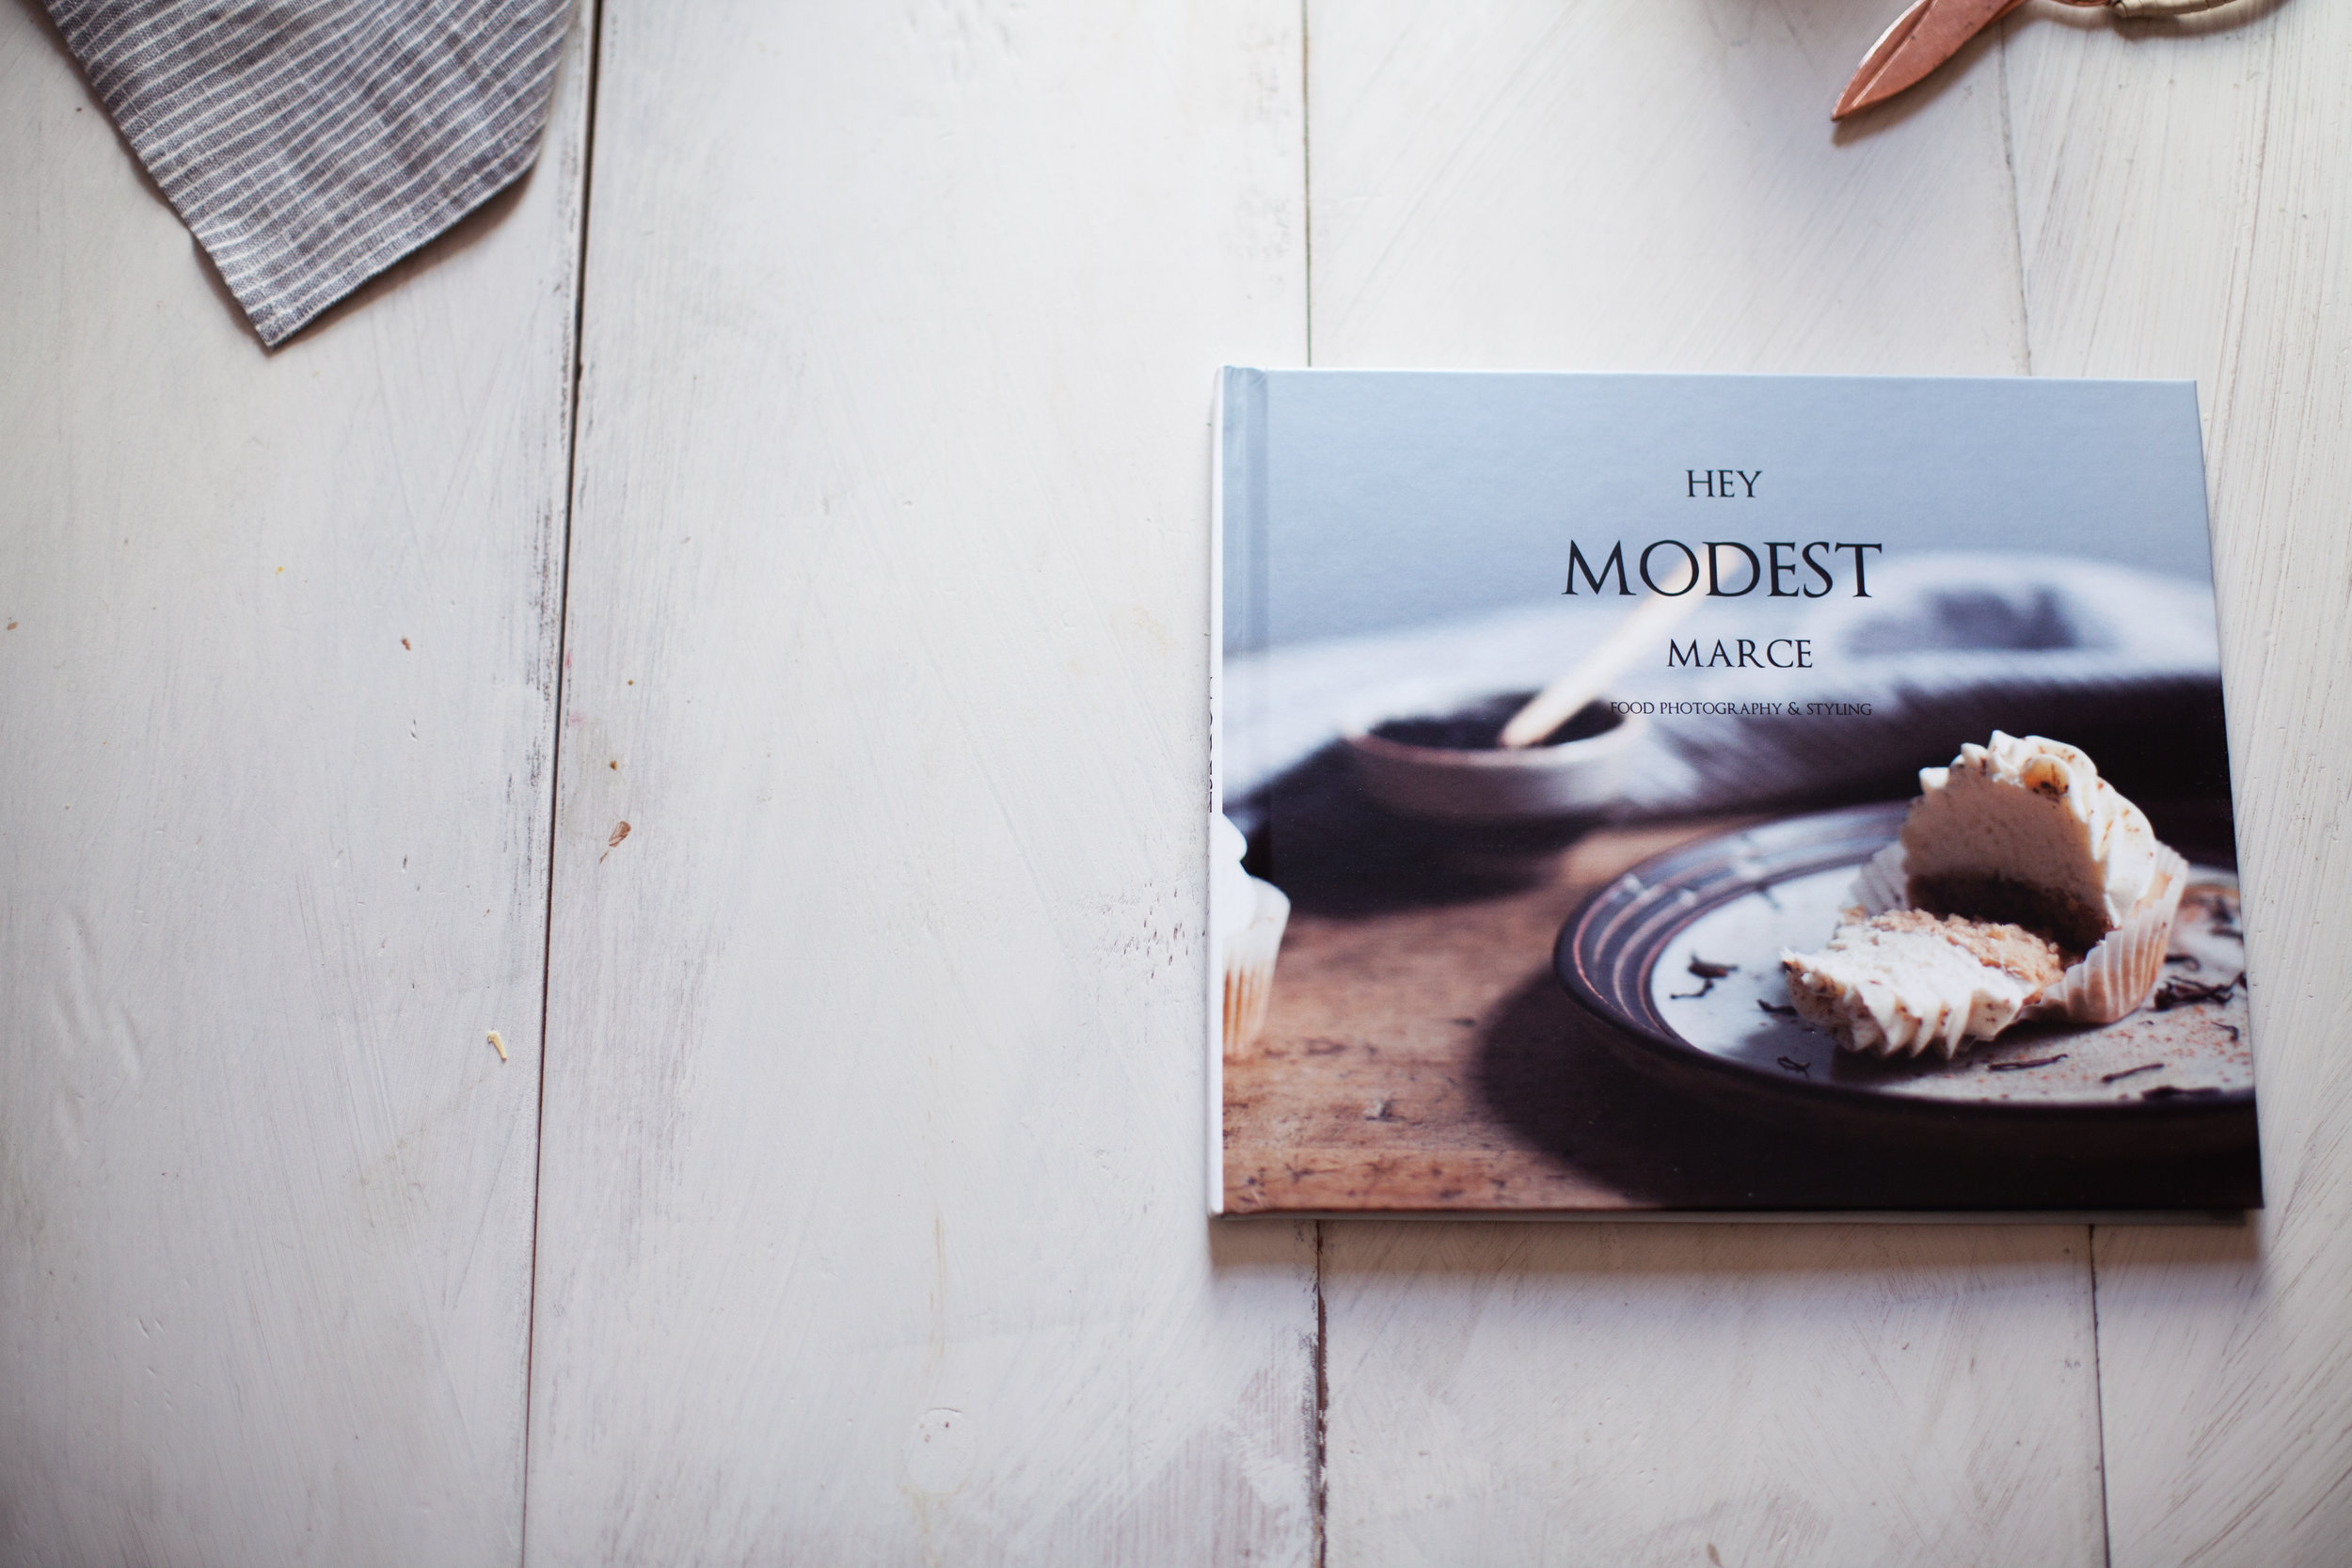
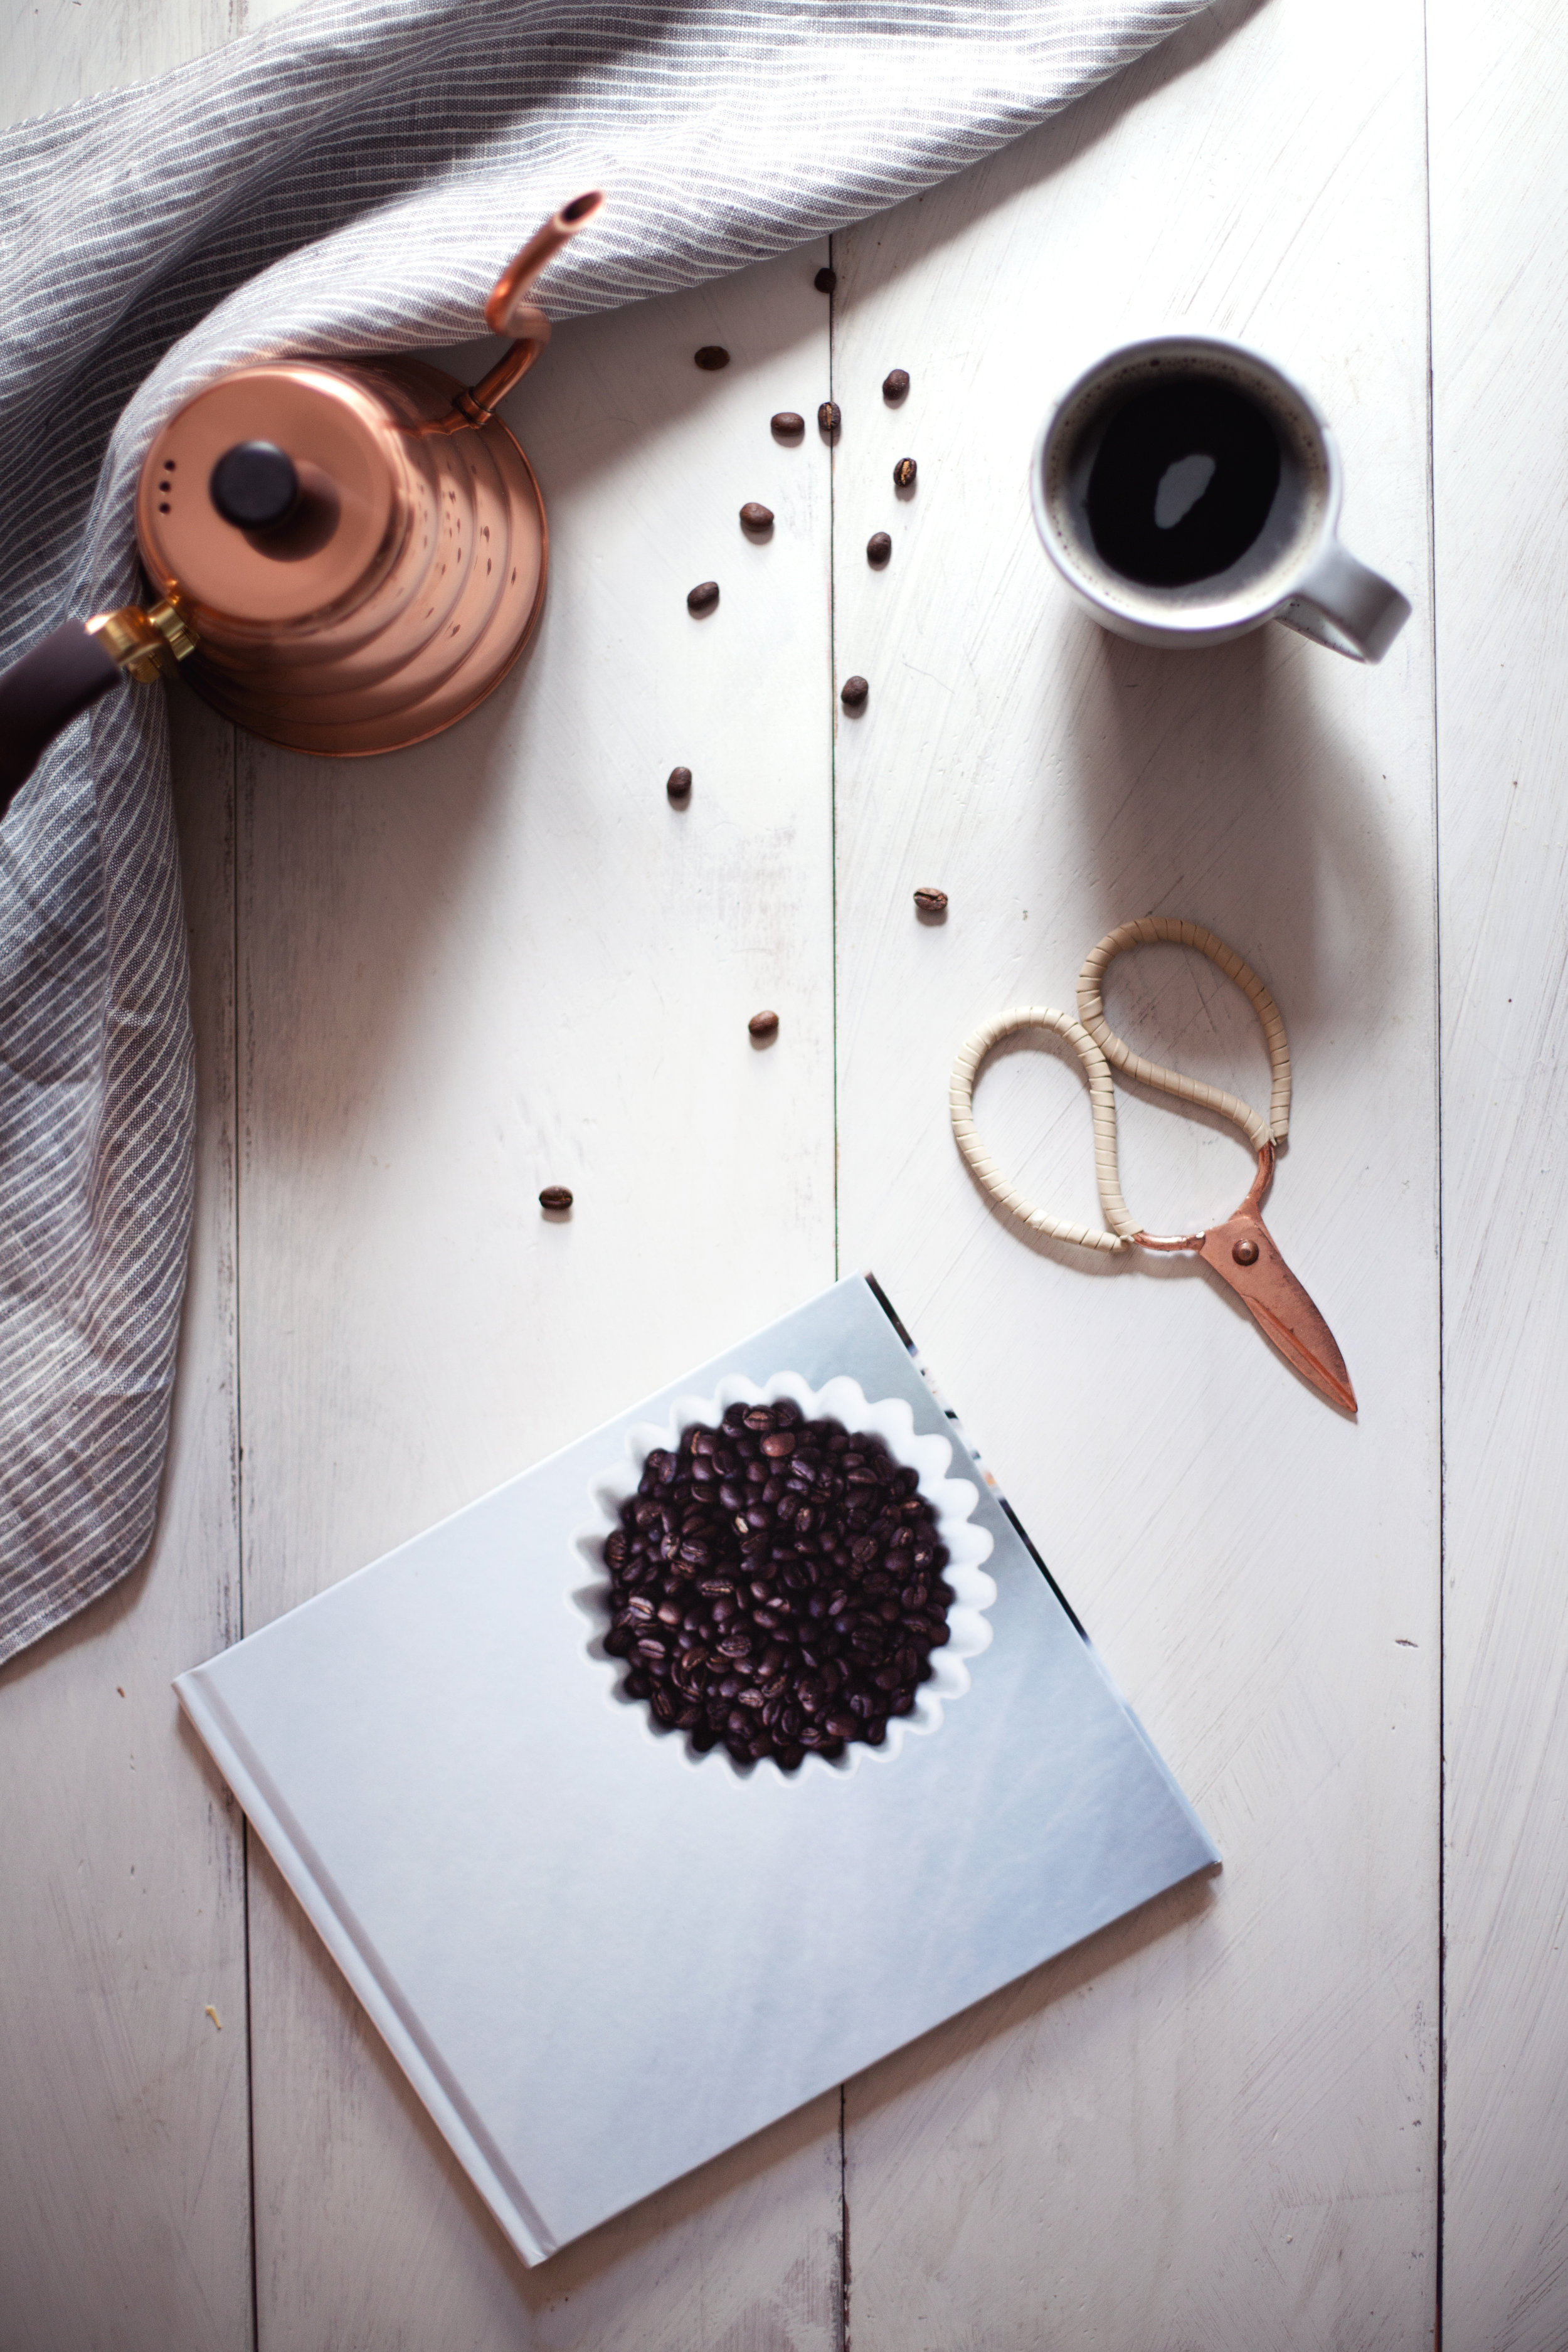
photography portfolio with blurb books


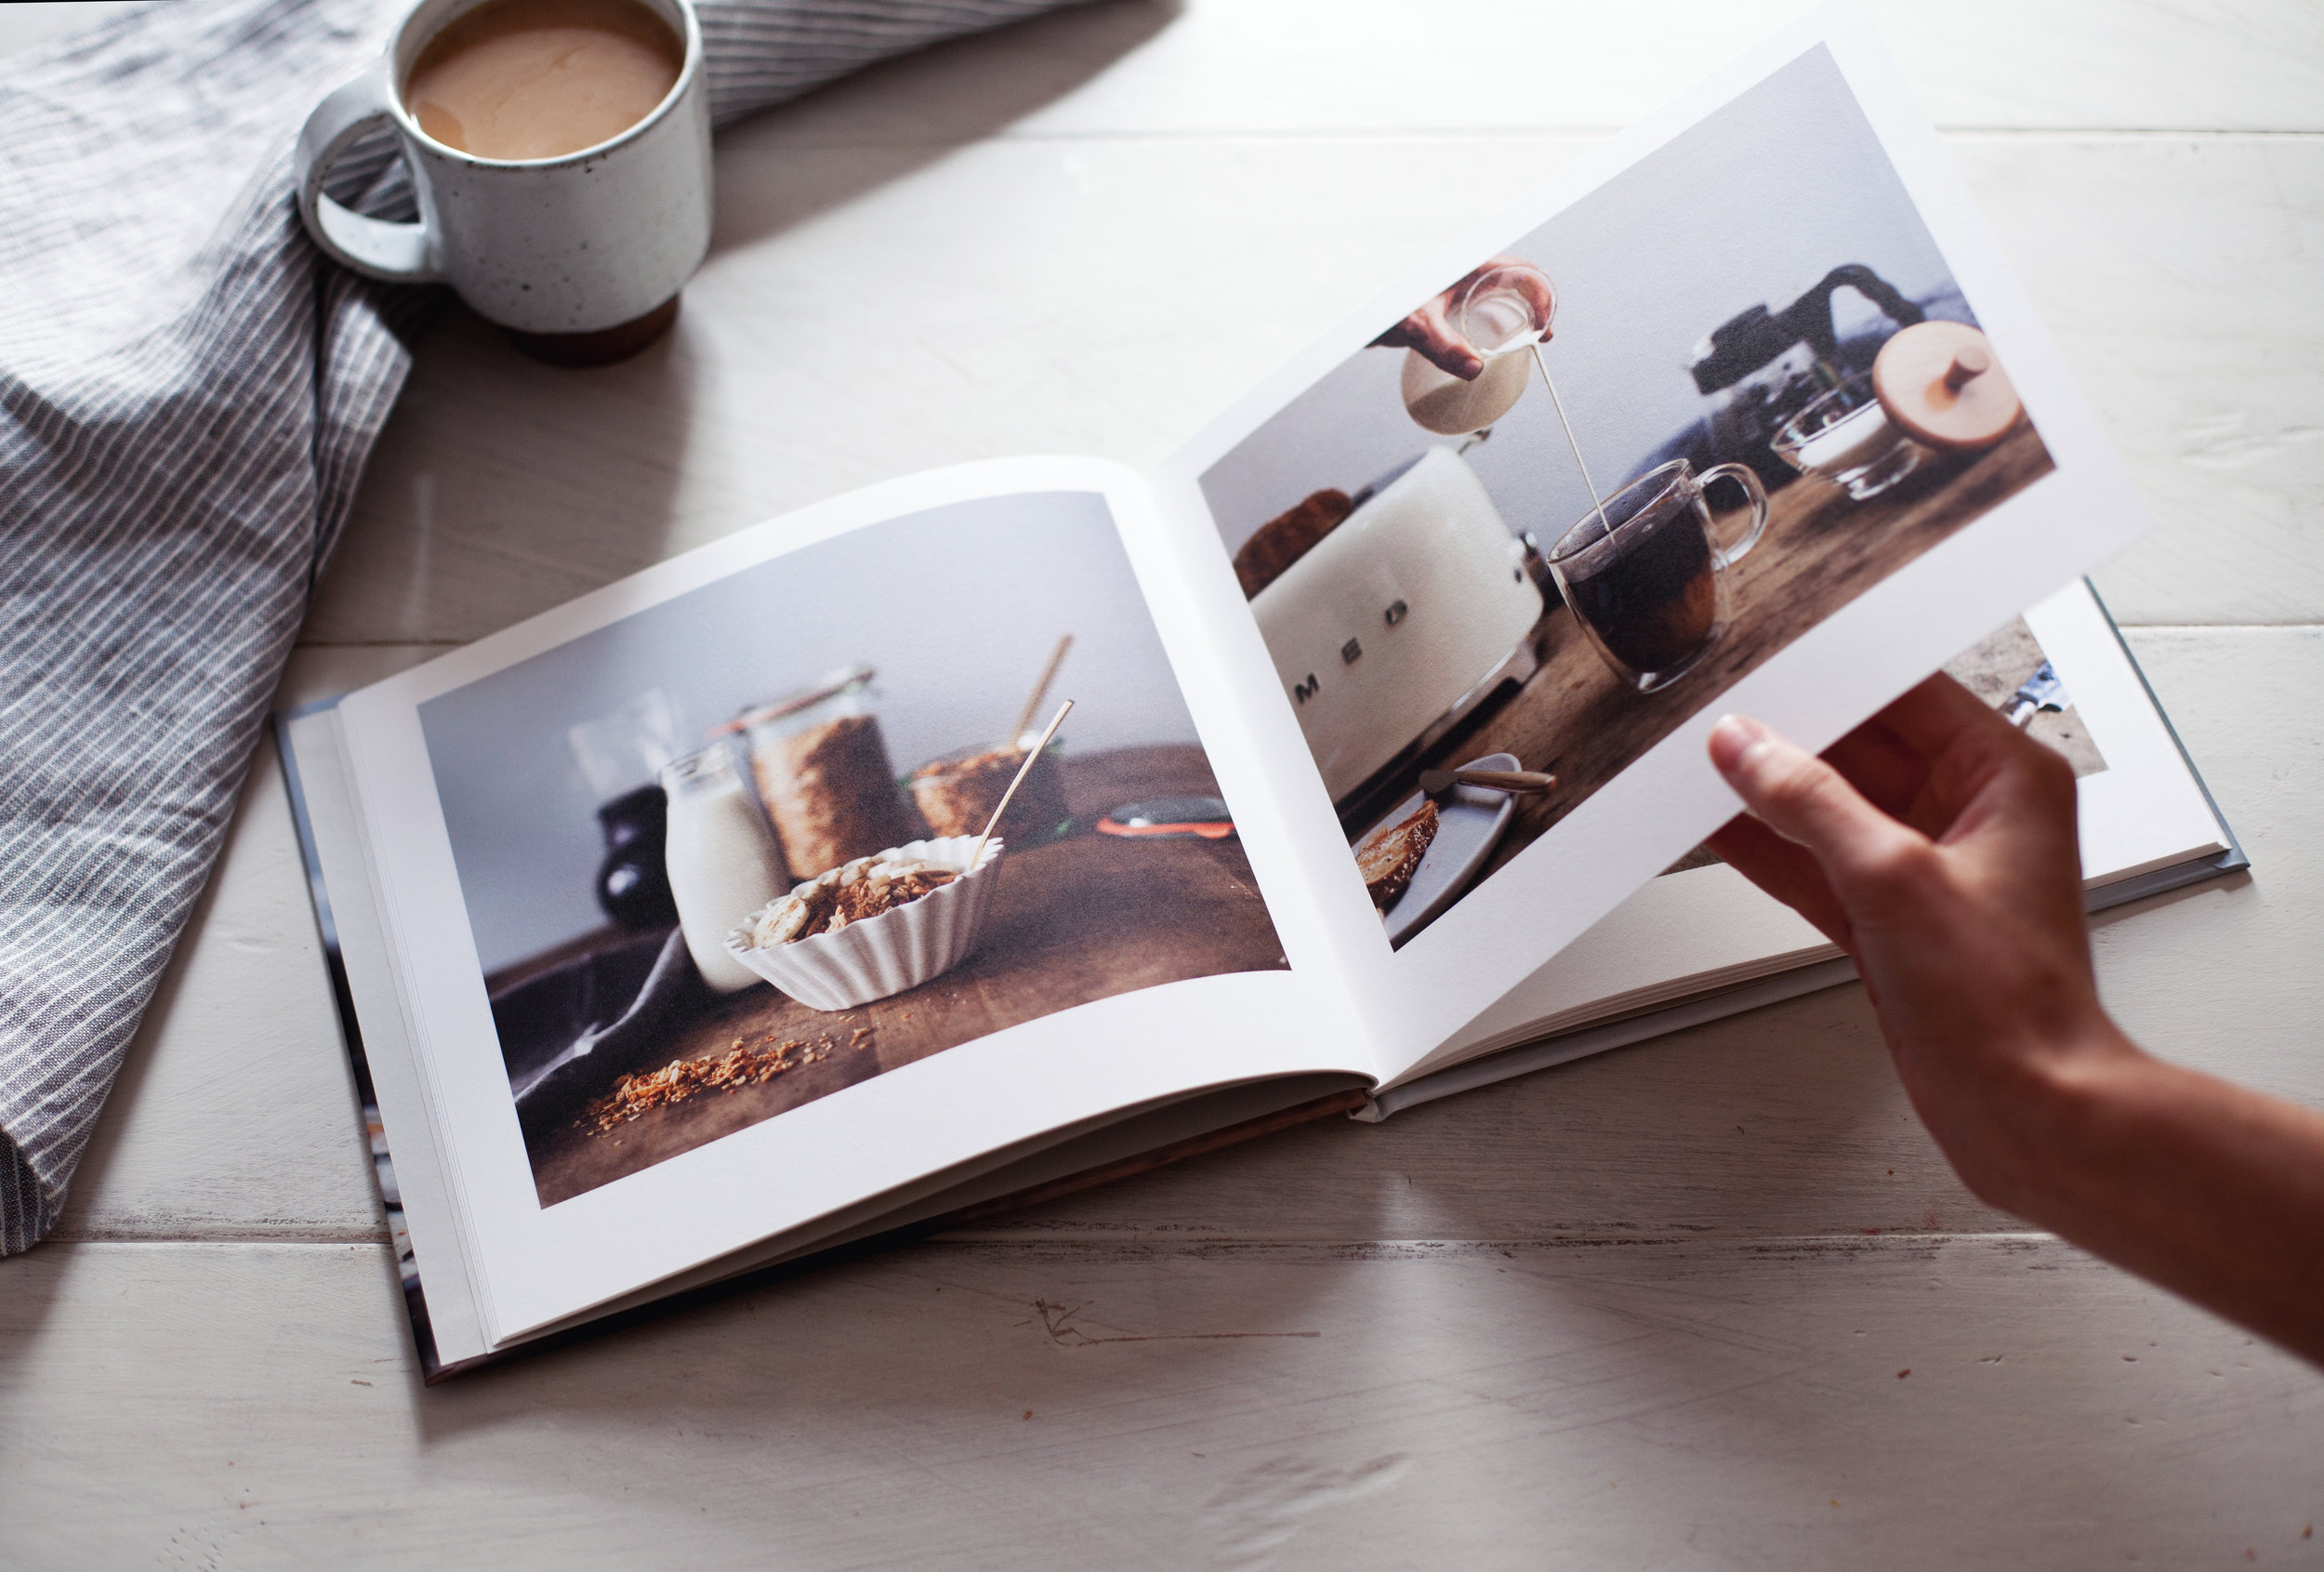
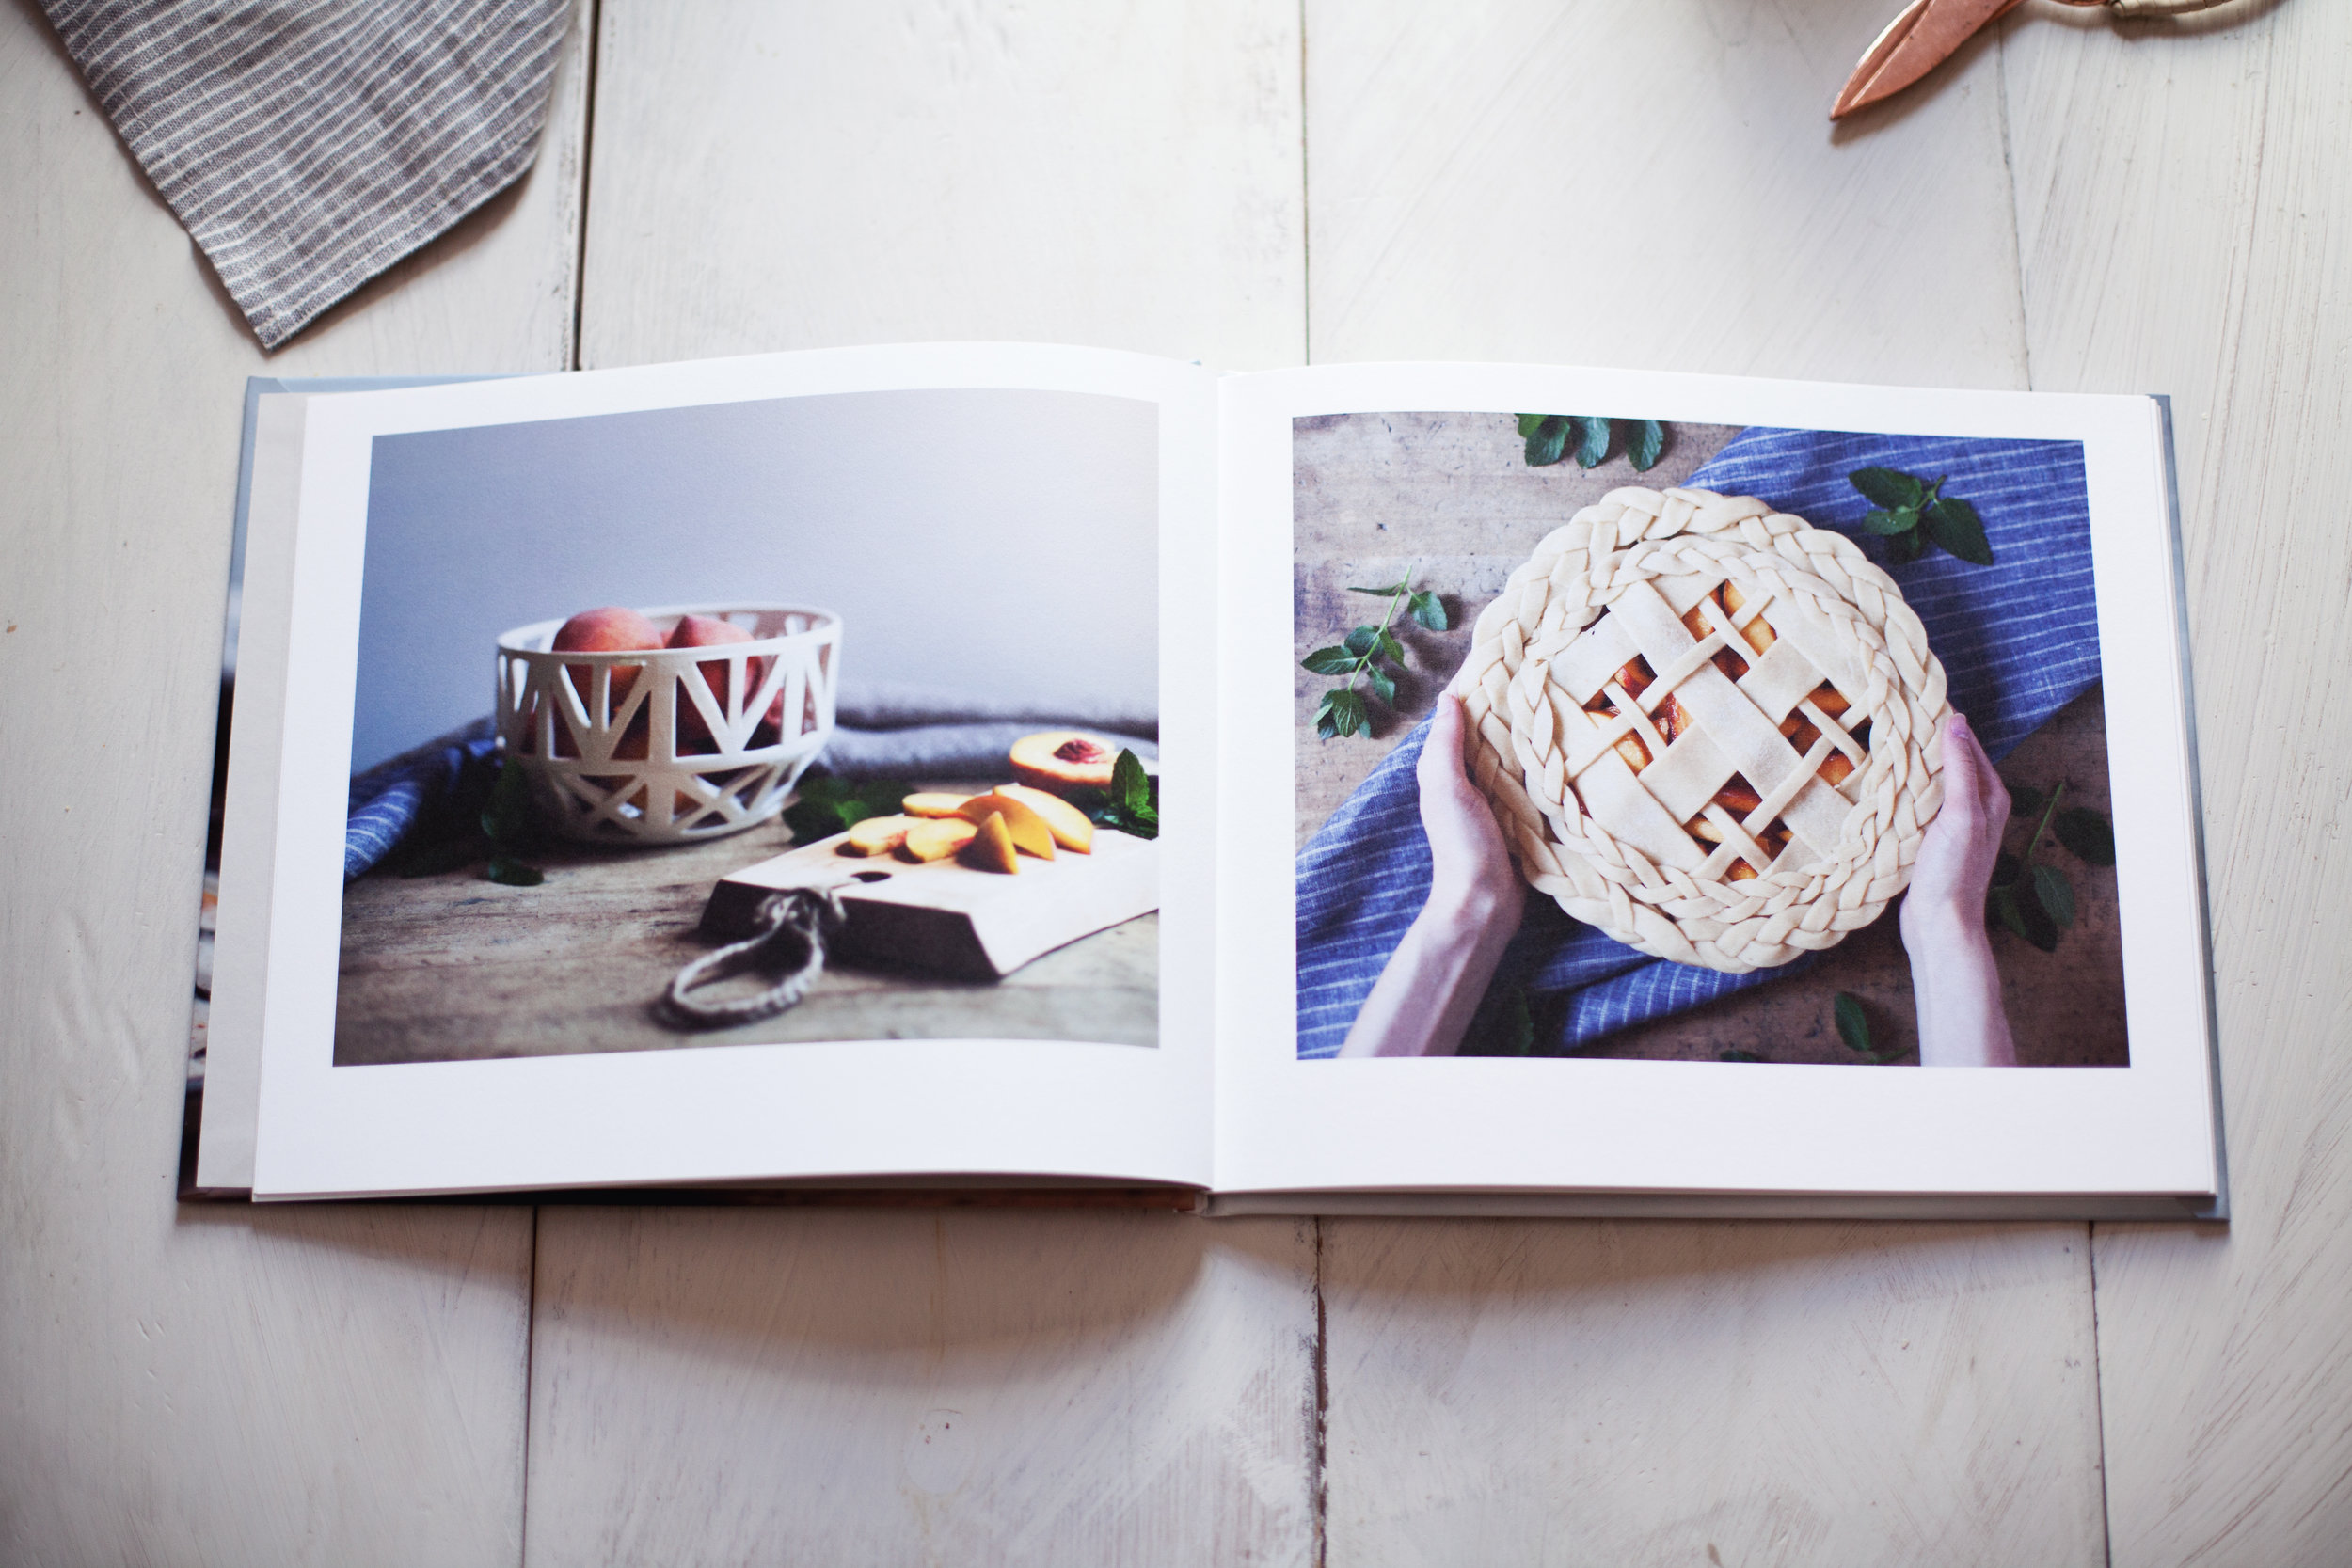
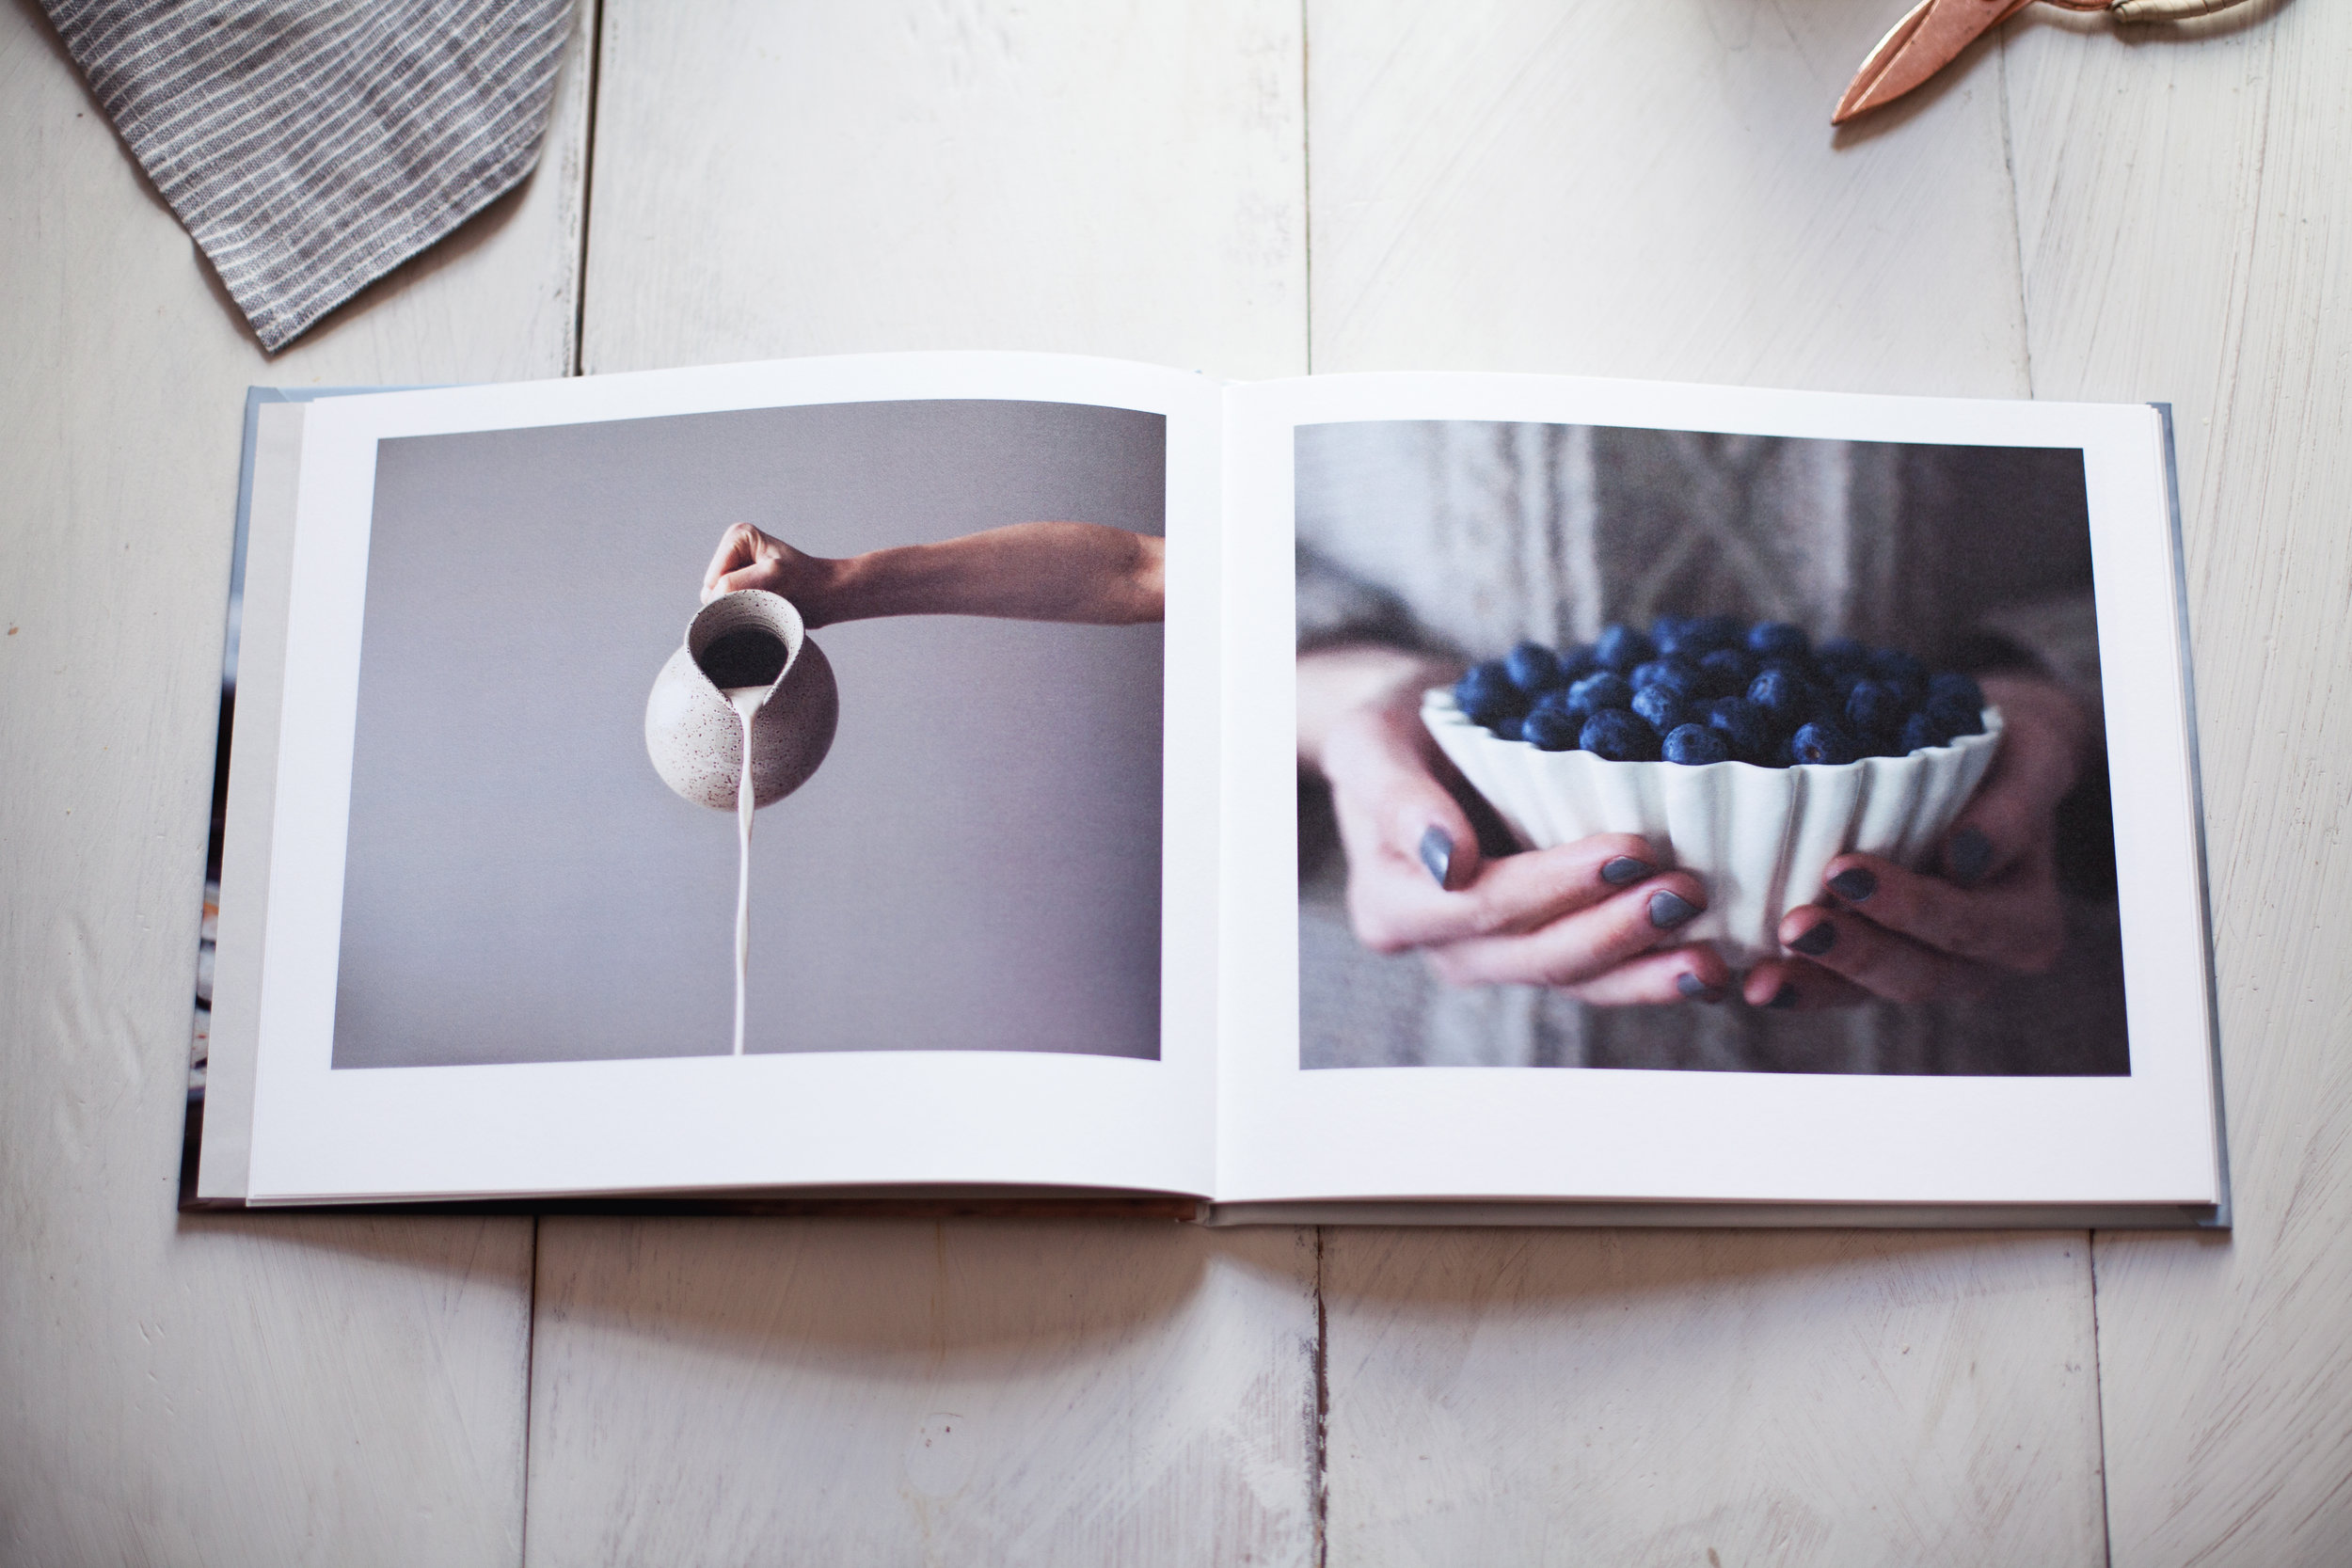
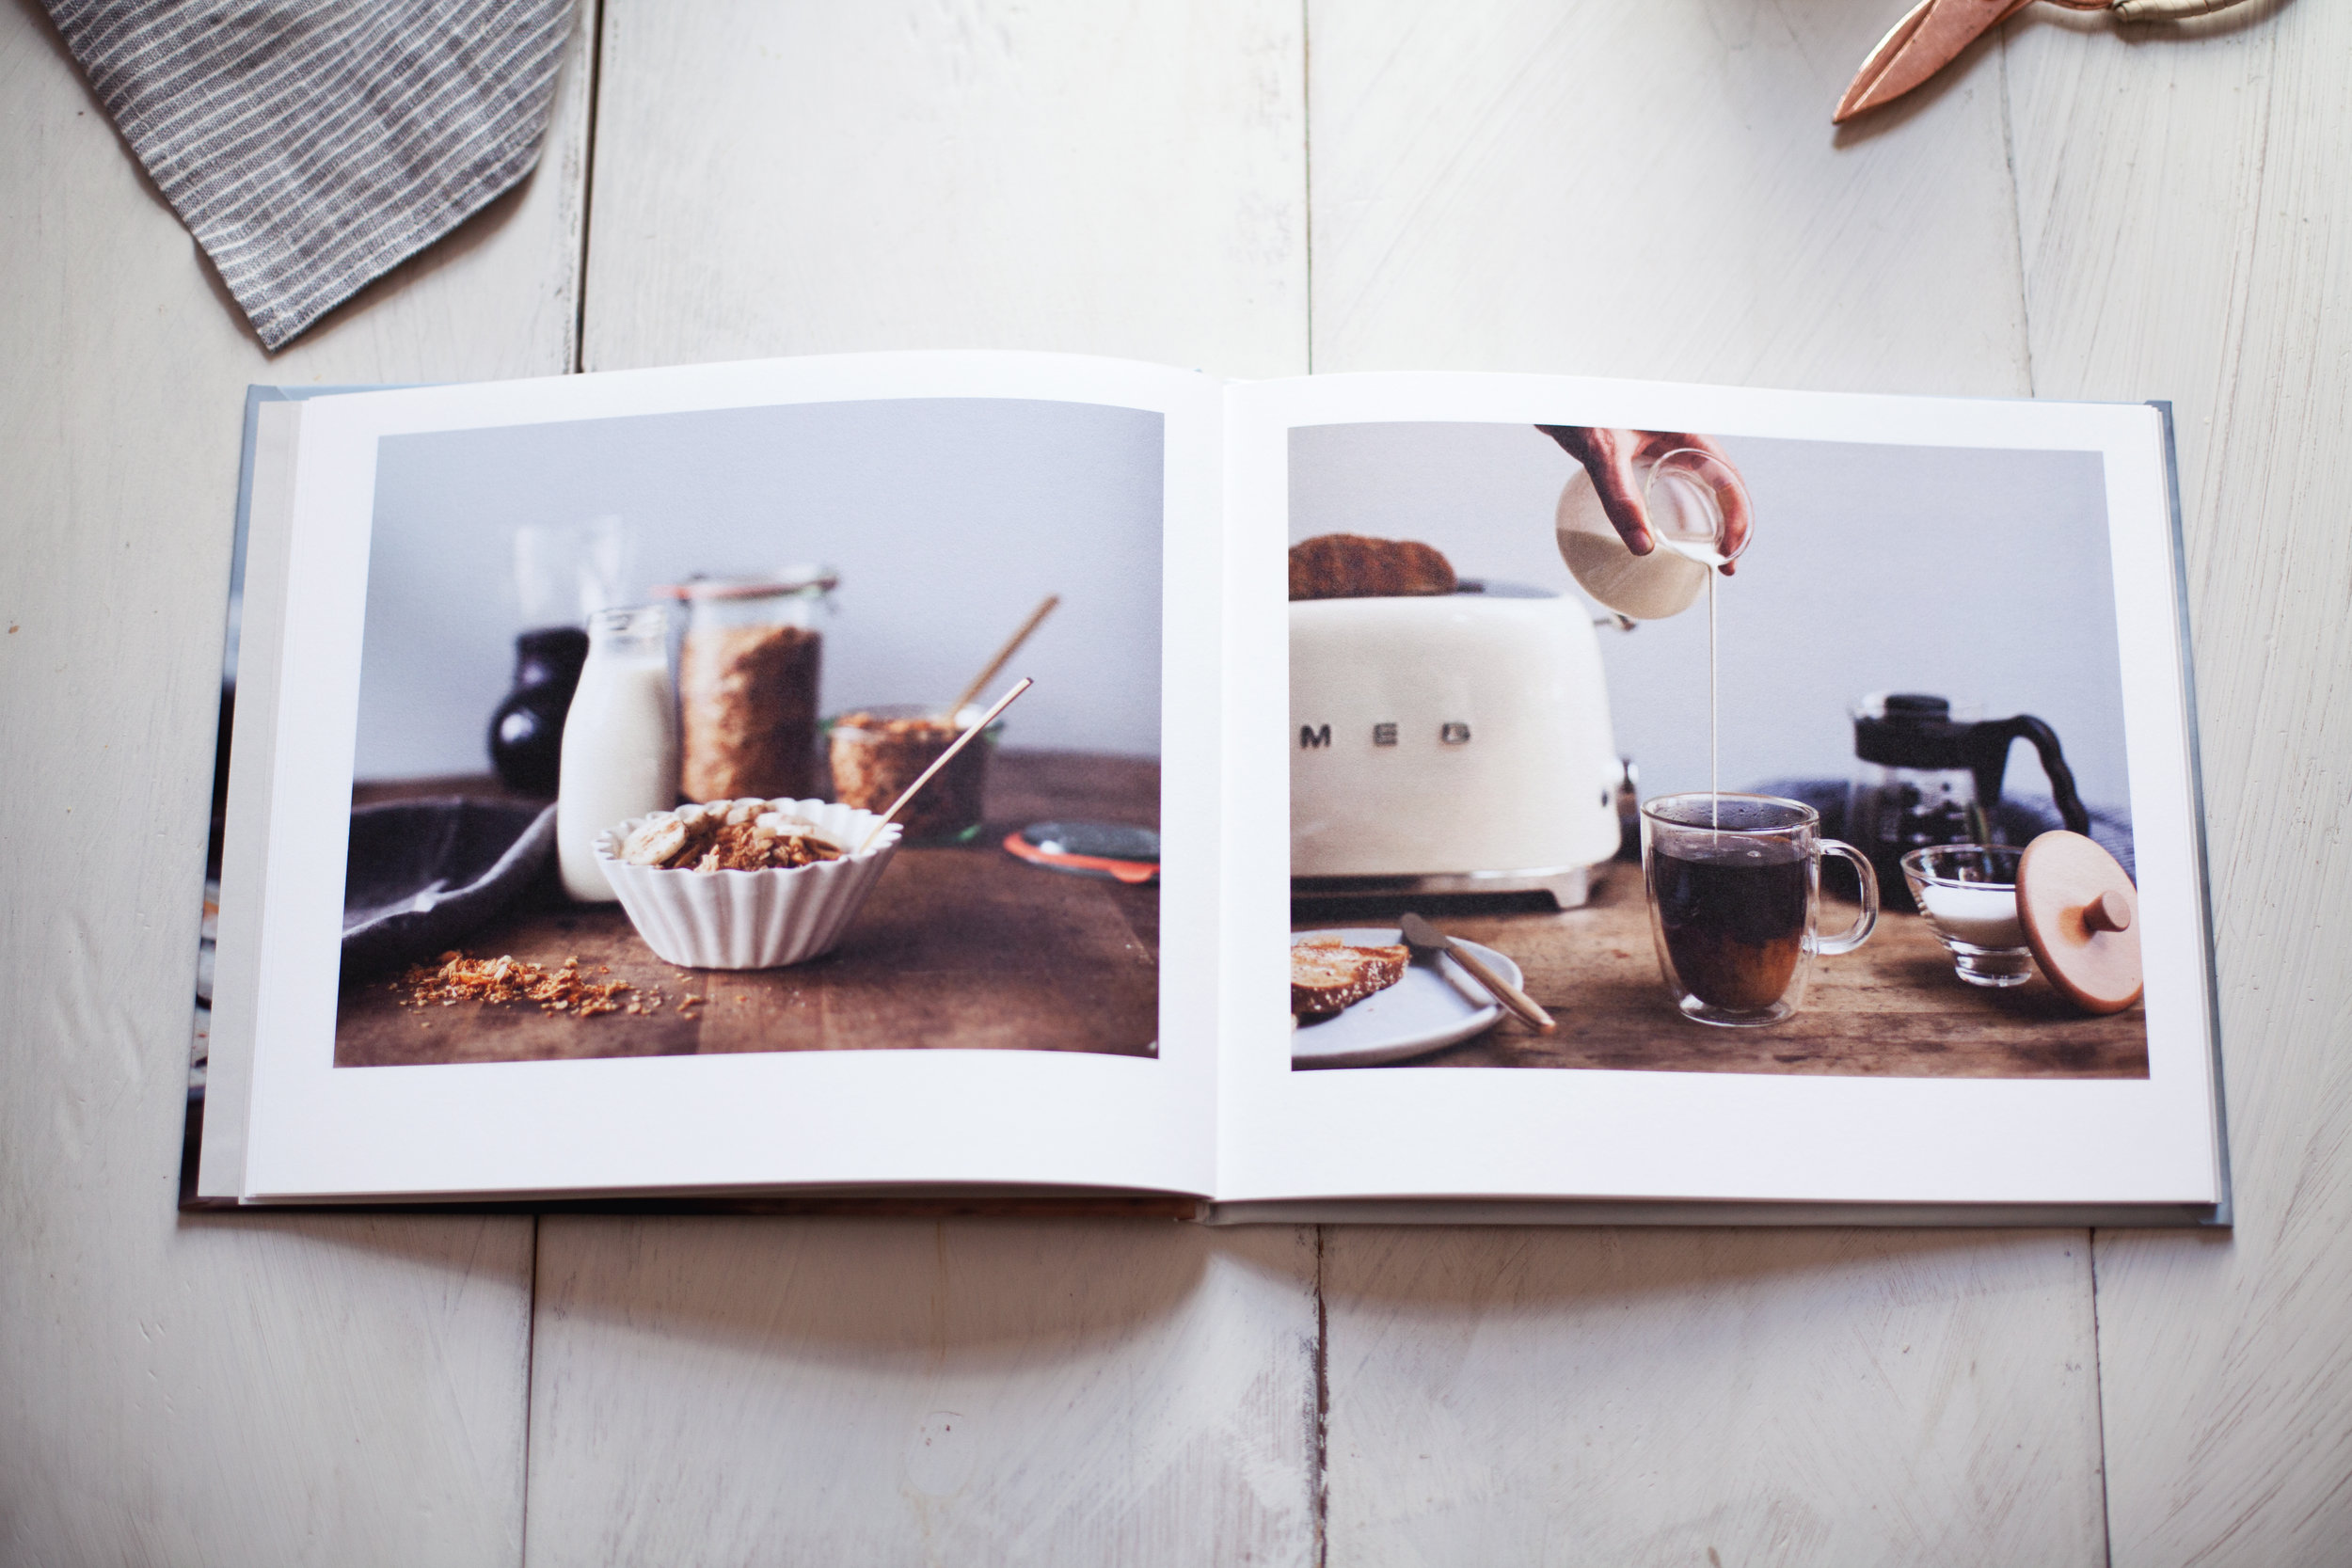
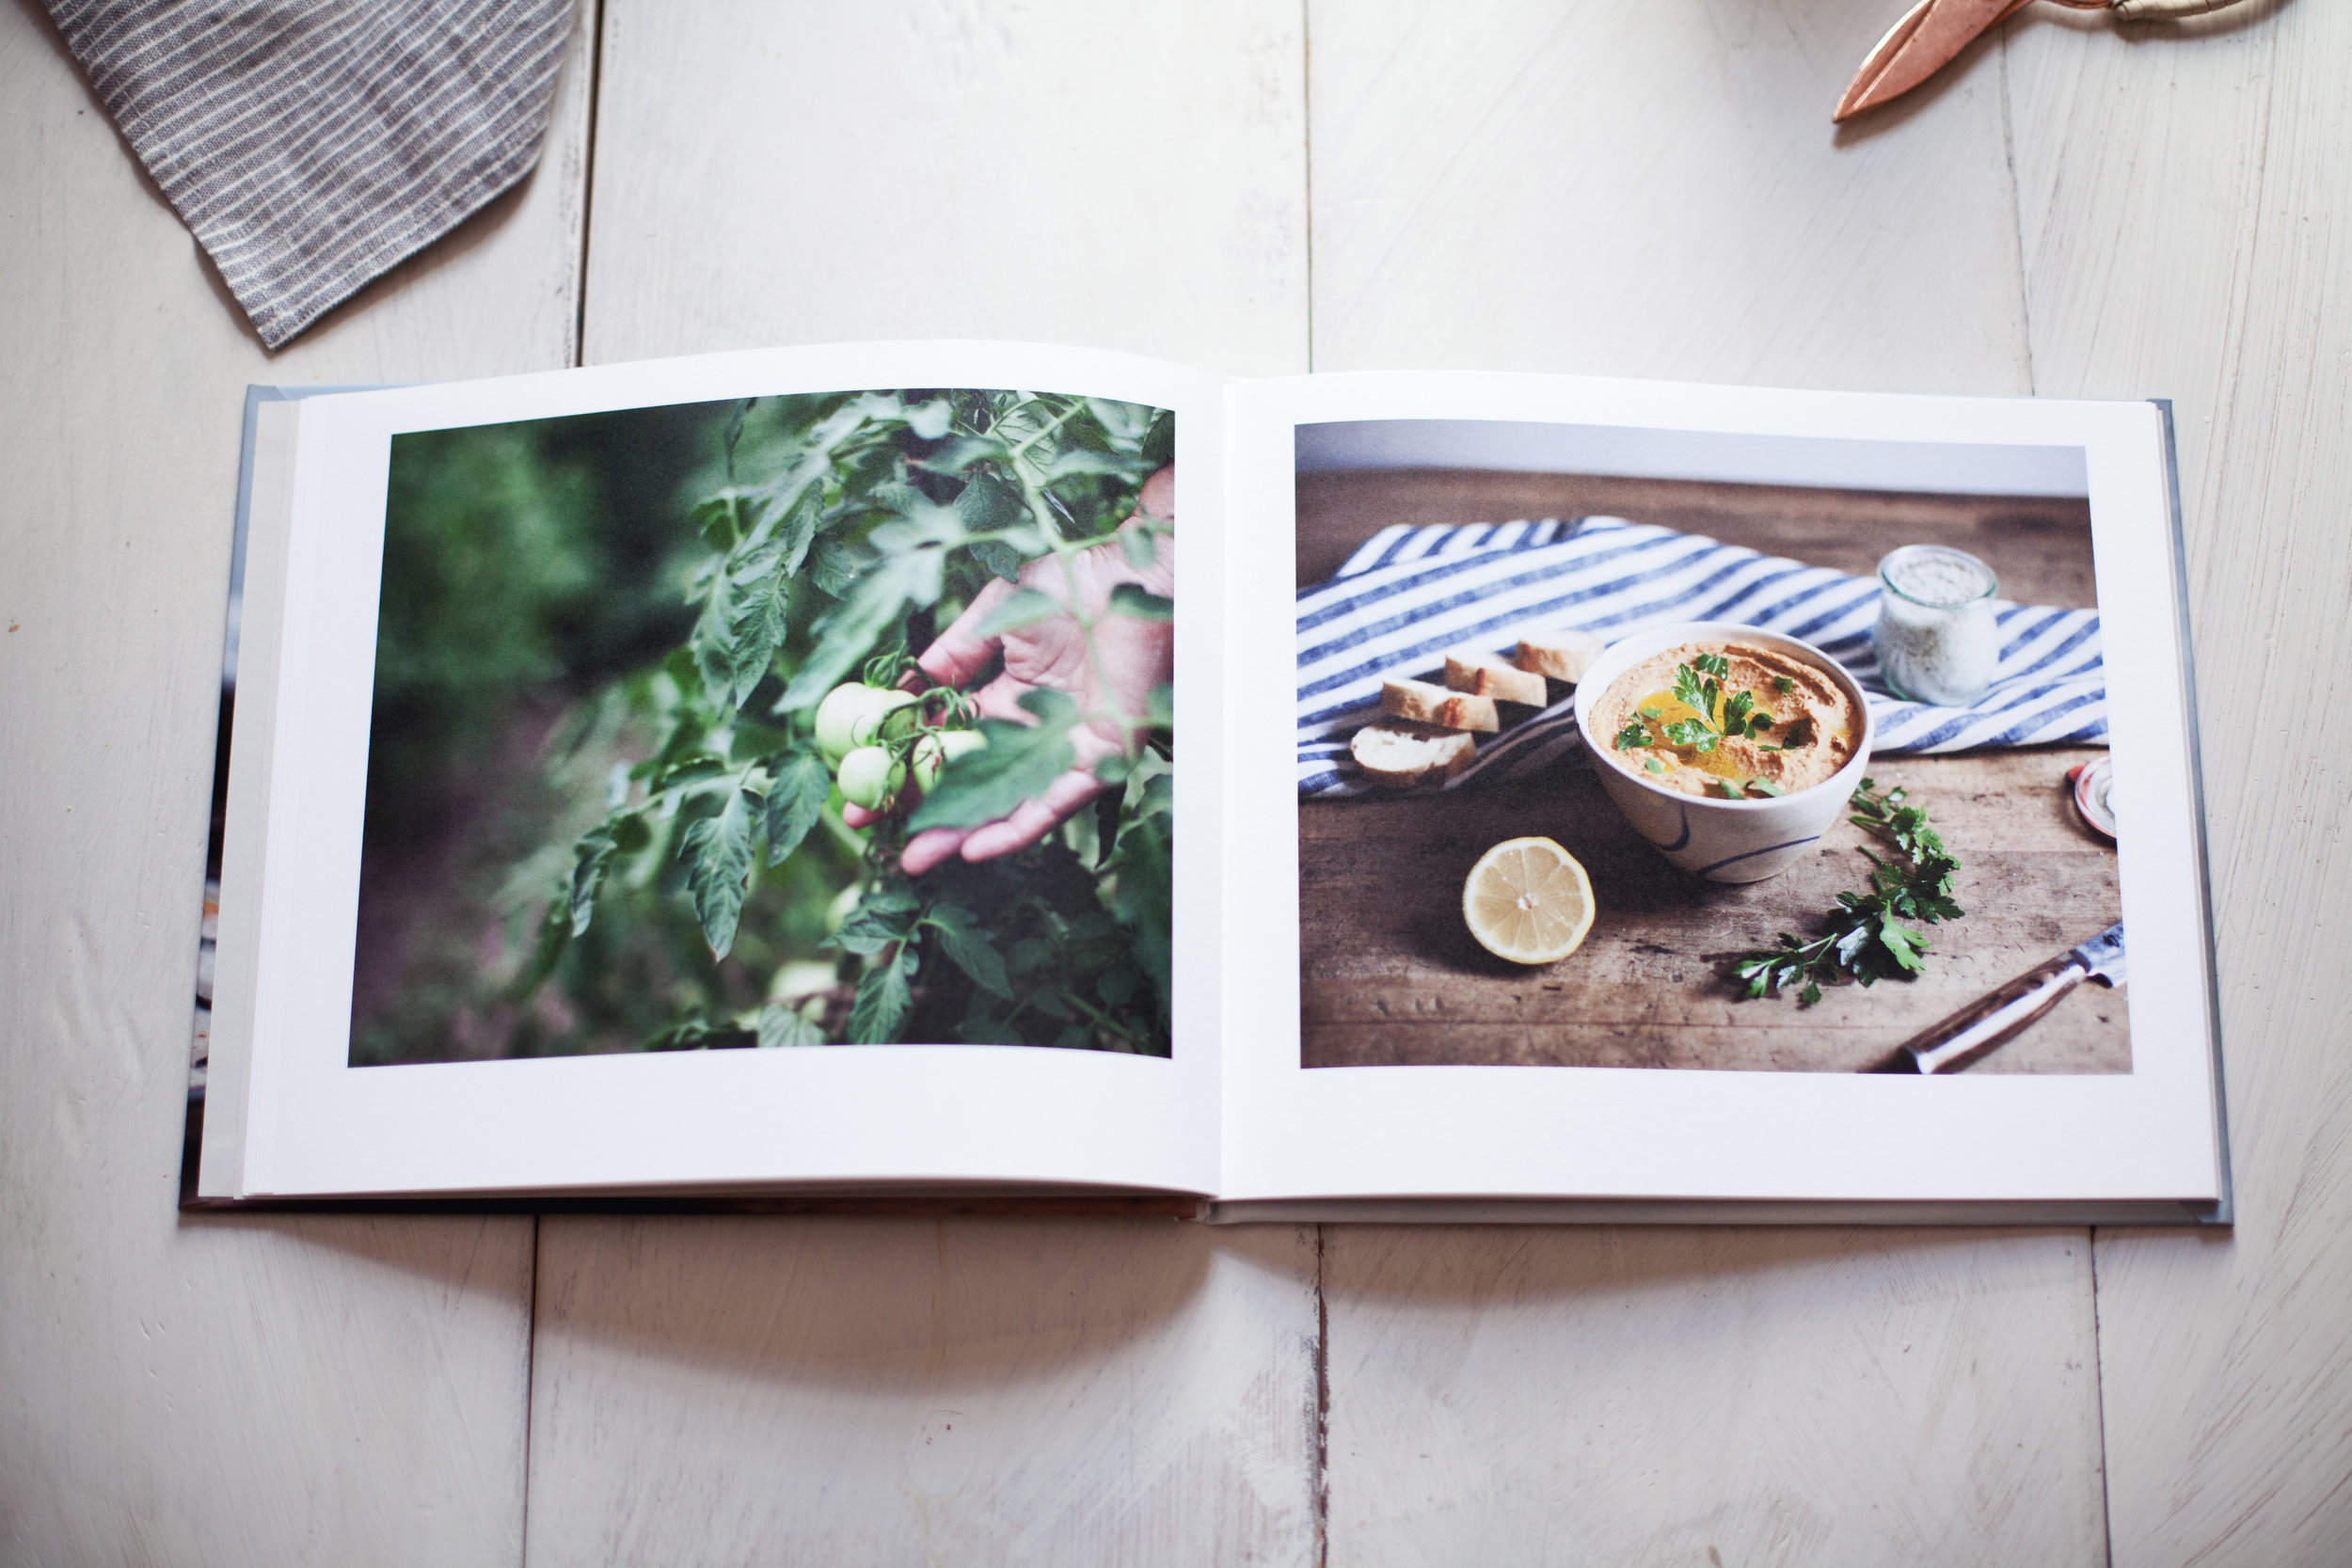
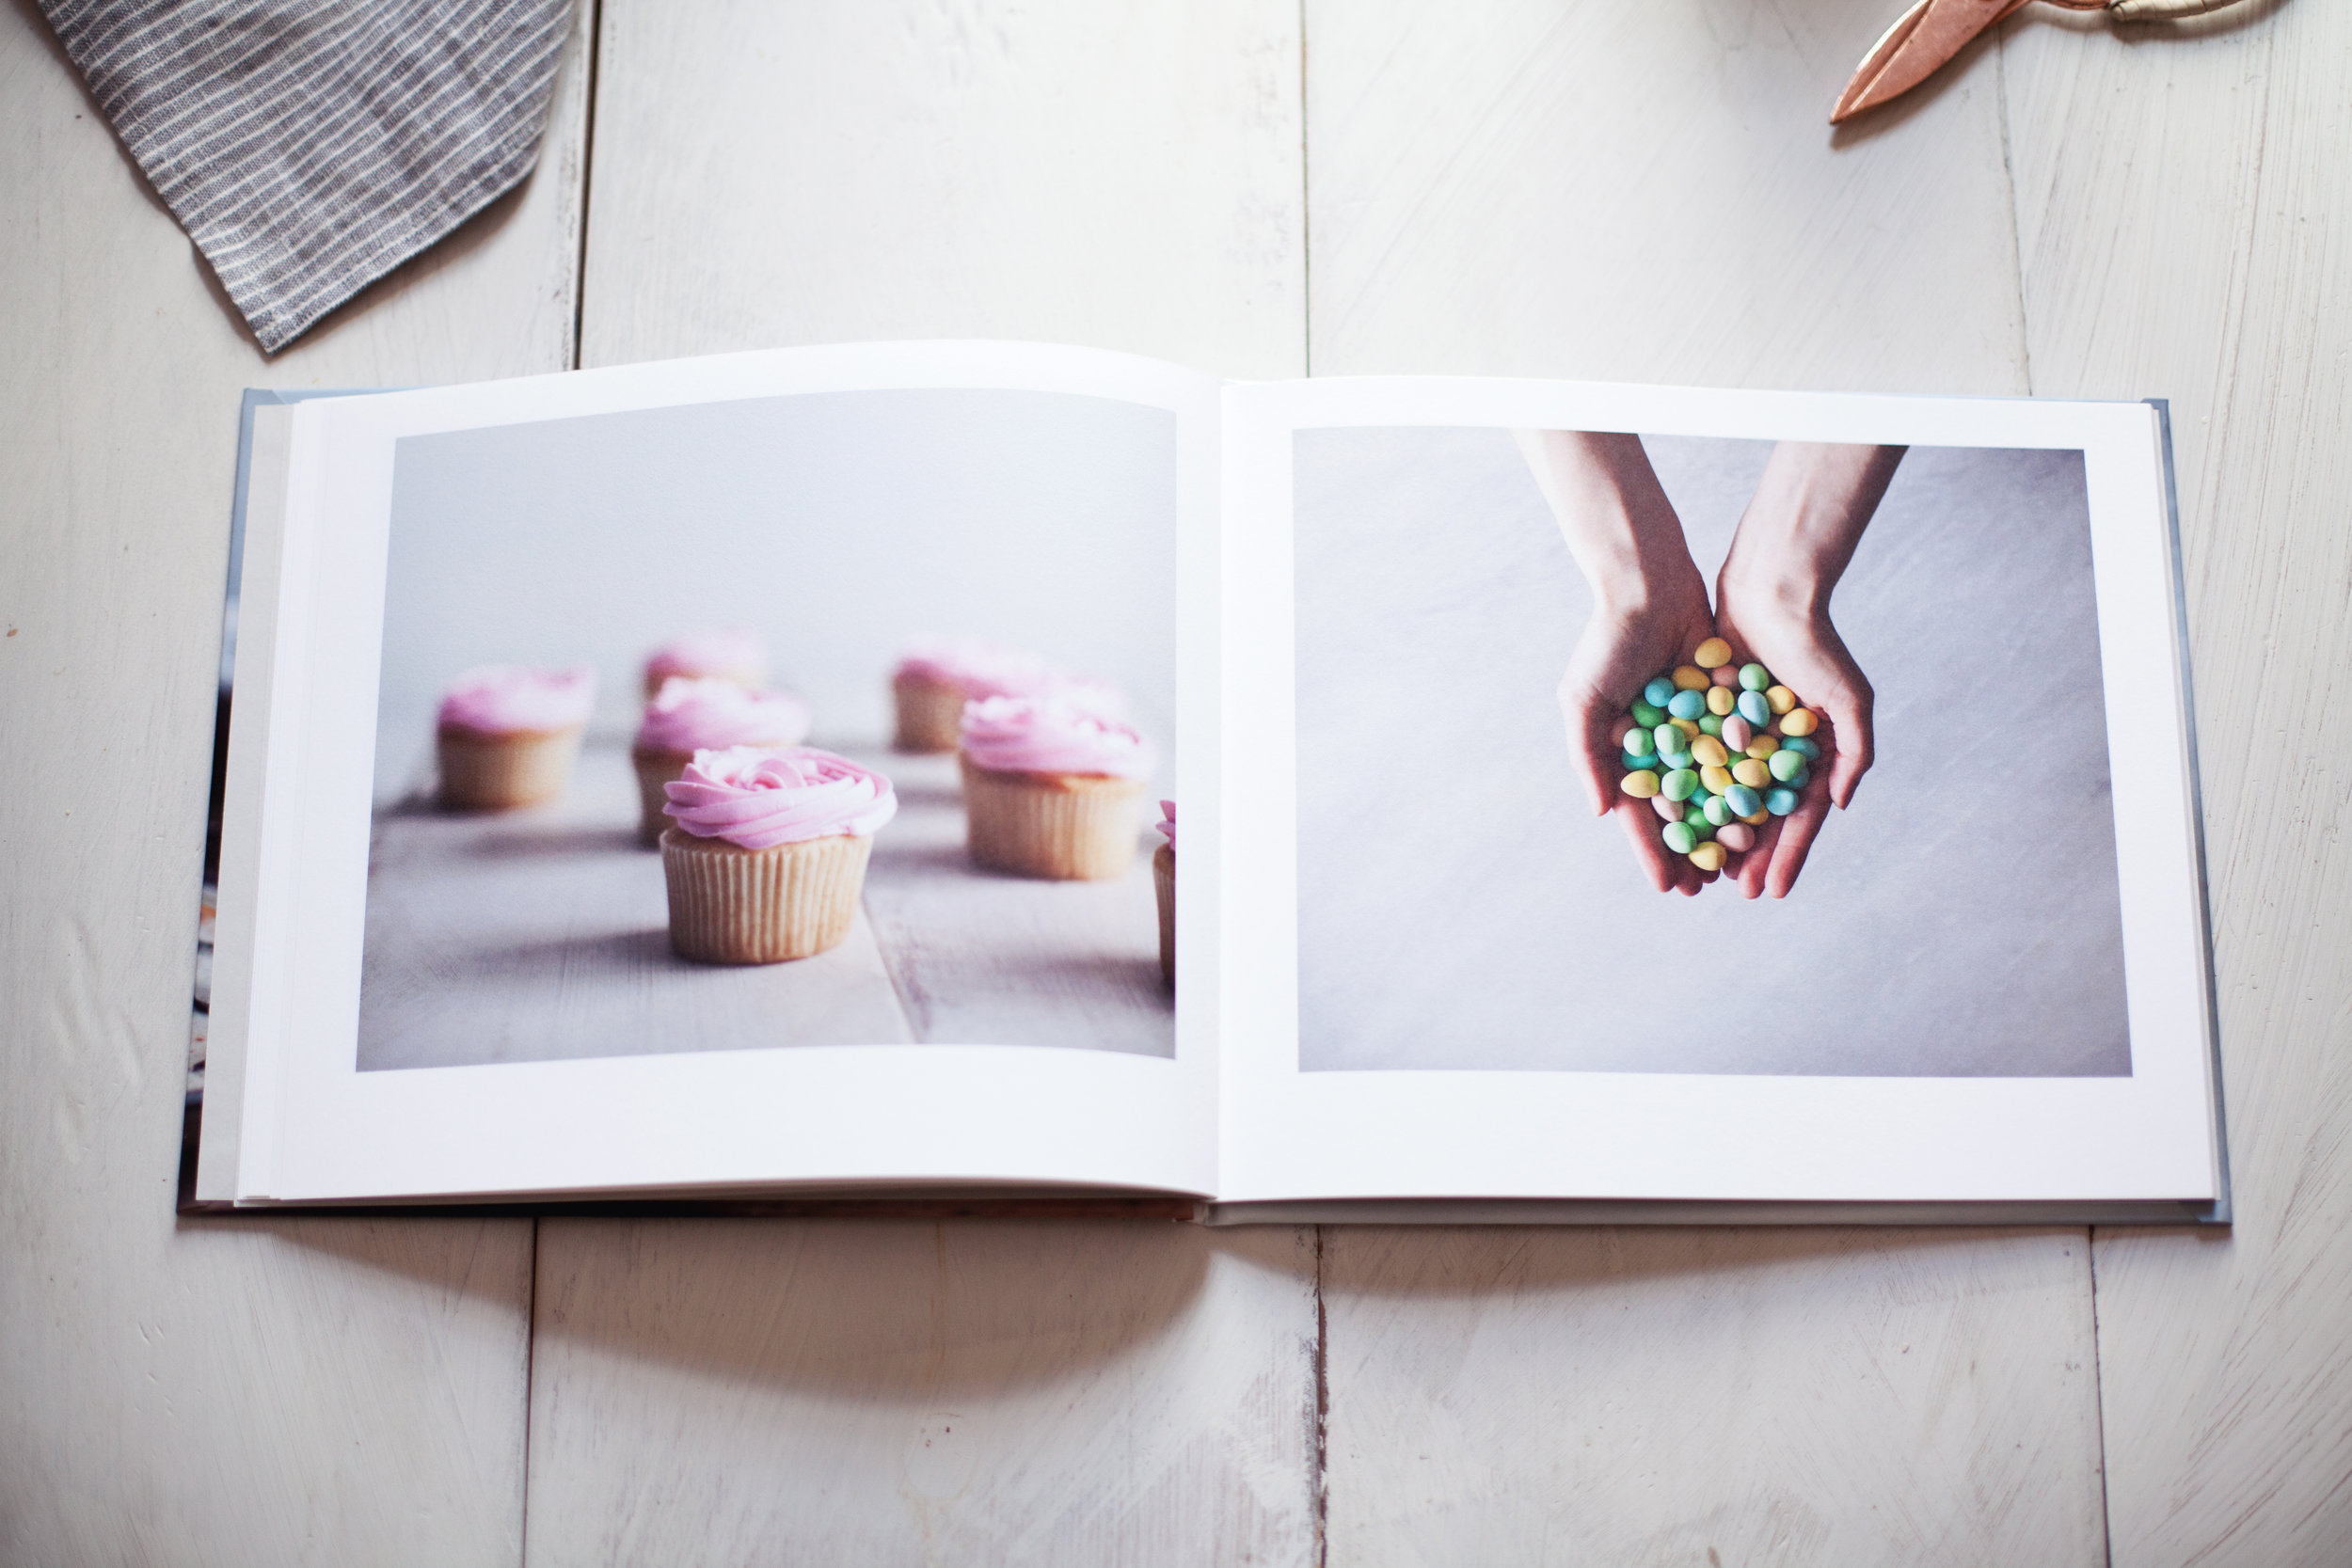
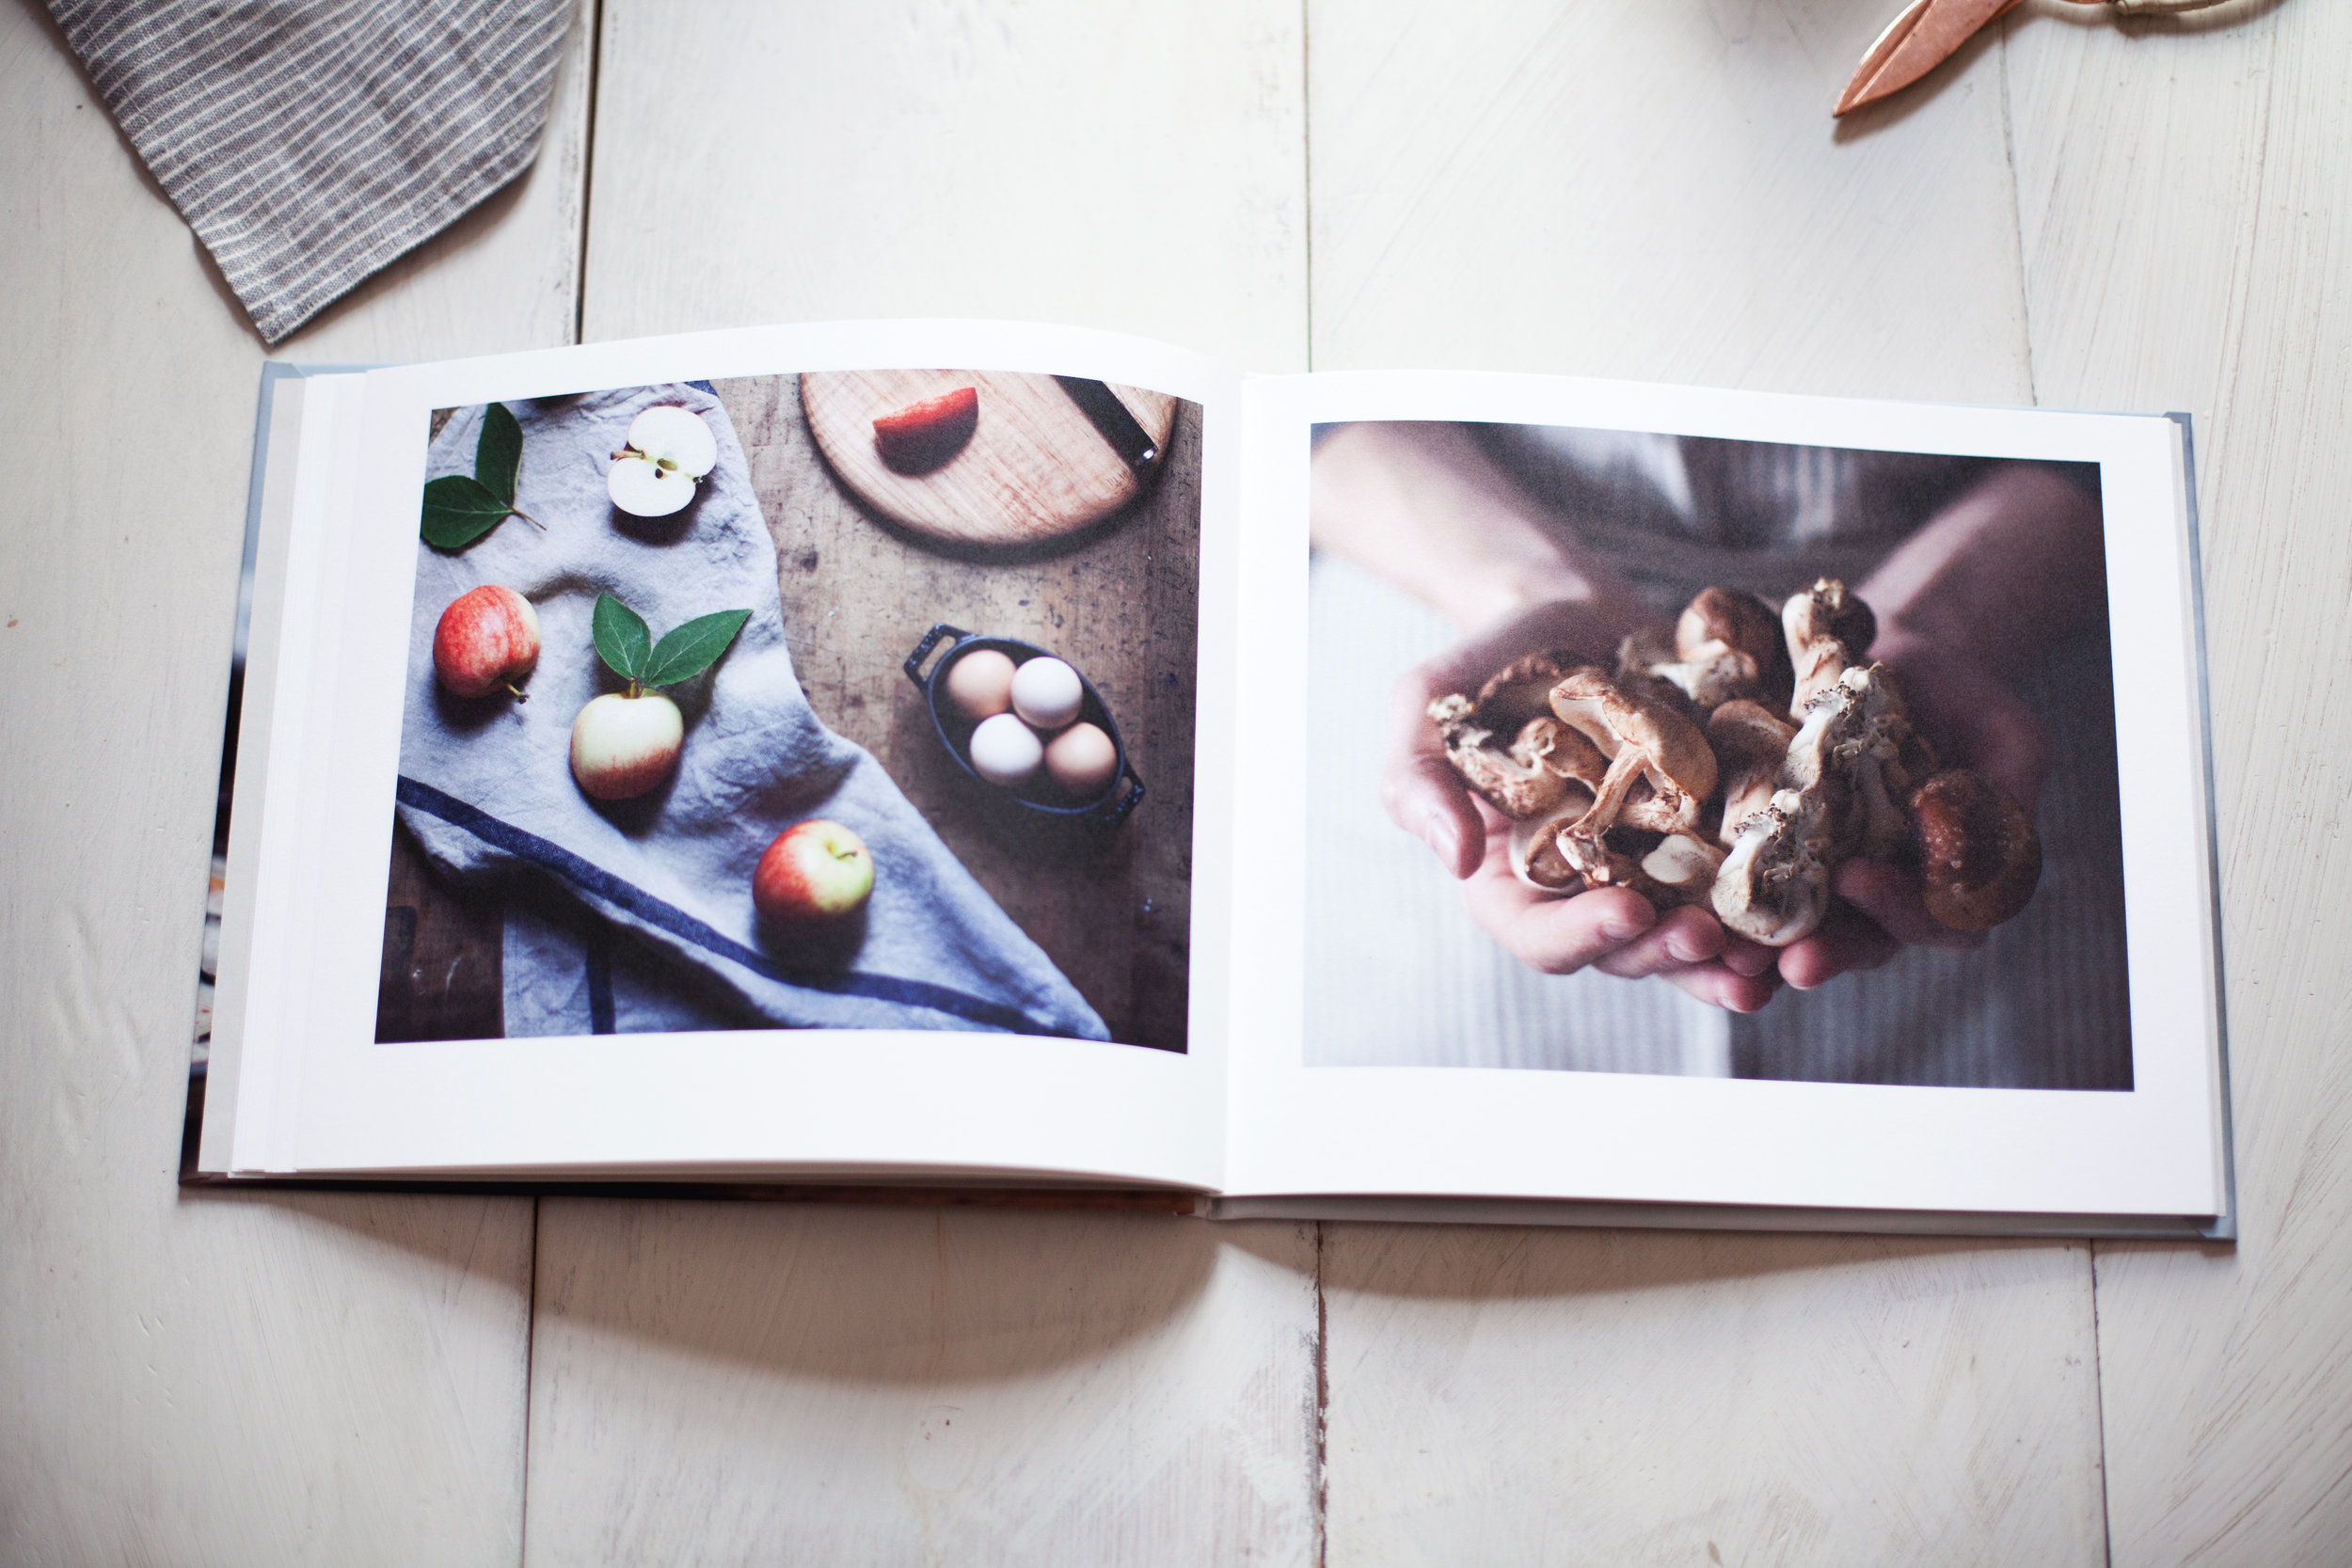
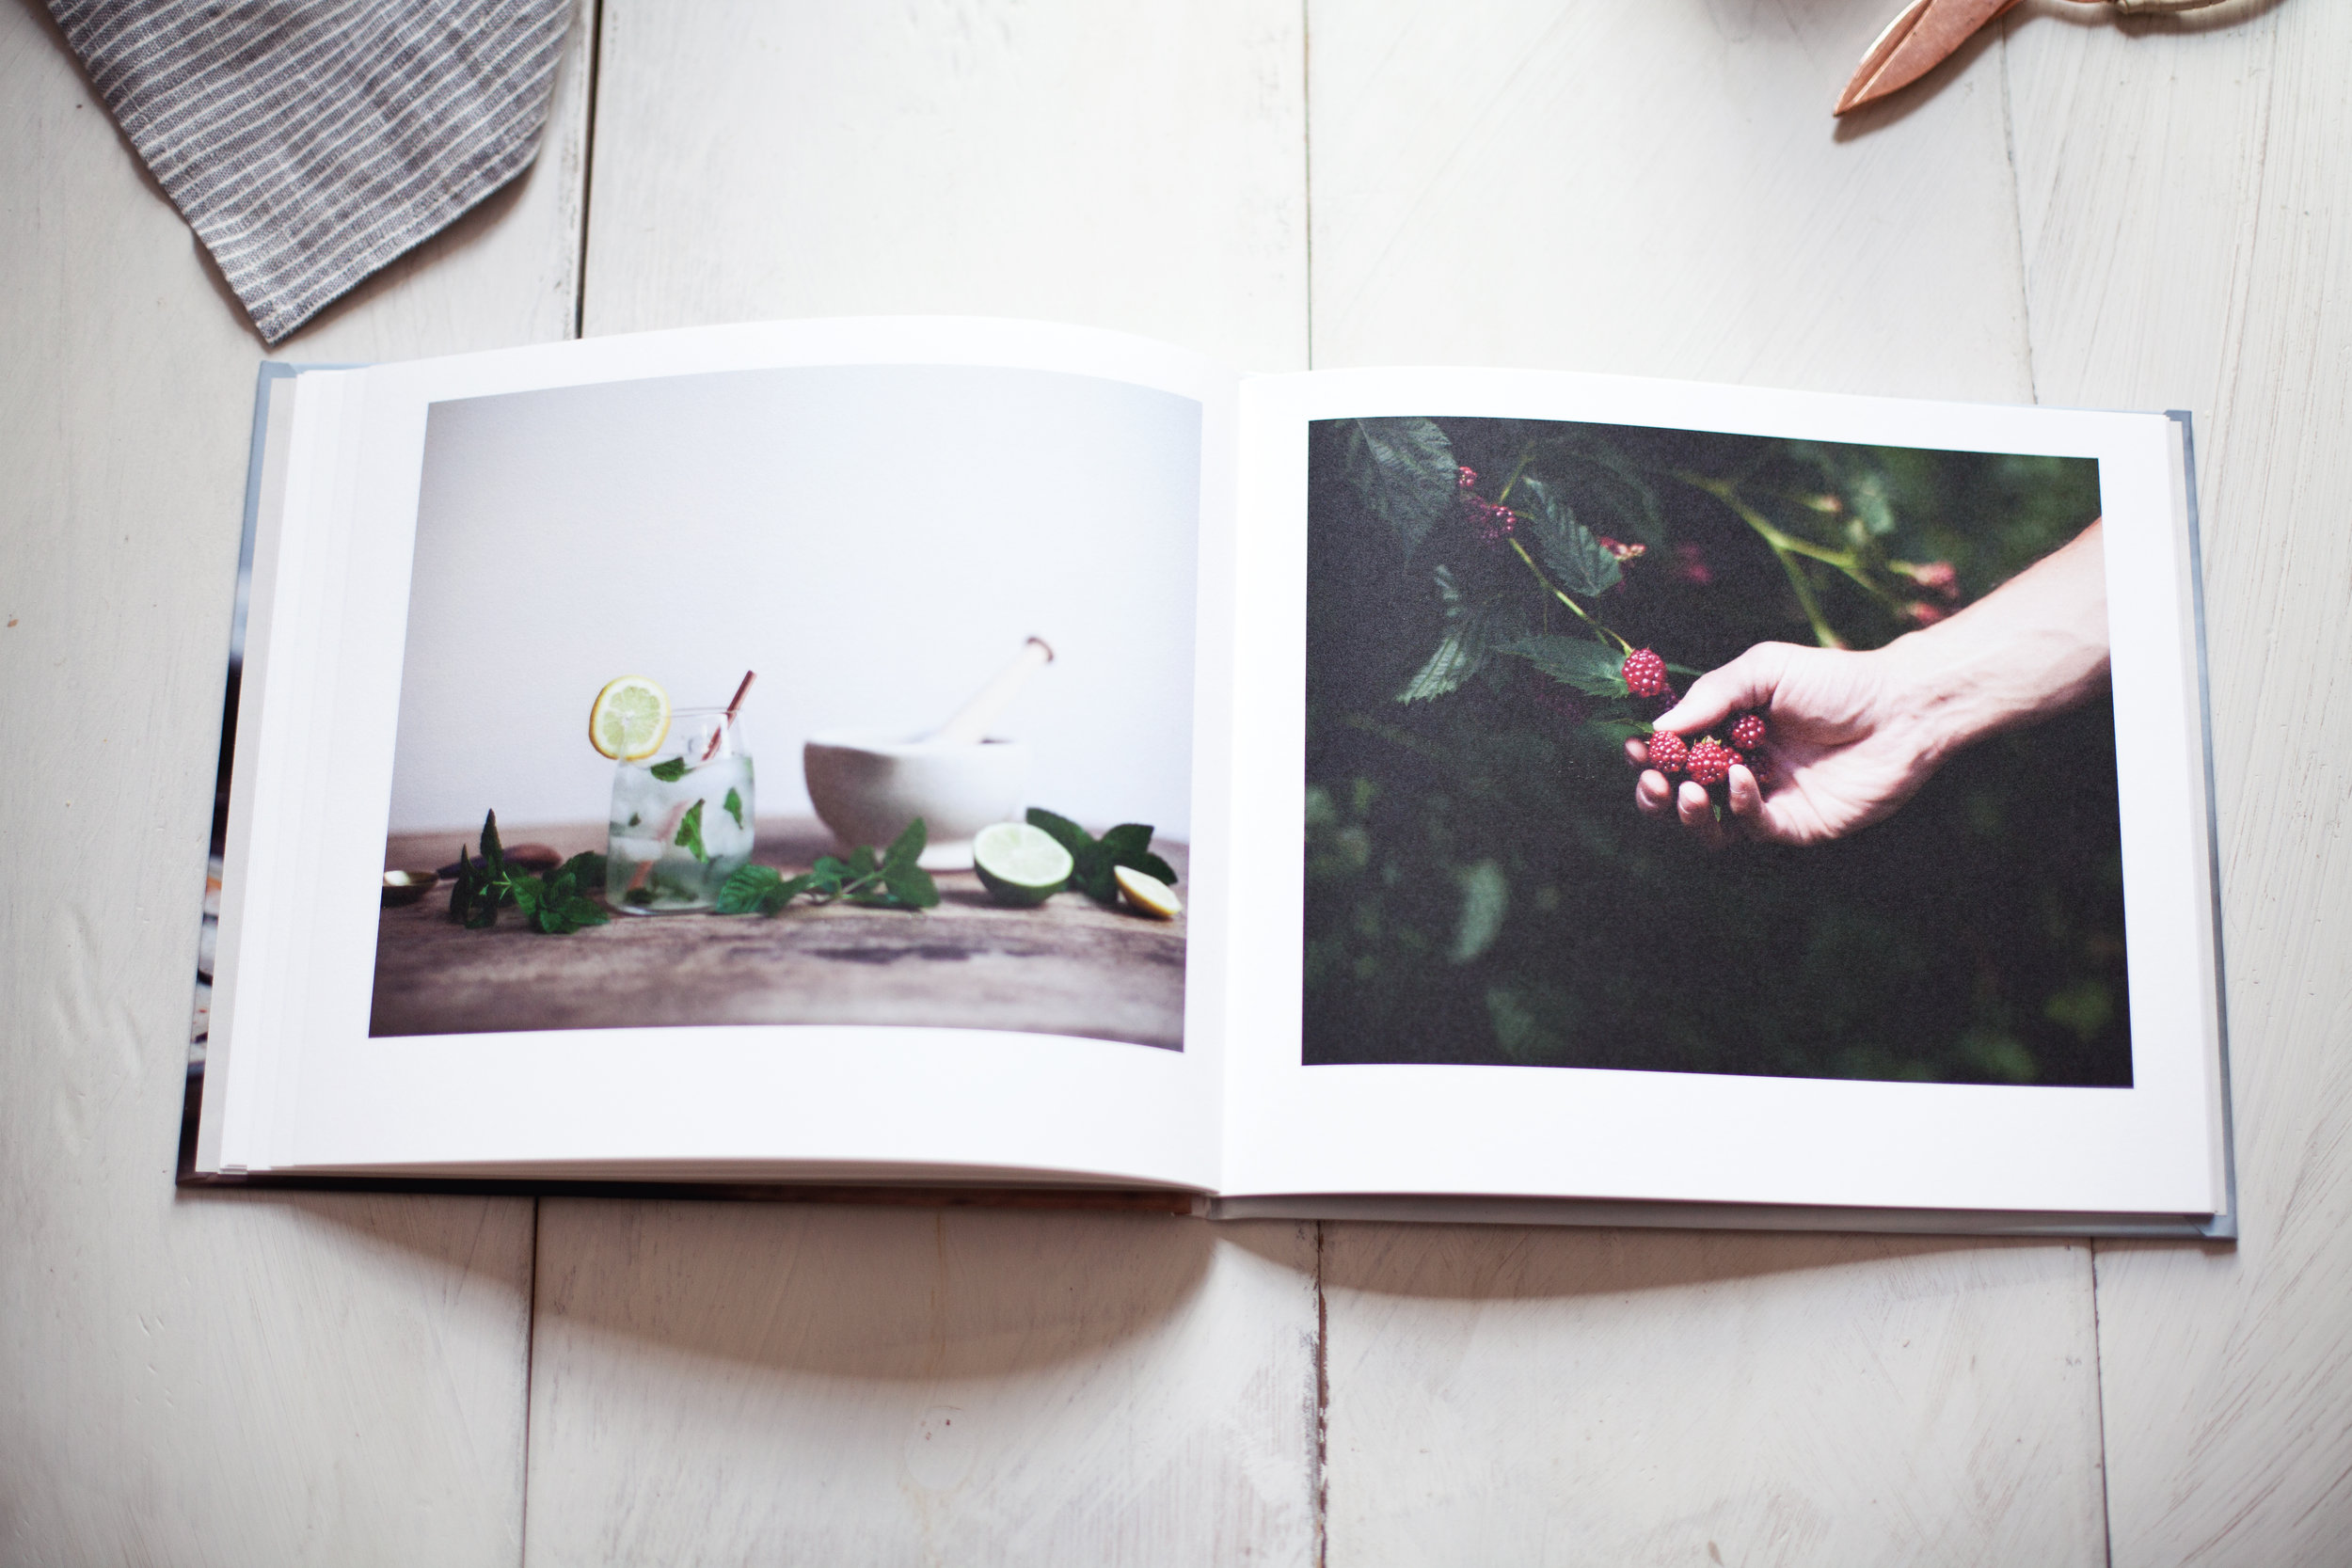
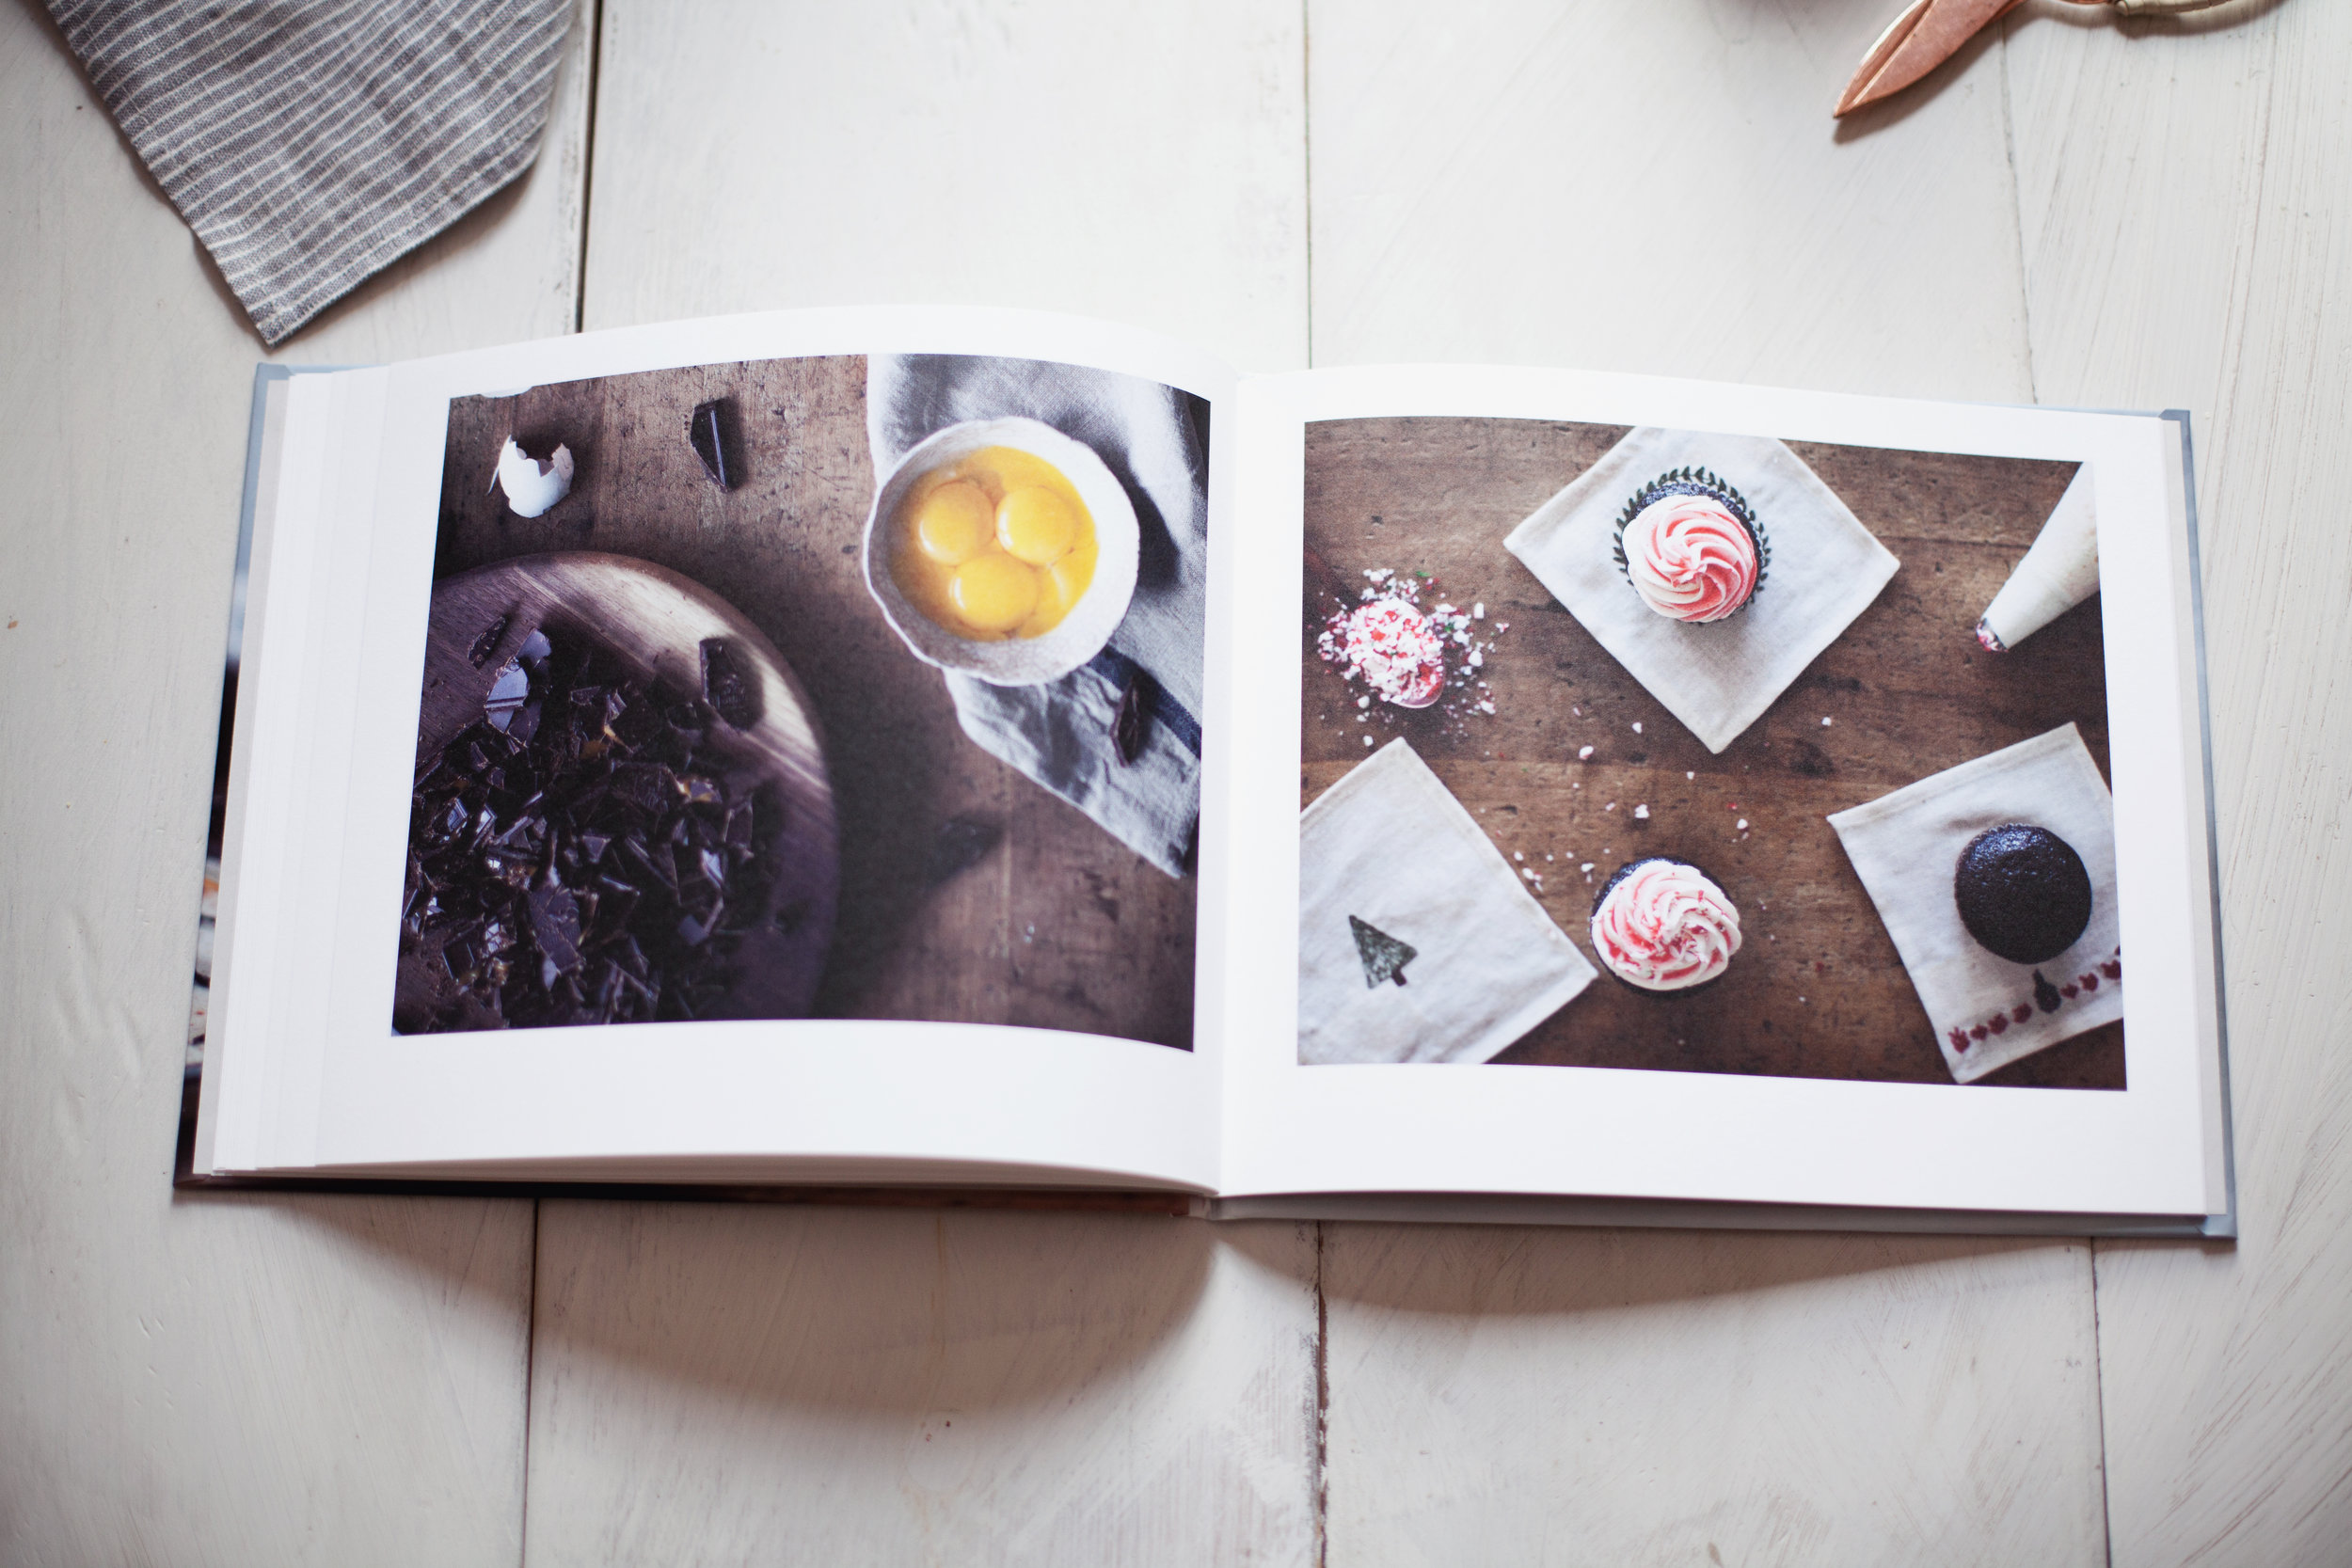
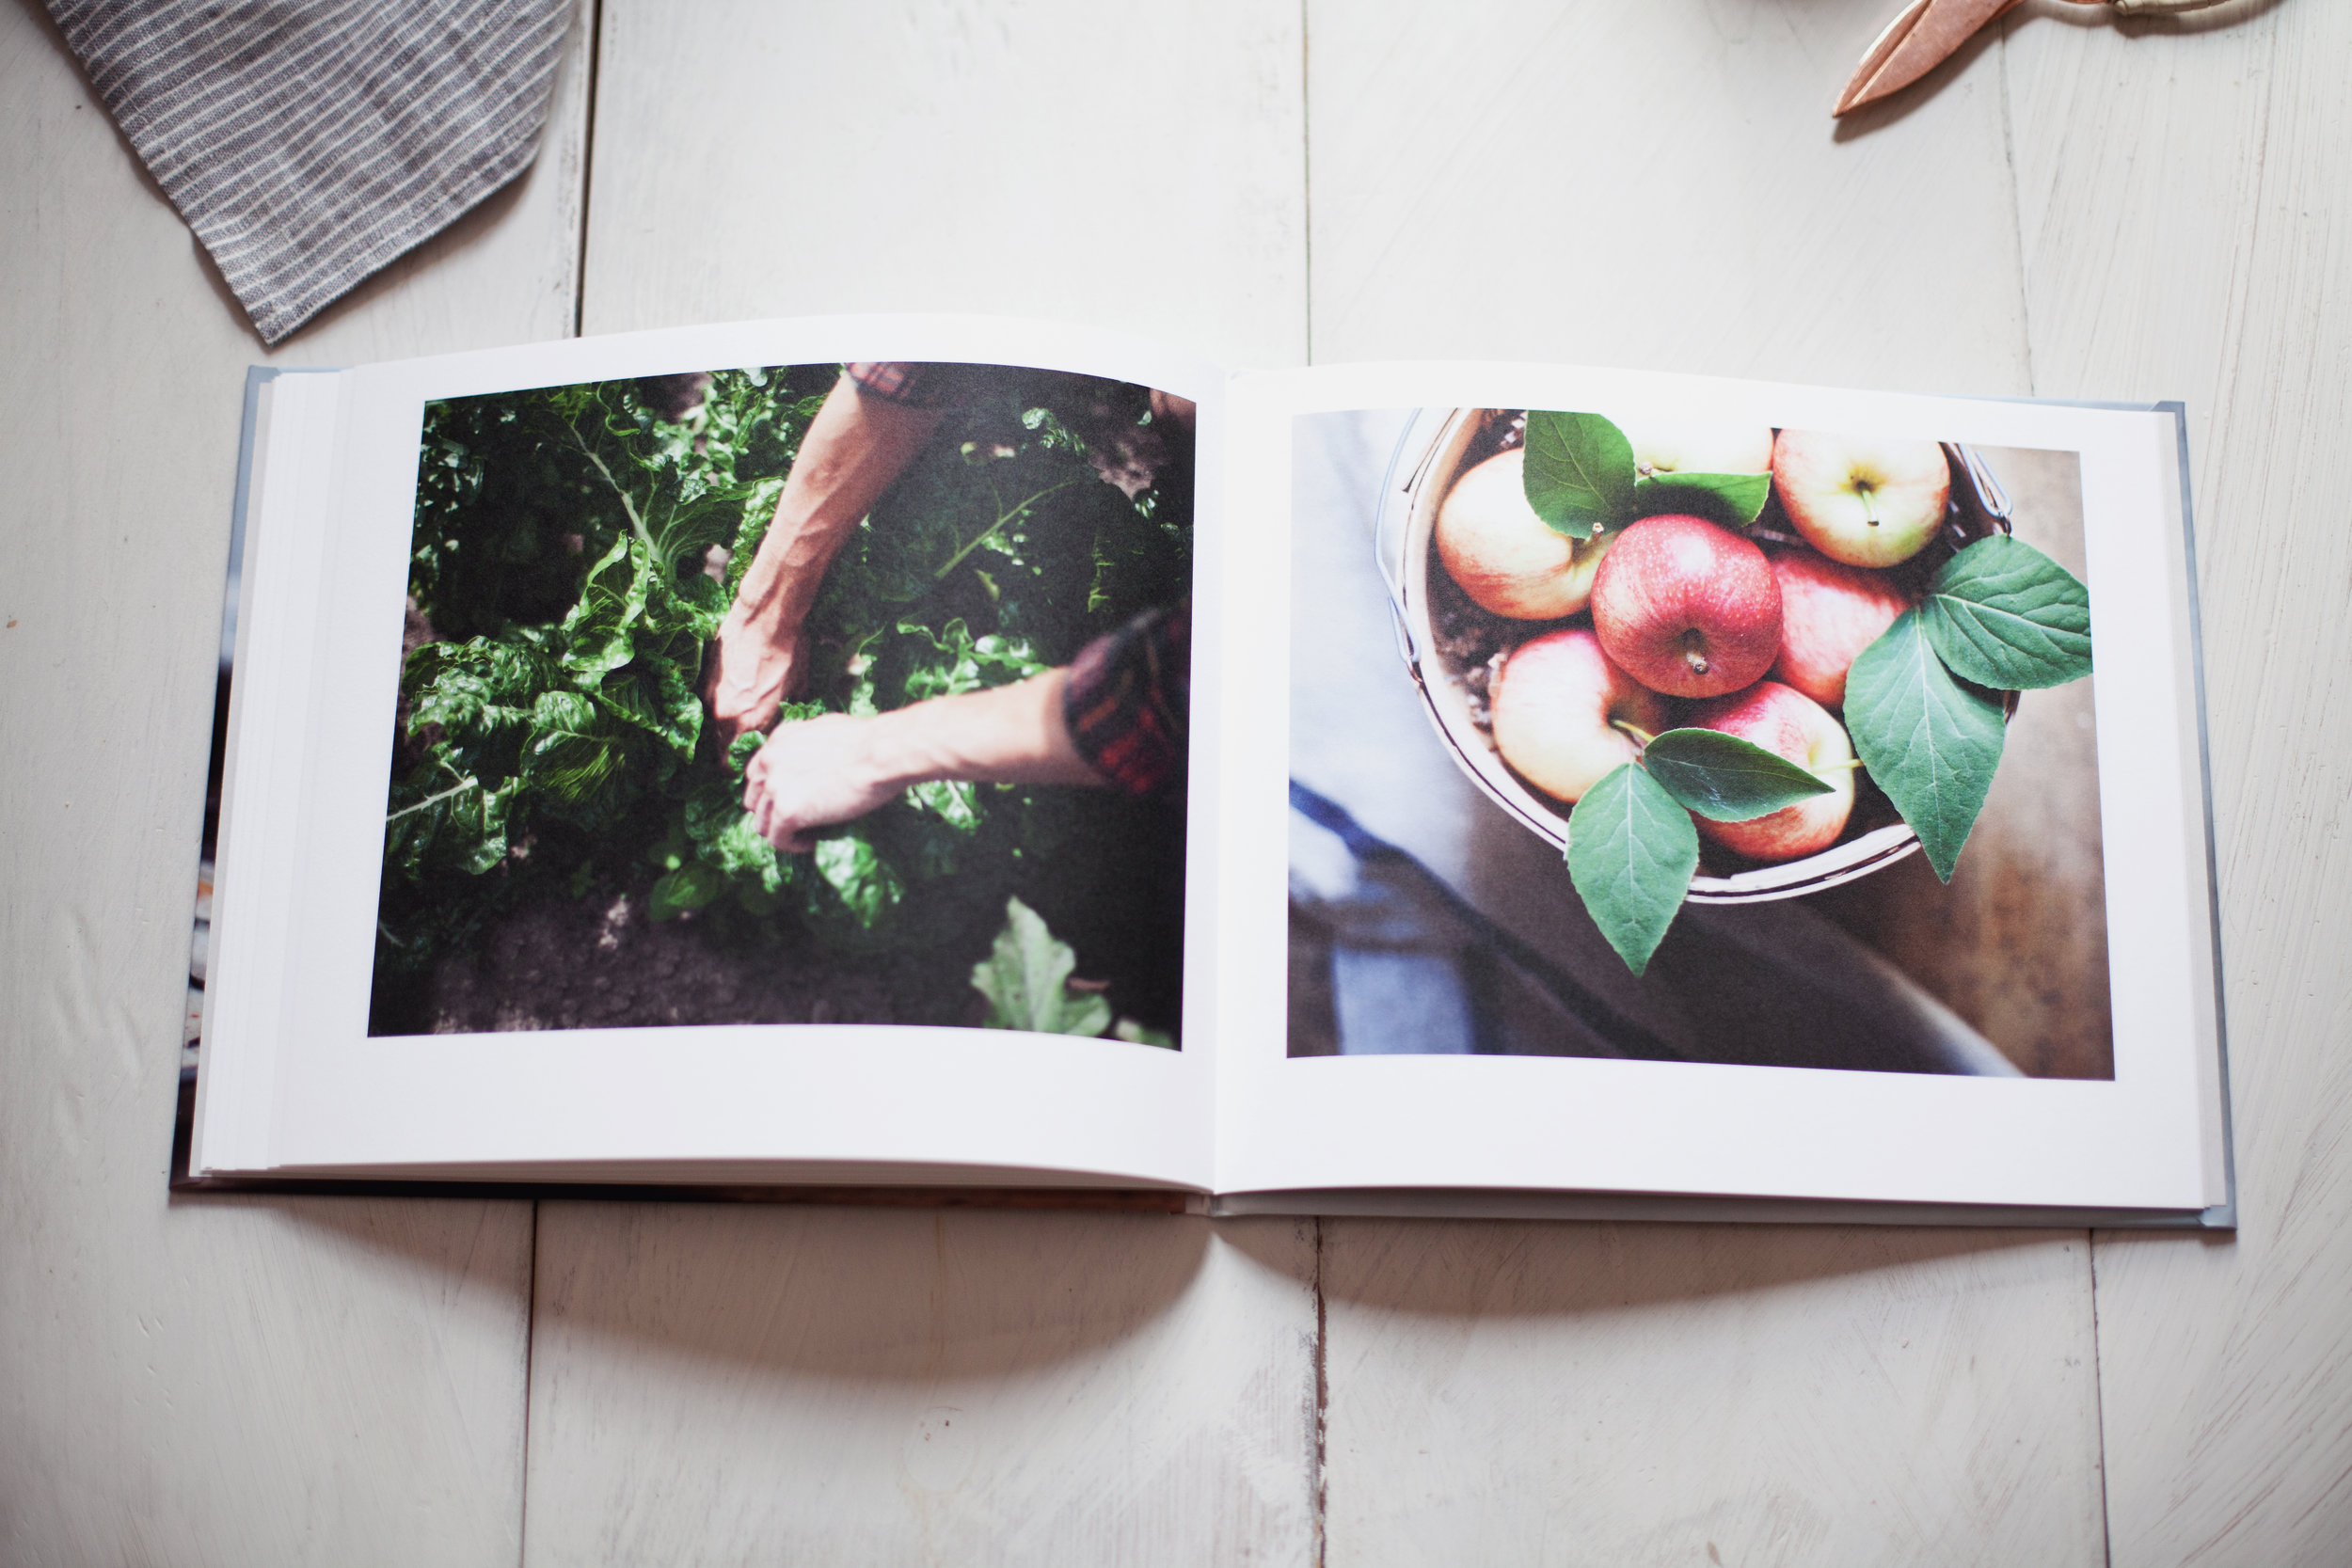
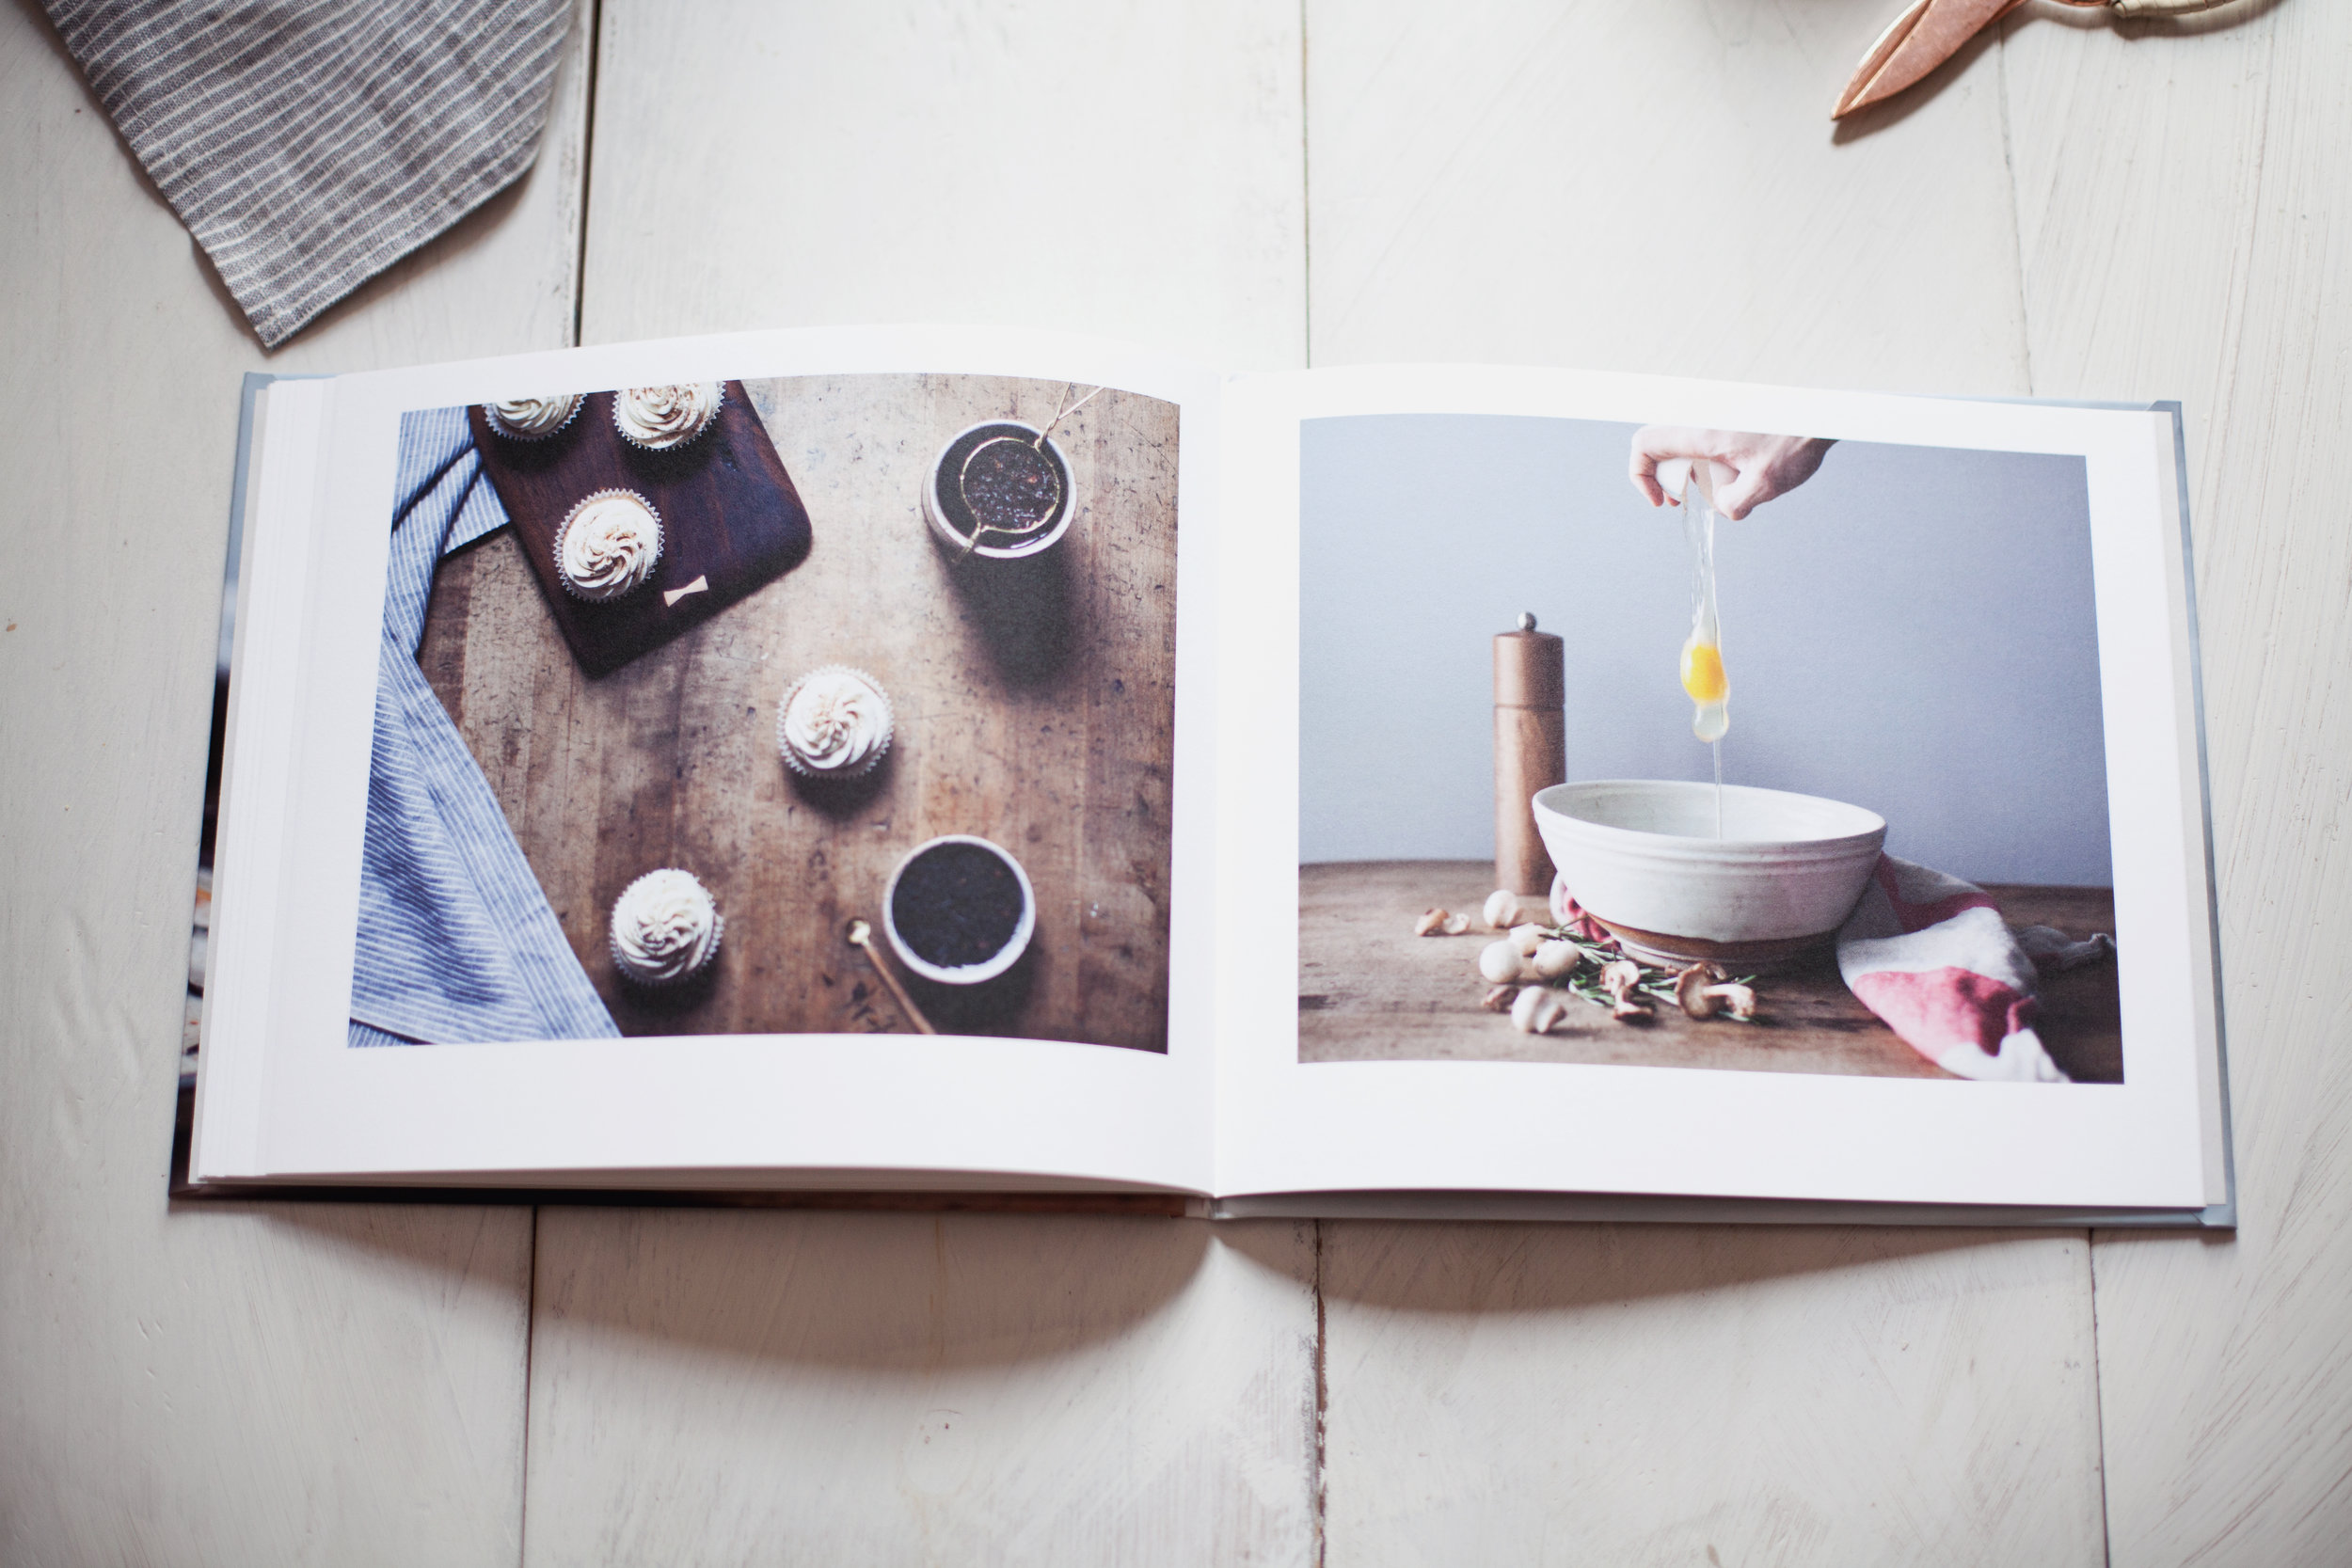
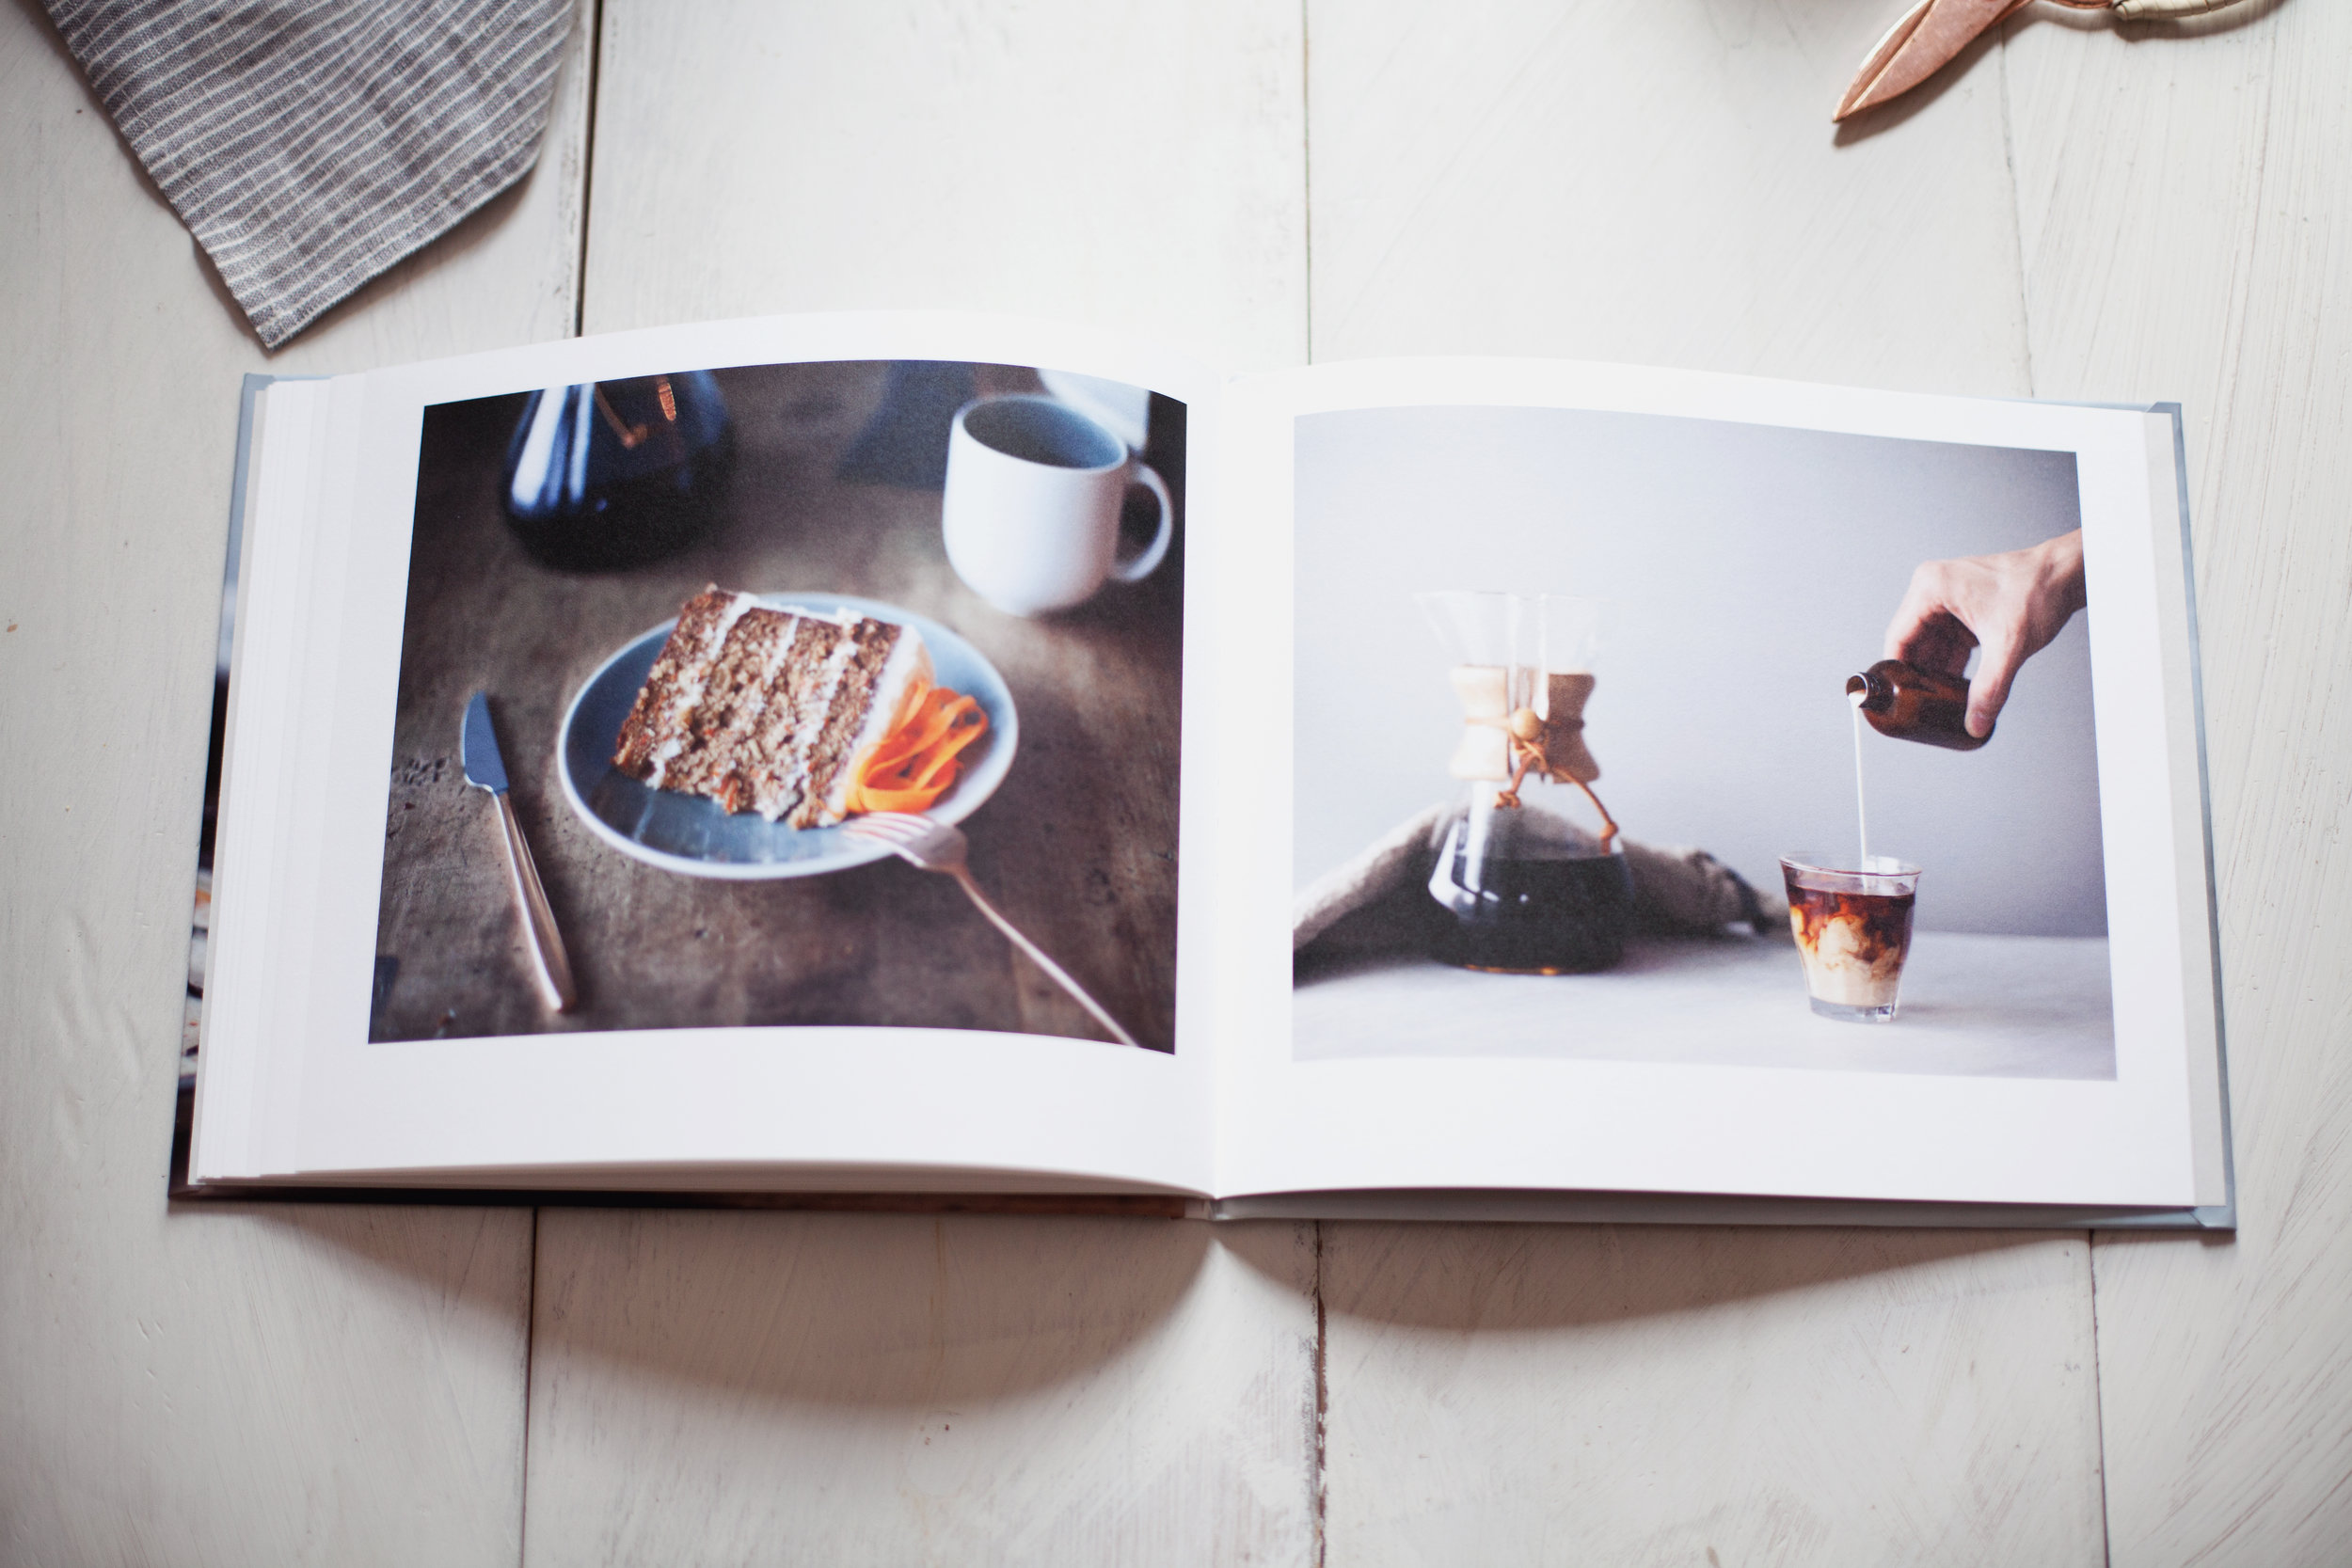
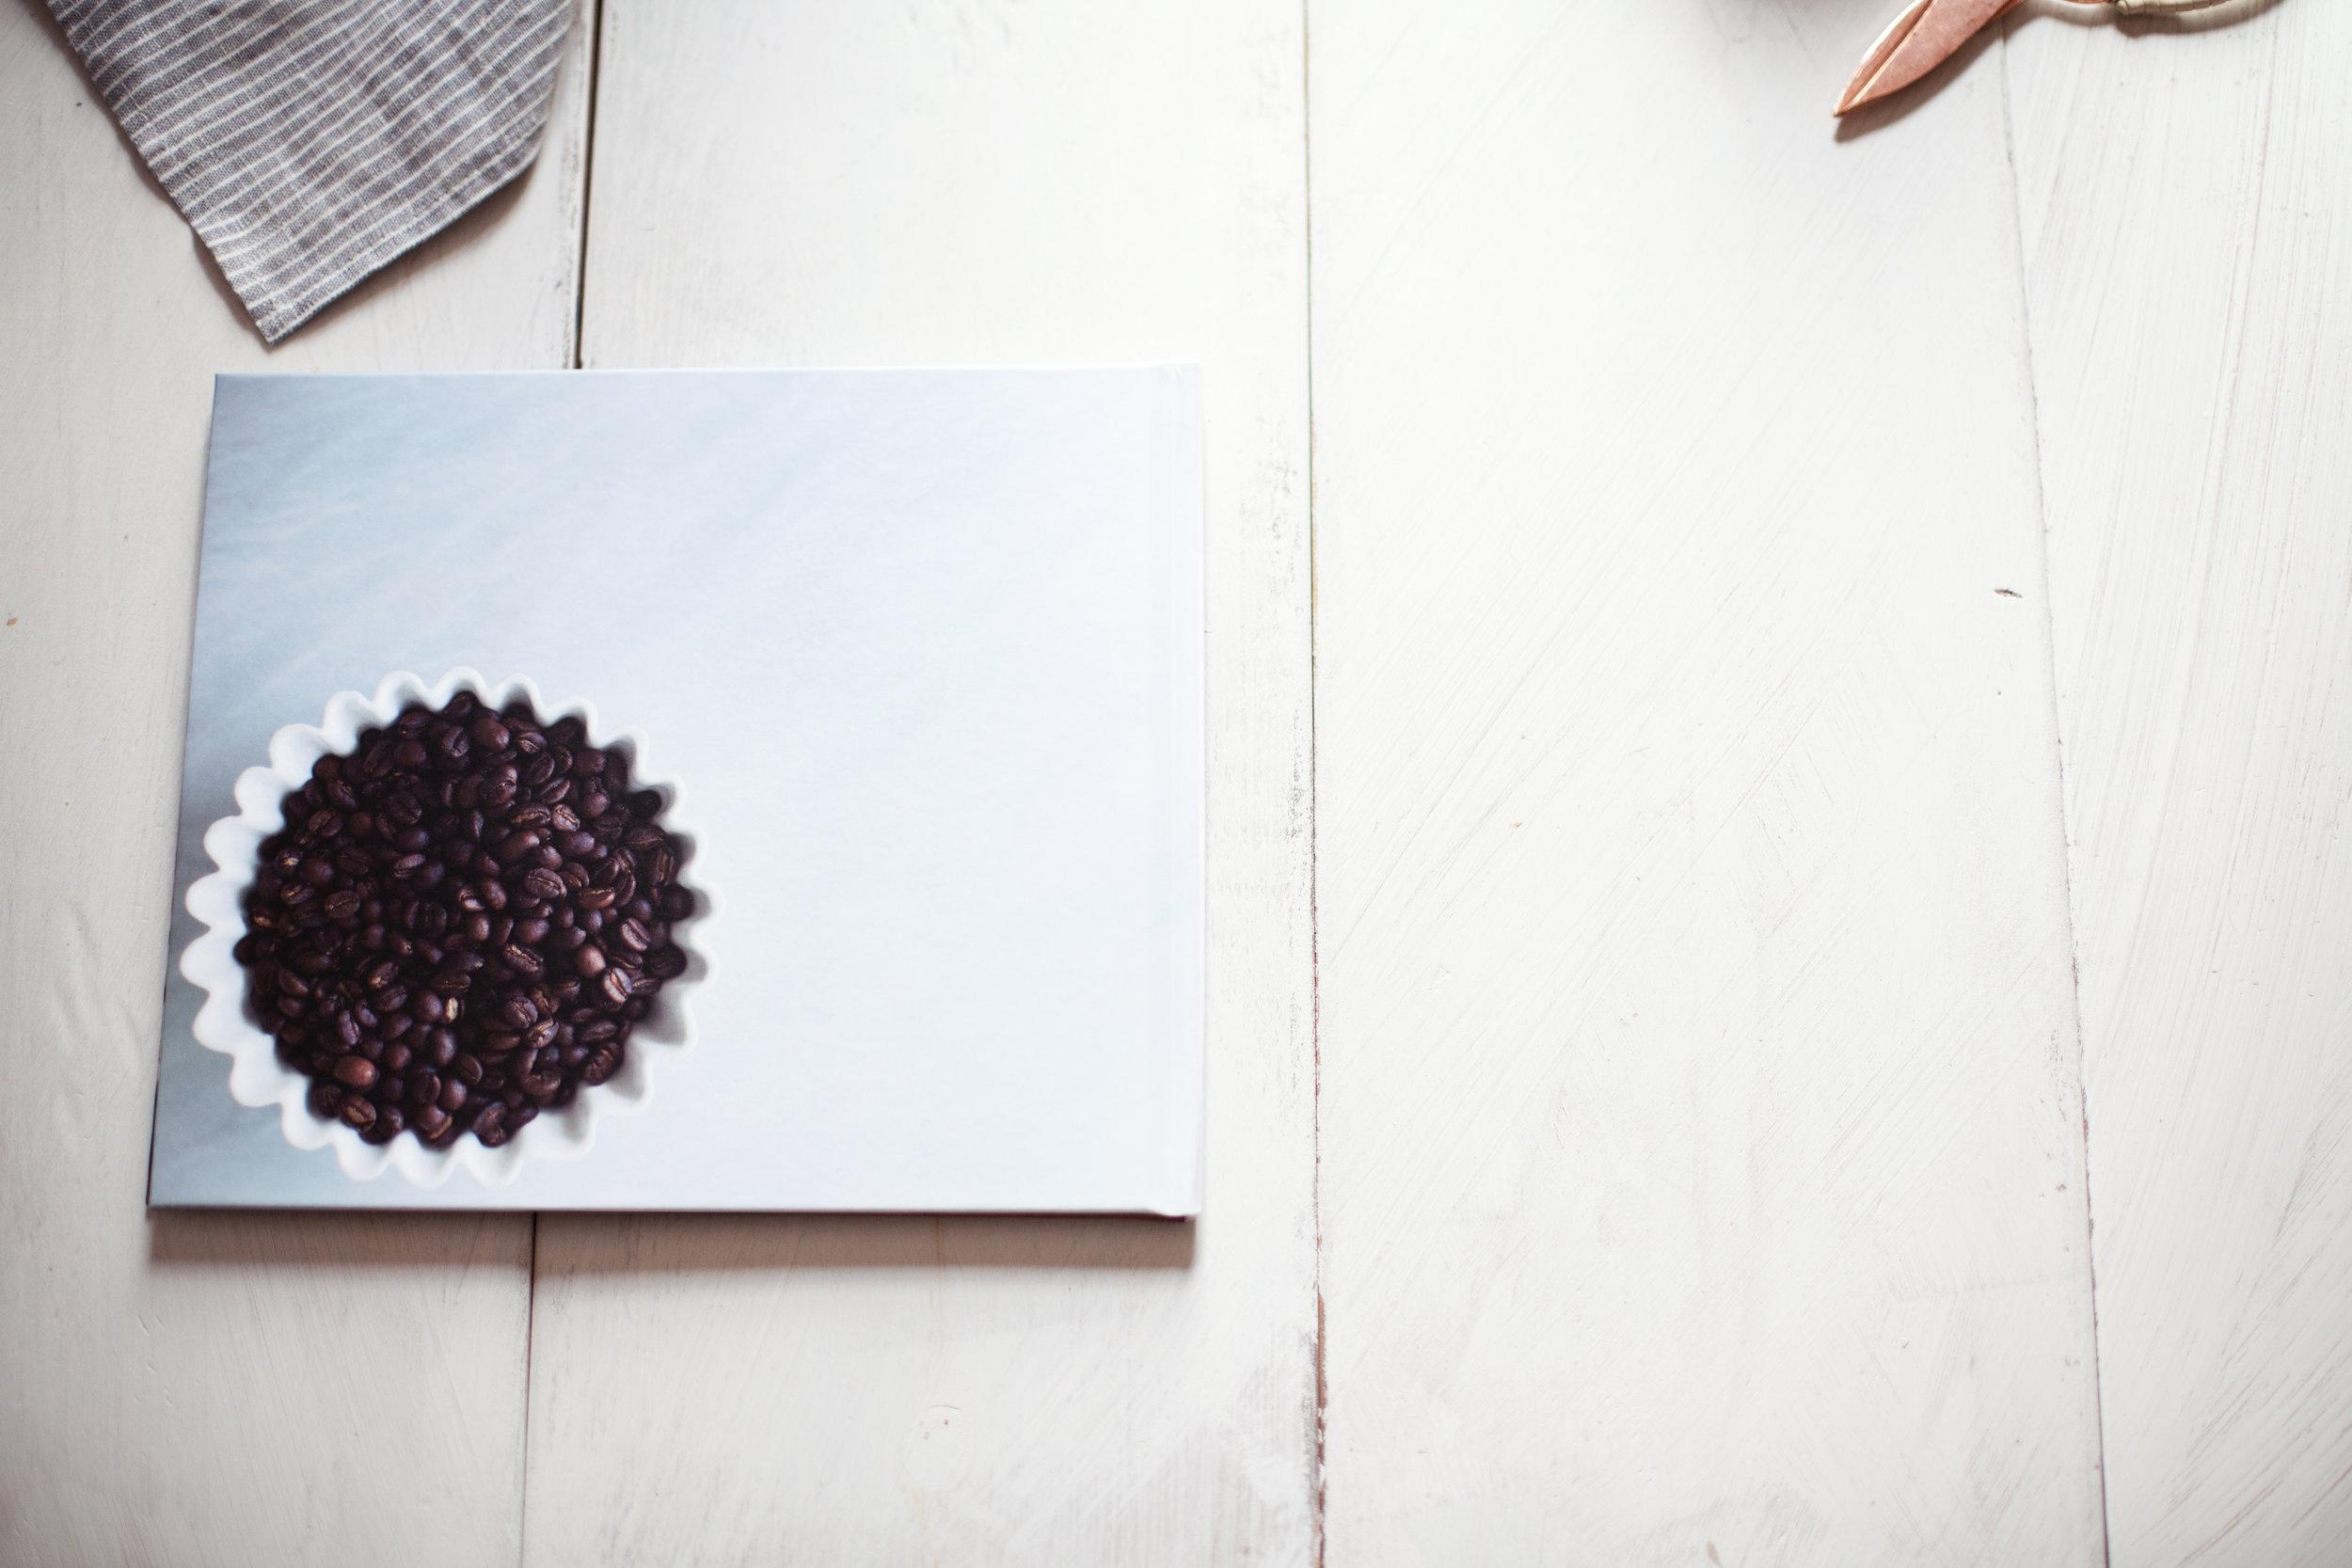
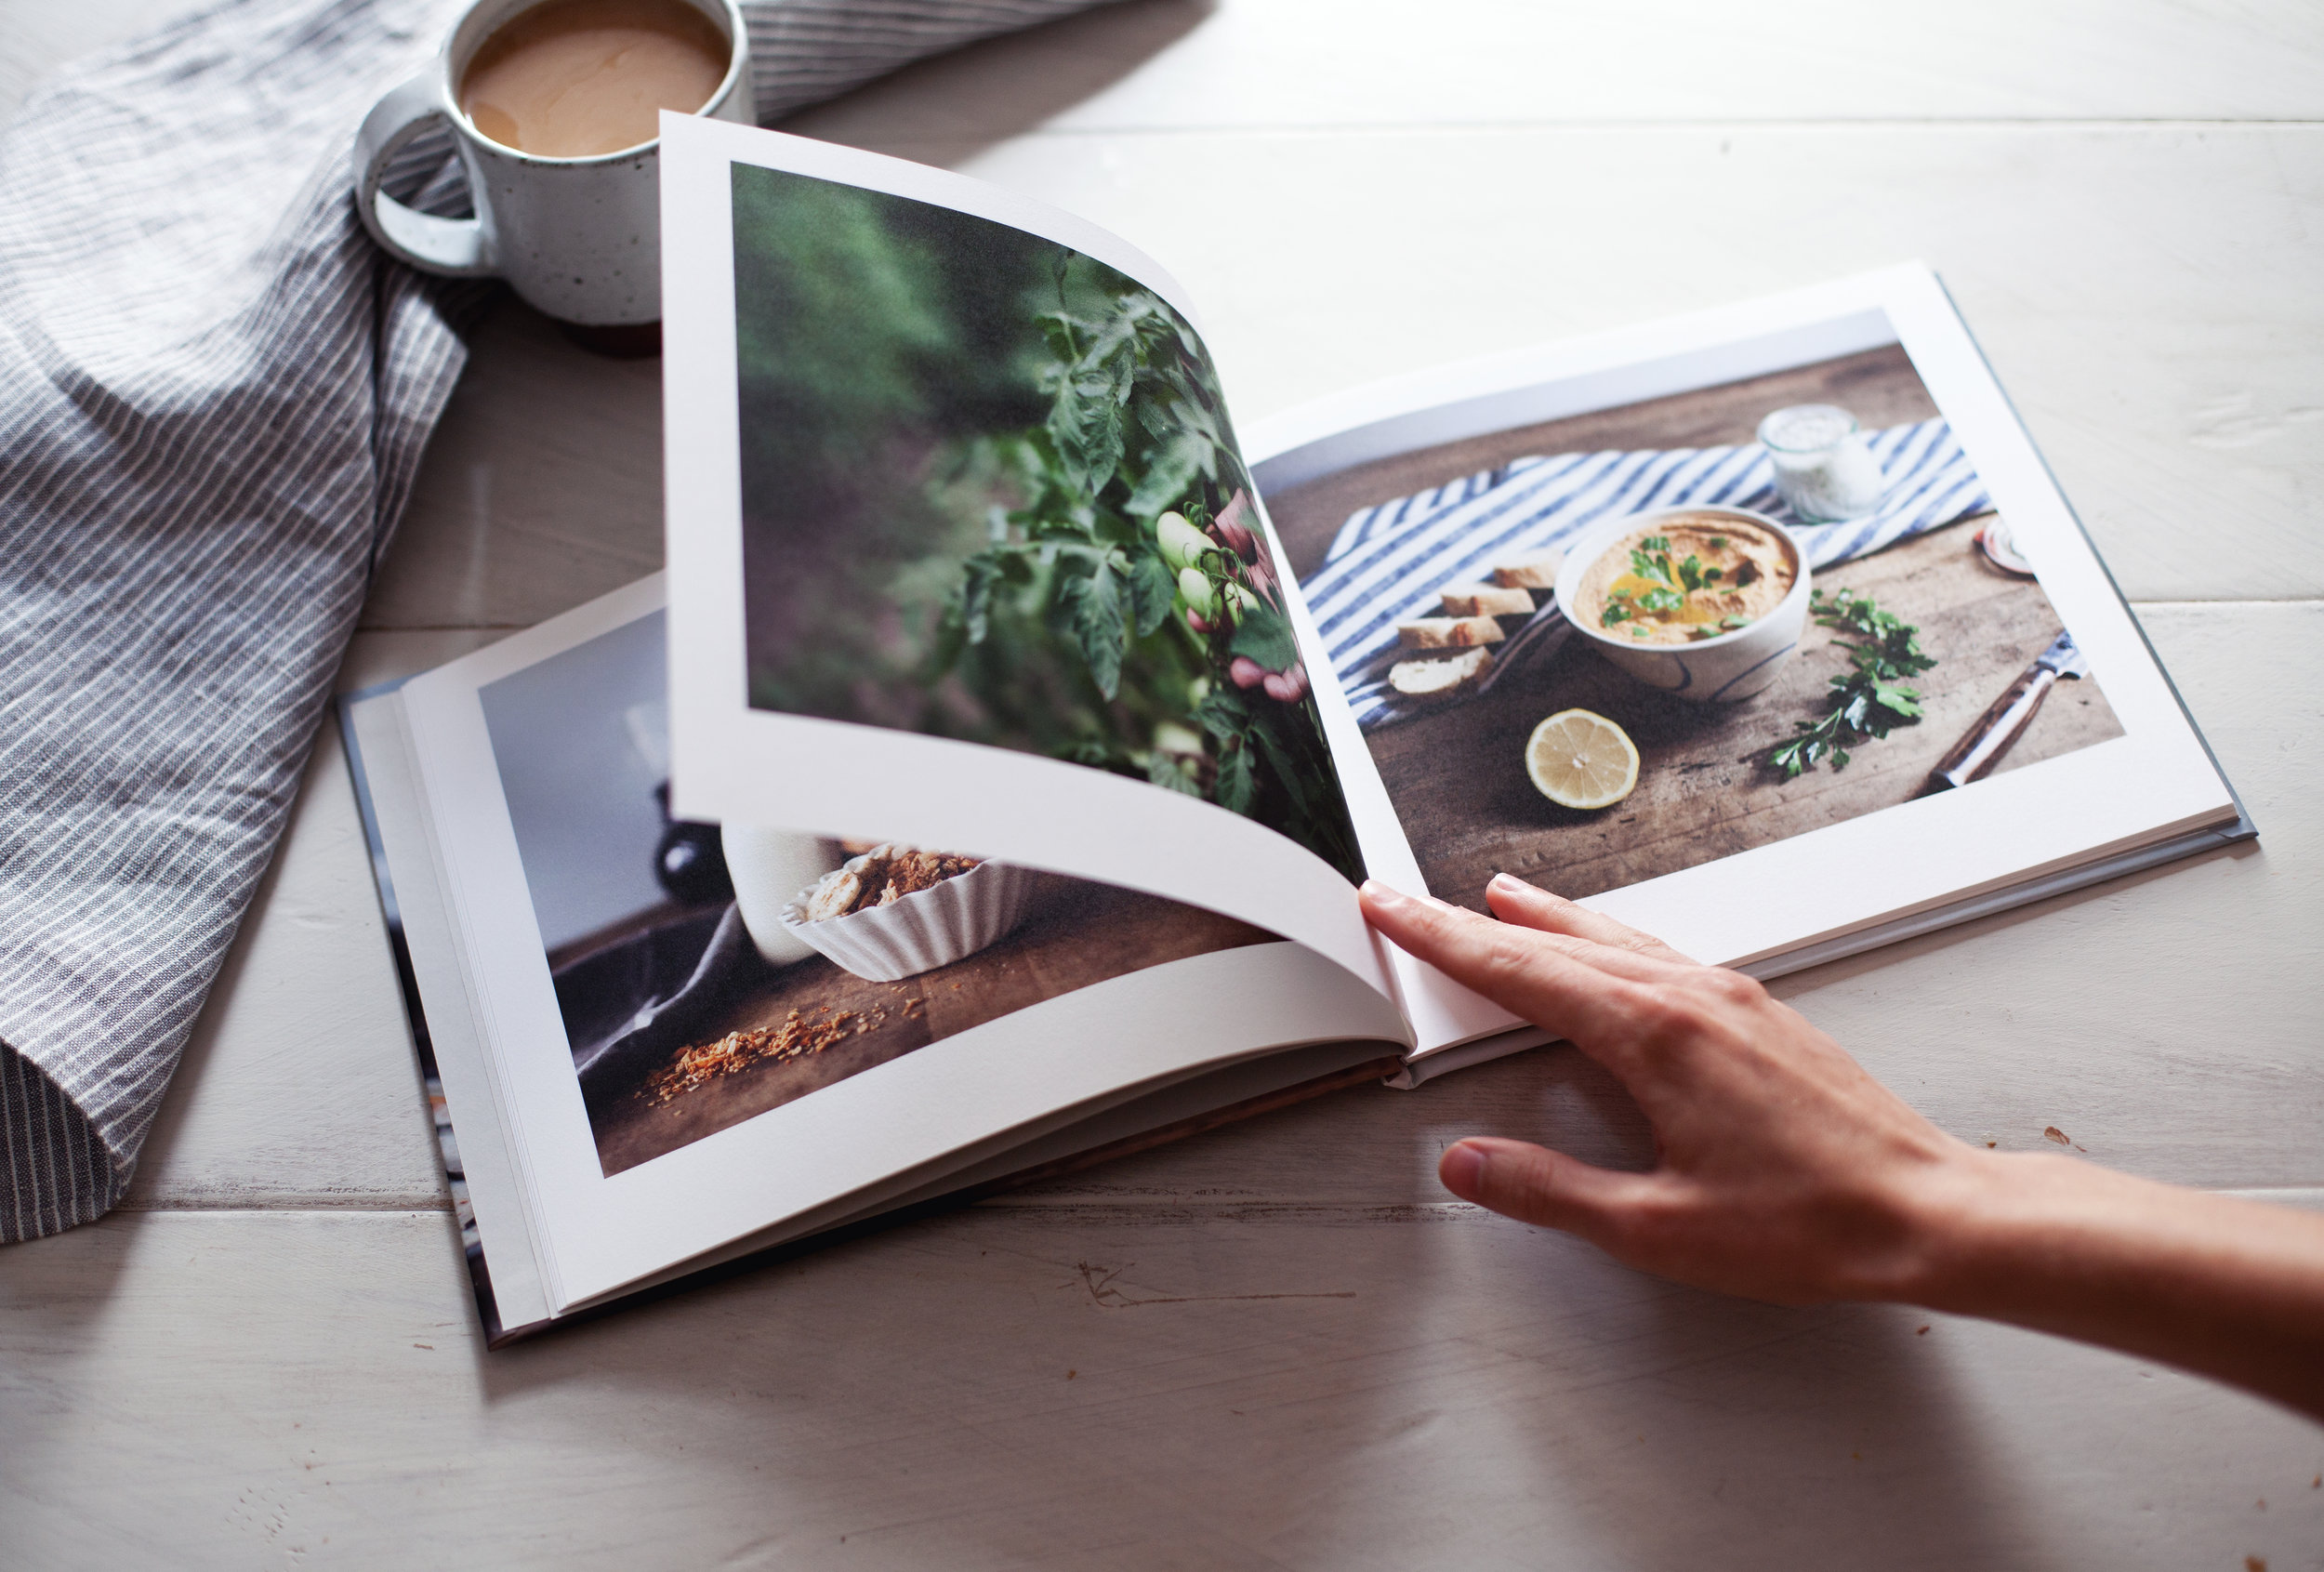
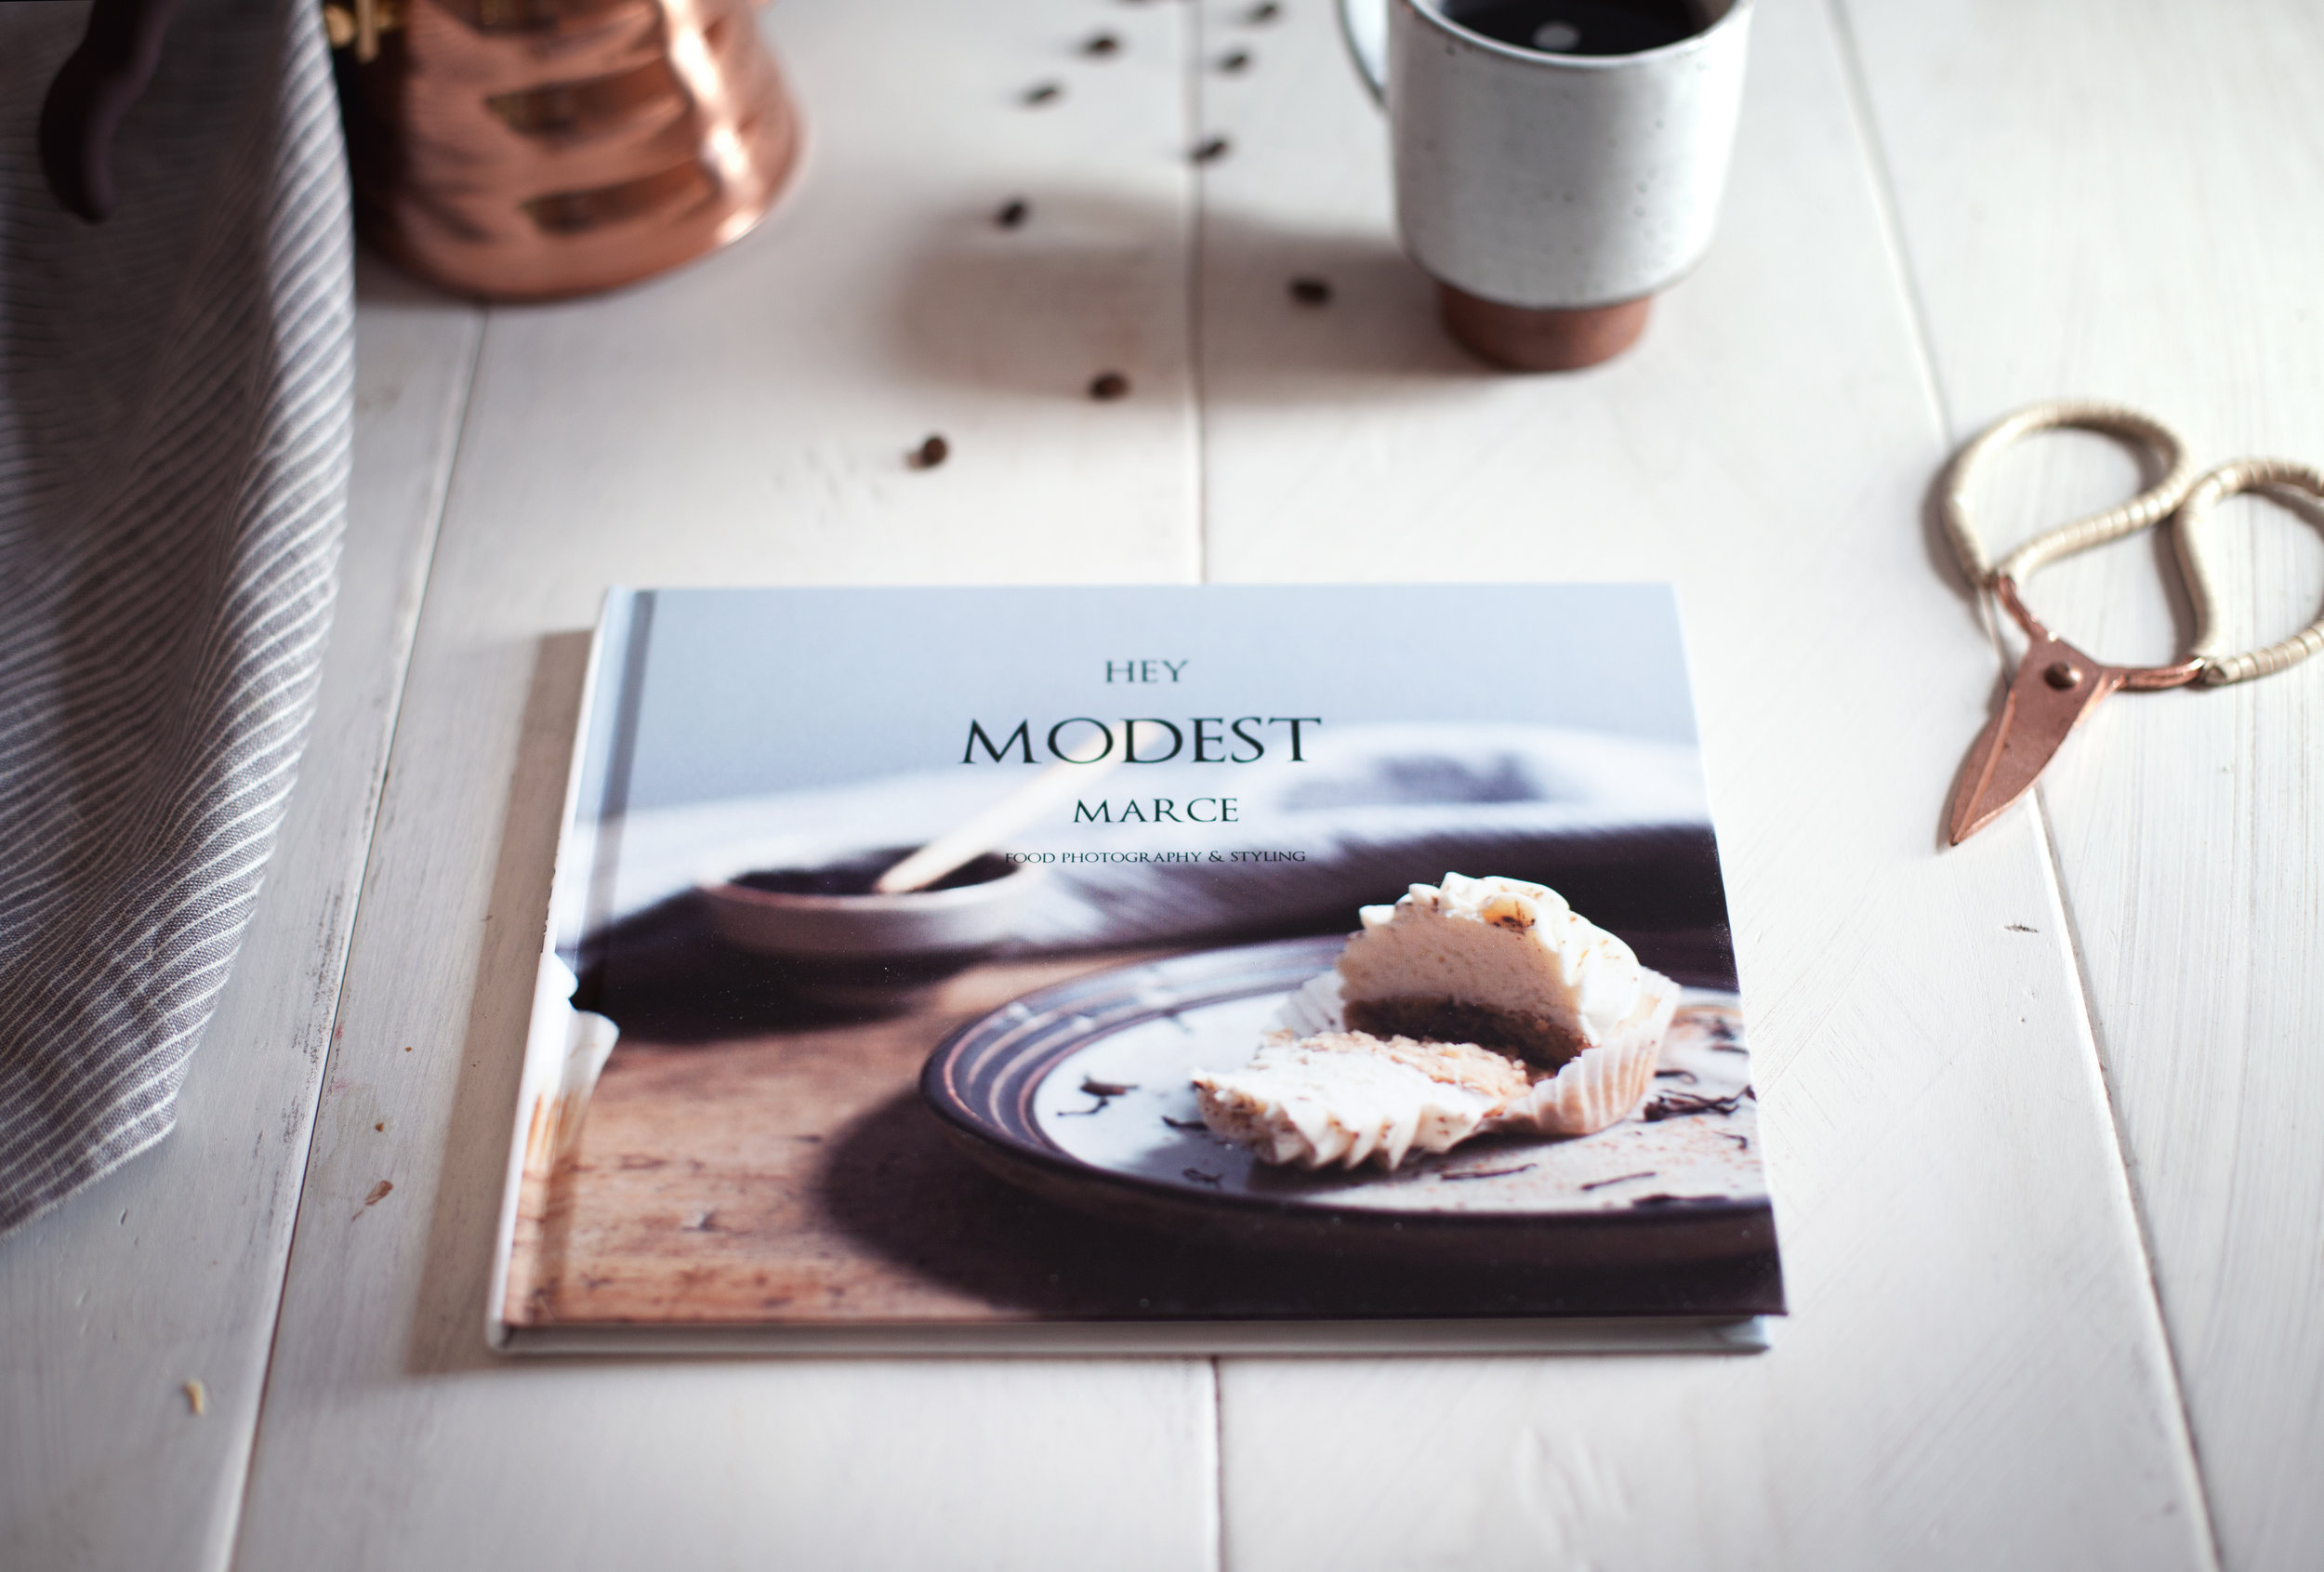
today's post is something a little different then what i usually share on hey modest marce! instead of a recipe post i am focusing on the food photography & styling work i have created for modest marce over the years. i think it is safe to say photography is a huge part of my blog, but it made me sad that literally ALL of my content was digital. i had no hard work to show for it, just images sitting in a folder on my desktop. when blurb books asked me to create a photography book featuring all my hard work i was so excited!!!! i would FINALLY get to see my pictures in print & in the exact style i imagined.

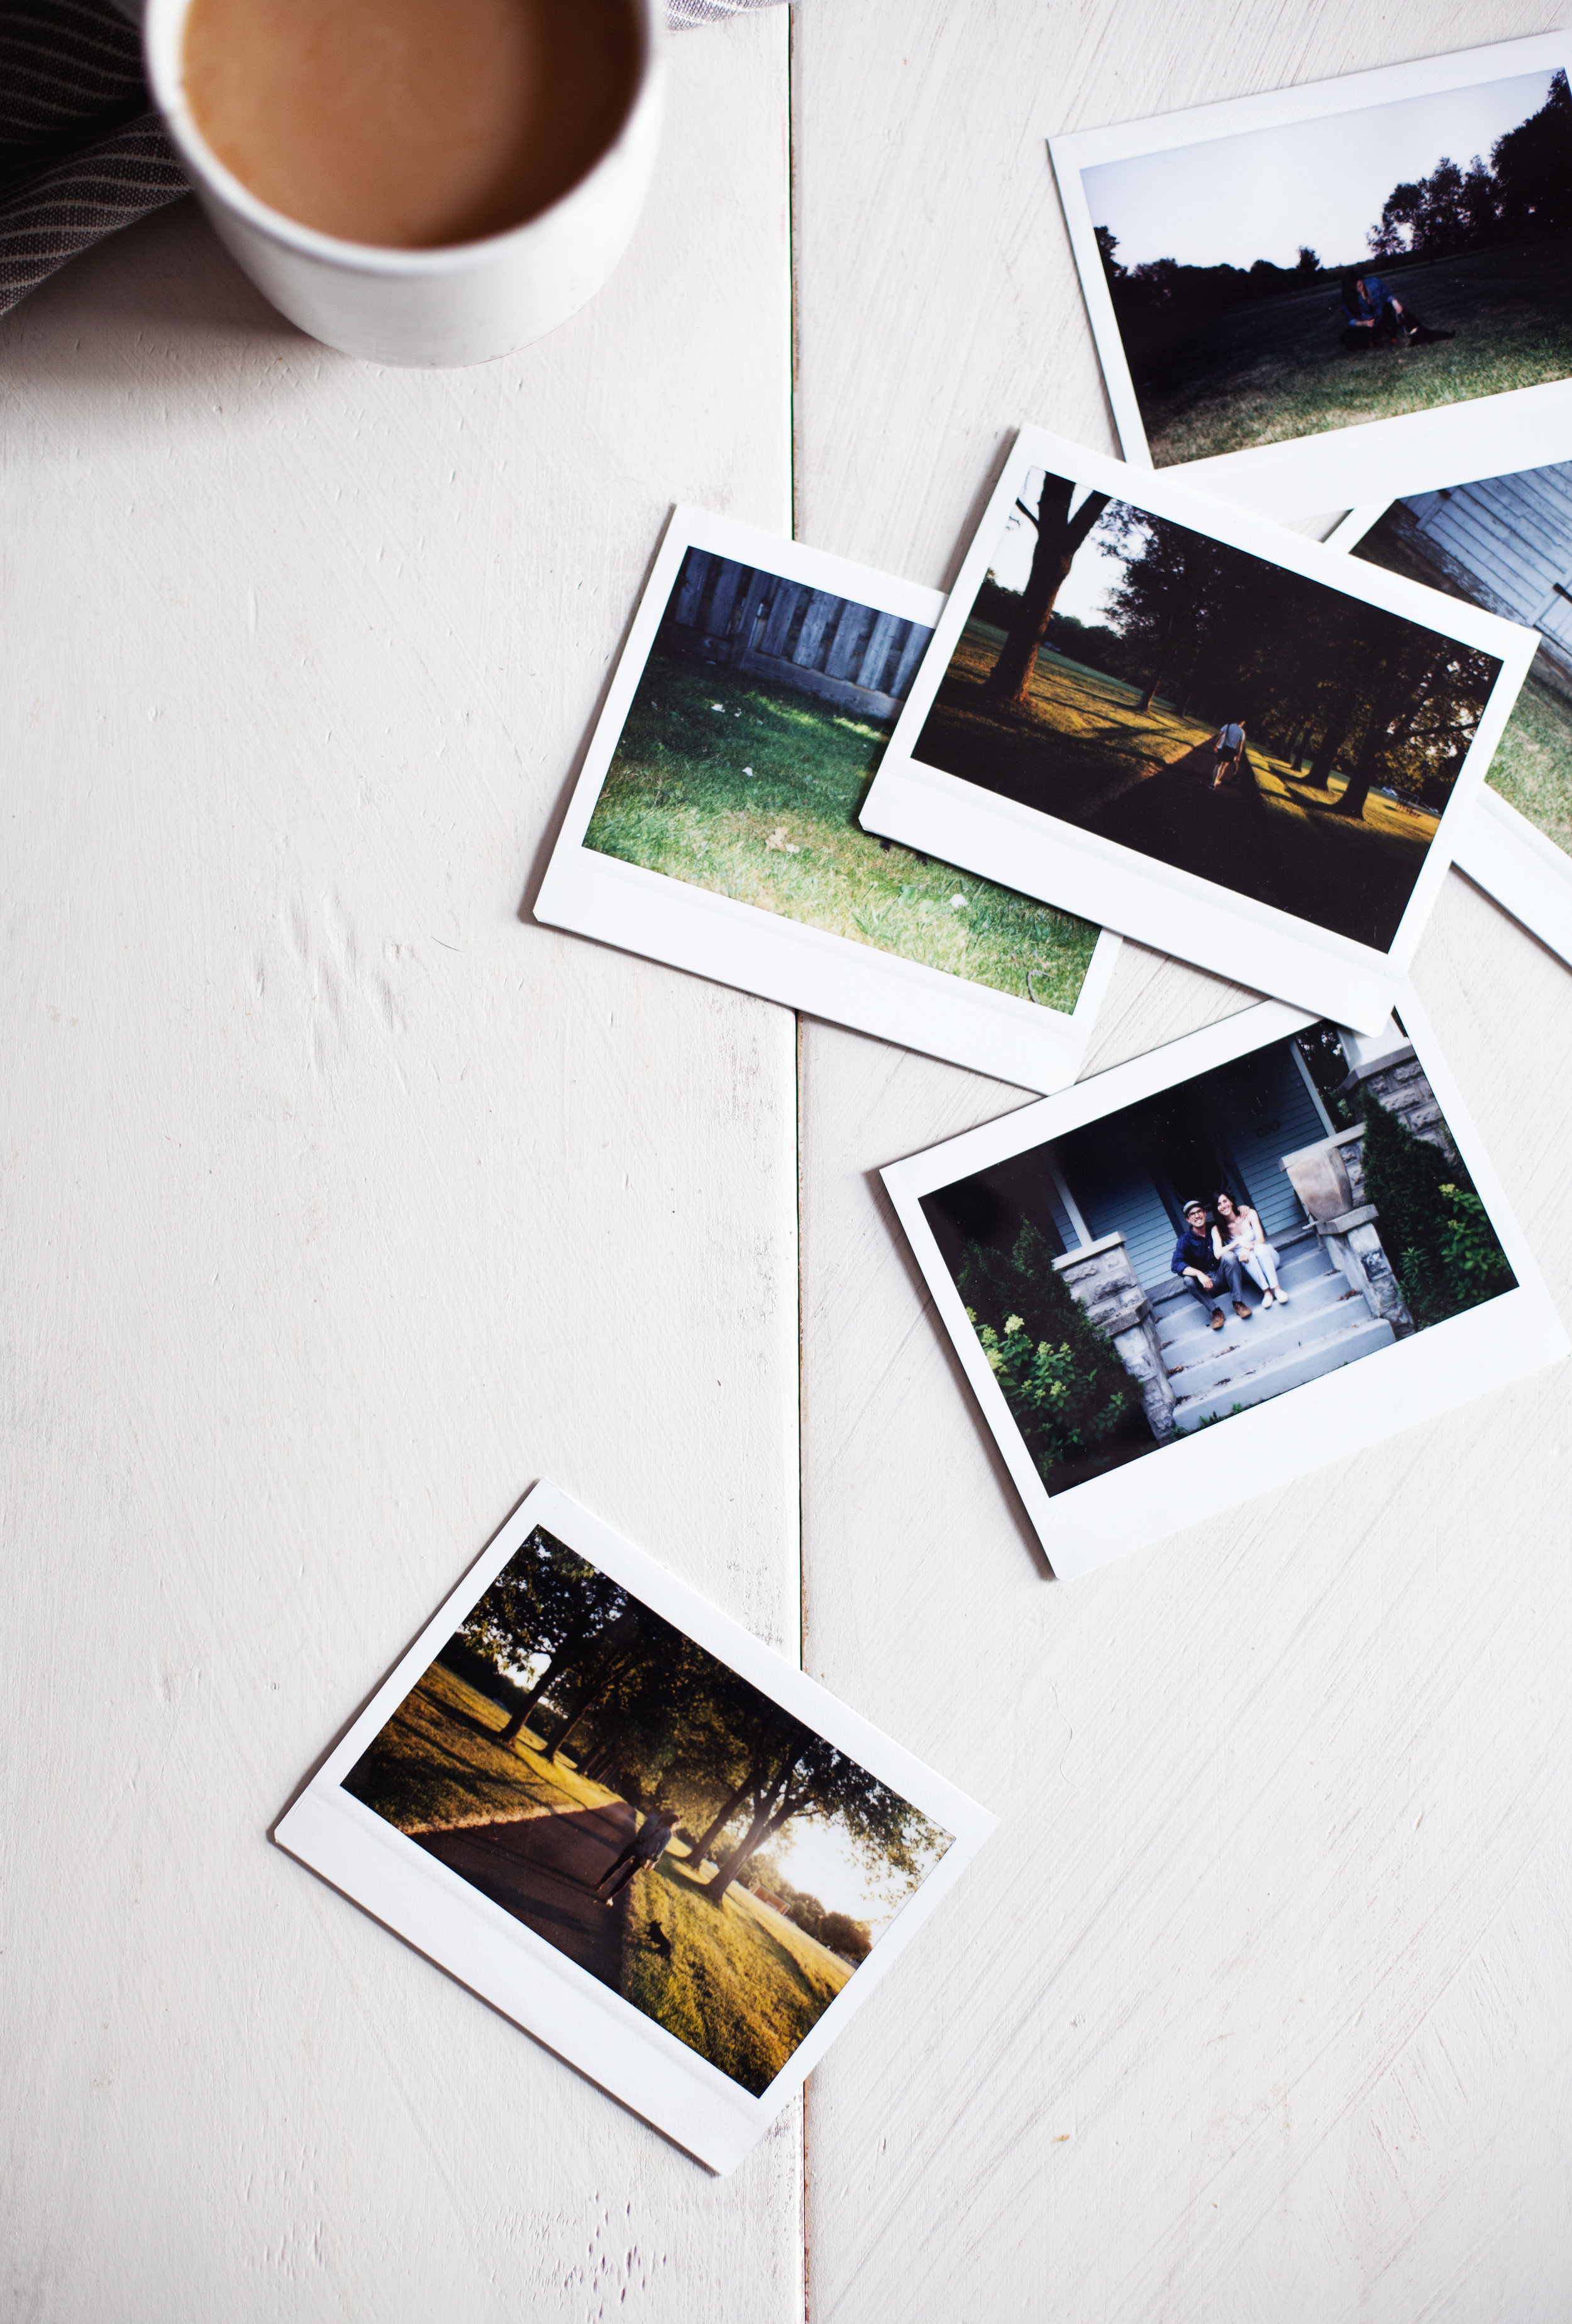
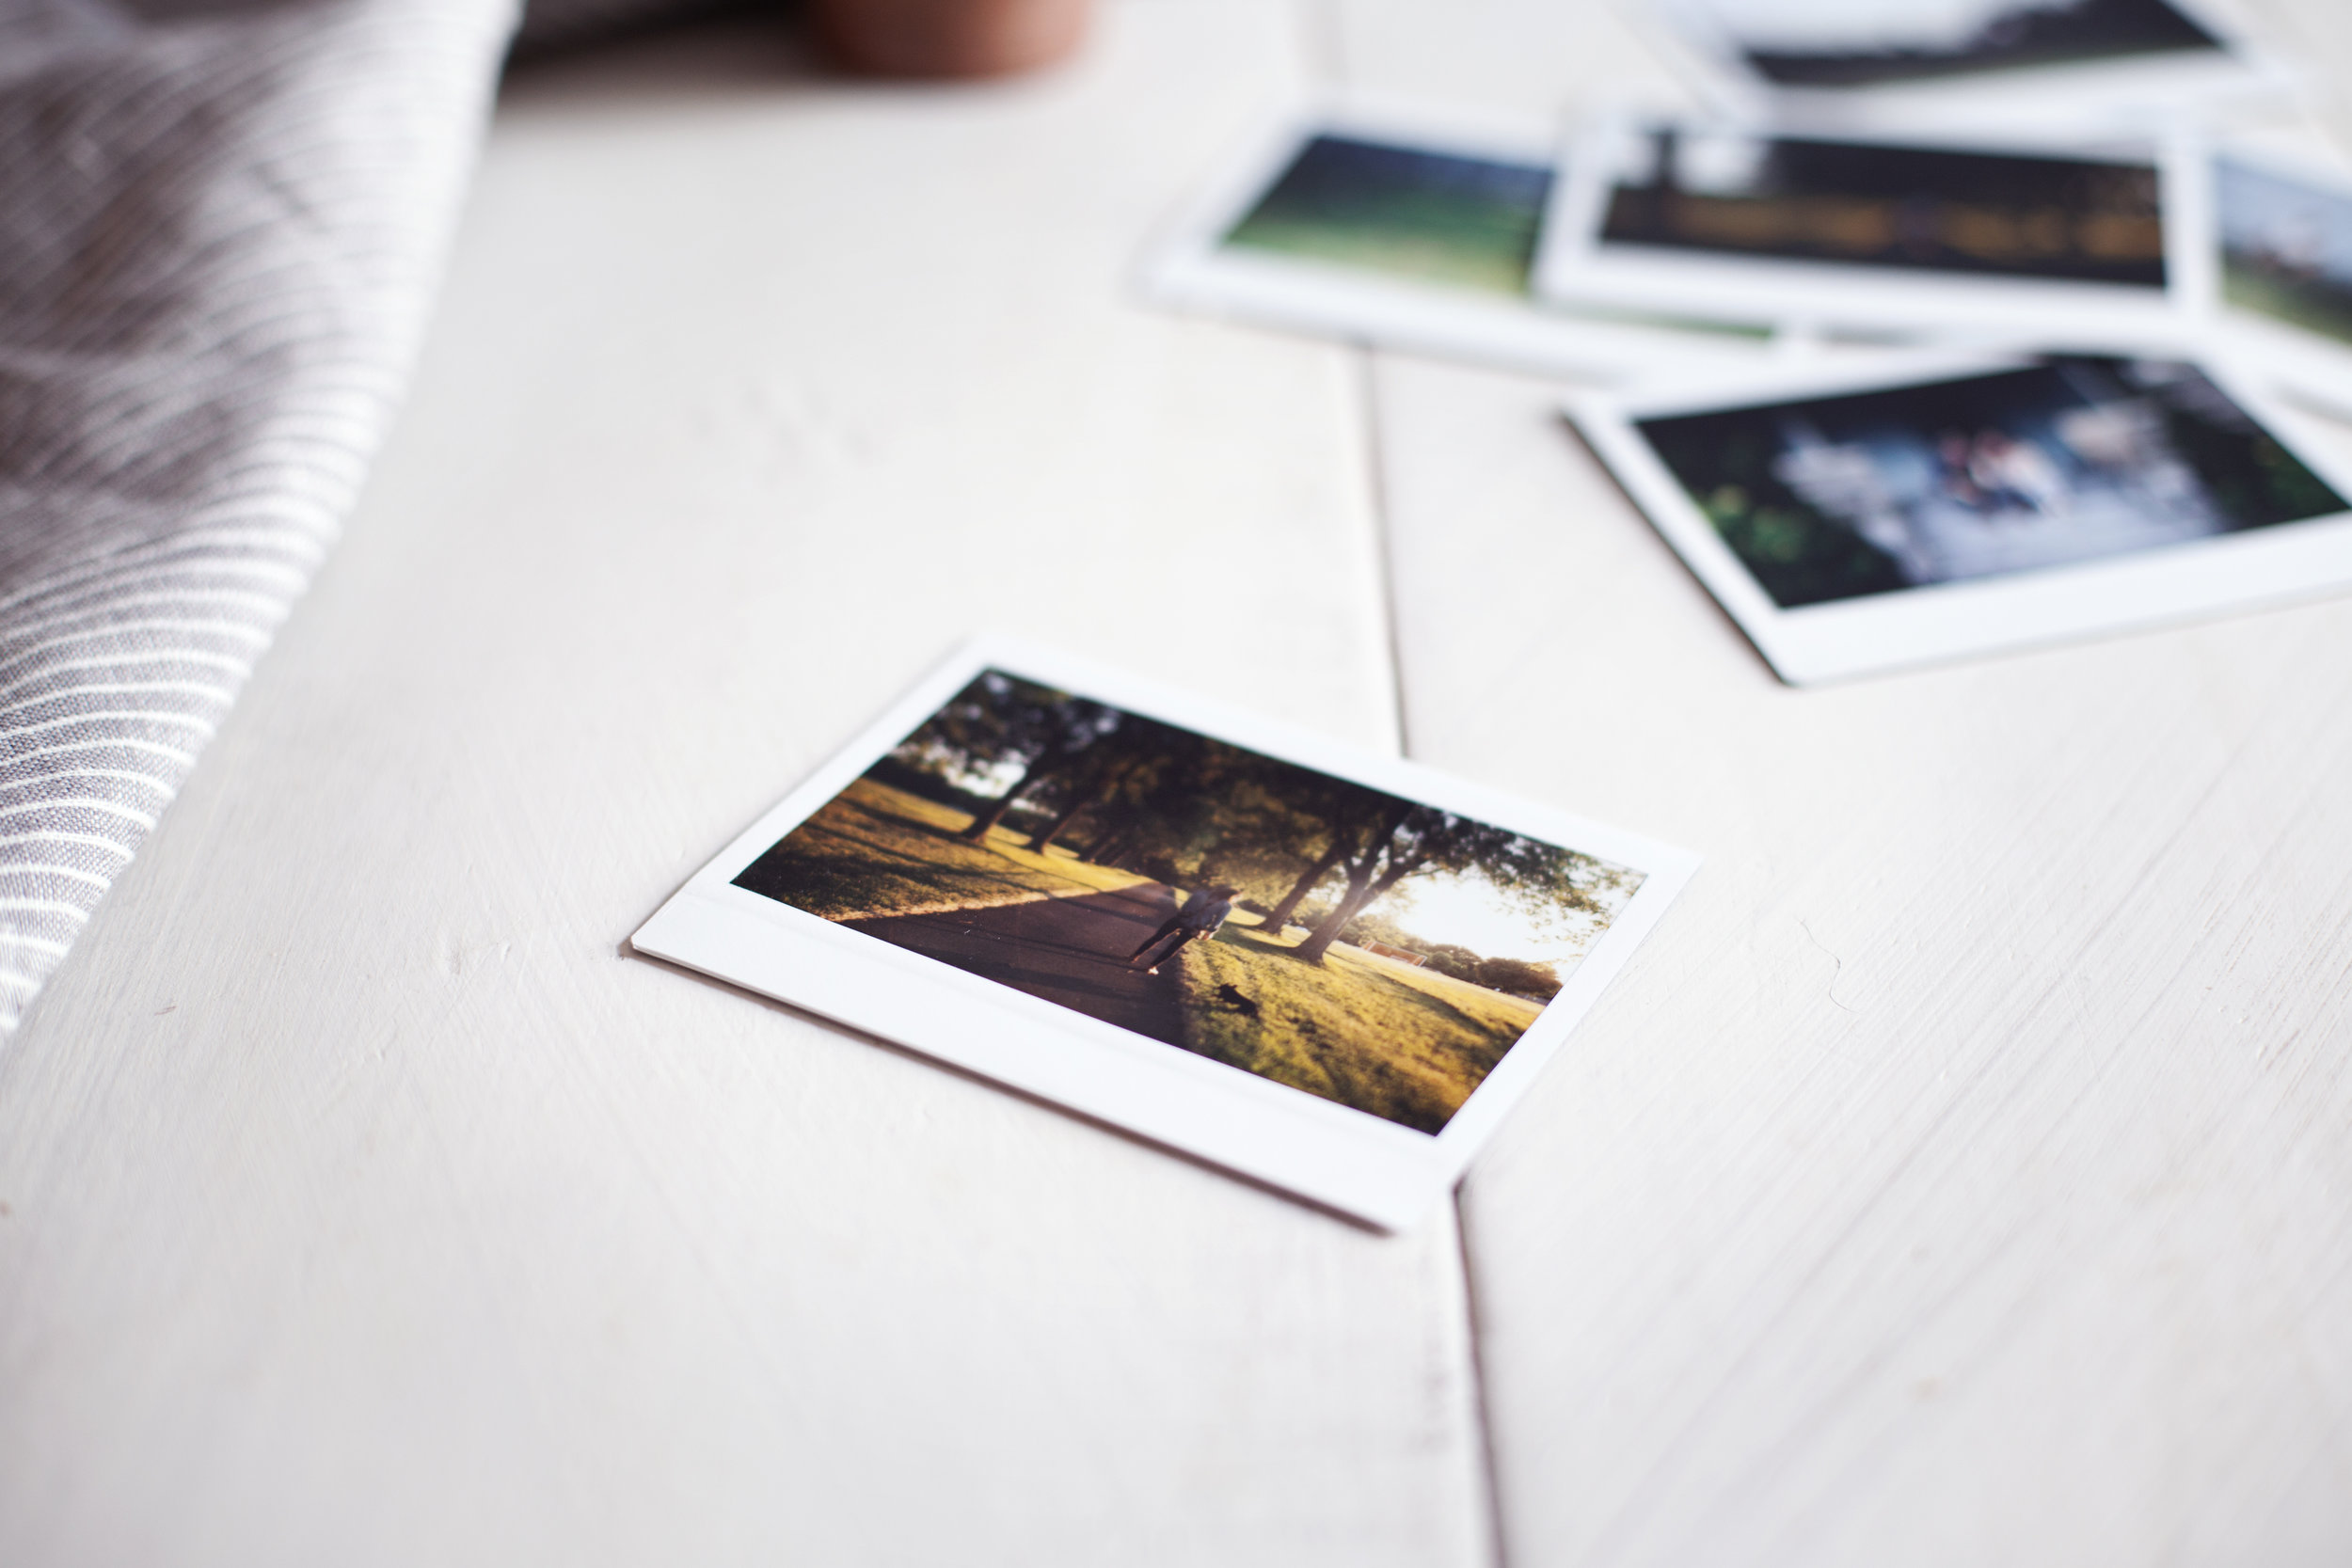
blurb books is an independent, creative book-making platform that helps you create *photo books & magazines in print or digital formats. the templates are professionally designed for you, so all you really have to do is decide which images you want to incorporate into the book. trying to narrow down my favourite images out of the thousands to choose from was the most difficult part for me! then you get to choose the cover style, end sheets & the paper when you are ready to send your book to print. i got the swatch kit so i could see & feel the pages in person before deciding on which paper i wanted to go with. there is something i absolutely LOVE about a food image printed on raw, uncoated paper. it looks rustic & fits well with the style of my photography. i used the polaroids i captured over the summer as inspiration on how i wanted my prints to look in person. i love the subtle & desaturated tones produced with real film.

anyways, i hope you enjoy seeing this blurb books as much as i loved making it! i highly suggest making your own if not for a portfolio, but for keep sake to yourself. everything these days is digital & it is nice to see something real once in a while. i got a feeling this blurb books will be proudly displayed on my coffee table for years to come:)

this post was created in partnership with blurb books!  my book features a hardcover image wrap with proline uncoated paper & light grey proline end sheets:) thank you for supporting the brands that keep modest marce up & running! xo
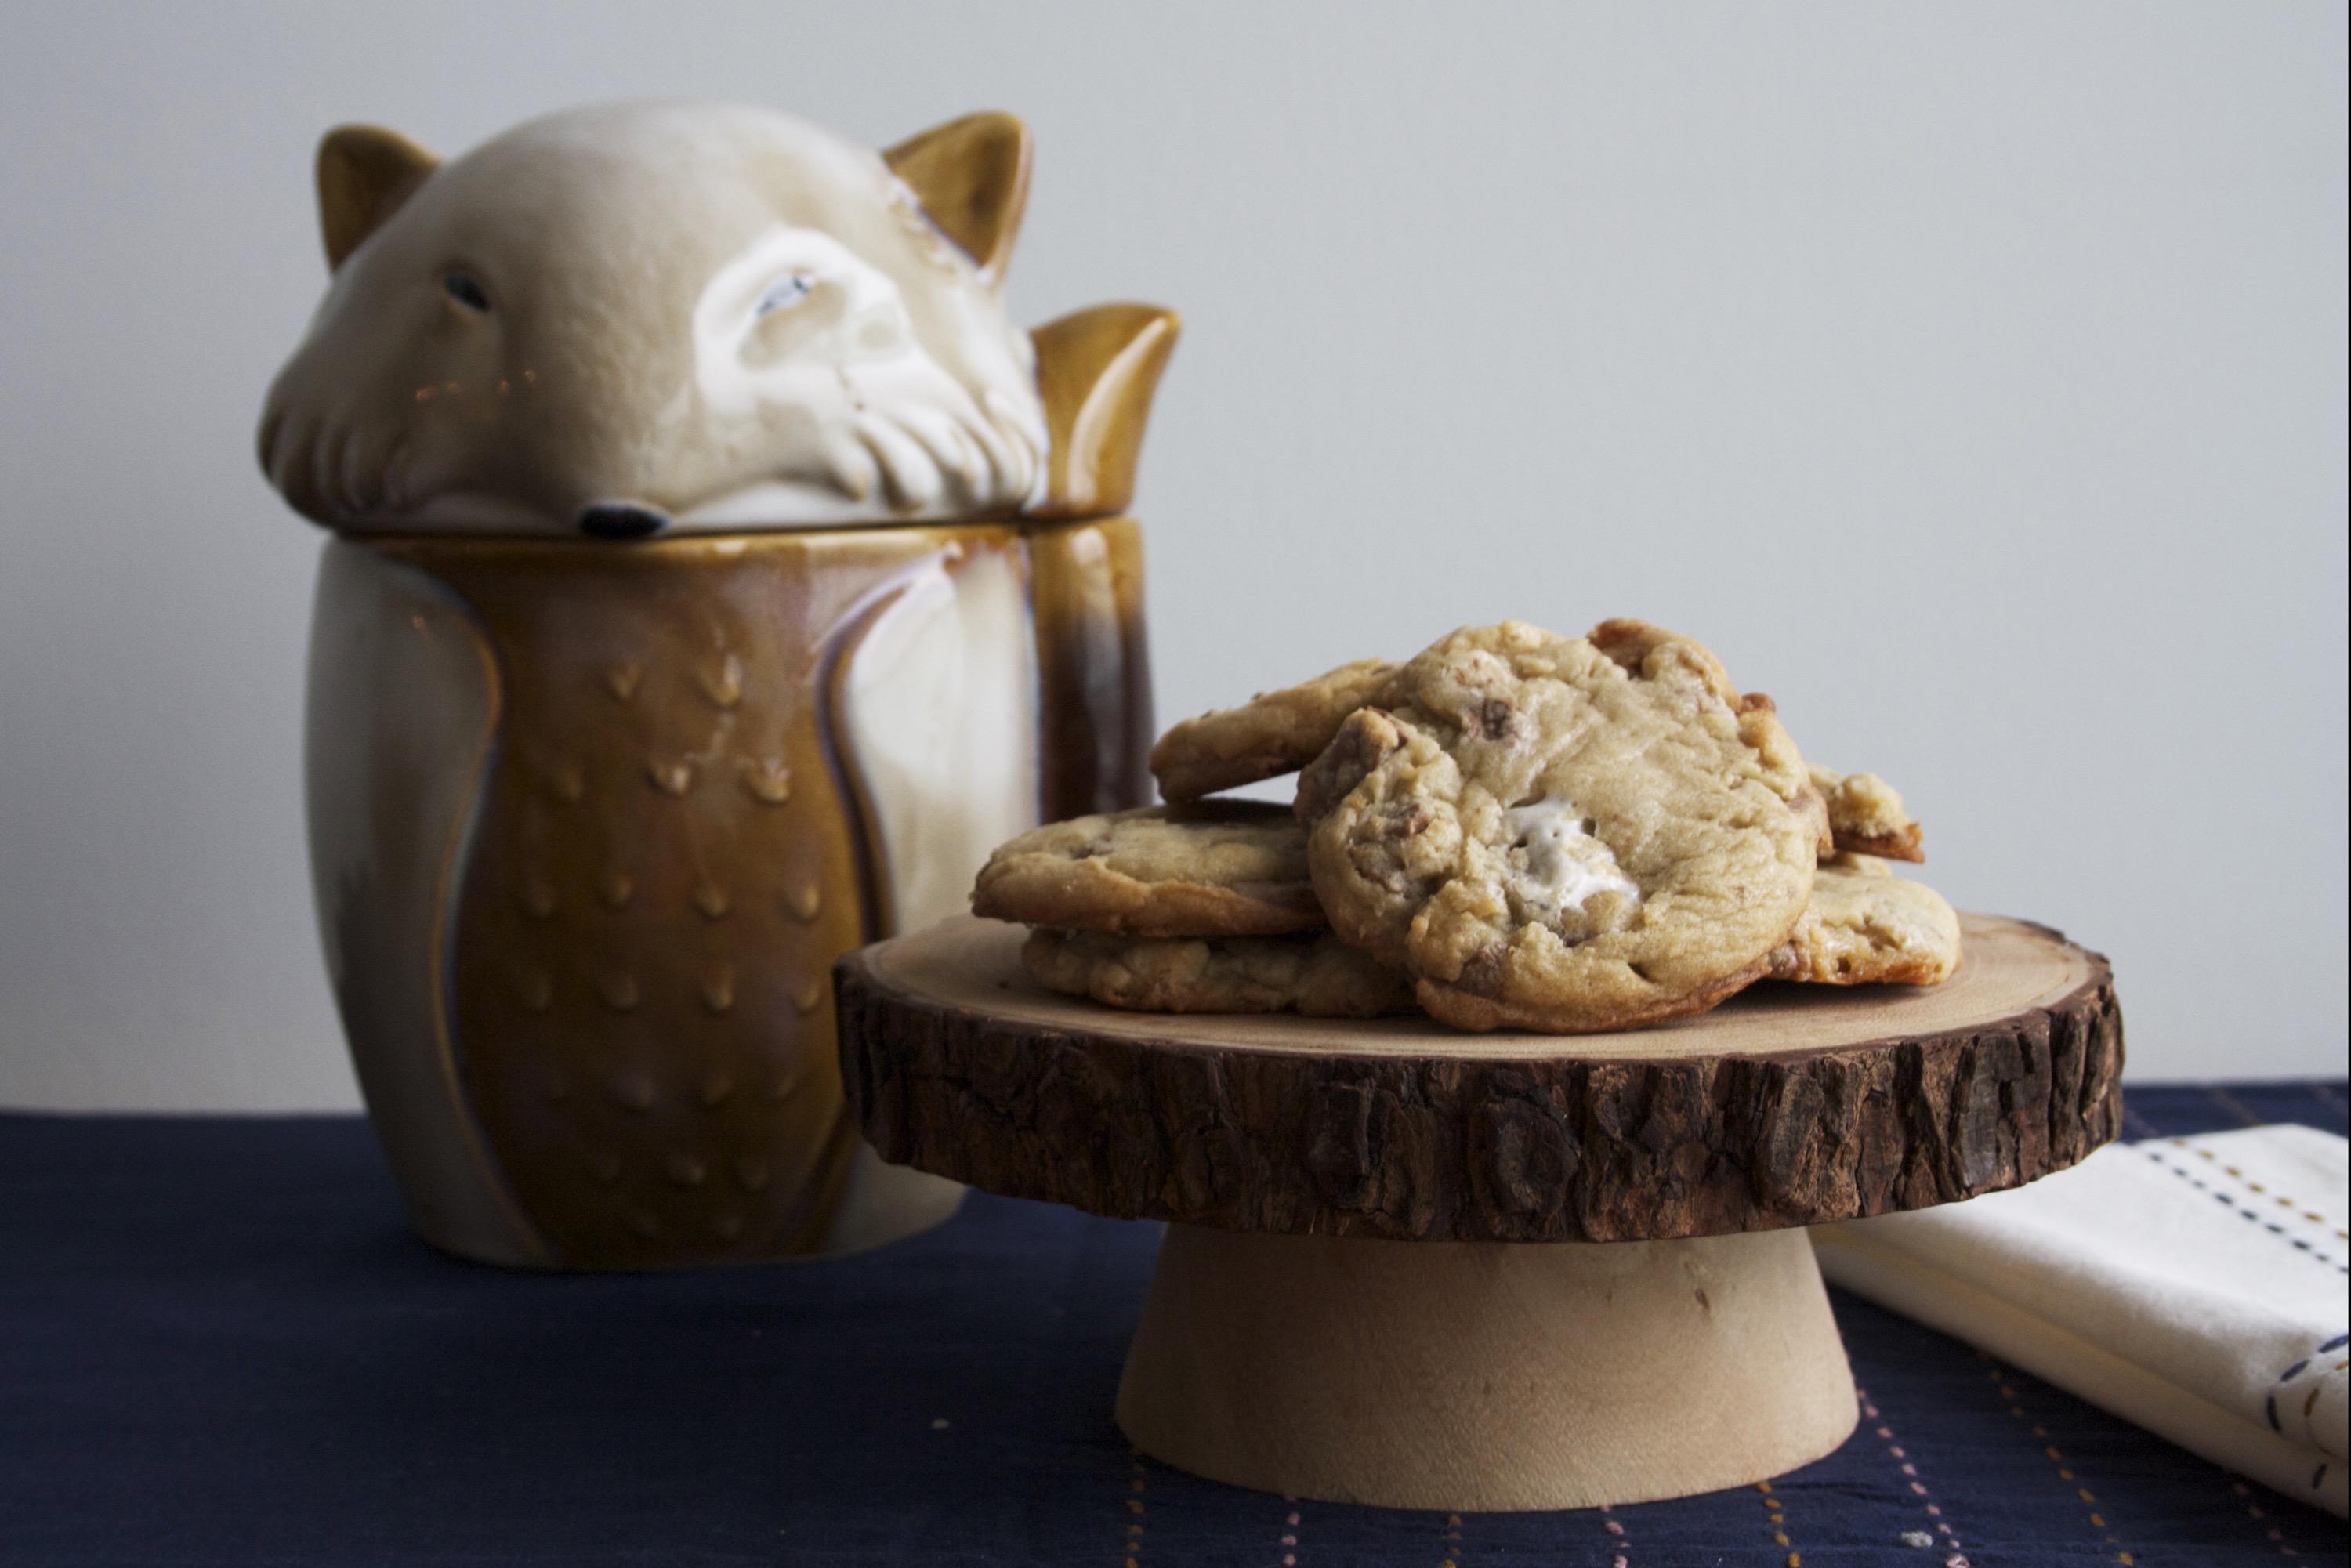
ROCKY ROAD COOKIES


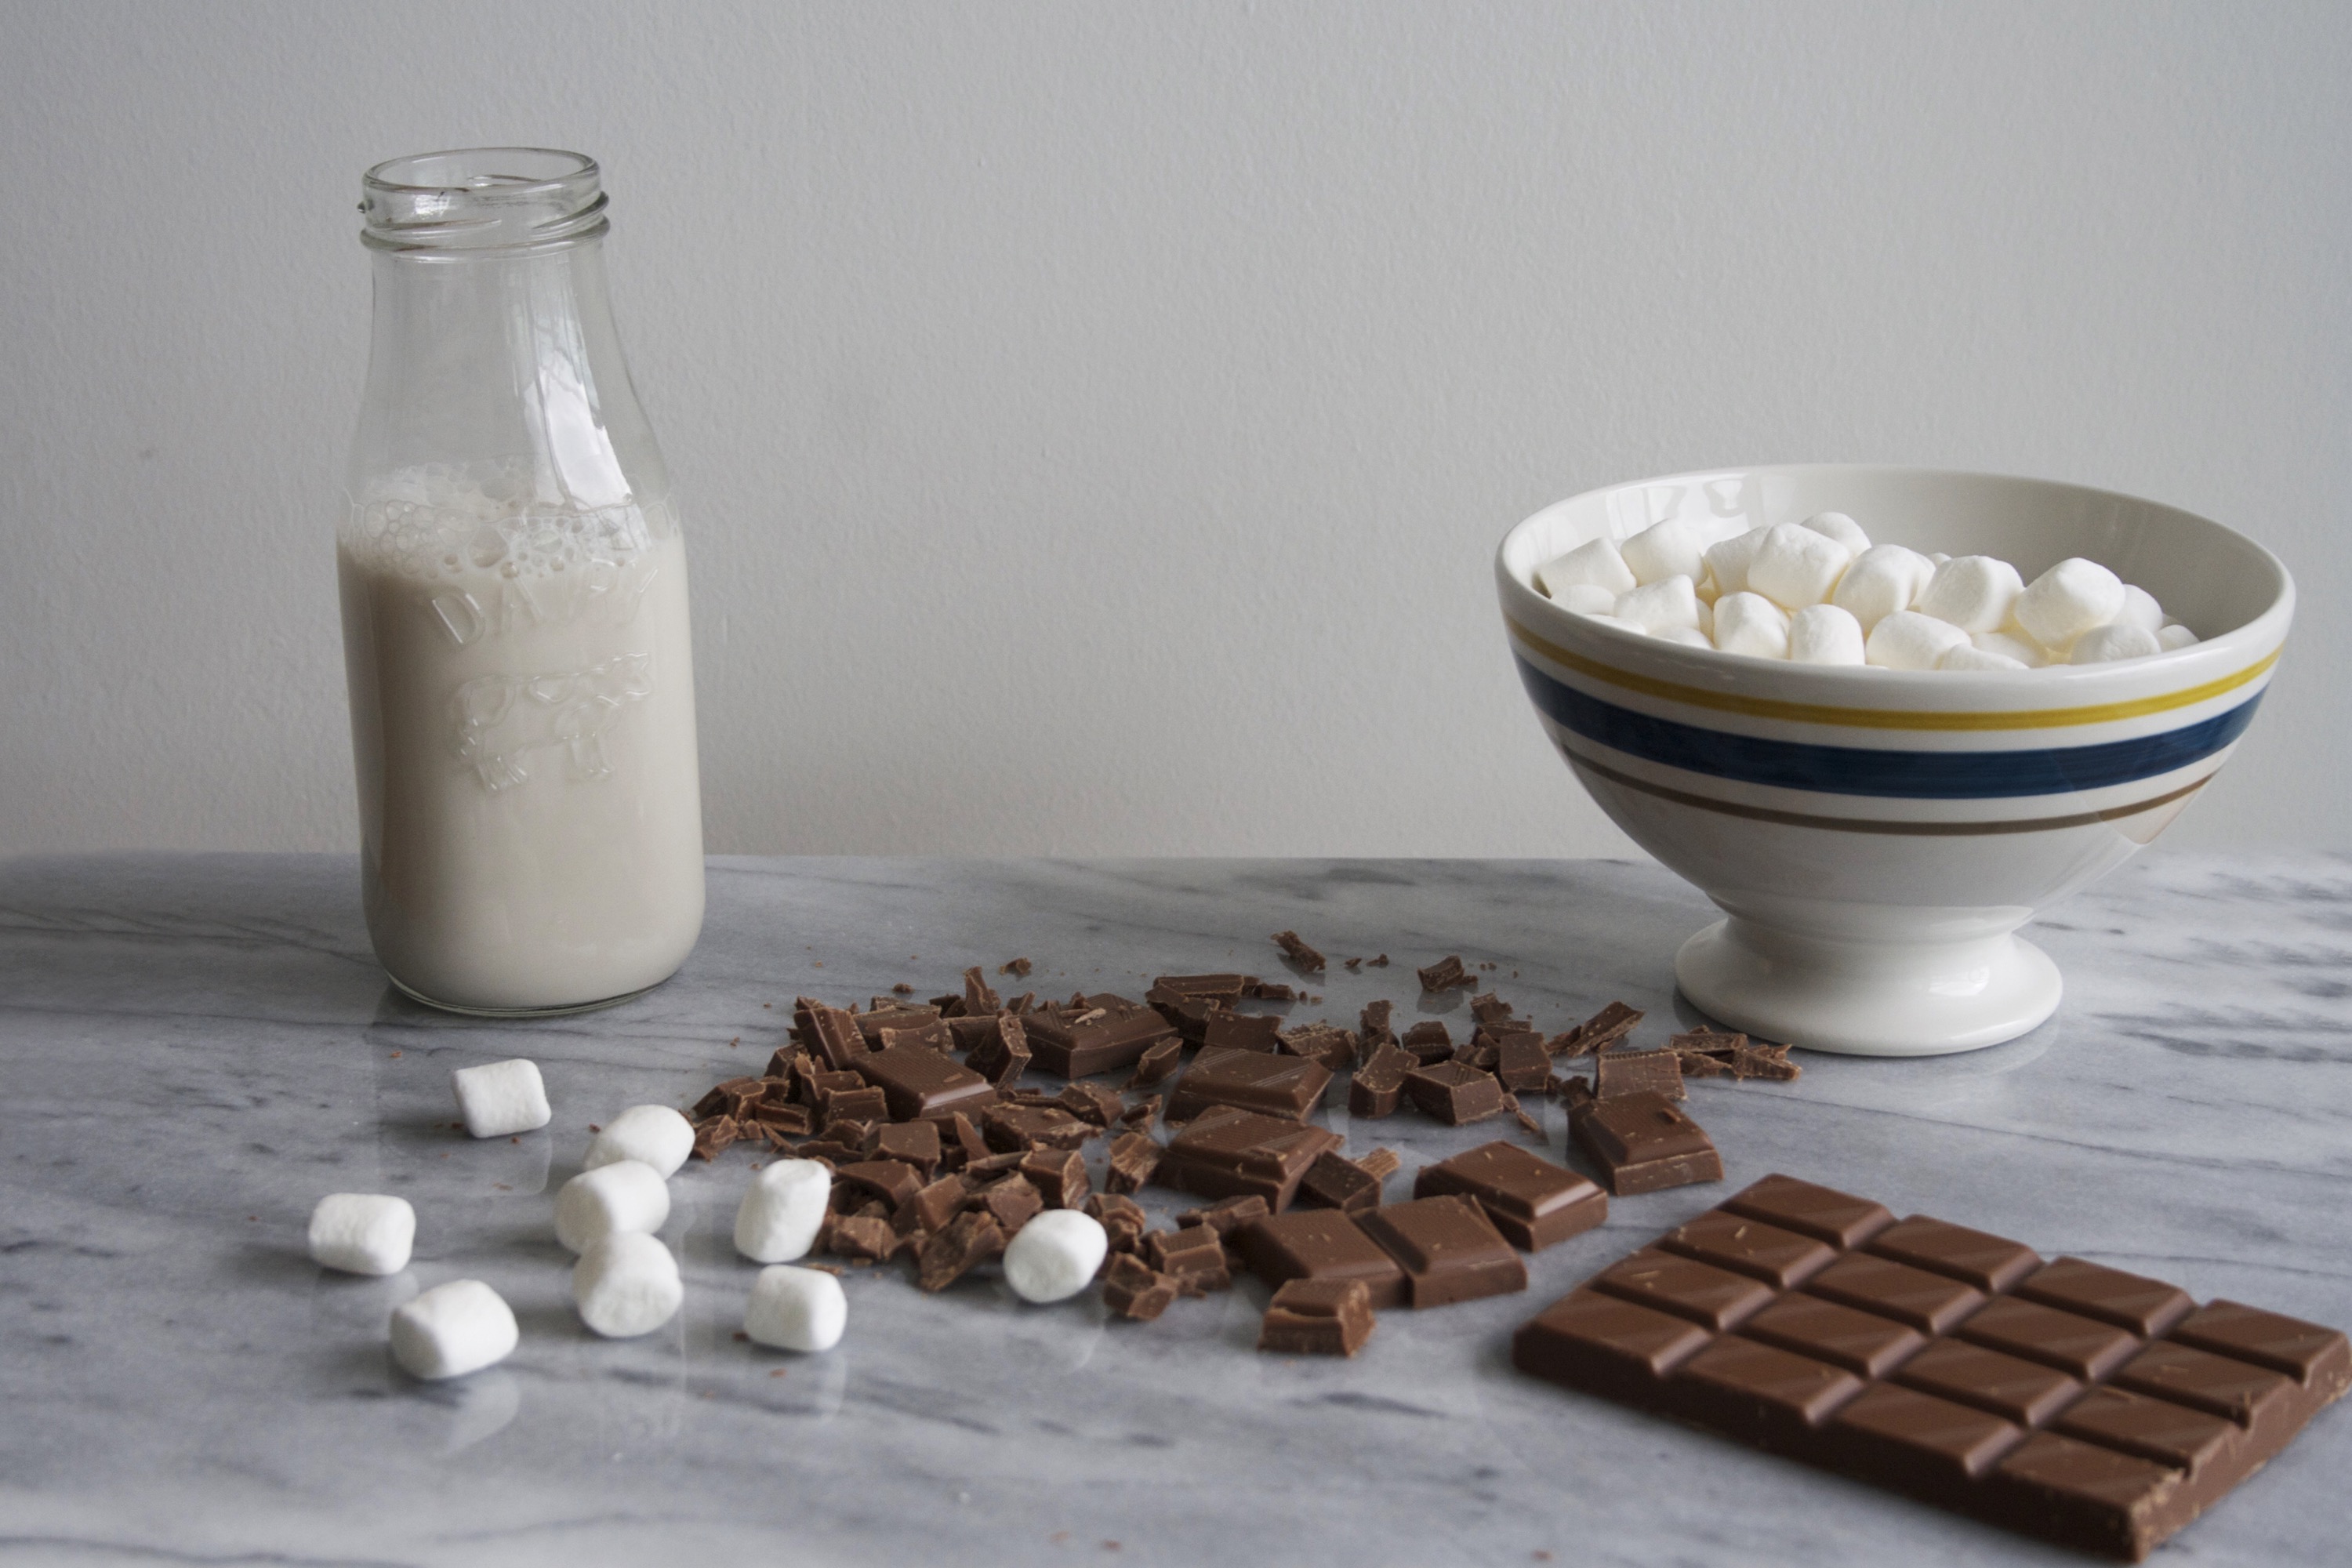
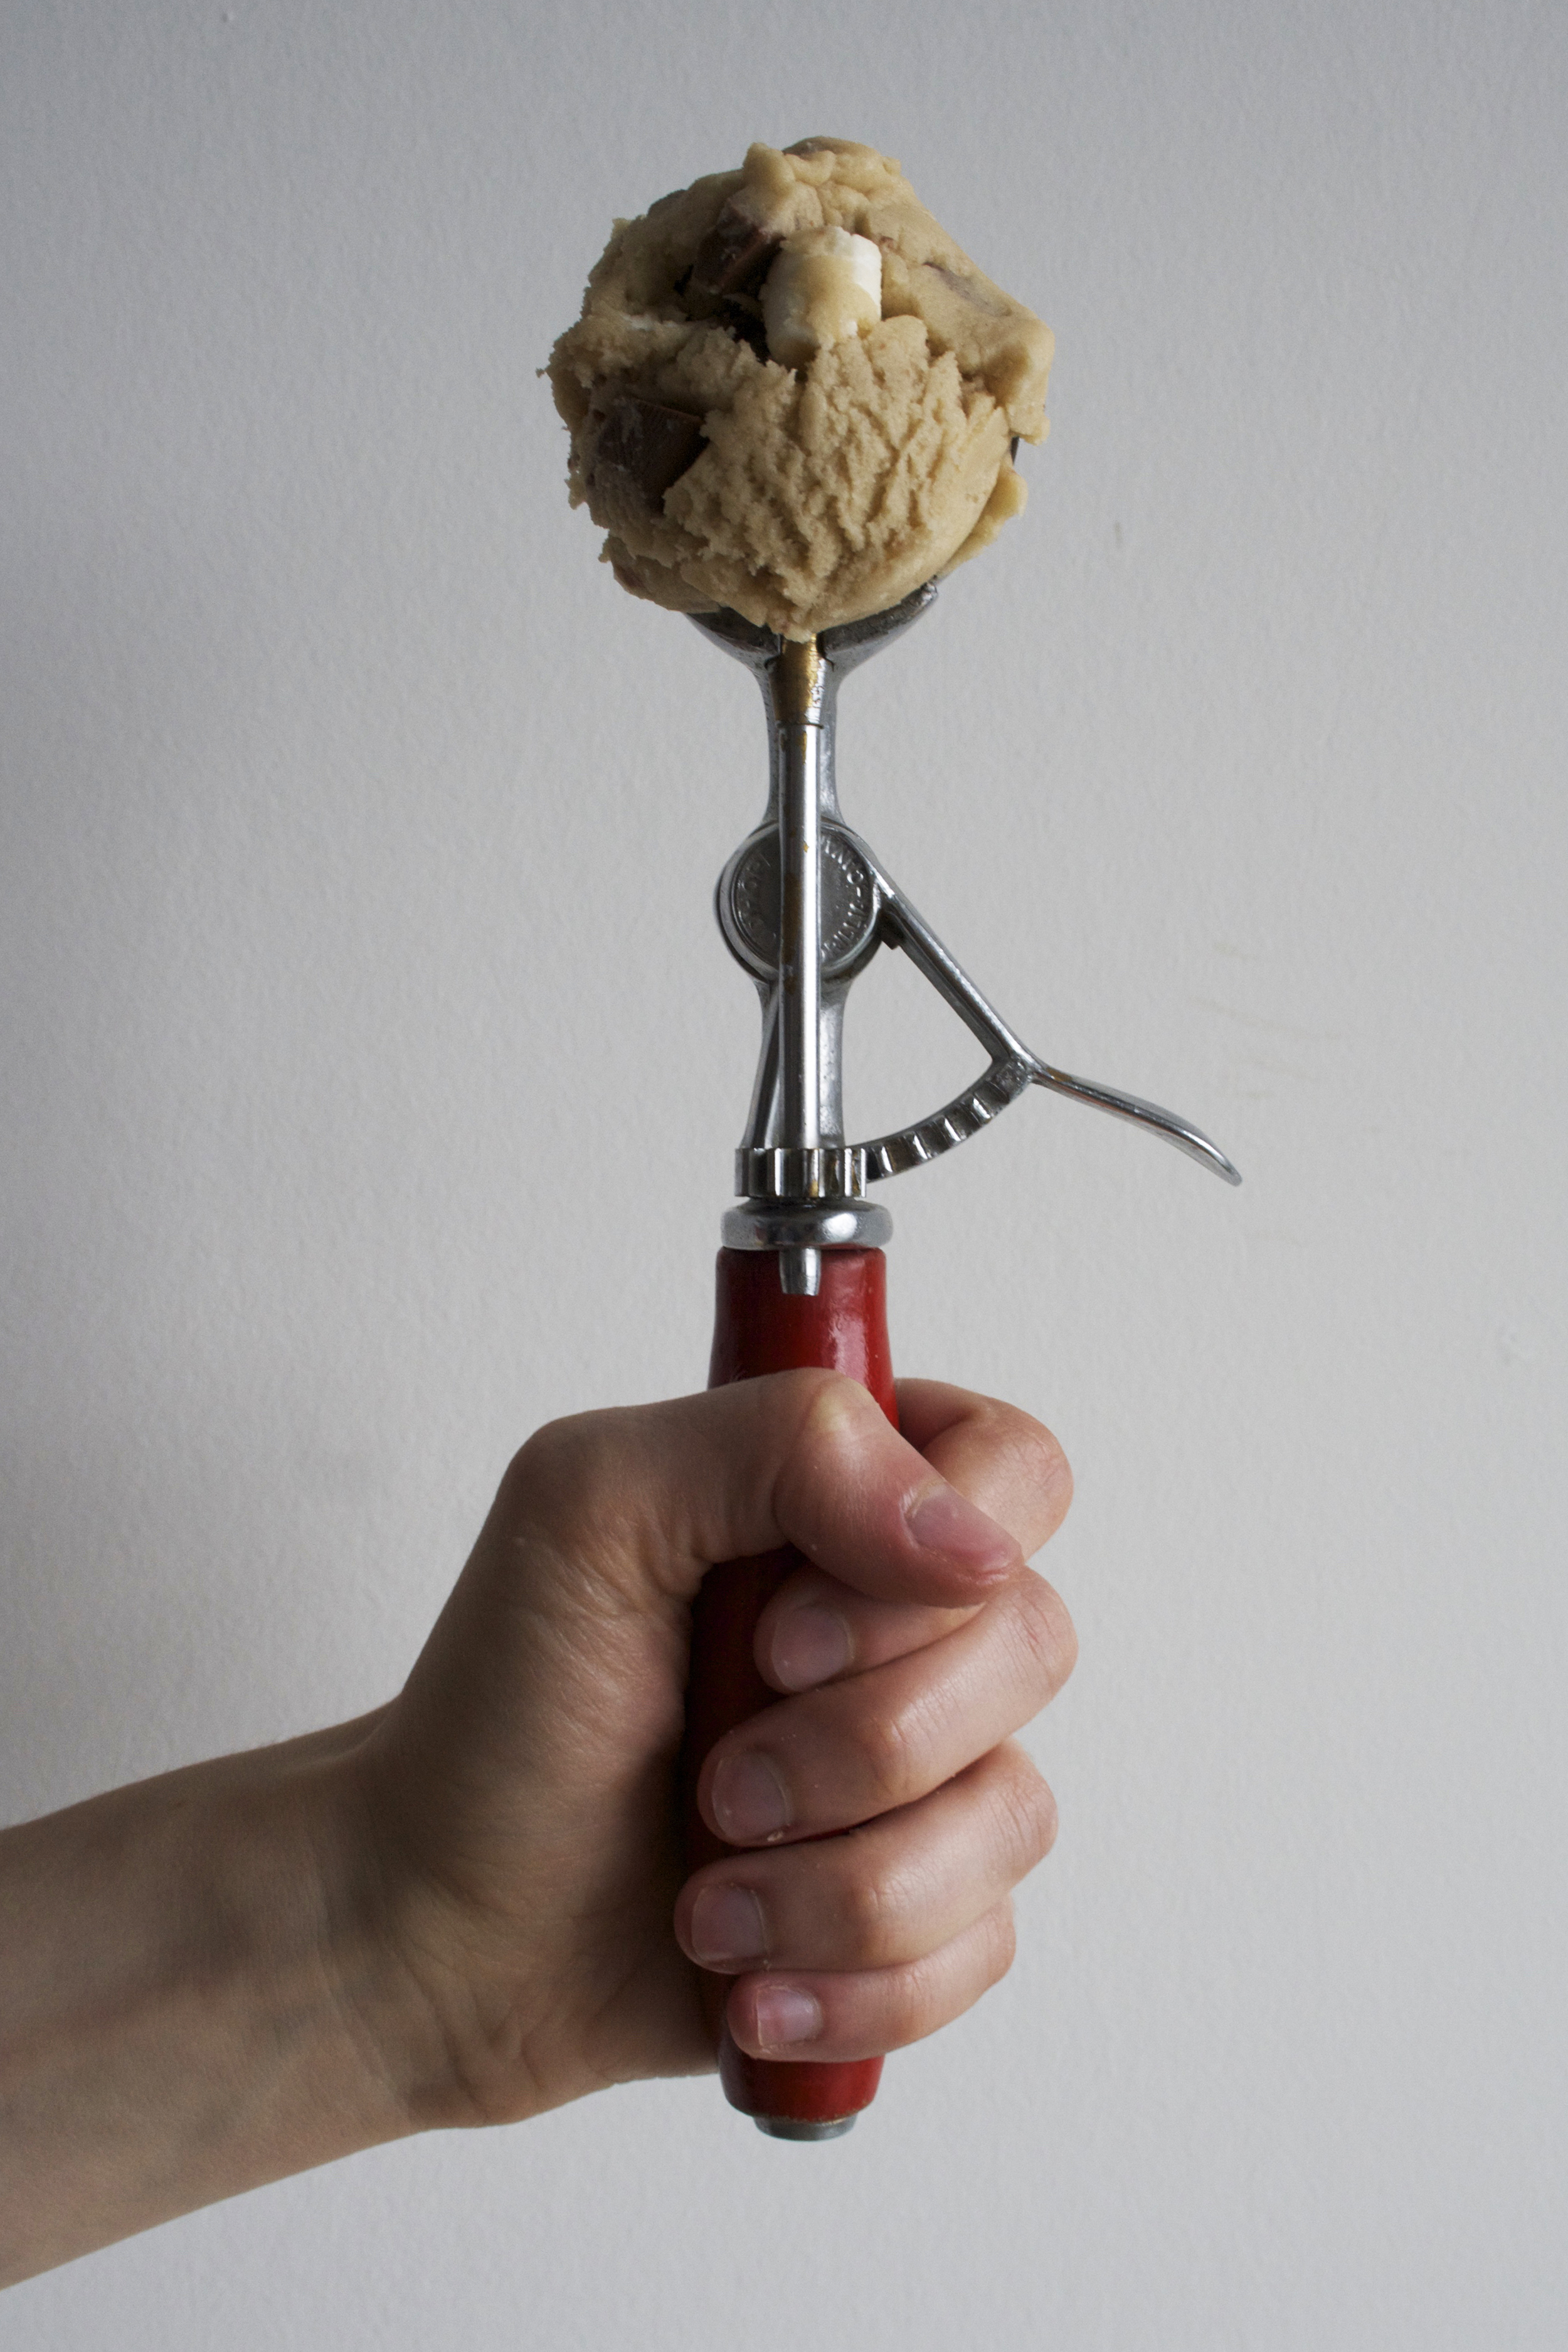
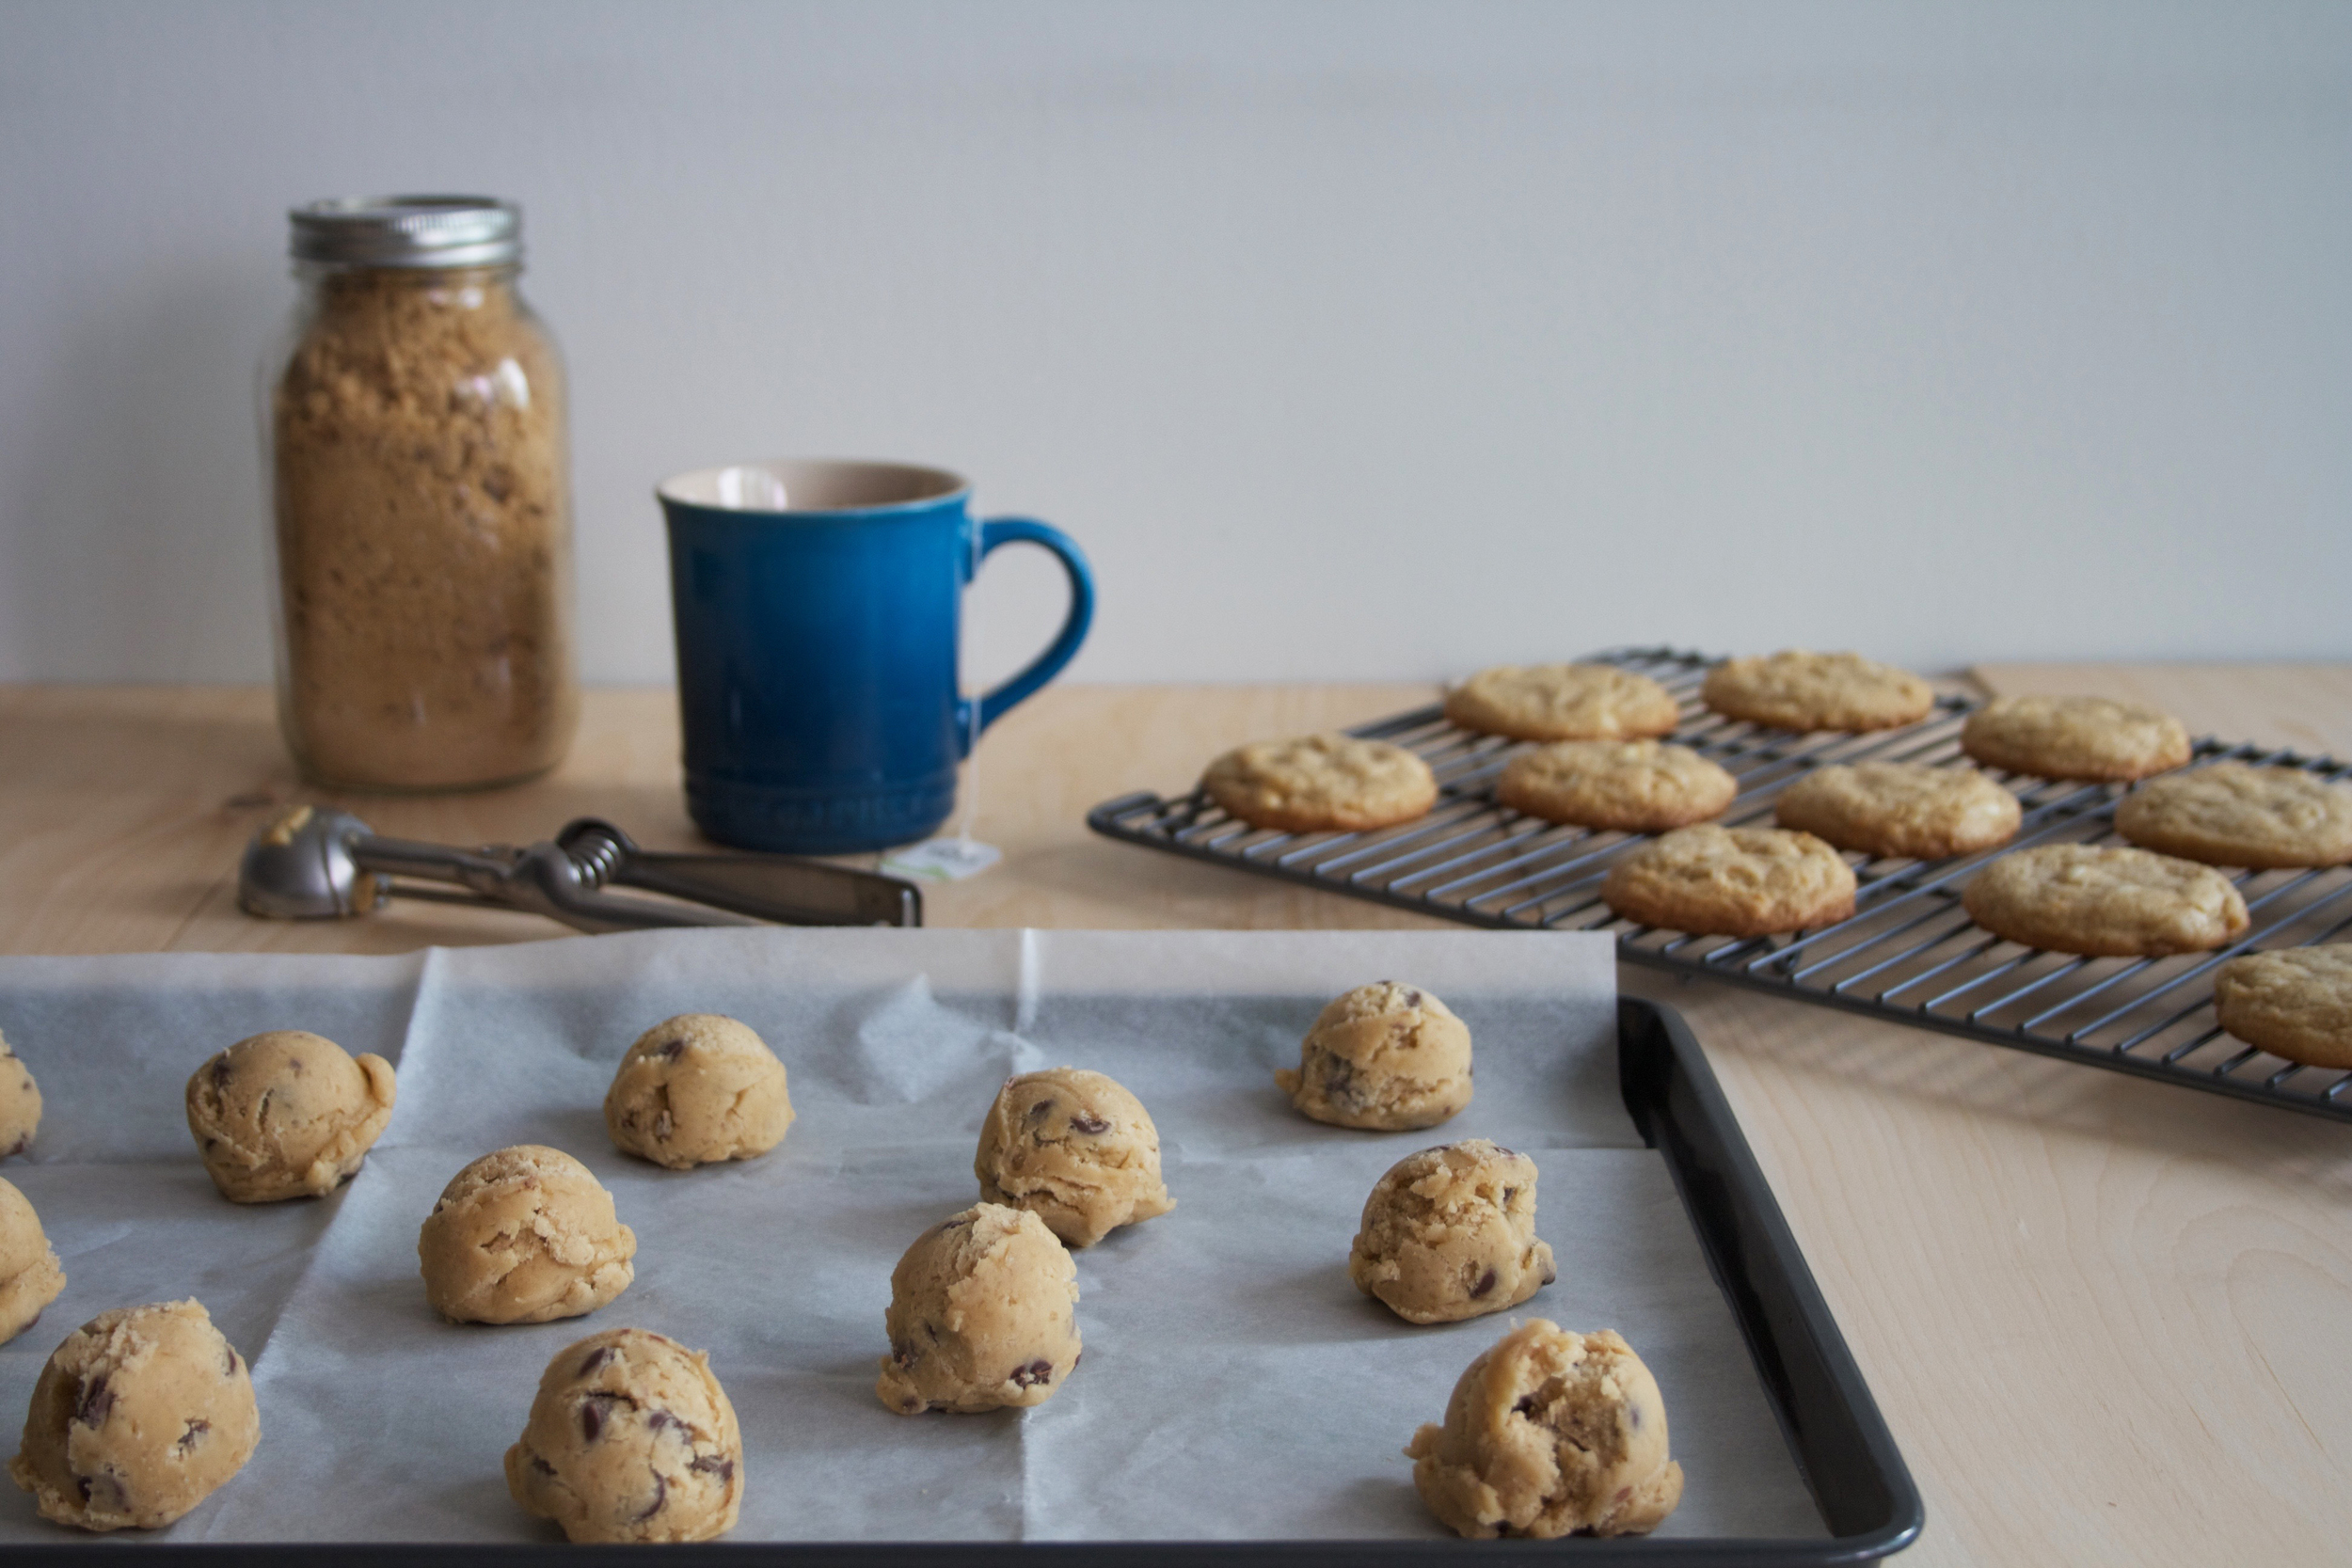
there was a time when i literally made some form of this cookie dough every single week! i'd freeze the dough and bake them per cookie in small batches so i could have them hot out of the oven every time i ate one. this is quite possibly the best base dough you can use for chocolate chip cookies. for this particular recipe i used marshmallows & milk chocolate chunks hence "rocky road".. but don't be afraid to make your own version! cranberry & white chocolate, coconut & dark chocolate chunk, mars bar... AH i've said too much! can't give away all my secrets:) note: i undercook these slightly so they are softer, chewier, and slightly raw tasting because... cookie dough.

ingredients:

  • 3.5 cups all purpose flour
  • 1 1/4 teaspoon baking soda
  • 1 1/2 teaspoon baking powder
  • 1 1/2 teaspoon salt
  • 2 sticks unsalted butter, softened
  • 1 1/4 cup light brown sugar
  • 1 cup raw sugar (white sugar will work too)
  • 2 eggs
  • 2 teaspoon pure vanilla extract
  • 300g milk chocolate, chopped
  • 1 cup mini marshmallows

directions:

  1. preheat oven to 325 degrees.
  2. in the bowl of a stand mixer, cream butter, brown sugar, and raw sugar until light and fluffy.
  3. add eggs one at a time, followed by vanilla extract.
  4. in a separate bowl mix flour, baking soda, baking powder, and salt. sift slowly into wet ingredients.
  5. once all the flour mixture has been incorporated, stir in milk chocolate chunks and marshmallows.
  6. wrap in cling wrap and let the dough rest in the fridge for minimum an hour, but for best results over night.
  7. once dough is rested, roll into desired cookie size and bake for 8-12 minutes (once edges just slightly brown)
  8. let cool & enjoy!

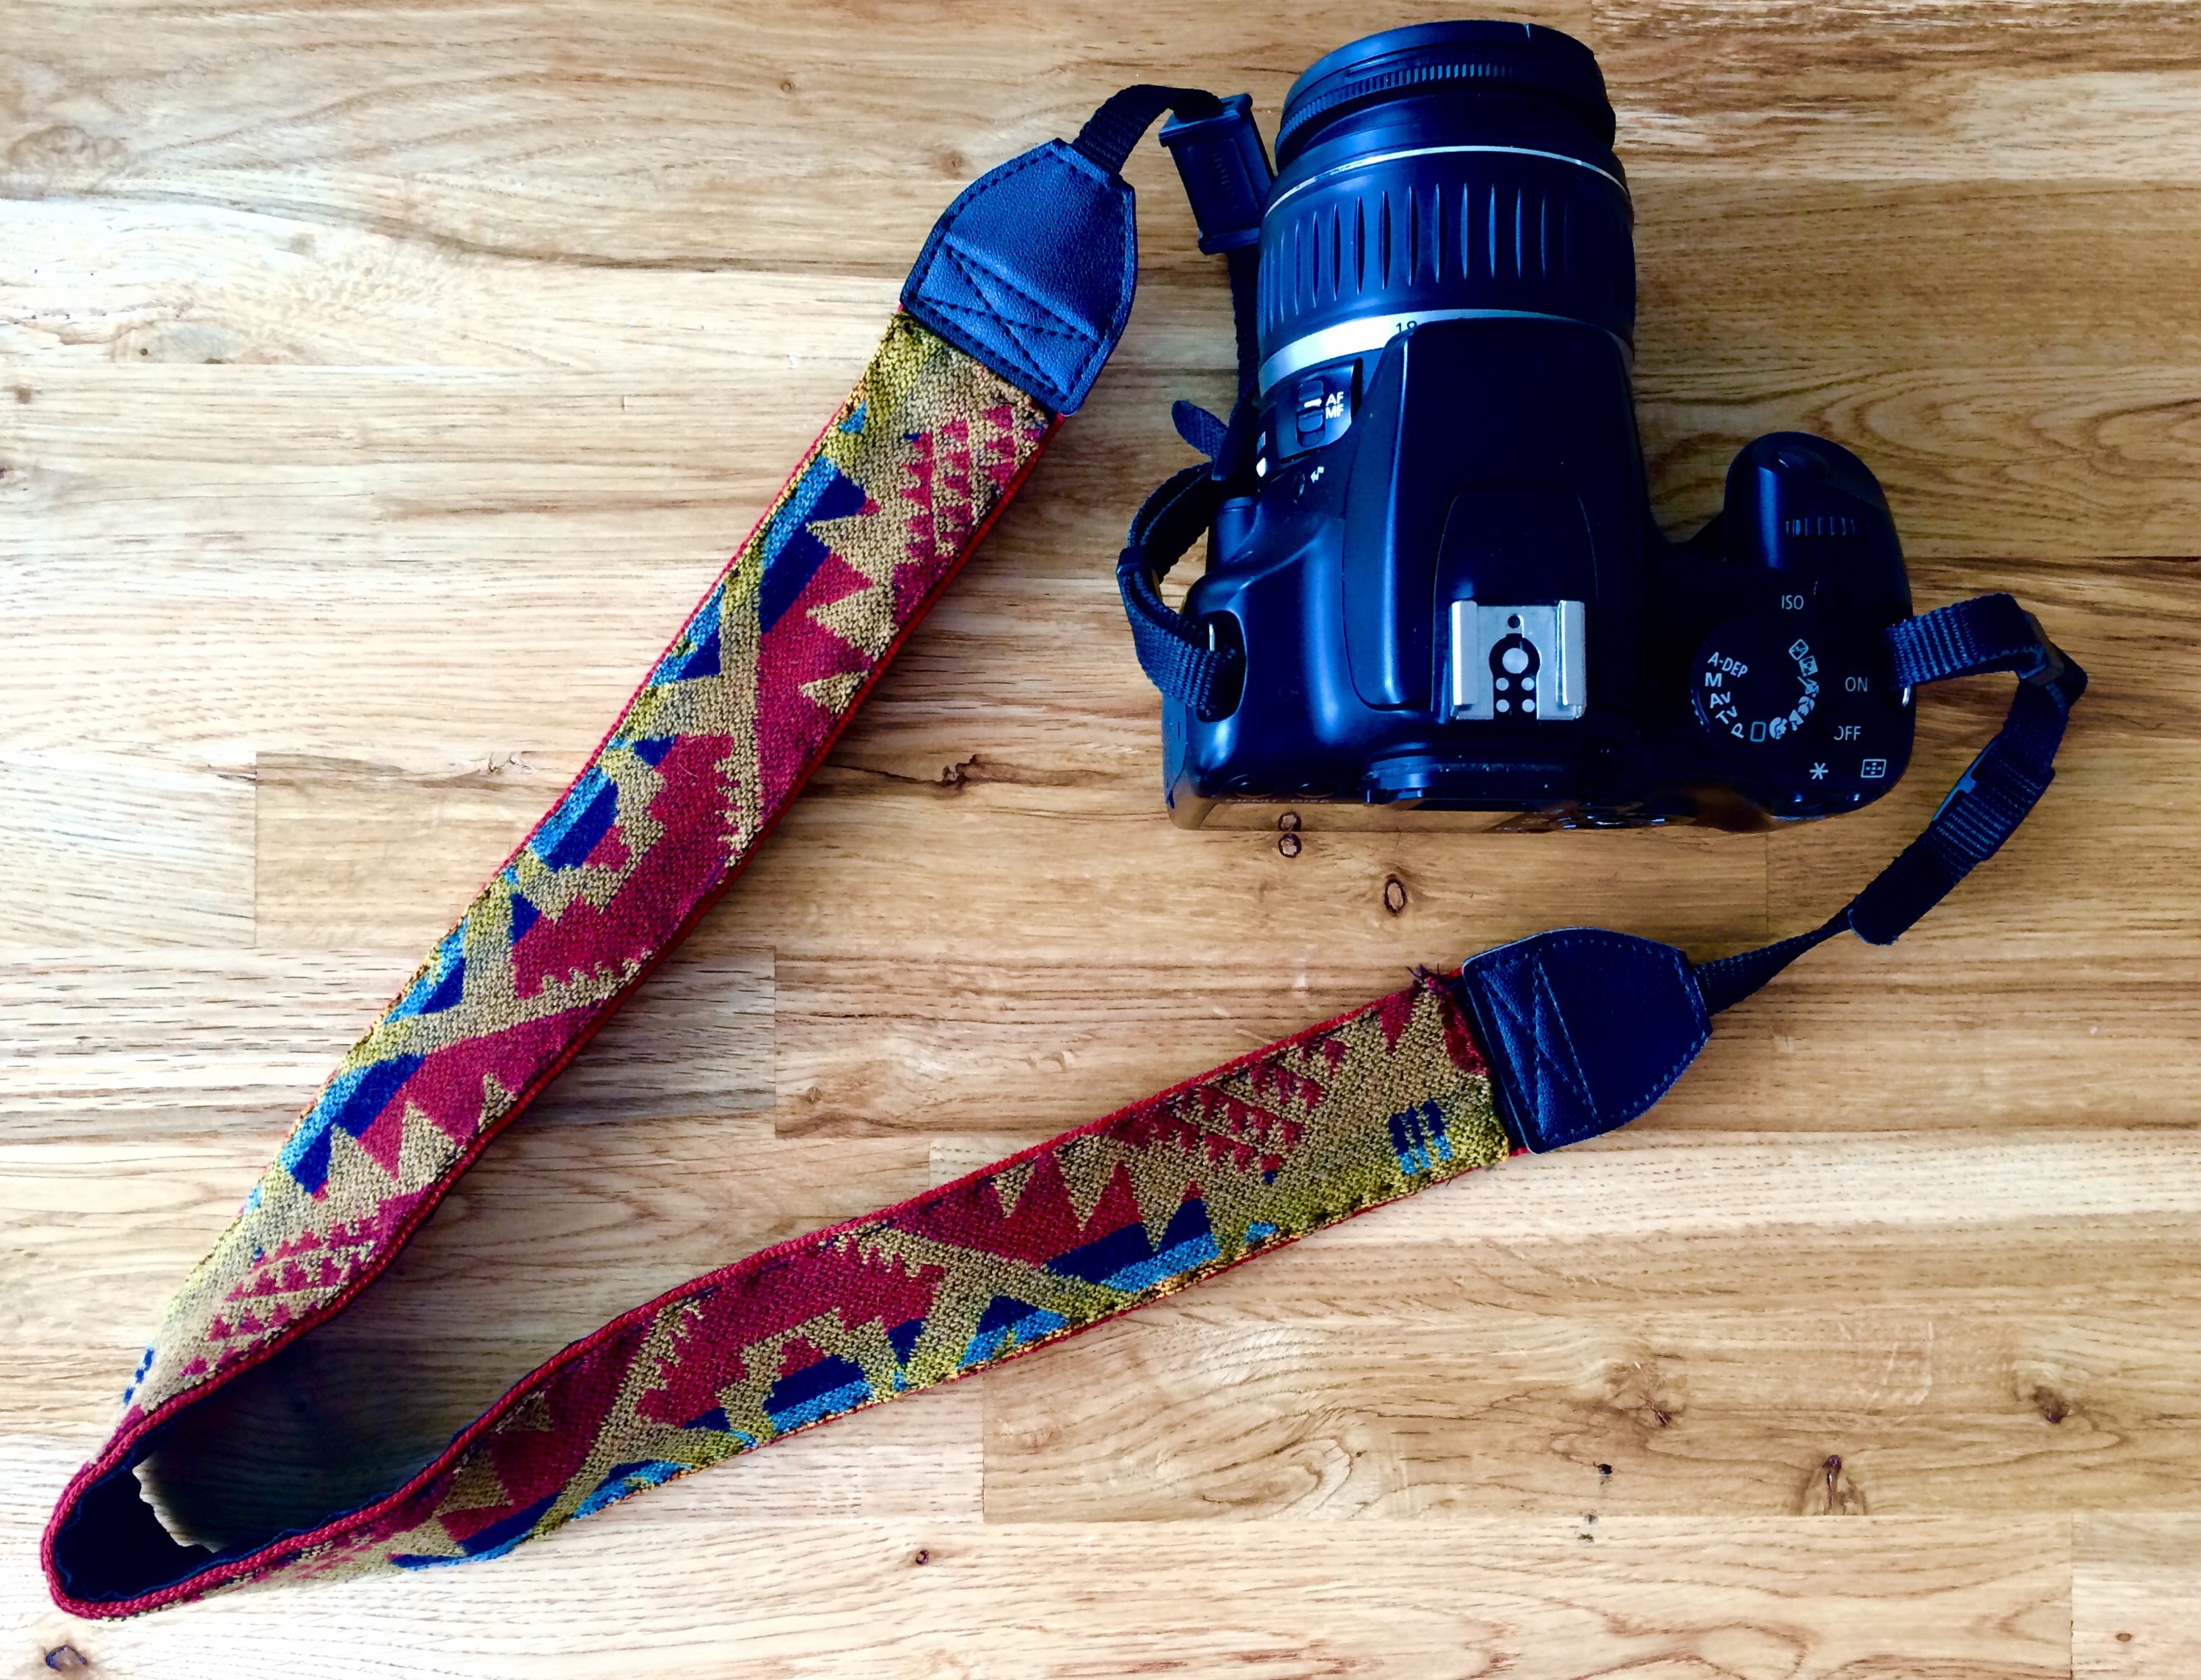
DIY CAMERA STRAP


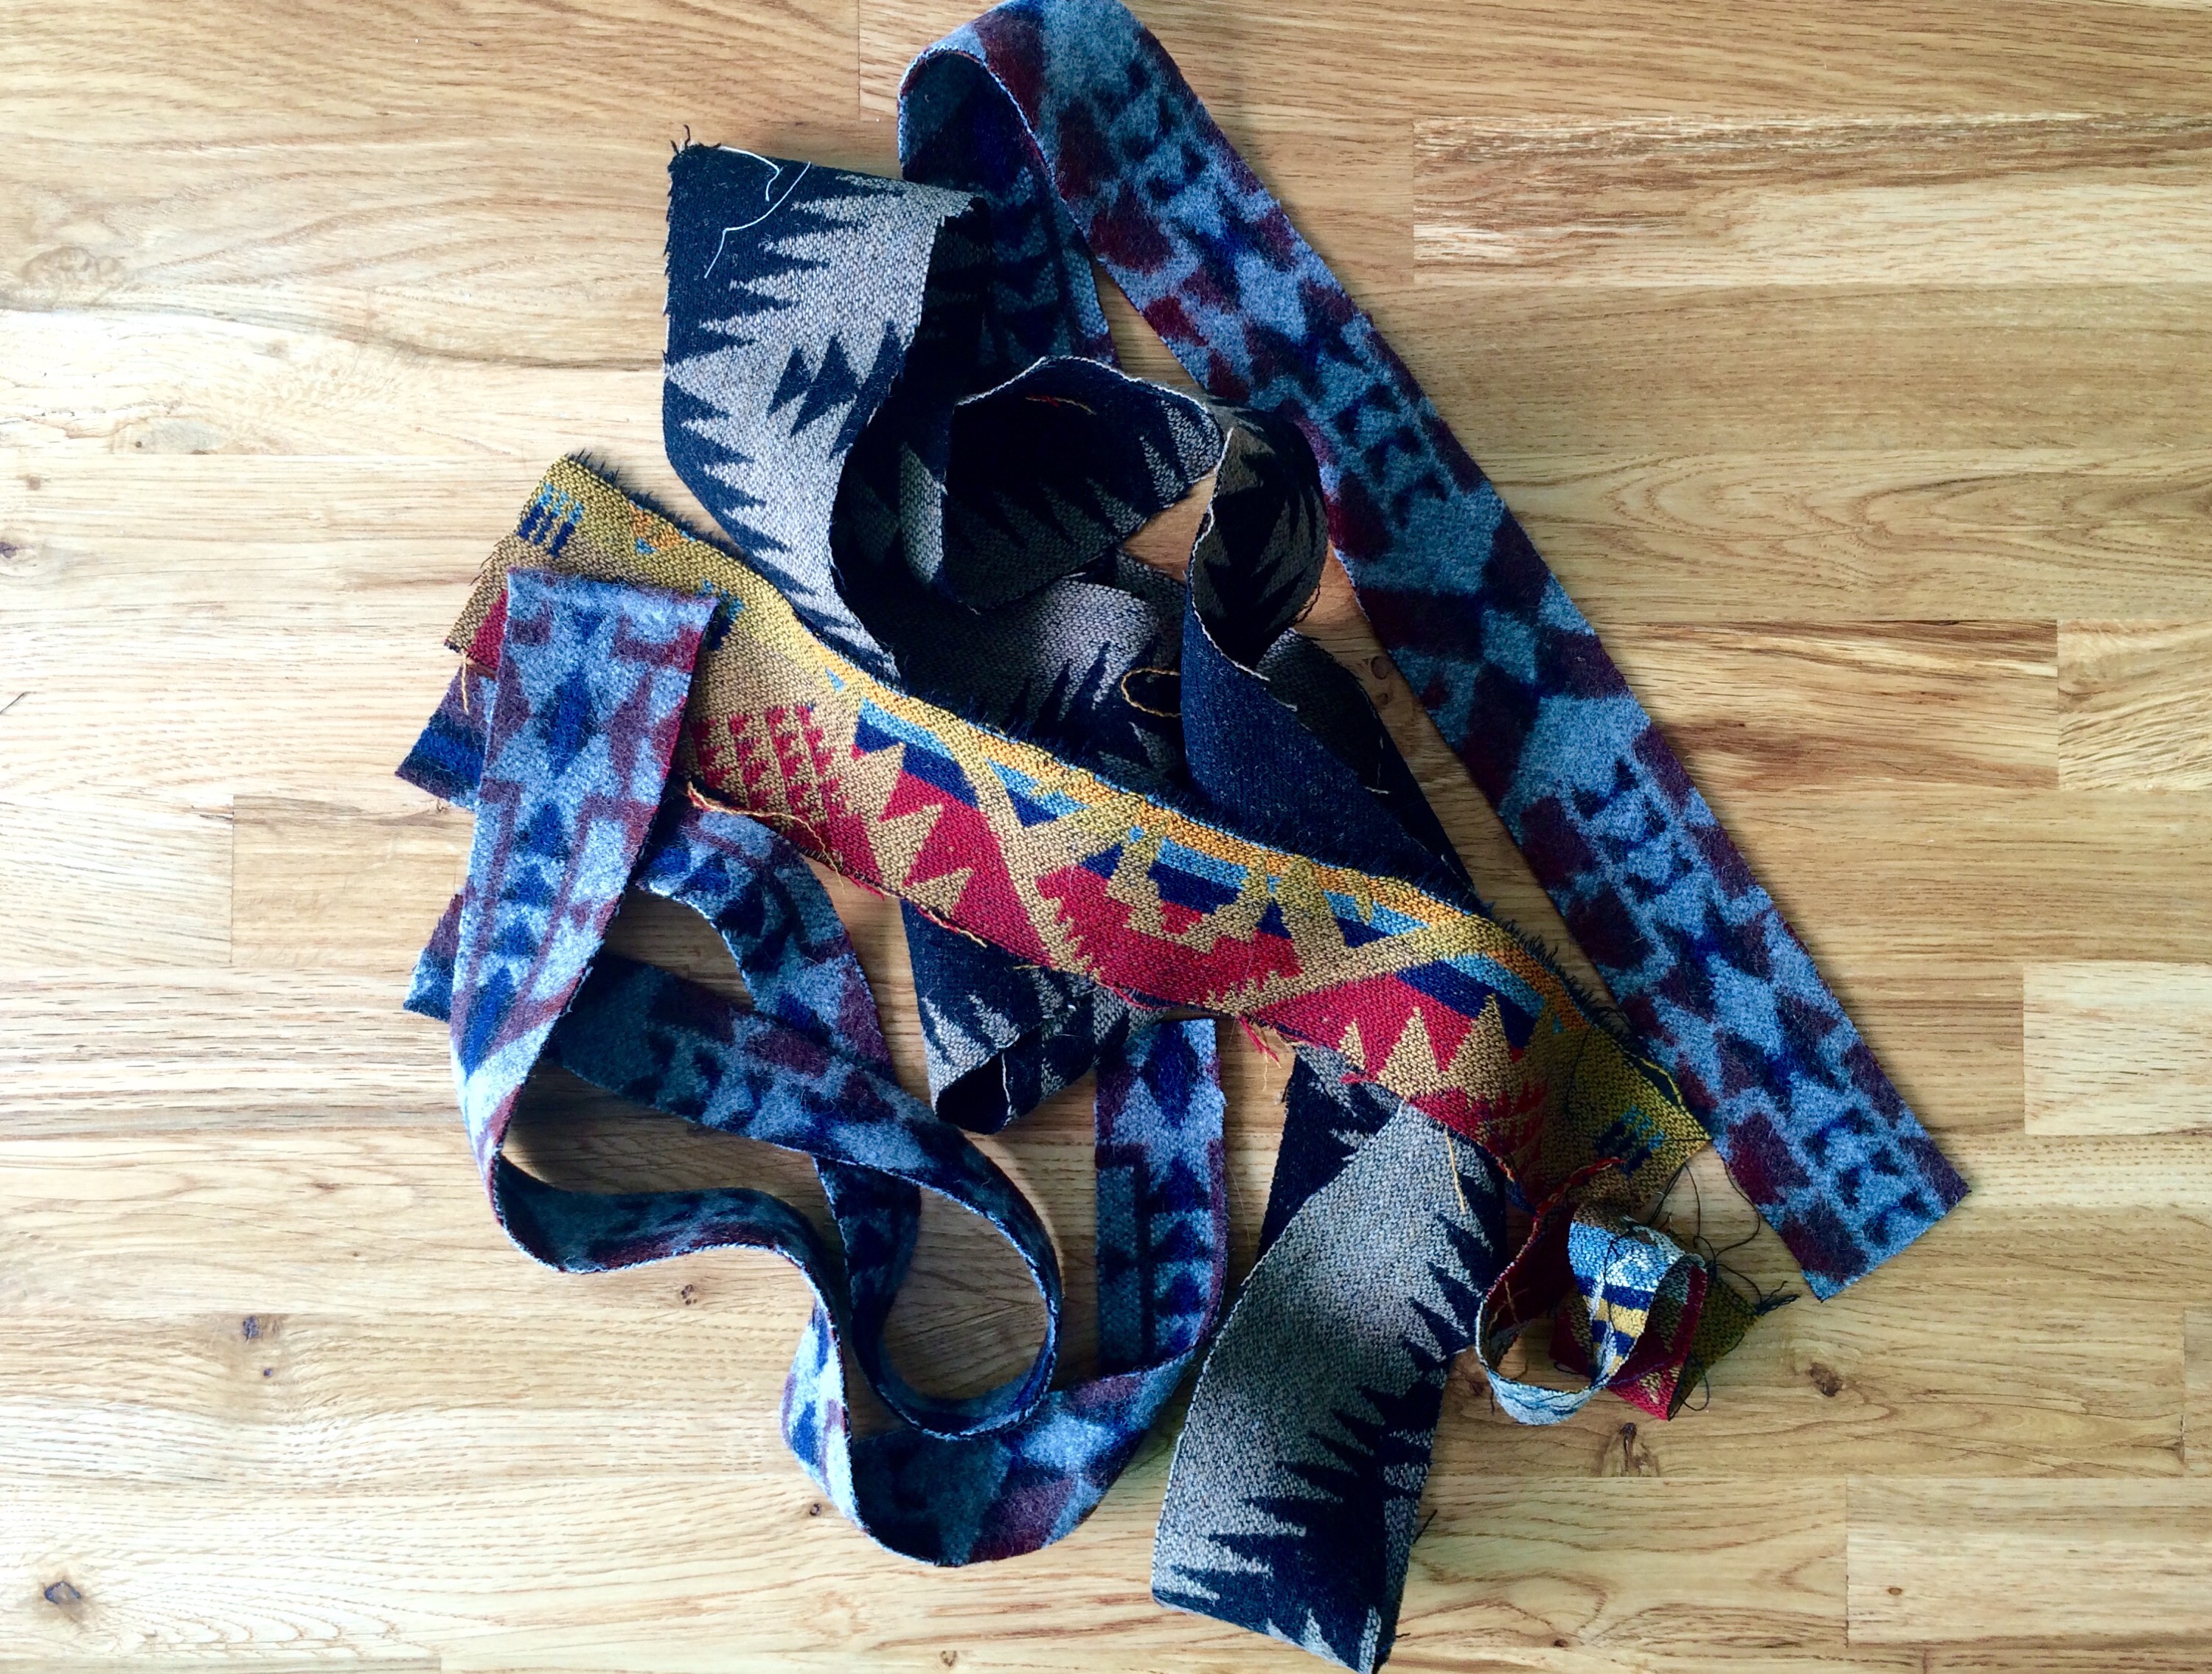
if you are a food blogger, you probably take a lot of photos! which means, you probably own a camera of some sort. this morning i decided i wanted to turn my plain black camera strap into something fun! something more me. so i searched through some pendleton fabric scraps i had lying around from my etsy shop & found the perfect little piece. this piece would have been thrown out if i had not come up with this idea! what a waste that would have been;) i will teach you how to turn your boring old black camera strap into something as funky as your personality and style! this may not be a food post, but DIY anything are fun. you don't need a machine, or anything fancy! just a needle, thread, and your two hands. here we go.

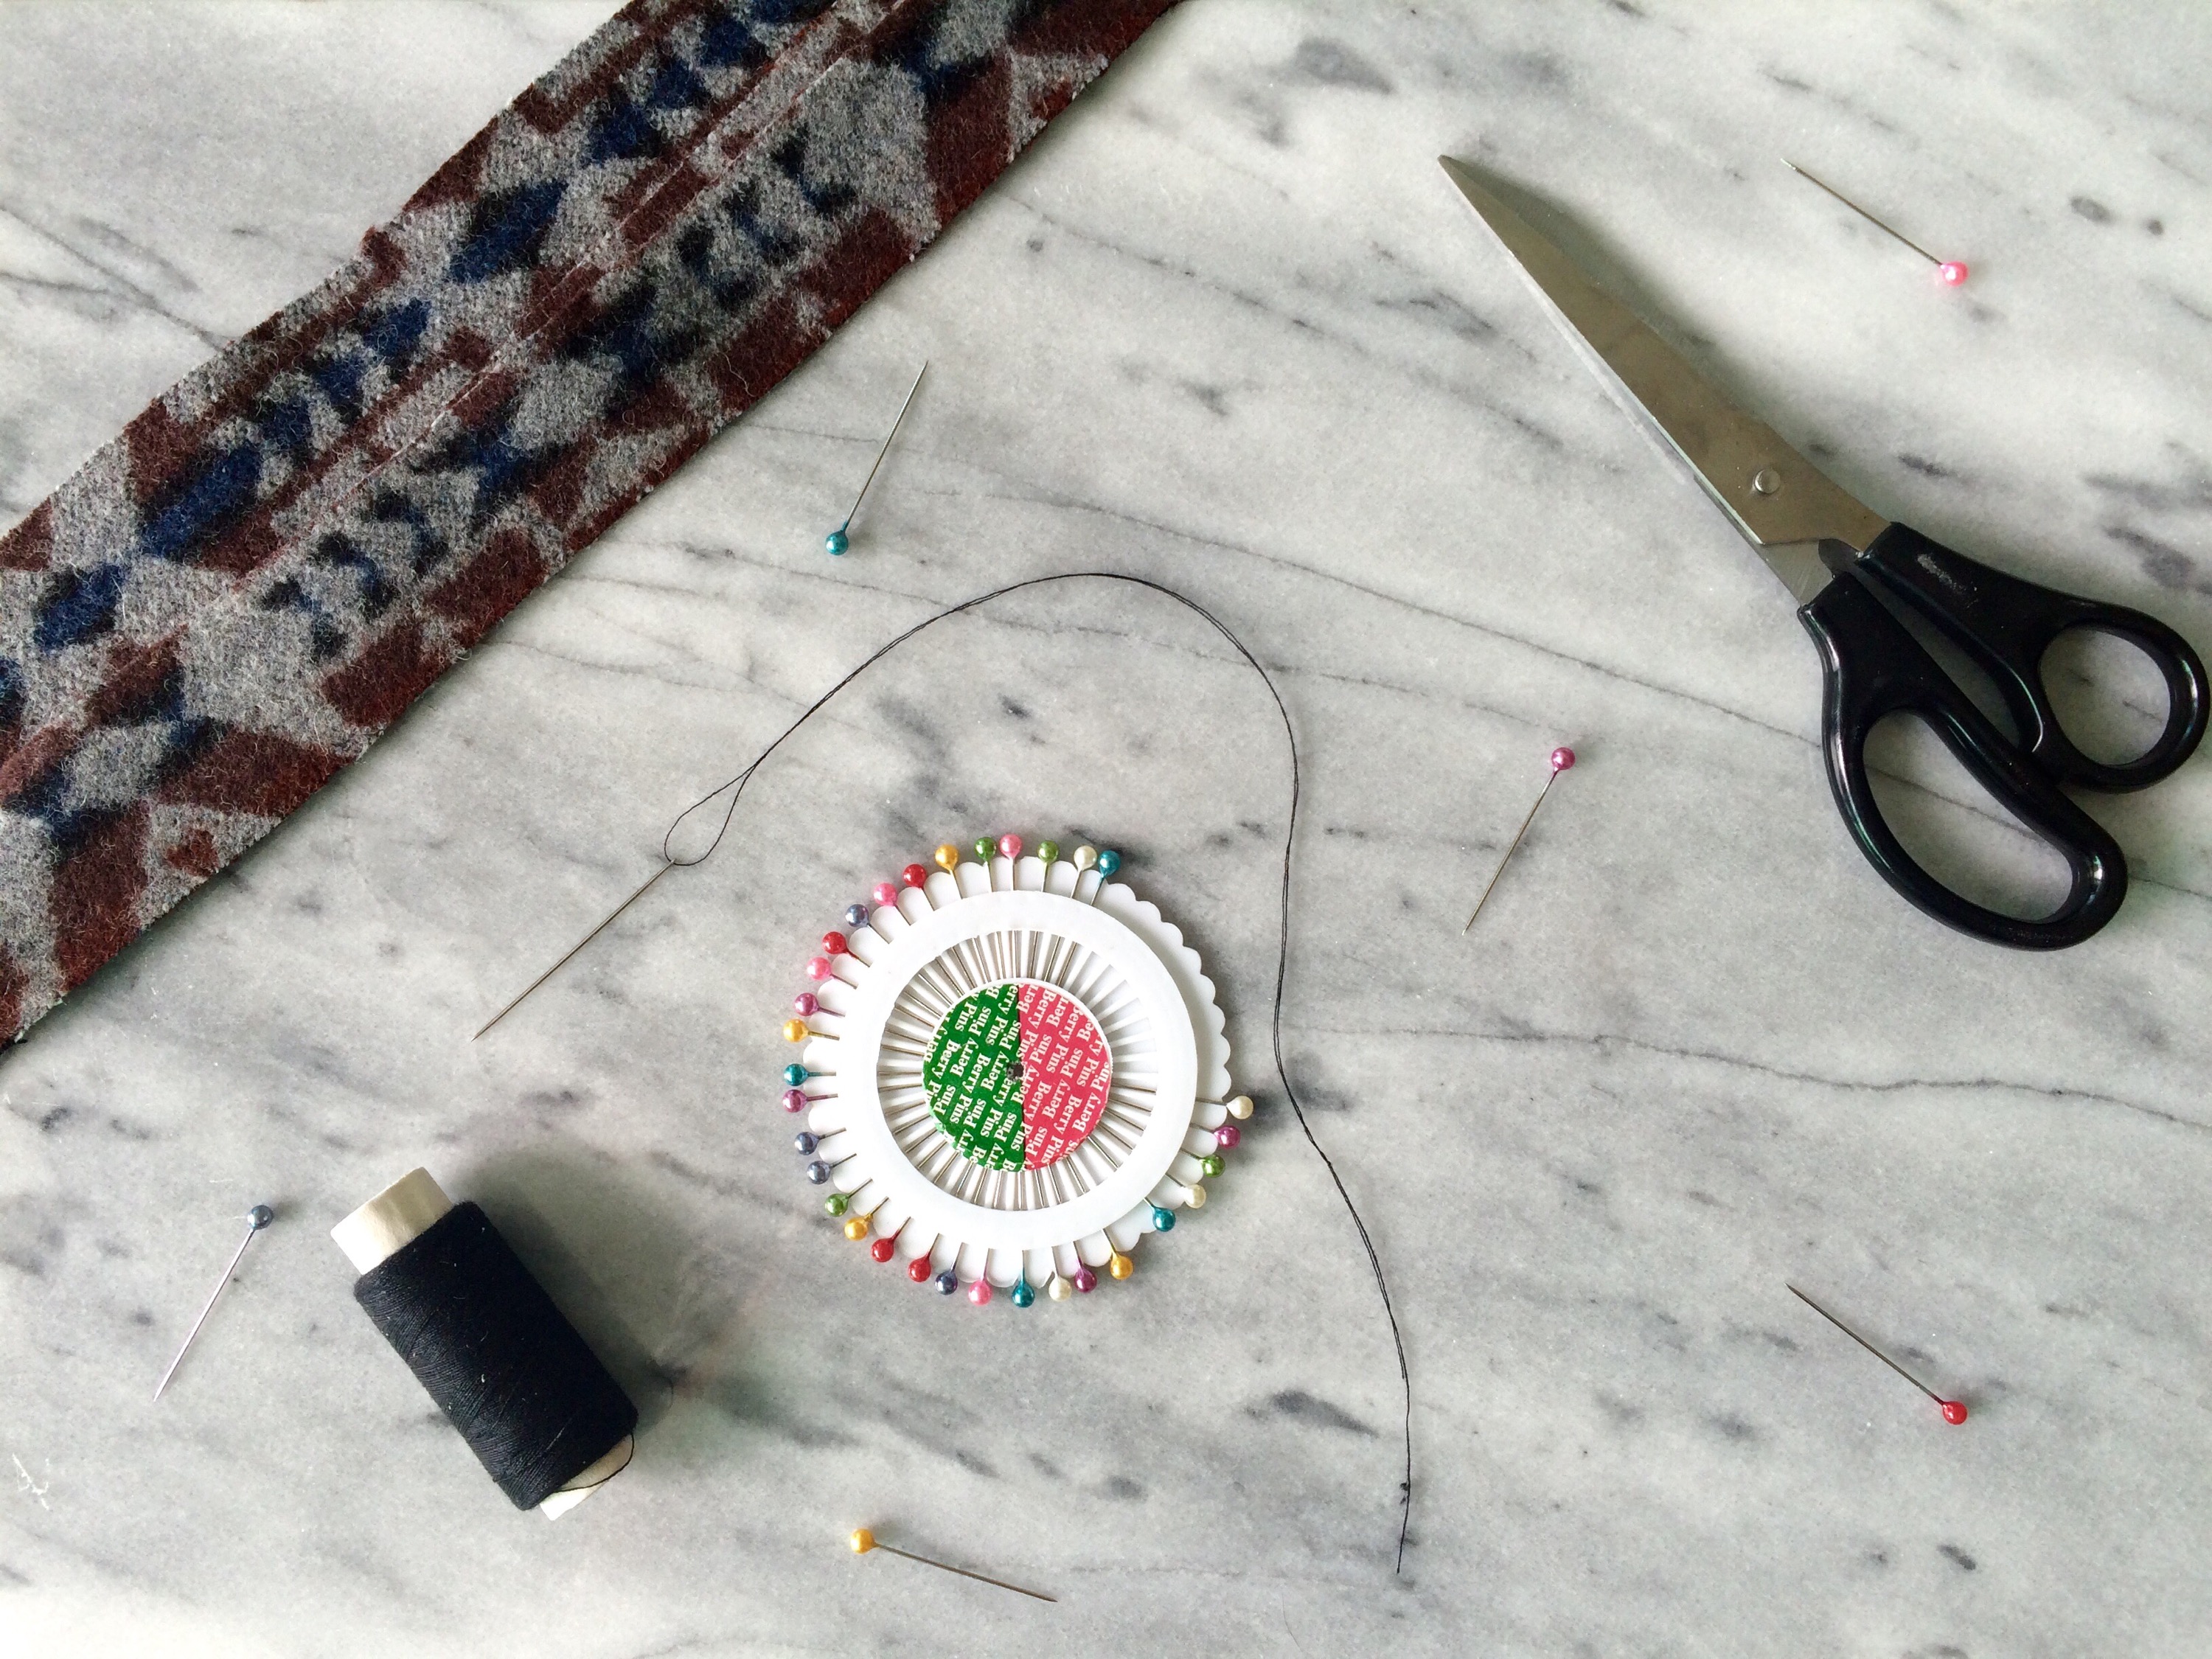
ingredients;) errr... you will need:

  • sewing needle
  • thread to match fabric of choice
  • scissors
  • pins
  • scrap of your favourite fabric [i used pendleton's mini journey west]
  • existing camera strap [i used the one my canon rebel came with]

directions:

  1. cut fabric to match the length and width of the camera strap, leaving an additional 1/2 inch on each end and side.
  2. begin to pin fabric to existing camera strap carefully folding the 1/2 inch sides under, but DO NOT pin it to the back side of the strap, just tuck it under & into the top.
  3. once the fabric is pinned straight and neatly, use a needle and thread and begin to top stitch the fabric down to the ends and sides of the camera strap (NOTE: i did not top stitch all the way through to the textured back side of the strap as i didn't want the seams to look messy, i only stitched through the first layer of the existing camera strap fabric.
  4. continue in until all sides are sewn down neatly. take the time & be patient as it is tedious work, but once finished you too will have a camera strap that looks $50 worth a million bucks:)