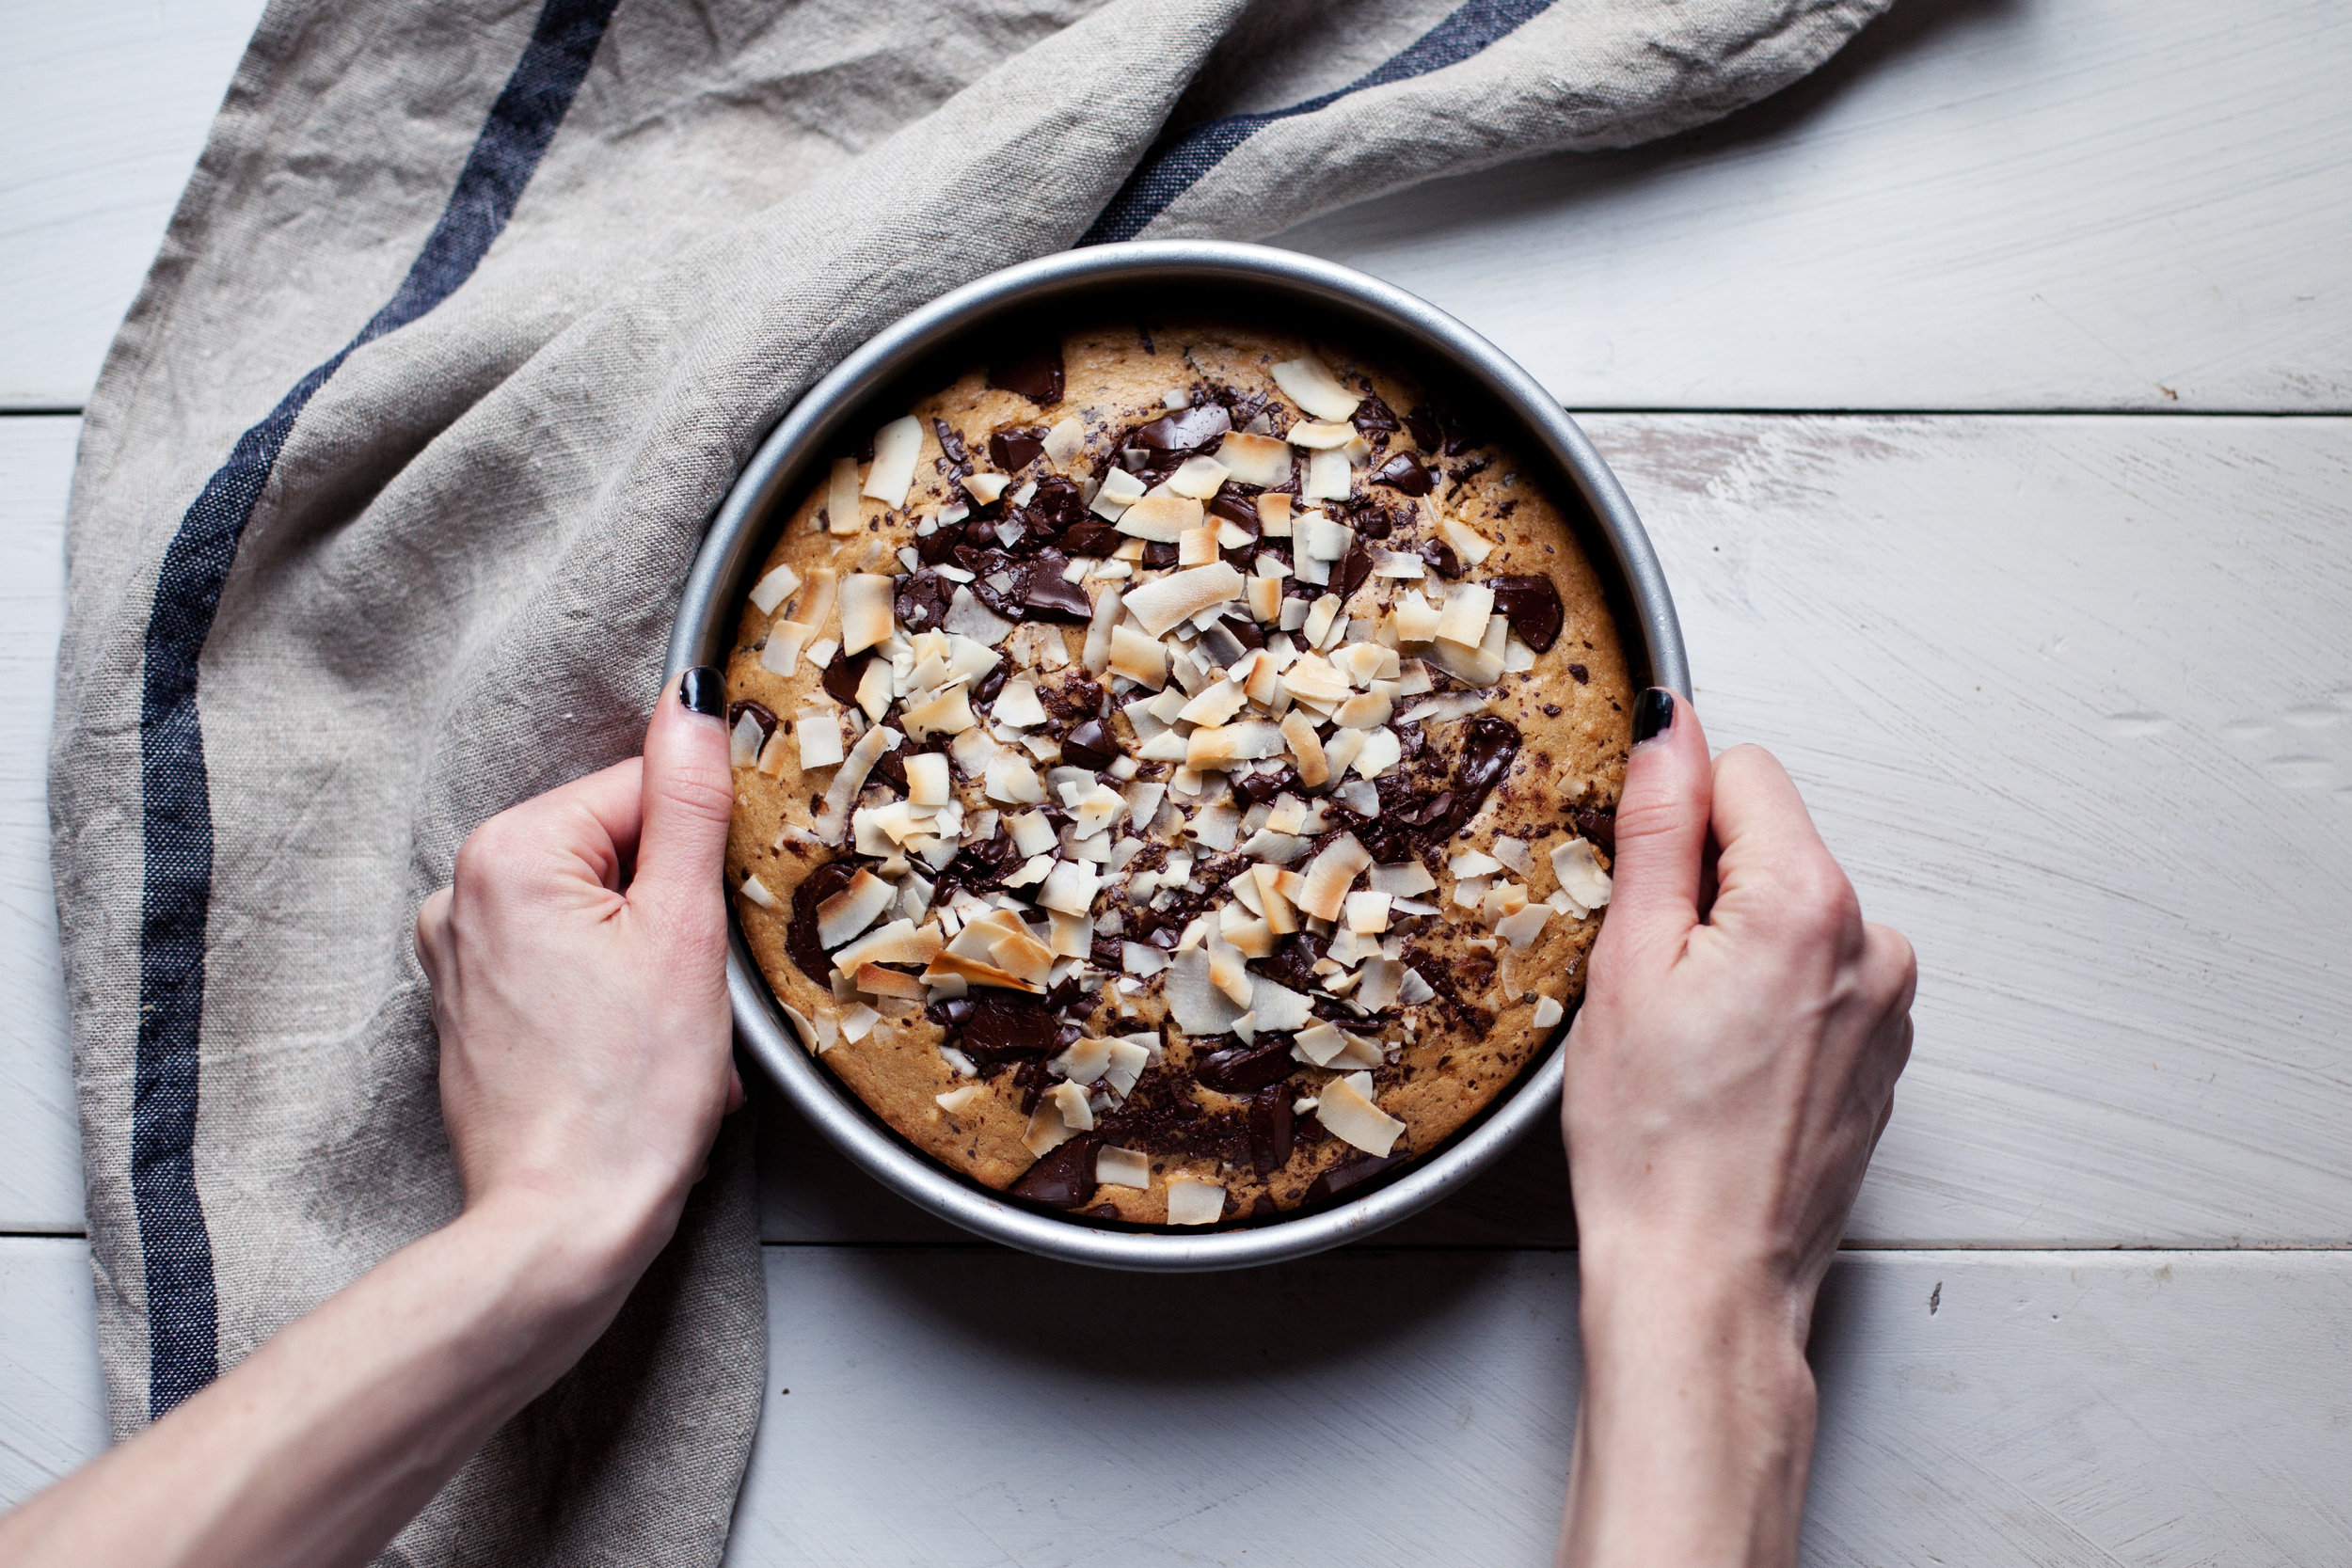
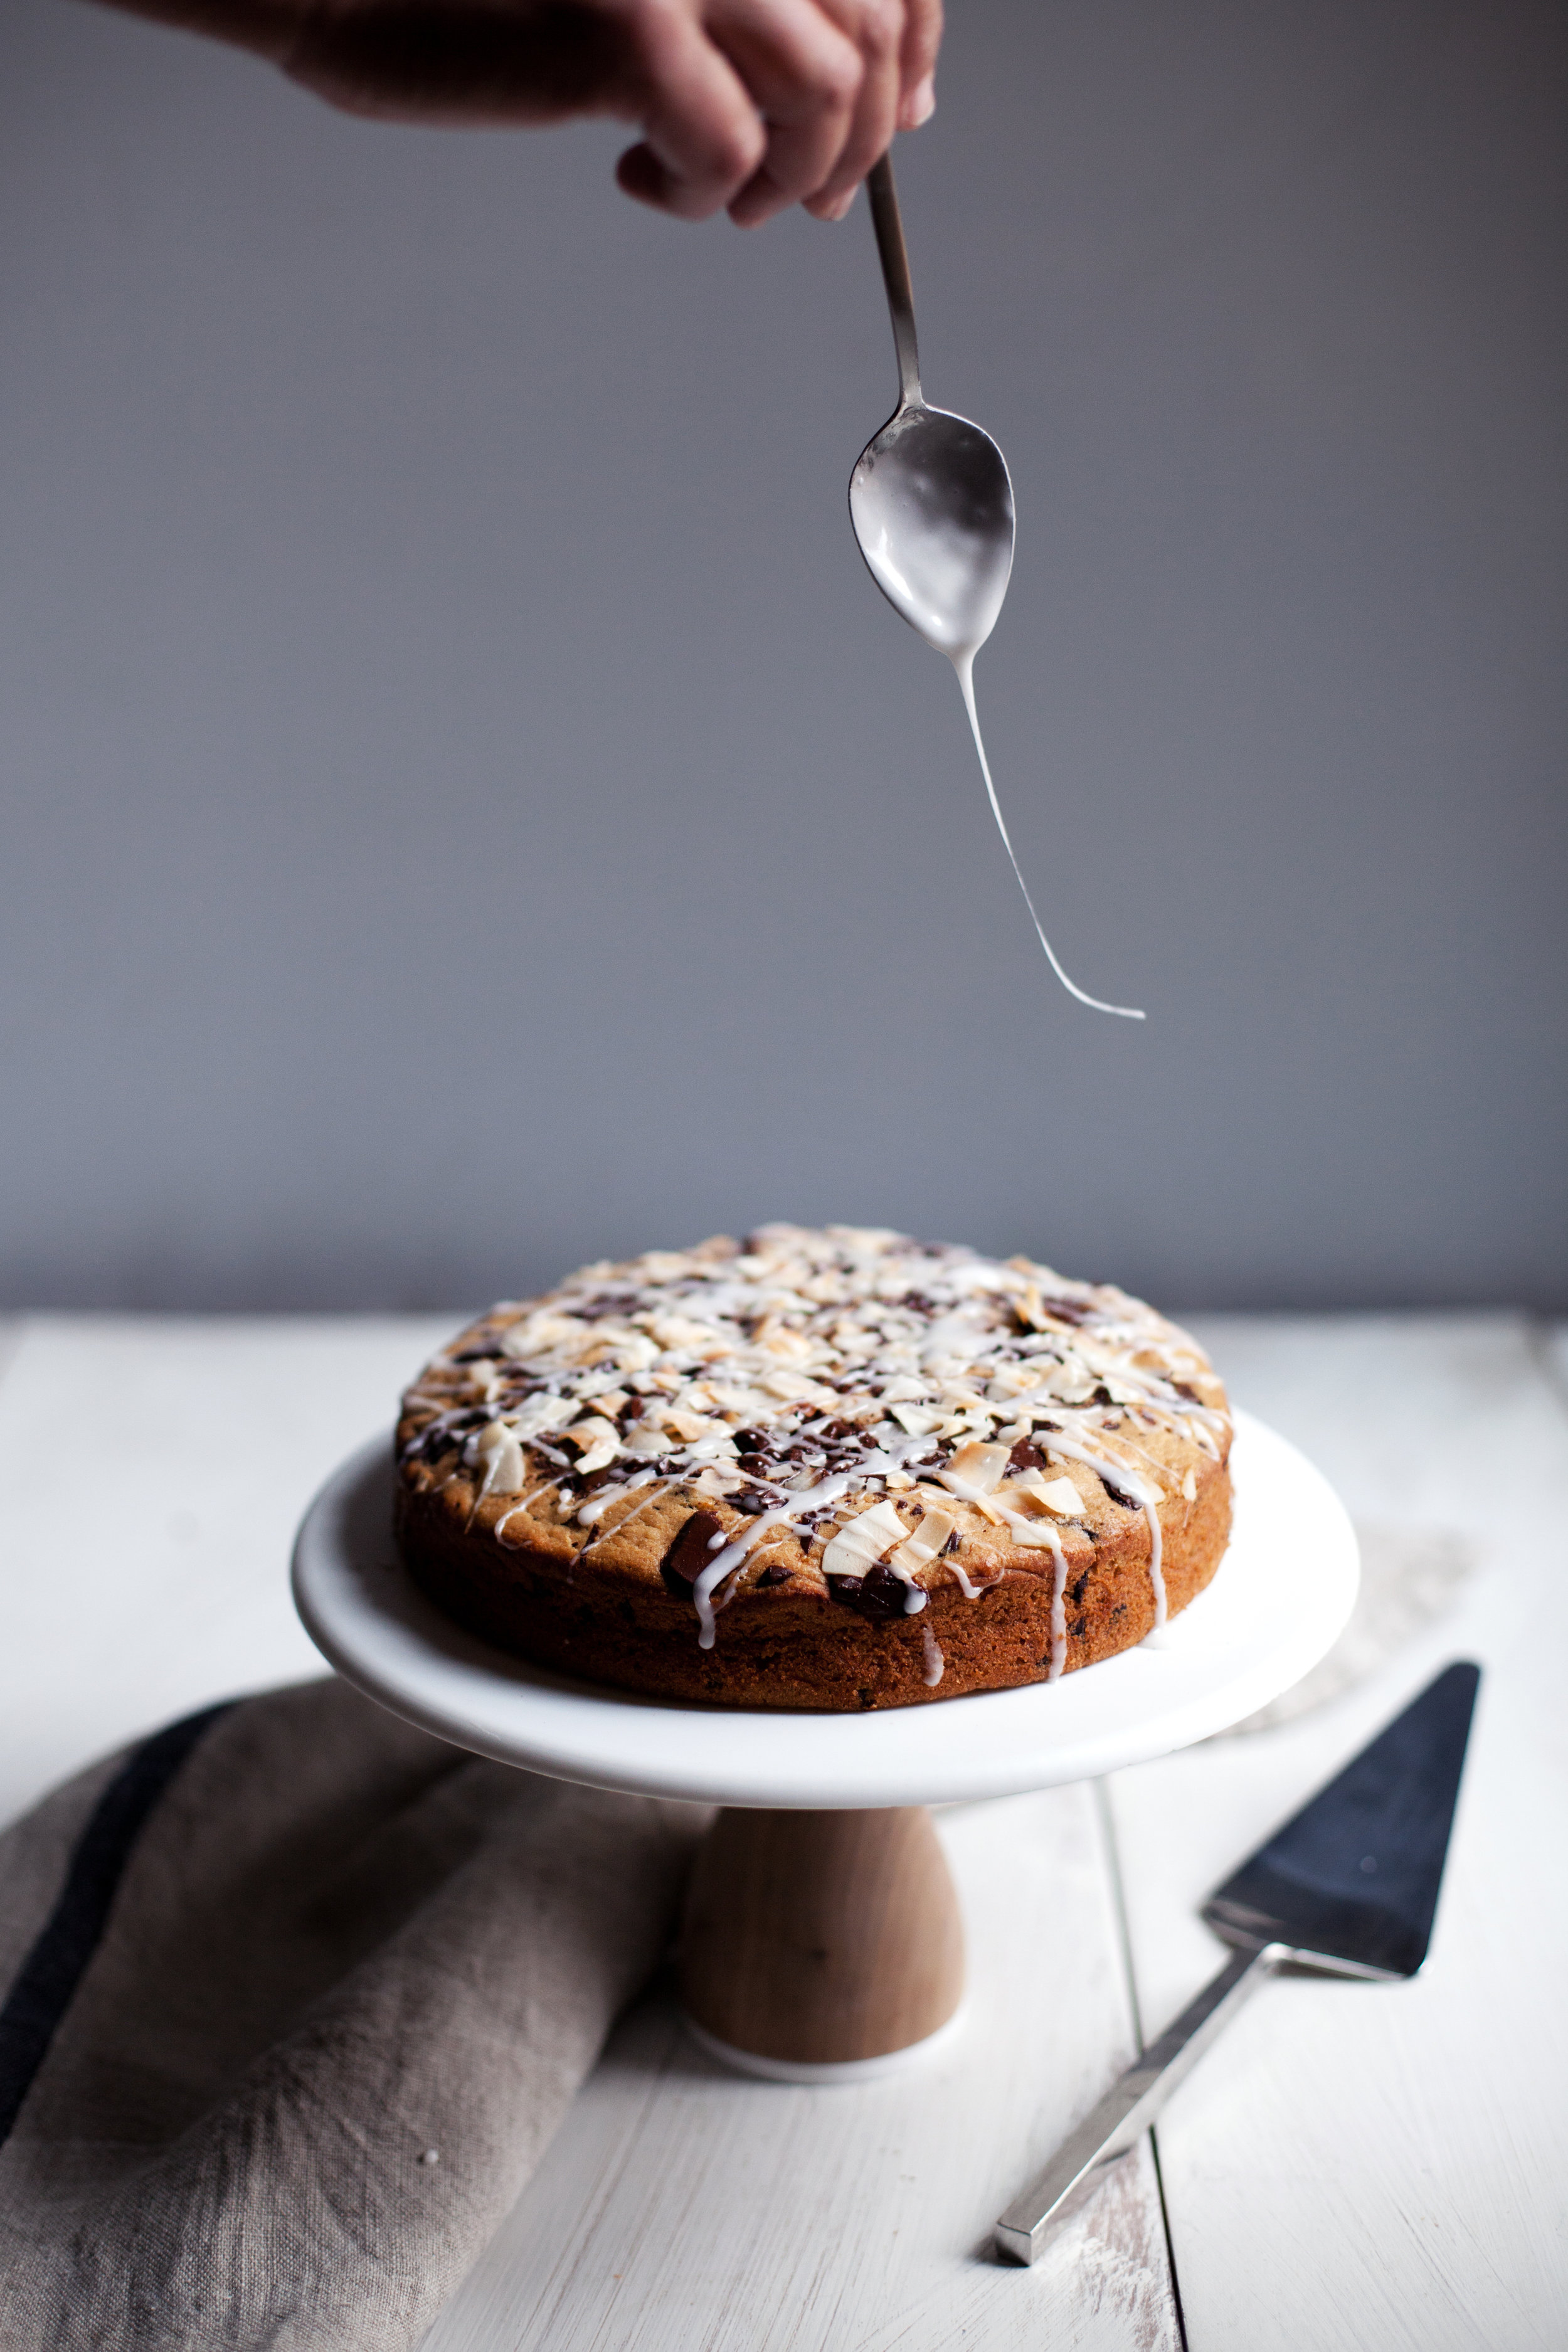
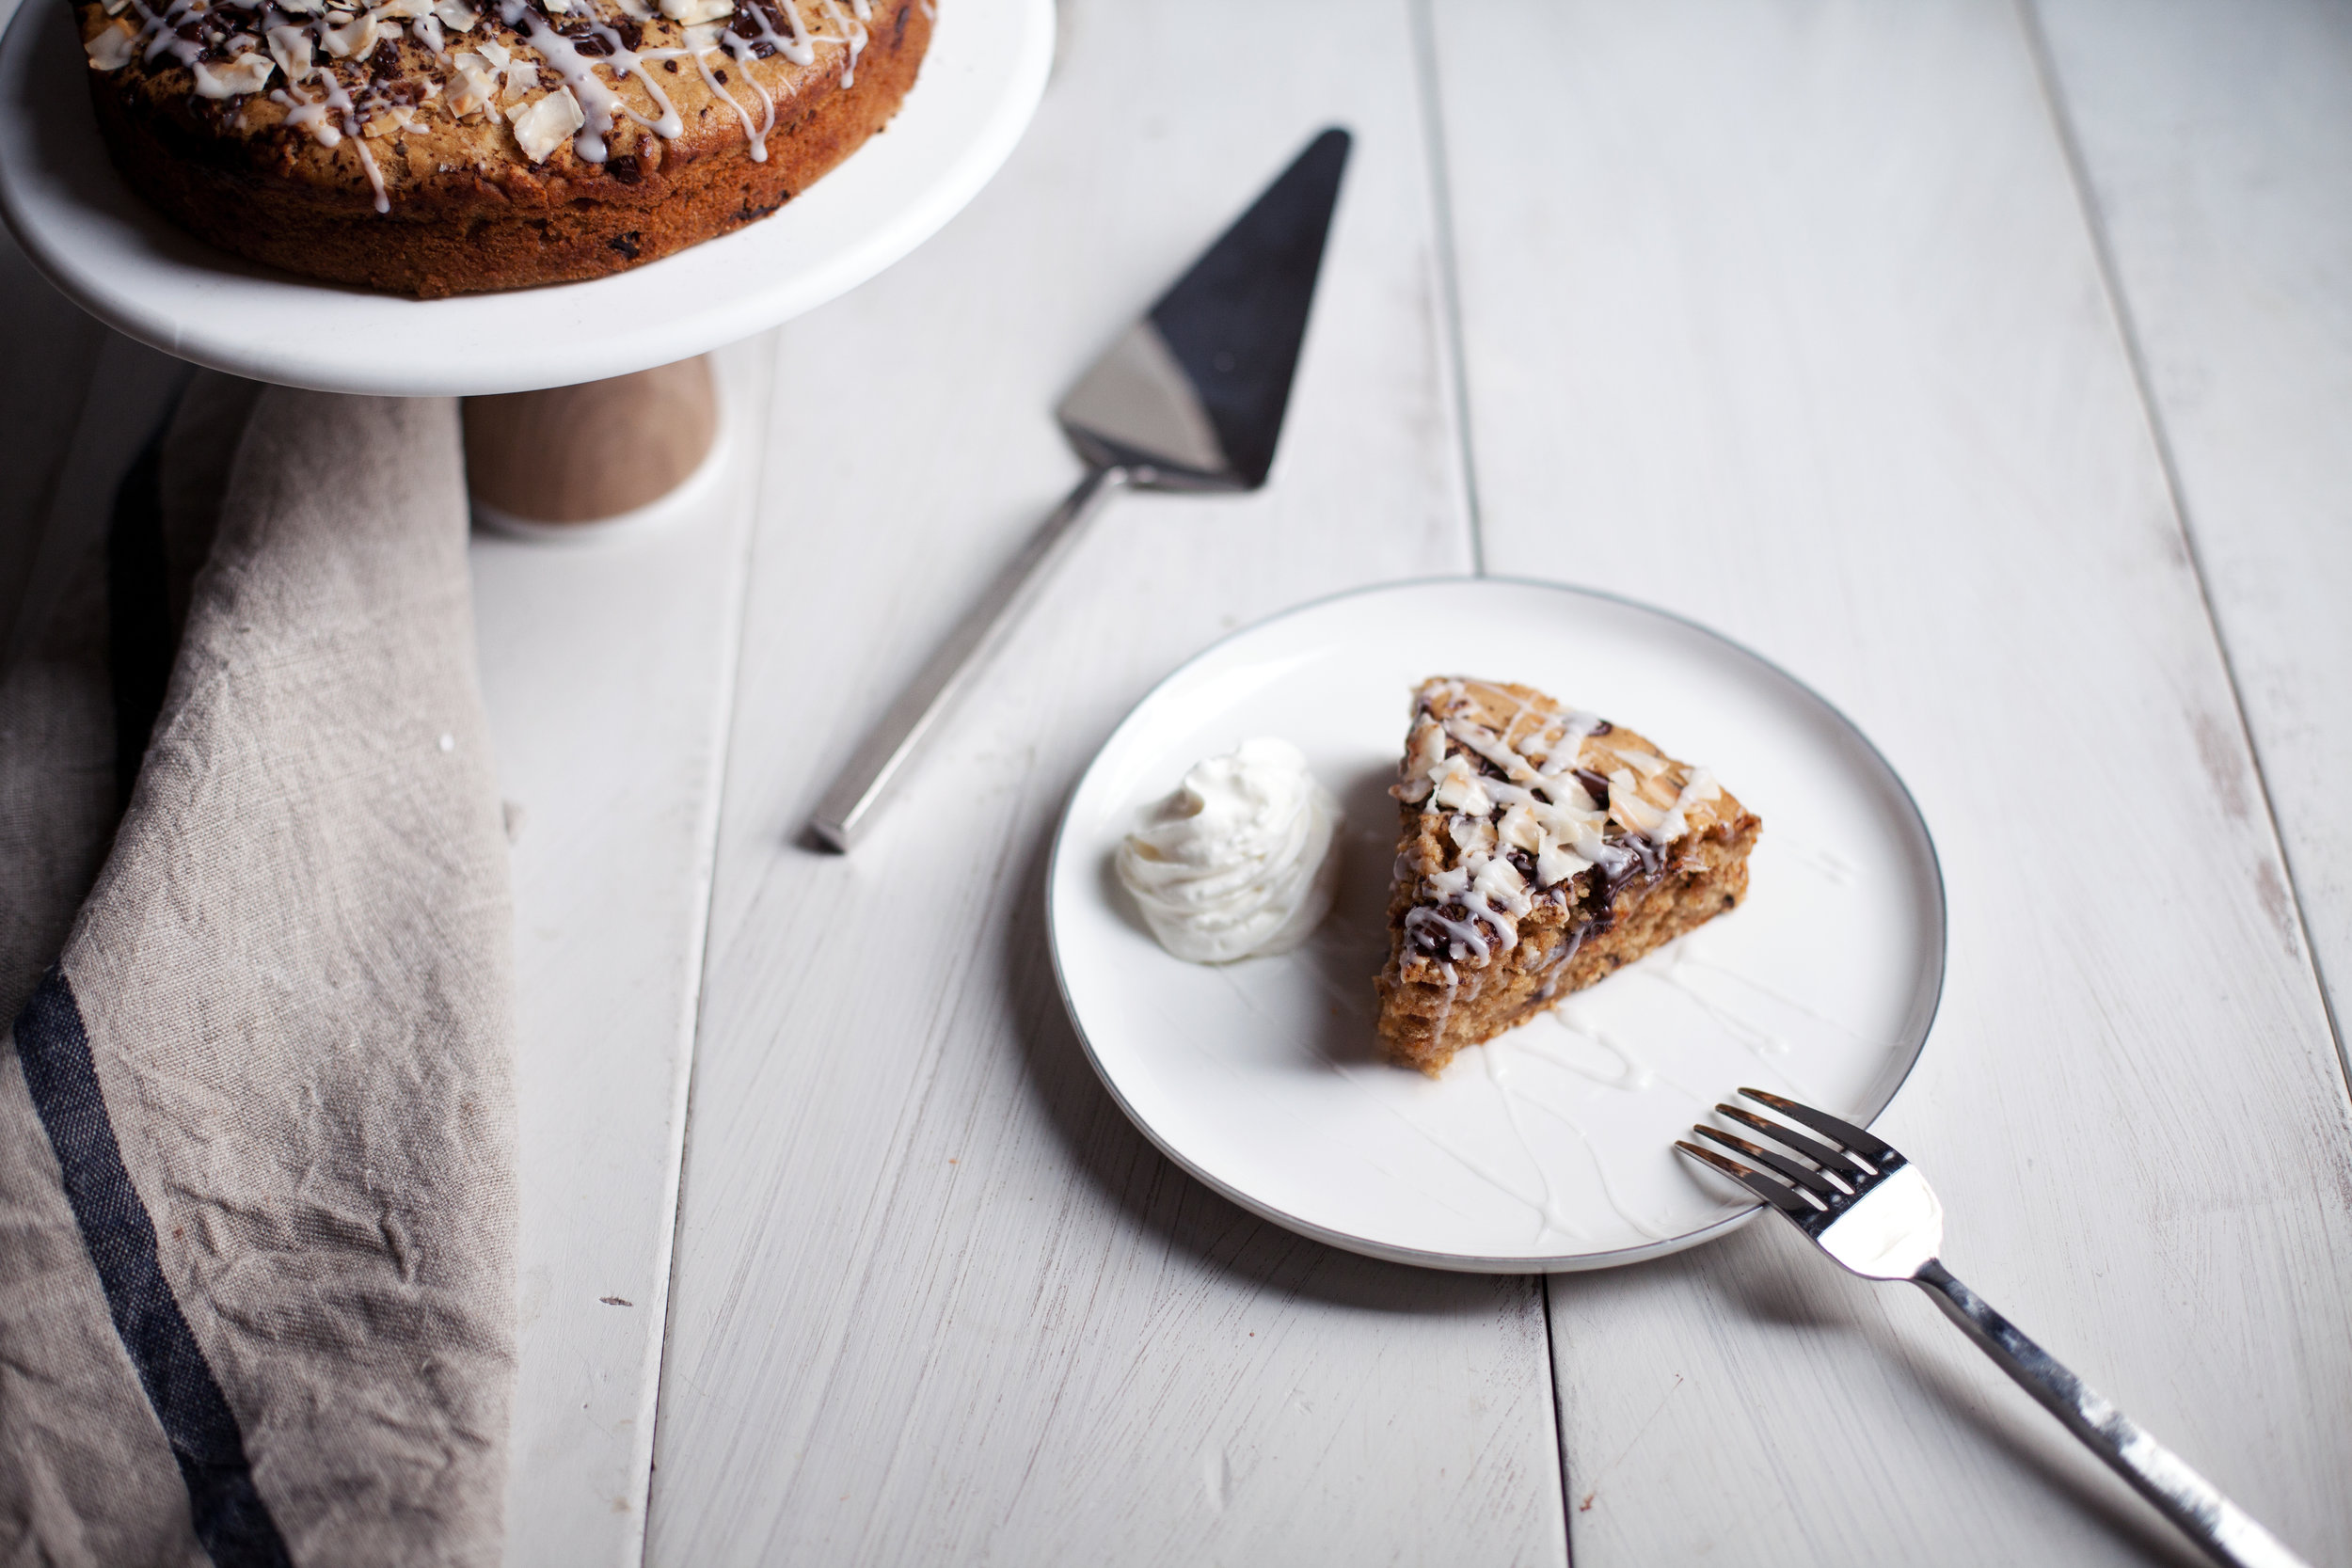
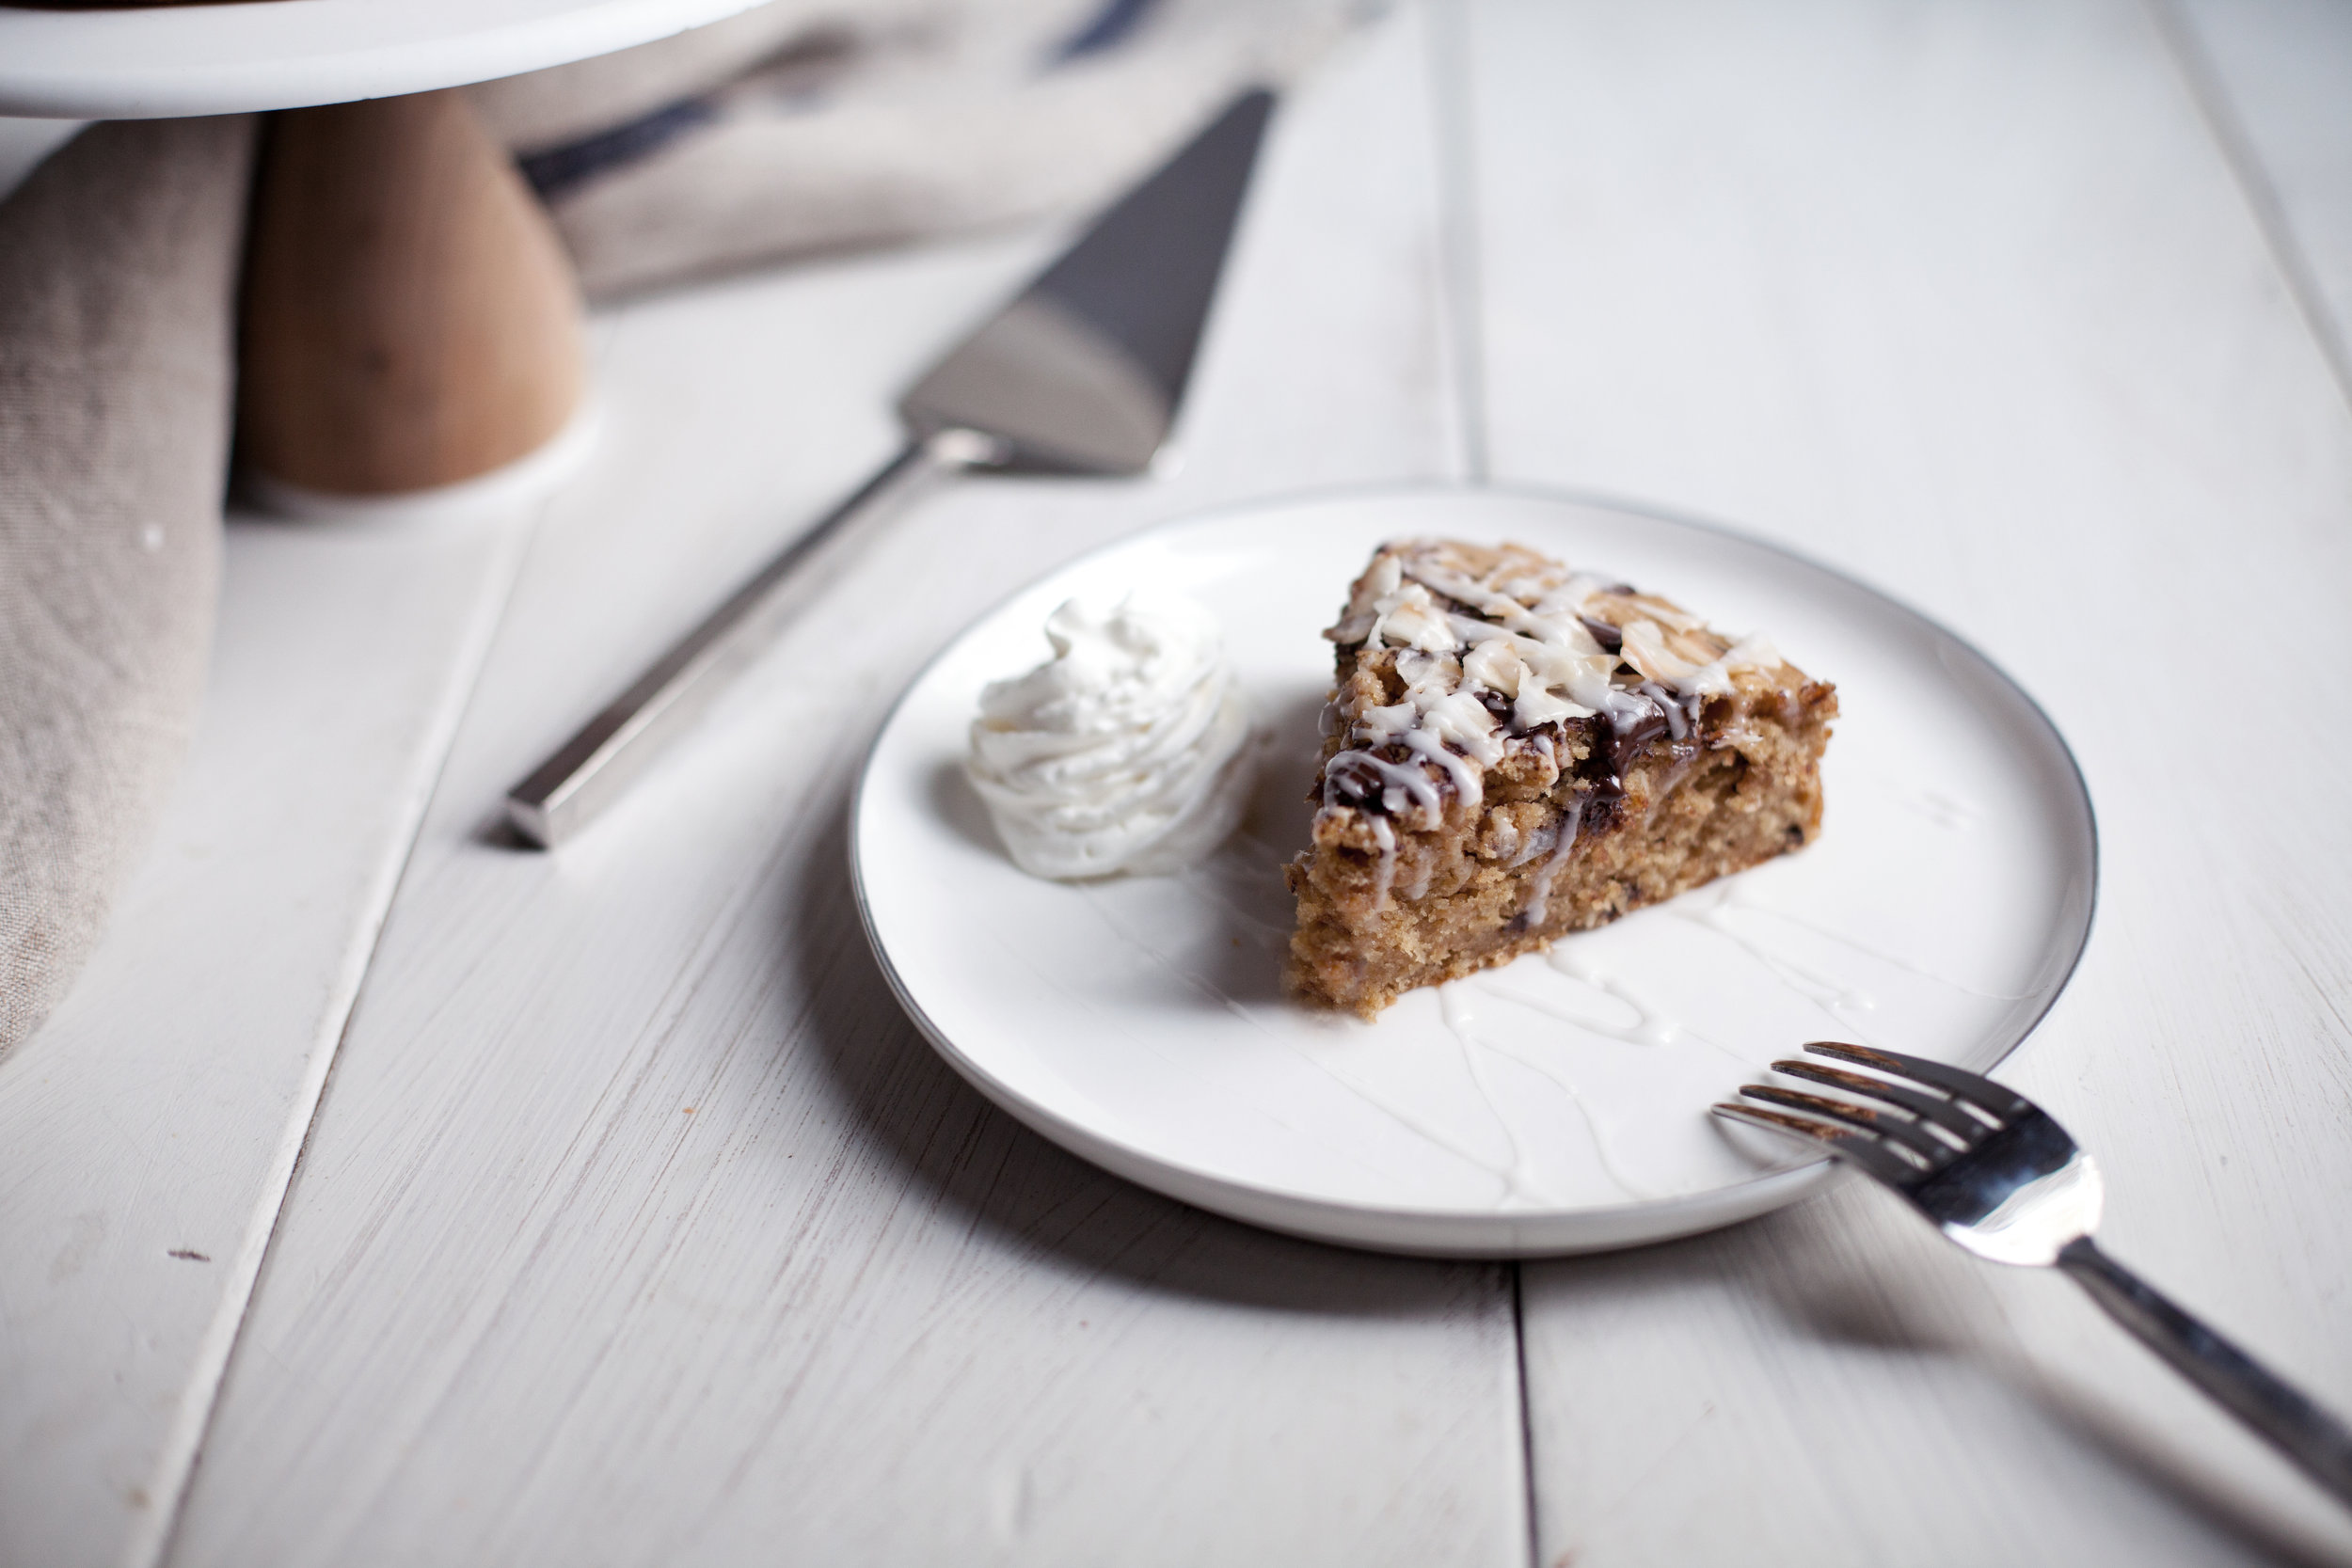
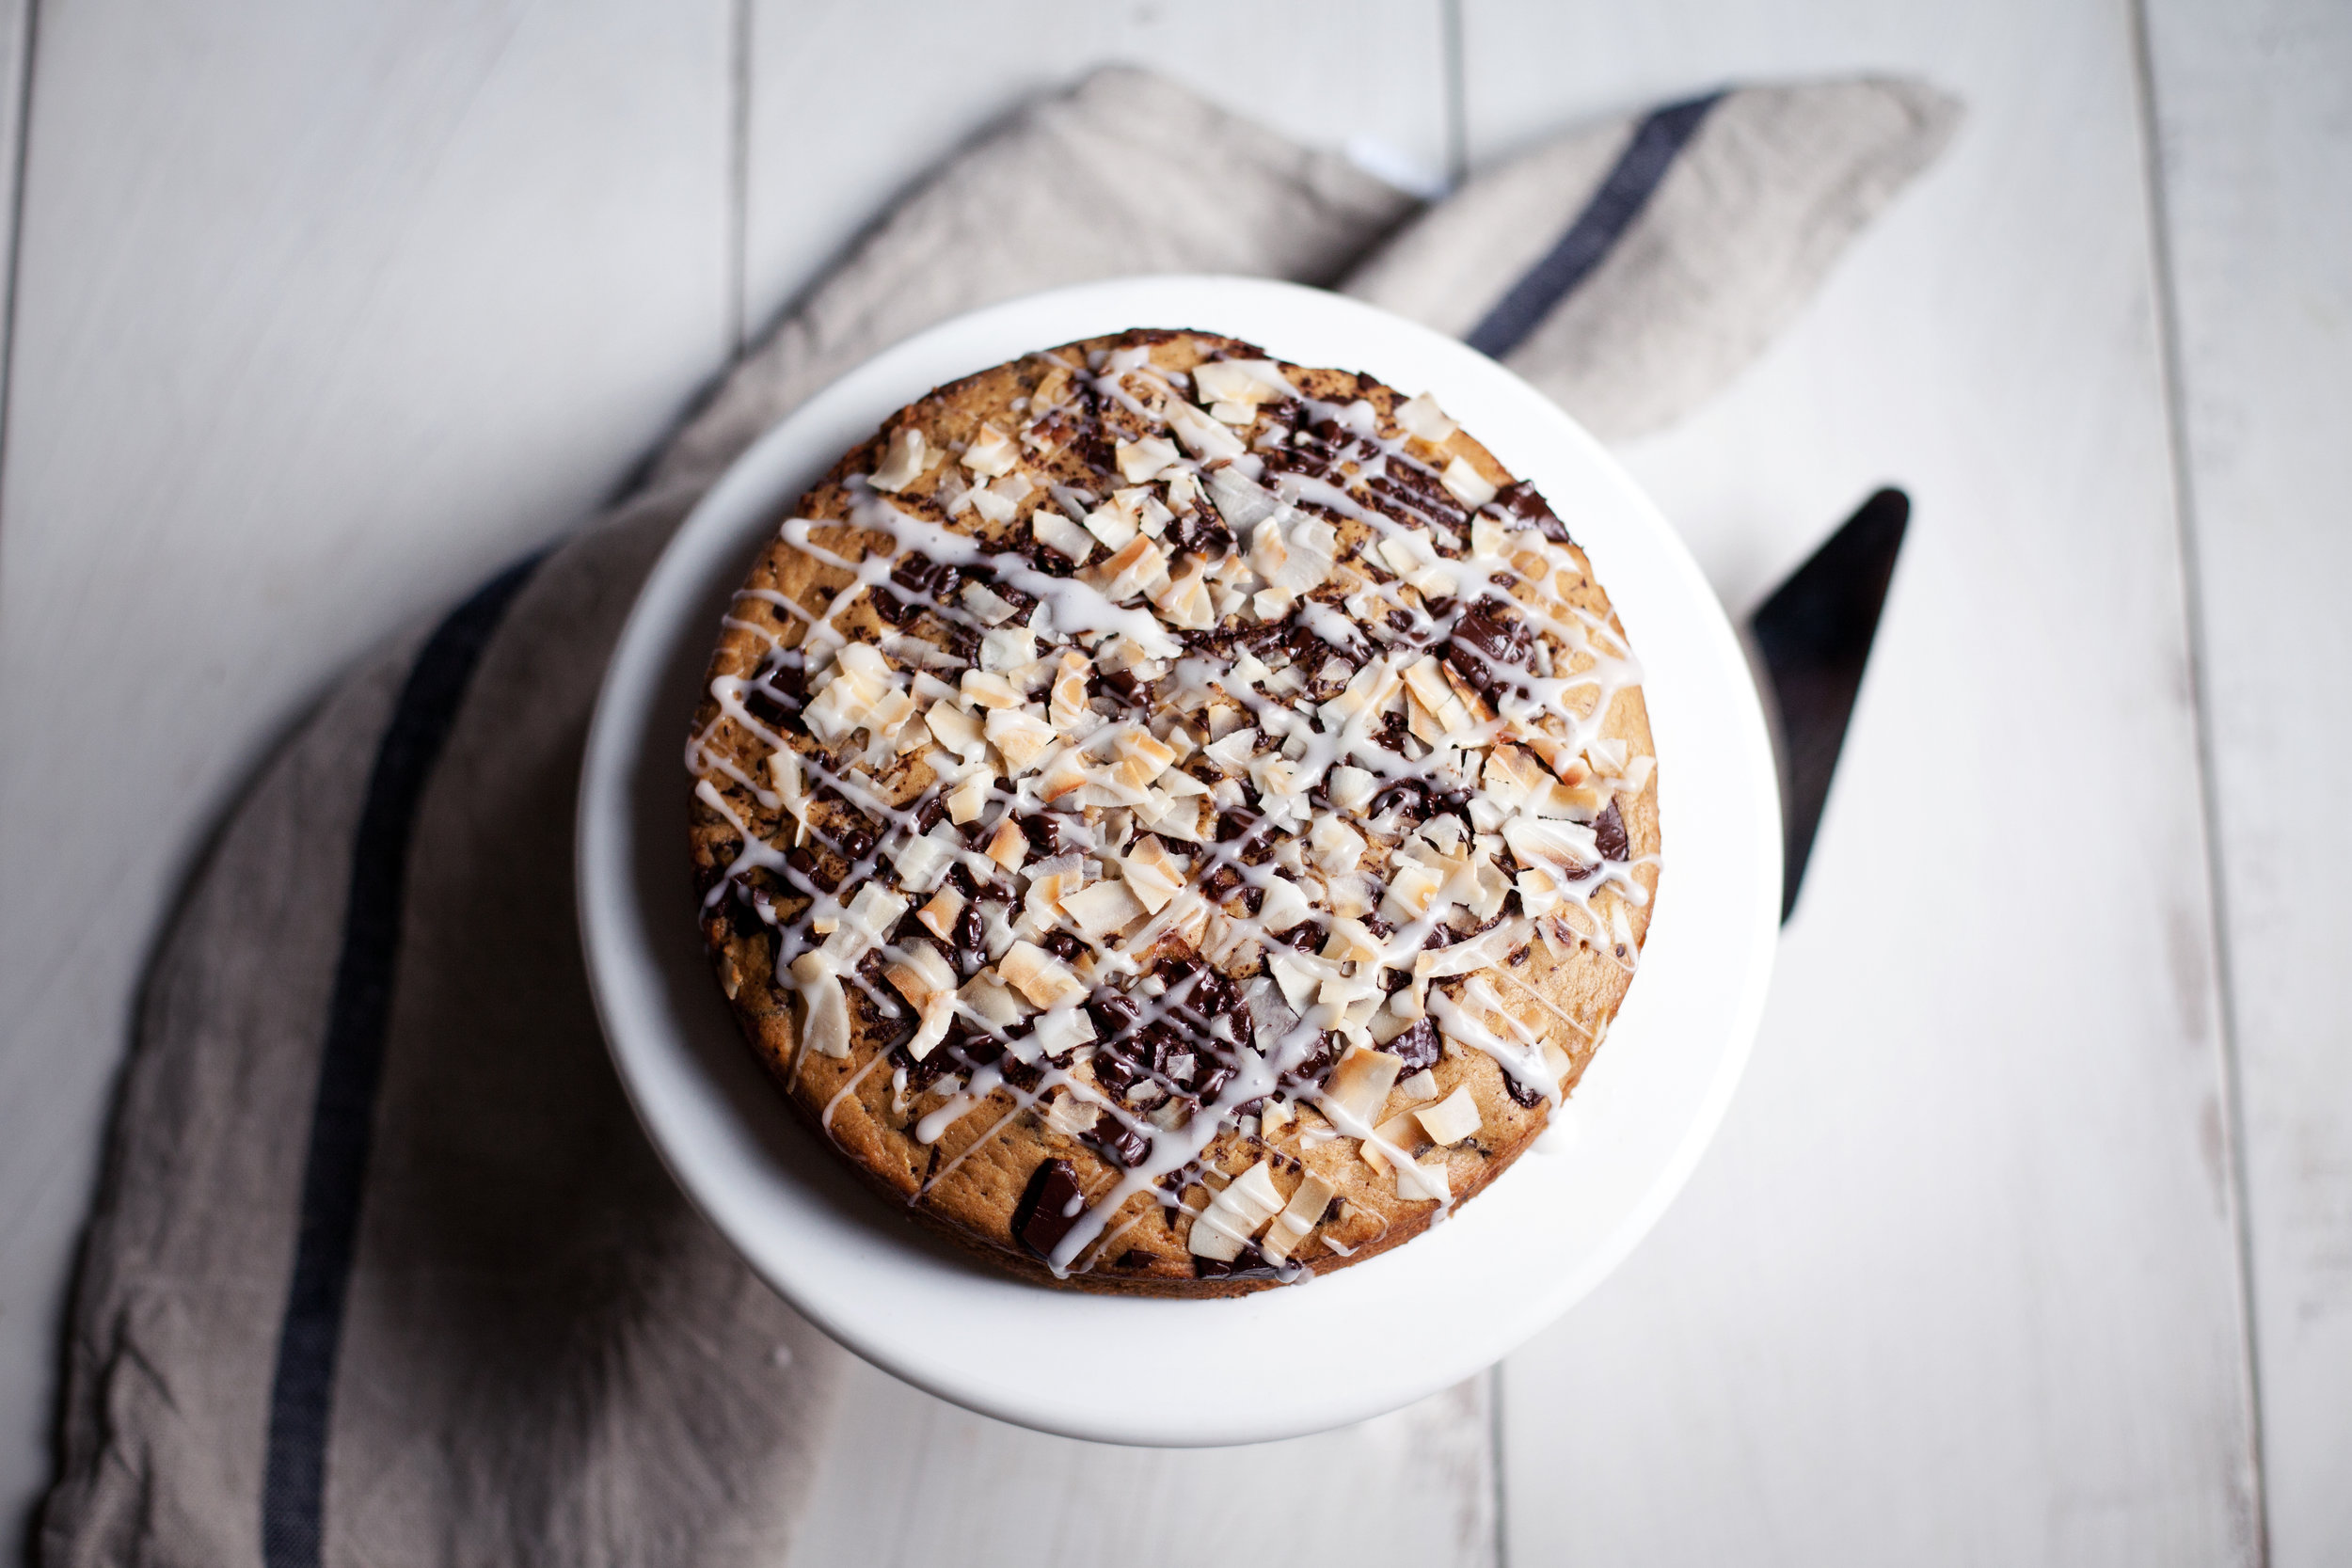
coconut + dark chocolate cake


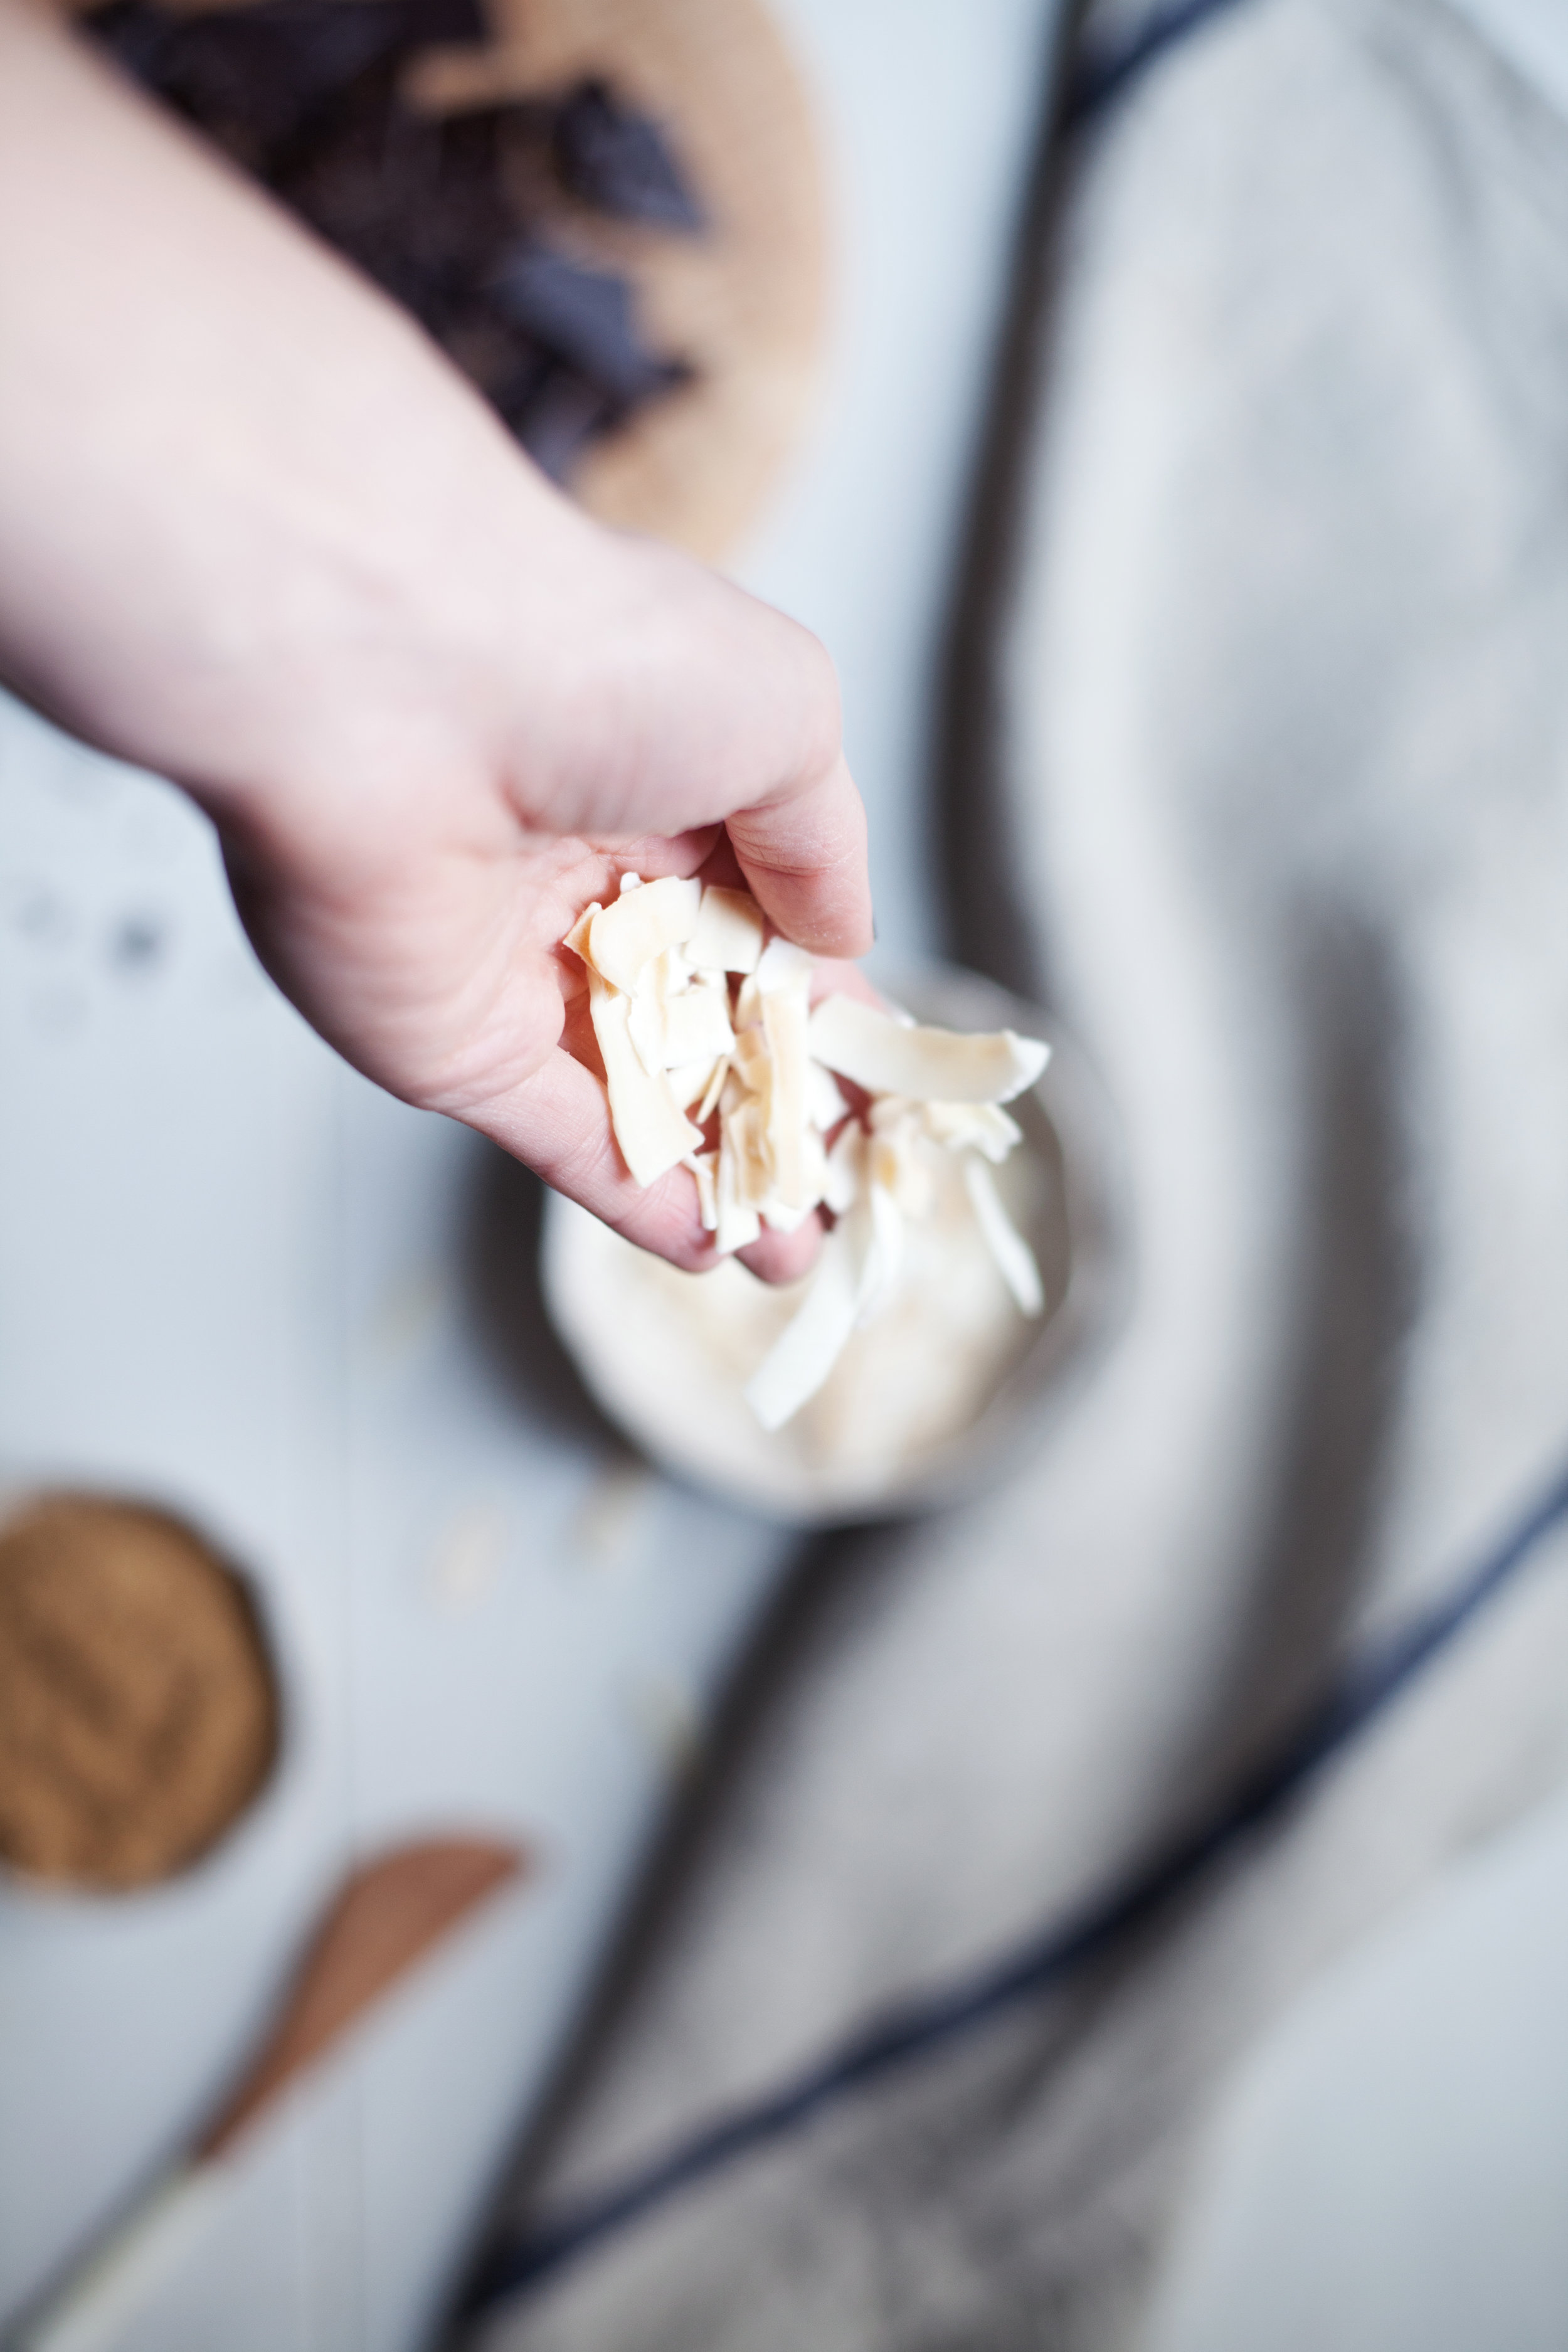
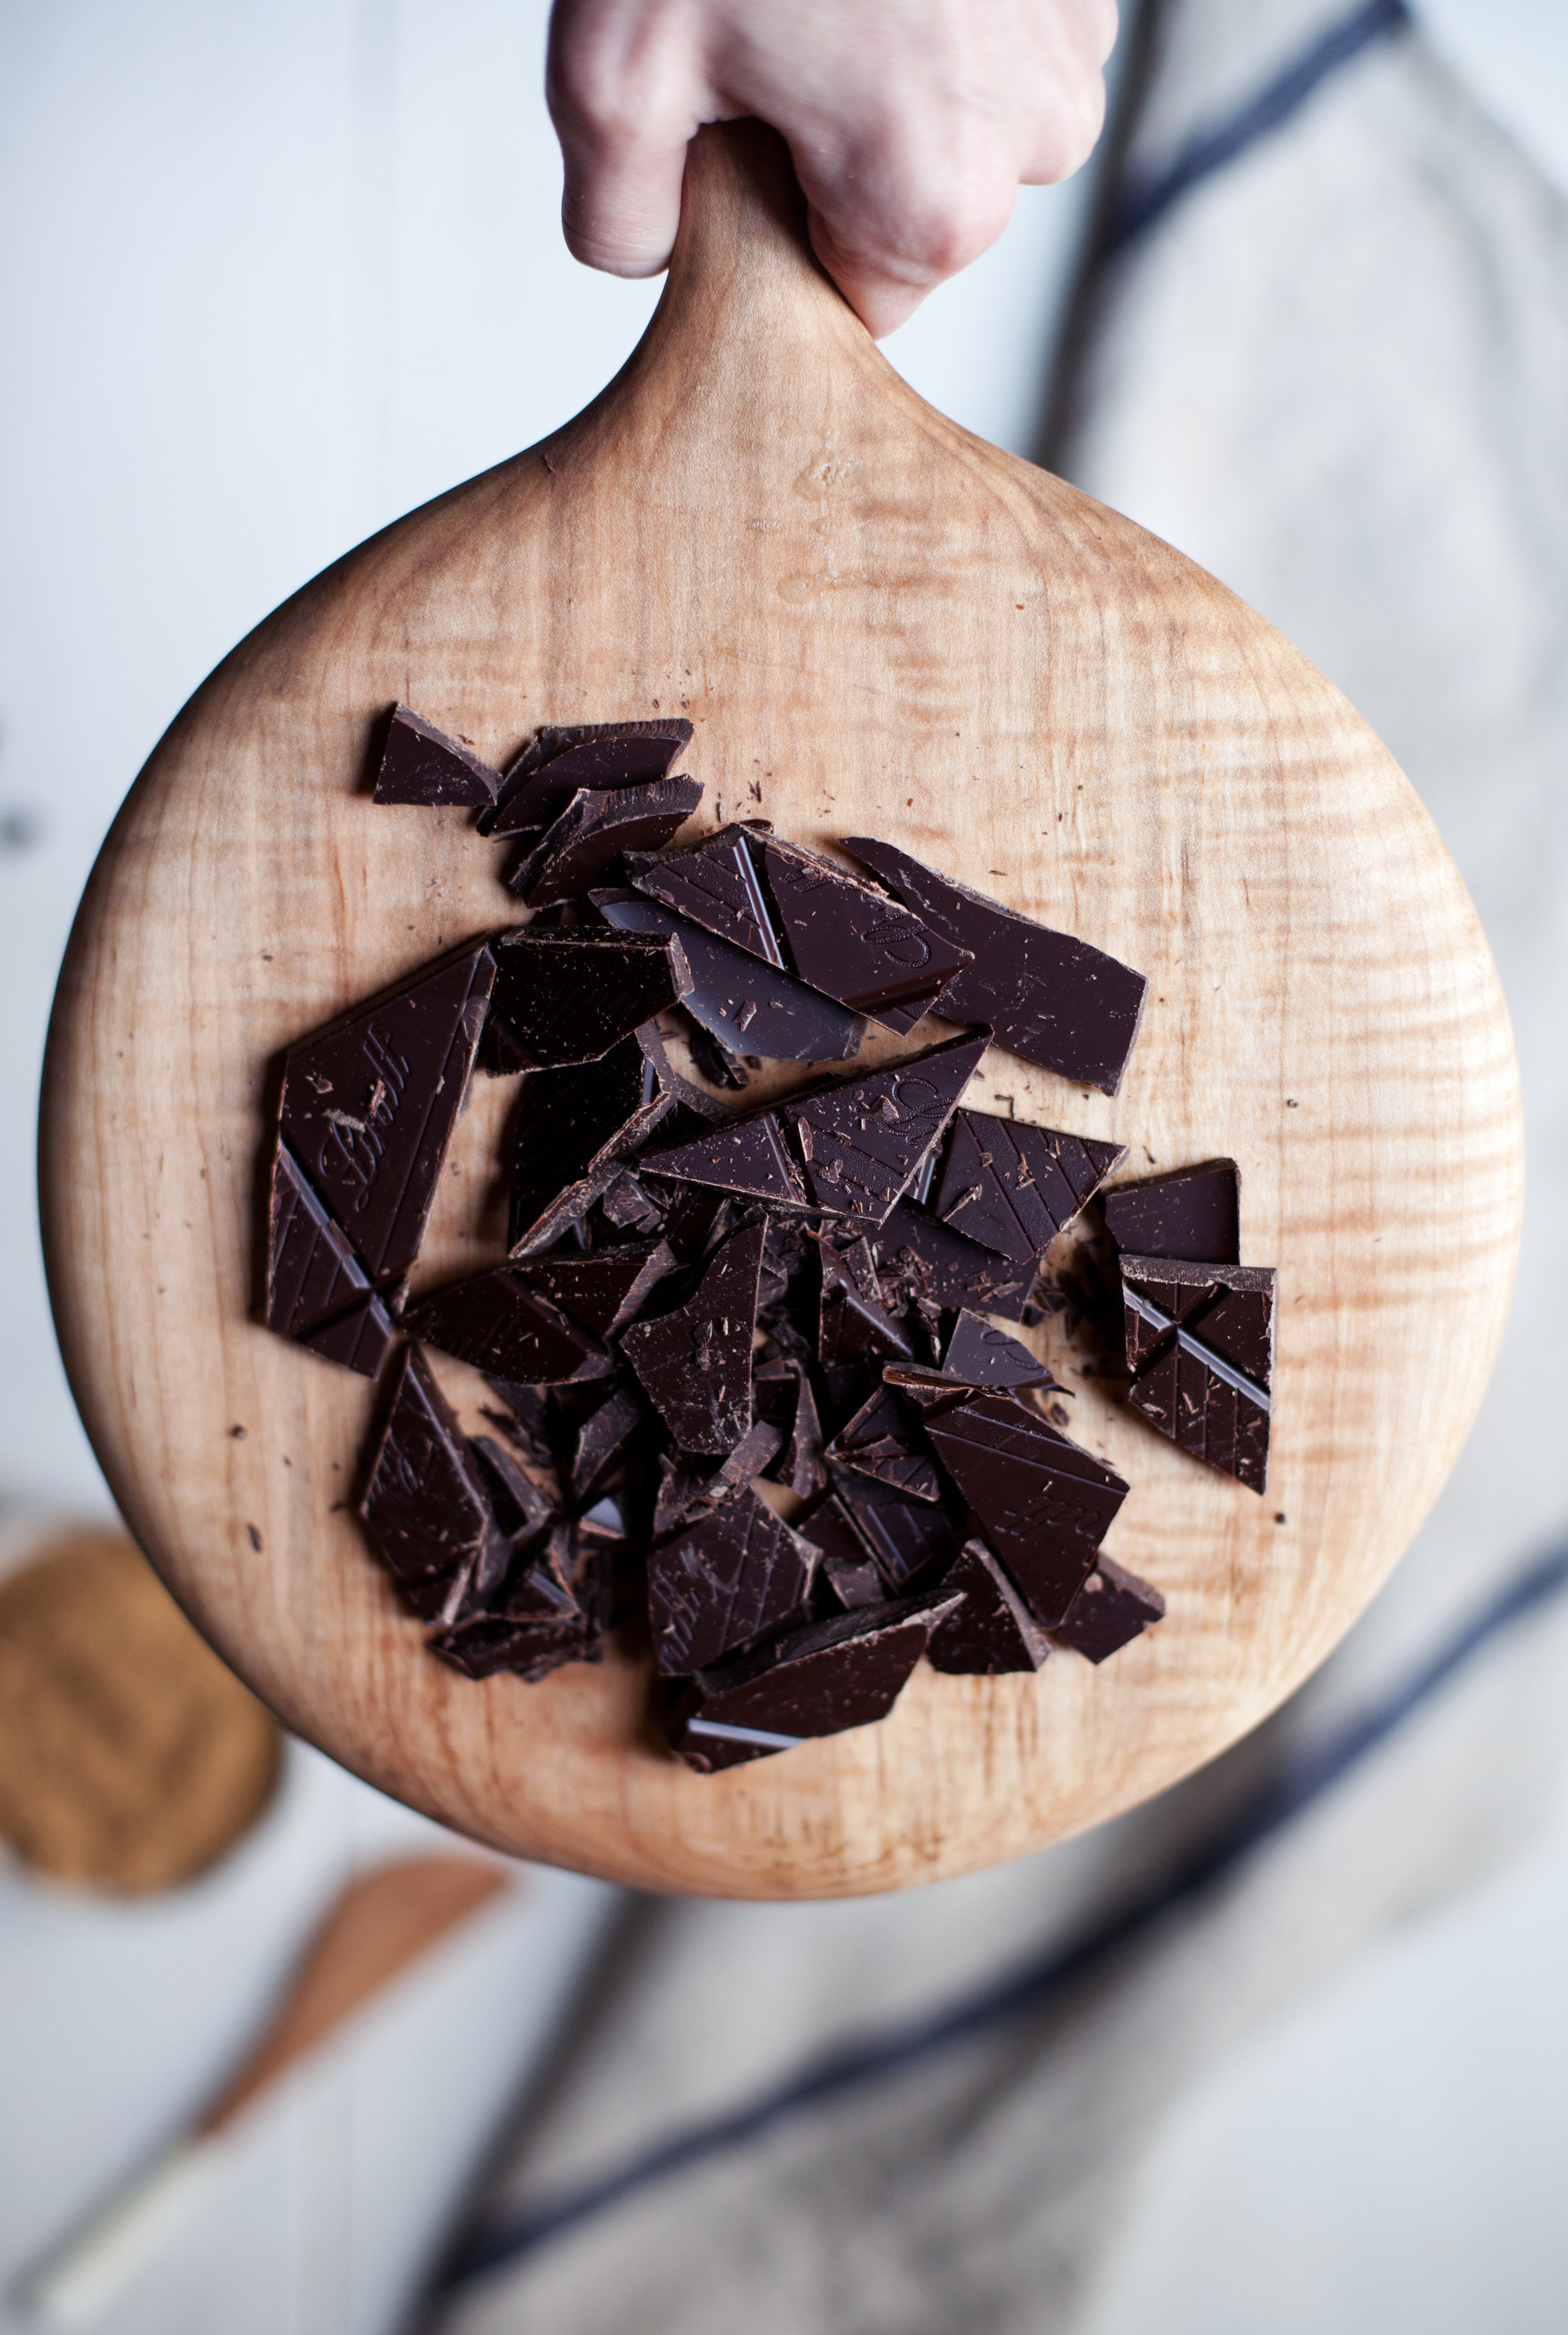
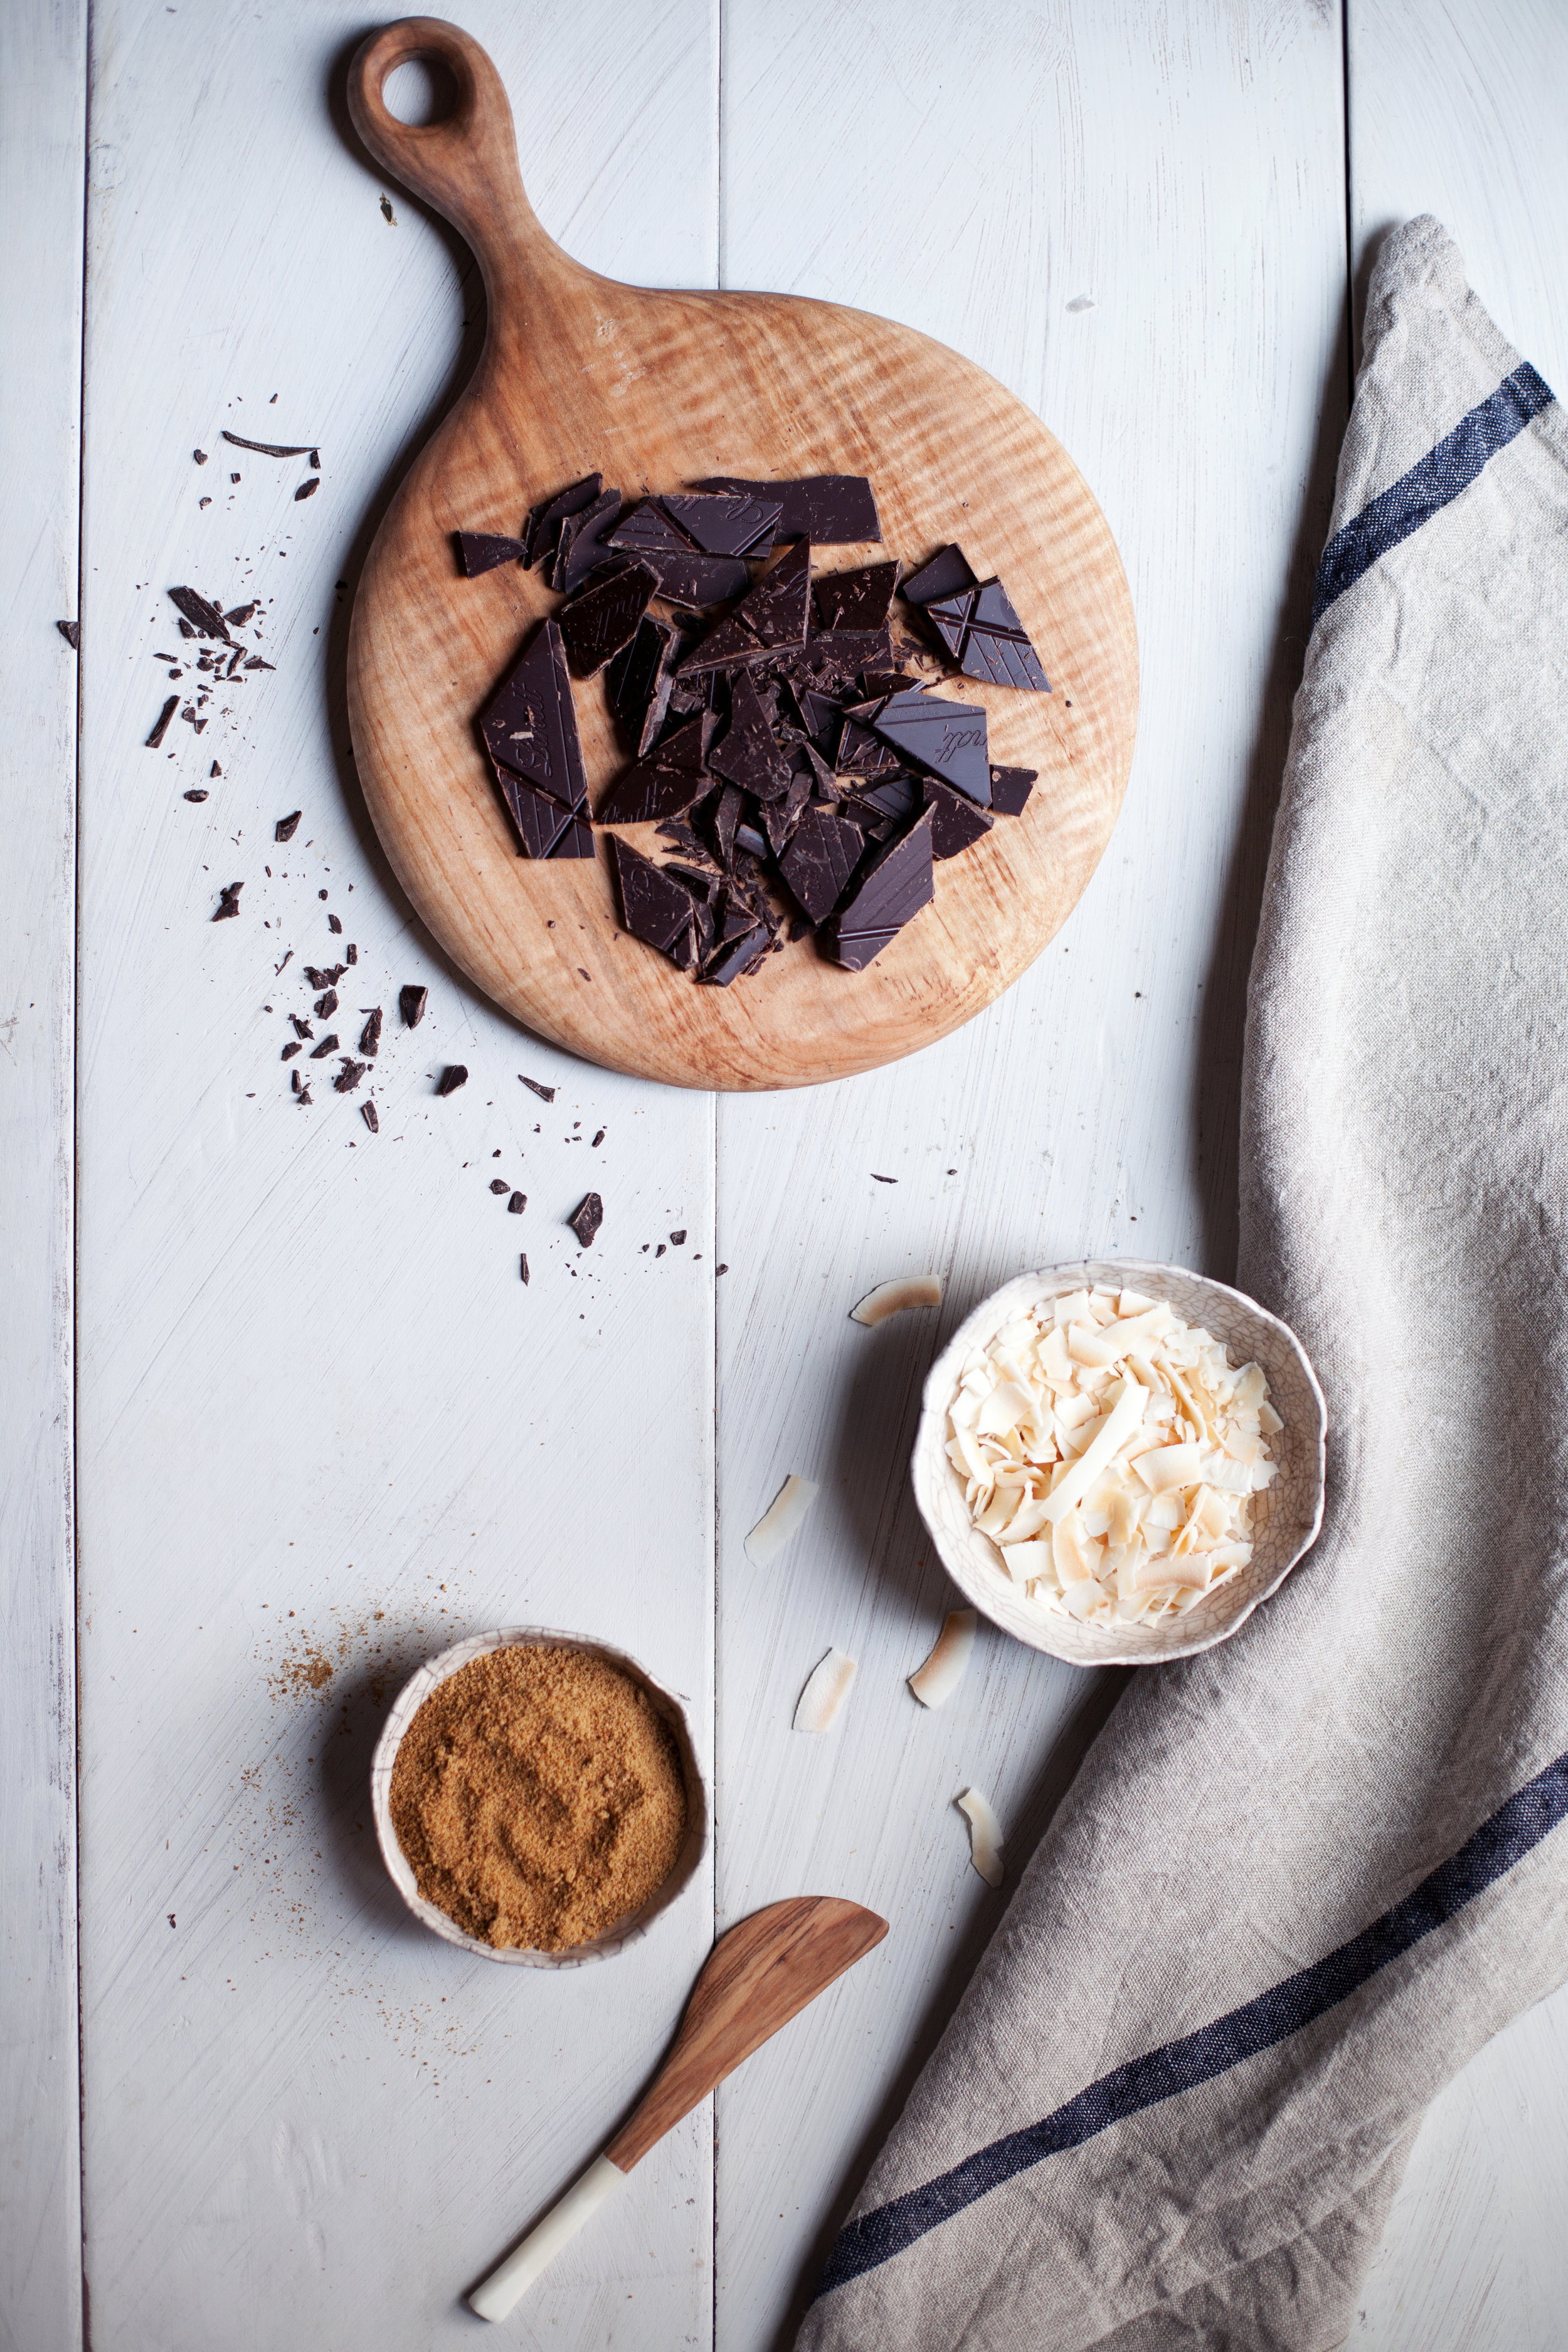
this. cake. oh my god, this cake was good. i wanted to say my mom said it was the best cake i have ever made, but i am starting to think she says that every single time i have her taste test my newest recipes so maybe it is time to pick a new taste tester. what can i say though, mom's are always going to be our number one fans! she had a point though... this cake is FULL of coconut & turned out so moist. seriously, if you are a coconut lover you need to make this right now. it contains grace's coconut chips, shredded coconut, coconut oil, coconut milk in the cake itself & is topped with a creamy coconut glaze. not to mention some dark chocolate chunks to tie it all together. baking with coconut sugar is a healthier alternative to using regular white sugar. i often rotate between this & raw sugar in all my baking.

i think it makes for quite the presentation if you are bringing or serving a dessert at a holiday party! much less stressful then trying to frost a perfect layer cake & i love putting a fancy glaze over top. i used all of grace foods organic coconut products in this recipe, which you can easily find in the international section of your local grocer! they are my go to brand for when i buy coconut milk, it is high quality & affordable. my only real suggestion is to buy extra coconut chips for the topping because good luck not eating them while you bake. they are addicting & i couldn't stop. now get to it!

ingredients

for the cake

for the glaze

directions

for the cake

  • preheat oven to 350 degrees.
  • in a large mixing bowl sift flour, baking powder & sea salt.
  • in the bowl of a stand mixer fitted with the paddle attachment cream the sugar, butter & coconut oil until smooth.
  • add the eggs one at a time, followed by the vanilla extract.
  • alternate between adding the coconut milk & flour mixture. beat until smooth.
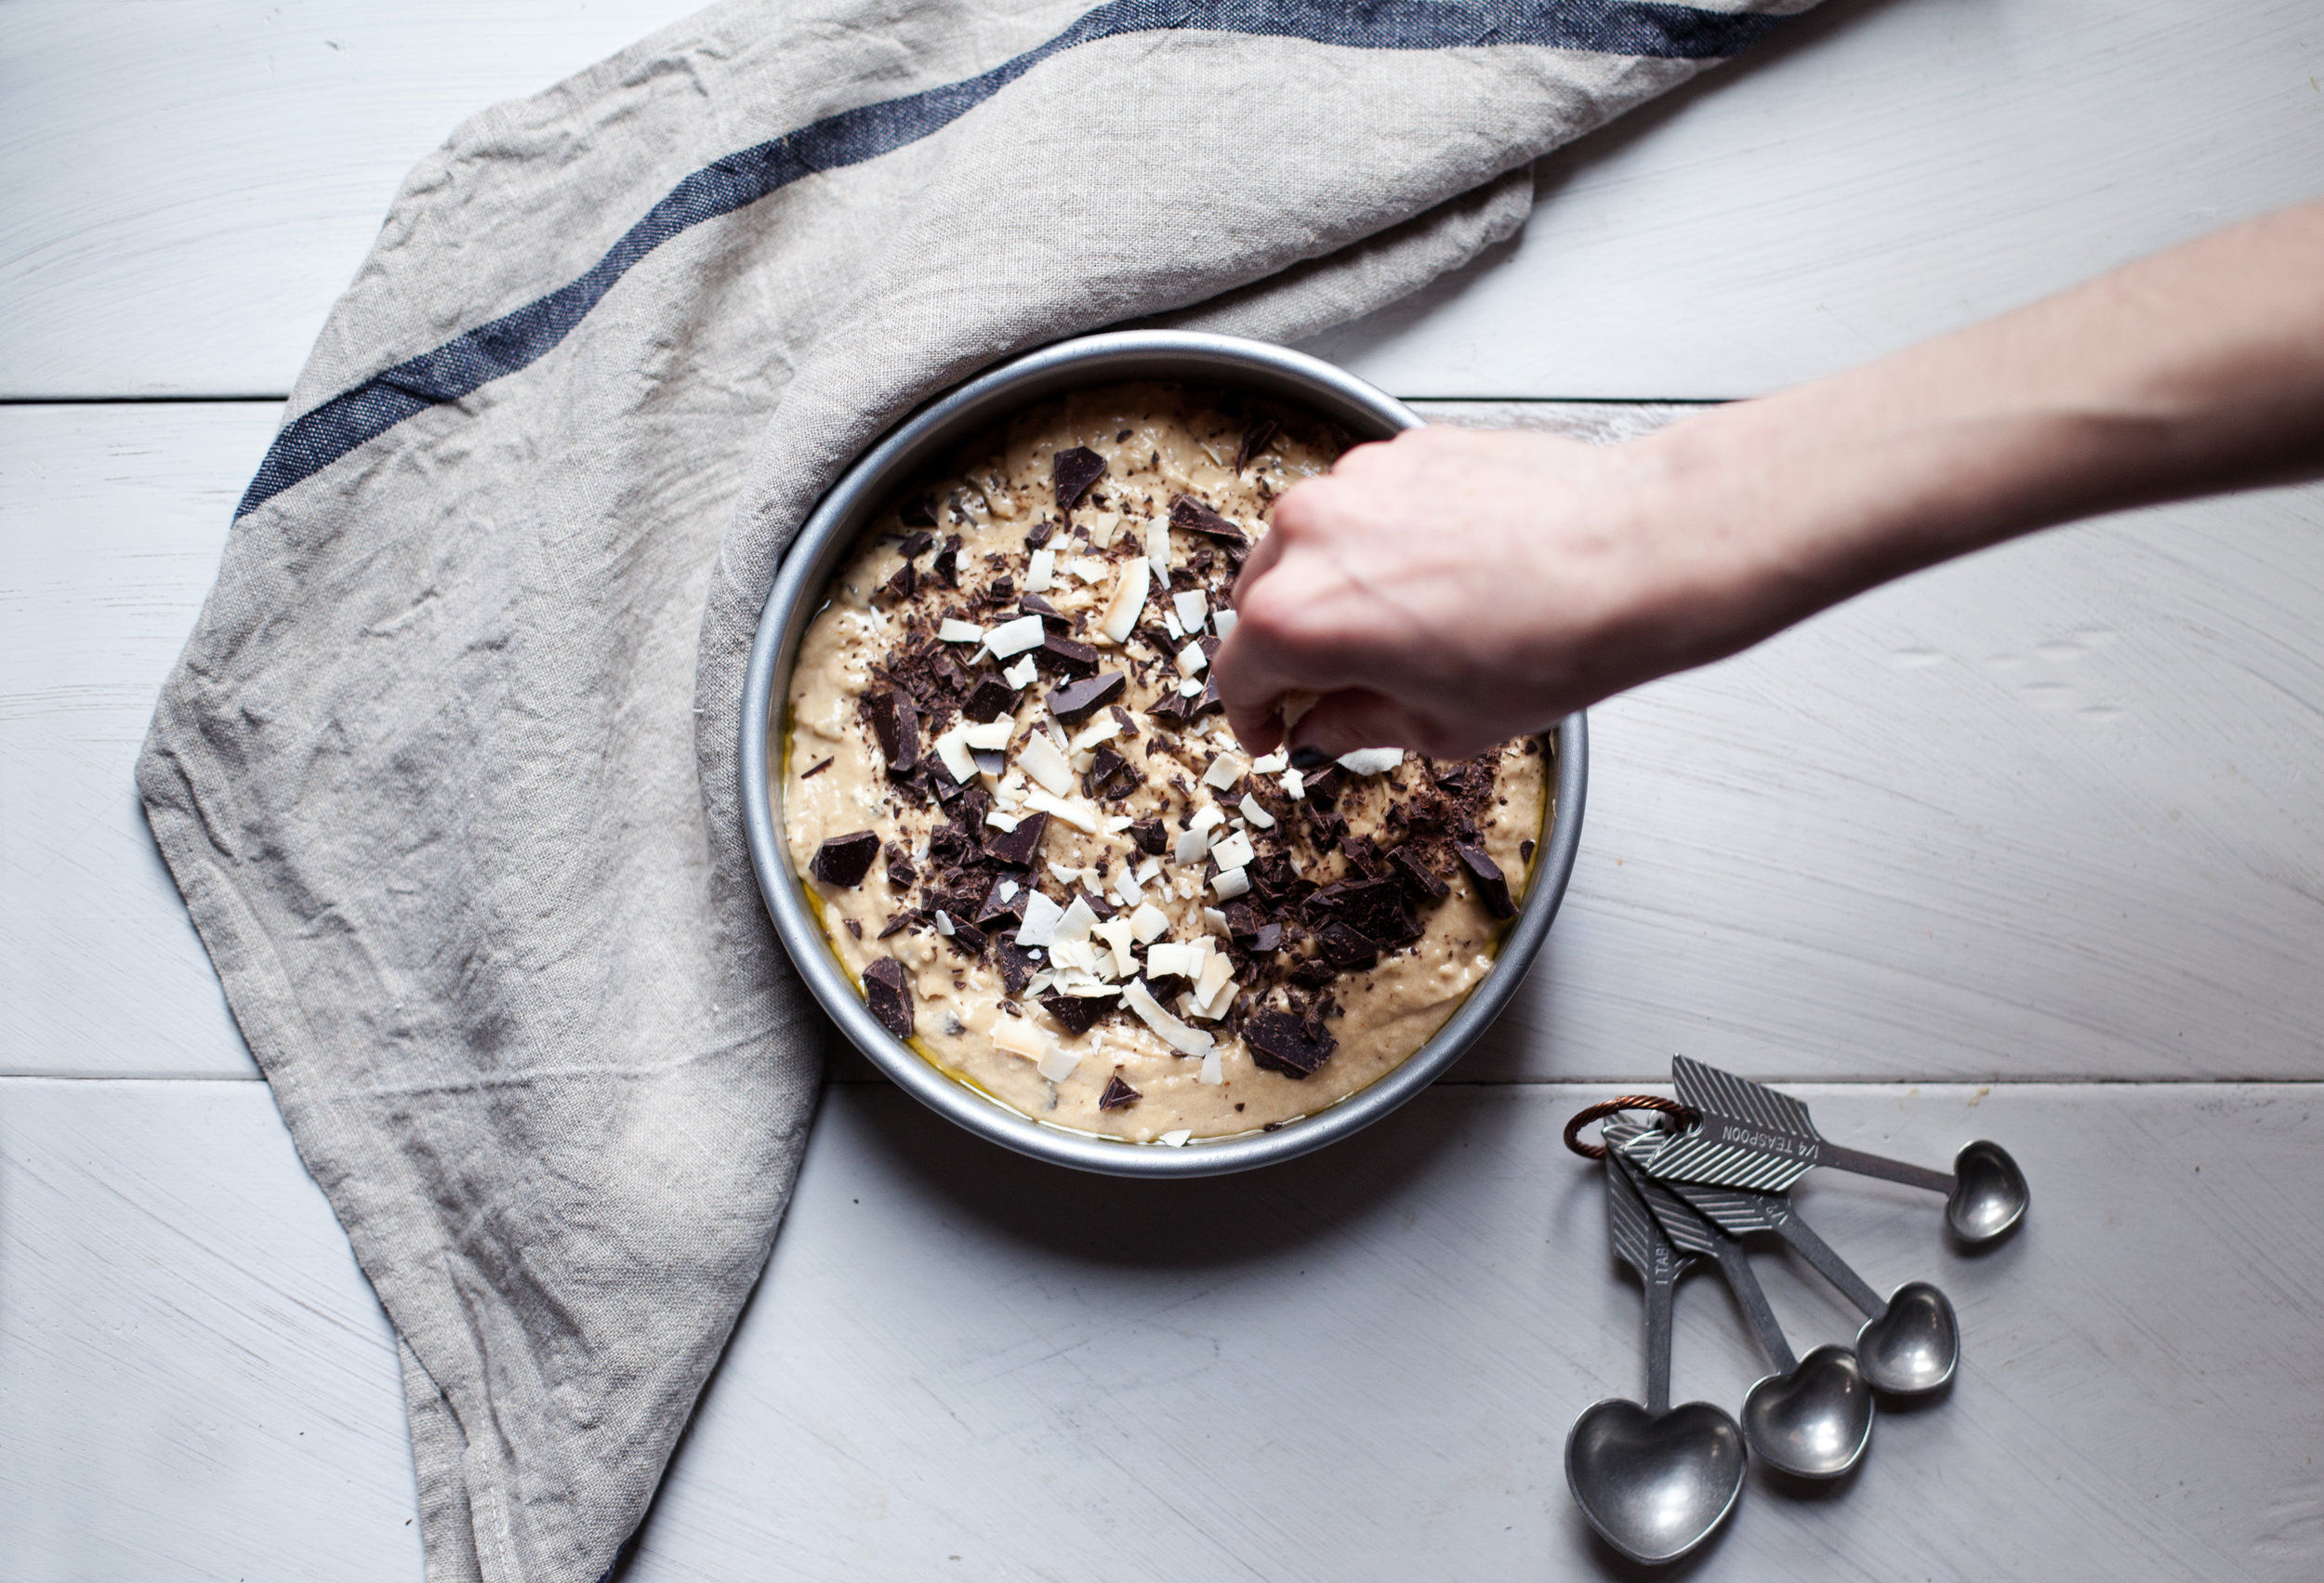
  • fold in the flaked coconut & half of the chocolate chunks.
  • pour into a greased 8-inch round cake pan & top with remaining chocolate chunks & coconut chips.
  • bake for 30-35 minutes, or until the top centre bounces back to touch.
  • let cool completely before removing from pan & glazing.

for the glaze

  • mix ingredients in a bowl until the desired consistency is formed.
  • if the glaze is to thin, add more powdered sugar. if the glaze is to thick, add more coconut milk.

this post was created in partnership with grace. they make just about every coconut product you can think of... sugar, oil, chips, milk & so on. i couldn't help but make the ultimate coconut cake using ALL of these delicious coconut ingredients! thank you for supporting the brands that keep me doing what i love. 
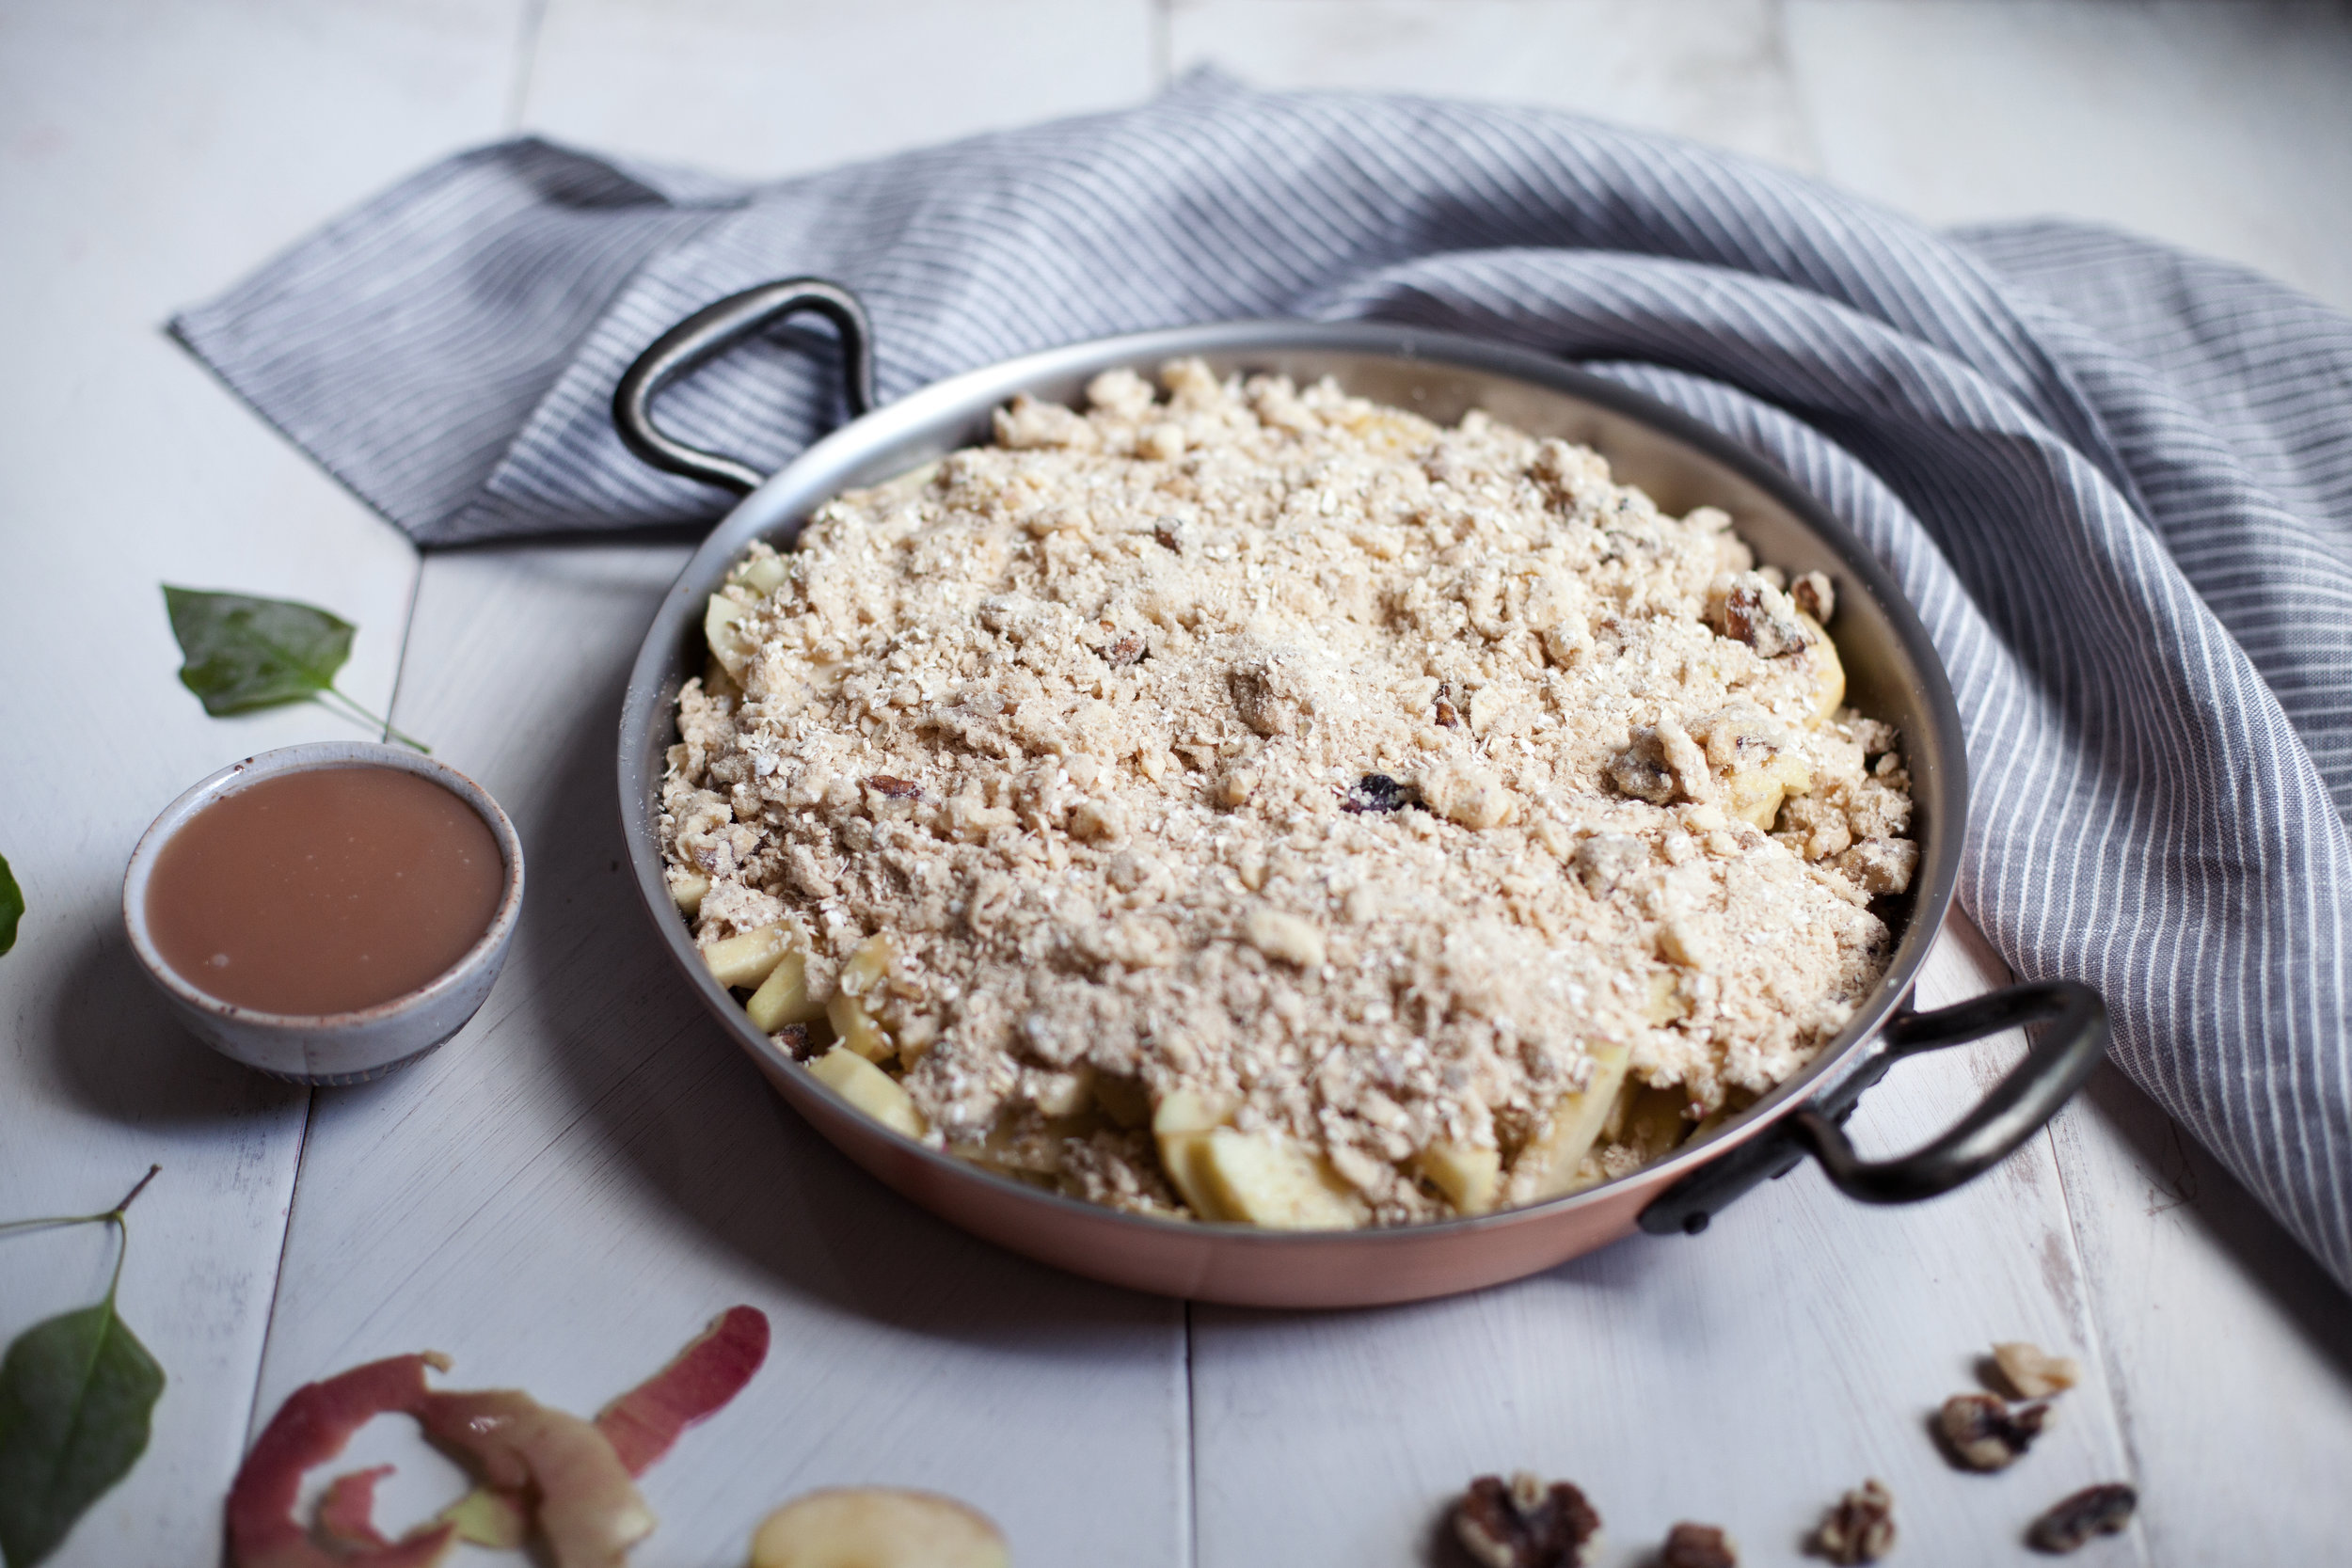
salted caramel apple crisp


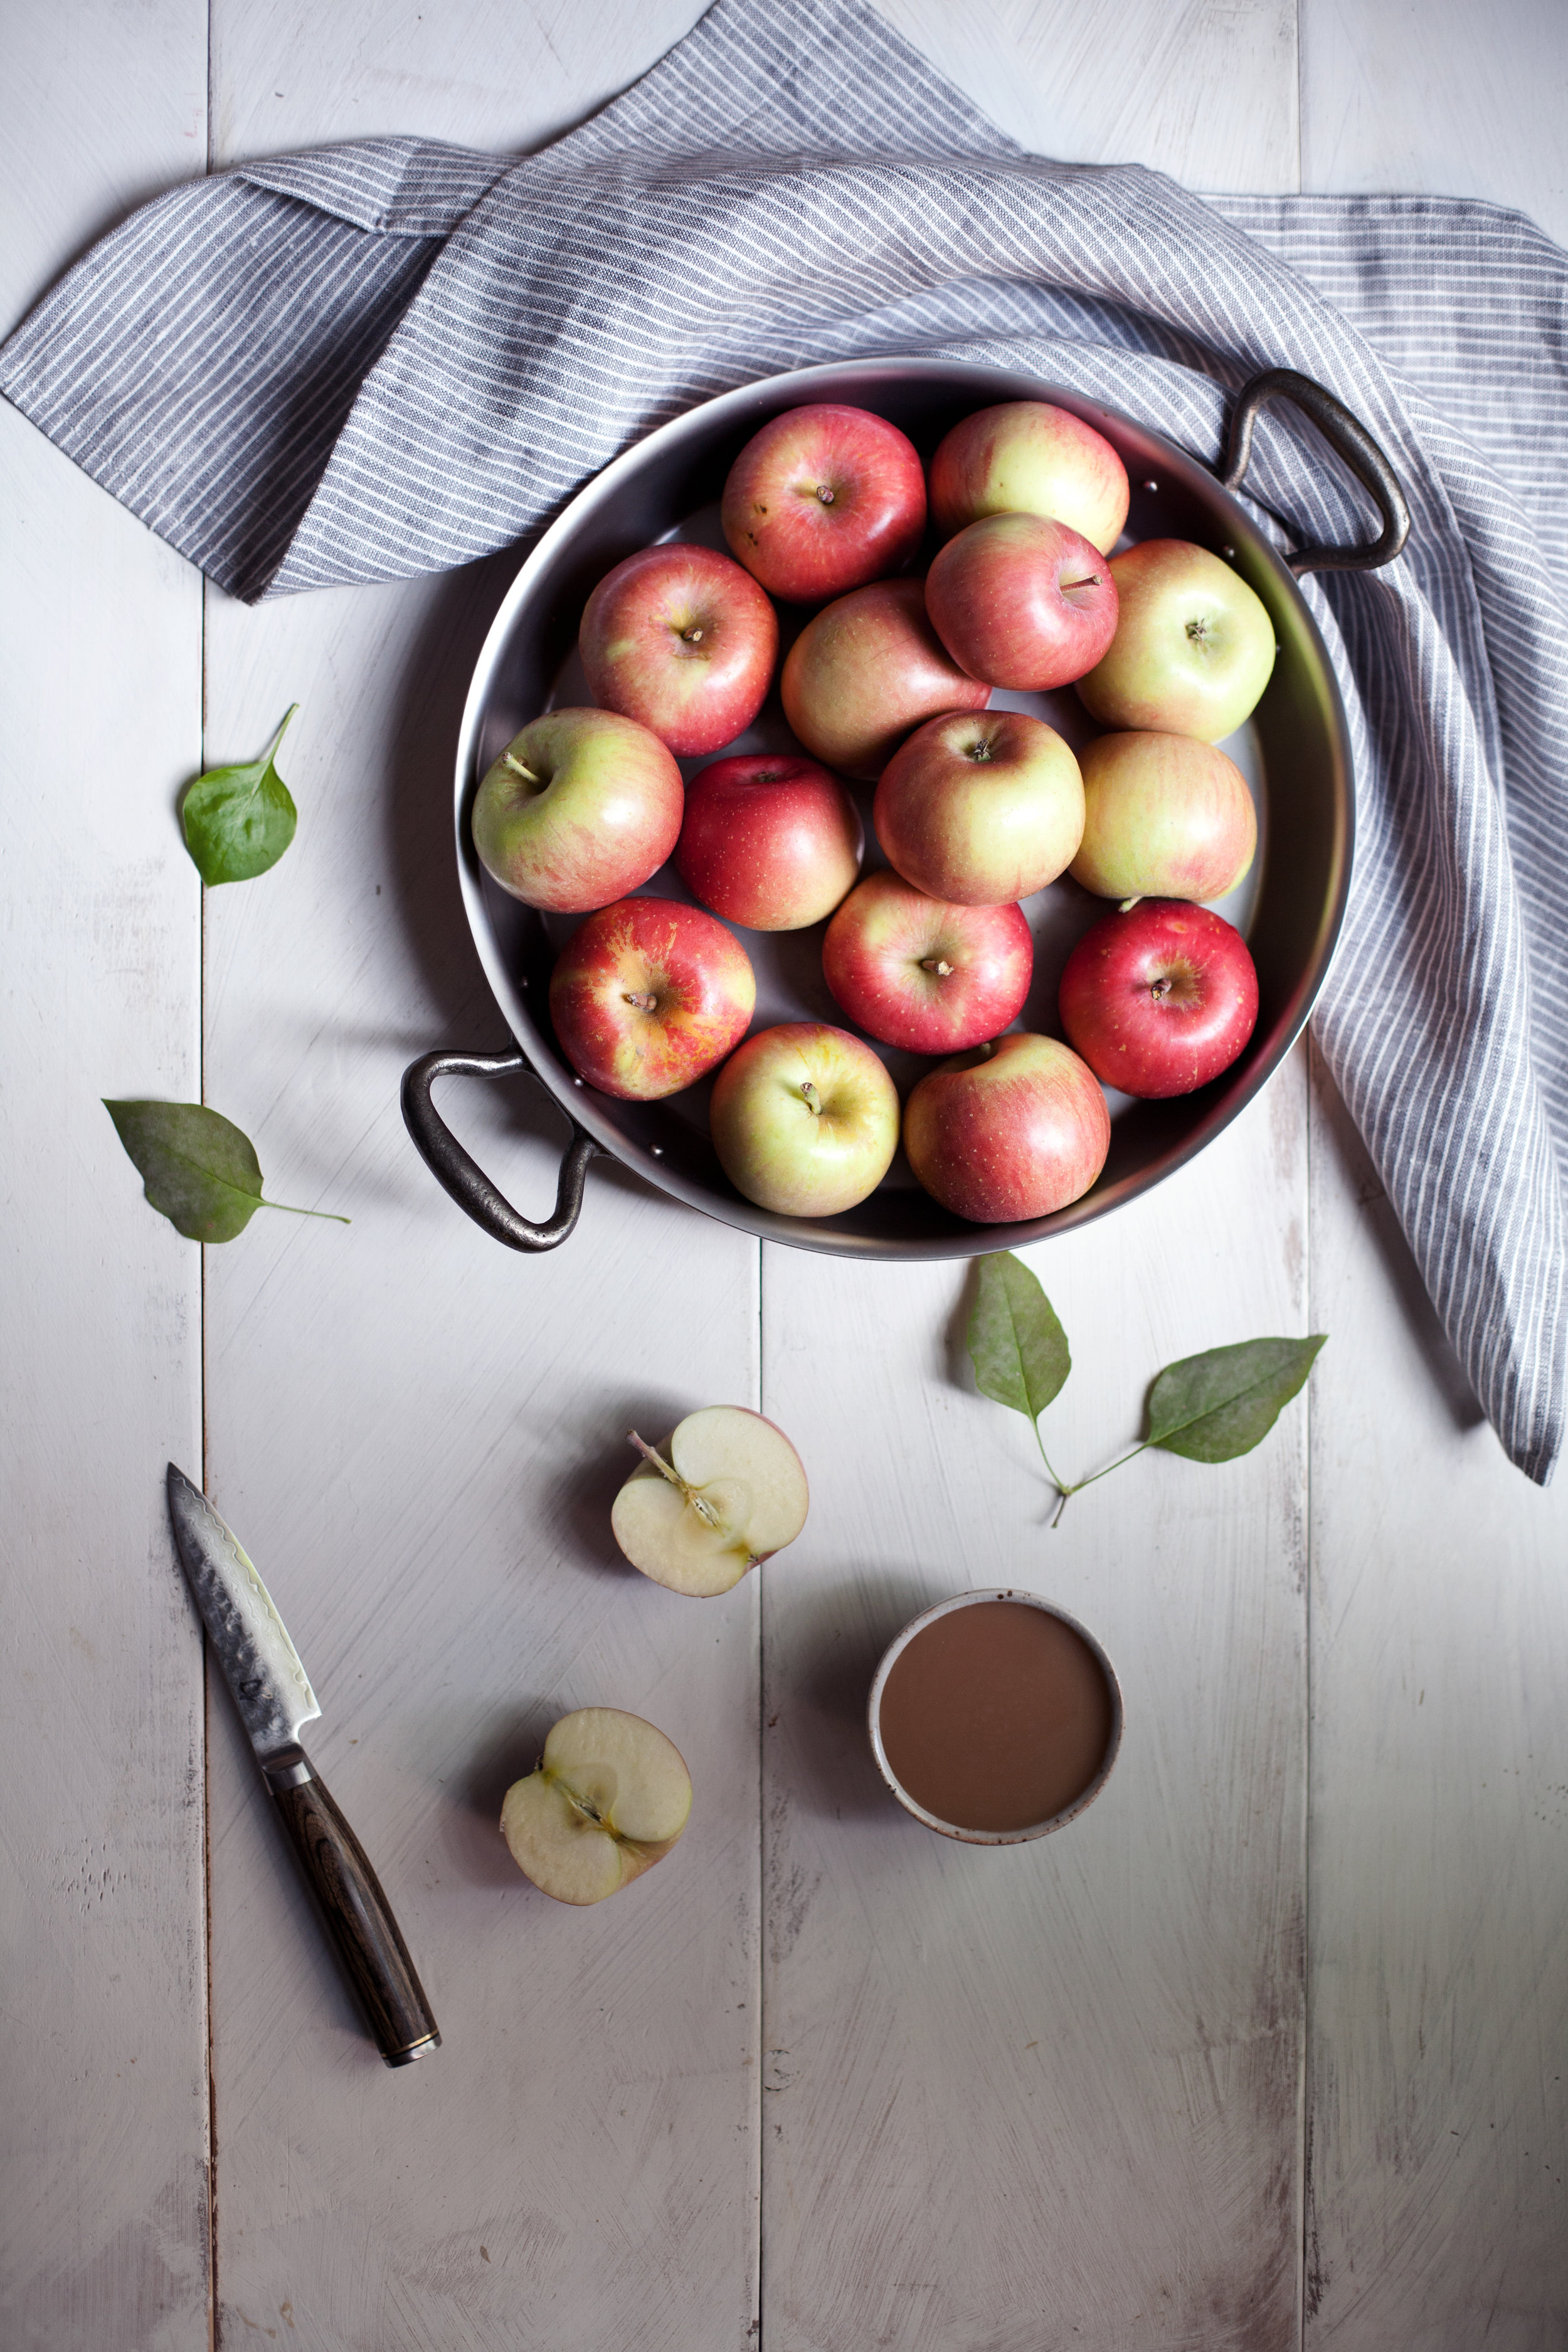
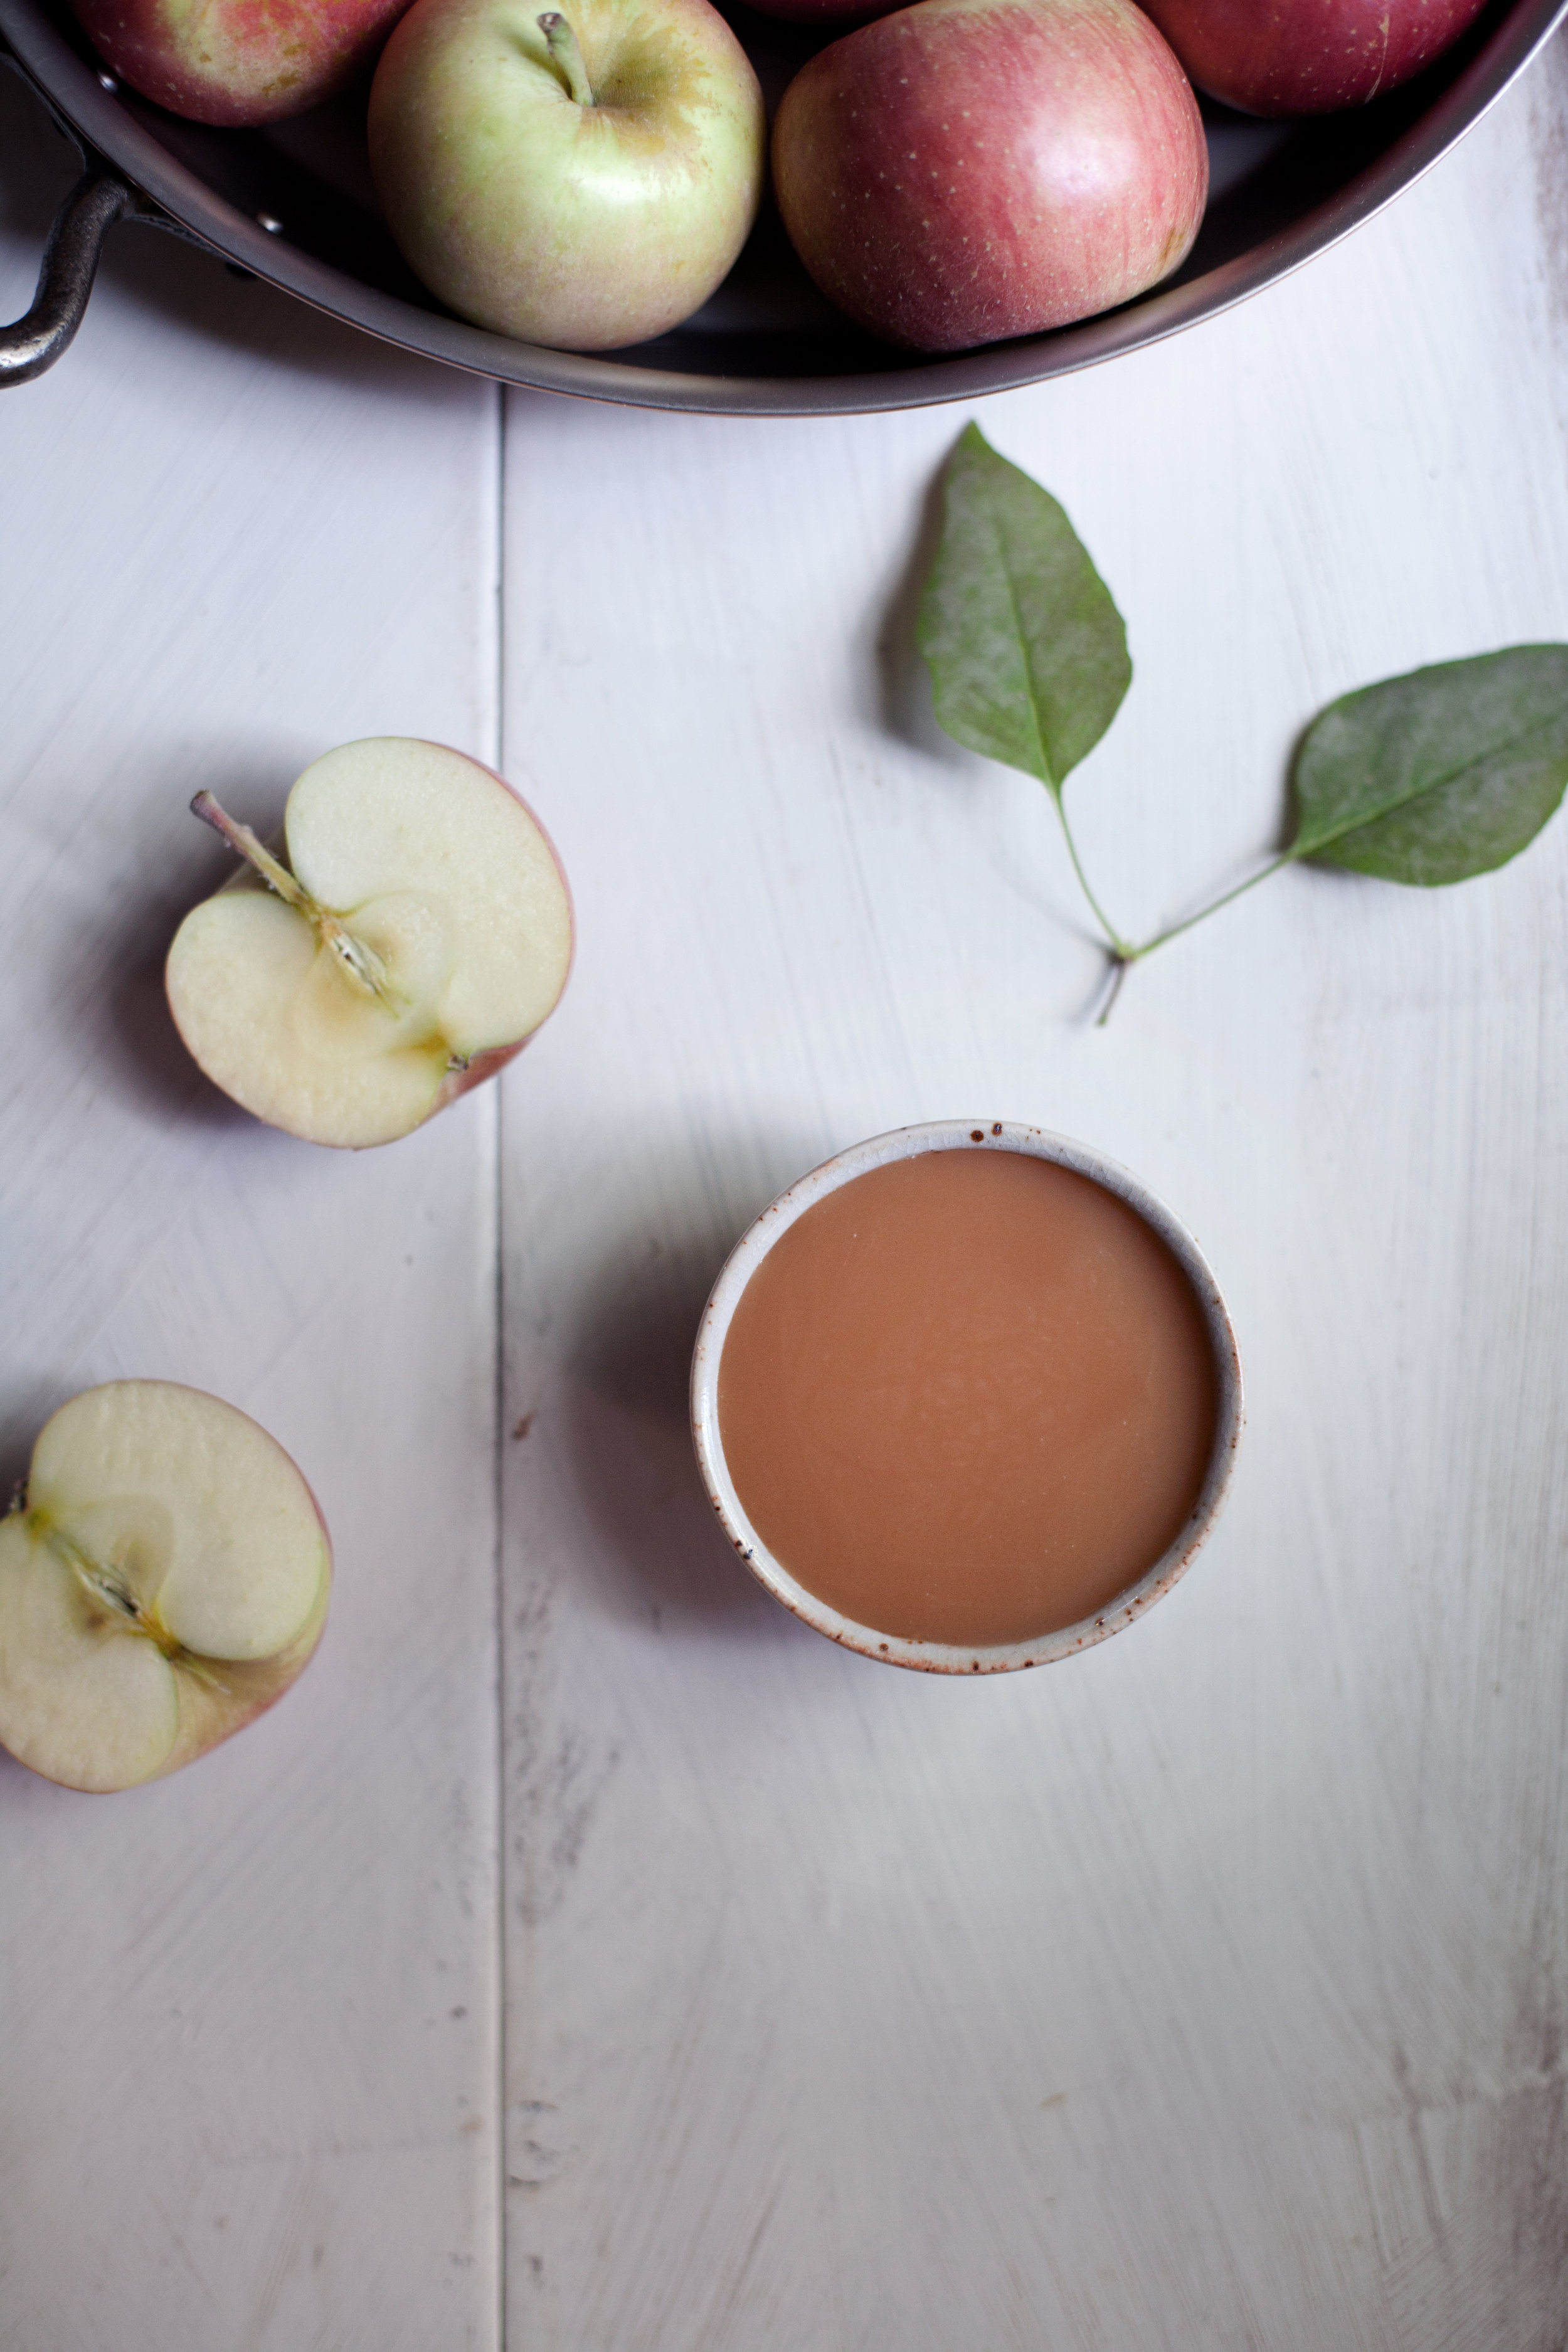
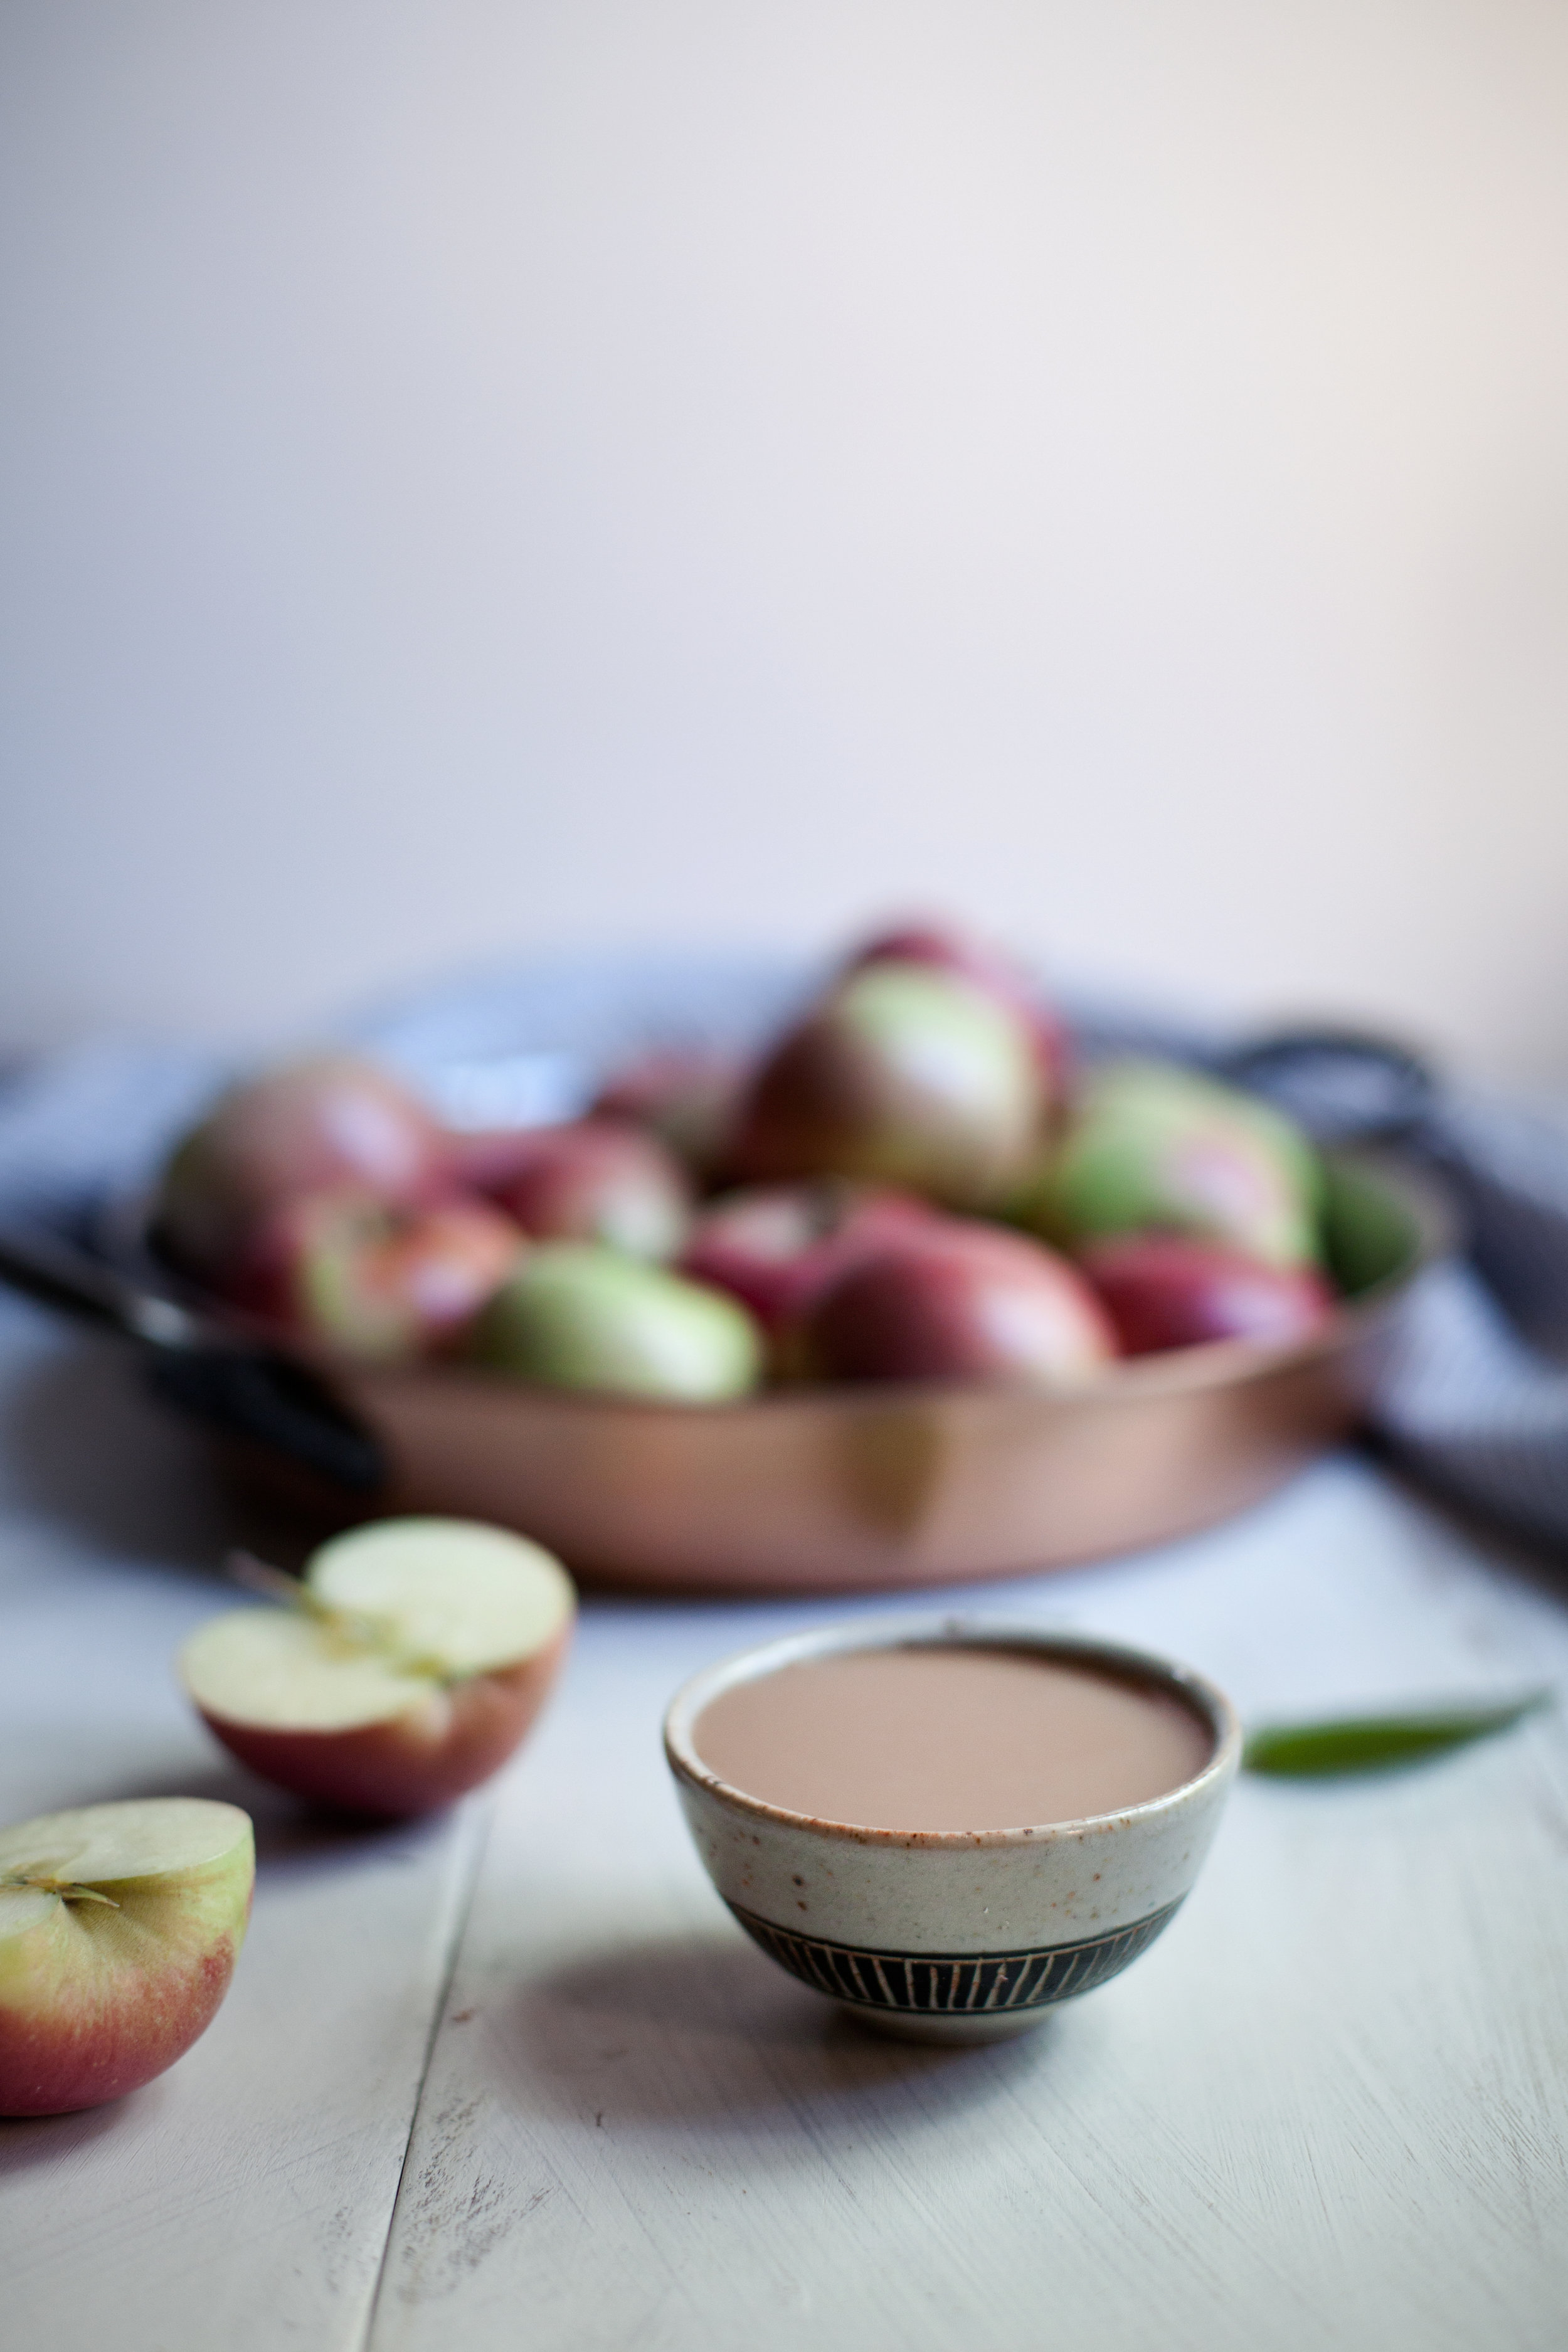
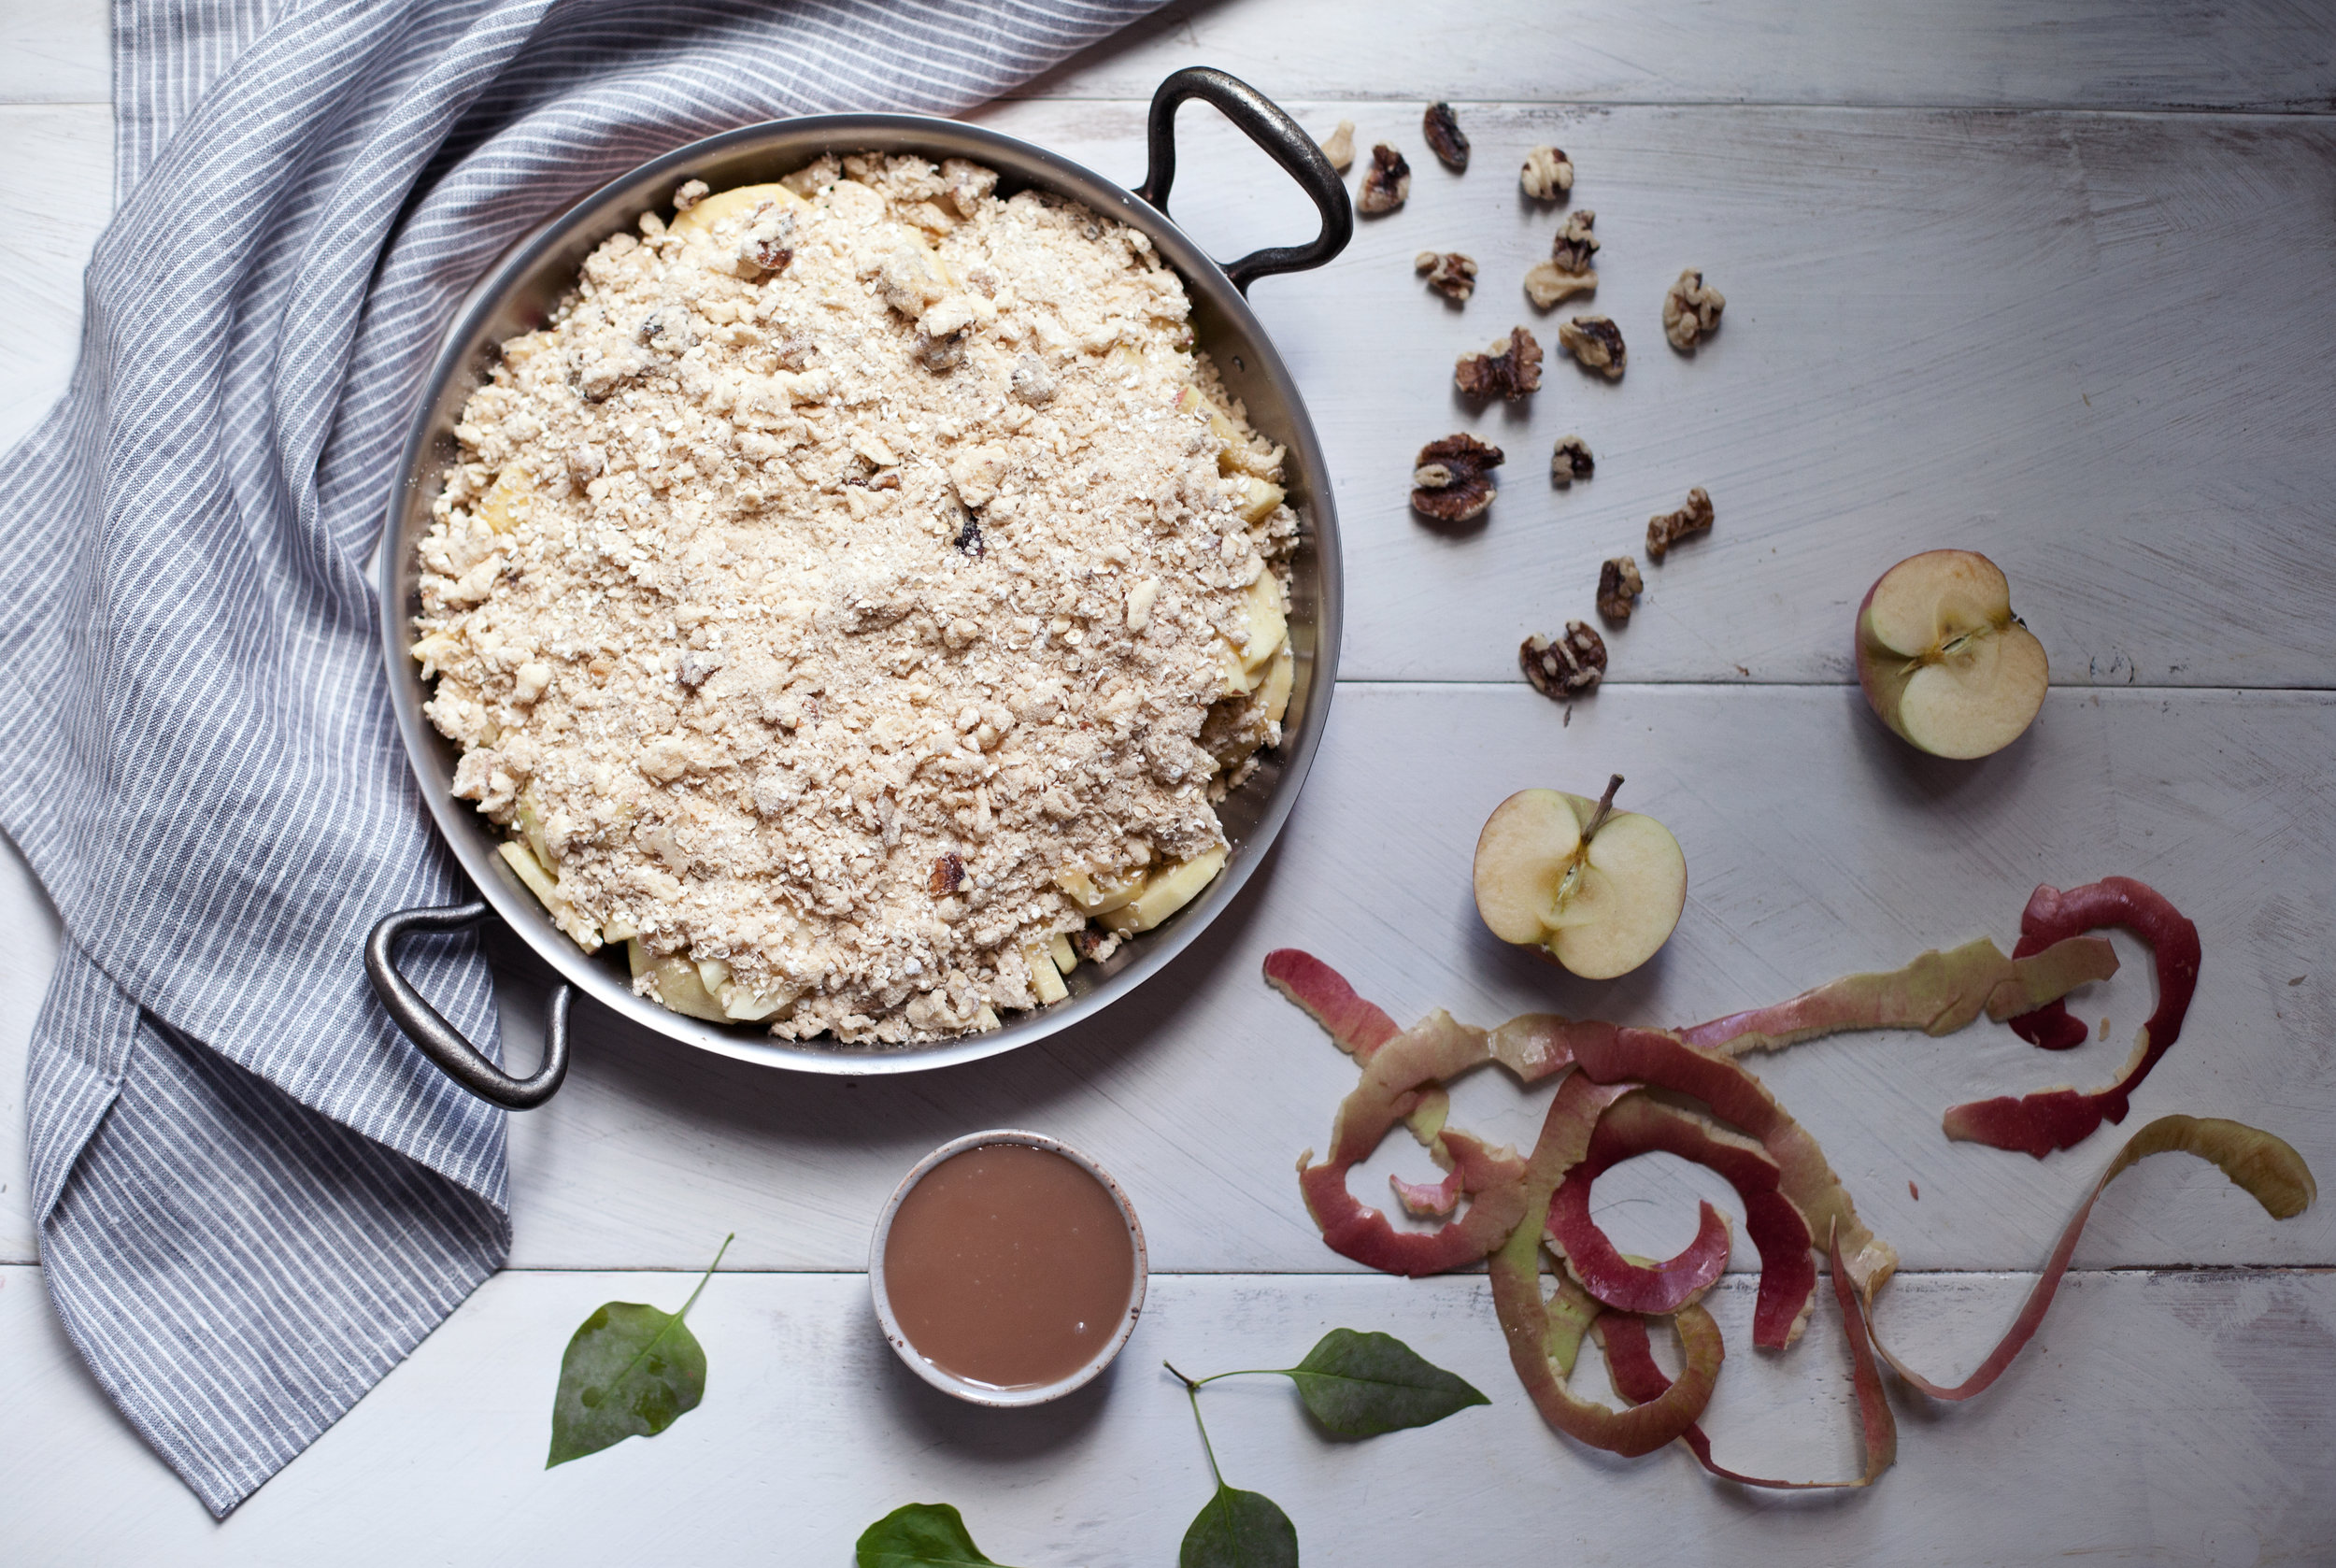
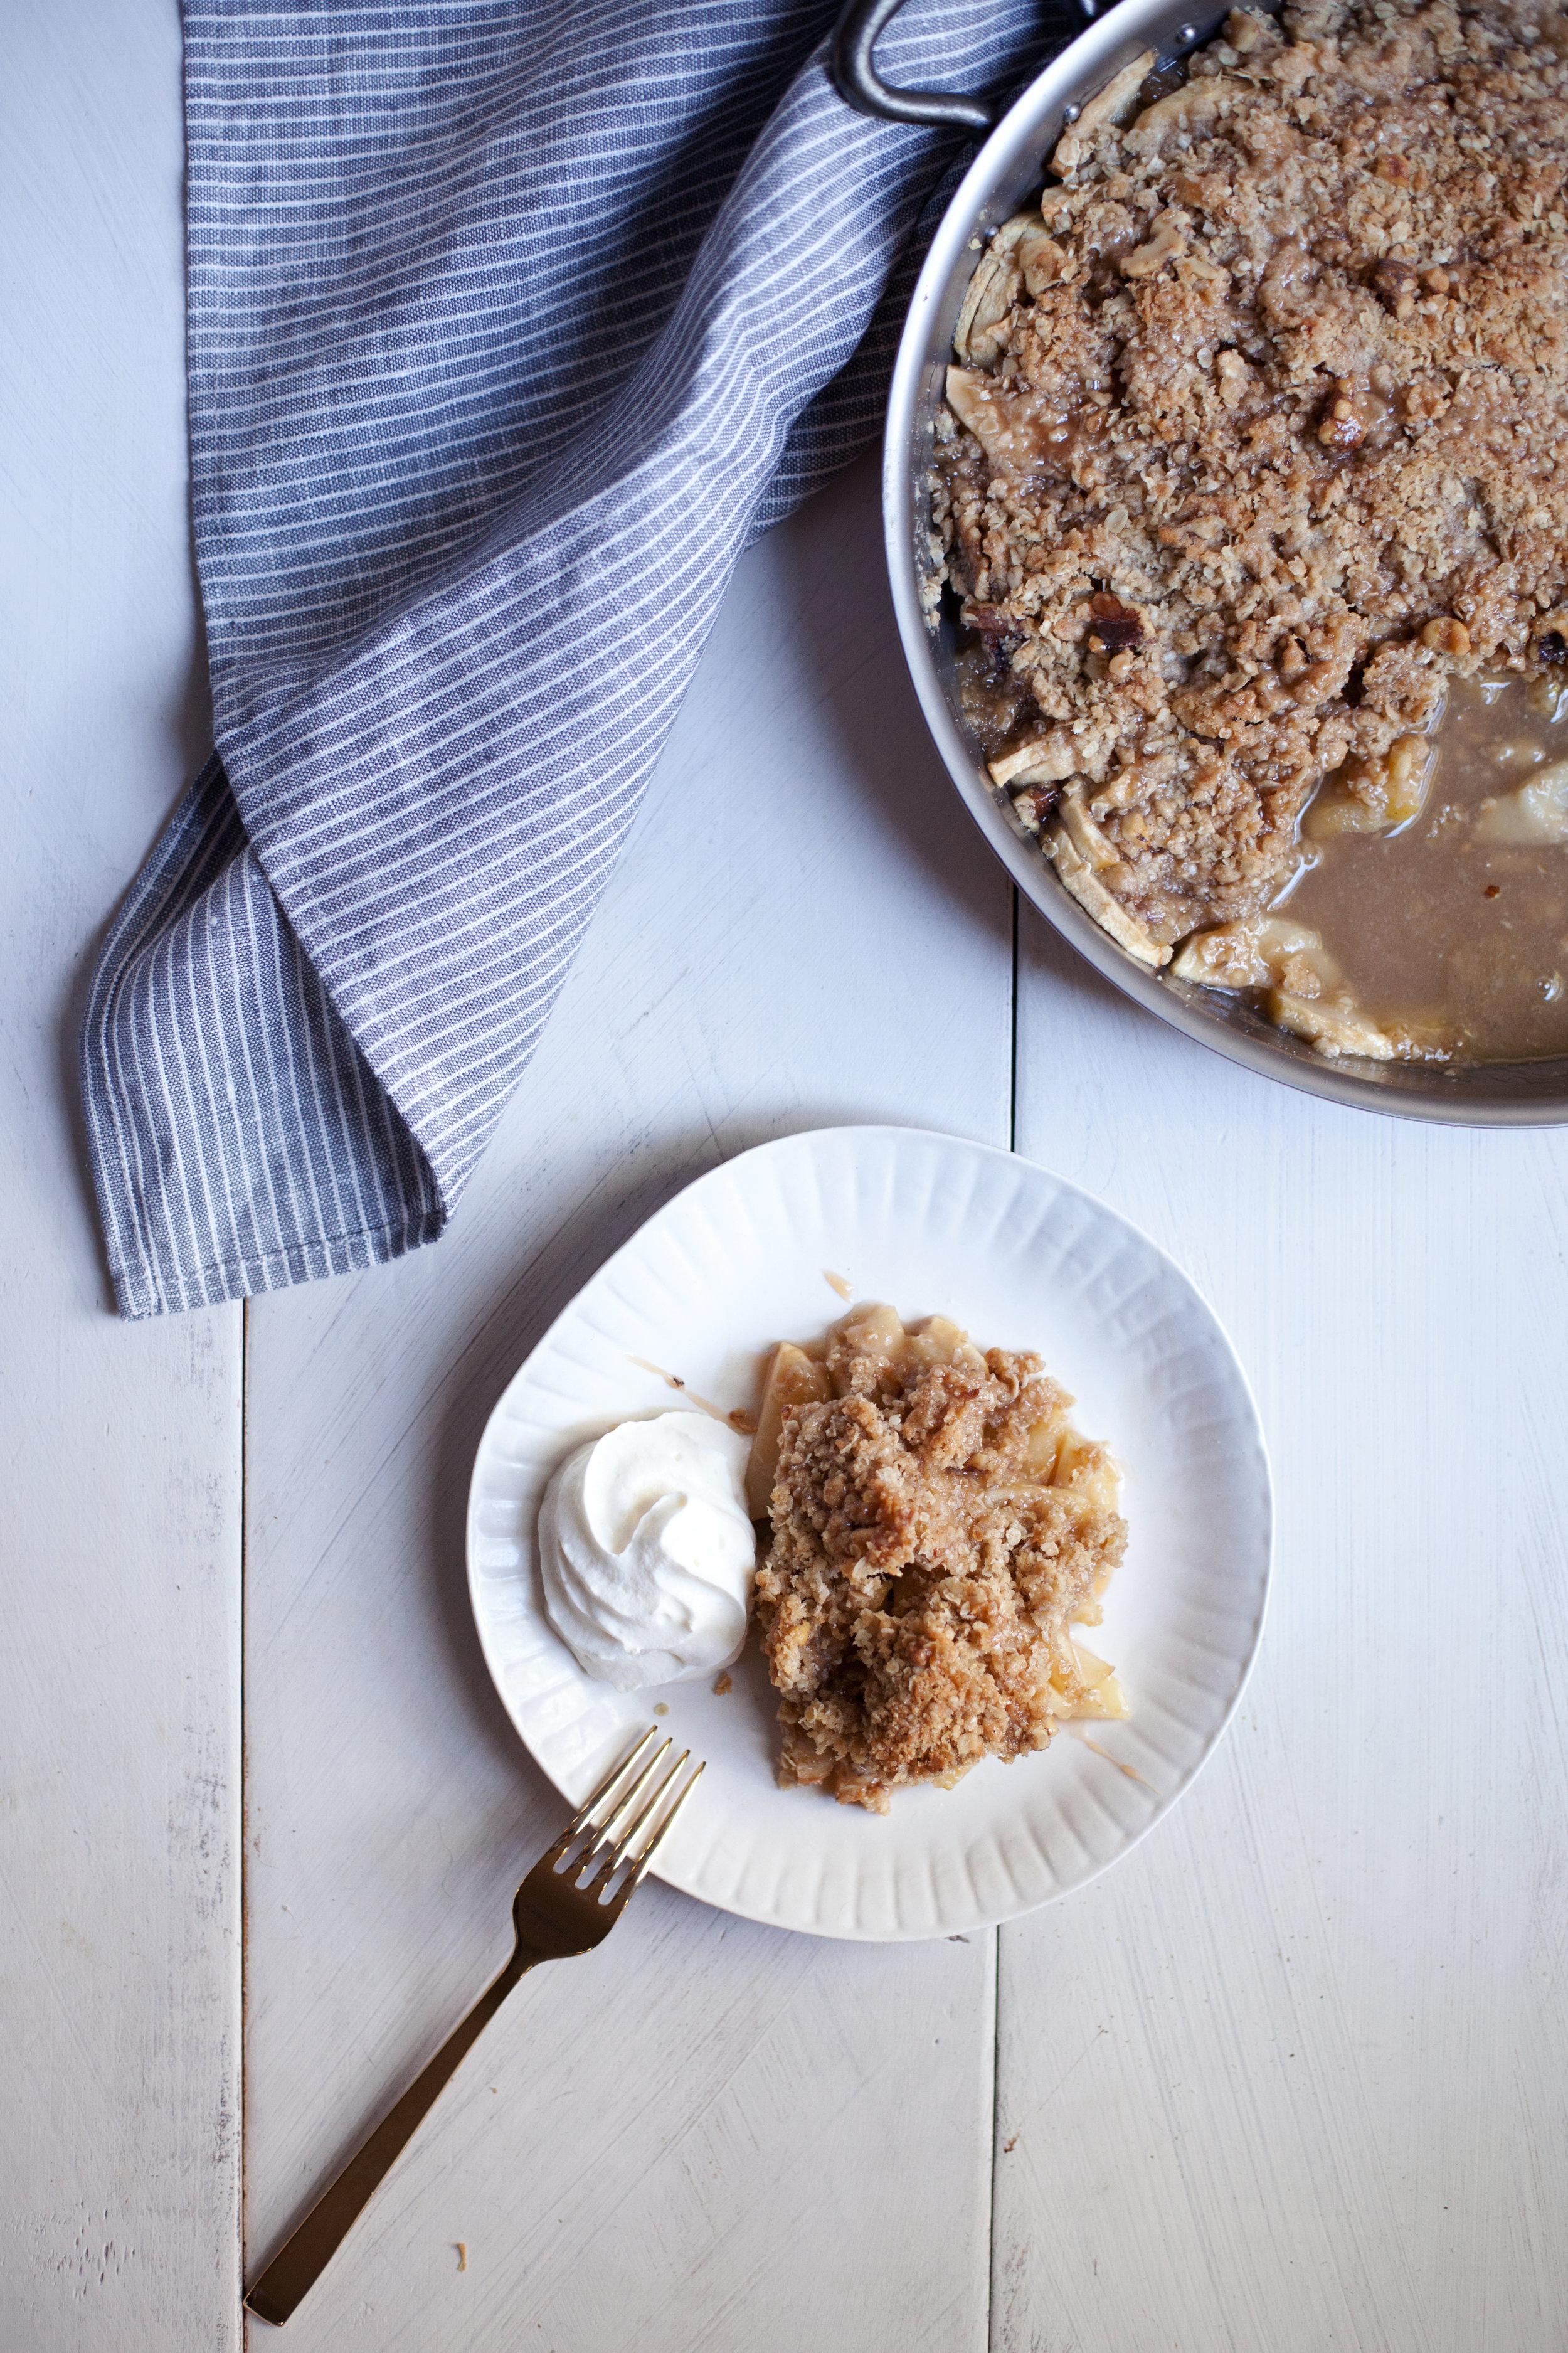
who is ready for another apple recipe?! of course this one has to have some salted caramel sauce incorporated too. when i was out for a walk in my new neighbourhood this past weekend, i discovered just down the street from me is ANOTHER apple orchard (um, i love this place). i don't know how i didn't discover that sooner, this one was beyond cute. i knew it was time to purchase another bushel full & get baking.

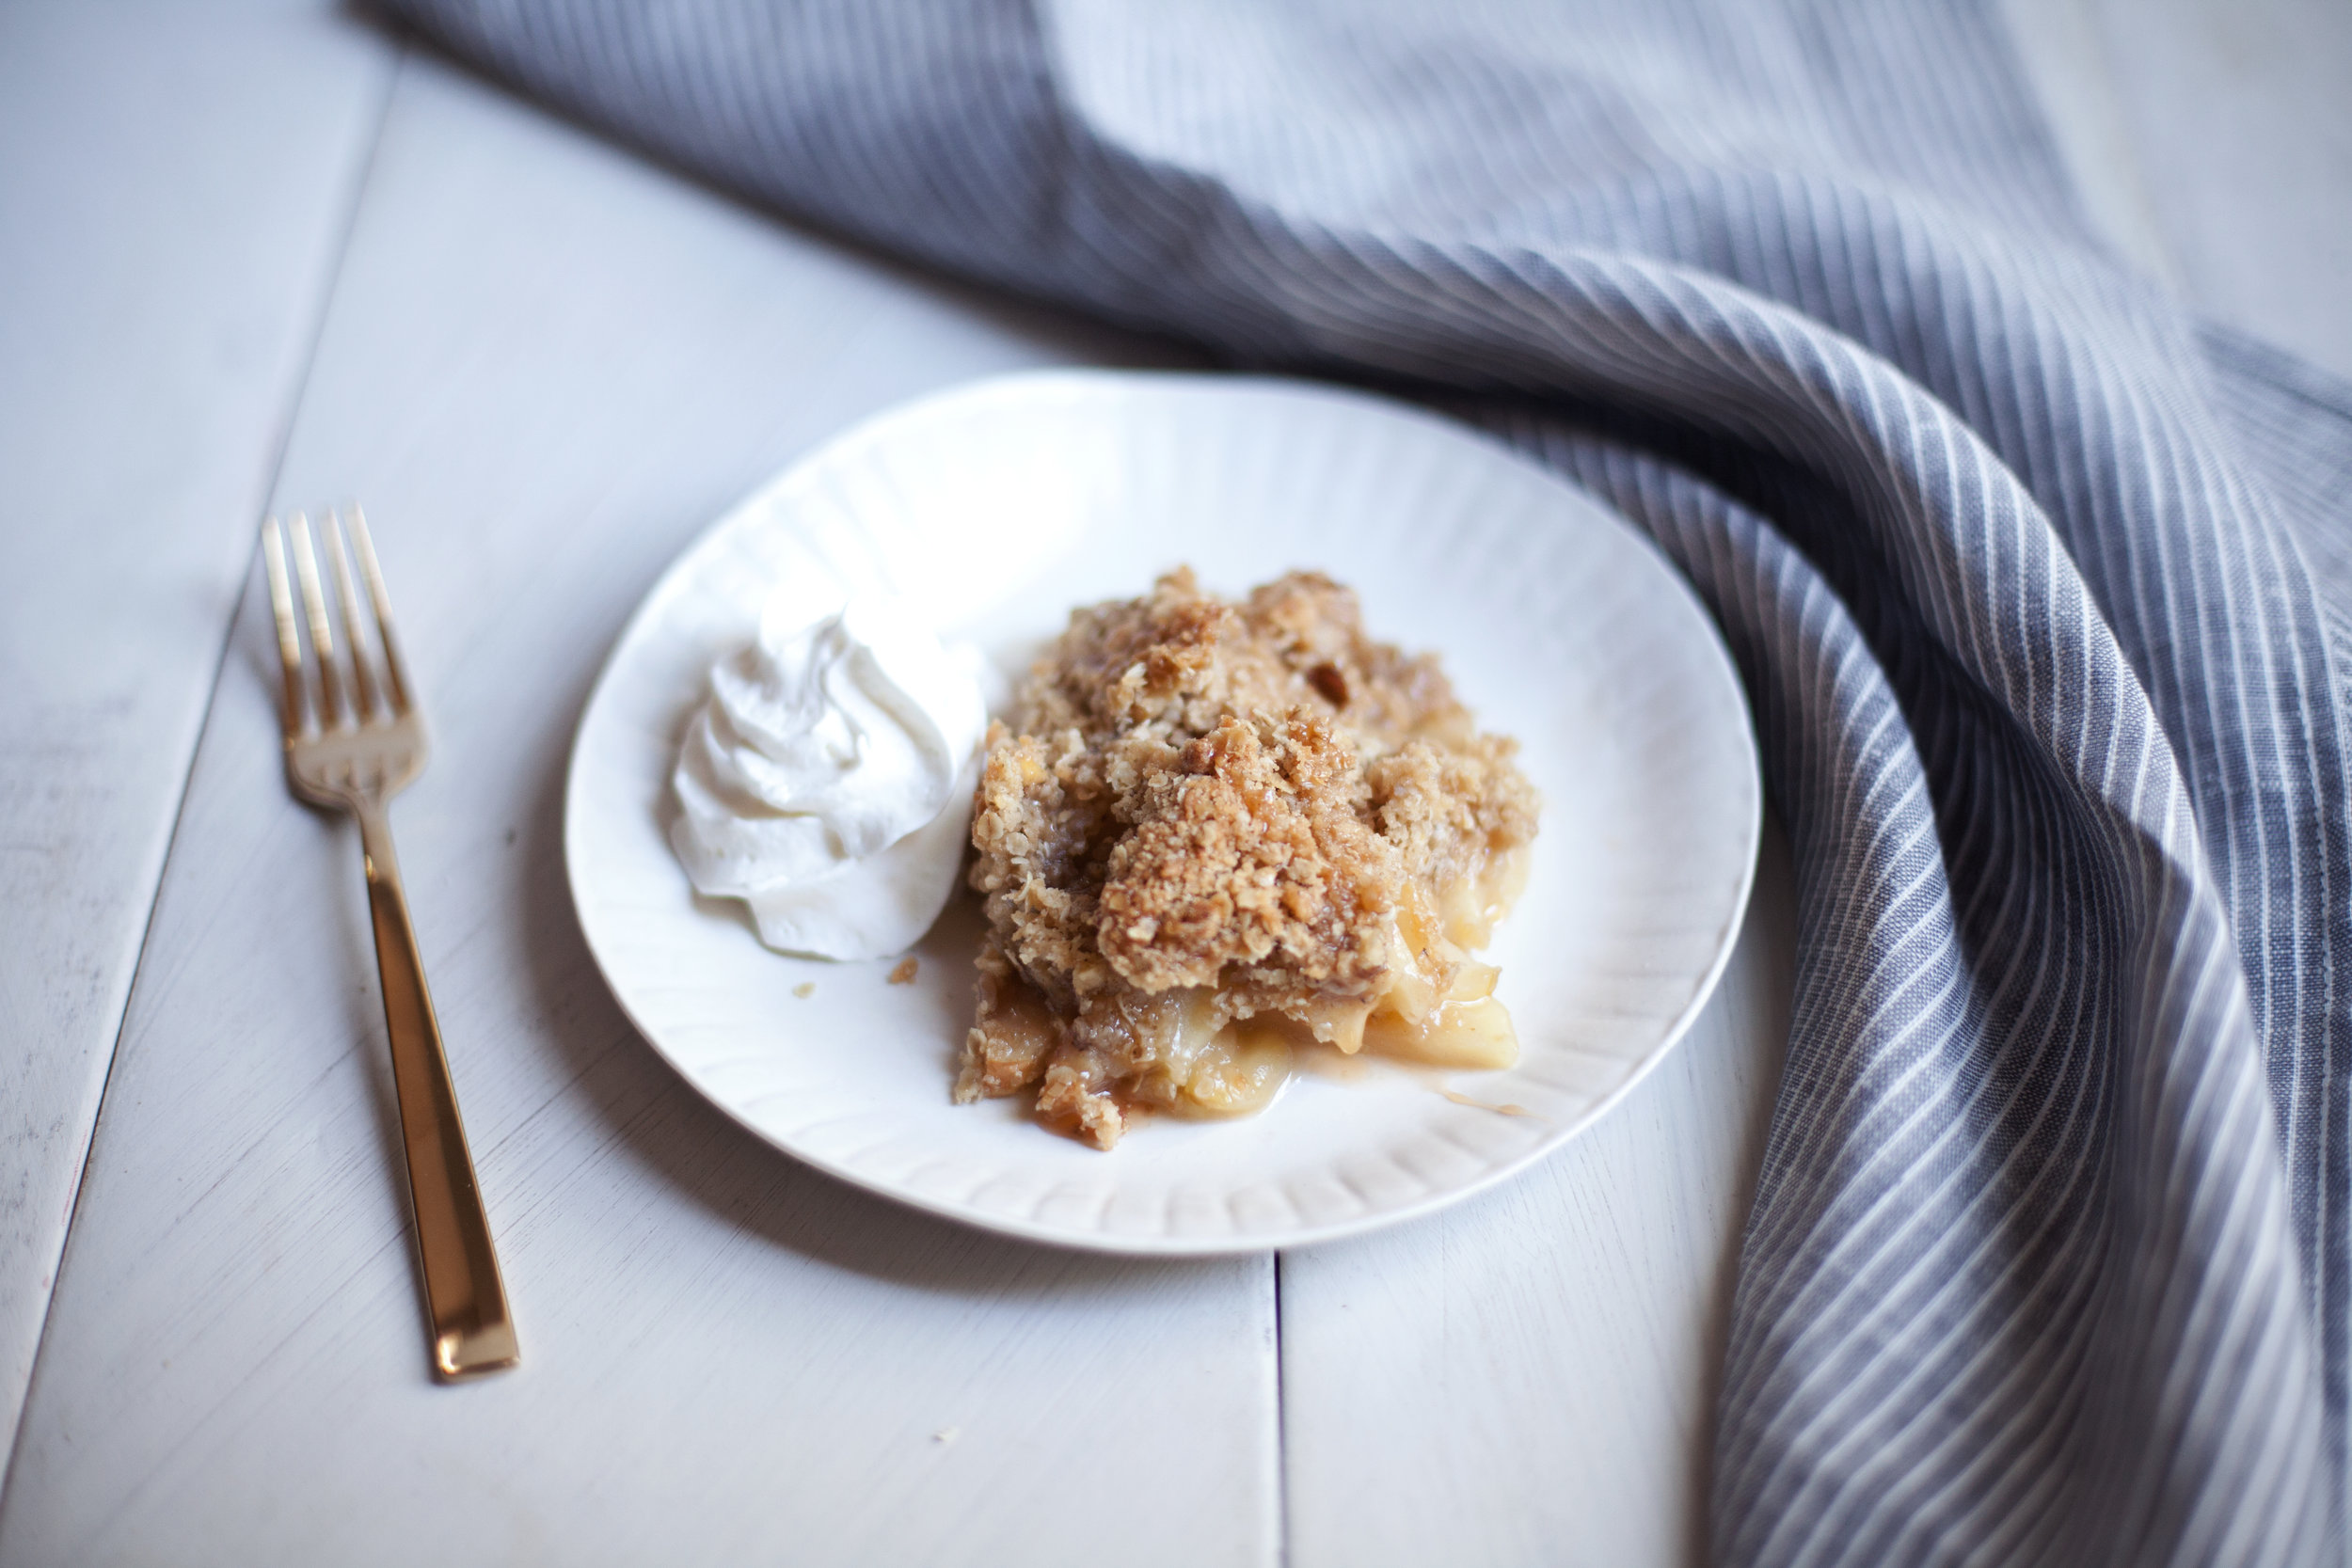
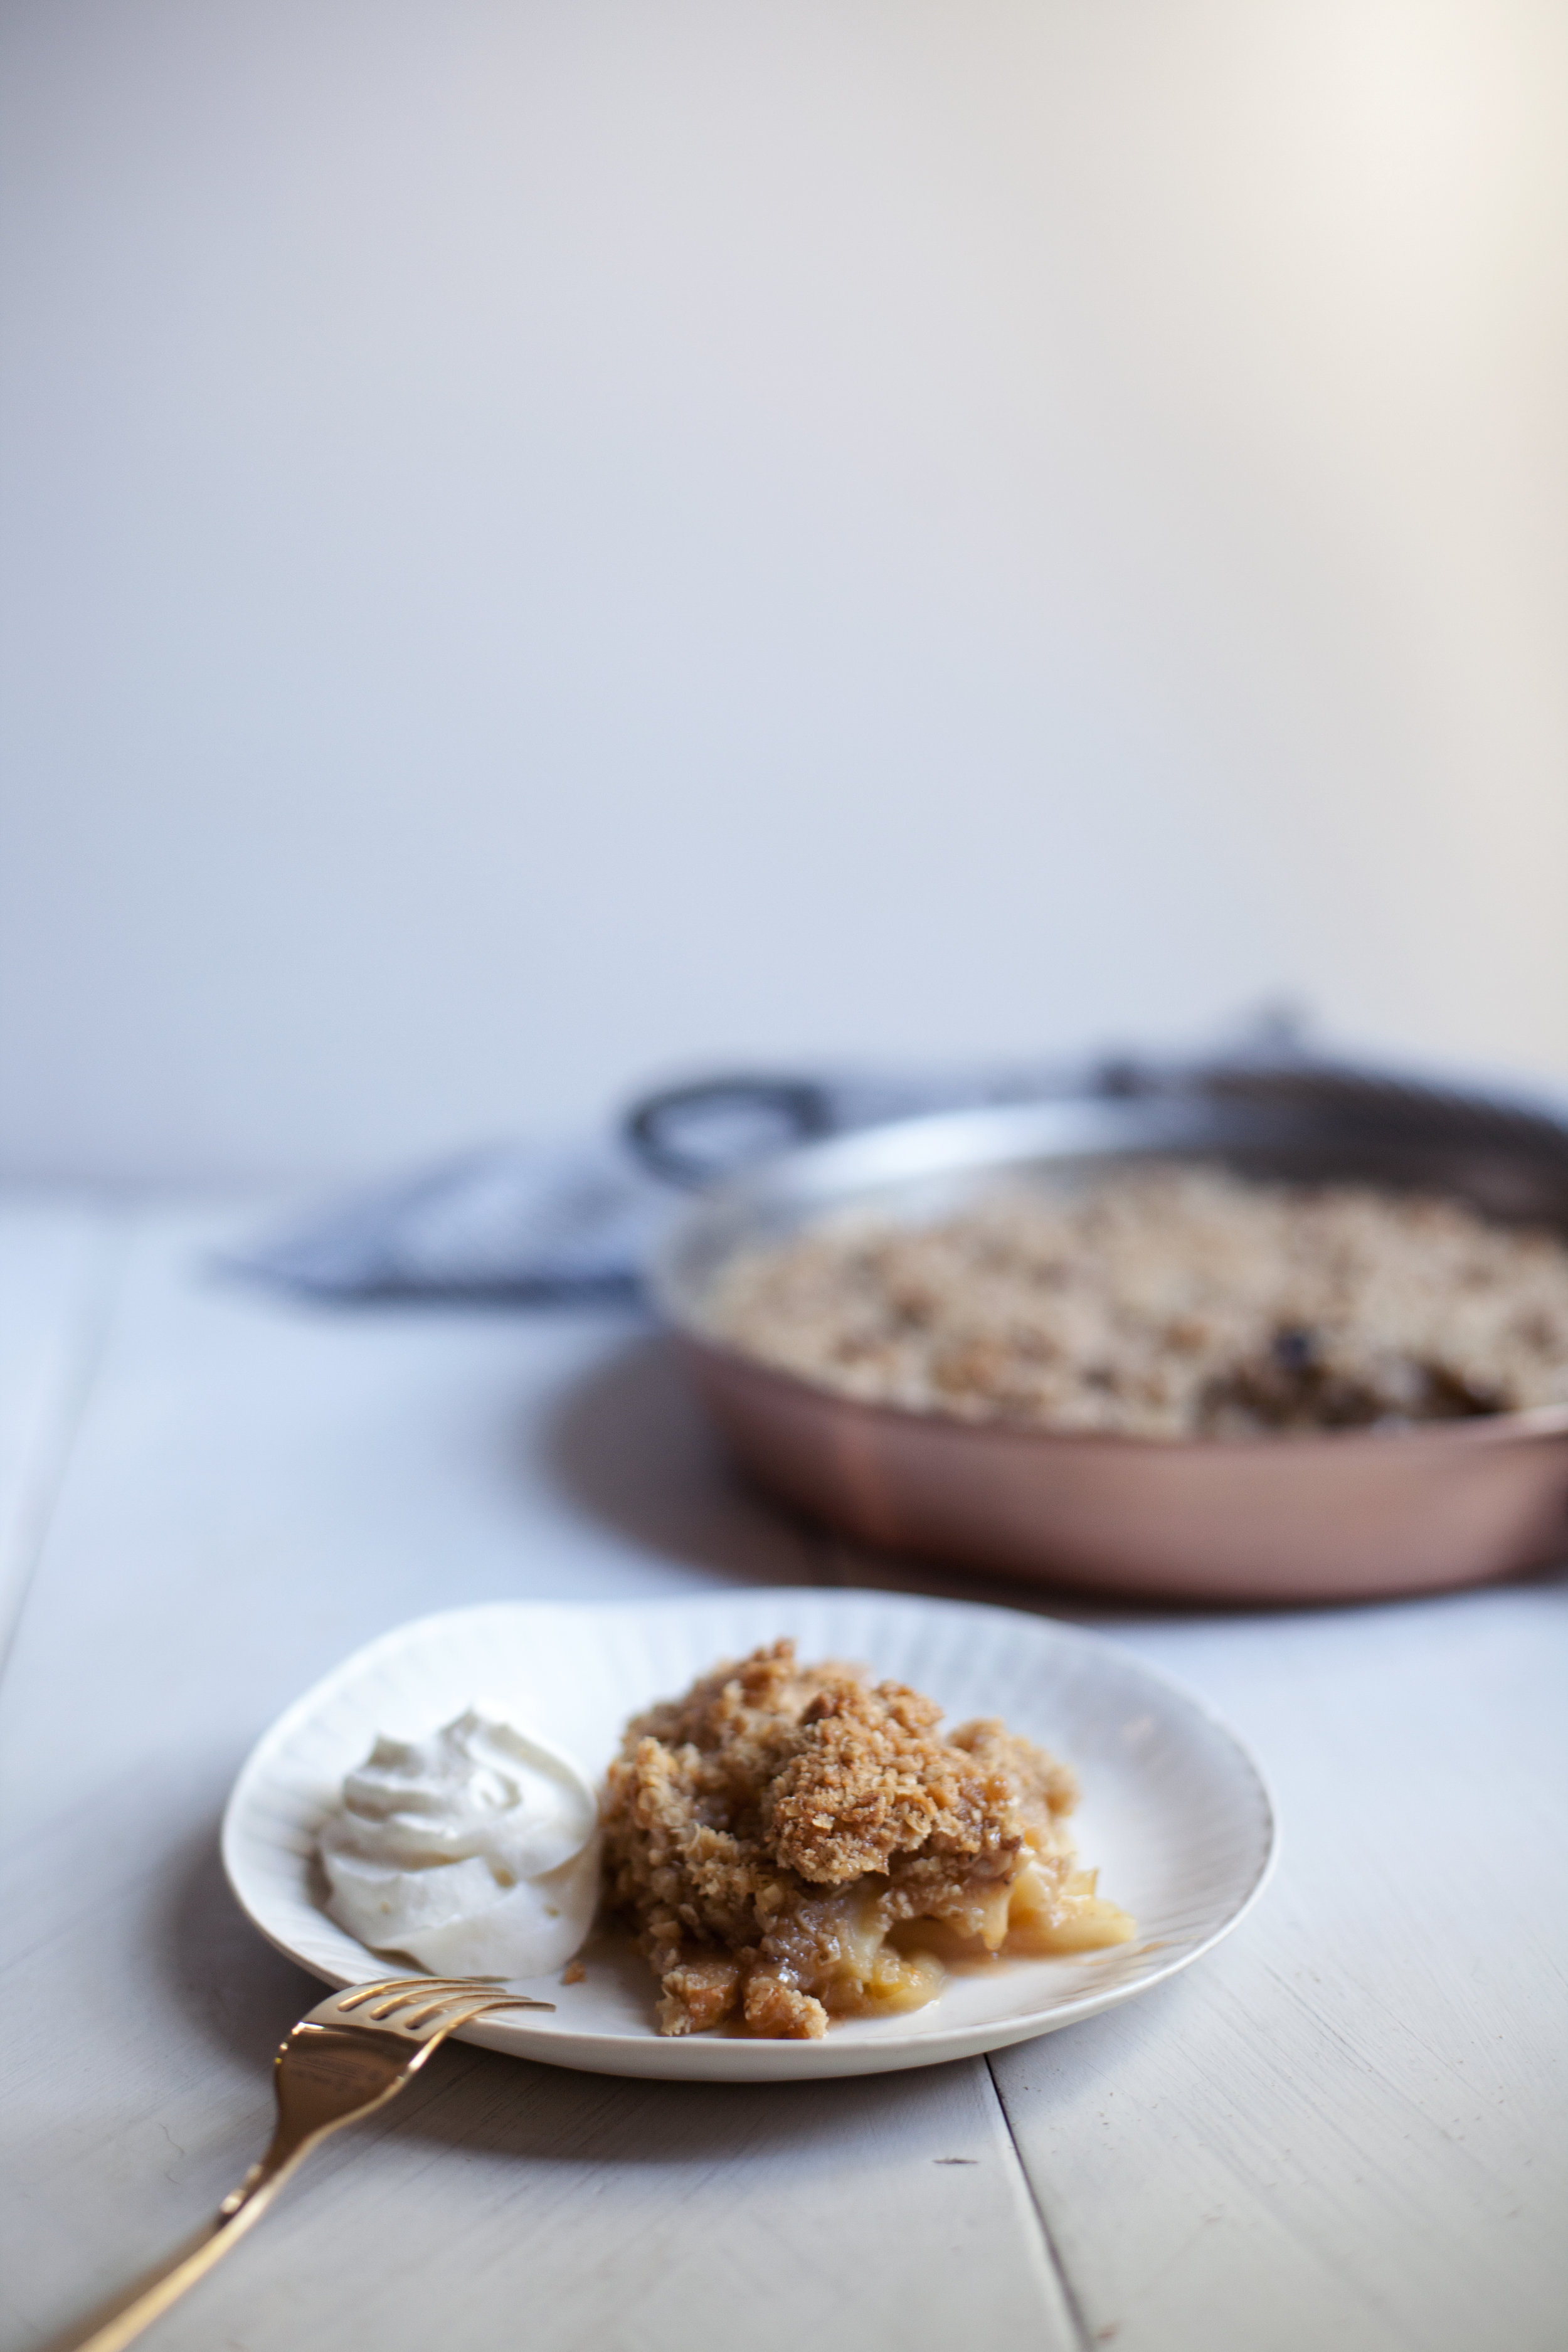
i don't really think it is possible to ever get sick of apple desserts. there are too many! one of my favourites growing up was apple crisp & this one my mom said is the best apple crisp i have ever made. i think that is saying a LOT. instead of just finishing it off with salted caramel i even tossed the apples in salted caramel sauce before baking. you can always use store bought, but i highly reccomend making it yourself! nothing will come close to this flavour & i even made a simple video on NOM last month on how to make it. hope you have a lovely weekend & who knows what i will discover next in this quaint little hood of mine:)

ingredients

for the salted caramel

  • 1 cup white sugar
  • 1/3 cup water
  • 1/3 cup heavy cream
  • 1/4 cup unsalted butter
  • 1 teaspoon sea salt
  • 1 teaspoon pure vanilla extract (optional)

for the filling

  • 3 lbs baking apples, peeled + cored + thinly sliced
  • 1/4 cup brown sugar, packed
  • 1/4 cup salted caramel
  • 1 tablespoon cornstarch
  • 1 teaspoon pure vanilla extract
  • 1 teaspoon lemon juice

for the topping

  • 1 cup rolled oats
  • 1 cup all purpose flour
  • 1/2 cup brown sugar, packed
  • 1/2 teaspoon ground cinnamon
  • 1/2 teaspoon sea salt
  • 1/2 cup walnuts, roughly chopped
  • 1/2 cup unsalted butter, cold & cubed
  • salted caramel, for topping
  • whipped cream, for topping

directions

for the salted caramel

  • in a saucepan add the sugar and water. bring the pan to a boil while wiping down the crystals that form on the sides of the pan using a pastry brush (do not stir, i repeat, do NOT stir).
  • continue to boil until the mixture turns to a deep amber colour, approximately 5 minutes. be sure not to burn the caramel! it will go from a deep amber to burnt sugar VERY quickly.
  • remove from heat and immediately whisk in the butter, cream, salt & vanilla.
  • cool to room temperature before using in recipe. can be made in advance!

for the filling

  • preheat oven to 350 degrees.
  • in a large mixing bowl toss the apples, sugar, caramel, cornstarch, vanilla & lemon juice.
  • add to baking dish & set aside while you prepare your topping.

for the topping

  • in a large mixing bowl whisk the oats, flour, sugar, cinnamon, salt & walnuts.
  • add in the cubed butter & work into the mixture until pea sized crumbs are formed.
  • evenly disperse over the apples & bake for one hour.
  • remove from oven & drizzle with additional salted caramel.
  • serve with fresh whipped cream or vanilla ice cream.

like what you see? get it here. copper pan | ramekin | linen | porcelain paper plate

cheddar apple pie + MIGHTYFIX OFFER


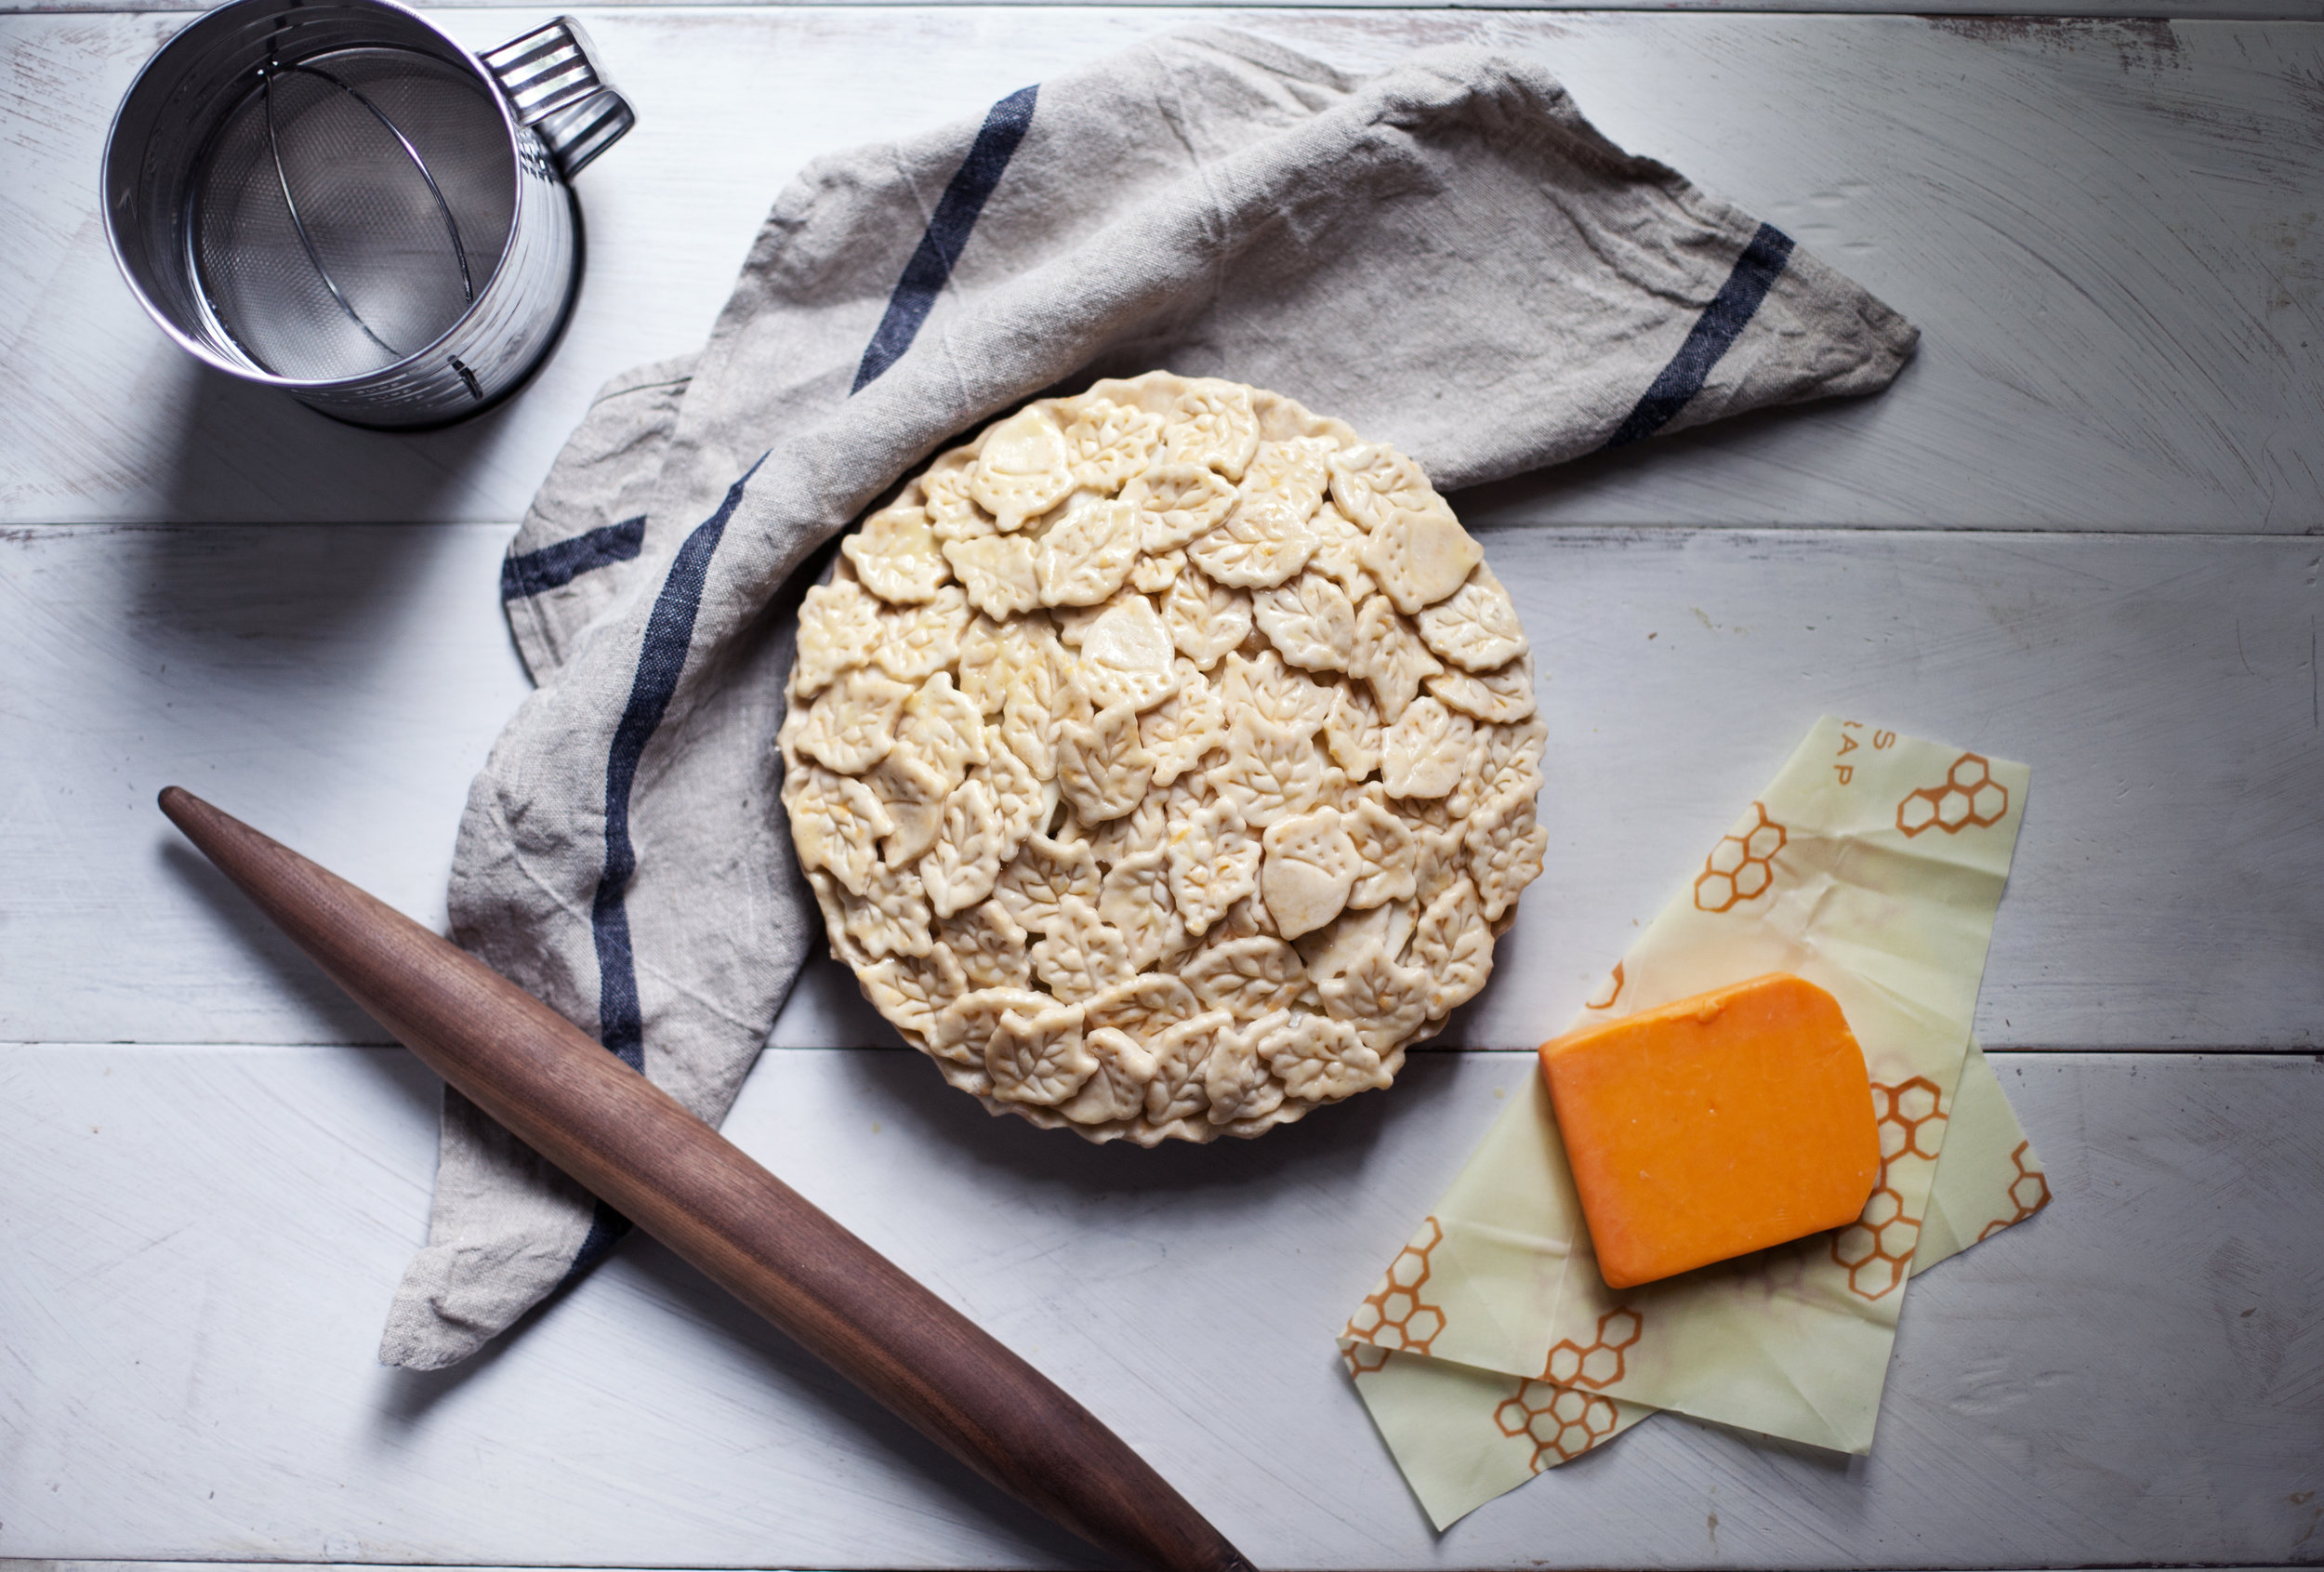
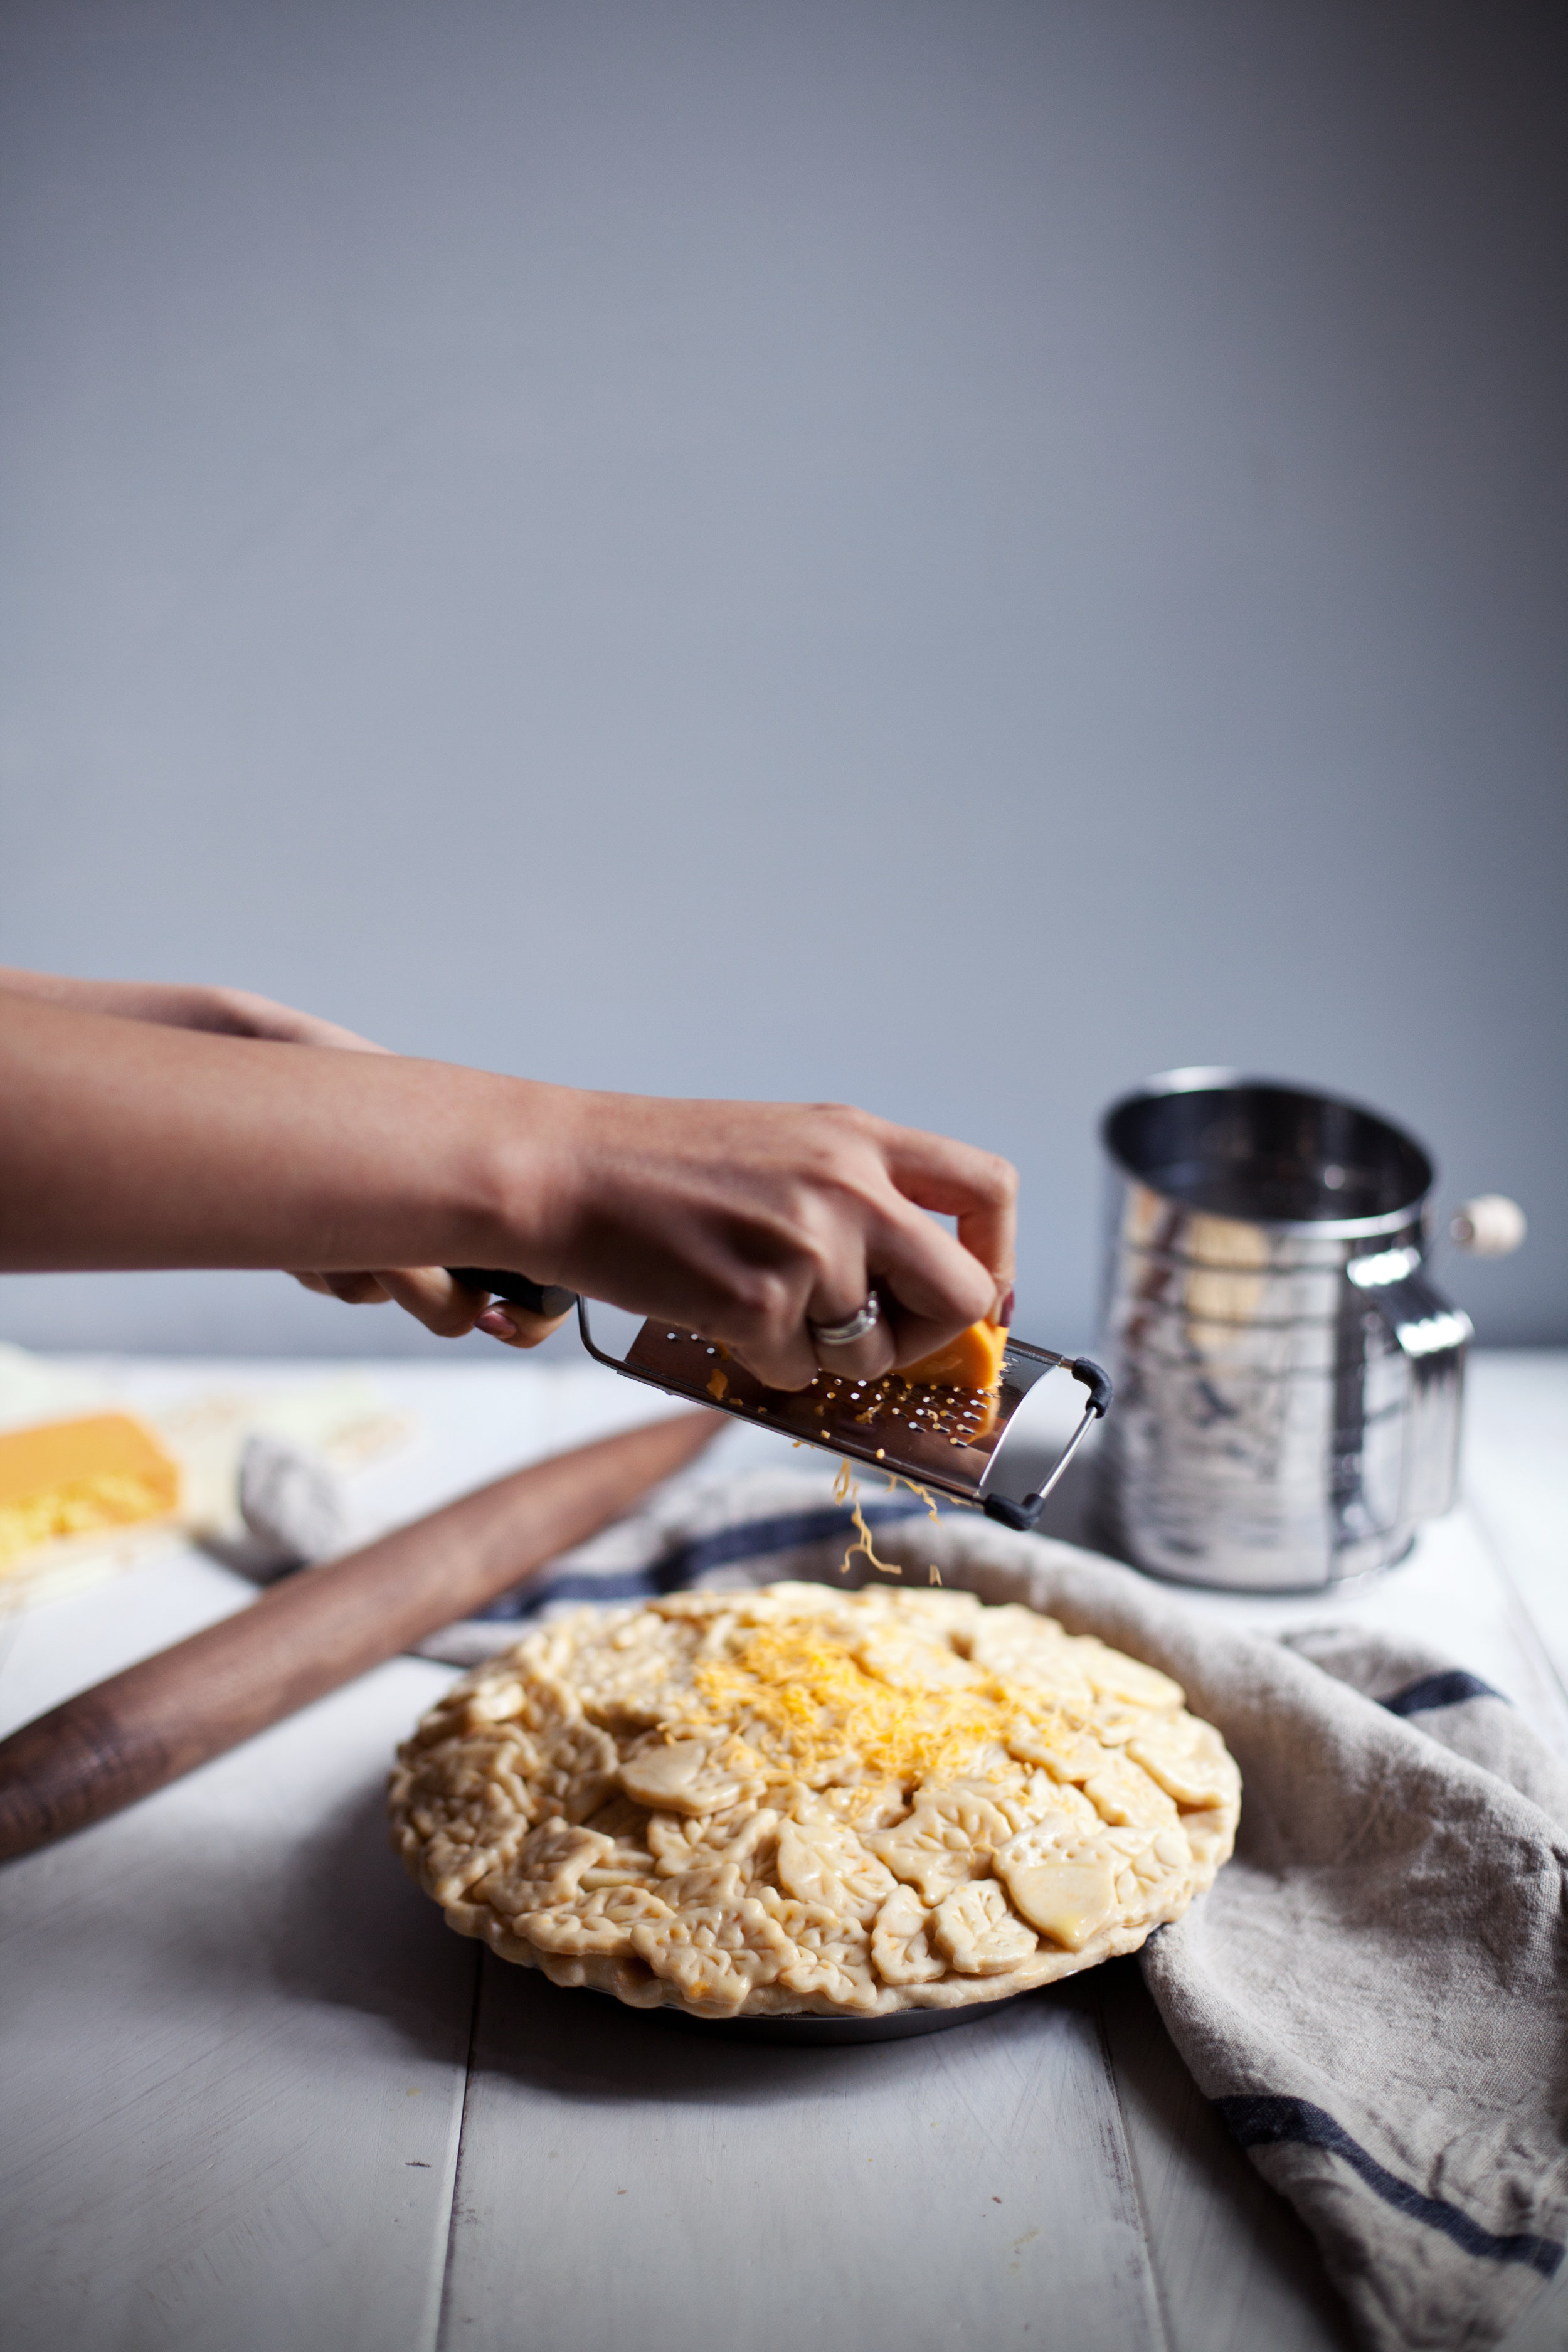
it is finally time for that apple pie i have been promising you guys all month long! this time i mixed things up a bit by adding some freshly grated old cheddar cheese into the pie dough & on top because the two flavours go hand in hand (& cheese literally makes everything better). BUT before i get into the details of this pie i wanted to let you know about a special promotion that mightyfix is offering for my modest marce readers! this month only, mightyfix is offering the bee's wax wraps for only $3 for the first month after signing up for the mightyfix! it includes both a medium & large sheet of bee's wrap & retails for over $18 after shipping. the promo code for the bee's wrap is MODESTBEESWRAPFIX & if you click here the promo code will be placed directly into your cart. shipping is free & you can add any other items they carry to ship free too!

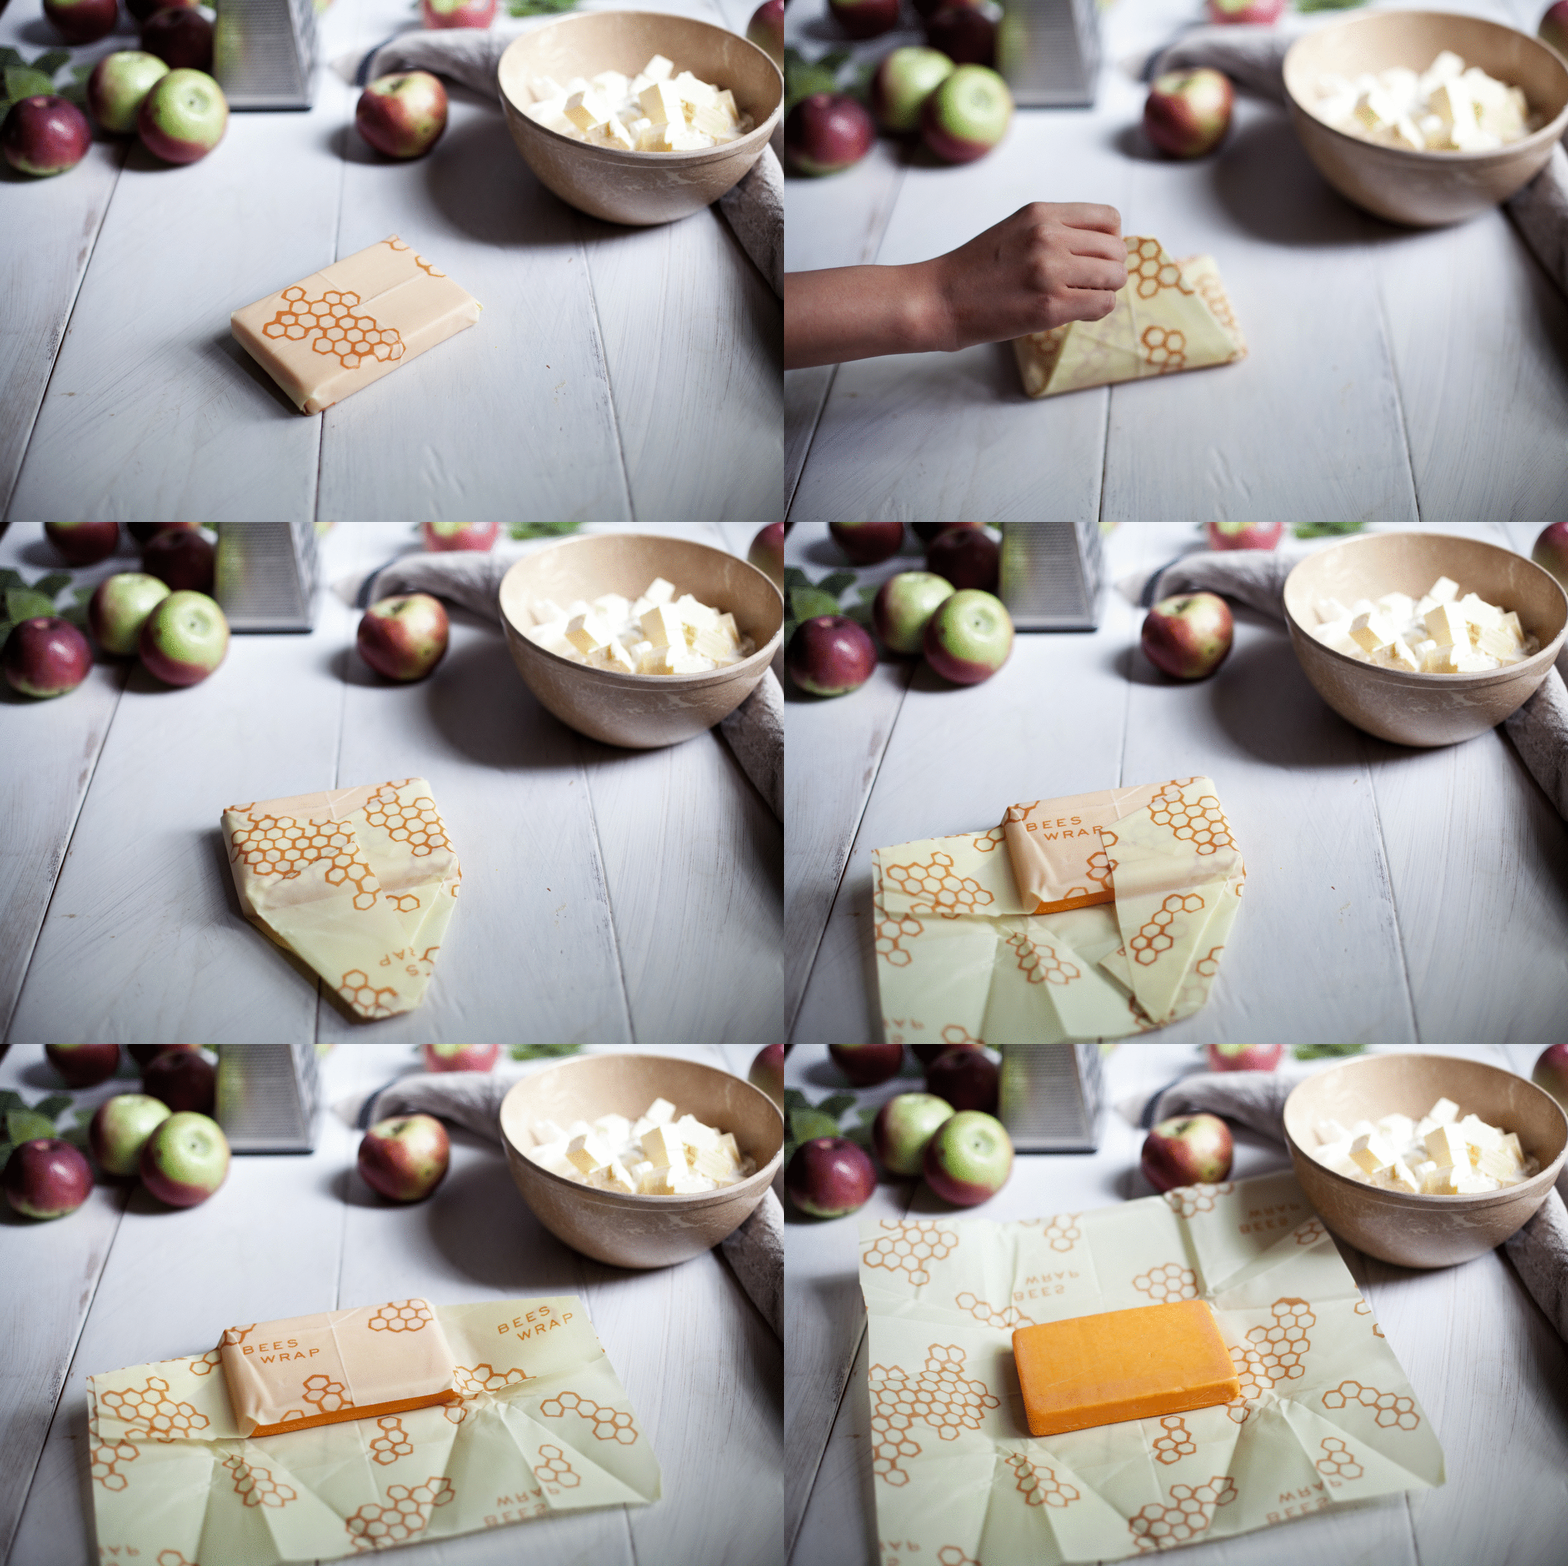
now i am obsessed with all sorts of aged cheeses. maybe it is the italian in me, but the stinkier the better! the natural bees wrap is favourite way to store cheese so it doesn't dry out & you aren't wasting plastic wrap every time you cut a slice. the natural bee's wrap from mightyfix is made in vermont from organic cotton muslin, beeswax, jojoba oil & tree resin. the combination of ingredients & the infused fabric create a malleable food wrap that can be used again & again. the simple warmth of your hands naturally creates a seal & as the beeswax cools the material stiffens to hold the seal intact. it also has antibacterial qualities that help to keep food fresh! while my favourite thing to use it for is cheese, it is also perfect for baked goods, vegetables & fruit.

over the years i have become all about searching for reusable materials for healthy kitchens because i hate spending extra money on things that end up in the garbage.. plastic wrap, foil, parchment paper, etc. i honestly find this bee's wrap the most genius way to store food & replace those expensive rolls of plastic wrap. it is the same idea as silicon baking mats & never having to buy parchment paper again! to care for it you just wash it in cool water with a touch of soap, let it air dry & store it folded up like a kitchen towel.

now back to that pie! the base of this pie dough would be so good for savoury pies as well, i will definitely be making myself a chicken pot pie very soon. ultimate comfort food. growing up i used to see classmates eat apples & sliced cheddar cheese together. while a completely normal thing to do, i thought it was the weirdest thing ever! now here i am, adding cheese to my pies & wishing i wasn't such a stubborn little kid who missed out.

happy baking! xo

ingredients

for the dough

  • 3 cups all purpose flour, sifted
  • 1/2 teaspoon fine sea salt
  • 3/4 cup unsalted butter, cold and cubed
  • 1/3 cup shortening, cold
  • 1 cup old cheddar cheese, finely grated plus more for topping
  • ½ cup ice water
  • 1 egg, whisked with 1 tablespoon of water for egg wash

for the filling

  • 5 cups sliced apples
  • 3/4 cup raw sugar
  • 1/4 teaspoon ground nutmeg
  • 1 teaspoon pure vanilla extract
  • 1 tablespoon freshly squeezed lemon juice
  • 1 tablespoon cornstarch

directions

for the dough

  • in a large mixing bowl stir together the flour & salt.
  • add the butter & shortening. using your hands or a pastry cutter, work in the solids until a pea-sized crumb mixture is formed.
  • sprinkle in the one cup of cheese & toss to combined.
  • add the ice water 1-2 tablespoons at a time until the mixture begins to come together. shape into disk, wrap in cling wrap & refrigerate for two hours.

for the filling

  • in a large mixing bowl toss together the apples, sugar, nutmeg, vanilla, lemon juice and cornstarch. set aside while you begin to roll out the dough. drain excess liquids.

for assembly

  • divide the dough into two equal potions; place half back in the fridge until ready to use for the top portion of the pie.
  • roll out the remaining dough to 1/4 inch thick and transfer to pie dish, pressing down & cleaning up the edges.
  • add the filling and evenly distribute throughout the baking dish.
  • using the remaining dough, roll out to 1/4 inch thick and create desired design. i used little pastry cutter leaves & piled them on top.
  • brush with egg wash & top with a little extra grated cheddar cheese. bake at 375 degrees for 45 minutes to 1 hour. if the crust begins to brown too soon, simply cover the top with foil.
  • let cool & set completely before serving.

this post was created in partnership with mightyfix. to get your own set of the mightyfix bees wrap for only $3 use the promo code MODESTBEESWRAPFIX or click the link here for it to be automatically added to your cart. thank you for supporting the brands that keep me doing what i love!